
Russell griffiths
-
Posts
7884 -
Joined
-
Last visited
-
Days Won
61
Everything posted by Russell griffiths
-
 You could use, jackoboard on the reveal as you can skim straight over it. however I’m unsure if it’s needed on an mbc frame as they are very well detailed, without a drawing of your window placement it’s all a bit guesswork.
 -
Seam sealed roofing quote
Russell griffiths replied to flanagaj's topic in Roofing, Tiling & Slating
Did it myself.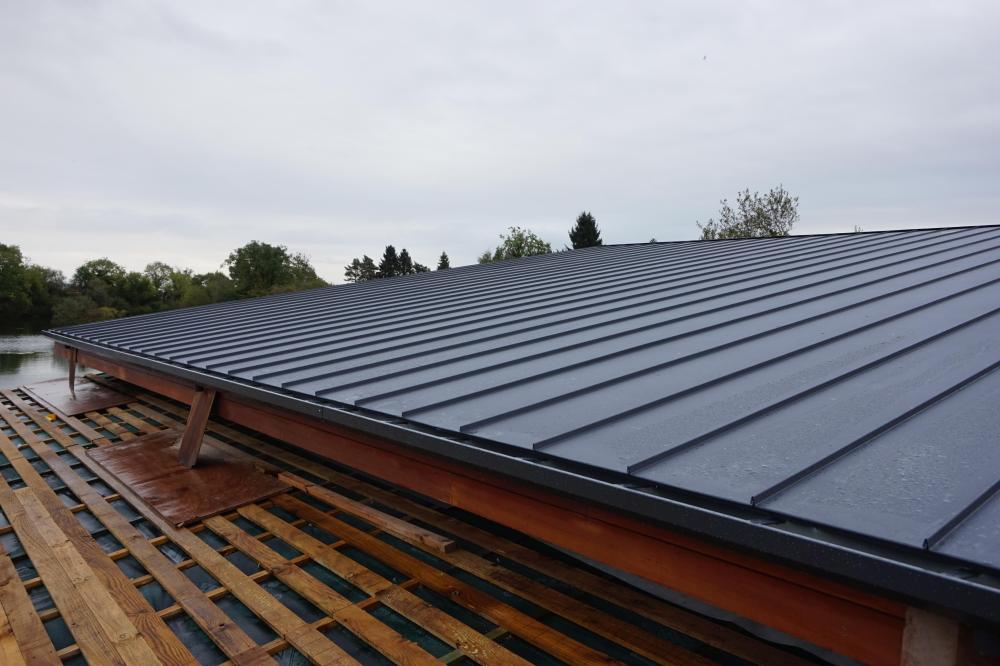
-
Seam sealed roofing quote
Russell griffiths replied to flanagaj's topic in Roofing, Tiling & Slating
It’s still a fairly specific product/ process the install cost will always be high. I used the green coat and really liked the product. have a ring around for installation. -
Do yourself a favour and buy the proper foam gun and then you can get a better foam at cheaper prices by buying boxes of 12 online.
-
Passivhaus in St Albans for sale
Russell griffiths replied to TheMitchells's topic in General Self Build & DIY Discussion
It’s fairly puke. -
Get one of those pumps that fit on an electric drill. mount it to a block of wood, cheap drill and leave it running for twenty mins.
-
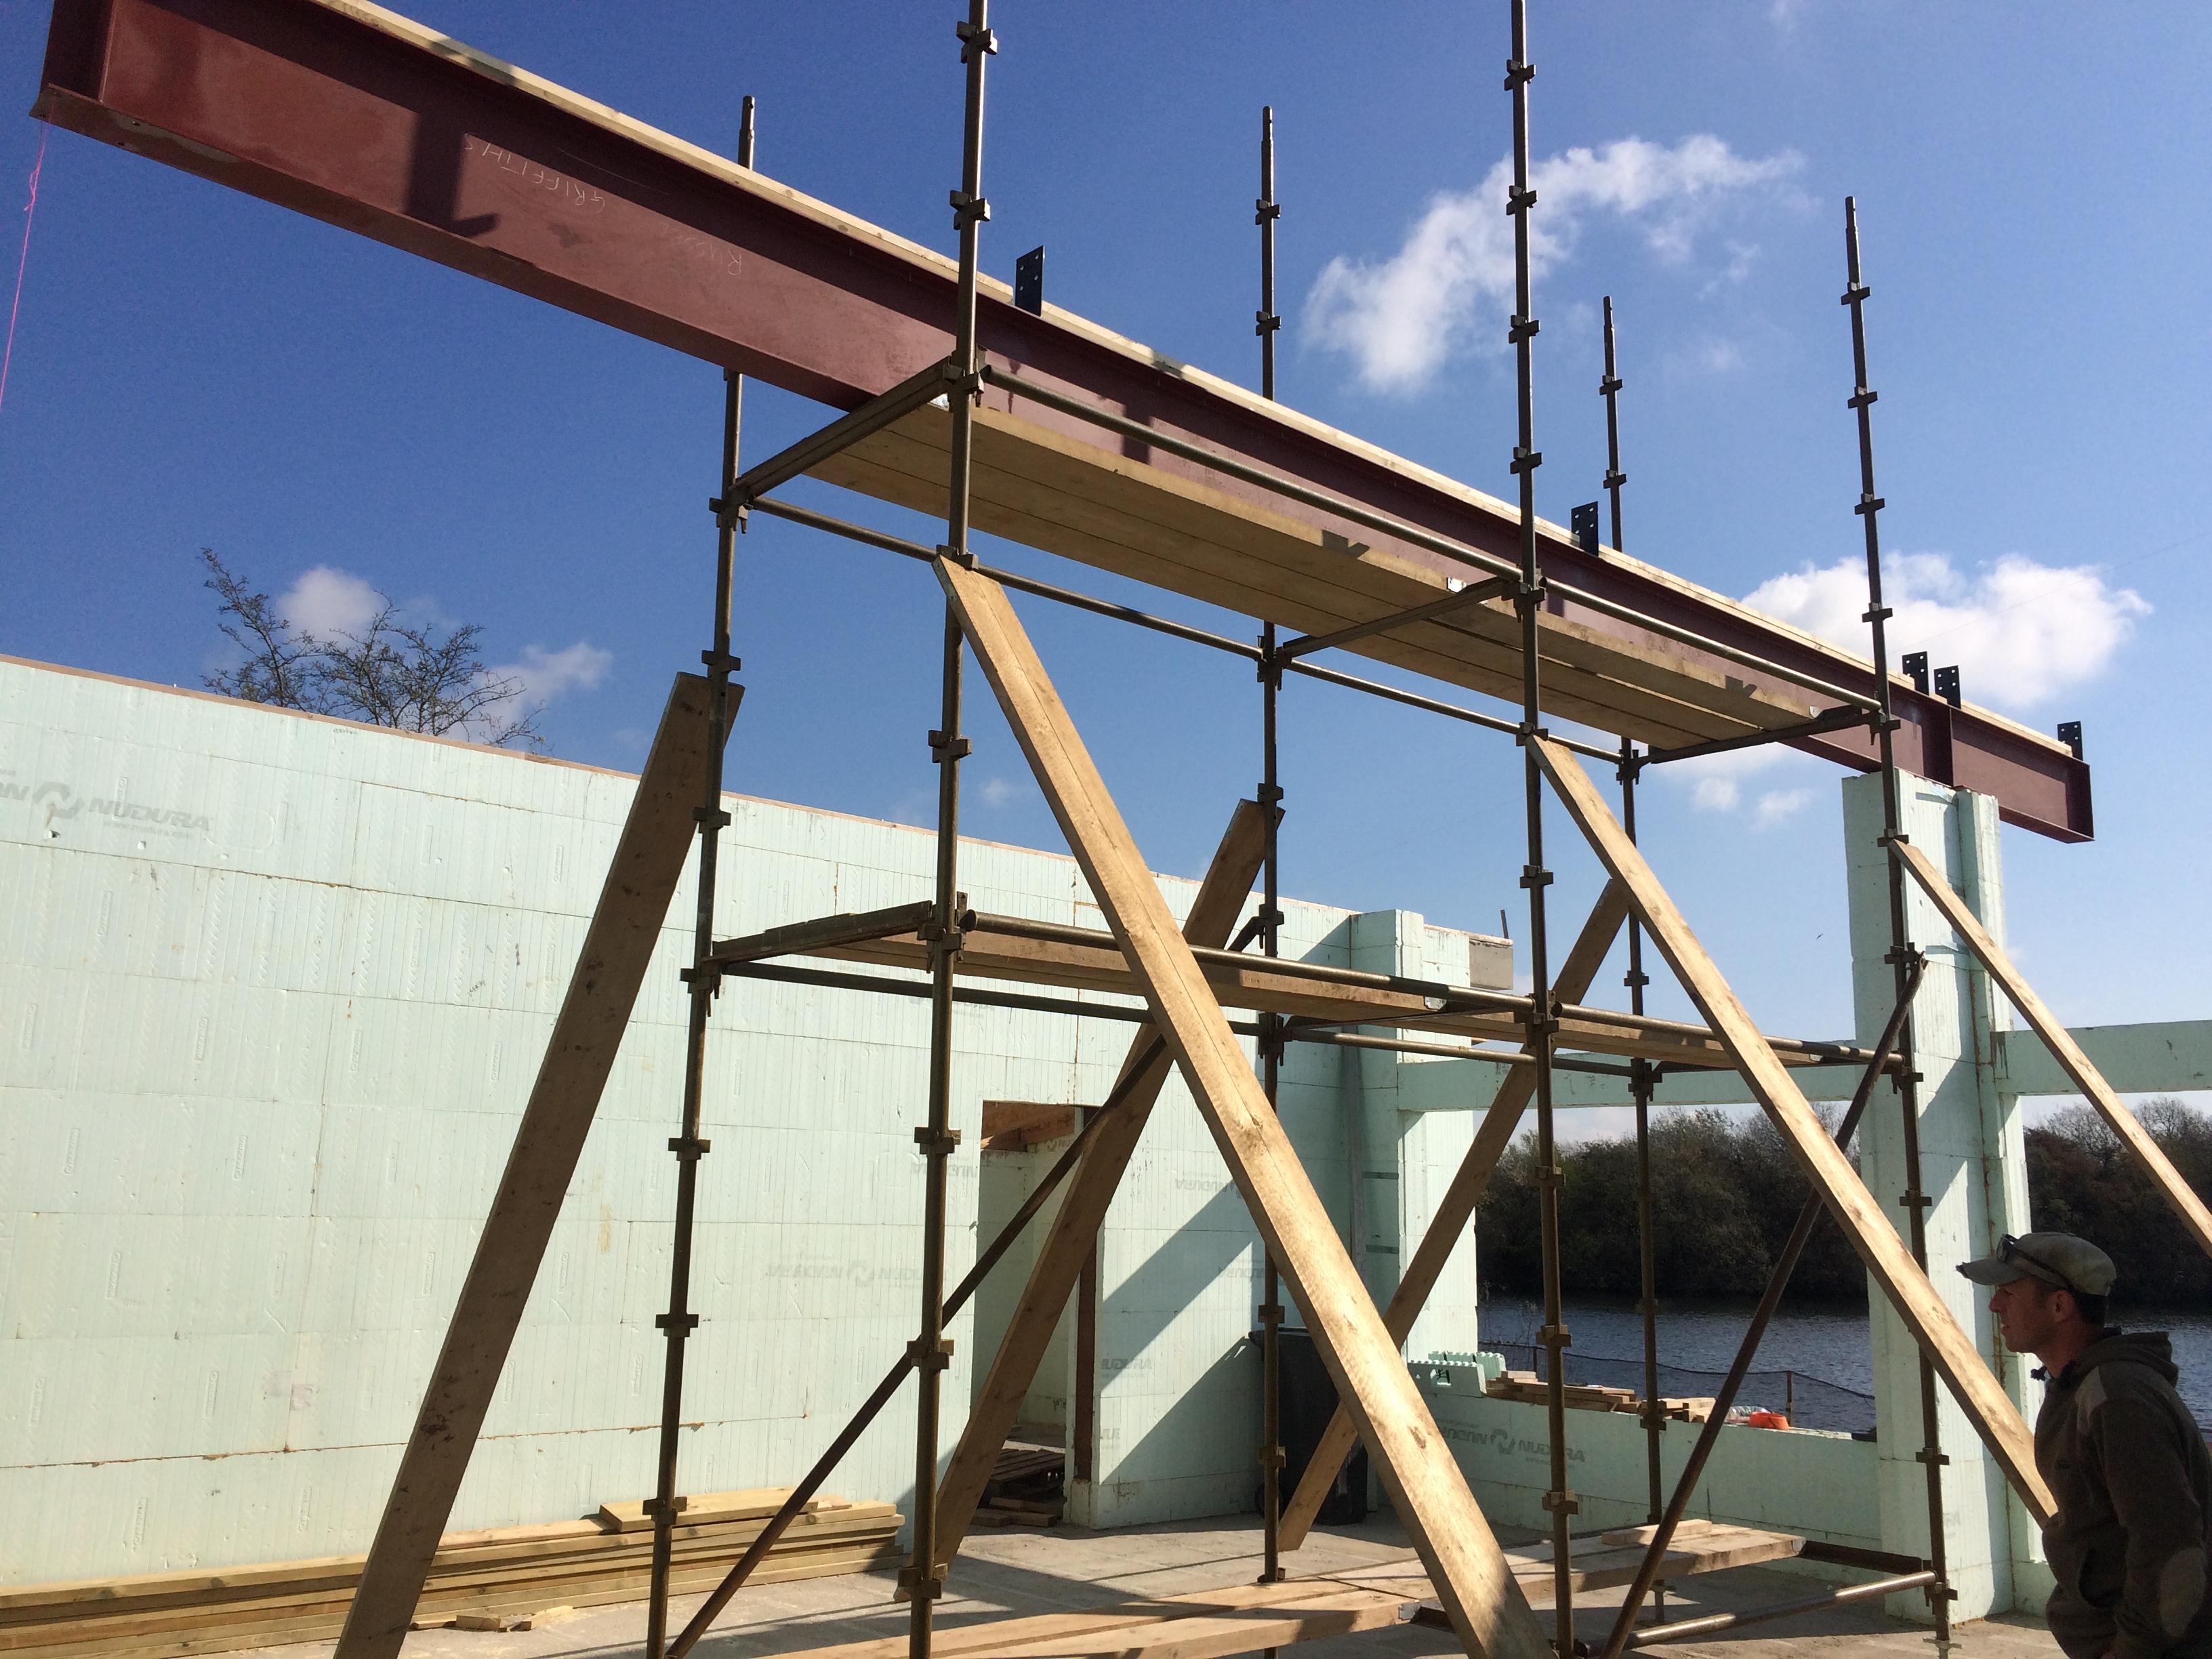
Hot rolled steel building.
Russell griffiths replied to Jenki's topic in General Self Build & DIY Discussion
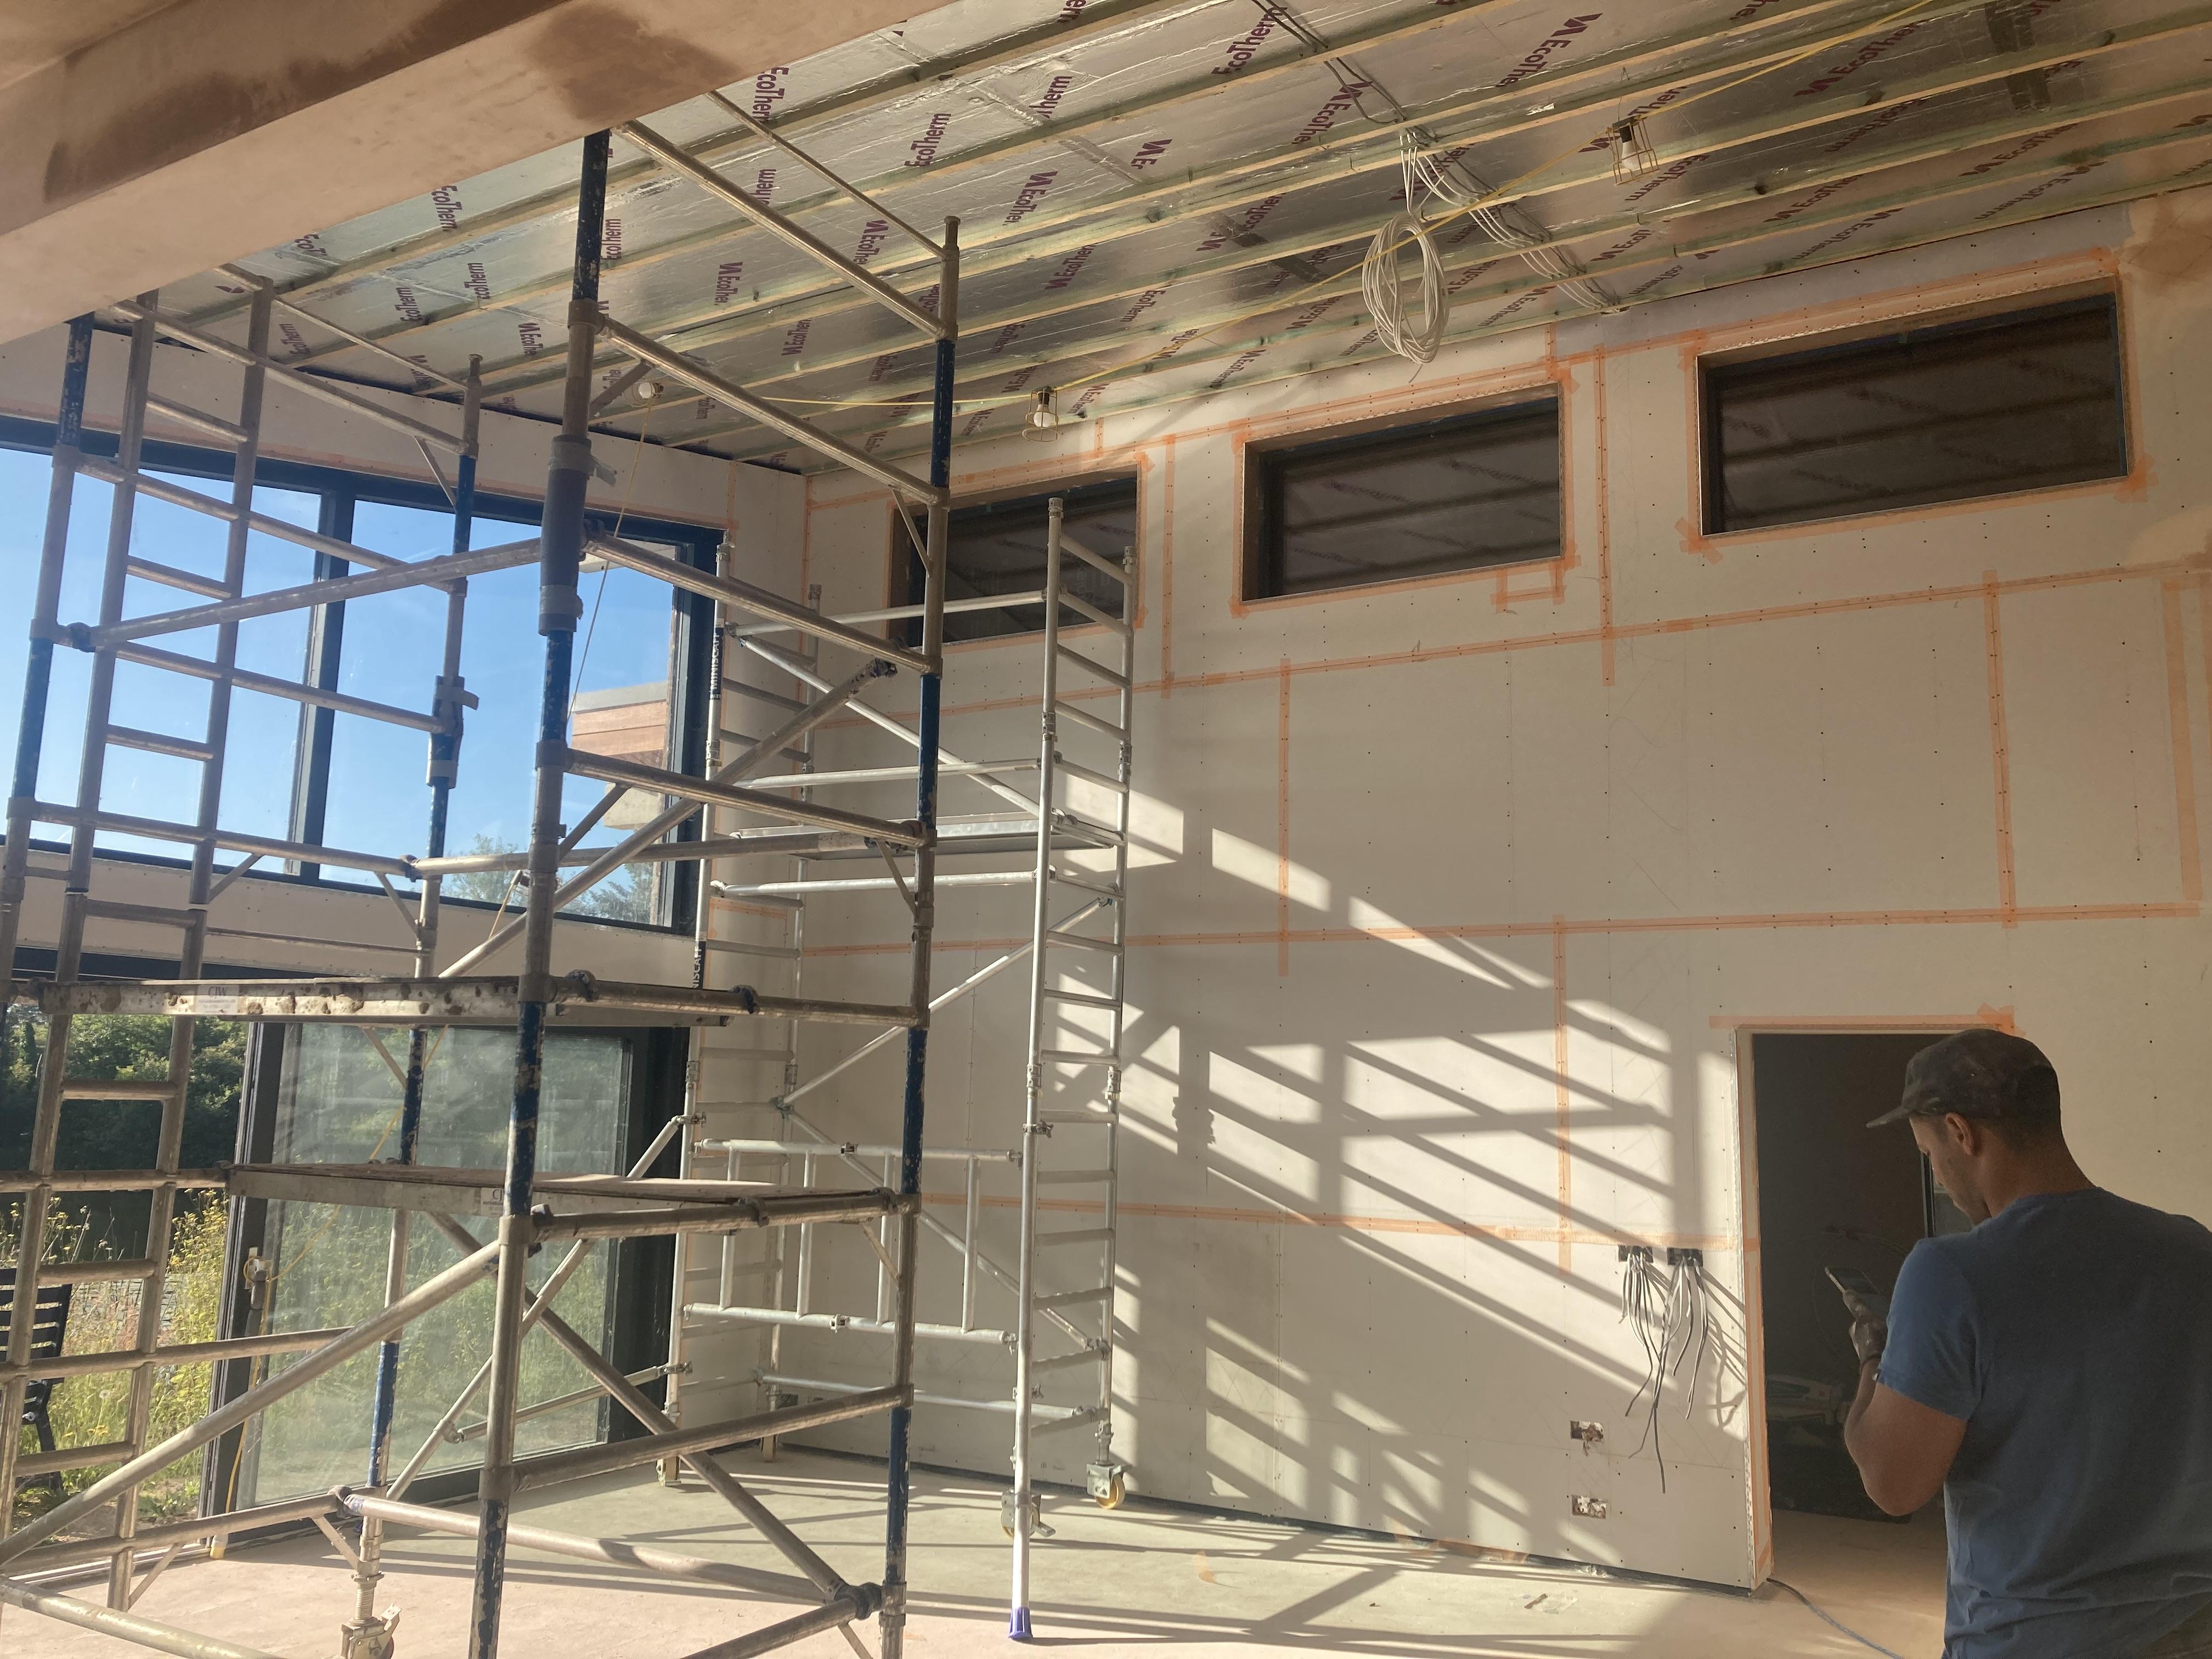
Couple of sheets of plywood and I could drive it around the outside of the house. inside it rumbled around nicely on the block n beam. I even lifted a couple of 80kg windows up into place 4m up in the air with it. The windows in this pic
- 22 replies
-
- 2
-

-
- the windy roost
- caithness
- (and 1 more)
-
Subsidence - is it always the fault of the tree?
Russell griffiths replied to Allyzap's topic in Foundations
Don’t listen to me, but. I built a large two storey extension to a house in London, solid clay, foundation down to 2.3m because of a row of conifers in my neighbours garden. in the summer when you could see the grass developing cracks I used to go to bed and leave the outside tap running 😉I’m sure the few thousand litres of Thames waters finest kept that clay nice and moist. im probably going to hell anyway 😂😂 -
Subsidence - is it always the fault of the tree?
Russell griffiths replied to Allyzap's topic in Foundations
35 years in the tree business single storey garage extension, probably built on inadequate foundation, cost value £12-15 grand. oak tree value £250,000??? There is actually a scale you can look up to value a tree. arborist report, blame the tree it’s an easy scapegoat. what was there first the tree or the garage 😂 garage should have been designed for its surroundings. conclusion, knock the garage down and build it better, repair garage and move on. prune the tree lightly to try and lesson the water uptake, this is debatable if it actually has any bearing on water uptake, the tree is definitely the cause of the ground shrinkage, but is it the cause of the problem? the actual problem is a building of inadequate design and construction has been built in an area of shrinkable soil leading to the building movement. if the garage hadn’t been built the problem wouldn’t exist. the amount of people I’ve seen who put a £5000 greenhouse under an apple tree, and then moan that the tree drops apples and breaks the glass, then wants the tree cut down. prune the tree and live with some minor cracks. when you can see the neighbours having dinner through the cracks in the house walll then start worrying. this must be bothering you a fair bit though to be at the stage of an engineer and arborist report. -
Hot rolled steel building.
Russell griffiths replied to Jenki's topic in General Self Build & DIY Discussion
Just looked up the one I had genie 150. working height 6m weight 1000kg. straight up n down lift no slew.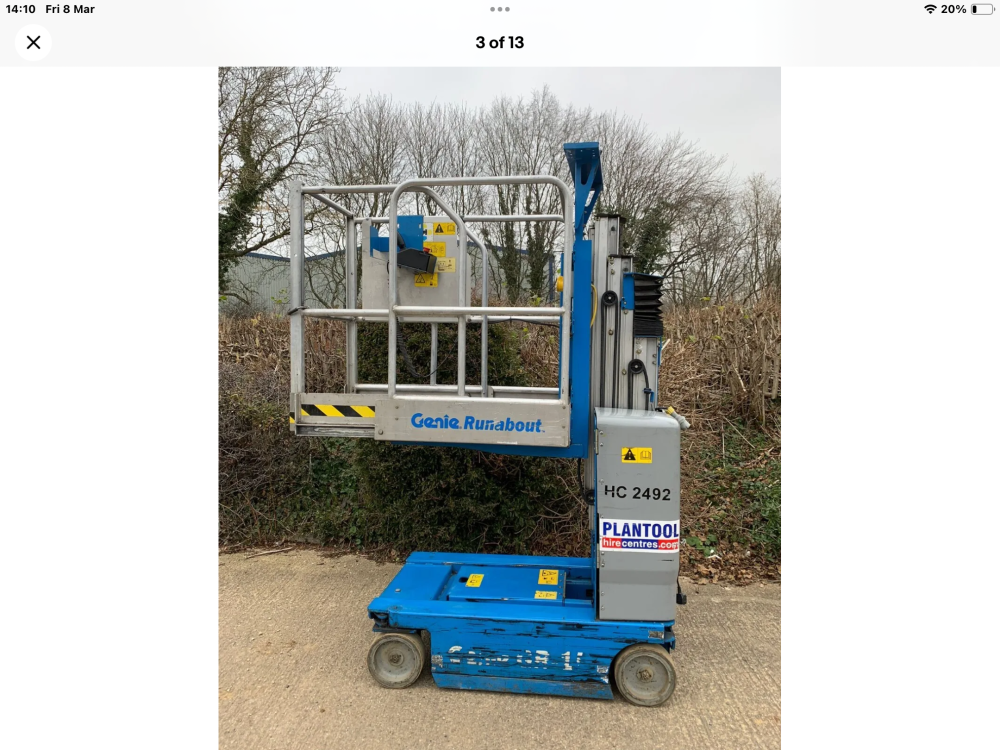
- 22 replies
-
- 1
-
-
- the windy roost
- caithness
- (and 1 more)
-
Hot rolled steel building.
Russell griffiths replied to Jenki's topic in General Self Build & DIY Discussion
I drove mine around on the block n beam for a year, I think it weighed about 1200kg. -
Hot rolled steel building.
Russell griffiths replied to Jenki's topic in General Self Build & DIY Discussion
Facebook -
Just started a self-build in Dorset. Exciting times!
Russell griffiths replied to NailBiter's topic in Introduce Yourself
Yes I’m a bloody legend. 😂 -
Hot rolled steel building.
Russell griffiths replied to Jenki's topic in General Self Build & DIY Discussion
I had a scissor lift for a year when I was putting up the shell, whizzing about indoors with it was excellent. I only got rid of it when the ufh went in. sold it for what I paid for it £2500.- 22 replies
-
- 1
-
-
- the windy roost
- caithness
- (and 1 more)
-
Marking location of soil pipes through slab
Russell griffiths replied to gavztheouch's topic in Foundations
Get your architect to put them on the drawings with centres marked from external walls. mark out walls, or get your surveyor to do it, best idea. when walls are narked measure from these and bang a steel pin in location of pipe. -
No eaves with clay tile roof?
Russell griffiths replied to flanagaj's topic in Roofing, Tiling & Slating
Just bear in mind the build cost estimates you had done probably didn’t have these details on them. what you have shown here will add thousands to the build cost. deviate from standard and add more zeros as your ideas get wilder. -
I don’t think building a cheap house exists anymore, materials and labour have gone through the roof.
-
Did it scare the crap out of you ??
-
Supporting 250kg steel beam on nothing?
Russell griffiths replied to knobblycats's topic in RSJs, Lintels & Steelwork
Cool, that ones twice the size of yours, yours will be a breeze. -
I think @ProDave suggested an hour per point. every light switch socket is a point. so your downstairs wc would have 5 points, 3 lights a shaver socket and I would have thought a light switch. so 5 hours at £30-35 hour. labour only.
-
Supporting 250kg steel beam on nothing?
Russell griffiths replied to knobblycats's topic in RSJs, Lintels & Steelwork
TBH 250 kg is bugger all. 125kg each end, you could build a couple of timber studs screwed to the icf at each end. a 200x48 stud in compression will hold that up no problem small 4x4 scaffolding tower in the middle for double safety I personally would put the concrete in first, but if you don’t want to deviate from your drawings then that’s up to you. I would have questioned this detail long ago. -
Supporting 250kg steel beam on nothing?
Russell griffiths replied to knobblycats's topic in RSJs, Lintels & Steelwork

-
Raising Roof Plate Level
Russell griffiths replied to Brian Ireland's topic in Roofing, Tiling & Slating
Are the concrete panels actually the structure, or is there a steel frame and the concrete is just a skin, like the old 1950’s pre fabs. -
Sinking / embedding steels
Russell griffiths replied to Willl's topic in Lofts, Dormers & Loft Conversions
Yep, it’s a PITA you cut out the ridge and cut the rafters back to the correct length, then fit a timber into the web of the steel and lift it up to the full height. it can be easier to remove all the old rafters and ridge and replace with new steel ridge and wooden rafters. -
Airtight suspended ground floor insulation
Russell griffiths replied to Obi_wan's topic in Heat Insulation
Why the timber floor ? you could use block n beam or concrete slab. you are making a lot of work for yourself for no apparent benefit .