
Super_Paulie
-
Posts
831 -
Joined
-
Last visited
-
Days Won
3
Everything posted by Super_Paulie
-
thats up to him, i paid me monies!
-
guy round the corner from me has dumped a few shovels of concrete down the distance apart of the wheels on his car...
-
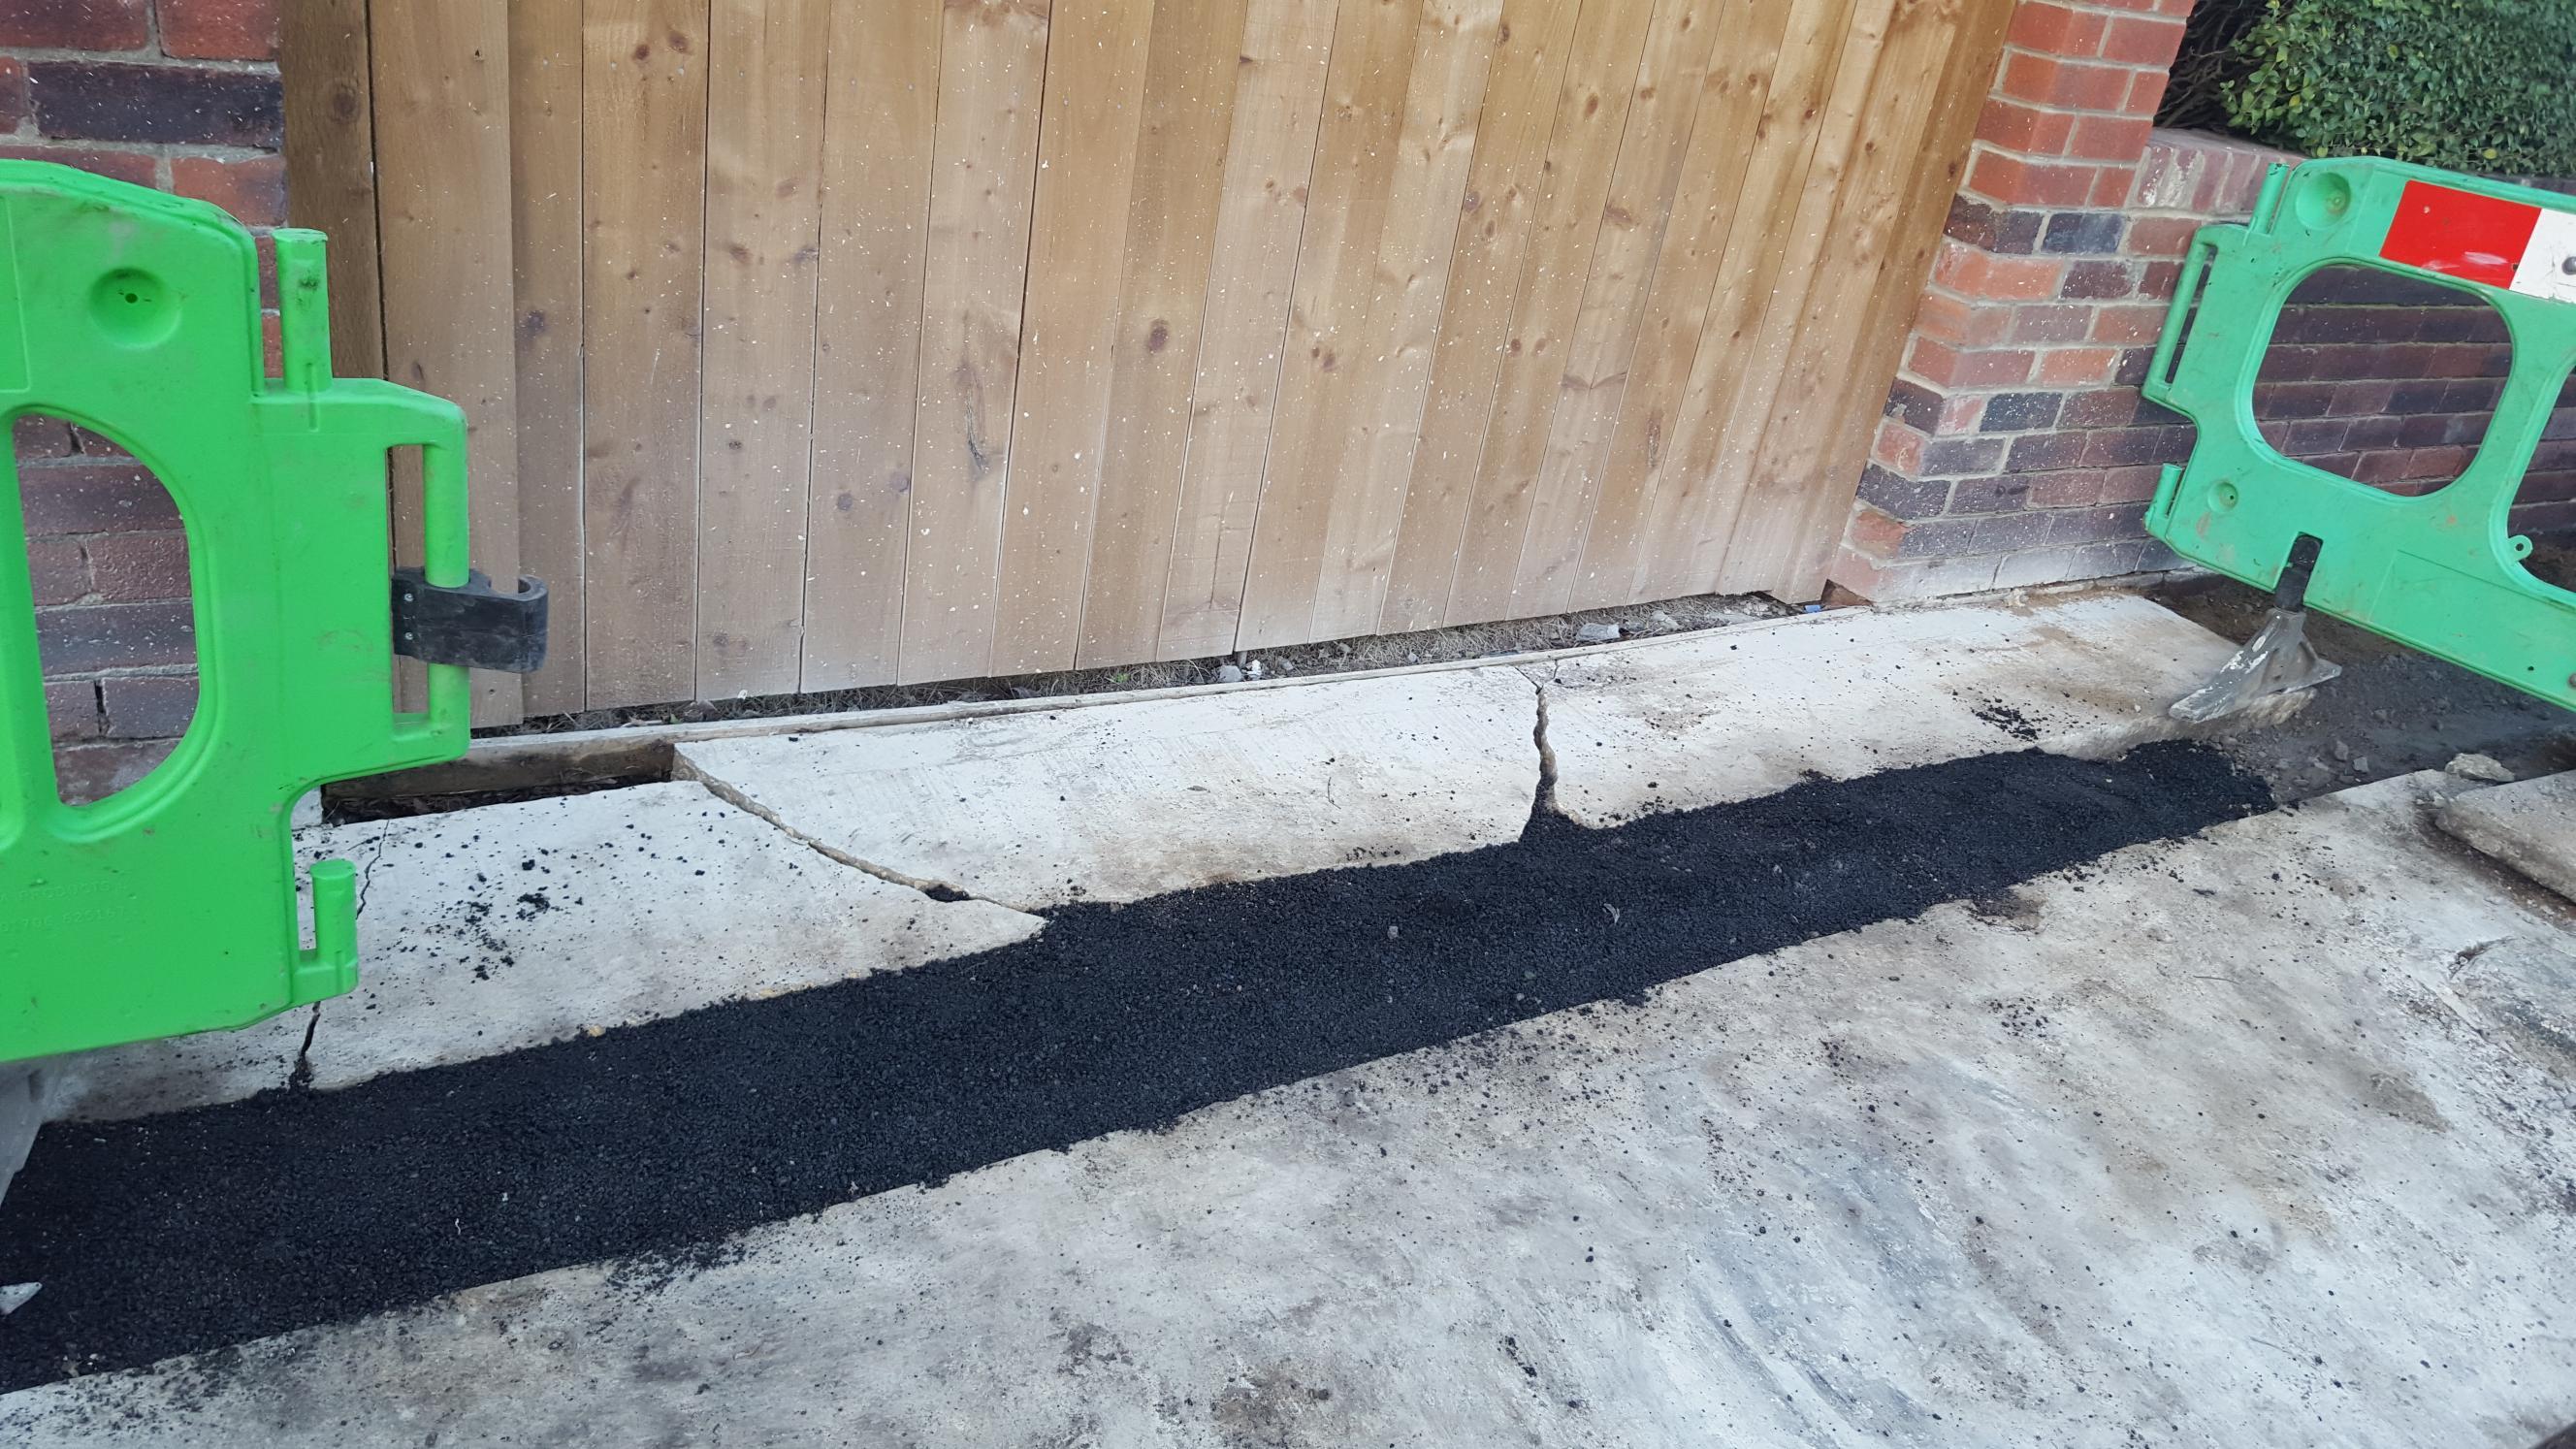
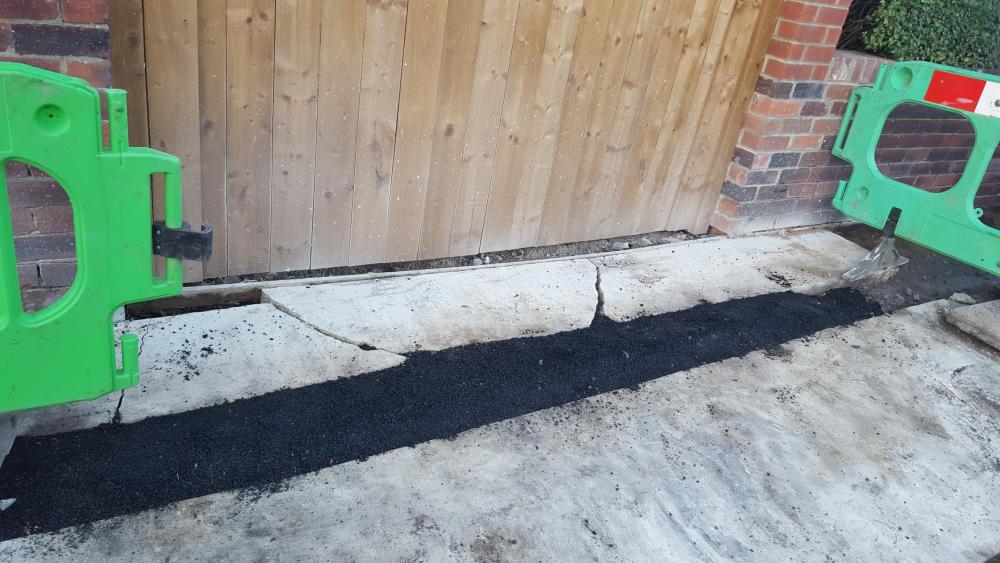
brings back great memories of when i had my kerb dropped by the council to the tune of £1200 if i recall. 2 weeks later here come Virgin Media and totally destroyed it while it was still green. When i complained to the foreman, "dont worry we will fix it", came back to this after work. Note the cement dust still on the gate from the initial work, literally days earlier.
-

Help/Advice needed please, on poor brickwork.
Super_Paulie replied to Helpmeplease's topic in Bricklaying, Blockwork & Mortar
although a bit sloppy, a lot of houses inner leaf look like this because builders dont take the time to tidy it up as it will never be seen. I personally wouldnt worry about it, seems strong enough and is/was tied in to the outer leaf. As for being not symmetrical, yeah that is an issue... -
not easy to get confrontational with a builder though, id imagine it would be stressful to the point most wouldnt bother. I guess thats why you pay for a contractor rather than a hairy ars-d builder. If i could go back then thats the route id likely have went down.
-
I have to say that i did spend a fair amount of time pulling tab ends and cigarette boxes out of my cavity wall. I was getting built to shell so everything was left exposed and yeah, average would be a really at best description.
-
going off topic i guess but most of my build was "ok from the outside", but look closely and its been like a shoot-out at the OK Corral with a nail gun.
-
Like a benker spring plunger? Could have the opposite size indent in the head or base to allow rotation. https://www.rosscastors.co.uk/stainless-steel-threaded-ball-spring-plunger-m8.html
-
Velux sun tunnel effectiveness?
Super_Paulie replied to Super_Paulie's topic in Skylights & Roof Windows
its honestly not worth it for a 1930s semi, its not really appropriate as it will mean some major ceiling upheaval and loss of loft space. A "free light" in the shape of a sun tunnel will do the job for us. -
Velux sun tunnel effectiveness?
Super_Paulie replied to Super_Paulie's topic in Skylights & Roof Windows
yeah, amazing stuff Kelvin. Im not so lucky/rich. -
could you not batten it out to the tune of the highest dip, 4mm plywood and then use a dry screed and a flat edge to strike it off?
-
Velux sun tunnel effectiveness?
Super_Paulie replied to Super_Paulie's topic in Skylights & Roof Windows
hes family, so i'll hold him to account but im 100% on his work 👌 -
Velux sun tunnel effectiveness?
Super_Paulie replied to Super_Paulie's topic in Skylights & Roof Windows
if it was a single story or with scaffold id be up there no worries. Not a chance of me hanging onto a gable end these days! -
Velux sun tunnel effectiveness?
Super_Paulie replied to Super_Paulie's topic in Skylights & Roof Windows
yeah it comes with the flashing just like the normal velux. Thats up to the roofer! But yeah, not a complicated job, few hours tops but i aint going up on no roof. -
Velux sun tunnel effectiveness?
Super_Paulie replied to Super_Paulie's topic in Skylights & Roof Windows
Looks like that works a treat. I've gone for a rigid 10"er, should arrive this week and I'll report back once I've had my roof guy put the external part in. -
i was moved to British Gas by default when the majority of the small-fry went under a few years back. Frankly they have been a shambles since day 1, quite staggering for such a huge company to appear so tin pot.
-
Count yourself lucky, British Gas were counting my metric units as imperial and my bills were absolutely ridiculous. 2.8x higher than they should have been. Had to spend many hours on the chats with people who had absolutely no idea what I was talking about in the slightest. Eventually it all got sorted but it was just stupid as it's all smart metered and has been for years, no idea what changed.
-
Velux sun tunnel effectiveness?
Super_Paulie replied to Super_Paulie's topic in Skylights & Roof Windows
They are pretty cheap in the scheme of things and the flat velux ones are pretty nice looking. I just hope the 10" one does the job. -
Velux sun tunnel effectiveness?
Super_Paulie replied to Super_Paulie's topic in Skylights & Roof Windows
I'm defo going to get one, it's a no brainer as I still have full access above and, well why not. Still haven't heard from anyone with a 10incher... 😆 -
Velux sun tunnel effectiveness?
Super_Paulie replied to Super_Paulie's topic in Skylights & Roof Windows
I'm not sure! 😆 -
Velux sun tunnel effectiveness?
Super_Paulie replied to Super_Paulie's topic in Skylights & Roof Windows
thanks fella. If anyone has experience of the 10" version id love to hear your opinion if you regret going smaller. -
Velux sun tunnel effectiveness?
Super_Paulie replied to Super_Paulie's topic in Skylights & Roof Windows
thanks guys. Its between the 10" and the 14" im torn over though. The 14" will end up off-centre and may very well drive me (the missus) mad, whereas the 10" will be pretty much central due to rafter spacing. But i dont have any real means to compare the output of the 2. -
afternoon. My landing upstairs is now landlocked, that is the only window to the landing has gone, replaced with the new side extension/bedroom door so it has literally no light other than what comes up the stairs from the front door. Im wanting to get a Velux sun tunnel and the 14" version will come in through the roof rafters but be "off center" to the landing/walkway. However, the 10" version will go almost center but i have my reservations on going smaller when the whole idea is to get light in. Has anyone any experience with the 10" rigid version and how effective it is? South facing, rigid tube about 1.5m in length. Cheers everyone.
-
Stick to a brand really, I use DeWalt for everything and being able to switch the battery is a right bonus. For what its worth I've a cordless DeWalt recip and it's been bullet proof.
-
Absolutely warm as toast. I'd imagine any pet you have would just permanently position themselves in front of it whenever it's on.