
Super_Paulie
-
Posts
773 -
Joined
-
Last visited
-
Days Won
2
Everything posted by Super_Paulie
-

Finishing window reveal around brackets?
Super_Paulie replied to BadgerBadger's topic in Windows & Glazing
just had the same situation this week. I was too impatient to wait for a delivery of insulated tile backer and my car cant carry sheet material (2 seater) so i just did what Oz suggested above. Foamed and taped the cavity closer then a full bed of foam and 12.5mm board to give me the clearance over the brackets. My thoughts that the full bed of foam will provide some thermal break or insulation may or may not be correct. I left the reveals long and then used insulation board on the walls to bang up to them then cut them down to flush. For what its worth i think the cavity closers are sh*te, or at least the way my builder installed them maybe is. Always "gappy" like your image, which requires me to foam and tape them all down and brace them until they go somewhere near straight. -
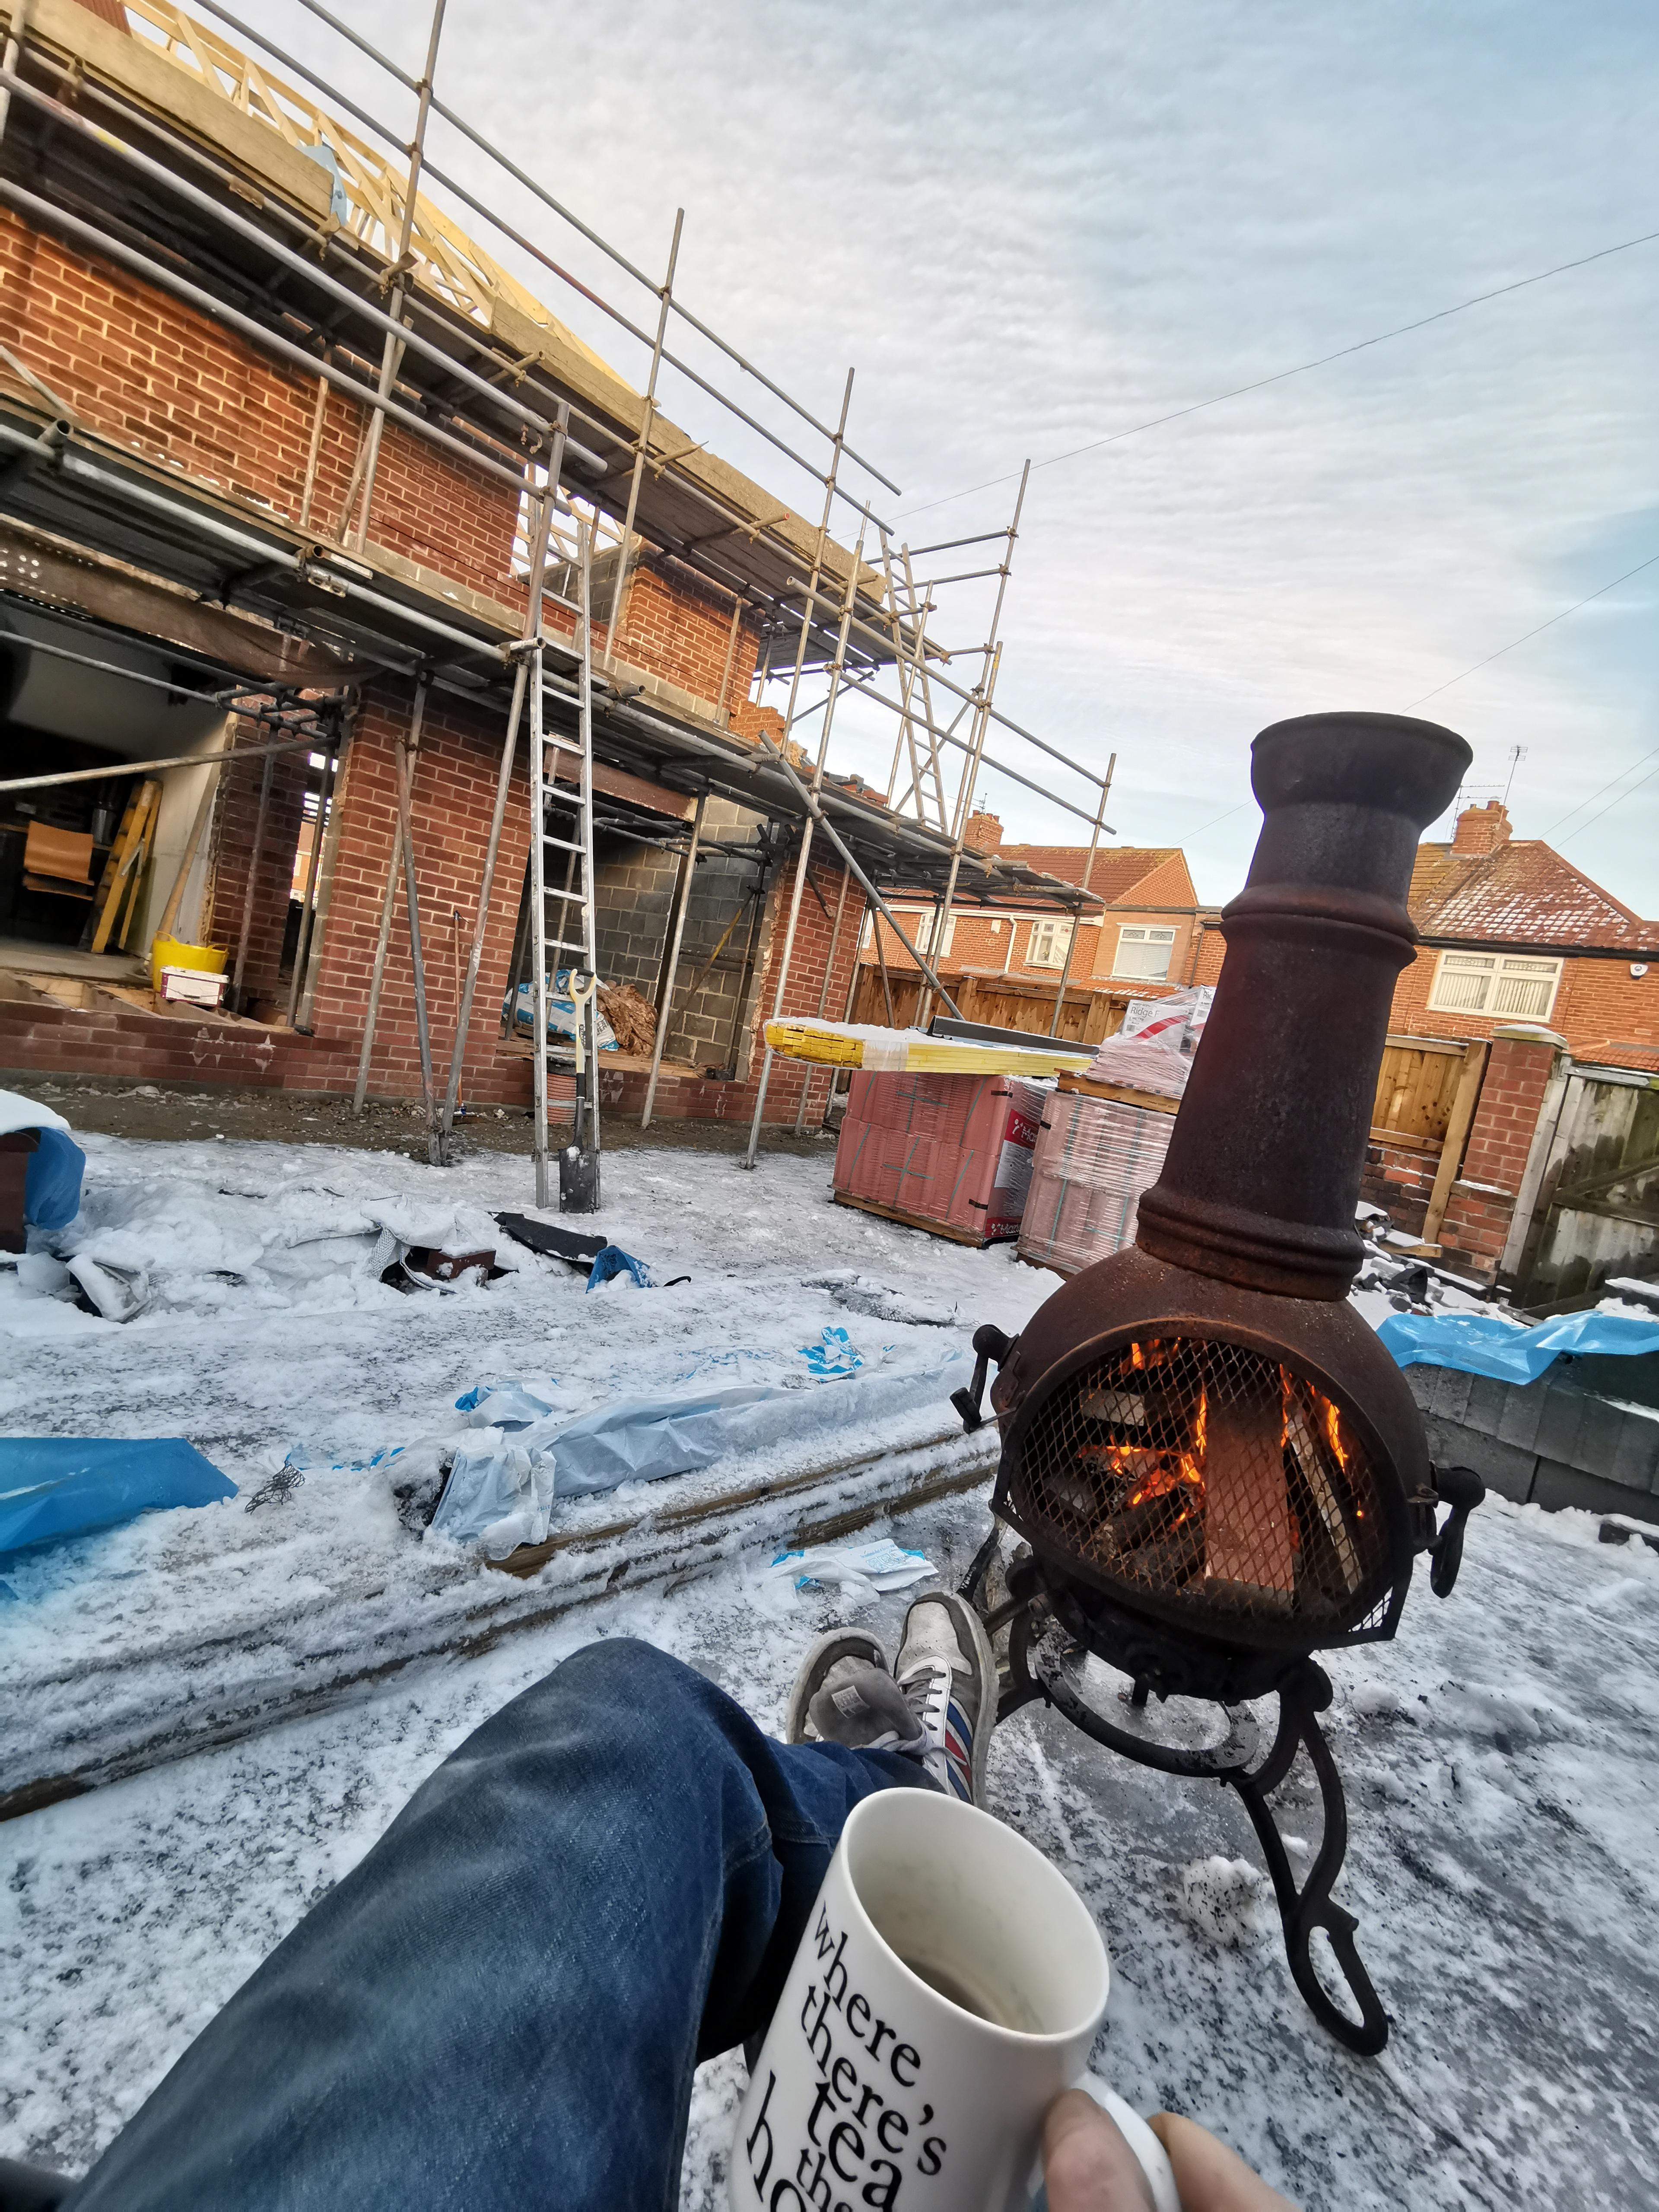
I'm part way/miles away from finishing my side and rear extension on my 1930s place, good luck to ya!
- 1 reply
-
- 1
-

-
Prepare steel beam for paint
Super_Paulie replied to Super_Paulie's topic in RSJs, Lintels & Steelwork
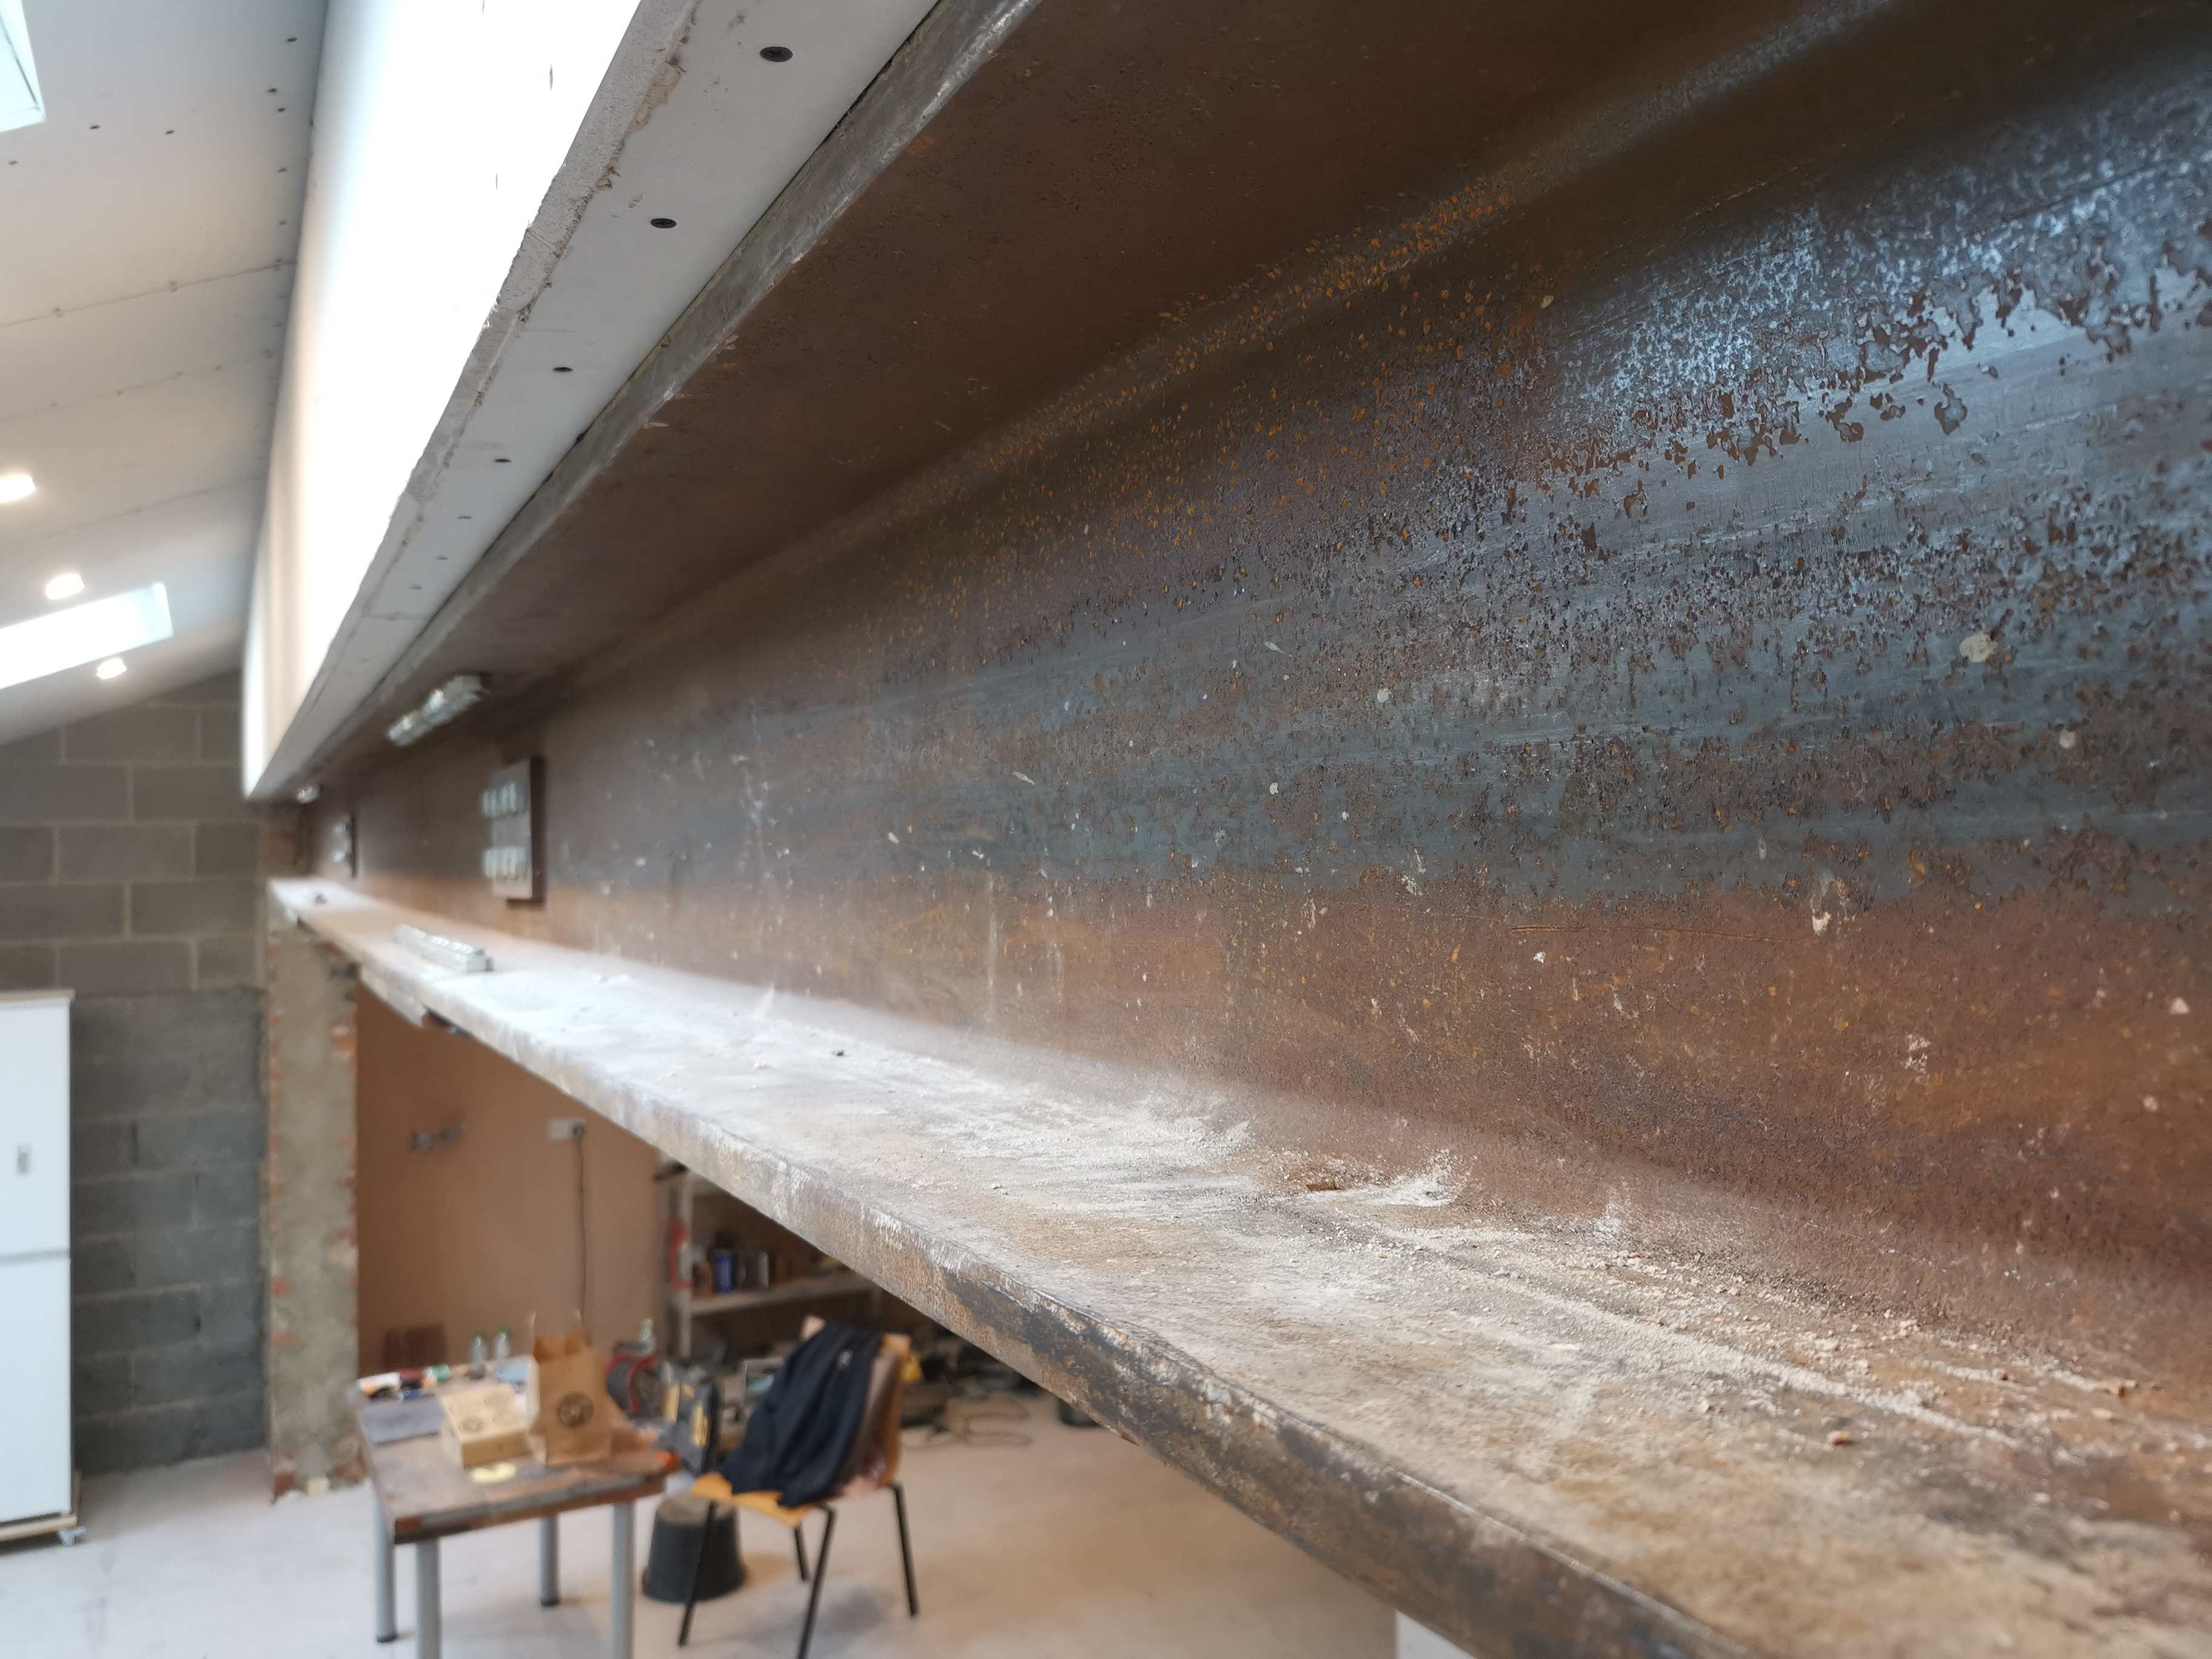
These bad boys got the beam cleaned in an afternoon. Used the purple type and it lasted pretty much the entire job, so I've got 4 spare... It was brutal though, looked like I'd been working down a coal mine afterwards. -
Easy to control with a gun. Around the box and then into the open grommet, but like I say I get no drafts anyways, I just love using that FM330, it's the absolute shiz.
-
Prepare steel beam for paint
Super_Paulie replied to Super_Paulie's topic in RSJs, Lintels & Steelwork
It's not getting boxed in, otherwise I would have done it! -
Not sure which sub forum for this, so apologies. I need to get this beam prepped before I get my intumescent on. It's not oxide coated, seems just raw steel and as such it's flakey with surface rust, probably sat in the fabrication yard for god knows how long. Which will be the least painful way of getting this ready to take a coat of the thick intumescent? Detail sander with mesh pad? Wire wool and a few stiff drinks? It's 8m and both sides and underneath need going at. Any experienced heads on this with any tips that would be excellent.

-
Steel upright in inner block work
Super_Paulie replied to Super_Paulie's topic in House Extensions & Conservatories
To put this to bed, BC said they are happy with standard plasterboard and skim over this vertical and I went with a strip of 10mm aerogel to reduce the cold bridge from the steel.
-
best type of SDS chisel for backboxes
Super_Paulie replied to crispy_wafer's topic in General Self Build & DIY Discussion
i did a quick final box last night as i missed a AV box when i did them all. SDS drill with 30 or 40mm flat bit went through block like butter, just guide the bit by grasping onto it while it does its thing. I stitch drilled my brick as its solid, but on block just go straight in with the SDS chisel, takes like 5 minutes a box or something. -
i personally went round the sockets with Illbruck FM330 foam, didnt seem to do any harm but i dont get any drafts anyways as im pretty sealed up. Could use foil tape over the screw heads if you are that bothered. Im not sure what you mean about the light sockets, you mean you are not going to put physical light switches in at all and just use smart full stop? im not sure thats wise if so, what if the smart hub goes down, you'd be goosed. Loop at switch is a good idea though.
-
i was looking at these, but more the downlight ones. At £2 a pop seems "ok" but in the end i just thought i was spending on stuff for the sake of it so didnt bother. If i was skimming myself id have got them, but id imagine a plasterer wouldnt be bothered either way.
-
Steel upright in inner block work
Super_Paulie replied to Super_Paulie's topic in House Extensions & Conservatories
yes the main beam is to be protected with the appropriate paint. Anyways, its the thermal element i was really looking for advice for on that upright beam. I think there are no options that suit my application other than aerogel, so thats what i'll go for i think. -
Steel upright in inner block work
Super_Paulie replied to Super_Paulie's topic in House Extensions & Conservatories
Hopefully his is a bit clearer. Other than aerogel i guess my options are limited, but as the steel is within the inner leaf, ie insulation behind it in the cavity, then cold bridge will hopefully be minimal.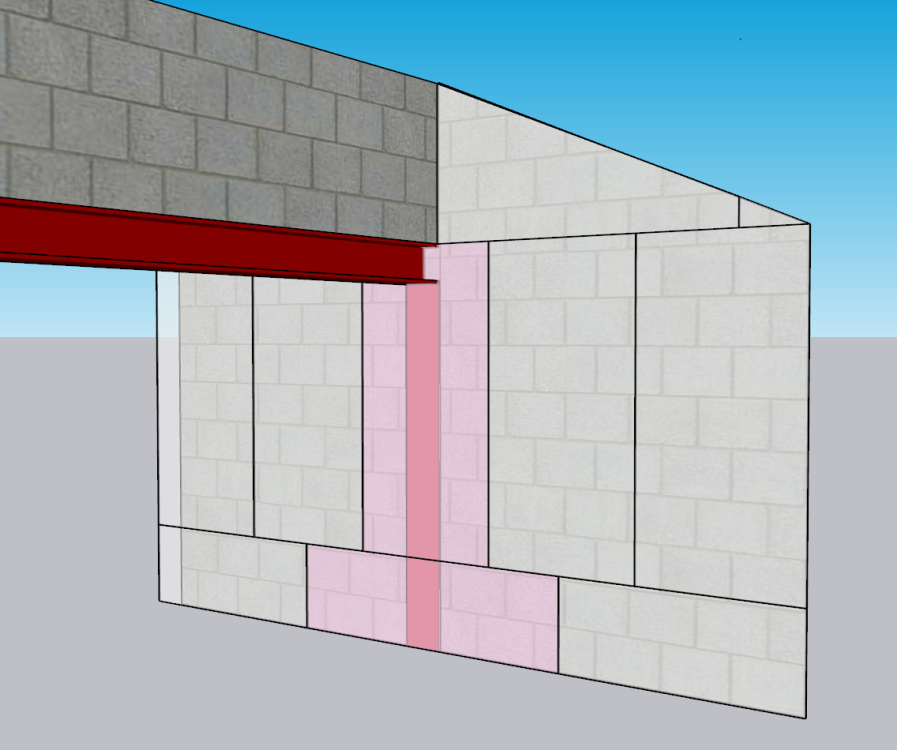
-
Steel upright in inner block work
Super_Paulie replied to Super_Paulie's topic in House Extensions & Conservatories
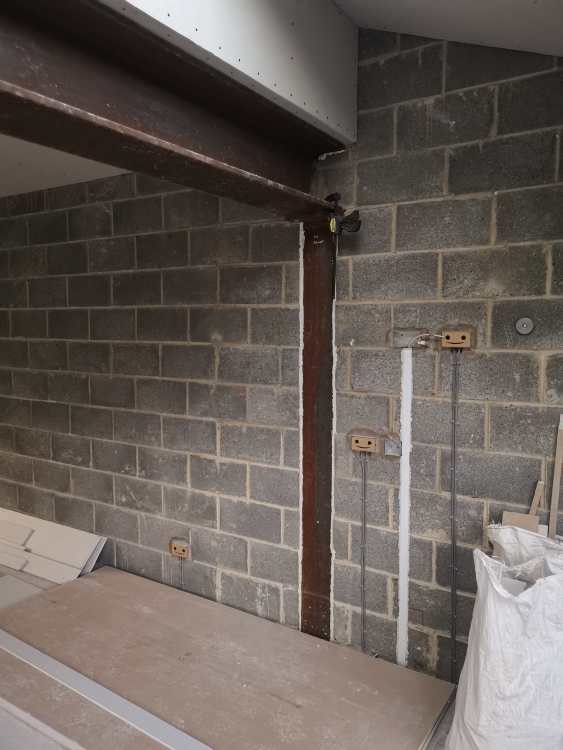
Yeah, smiley protection covers 😆. I stitched them out with an SDS and used the SDS chisel to take them back to depth. I mortared the boxes in to keep them tidy, deep boxes all round. -
Steel upright in inner block work
Super_Paulie replied to Super_Paulie's topic in House Extensions & Conservatories
Why couldn't I just use plasterboard adhesive foam with additional mechanical fixings, a fire rated plasterboard and just continue along the wall? Id just use a fire rated board where it passes over the steel and normal boards elsewhere, I guess a full fire board would give me 450mm either side of the post that would also be fire protected. It's the vertical, tubular post we are talking about here, not sure if you're thinking about the horizontal beam which is to be left exposed and painted with intumescent. -
Steel upright in inner block work
Super_Paulie replied to Super_Paulie's topic in House Extensions & Conservatories
I can't use plasterboard foam on the walls, how come? I was going to just foam on and throw in a few mechanical fixings. I've already done all the internal walls as such. Id imagine the entire house would fall down if the beam failed seeing as it supports the main beam 😆 -
Steel upright in inner block work
Super_Paulie replied to Super_Paulie's topic in House Extensions & Conservatories
I was going to fasten directly with foam, to stop a bridge an adhesive dab would bring. I don't have room for battens unfortunately. The vertical beam is supporting the main beam which supports the cavity wall above. I would just use fireboard over the vertical, no biggy. It's the cold bridge I'm looking into, but maybe with insulation in the cavity behind the vertical steel it won't be an issue? -
Steel upright in inner block work
Super_Paulie replied to Super_Paulie's topic in House Extensions & Conservatories
Inspector never suggested fire protection on this upright as far as I'm aware. -
Steel upright in inner block work
Super_Paulie replied to Super_Paulie's topic in House Extensions & Conservatories
Think it's just raw steel, yeah. Building inspector didn't say anything so I guess he's happy. Just need to address the potential cold bridge, I'll look into aerogel now. -
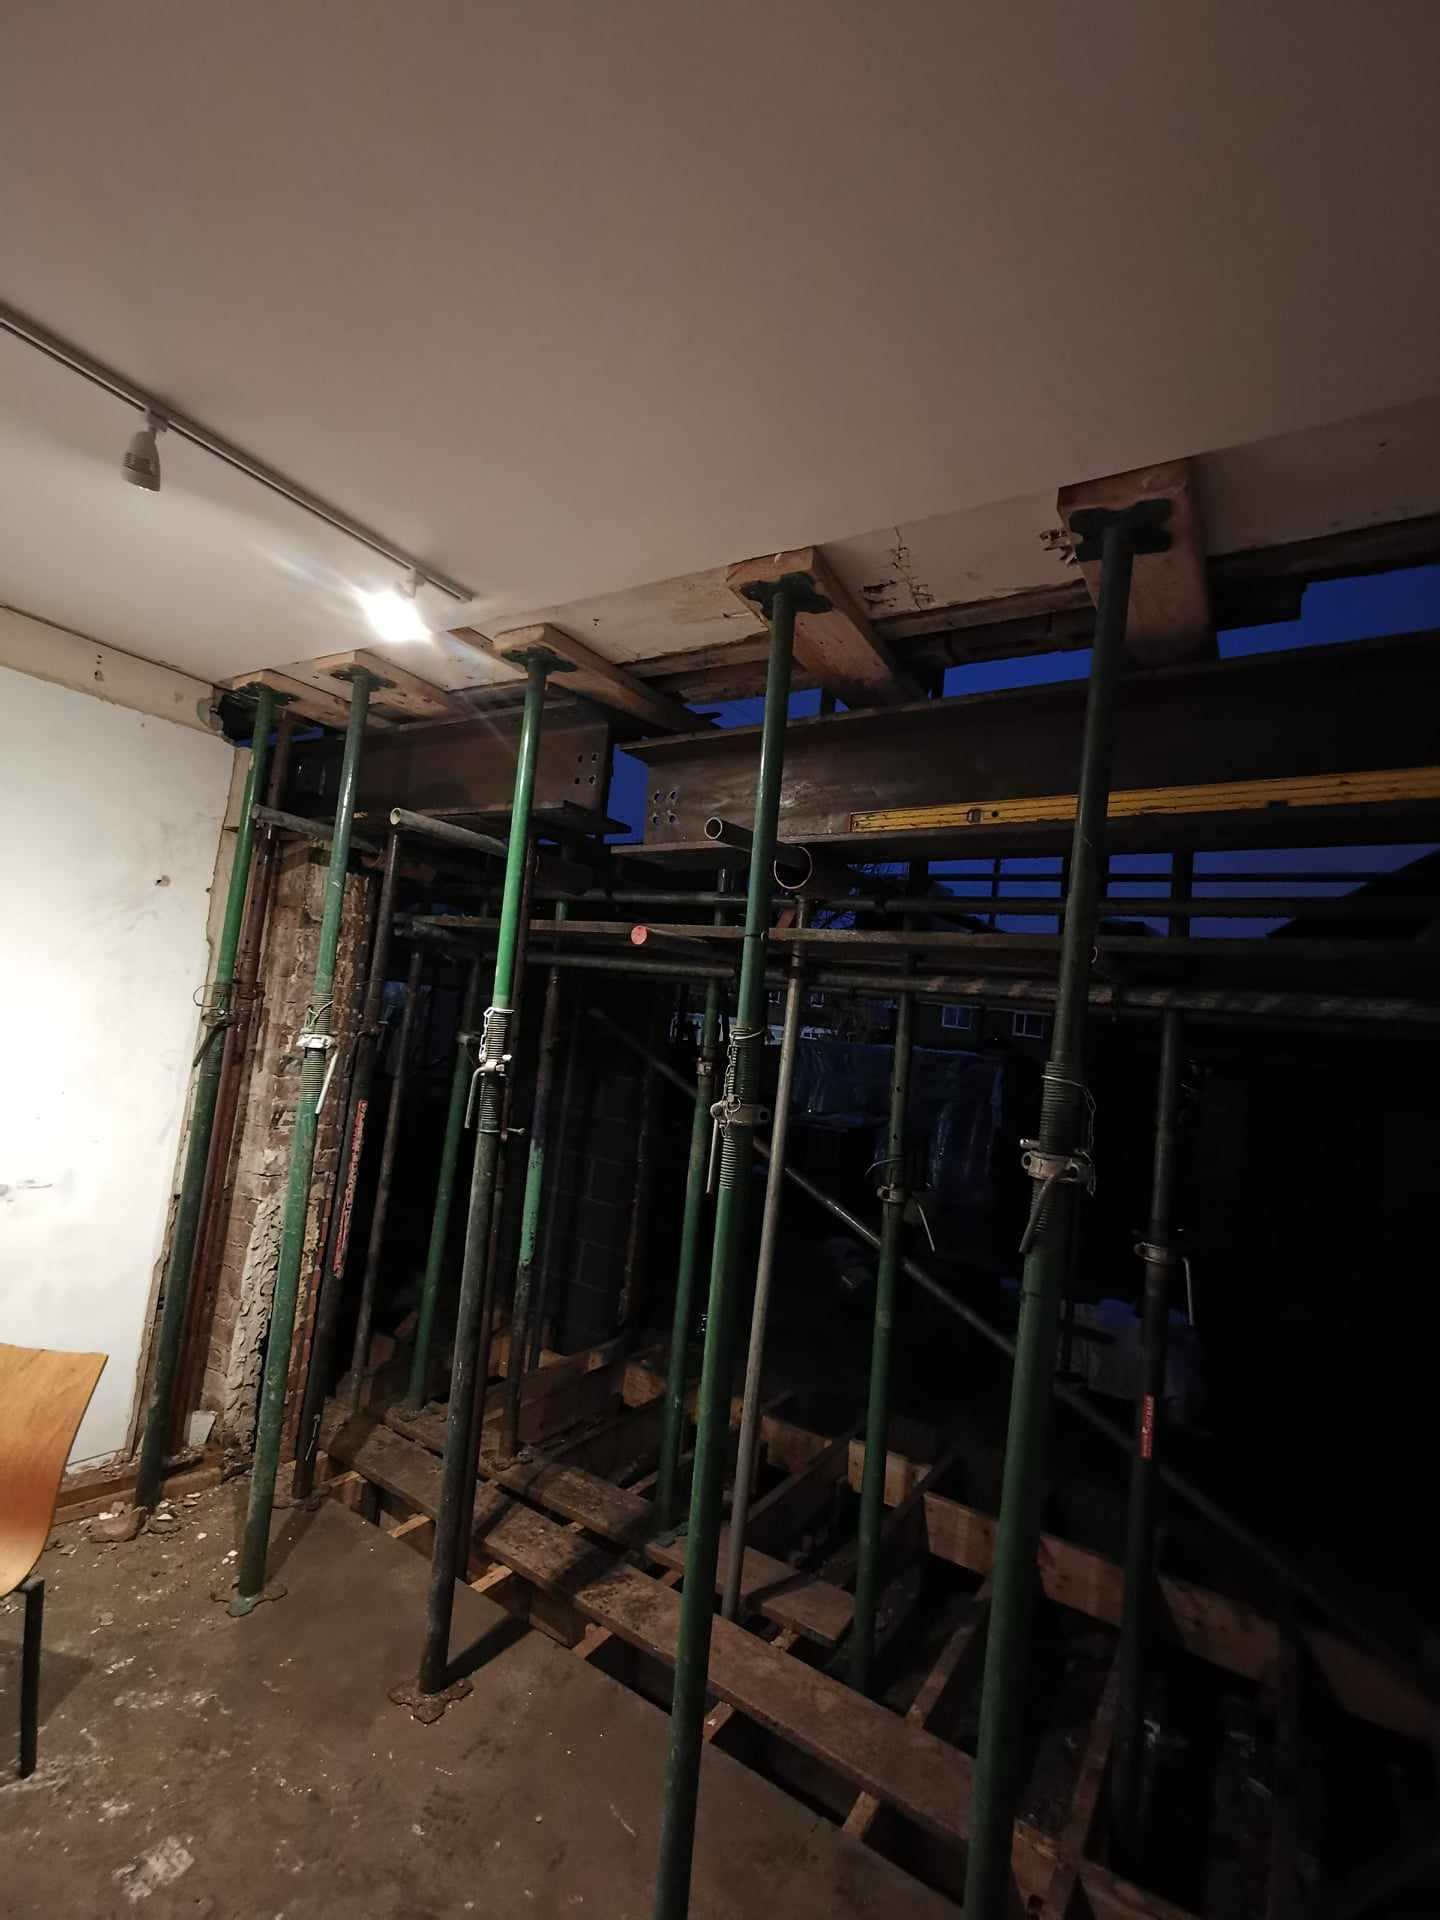
Evening. I'm plasterboarding my gaff but I have this thing I need a bit of advice on. The main steel beam is supported on one side with an upright tubular steel beam which is within the inner block work. It's got wool behind it in the cavity, if the builder built it to my architects drawing. The other side rests on a pier. Anyways I want to plasterboard over this wall but do I need to do anything additional to the beam? I suppose warm air will travel through the plaster and hit the steel which I'd imagine would be significantly colder in winter. The beam goes down below joist level and it's a suspended floor, ie, cold. I sadly can't board this wall with insulated board as the builder made the return at the door very small so I can't lose the room and still fit in my 600mm units. Any suggestions?
-
I just bought 20 for a tenner on Amazon next day delivery, not sure it gets much cheaper. Use them, bin them, get more.
-
my house isnt as grand as most on here, the roof is basically a mono-pitch on the back of the house which goes from maybe 2.6m above the doors up to 3m, over 2m something like that. Its easily reachable with a ladder. Also i have a 50mm gap as i doubled up the battens now, seemed the easiest option. The drivers are 25mm and the LEDS themselves are 30mm so with a 50mm gap behind the 12.5mm plasterboard i'll see how i go.
-
Yeah probably. But the LEDs have drivers in the void as well and I guess I wouldn't want to cover those in insulation. I could insulate within the void but leave full sections (with the lights and drivers in) empty, but I'm not sure gaps like this just make the whole venture pointless?
-
That's what I've ended up doing, doubling up the battens to give me 50mm + plasterboard so a void of 65mm give or take. Should I be insulating, acoustically between the battens? I don't want to debate the lighting cables so the insulation would only be between say every other batten gap where there are none. Might make it pointless?
-
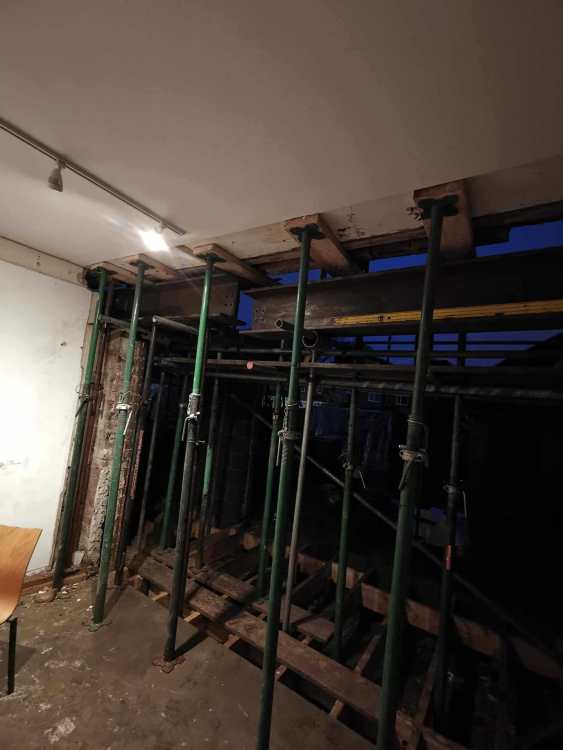
just dont do what my builder did and install the supports onto my old chipboard floor to hold up the rest of the house with some knackered bits of timber... "Rough" would be the word. Horribly dangerous would be another id imagine.
-
Is this not just ground moisture? Underneath the sub floor in my 1930s was always a bit damp/patchy around the outskirts, especially after rain. I just added as many air bricks as I could in the new extension and made sure the old ones were clear/replaced as they were just jammed with 100 years of crap. Once I had a howling gale under there I added my insulation and sealed the entire thing up.