
Super_Paulie
-
Posts
831 -
Joined
-
Last visited
-
Days Won
3
Everything posted by Super_Paulie
-
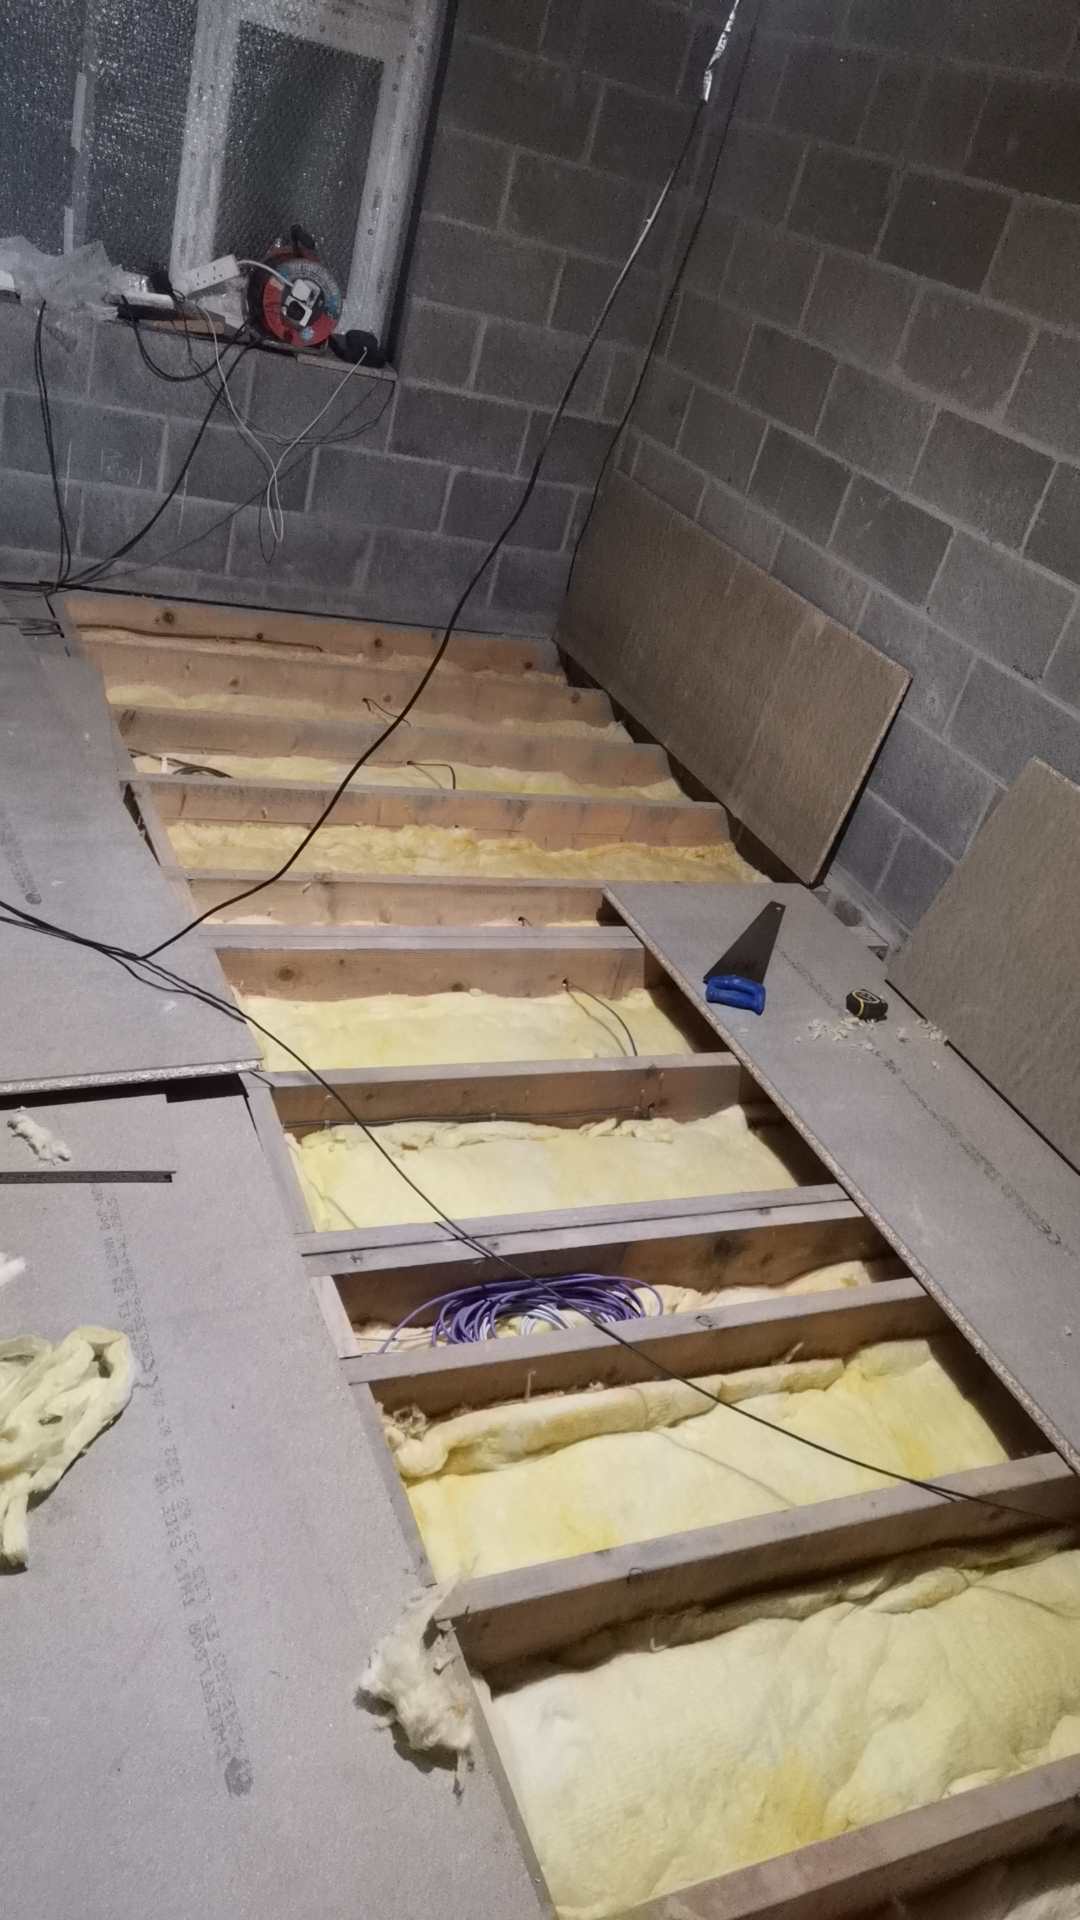
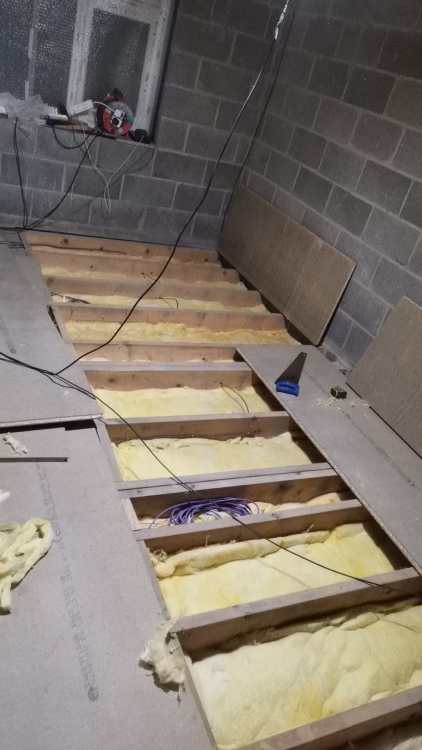
Evening. I've added 100mm acoustic wool (SuperGlass) between the joists between the ground and first floor. The ground floor has UFH but upstairs has rads, which I hope to never use. Question is, is the 100mm enough to balance out the sound absorption and "slight" heat transfer I require? Deck is 22mm, ceiling is standard 12.5mm. Id rather not hear the missus stomping around to the latest Taylor Swift rubbish, but I don't want a bedroom that is absolutely baltic either. Any thoughts? Banana for scale. 🍌
-

Clicking noise from UFH manifold when it fires up
Super_Paulie replied to thefoxesmaltings's topic in Underfloor Heating
could unscrew the actuator and see if it makes the noise when its not attached to the manifold? would at least tell you if its the actuator or the valve pin movement. -
if you are going to remove your joists then go for it. If i could go back id remove all the joists and slab the entire thing, but its too late for me now.
-
Tool to cut a 2" pipe close to a surface?
Super_Paulie replied to Ferdinand's topic in Tools & Equipment
Been on "abrasive wheels" training a few times with work. Strangely enough, it's exactly the same each time. -
Tool to cut a 2" pipe close to a surface?
Super_Paulie replied to Ferdinand's topic in Tools & Equipment
while i dont condone criminal damage, a battery reciprocator with a new long metal bit would cut that flush as the blades are supper bendy. Just sayin. -
Nah, I ran an my services in the void underneath the insulation. Put a hatch at each end of the room incase I need to pull something through in the future, but I'm not planning on that.
-
ive got underfloor in my 1930s house, all biscuit mix on suspended floors, works a treat so far. 170mm of PIR between the joists all foamed and taped, then the pipes within a dry mix and then chipboard floor.
-
Wooden lintel over door. Should I change?
Super_Paulie replied to qamar's topic in RSJs, Lintels & Steelwork
my 1930s place has wooden lintels over the doors and windows, pretty must the same as what you have there. From what i recall there is no outer lintel, but rather the soldier course rests on top of the original wooden window frame. Obviously most of these are now replaced for double glazing, so the bricks rest on the UPVC frame, which is far from ideal but seems a pretty common way of doing it. As its rendered on the other side this seems like it might be pretty destructive to change. Id just leave it if it was me, unless its truly rotten. -
Wont the screws be a cold bridge though, if they are through the beam? Miniscule in the scheme of things I'd have thought, but I kept away from going through the beam just incase. I didn't have access to the outside face as it had already been bricked in order to insulate from that side.
-
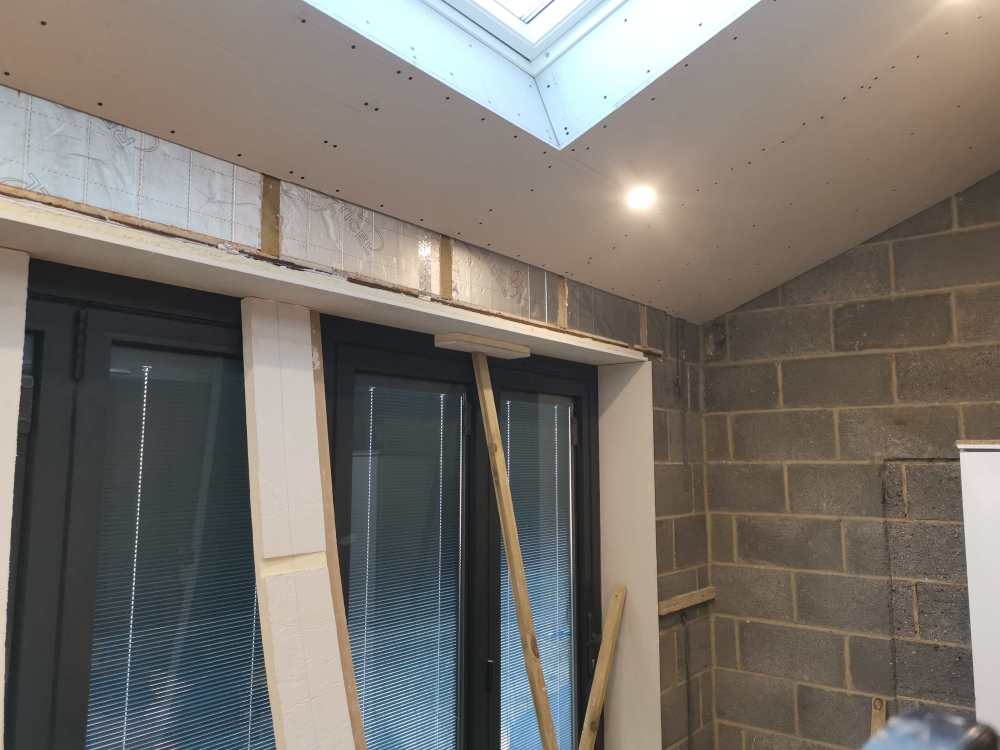
I filled in with slim PIR, then hammered in timber wedges just proud along the length. Then filled in-between with thicker PIR, foamed and screwed the board on. Insulated board underneath attached with Sika EBT. Seems to work!
-
Routing UFH pipe through kicker block?
Super_Paulie replied to Post and beam's topic in Underfloor Heating
yeah i just drilled 2x25mm holes through the cavity, lined them with 22mm conduit and passed the pipes though. Works without issue. Wasnt easy to get the return leg back through though as obviously you need to feed the entire remaining length back through the hole. I took a rough measurement of what distance i had remaining and cut it, fed it through and added significant swearing. -
We're featuring on Grand Designs next week 🎥
Super_Paulie replied to thefoxesmaltings's topic in Property TV Programmes
im just winding, its a great effort. Unfortunately my missus saw these sort of things on Instagram and TikTok and almost all the trades were not shown so thought it would be a few months job. You do get quite the false impression from social media unfortunately. I might have missed it but did you go for any sort of home automation. Id hate to have left a light on at the far end of the building... 😆 -
We're featuring on Grand Designs next week 🎥
Super_Paulie replied to thefoxesmaltings's topic in Property TV Programmes
just the weekends? Im 2 years in, 5 days a week after work and weekends and ive just got lights 😆 -
spoke too soon. Almost 2 years to the day "Mr.Dig" appeared this morning and were to install another massive pole in the exact same spot that they did before and subsequently had to remove. I went out and insisted it wasnt installed there and they said they would move it as far away as they could. Its maybe 8 feet further along but still right outside my house. Complaint gone into CityFibre just exactly like what i did 2 years ago...
-
We're featuring on Grand Designs next week 🎥
Super_Paulie replied to thefoxesmaltings's topic in Property TV Programmes
Enjoyed it, loved the gaff, congrats. My missus was all for the "Instagram house" journey but sacked it off immediately when she realised she couldn't click her fingers and the house was completed in 5 seconds. I've been on my lonesome since that day (day 1). -
We're featuring on Grand Designs next week 🎥
Super_Paulie replied to thefoxesmaltings's topic in Property TV Programmes
Yeah, never did get that. If my own sister ran the family glazing company then why go to a different company? Whole thing made no sense. Christmas dinner would be right frosty, with or without windows. -
We're featuring on Grand Designs next week 🎥
Super_Paulie replied to thefoxesmaltings's topic in Property TV Programmes
How can it take only a year? I'm honestly working myself to the bone here and it's taking ages... I'm a competent technician by trade, what am I doing wrong! 😆 -
i had something similar with CityFibre, who id never heard of at the time. One morning when i left for work i noticed a team of guys in a van over the road, didnt think anything of it, thought someone was getting broadband in or something. Came back at 5pm and there was a telegraph pole directly outside my house, against my boundary wall and directly in front of where a window was to be on my approved plans, maybe 2ft away from the window. It seemed they deliberately waited until i had left for work before they started on it. After a few moments of "was that pole always there?" confusion i read the notice on the pole that said who to contact with any complaints. So i did, and the council building control as well. To be fair to CityFibre the gaffer came out the next day and said "yeah, that pole shouldnt have gone there but they dont need permission" and can put a pole anywhere they want. The council got back to me and said it was bang out of order and that they will insist on it being moved if CityFibre dont agree. Anyways, they did and agreed to move it to the far side/road side of the pavement about 6ft away and on the gable end. I was happy with that as it meant it wouldnt be directly outside of my window. However, nothing happened for months. Maybe 3 months. And when it did they came and removed the pole and filled it in with concrete. Strangely, 30 seconds after the guys left another van turned up and the bloke was massively confused "looking for the pole". He then proceeded to dig out the fresh concrete and replace it with black tarmac... within the concrete pavement. That was 2 years ago now and the pole never did get put in the new place, they simply didnt come back. Suits me, but it was needlessly stressful all round. Ironically, just this week i looked at the tarmac they put in and its got a hole in the middle of it about 30cm deep, so its sunken or something.
-
We're featuring on Grand Designs next week 🎥
Super_Paulie replied to thefoxesmaltings's topic in Property TV Programmes
how come people can build a mansion from nothing in a year of graft yet i spend every sodding day for 3 years on my 3 bedroom semi and still havent got a ceiling... -
We're featuring on Grand Designs next week 🎥
Super_Paulie replied to thefoxesmaltings's topic in Property TV Programmes
GD bingo cards at the ready... 😆 -
You could extend the vents out to the end of the patio with ducting? I'm going to do that but my air bricks are a few courses below yours so I'd imagine it's significantly easier. Depending on the patio you may need to use a telescopic to move it back down again... It's not a good detail by the architect sadly.
- 1 reply
-
- 1
-

-
- groundworks
- ventilation
- (and 2 more)
-
Kitchen plasterboard and tile backer?
Super_Paulie replied to Super_Paulie's topic in Kitchen Units & Worktops
Thanks guys, always nice to have some viewpoints and reassurances from you lot. I've got a bunch of 9.5mm here so that's what I'll go with straight onto the ply. It's only one wall, the other is exposed brick 👍. -
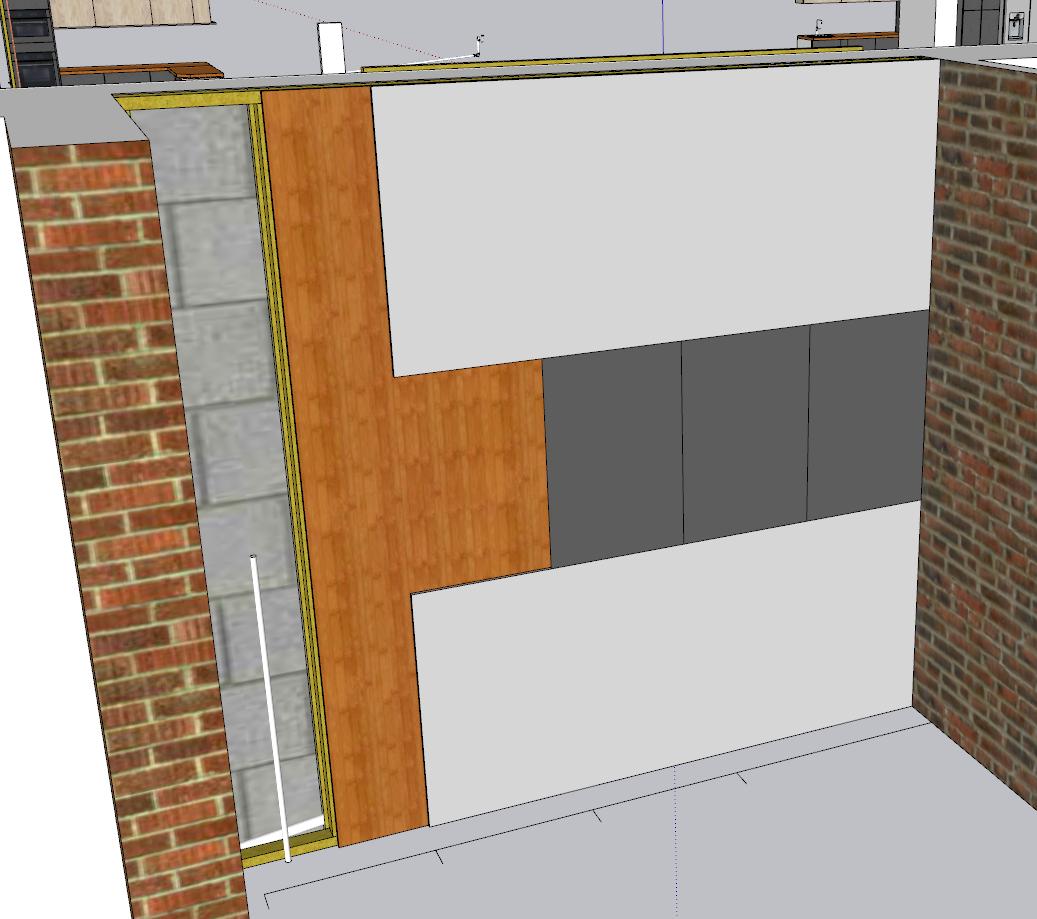
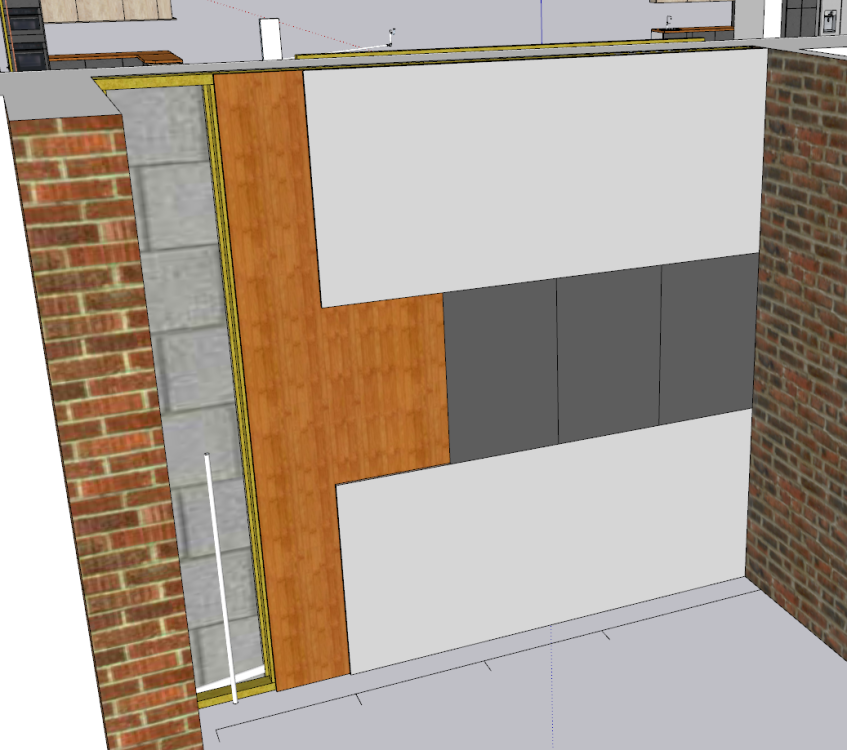
the time has come to plasterboard the kitchen wall. The wall is stud standing off from the original knackered wall and clad with 15mm ply. I was going to tile backer the middle section for metro tiles but do the top and bottom (both behind cabinets) in 9.5mm plasterboard screwed straight on. Is this too faffy, should i just use my plasterboard all over it and move on to the next job? I was going to get it skimmed so i should i just plasterboard the lot and add the backer in over the top afterwards when i have my heights nailed on?
-
get a picture up when its in position, looking forward to seeing it. I use a portable Ooni myself but id look into a permanent fixture once the house itself is finished.
-
That's what I was looking at for when I get round to replacing the rad for a nice one, just bring it on with a timer or something. What's your experience with it John, effective?