
Super_Paulie
-
Posts
831 -
Joined
-
Last visited
-
Days Won
3
Everything posted by Super_Paulie
-

Steel upright in inner block work
Super_Paulie replied to Super_Paulie's topic in House Extensions & Conservatories
Think it's just raw steel, yeah. Building inspector didn't say anything so I guess he's happy. Just need to address the potential cold bridge, I'll look into aerogel now. -
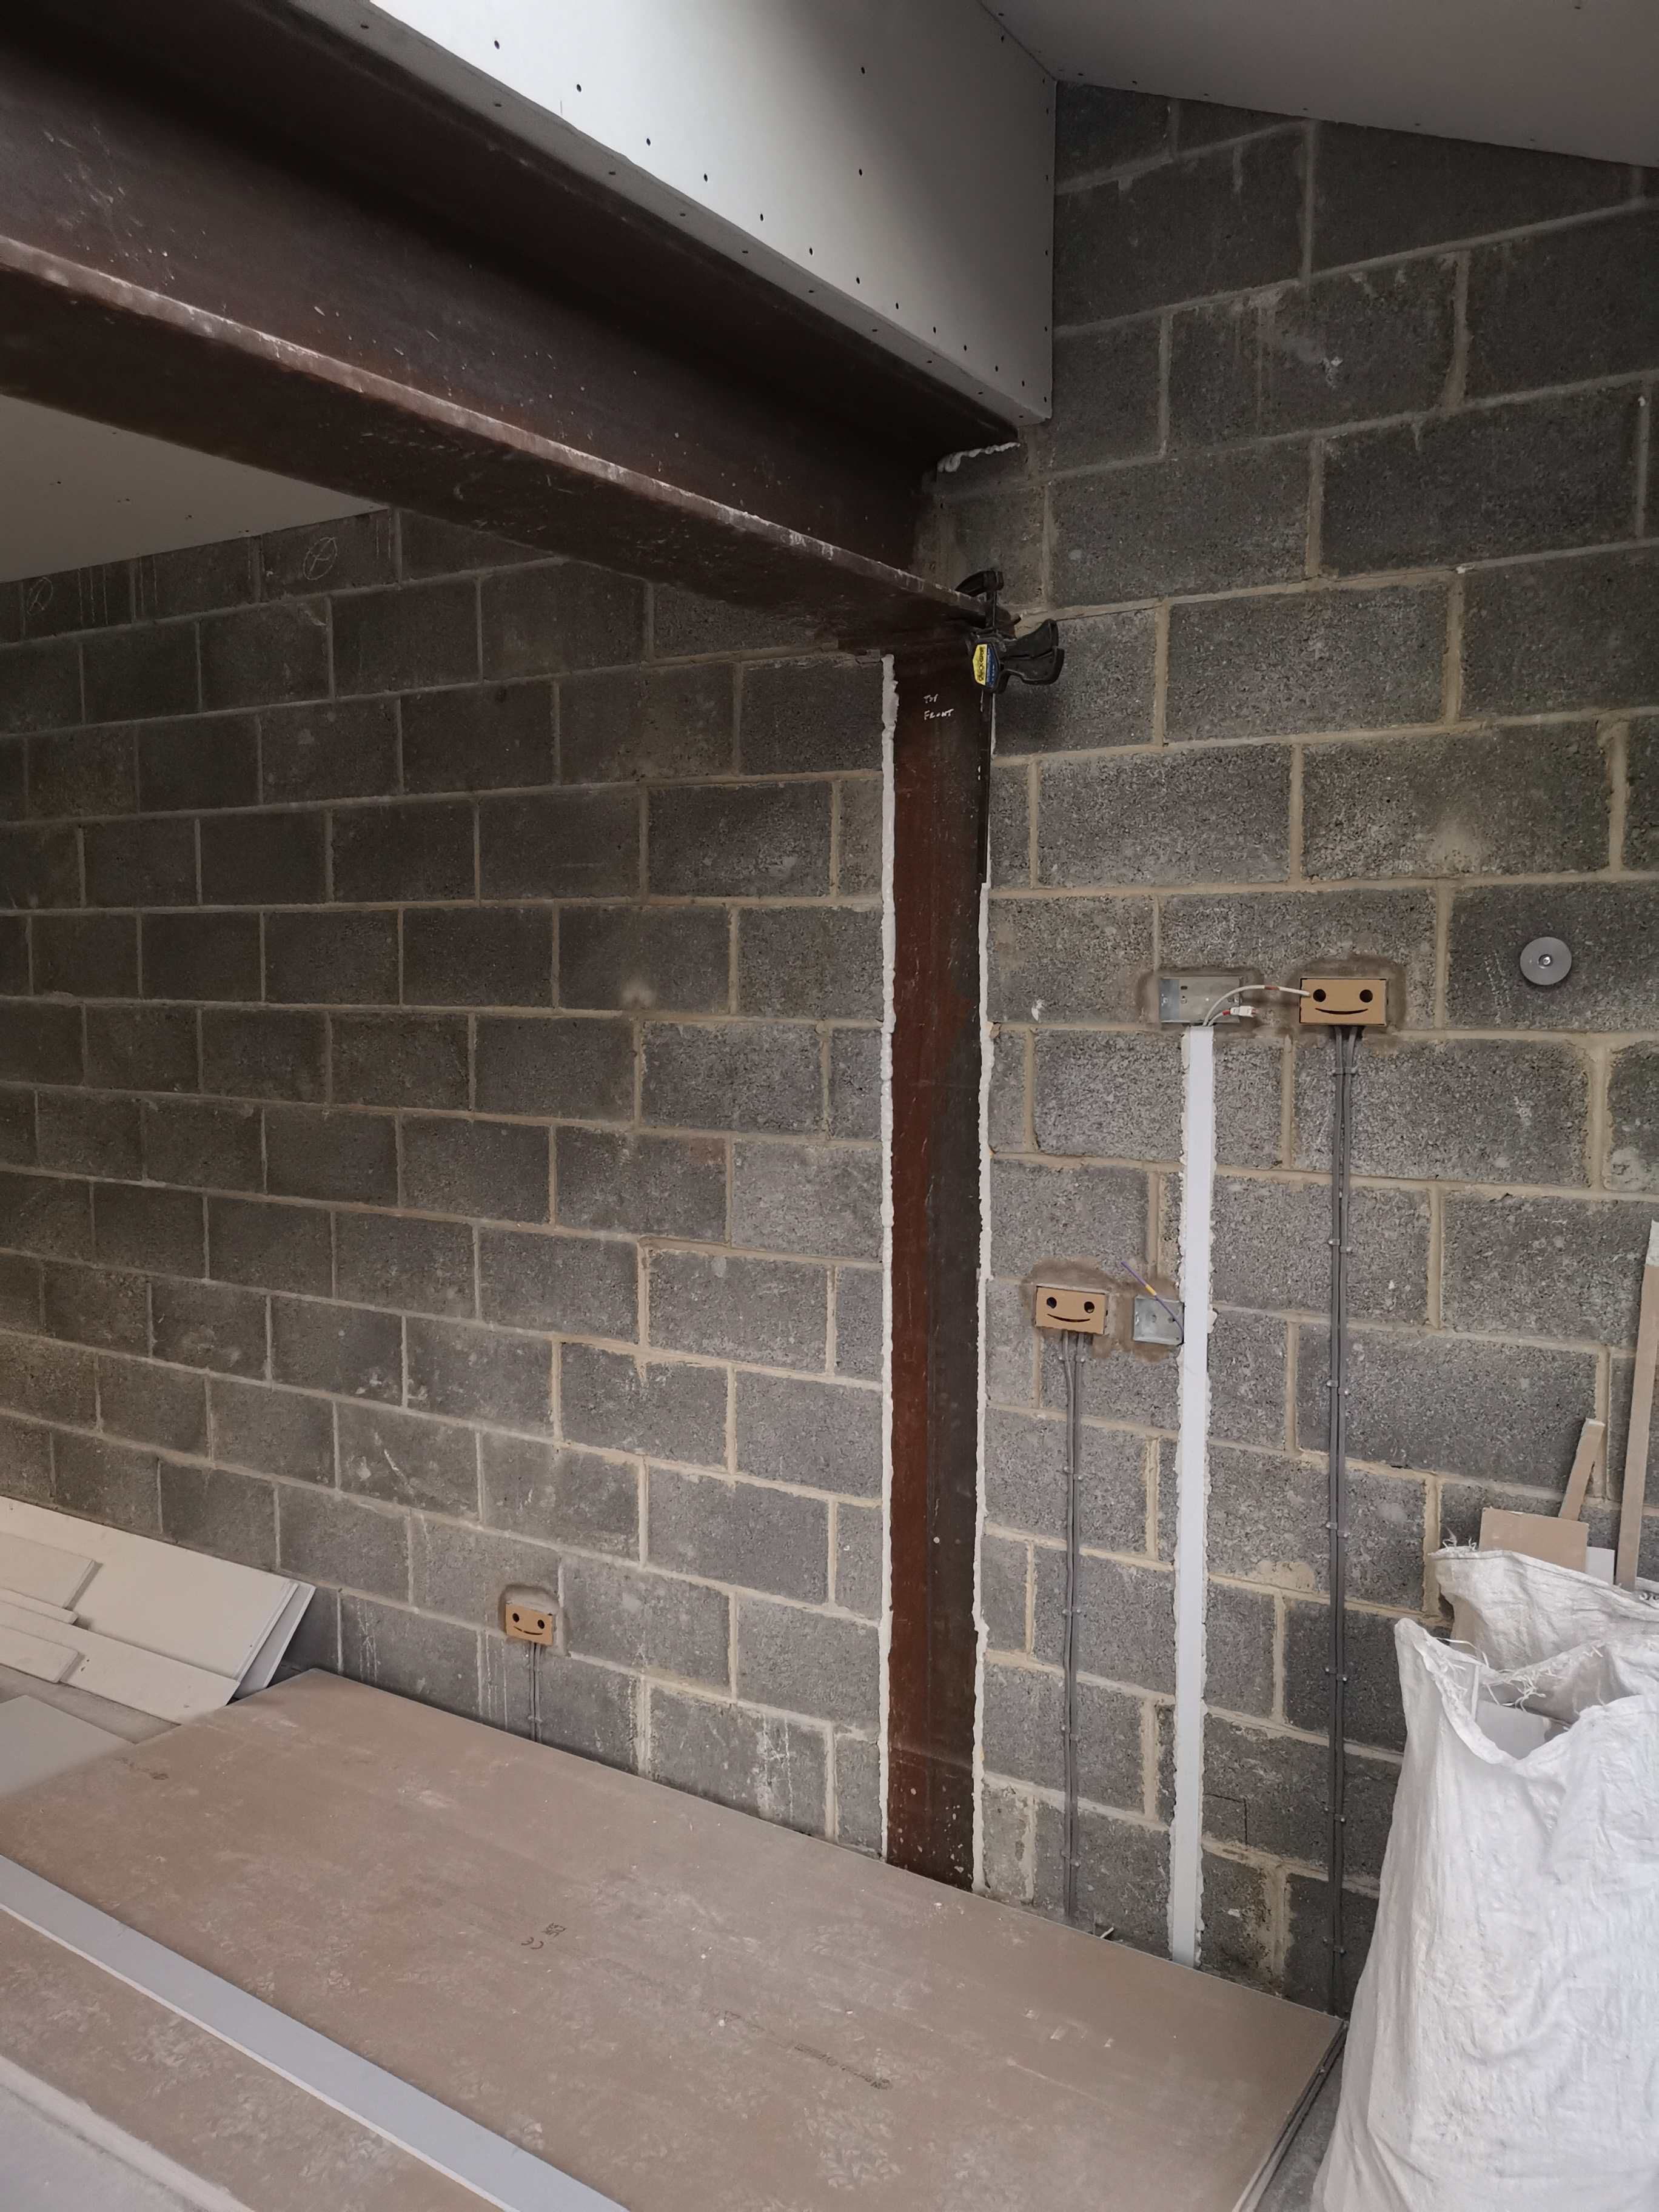
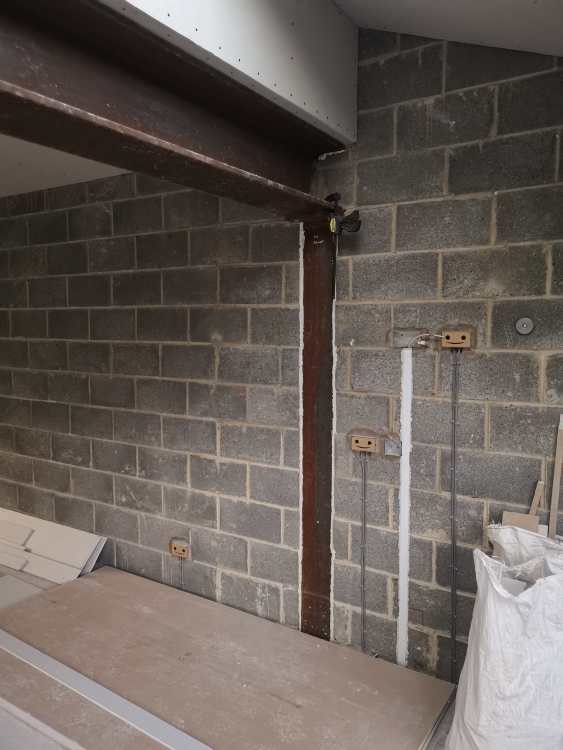
Evening. I'm plasterboarding my gaff but I have this thing I need a bit of advice on. The main steel beam is supported on one side with an upright tubular steel beam which is within the inner block work. It's got wool behind it in the cavity, if the builder built it to my architects drawing. The other side rests on a pier. Anyways I want to plasterboard over this wall but do I need to do anything additional to the beam? I suppose warm air will travel through the plaster and hit the steel which I'd imagine would be significantly colder in winter. The beam goes down below joist level and it's a suspended floor, ie, cold. I sadly can't board this wall with insulated board as the builder made the return at the door very small so I can't lose the room and still fit in my 600mm units. Any suggestions?
-
I just bought 20 for a tenner on Amazon next day delivery, not sure it gets much cheaper. Use them, bin them, get more.
-
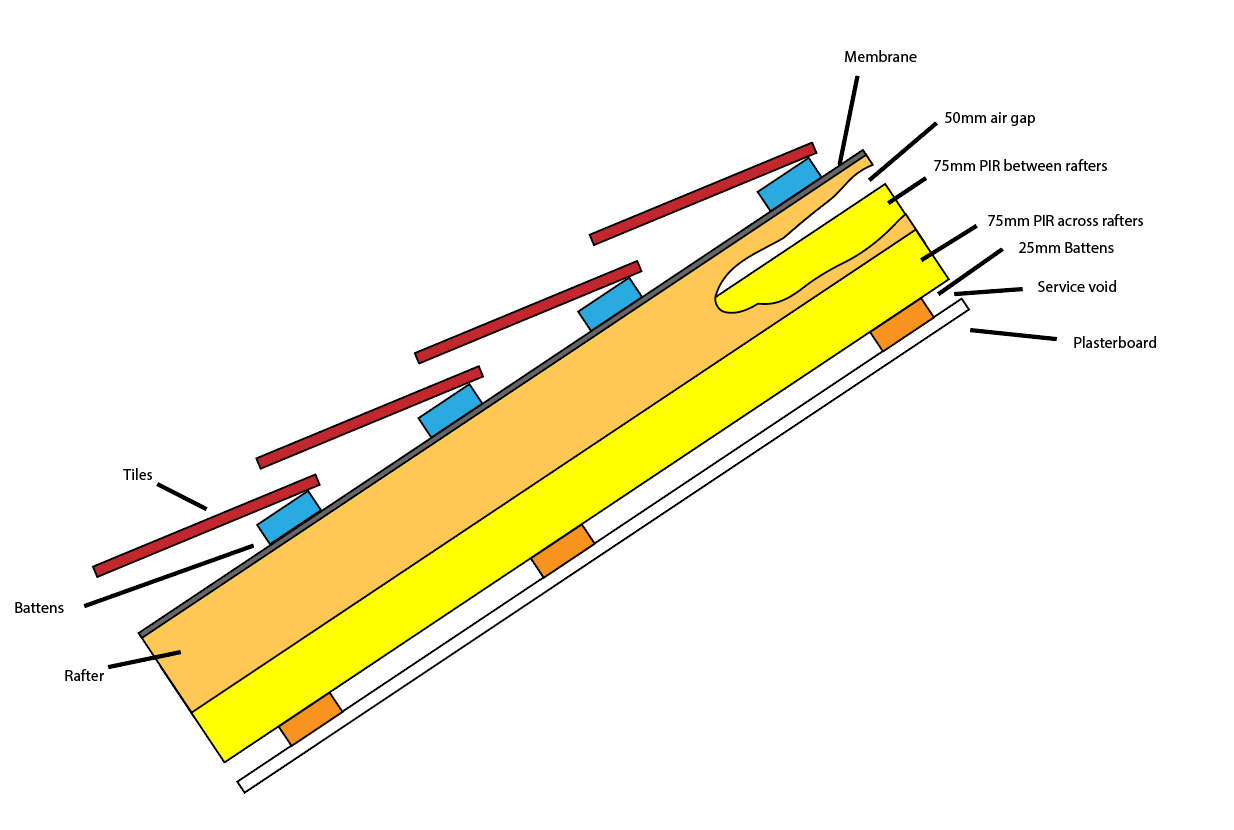
my house isnt as grand as most on here, the roof is basically a mono-pitch on the back of the house which goes from maybe 2.6m above the doors up to 3m, over 2m something like that. Its easily reachable with a ladder. Also i have a 50mm gap as i doubled up the battens now, seemed the easiest option. The drivers are 25mm and the LEDS themselves are 30mm so with a 50mm gap behind the 12.5mm plasterboard i'll see how i go.
-
Yeah probably. But the LEDs have drivers in the void as well and I guess I wouldn't want to cover those in insulation. I could insulate within the void but leave full sections (with the lights and drivers in) empty, but I'm not sure gaps like this just make the whole venture pointless?
-
That's what I've ended up doing, doubling up the battens to give me 50mm + plasterboard so a void of 65mm give or take. Should I be insulating, acoustically between the battens? I don't want to debate the lighting cables so the insulation would only be between say every other batten gap where there are none. Might make it pointless?
-
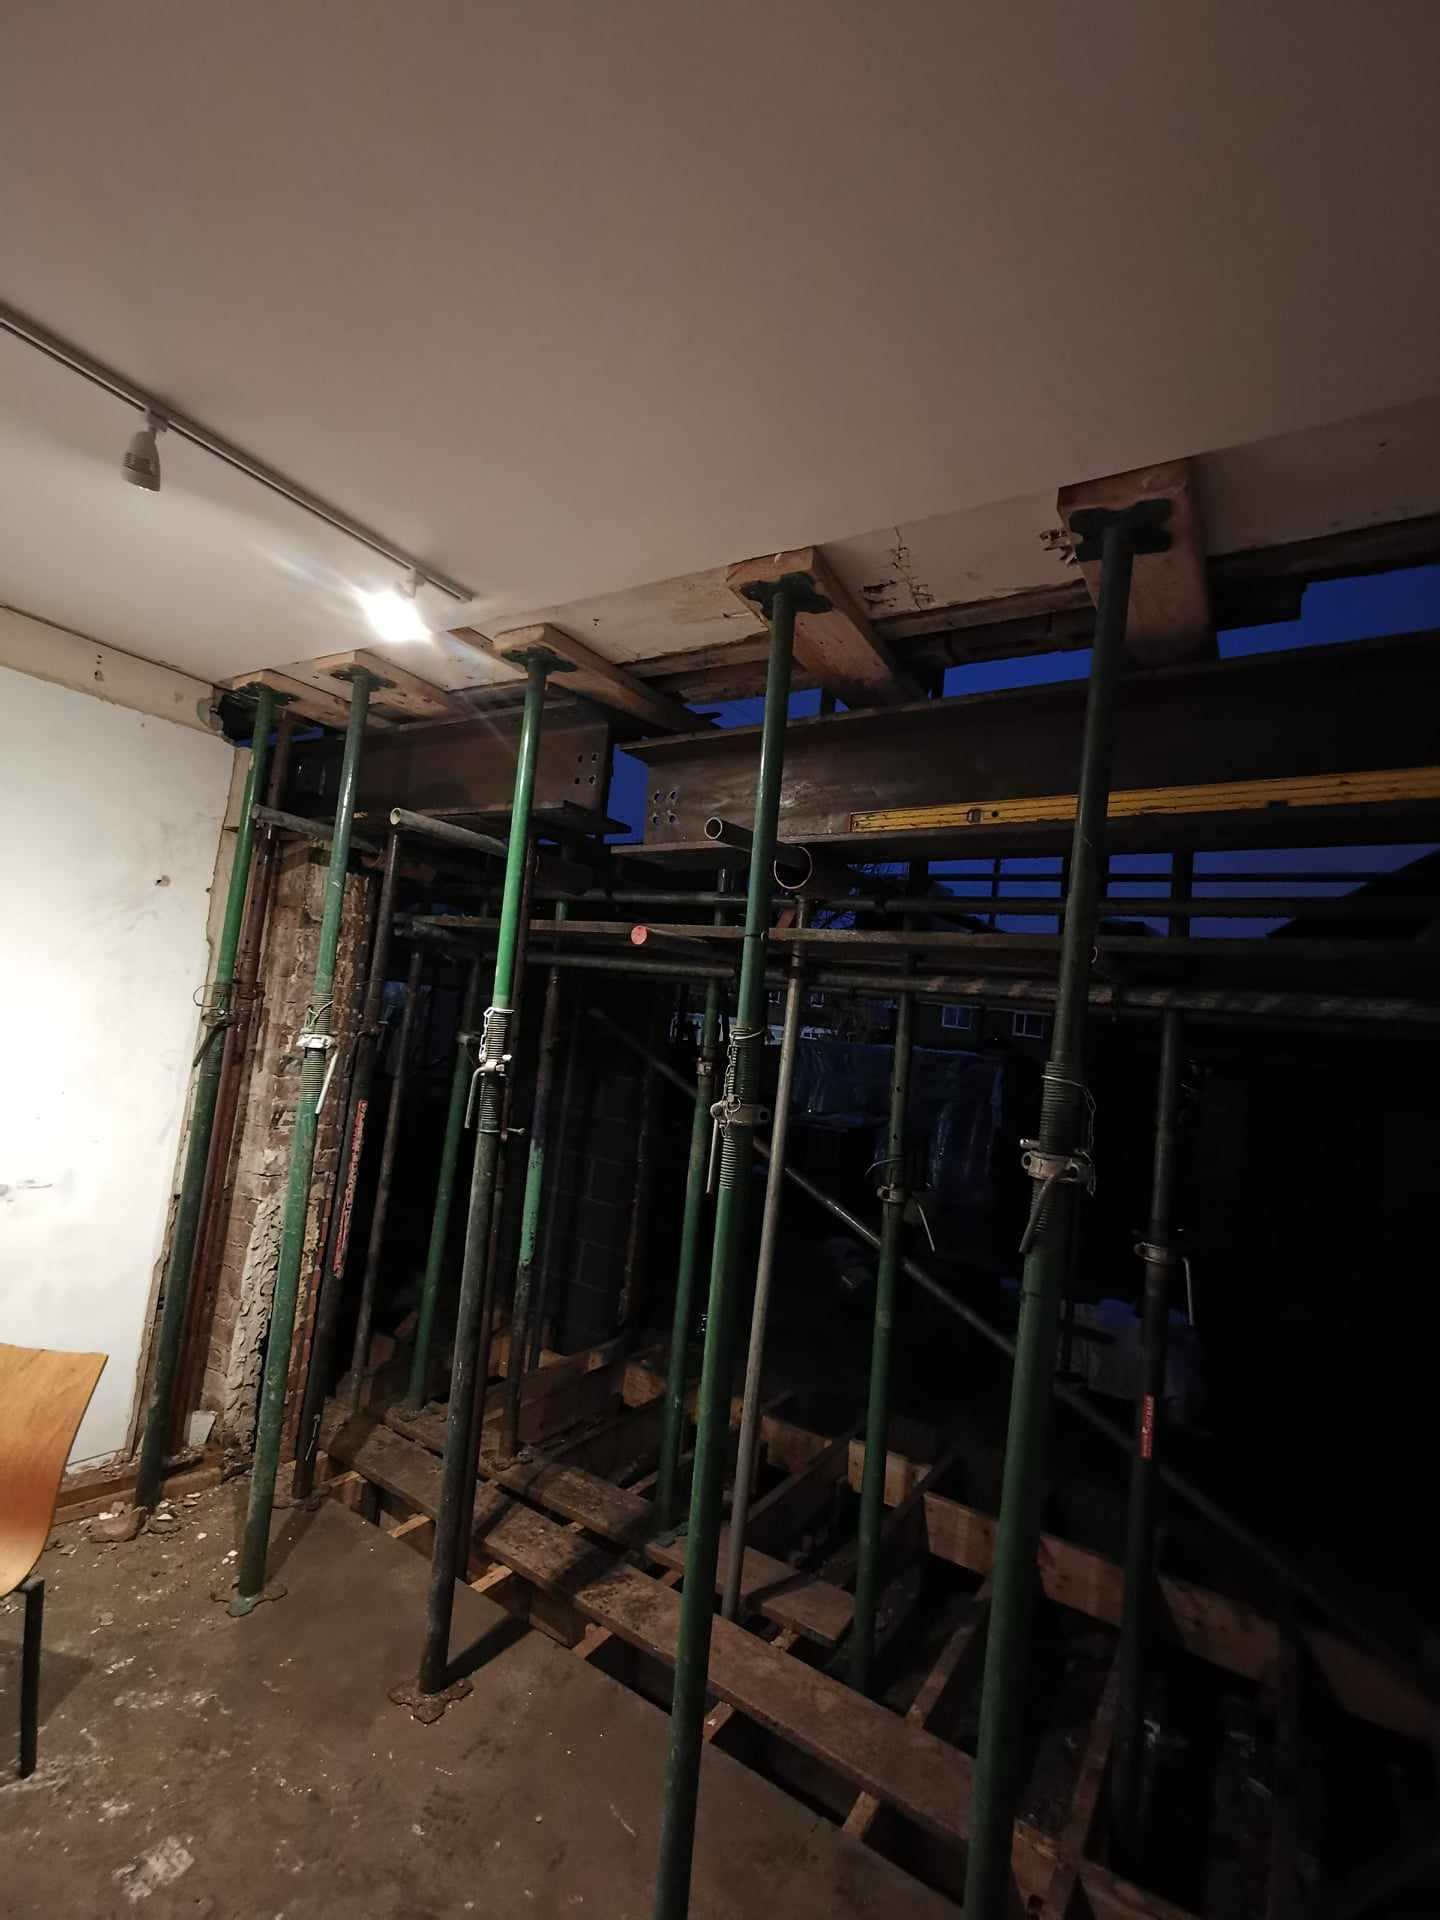
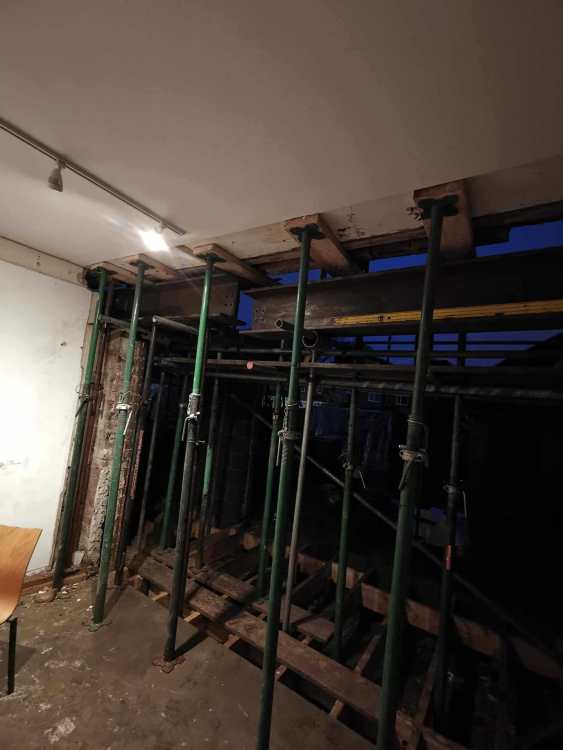
just dont do what my builder did and install the supports onto my old chipboard floor to hold up the rest of the house with some knackered bits of timber... "Rough" would be the word. Horribly dangerous would be another id imagine.
-
Is this not just ground moisture? Underneath the sub floor in my 1930s was always a bit damp/patchy around the outskirts, especially after rain. I just added as many air bricks as I could in the new extension and made sure the old ones were clear/replaced as they were just jammed with 100 years of crap. Once I had a howling gale under there I added my insulation and sealed the entire thing up.
-
seems like chinese crap, but i guess a solution exists. https://www.amazon.co.uk/ALUSSO-LIGHTING-Downlights-Spotlights-Compatible/dp/B0CLV1VQBW
-
Blown tiles in shower
Super_Paulie replied to Super_Paulie's topic in Bathrooms, Ensuites & Wetrooms
great shout, i'll try that out tonight. -
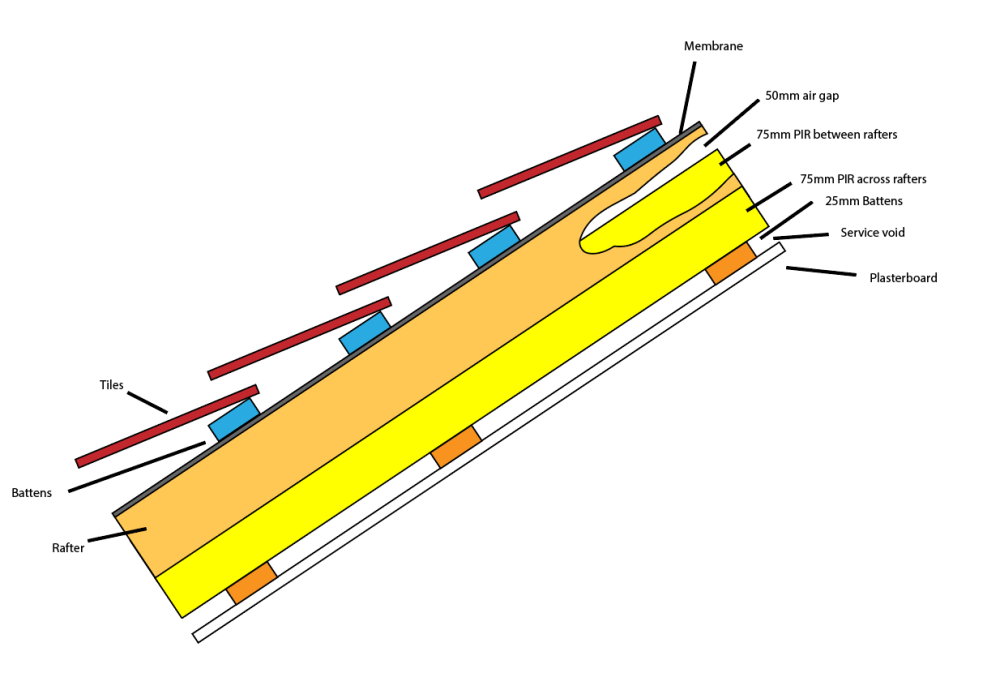
afternoon everyone. My vented pitched roof on the rear extension was built to the architects plan, and its pretty standard stuff for a cold roof, see the attached drawing. Im at the plasterboarding stage now and the missus has decided she now wants downlights/spots instead of the original plan of surface mounted directional lights. Obviously i dont have the space to sink these lights now, so im looking at my best options. Would using an insulated plasterboard rather than the single 12mm layer work to give me the required depth? Im not sure on the insulated board, service void, then more insulation buildup. Seems thats not right. To add a spanner to the mixer she wants them to be RGB or similar to change the colours of that whole section of the house. Id imagine a GU10 bulb would have a minimum required depth of around 100mm which seems impossible to accommodate currently. Im aware on the warm roof/cold roof etc etc, but it is what it is and thats what I have. So any suggestions that may help id really appreciate it. As I am over the regs with my 150mm insulation i could in theory create a 20mm void in that second layer if required and still be within tolerance of the required 130mm. Would a divorce be the easiest option?
-
Insulating between joists, air brick position, vapour barrier?
Super_Paulie replied to andreas's topic in Heat Insulation
i had the same situation in my front room with the OG airbrick, and i did like you say and chamfered the end of the insulation. I sealed between the wall and insulation and then sealed between the wall and caberdeck afterwards. I used Illbruck airtight foam which is a quality product, ive used loads in my place to make the floor draft free as i run UFH as well. Illbruck FM330 -
my builder wanted to fit keylite but i overruled it as i wanted a Velux so i could control it via voice command. Probably cost a load more for that feature, but its the only way i control them now so in my eyes worth it.
-
Good evening friends. Looking for a bit of advice here. Still ongoing home extension, basically focusing on downstairs. However when the beam was put in the house moved/settled onto it and the room above (bathroom) is tiled floor to ceiling, the grout was coming out like gunfire. The bathroom will be getting totally pulled out, however I have other priorities at the moment downstairs. I am getting a small water leak through the blown tiles in the shower area, am I better off going round with the silicone gun along every grout line or just pulling the whole lot out, tile backer, then whack the old tiles back on? It'll only be temporary, so what would be my best option to not wreck the plasterboard ceiling below? The tiles are on an old wet plastered brick wall, 1930s.
-
i had this situation in my place. I worked a full length of the room to find out the best way to start it off so that as many of my short ends landed on a joist as possible. Where i couldnt do it i just had flying ends but once they were glued and screwed and joined to the surrounding boards they are rock solid. Like Mark says above, where they ended against a wall i ran additional joist sections in there any way i could to keep it as close to the edge as possible to reduce any bounce.
-
I'm yet to board as I'm playing catch-up and doing the whole house boarding at the same time. Both my layers of PIR are foamed and taped so I'm not envisaging any problems between the layers.
-
Removing wall bricks ready for RSJ
Super_Paulie replied to Bladders's topic in House Extensions & Conservatories
My builder used closers but in most places where I could I took them away and closed them off with PIR foamed into the cavity. Seems way more rigid rather than a rattley bit of plastic. -
Cherry picker, scaffold, MEWP, all no problem. As soon as I get over 6ft on a ladder I'm no good 😆. Might just be my B&Q special ladder...
-
like what Conor says, i left the fence and built it with a 250mm gap to my brickwork. Worked out well as i able to run a waste down there as well. Have these plans been passed? it looks like its massively different to the neighboring houses and a bit of a monstrosity to be perfectly honest. I wouldnt be happy if i was either neighbor.
-
I've had enough of ....
Super_Paulie replied to ToughButterCup's topic in General Self Build & DIY Discussion
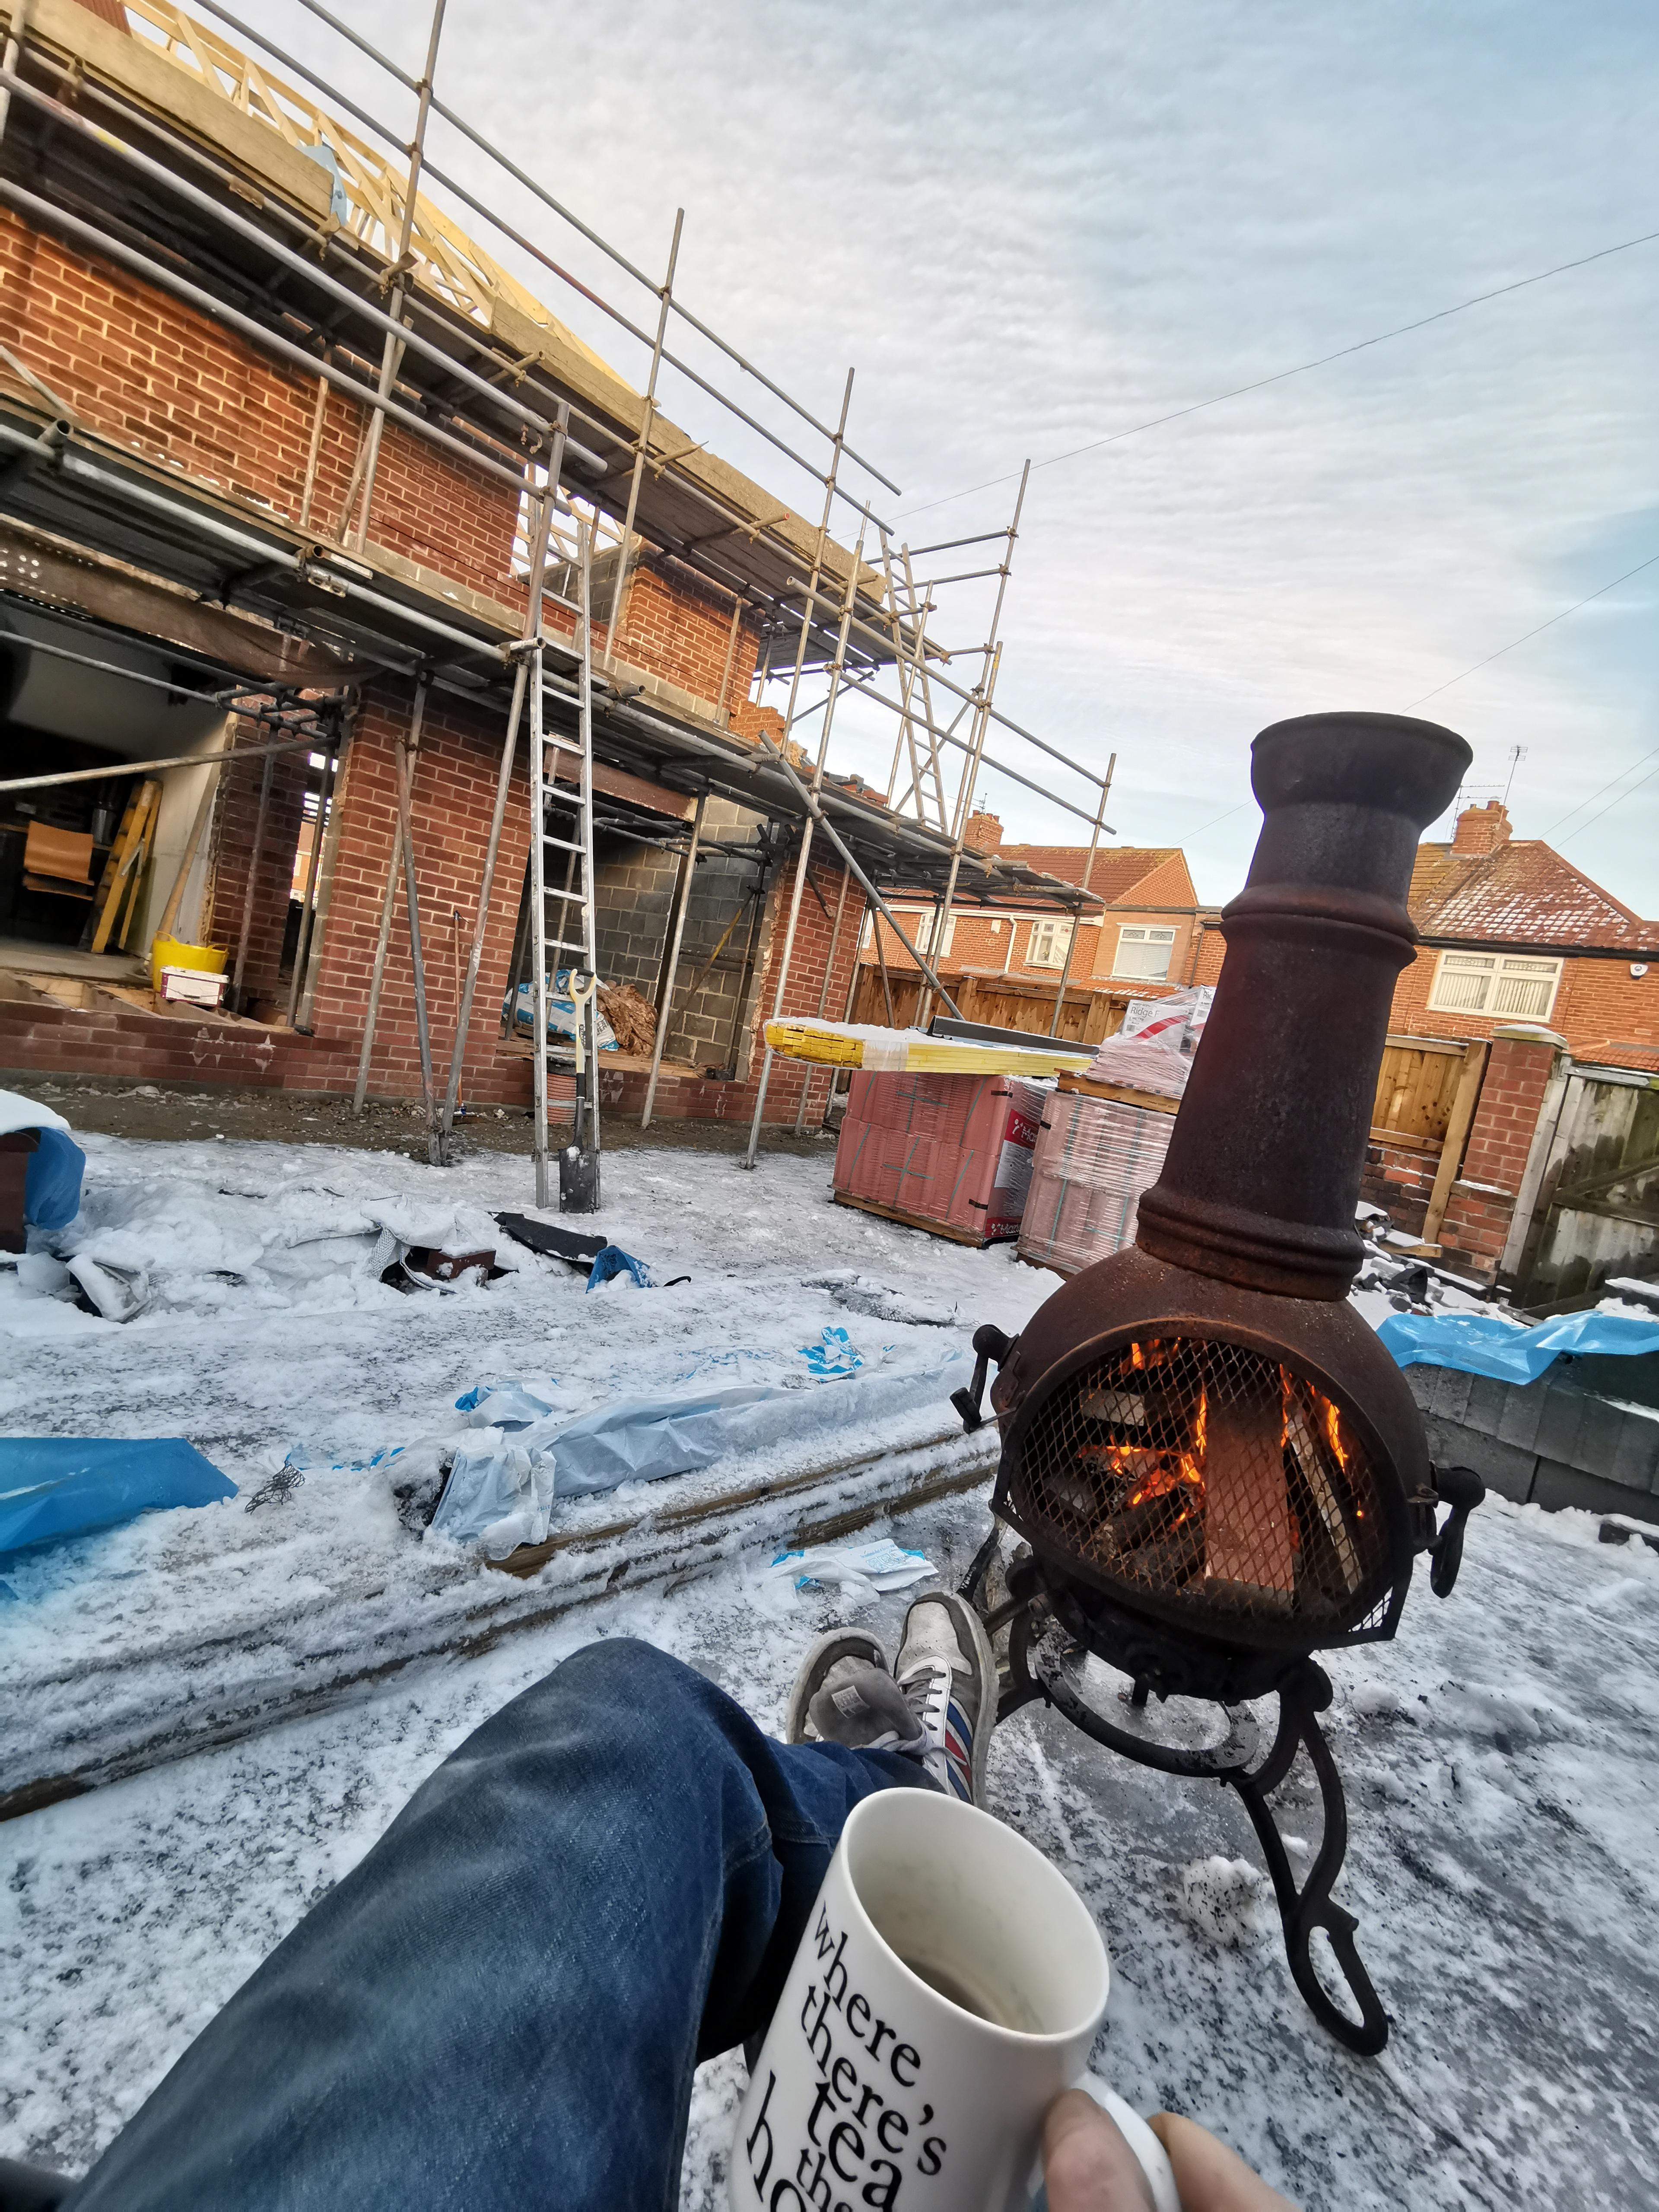
thinking back, i had a few things that i would "personally not do" if i was in the trade. Apart from smoking in the house, i recall one morning coming down and they were raiding my log store to fire up my chimenea. Yes it was really cold out there, but surely they should have asked. If they did ask then id have said just crack on lads no worries, but you cant just presume. Also they used parts of an old fence i had stashed behind the shed to put in the roof of my porch and they stole my builders bucket i bought to actually move my logs around 😂 -
i guess you could insulate the pipes? I have something similar to your diagram where i have a run of a few meters in dry mix. I just let them run and then sleeved them at the point they passed through the cavity wall. Just a flow and return with no real loop makes no difference to the floor temp as far as i can tell.
-
I've had enough of ....
Super_Paulie replied to ToughButterCup's topic in General Self Build & DIY Discussion
i really enjoyed after i had the knock through but didnt have my full length doors fitted yet, all the builders sat smoking in the old kitchen sunbathing. And the subsequent me having to remove 5000 tab ends and fag packets from the cavity walls. -
i thought it was industry standard for me to spend all my wages on plasterboard while the other half spends hers on Taylor Swift stuff?
-
Inside is still at block stage and the switch and wires to it are way lower than the outside light so it'll be fine 👍
-
i dont really want to risk blowing the brick face so i'll have to from outside in and take my chances!