Leaderboard


Popular Content
Showing content with the highest reputation on 05/24/22 in all areas
-
Goodness me, what, and consider our houses to be homes rather than pure investment vehicles? I don't know what the world would come to. But more seriously, I think this thread demonstrates how our thinking has changed so much that the purchase and upgrade of insulation boils down to a mere economic decision. Do people make this same calculation when spunking tens of thousands on bathrooms and kitchens? Priorities are all wrong I think but as a bit of an oddball, when I started designing my extension/renovation/build, the first thing that came to my mind was how I could achieve a comfortable, warm and healthy home.4 points
-
You will want 1-4-5. depending on what you are doing. 1 for fixing osb to wall if you are adding racking boards or just a stiffening for plasterboard. 4 for nailing 38 to 38 and 5 for most stud to sole plate, top plate stuff.3 points
-
I have split a corner plot in Hertfordshire. The current plot has a three bedroom detached property. The new plot will have a two bedroom chalet bungalow. This is my first build.2 points
-
£1000 over 32 years id £31.25 per year. So are you saying if you spend an extra £1000 on insulation you don't expect it to save you £32 per year? I have a theory about houses, that one day, buyers will actually wake up to the EPC rating and realise a modern house with an EPC A will cost a lot less to run and be a lot more comfortable than a Victorian pile with an EPC G, and they might actually pay a higher price for the better house. Clearly if you think the cost of insulation is too high, then the cost of energy is still too low.2 points
-
Ok you need to read the whole of Part L, not just the limiting factors table. The limiting factor is the maximum - a new build will only be passed if it meets the whole unit spec and the overall target emissions values. With an extension it is different and you may be tacking a well insulated box onto a drafty cow shed - the difference is as a whole it will improve. It’s also very difficult without taking existing structures apart to understand their build up, so the regs use a risk averse approach and assume the existing fabric is poor.2 points
-
I had a few spare minutes on this lovely sunny Sunday evening and decided to spend it writing up a blog post for our basement UFH install and screed. We have a 250mm reinforced concrete slab sitting on top of 200mm EPS300 in the basement. The slab wasn’t very flat and so we decided to use a cement based liquid screed to give us a nice level base for our finished flooring. So we put down 25mm of PIR to level things out and also to allow the UFH pipes to be stapled to. I did some quick maths and I figured out that it was cheaper to use the 25mm PIR and UFH pipe staples than to use pipe clips fastened to the slab and a thicker layer of liquid screed and so an order was placed with our BM and it was delivered and fitted by my lovely wife and me. We found this is a pretty easy task to be honest and only found we had to put a small bit of sand blinding to level a couple of dips in one room. In the rest of the basement the PIR just took the bumps of the slab out. We taped the joints and foamed around the edges for a belt and braces approach even though there was a DPM going on top. Next came the DPM layer. We found this a bit of a pain to do! Not hard but trying to smooth it out and keep it square so that a constant amount was taken up the walls was just fiddly. In the end we got the laser level out and set it about 150mm above screed finished level and then used that to ensure we had enough DPM up the walls. Then we had to tape it to the walls but soon found that standard gaffa didn’t stick to the concrete walls nor the dense concrete blocks! We painted the concrete with a PVA mixture and that helped a lot for that but just didn’t work on the concrete blocks at all. Off to Google and this awesome forum and I eventually found Gorilla Tape which sticks well to concrete blocks and we were off and running! Following this we laid the UFH pipes. This was a job we actually really enjoyed. It was very satisfying creating those wonderful spiral shapes. We made some spacers and I was laying the pipe according to the layout designed by Wunda and my wife was walking behind with the stapler ‘kerchunking’ down the staples as we went. At the end it looked so good we were sad to think all our hard work would be covered up and never to be seen again. This was my first time running UFH pipes and also my first manifold fitting and I was very happy with how the manifold turned out. I filled the pipes with water and the pressure gauge showed that there were no leaks. That and the fact there water wasn’t pissing out anywhere! With the liquid screed booked in we needed to get a move on and get everything finished off and ready. The last stretch was to fit the temperature probes, perimeter expansion strip and create the expansion joints for crack mitigation at the doorways. Thanks to advice from this forum’s users I ran the temperature probes in UFH pipe with the end crimped down so as to not allow screed in just in case they need replacing in the future. I got the expansion strip from uHeat on eBay. It came with a plastic skirt and adhesive already attached so it was a real breeze to fit. Not much more to say about that The final thing was crack mitigation strips for between the doorways. After speaking to the screeder I decided to use 5.5mm plywood board. It was an inexpensive and simple solution. I was asked to cut them to size but leave them to the side of the doorways and the screeders would add them as they went around. Obviously I had to put them in place first to ensure I got the sizes right! So here are photos of our basement ready for the liquid screeders. On the day of the screed they turned up early before the screed lorry to setup their pump and check on my prep work. They said it was exemplary and that I wouldn’t believe the state of the prep work of some of the jobs they turned up to! They had absolutely nothing to do to the prep work which made them happy and made me happy that all our hard work was worth it. They put down their little tripod level thingies and waited for the screed to turn up. Once it did it was really quick work and very impressive. If it wasn’t for the fact that they ordered 6.4m3 of screed but the company only sent 6m3 they’d have been done in a few hours but, as it was, they ended up having to wait a good 2 or 3 hours for the last little bit of screed to turn up. They were not happy as, in the end, they had to spend the whole day here when they could’ve been on to the next job. But, at the end of the day we had a wonderfully flat looking basement floor. And 48hrs later we were walking on it. 🙂 All in all very happy with the whole process and I will be getting these guys back in to do our ground floor screed. thanks for reading.1 point
-
i'd be looking at 100mm concrete on top of 200mm PIR and fill the rest with hardcore/ EPS1 point
-
So are you saying he has lied, if there’s any truth in what he has put I’m not surprised he has objected.to be honest.1 point
-
I think so, yeah. And depending on which regs you read, you might need to put the tracpipe in yellow ducting1 point
-
The VAT should be on the total work, so you should still be saving that £823.88 It's still a little high in my opinion but market is swamped with enquiries - I would recommend getting a few more for comparison. EDIT: for your other question, the renusol console, as per your quote, is ballast weighted - they are usually filled with bags of stone or similar)1 point
-
Thanks for the reply,and the welcome! I’ve had a bit of a look about in terms of rafter spans and looks like I will likely require 5x2 going off the span chart I came across,this isn’t something I know about just going off a span chart I saw online The proposed garage goes over the drainage run and is located close to manhole also,It’s a combined rainwater/sewer system so I will be addressing the underground pipe anyway so will just be adding an additional gulley for downpipe1 point
-
Hello, I am Ben. I just bought a terraced house in Bedfordshire that I want to renovate. I am looking forward to learn some new tricks. Best regards1 point
-
This is perhaps a bit too generalised for you but, its a start. Its the term '....official politics... ' that confuses a bit.1 point
-
Hi everyone, I'm self-building a garage conversion and small extension in Edinburgh as the first phase of updating our house. It's not been going entirely to plan - now about 4 years in to a "six month project" 🤣. In my defence I wasn't expecting to be getting a puppy, homeschooling through lockdowns, several months of recovery from a concurrent sciatic nerve injury & badly sprained ankle, and various other things that have come up. So maybe I'm actually doing ok! There have certainly been points I wished I'd never started - probably not as many as there have been for my wife but she's still here for now 😂 - but I think it'll be worth it in the end. The structure, glazing and external cladding is all done now, just finishing battening out the ceiling and approaching first fix. I originally trained in theatre production and through that as a City & Guilds qualified spark, plus a bit of joinery, metalwork etc. Not done that for a living for about 15 years though. The rest I've learned from previous DIY projects and of course the internet! I was on here a bit earlier in the project but drifted away as life took over, so I just thought I'd say hello again1 point
-
Ring shank only really necessary for fixing the racking boards for structural strength, or fixing deck boards down onto joists. ‘Bright’ nails ( plain shanks ) have a glue sprayed onto them which melts with the heat from the friction of being sent in at speed, so try one and then try pulling one out. You’ll see how good the glue is when you get a miss-fire and try to hammer the nail in the last 20mm. At first it wont want to budge, and some you’ll bend the nail over before you can send it home. Best advice is to get some good speed clamps, with rubber jaw covers, to help you line the wood up before firing the nail. You;‘lol see why when you get going . Just because its easy to fire a nail, don’t go mental until you’ve pinned top and bottom, then have checked the middle of the timber is still lined up nicely, before nailing the middle and then fill in the gaps. You’ll also need a recip saw with a long fine metal blade to cut through nails installed in error. Buy yourself one of these LINK as they’re a great bit of kit. The pointy ‘claw’ is designed to be hammered in under the head of a set nail to go hunt it out for extraction. Used @Russell griffiths one and then went straight to the tool shop to get one. Cracking little addition to the toolbox.1 point
-
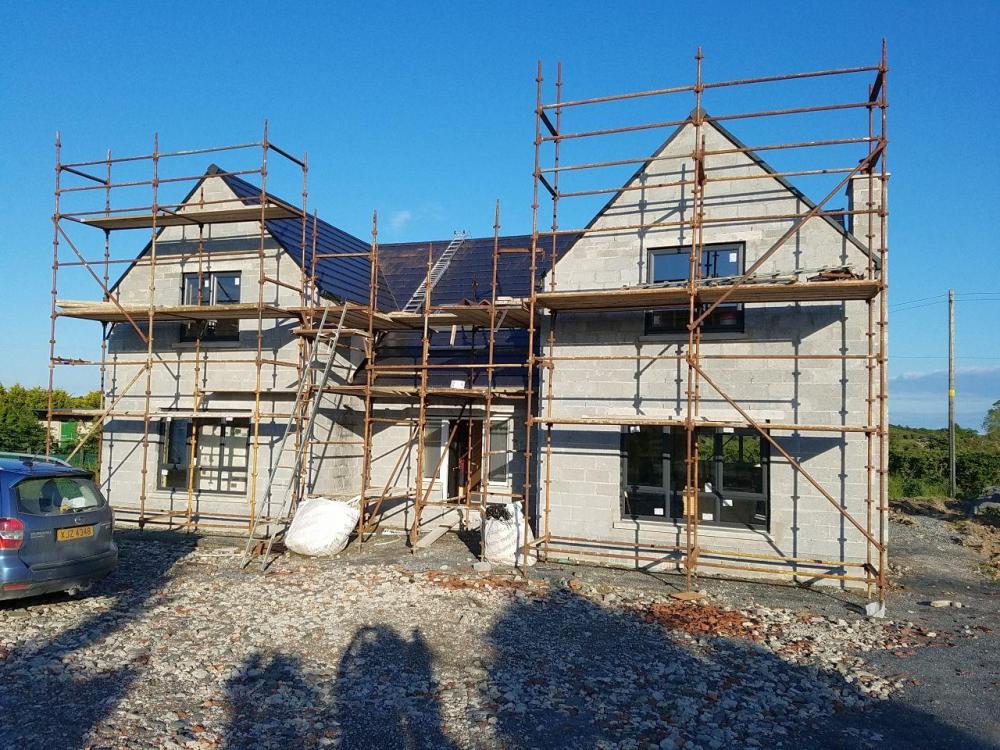
Not the best pictures but all I've got to hand.
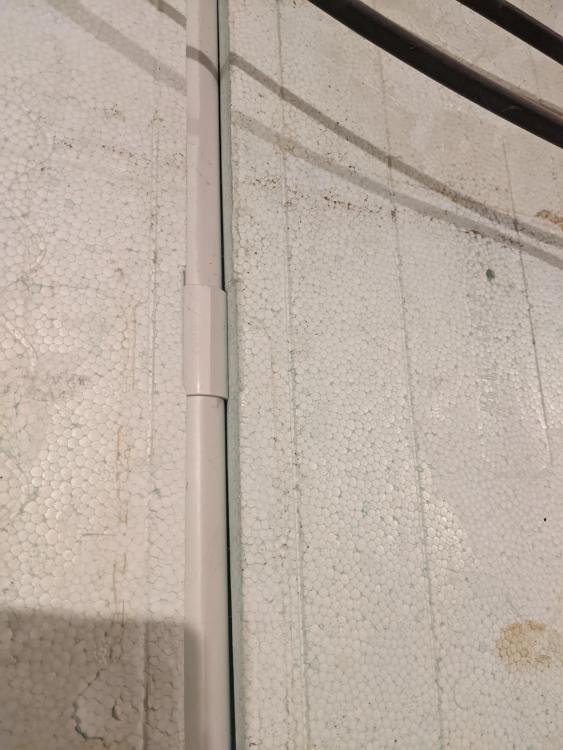
 1 point
 -
Some of us have been commenting on the dire state of much of the UK housing stock. Few will disagree with the fact we have to do something to reduce the energy usage of our housing stock. A good step in solving that problem would be stop building poor houses that will also need upgrading. We sohuld have done this years ago. building standards are only just starting to get close to where they should have been years ago. Someone has already estimated the extra insulation is less than £2000 extra per house. That's not even 1% extra on the cost of the average house. That is a small price to pay to get better houses.1 point
-
Been a good day. My Mother is vastly improved, saw her cousin (similar age), had a reasonable journey back (only 1 accident blocking roads today), now parked up looking at the sea, in sunshine.1 point
-
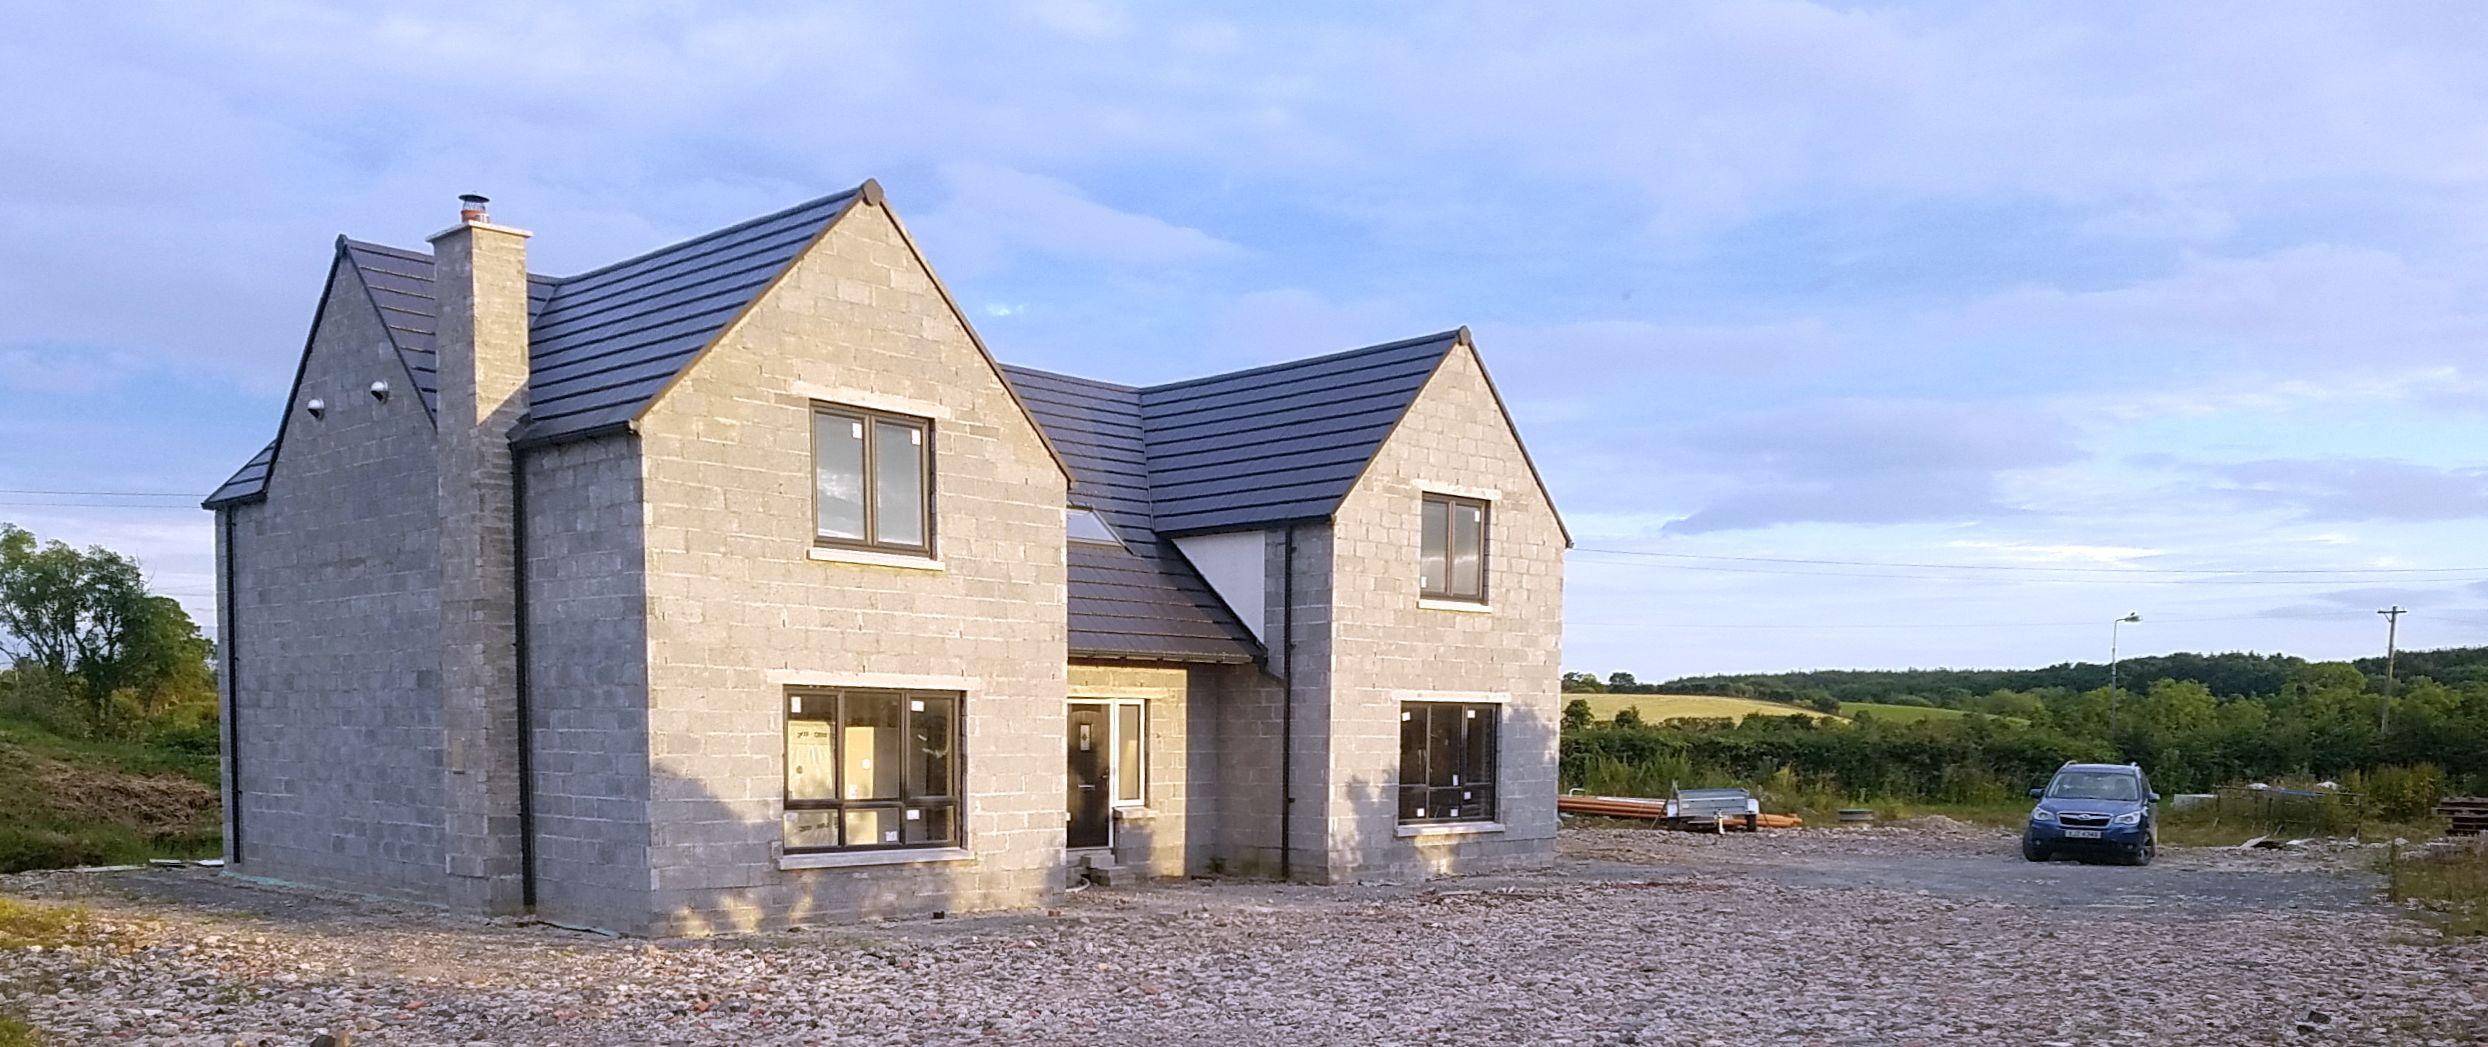
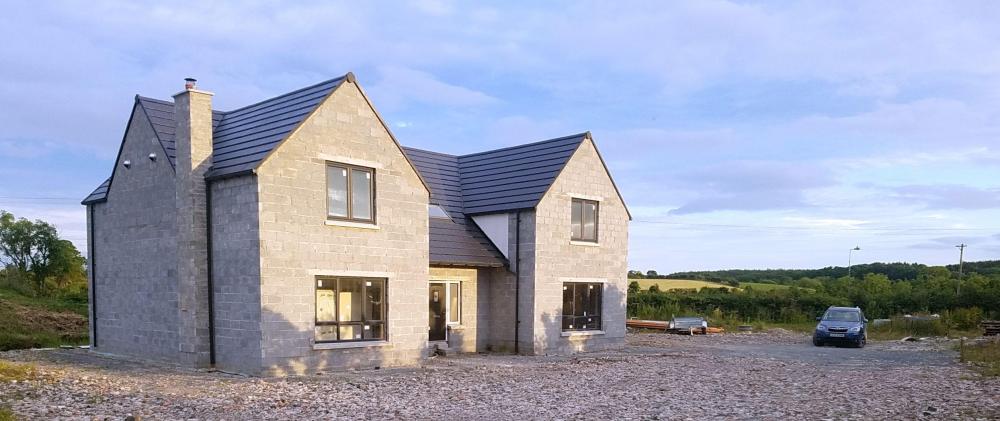
The question here really is WHY are new houses still allowed to be built with such poor insulation levels? It means the main mass market house builders are still allowed to build what most on here regard as poor houses. Having just finished self building a house that exceeds even this new value for extensions, I can say it does not add much to the cost and it is really nice living in a house that is always warm and costs to little to heat.1 point
-
Welcome. You appear to me to be asking BH members collectively to suck their teeth and say... "Welllllllll, it could be, but I'm not sure ..... on the one hand this, .... on the other that...... (But that won't stop us offering opinions 😉) So, get a proper survey done, and reduce the offer by the cost of the survey (and the repair) plus +100% if there is a problem. We just can't tell on the basis of a few photographs. Ian1 point
-
EPS and XPS used in ICF is denser than that used in EWI. That's 4 abbreviations in one sentence. Which is three too many!1 point
-
If anhydrite screed has been used, NOTHING will stick to it until the laitance has been mechanically "scrubbed" from the surface. At that point you will see the shiny semi-gloss finish reduced to a surface that looks a little like a pumice stone. That opens 'pores' in the screed which then allow such primers / adhesives / SLC's to be absorbed / key into the surface.........and then you're in business.1 point
-
Guttering complete, scaffolding away, MVHR complete. photos!
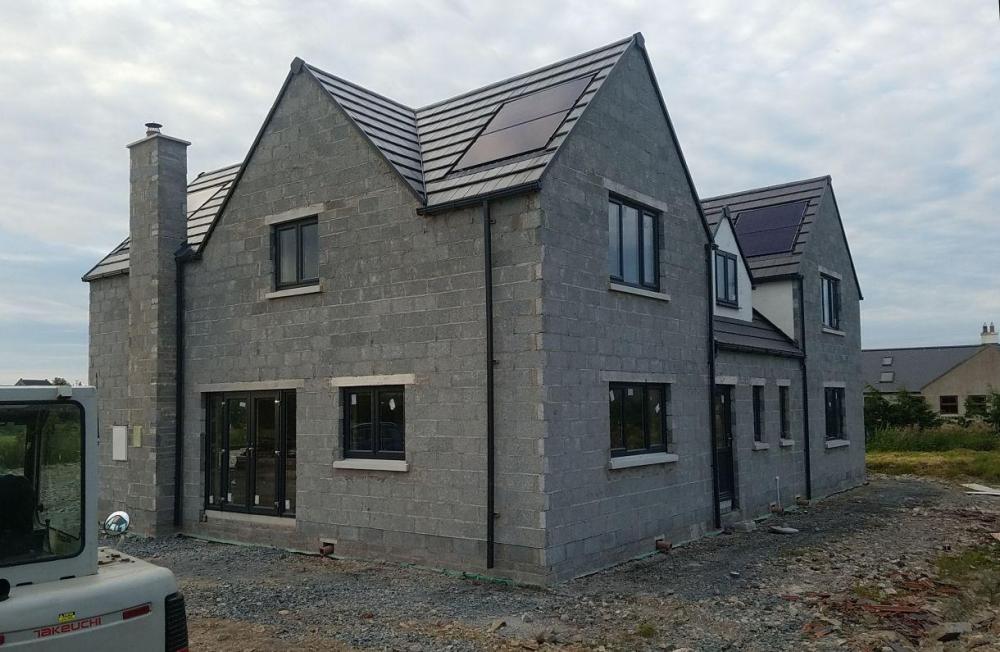
 1 point
 -
Oh... and did I say the roof is FINISHED? Well, apart from two wee trimmings of ridge tile. But they don't count.
 1 point
 -
Ukraine Looking down the barrel of a captured tank0 points
-
He said it in 2006!0 points


.thumb.jpg.bac90f3bbf6868cf2118d010d936c99d.jpg)