Leaderboard


Popular Content
Showing content with the highest reputation on 09/30/18 in all areas
-
In the most recent Passivhaus Trust newsletter (link below) is a link to this document, "Good Practice Guide, MVHR for single dwellings". Its a detailed description of how to design an MVHR system for a Passive House. The guide: http://passivhaustrust.org.uk/UserFiles/File/Technical Papers/2018 MVHR Good Practice Guide rev 1.2(1).pdf The newsletter: https://mailchi.mp/passivhaustrust/pht-news-sept-18?e=894c841f592 points
-
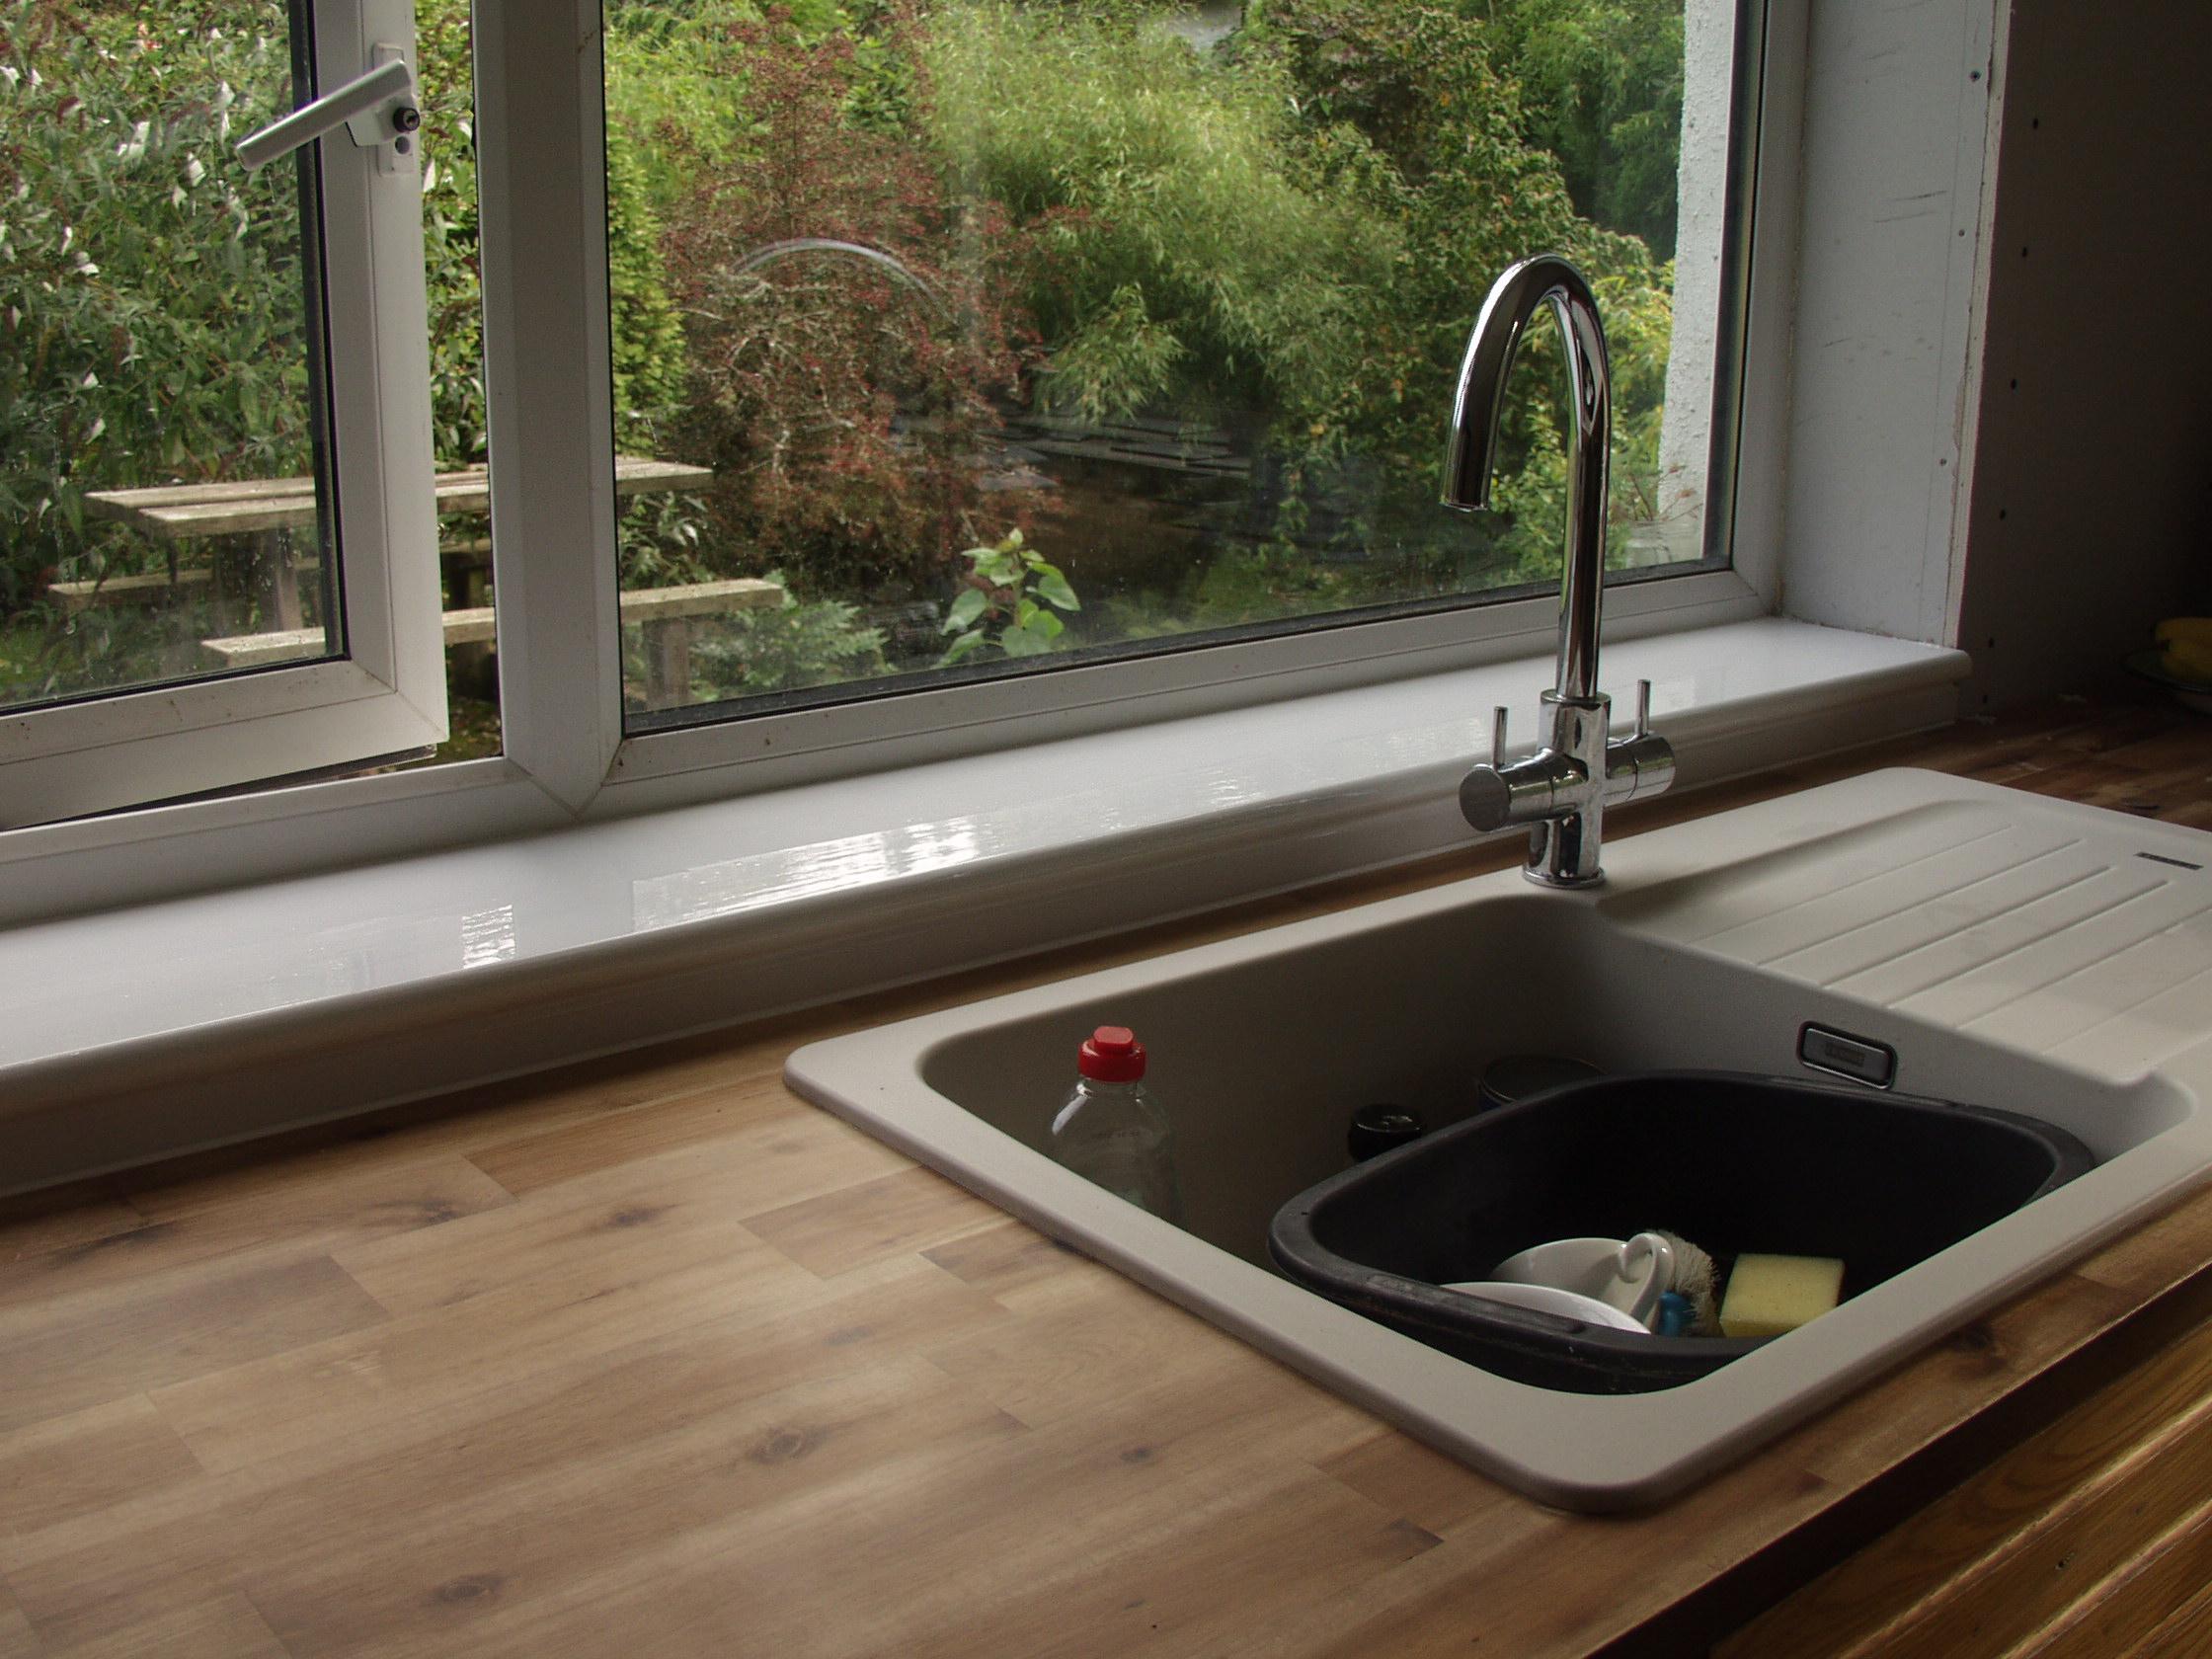
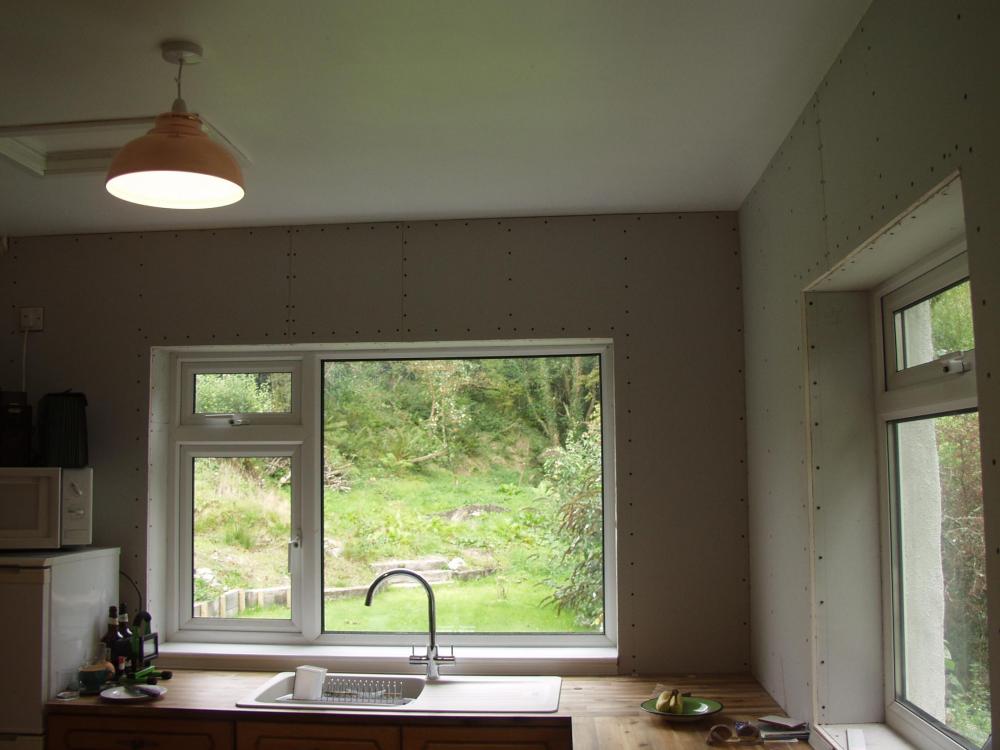
Like all Self builders we found we had a limited number of options for living accommodation during the build, given that we needed to demolish the bungalow to clear the plot for the build. The options were, rent locally or a caravan on site. Renting locally wasn’t an option due to the high rental costs, so we looked at the caravan option. The main problem was access, an 8 feet wide drive with a hairpin bend half way up, a dry stone wall, 80 feet tall trees and limestone outcrop put paid to that idea. A local crane company visited the site to look at the feasibility of craning the caravan over the trees, the narrowness of the road, a road closure and 4 mile diversionary routes for vehicles, a licence from the local authority soon put paid to that idea. Then a brief conversation with a neighbour and a lightbulb moment, we can up with the idea of a timber framed tiny house built in an orchard that formed part of the plot. The day before submission of the planning application a sketch of a small 7 x 5m cabin was added to one of the drawings. Thankfully we got planning approval. The construction of the cabin allowed us to practice our woodworking, insulation and other construction and trade skills. This is where we currently live. This what it looks like on a wet autumn day. Not the power cable over sailing the cabin. Happily the DNO installed taller poles to increase the clearance.1 point
-
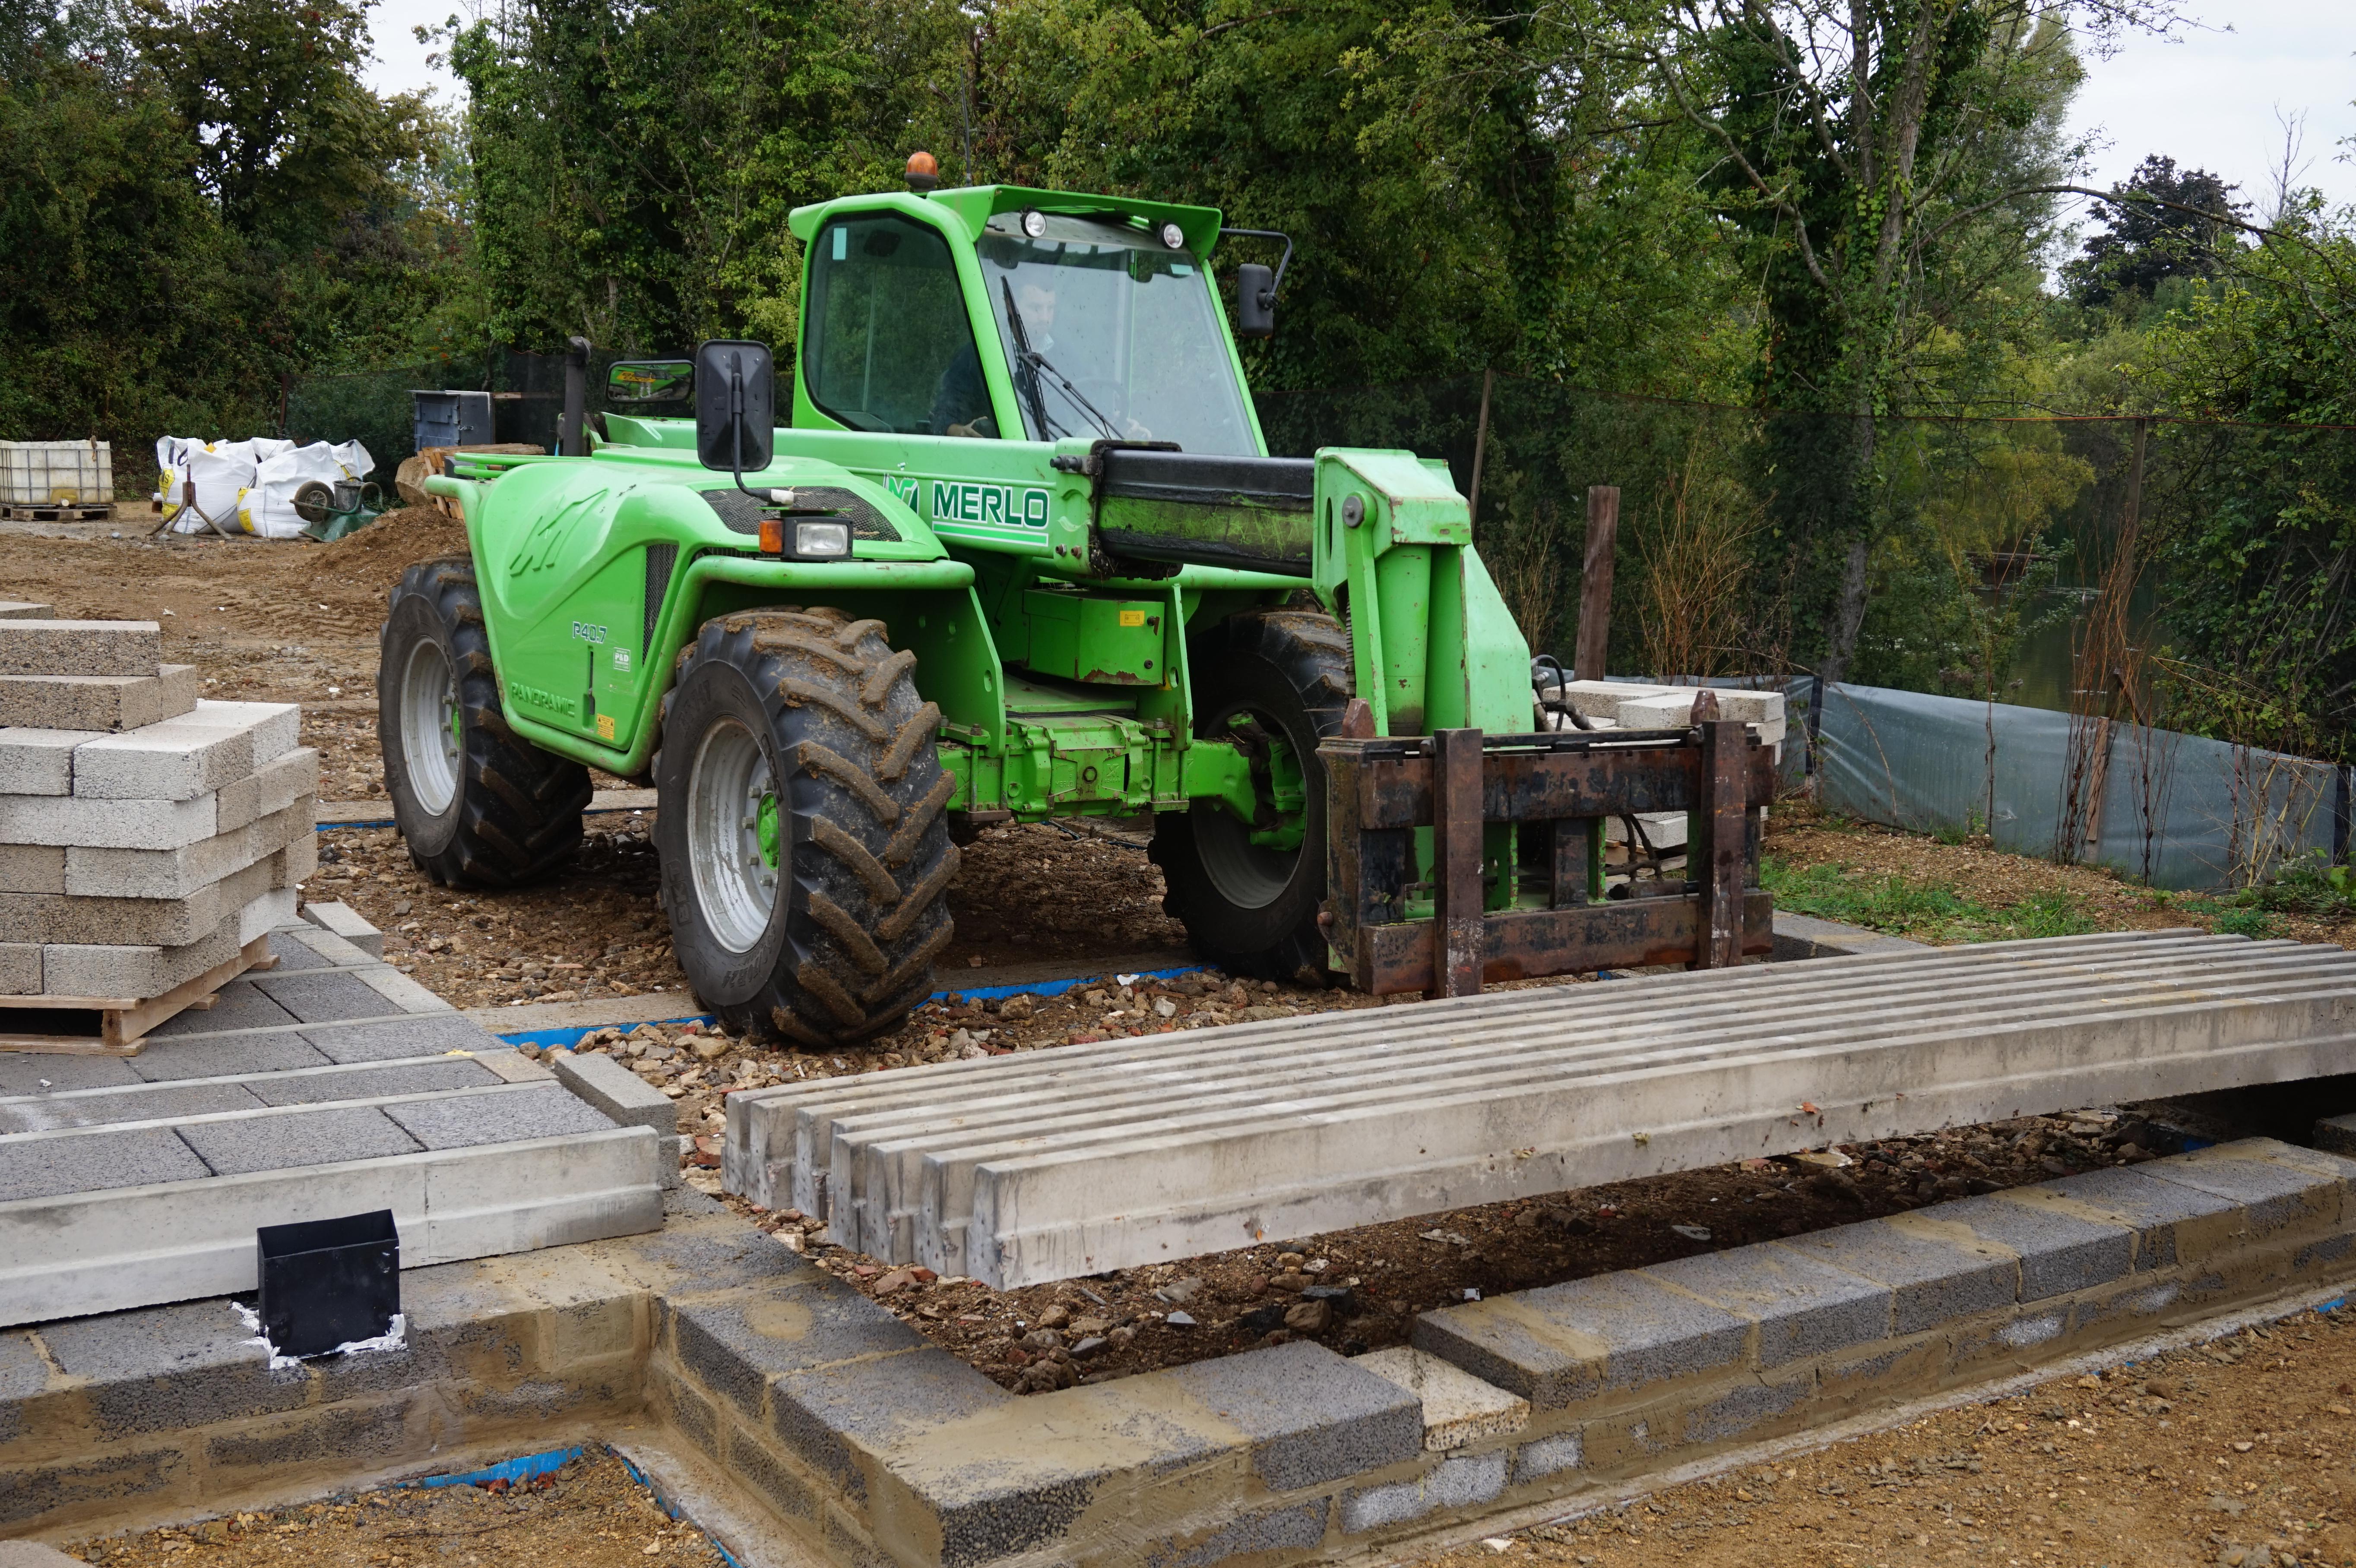
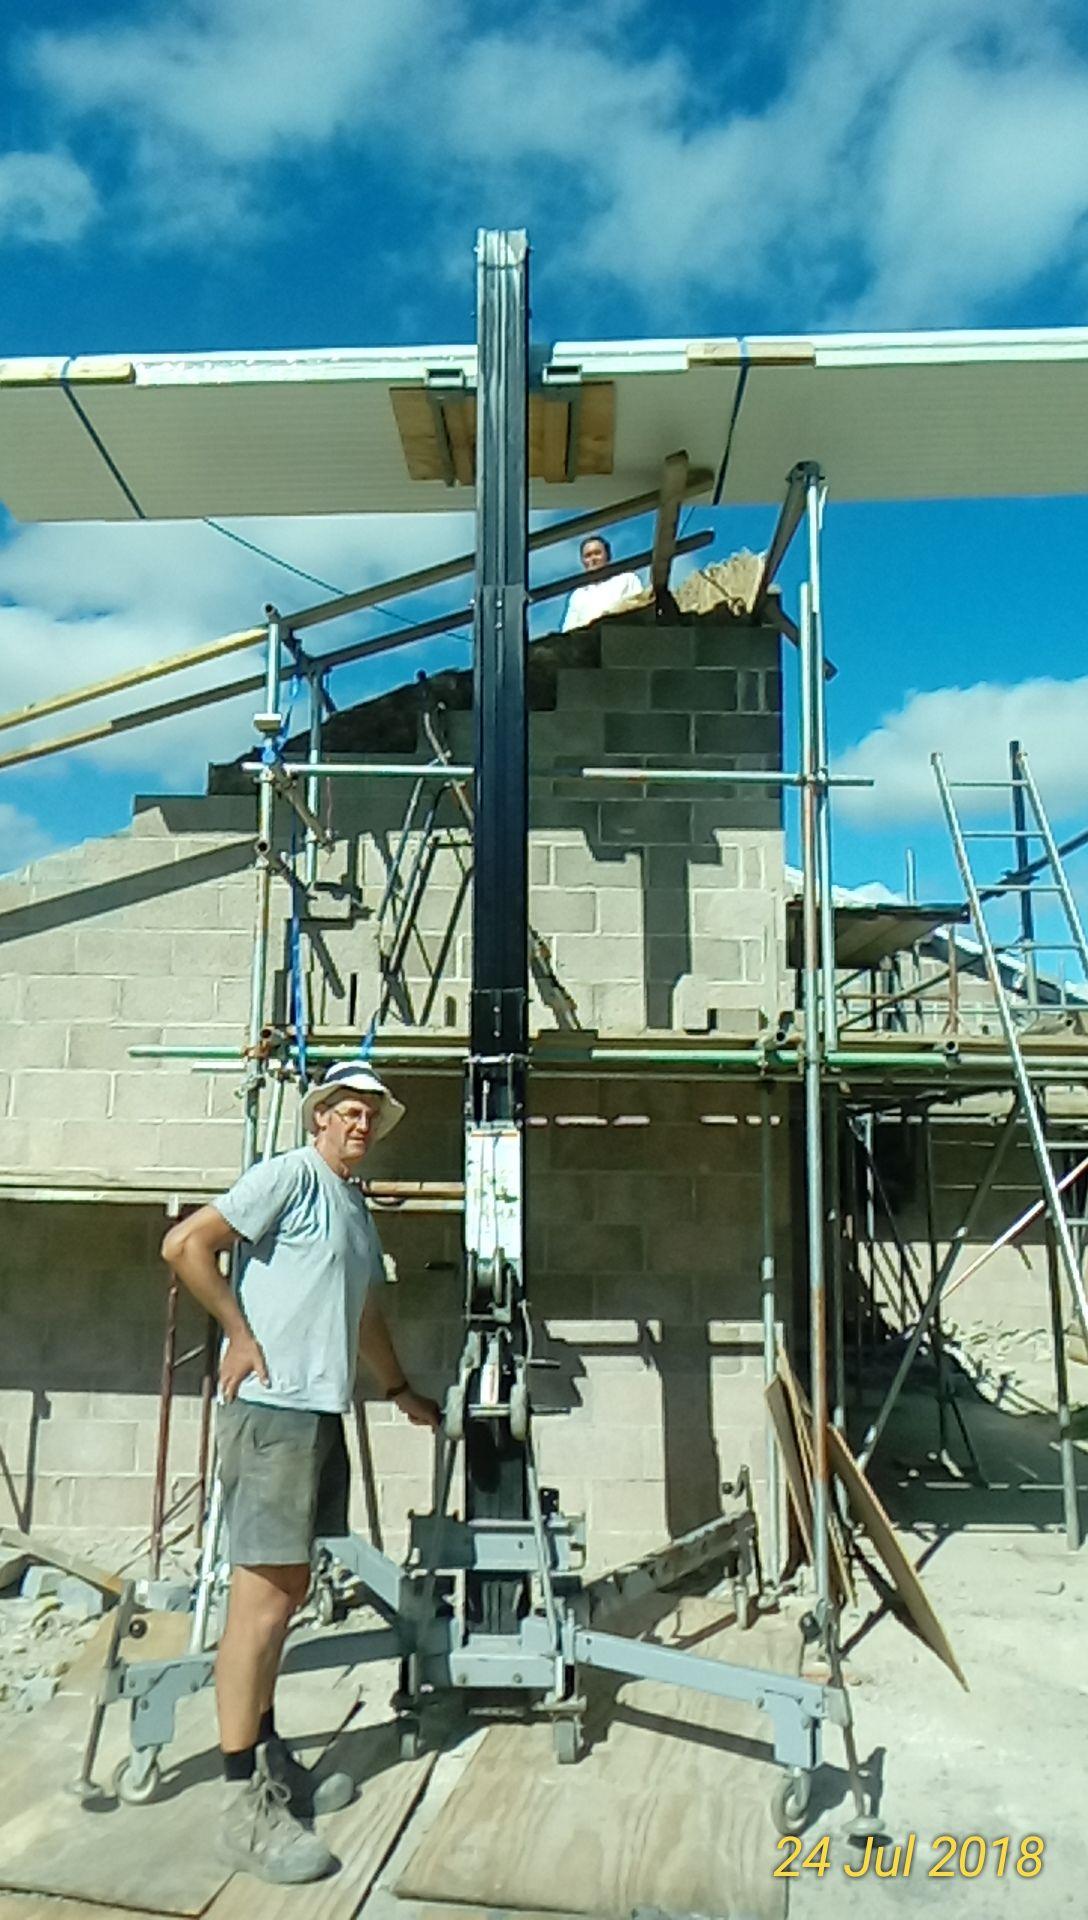
Just a silly topic if anybody is having to do this sort of thing themselves i had 16 tonnes of concrete floor beams to put in place at a distance of 15m from where we could get the closest lifting equipment, answer don’t build the front wall of the house and drive the forklift inside the house working your way out until all beams in place, once all in place finish off the last bit of wall. Pic one the forklift sitting in the back bedroom, pic 2 halfway, pic 3 just exiting the garage. All done.
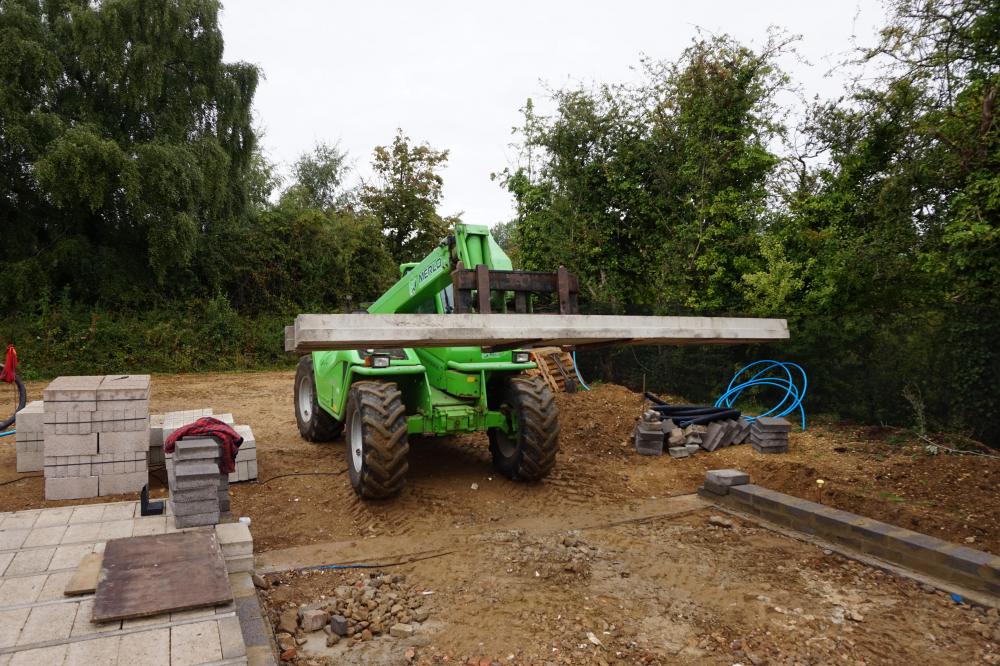
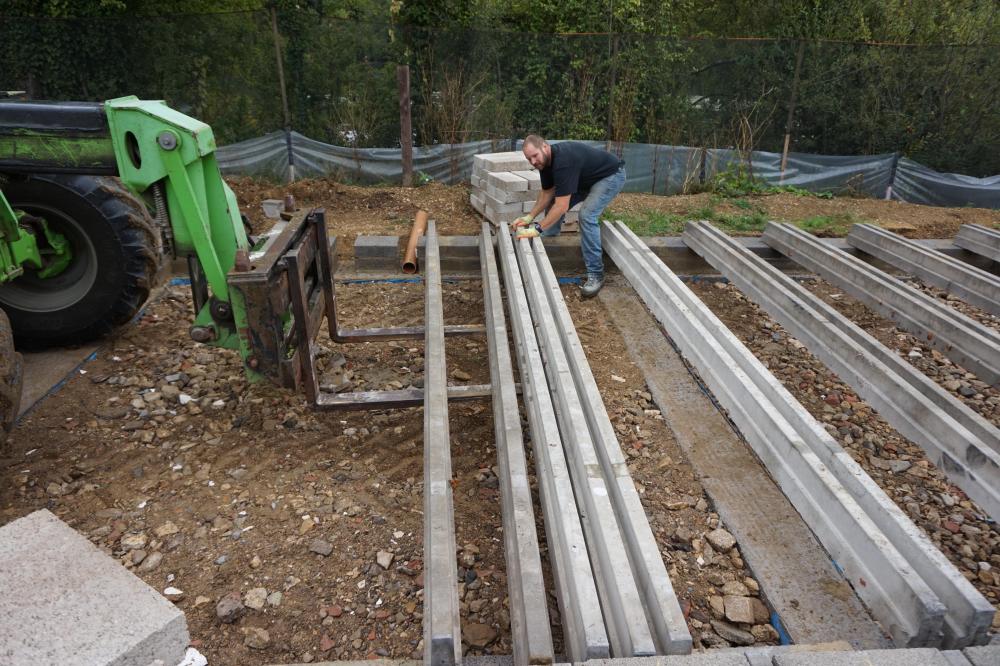
 1 point
 -
1 point
-
swap it for another form of heating and do your bit to save the planet....and peoples lungs ?1 point
-
They are big 'darlings' but their aim is still a bit dodgy? There was a pack with a slight broken corner on one plank so I got that pack for £10 to keep as spares.1 point
-
We have about 50mm PIR+30mm EPS. Also wish we had more.1 point
-
Sounds good. Just check that you have enough left over for minor repairs - eg if the shower overflows or the loo pipe leaks or the little darlings wee on it and for some reason you do not find out for a couple of days (have I mis-estimated the age of the little darlings?). I imagine a big repair would be replace-in-toto. Ferdinand1 point
-
I went ahead and bought it. It was £25 sqm but is being discontinued. They had enough packs (6) in my local store. It has a 25 year guarentee so happy with my £11.39 sqm bargain1 point
-
(Ran Ed's likely logical way.. red just had to go to my Live, or the Switched terminal or there'd always be an open circuit! so all termin-ology aside):
 1 point
 -
Just found out why the Salus motorised UFH actuator works so well on our system. The headline temperature differential that it tries to maintain between flow and return is 7 deg C, which is higher than the differential we see on our system, and something I'd just put down to manufacturing tolerances. I've just read the detailed technical stuff on this actuator and it seems that it reduces the temperature differential that it tries to maintain to 4 deg C when the flow temperature is below 30 deg C. That's just about perfect for our needs, and explains why it works better than I thought it would. The main reason I fitted it was because it has a much faster actuation time than the thermal actuators. It's a real bonus to find that it also does such a good job of controlling a low power UFH system.1 point
-
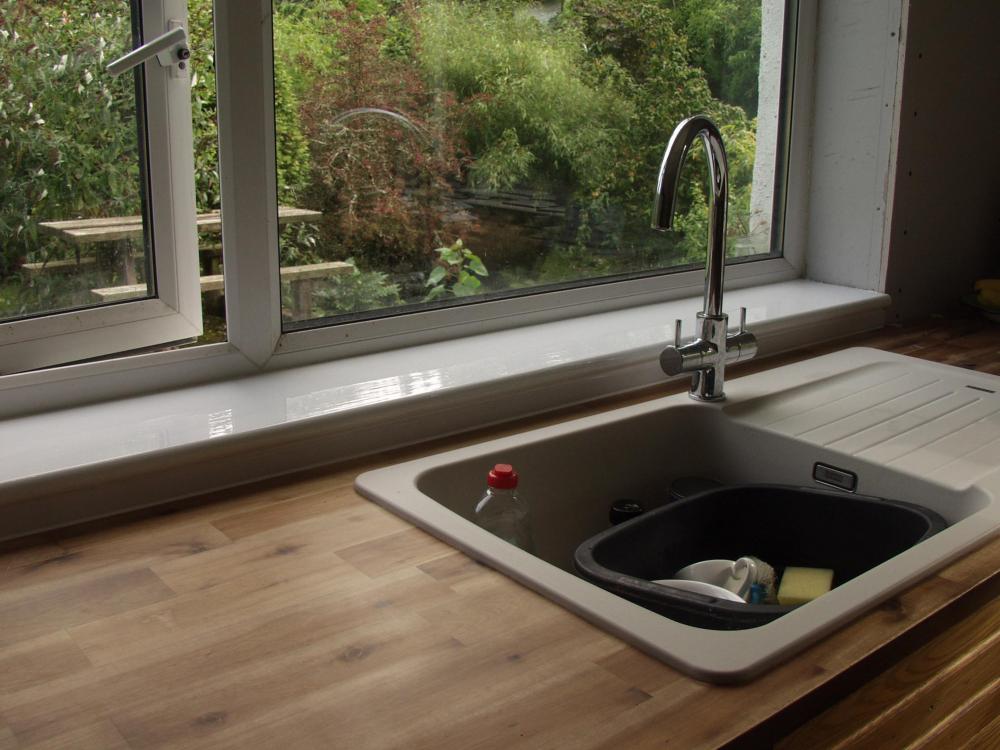
Been behind on the kitchen chaps/ family stuff & work. Slow progress but sill 1 & splashback done. Will try catching up on the ceiling light today..
 1 point
 -
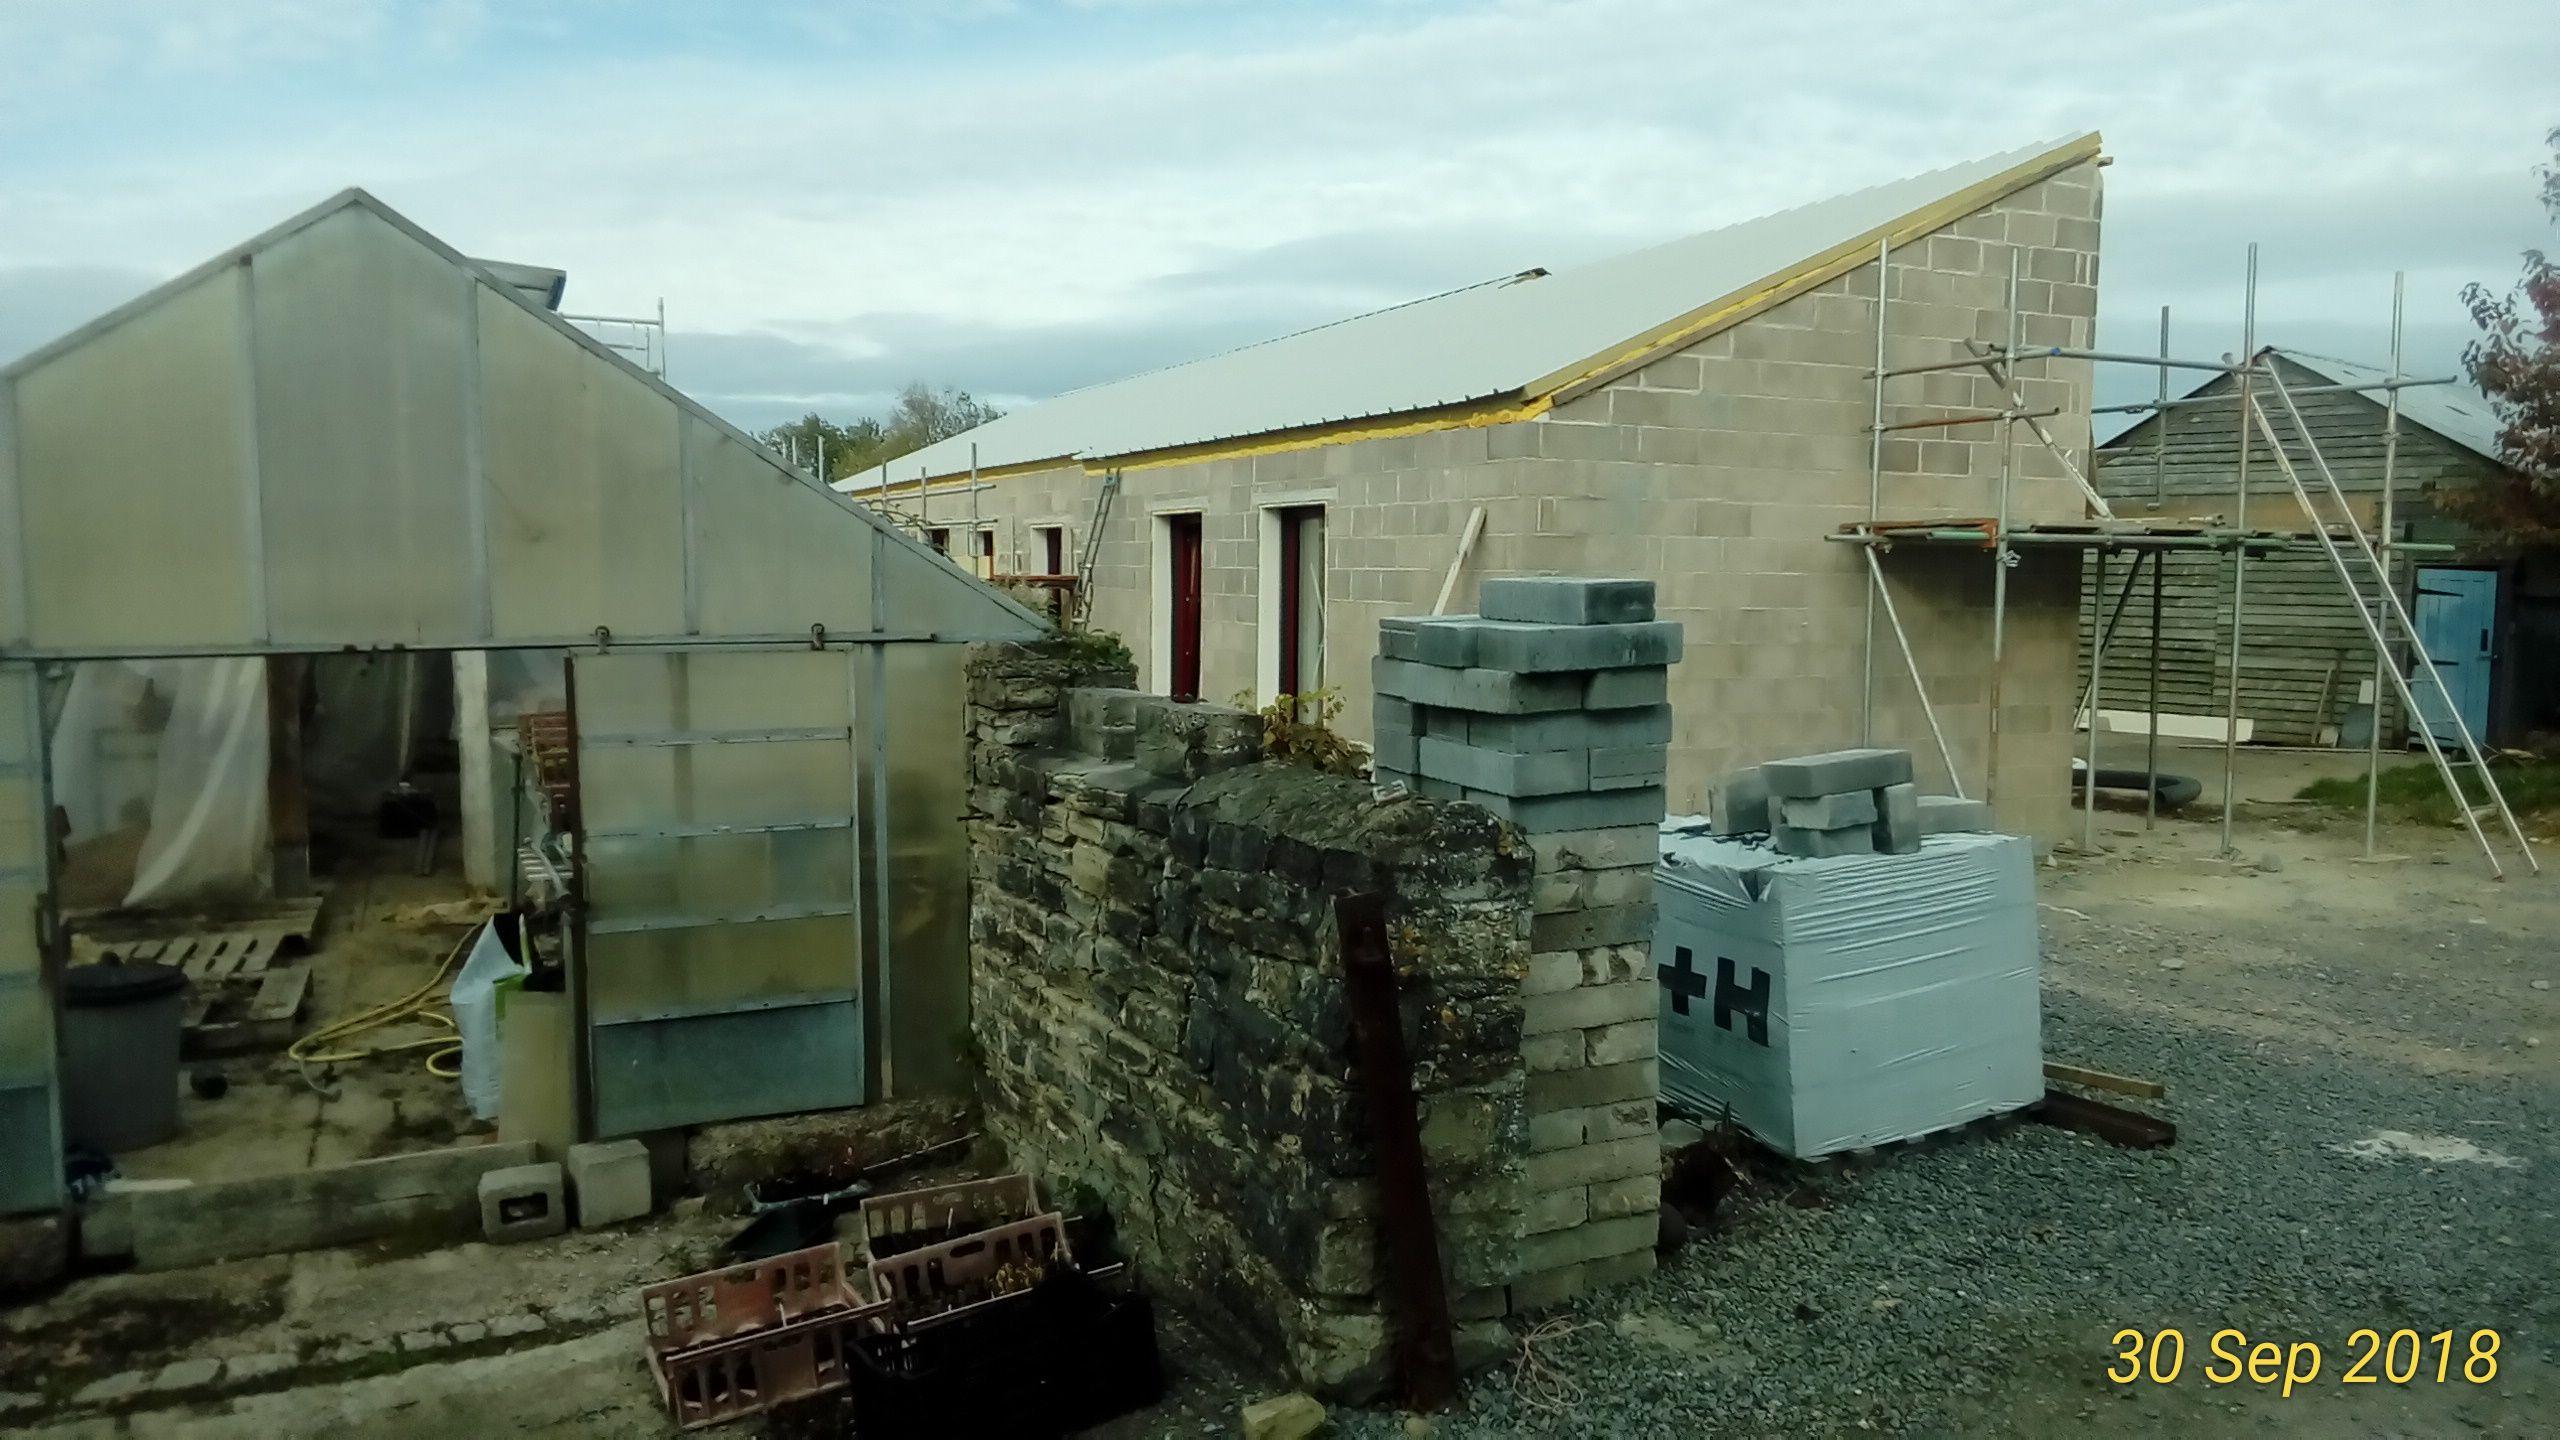
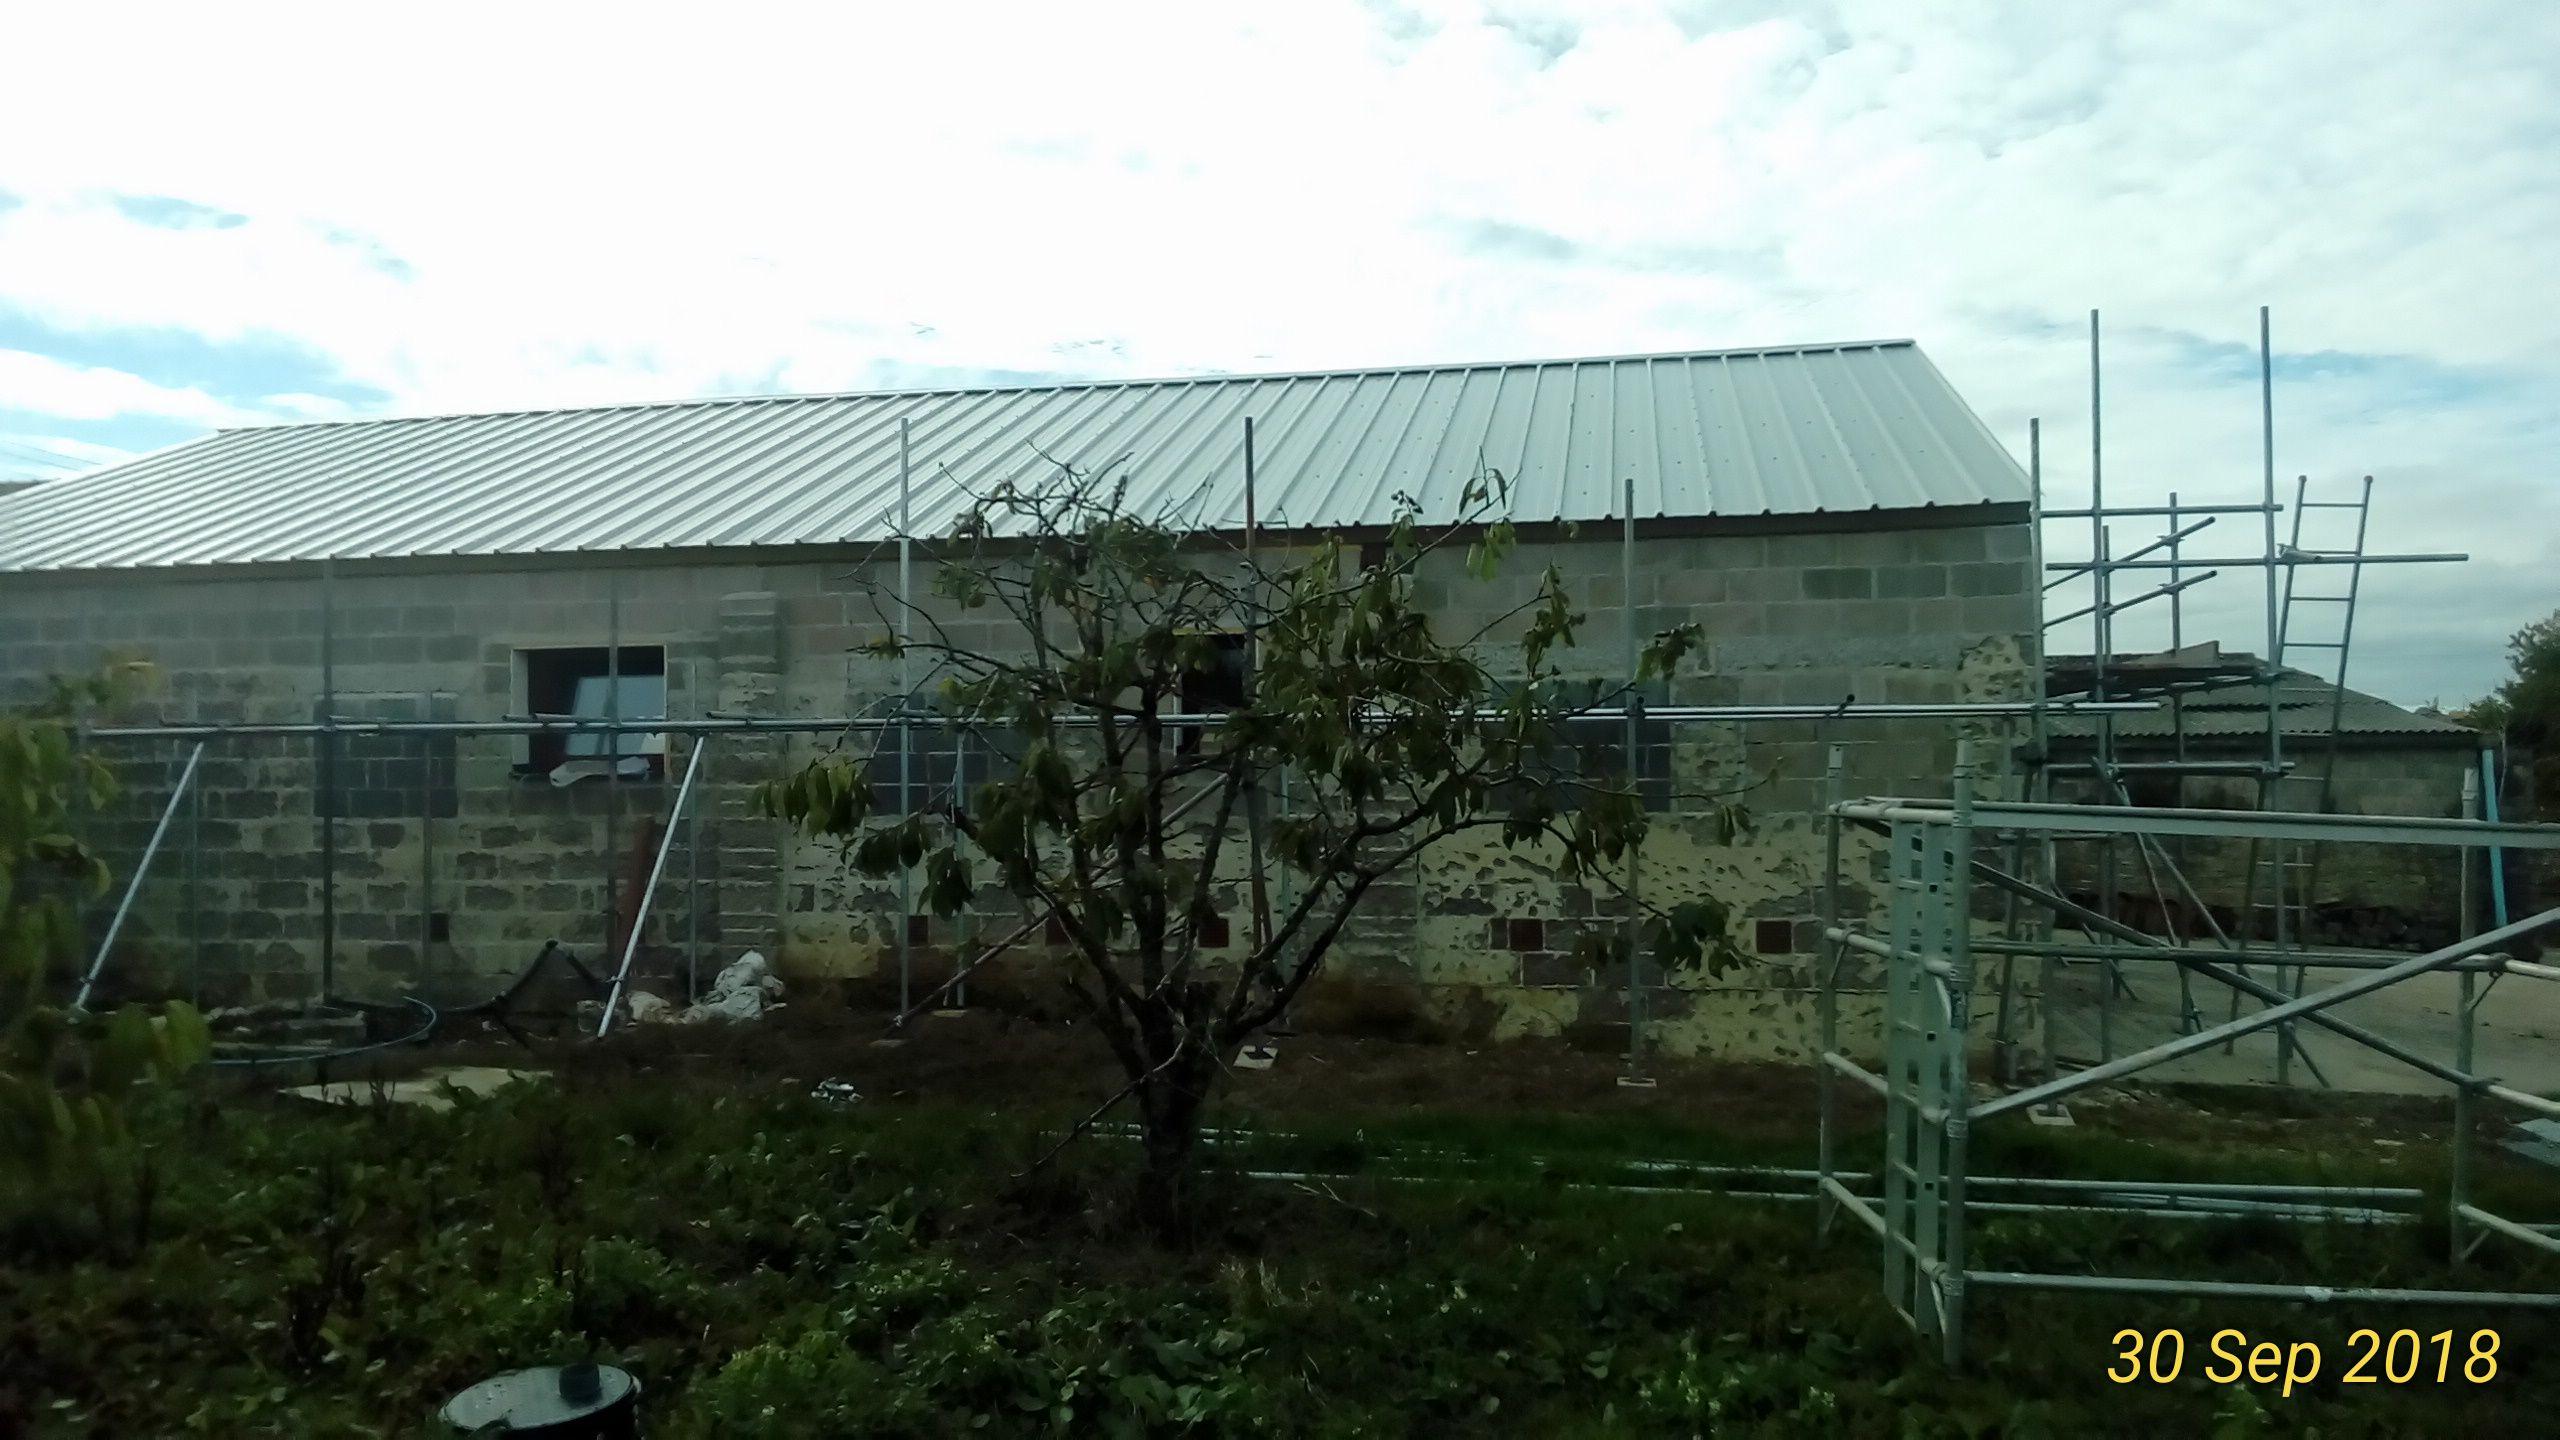
Couple of pictures attached. Rendering should take place over the next few weeks if we can decide on which through colour render to use! Recommendations welcomed. Kingspan rate their roof at 3 air changes so not good enough for us. To beef it up we have used pro clima at all junctions including the ridge. Time will tell if this will be enough but it was quite easy to put on. At the moment we can hear the rain but are quite happy with this as we had a tin roof when we lived in Australia. It is not too noticeable and we haven't got ceiling up yet. U value was the driver as the barn shape is not ideal for a passive house. We are based in Somerset and would be very happy to receive a visit to view in the flesh.


 1 point
 -
The probe isn't a very tight fit inside that pocket, but seems to work OK as it goes in a fair distance. 25 deg C is about as low as that Wunda thermostatic valve will reliably go. I found that I could get mine to go down to about 23 deg C, but it wasn't great at controlling the temperature when down that low. 25 deg C should be fine, I now run our system with about that flow temperature and it seems to control reasonably well, with just a small amount of overshoot above the set room temperature, which you can see on the data that's logged, but can't subjectively feel in the house. I ended up replacing the UFH on/off valve at the other end of the manifold with a Salus stepper motor driven one, as in this post: This is the valve: https://salus-controls.com/uk/product/thb23030/#description1 point
-
What sort of radiators are they ..? It’s likely that you have all sorts of crud in the system and I would be more concerned that a flush will dump muck into the boiler heat exchanger and block that so I would think a bit before flushing. Assuming it’s a one pipe system, you may need to do some clever work with the pump to get it to clear through these sorts of rads as it’s not designed to do that - do you know where all the drain offs are on the pipework to start with ..? Initially you may be better draining the lot down and putting a magnaclean or similar in the feed to the boiler first and then adding a central heating cleaner. It will allow you to drain and dose the system too - easier than working in an attic in the header tank ..!1 point
-
Follow up: The job was completed last week and @PeterW gets the prize for the best estimate of £600. The original offer was a rough hardcore plot drive assumed to be 20m long x 3m wide and the plot seller offered to include this for an extra £2000 in the sale price. I was temped but declined. The job I commissioned was for 150m2 of leveled hardcore standing including a shaped curved drive to road ramp, parking area outside the garage and preparation of the future internal patio 8m x 6.5m bounded on 3 sides by the l-shaped house and garage. The average scrape back of the topsoil was 125mm and the final make up of the finished drive next year will be 250mm, there was also a 5m x 4m shallow that needed extra filling. My digger man estimated 16 tons of big lumpy 4" clean for the dip plus 40 tons of 2" clean for the whole area. He negotiated with the aggregate supplier for this to be delivered in stages during the job so it would be dropped directly into the scraped area. Final bill was £825+VAT for 3 lorry loads of hardcore plus £450 for the digger + dumper time. A generous split of 50% of the job for the original basic drive gets very close to that £600 estimate. Muck-away was free because a local farmer wanted my top quality turfy topsoil.1 point
-
it breaks up easy - you won't be there long!1 point
-
Finding I don't hate tiling now. It's all sort of coming together now. I'm not panicking for a start! Got half a system of cut a load first. Very little waste so far. Found out the hard way not to use bucket water from a previous mix to knock up fresh adhesive! Got away with it but a bit harder to work with.1 point
-
Looks a tidy job there. Well the insides ?1 point
-
You can be very cunning with the 28 day rule, too, as long as you have a group of at least thirteen, preferably 14, people. A small group of flying friends have provided themselves with an airfield, without needing planning permission, by using the 28 day rule. They clubbed together and bought a field, then divided it up into strips, and each member holds the title to one of the strips. They erected a couple of poly tunnel hangars, that are classed as temporary agricultural buildings, to keep their aircraft in. They keep a separate usage log book for each of their airstrips, to make sure that none of them is ever used for more than 28 days in any 12 month rolling period. The strips are used in sequence across the field, with the unused strips being used for rented out grazing (they just move an electric fence). You could, I'm sure, do the same with mobile homes, just move them from one pitch to another every 28 days. The key is to ensure that each pitch is in separate ownership - this trick does not work if one person owns the lot.1 point
-
I worship the Flying Spaghetti Monster but even He kneels at the feet of the LA planning officer.1 point
-
Thank you all for your comments - I will try to answer questions if I can. Yes, I suspect many people could write a book about their experiences on building a house! It's such an enormous project and is almost always carried out by people who have little or no experience. You won't be surprised to learn that we used to watch Grand Designs a lot prior to the project. One comment that Kevin McCloud made several times which I completely agree with is how much a well-designed house can change your life for the better. It really can make you more contented and relaxed - at least that was our experience (not during the build obviously!).1 point
-
well I've just re-secured all our strong backs - its made Q a difference. Also added 18mm ply either side of the metal web joists - also a positive impact. After reading on this forum - I also secured the ends of the joists again so they are rock solid. All helps me sleep at night and hopefully has a positive impact on the floor as well!1 point
-
Yes, just a junction box, as the EVSE has the electronics in to control the charge point, and provide safety isolation, so needs to be hard wired to the supply. A typical charge lead will be 5m long, so you should be able to connect from a centrally mounted EVSE to any car parked in the garage, as long as the vehicle charge connector end is facing the right way. These vary, my Prius Plug in has the charge connector on the rear offside wing, the Nissan Leaf has it's connector under a flap on the front of the bonnet, so you may need to position the cars the right way around in order to connect. Some EVSEs have a fixed charge cable, but if you're unsure of the type of car you might get, then an EVSE with a socket, the same as those on public charge points, might make more sense. I have one of each, the one by the garage has a socket on the front, the one at the other end of the drive has a fixed lead and charge plug. It would be great to see more charge points around. Anyone who's in our area is welcome to use one of mine, and the more people prepared to share charge points the better, in my view.1 point
-
Rolec do a fairly wide range of charge points: http://www.rolecserv.com/ev-charging/product/Wall-Mounted-EV-Charging-Options I have a 32A Rolec charge cable (J1772 to IEC 62196-2 connectors) that I keep in the car to use with public charge points (the car doesn't come with a charge cable for public charge points - it's a £450 extra......................) and am impressed with the connectors, they are better made than the £55 Dostar J1772 plugs that I've bought for the 15 A charge points I've made. Unless you want to give away data to all and sundry, then I'd suggest staying away from the OLEV grant-funded charge points, as they communicate via a mobile phone signal and sell user and usage data to anyone interested, which is why they are relatively cheap. I only found this out when the grant-funded charge points were still "free". I asked for one, the company came out to do a site survey and told me I couldn't have one as there was no mobile phone signal. A bit of digging around showed that the government deal was that free or subsidised charge points were provided on the basis that the supplier could do what they like with your data. You can tell these charge points from the others, as like the public ones, they are activated by an RFID card, which has your name, address etc encoded in the account information. If a charge point doesn't need an RFID card then the chances are that it doesn't send data to the supplier, but it's worth checking, if you're concerned about data snooping. There's no practical requirement for a home charge point to be like a smart meter, and dumb charge points work as well as smart ones. Edited to add: Here's a table of EVs and their charge requirements/capabilities, that indicates what each model can accept: http://ukevse.org.uk/charge-points-chargers/charge-point-compatibility/1 point