

Stones
-
Posts
3761 -
Joined
-
Last visited
-
Days Won
23
Everything posted by Stones
-

Part 24 - Finishing all those little things
Stones commented on Stones's blog entry in An Orkney Build (in ICF)
Due to the height the units are fixed at, it works a lot better than a length of cornice / pelmet would have. -
Part 24 - Finishing all those little things
Stones commented on Stones's blog entry in An Orkney Build (in ICF)
No, wrong number on my part Edited. -
Out of interest, is there a risk that roof tiles / slates would end up getting stained if using copper sulphate?
-
Has a safety boot saved you?
Stones replied to epsilonGreedy's topic in General Self Build & DIY Discussion
I recall chopping logs for our WBS, swinging down I didn't get a clean hit, the axe slipped of the log and continued downwards until it made contact with the toe of my left foot. Fortunately, I was wearing steel toe caps, so the only injury was to boot leather. Don't think I picked up an axe again after that incident - invested in a log splitter. -
Having spent the summer months pottering in the garden, and generally ignoring the list of outstanding things to do inside, I finally summoned enough motivation to get things finished off. Fortunately, the list was fairly short so once started, was completed in a reasonable timescale. In the kitchen we tiled the splashback, fitted a decor panel underneath the bridging units (rather than having to see the underside of the units) and fitted a breakfast bar. Picking the tiles was probably the most challenging part, but we finally found something we both liked and agreed upon, and seems to work pretty well as a contrast to the units and worktop, as well as matching the colour scheme of the wider room. The decor panel has nicely finished off the underside of the bridging units. Ideally, this would have been done at the time the kitchen was fitted, and although was something I raised in the kitchen showroom, it was decided that it wasn't required... The breakfast bar was formed from 450mm deep lengths of worktop, the uprights specified as shelves so they were finished on all sides. A very simple construction secured to the back of the island by means of small brackets to a batten, and fix-all to the wall and floor. The height is set at 1000mm, which although taller than a standard breakfast bar, does give more leg room when sitting at it. I have to admit I wasn't keen on the idea of a breakfast bar, but have been won over, and it is a really usable addition to the room, primarily as a place to sit and chat when someone is working in the kitchen. I think solid oak worktop would have been preferable, but the final choice was down to asthetics, and again colour contrast was desired. In the utility room, I built a bench / shoe storage. A very simple but sturdy construction, I used oak worktop off-cuts for the uprights, and formed the shelf and top, using off-cuts from our oak door frames and door stops, glued to an off-cut of plyboard, all finished with Osmo. From a cost point of view, the materials were all free as they were scrap. The only cost was my time, a little wood glue and a few sanding pads for the orbital sander. Having built the bench, I had a couple of pieces of oak worktop left which I used to make a couple of little side tables. I had intended these to be only temporary, but like them so much that I plan to keep using them rather than replacing them. Elsewhere we had a couple more spots on our oak floor where it hadn't bonded to the slab. These only became apparent as we moved furniture around. I've previously relayed the reasons for this issue so won't repeat them. We used the same method of 'repair' using this product: http://www.fixafloor.co.uk/ but instead of drilling a larger hole and using a plug of timber flooring to finish, I drilled a hole of 4.5mm, injected the adhesive, then once cured 24 hours later, finished the drill hole flush using melted furniture repair wax. This in my view is a better method of finshing, looks less intrusive and was less time consuming compared to plugging. See below for comparison pictures. Filling all the nailheads on our oak skirtings and facings was not a task I was looking forward to, but in the end only took a couple of hours. Using a tip I picked up many years ago from a decorator, I used linseed putty, mixing 50/50 some natural and mahogany coloured putty for a final filler that was pretty well matched to our oak. Very easy to use, the putty remains flexible with the only finishing required being a wipe over the filled area with a dry cloth to remove any reside. Other than that, it's been settling into a routine of annual maintenance - servicing our MVHR (filters and cleaning the core), renewing the white silicone in our showers and servicing the treatment plant air pump. Next entry - Heating and DHW - How our ASHP based system has performed over the last 12 months.
-
We have two clothes pulleys in our utility, and they do a great job of drying clothes in conjunction with the MVHR. On one occasion we were packing before going on holiday the following day, and some last minute essential washing had to be done so a particular item of clothing was available. With no tumble drier to fall back on, we opted for a fan heater. Shut the utility door, and left the heater running for half an hour. Warmed the whole utility up and dried the clothes (again the the MVHR running) in an hour and a half. Not something we would do every day but a good emergency fall back.
-
As described earlier:
-
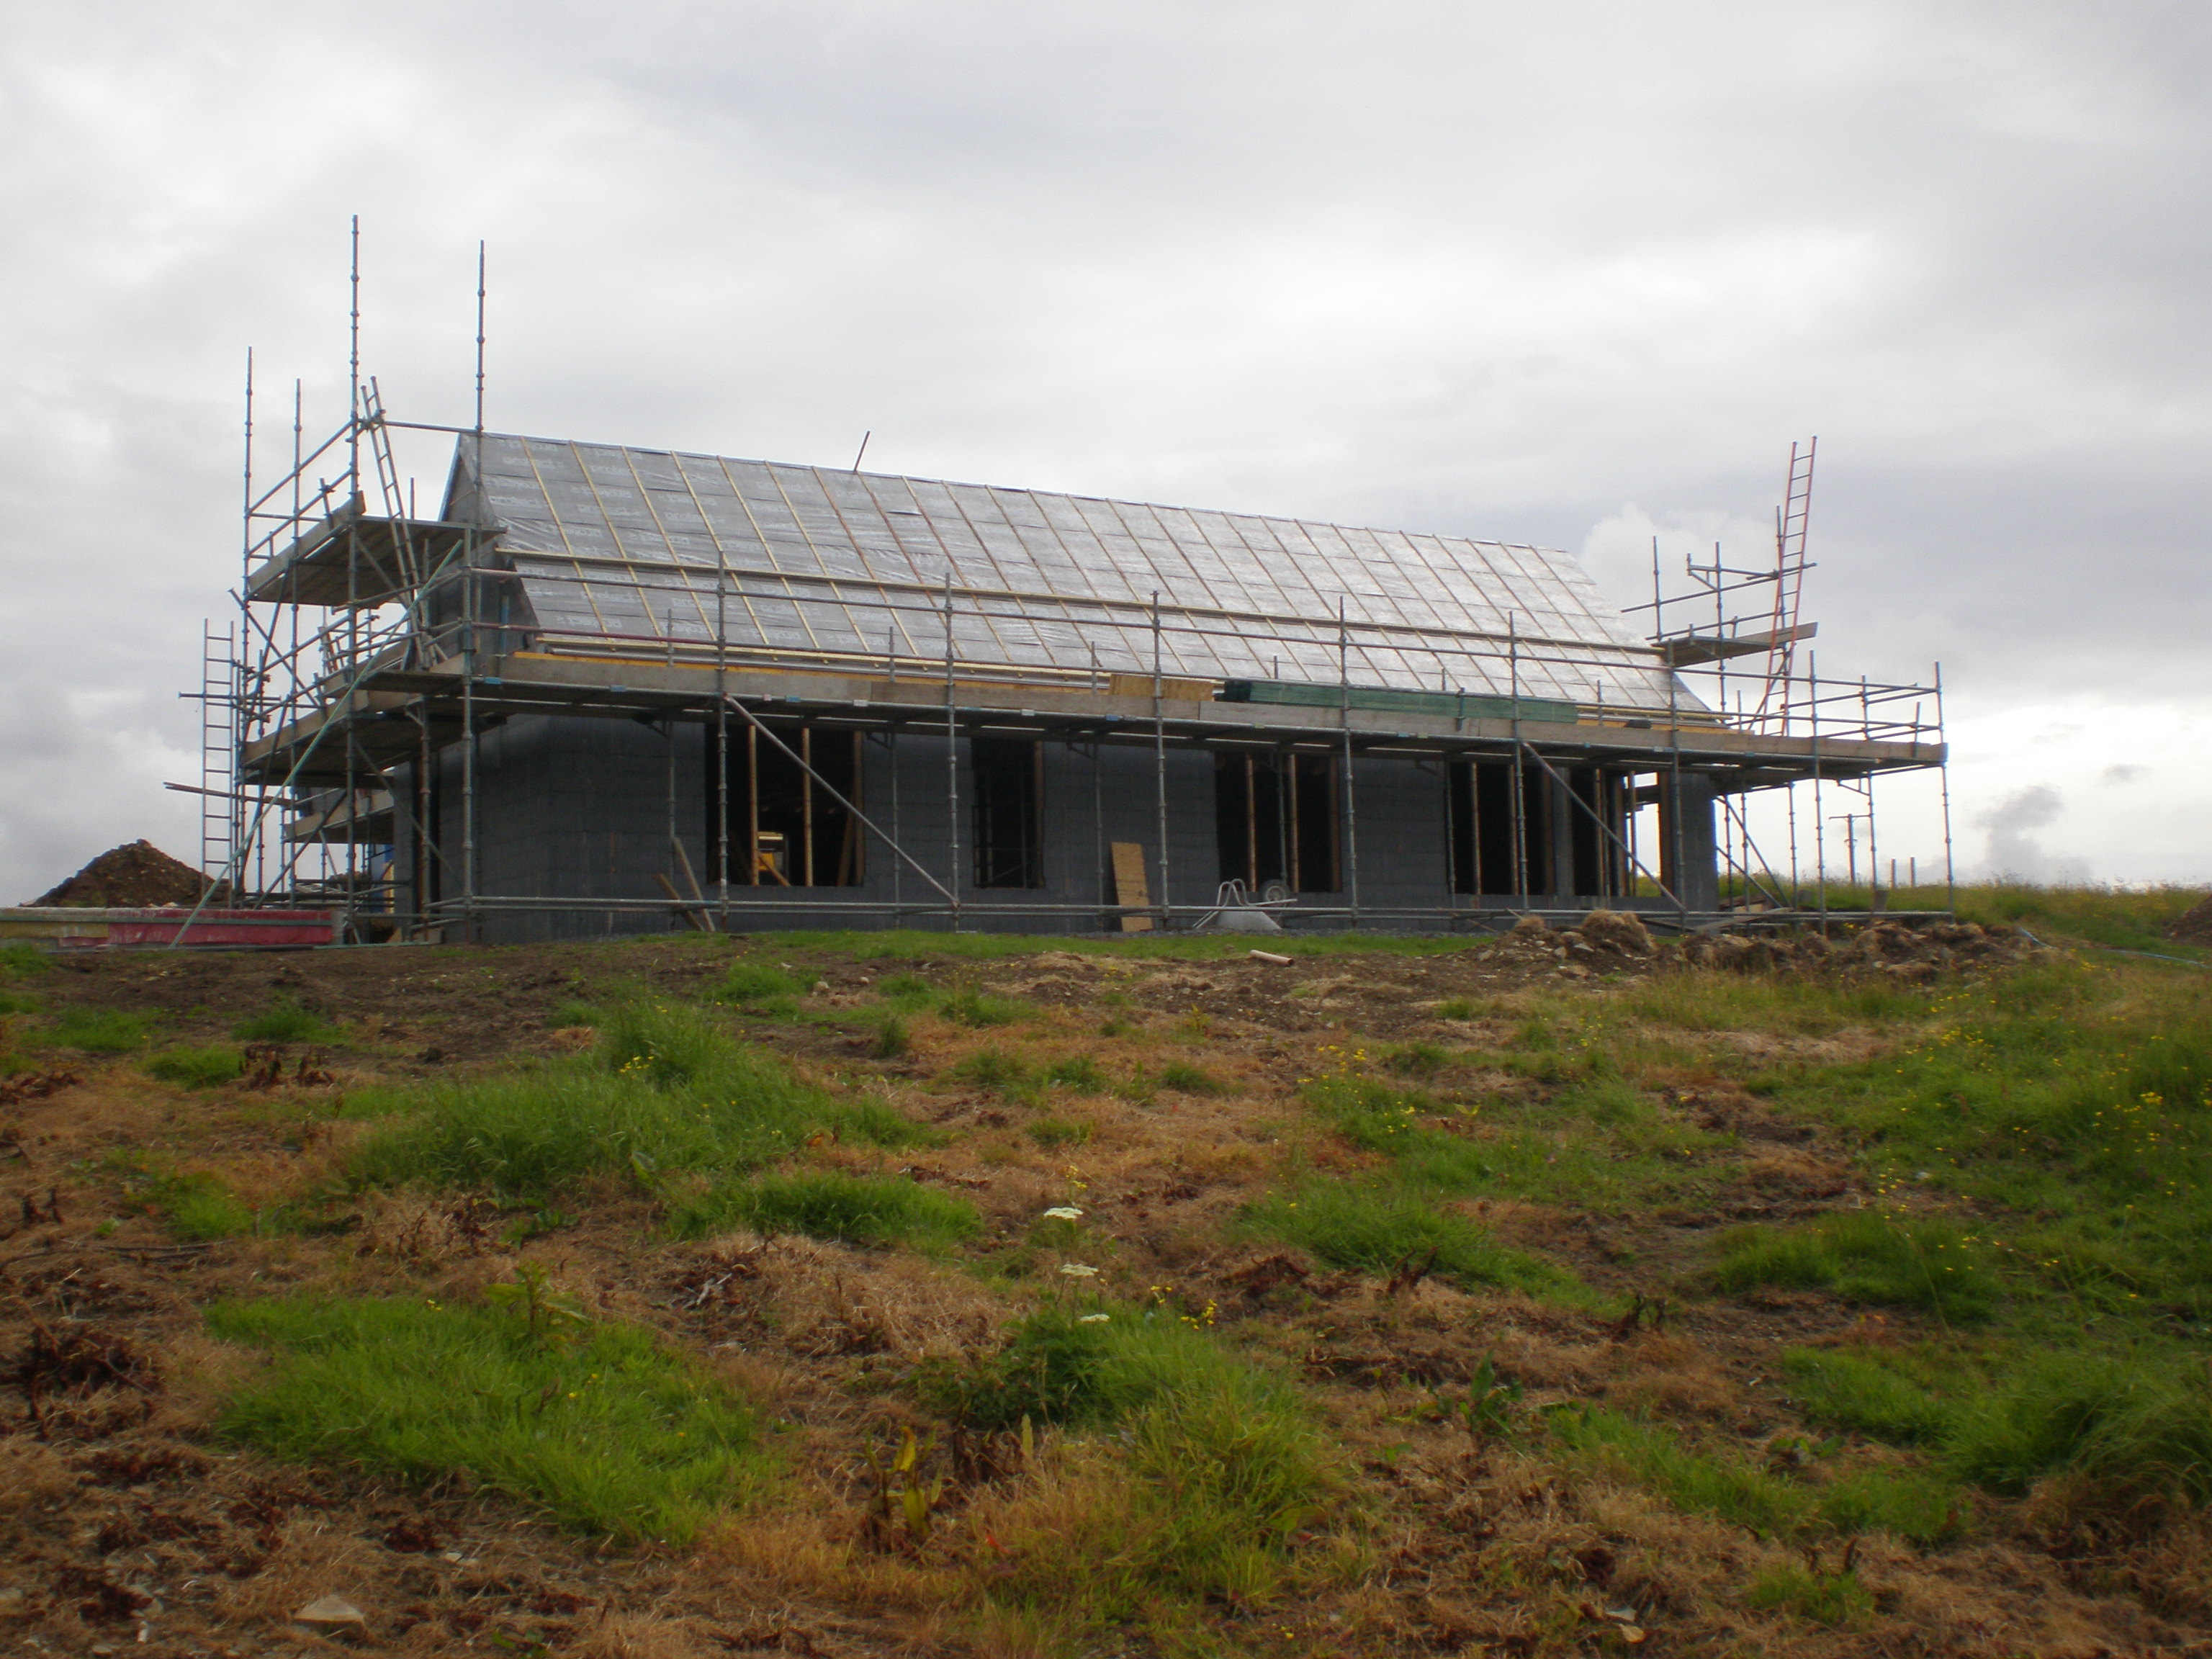
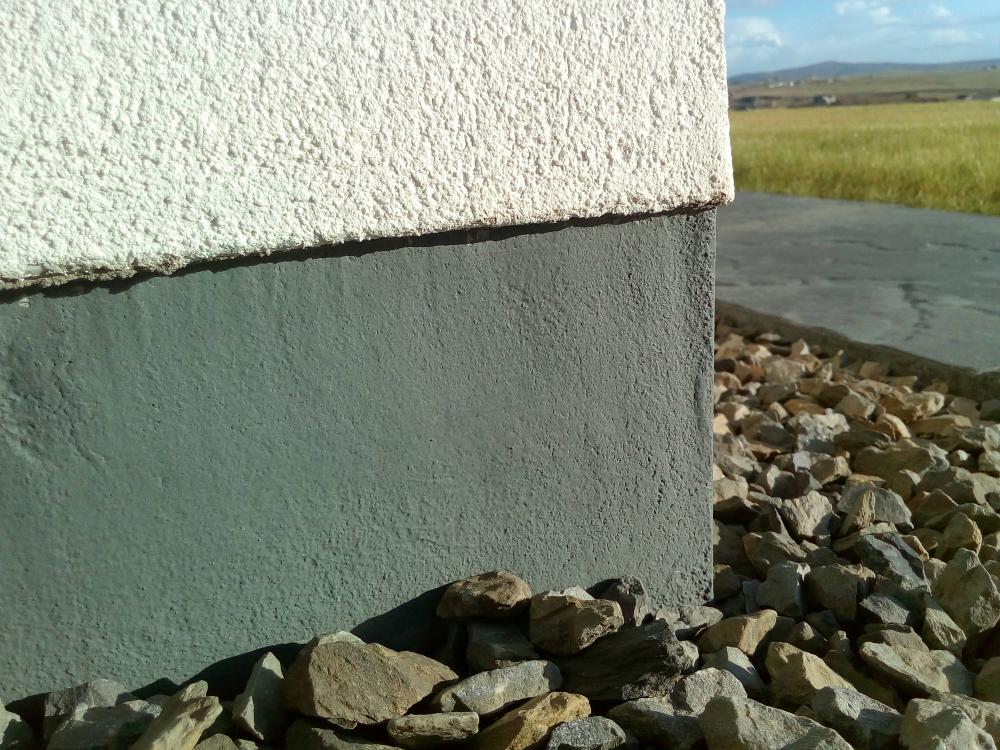
@AliG the picture you found is from the builder I used. Silicone render finished down to a bead, below the bead has been rendered with two coats of the base render then painted (or at least, that's how mine was finished). @Alexphd1 I'll try and post some close up pictures tomorrow for you.
-
Depends where you live and the availability of installers. When I was looking at installing in 2016, the only local installer wanted £6500 for an in roof system (£6000 on roof), and this was after the tariff drop. I could have got someone from the mainland up, but by the time additional travel time, ferry and accommodation costs had been added, it was £5750. Looking at a DIY system, £2500 was the going price at the time, you then had to buy the fixings (another £500 or so) and pay for labour and an electrician. I reckoned it would be £3500 all done for a non MCS system installed by others. Generation at my location 2950 kWh/yr according to PVGIS, so an income of £190 / yr. The saving of 800 kWh of electricity at 11.5p, and 2000 kWh diverted to DHW (replacing DHW produced by the ASHP at a cost of 4.79 kWh) totaled £187, so altogether £377 pa MCS system payback £5750 / £377 = 15 years (not including cost of inverter replacement at 10 years) Non MCS system payback £3500 / £187 = 18 years (not including cost of inverter replacement at 10 years) As @ProDave says, it needs careful consideration of your circumstances to decide whether the investment is worthwhile. I concluded that it wasn't for me. The calculation will no doubt change as battery storage becomes more affordable or if I switch to an EV.
-
Hi @jamieled and welcome to the forum. @ProDave, one of our resident electricians is in your neck of the woods and may be able to point you in the right direction for suppliers etc. I'm a bit further north (Orkney) but will pass by at some point, so may well drop by for a visit as your build progresses.
-
Hi and welcome Adam. Have you considered running a dedicated blog of your project? If you PM @BuildHub our wonderful admin can sort out blog posting rights for you.
-
Thanks @Trw144, PM sent
-
Afternoon all, The FMG would be grateful if any members who happen to be accountants PM us at @BuildHub as we have a few questions we would appreciate assistance with. Regards, FMG
-
Great news Dave.
-
Ventilation rates
Stones replied to Gone West's topic in Mechanical Ventilation with Heat Recovery (MVHR)
Our house has a volume of 475m3 and we ventilate at around 115m3/hr. We have found in previous houses that below 20% of house volume starts to cause problems in terms of air quality and condensation. 4 of us in the house, so it may well end up being a lower figure as and when the kids leave home. -
Pplus a few strategically placed large boulders or plants so they can't get onto your land?
-
@Ralph, if its of any help, I could give you the details of the contractor I used for two of our builds when I lived in Perthshire. He is based in Kirriemuir, so not too far away from you.
-
Vacuum cleaner recommendations?
Stones replied to Jeremy Harris's topic in Kitchen & Household Appliances
Thanks for the tip, just finished cleaning and the motor filter was a bit clogged up. New main filter (already use the HEPA bags) also so fingers crossed we see an improvement. Still seriously considering a cordless... -
Been there many times, so know how challenging it is. My experience with Scotframe is they would quote for whatever type of kit you wanted - full (of whatever spec), structural, with or without windows etc Do run the heat loss calculator so you can make an informed decision. There is, as other members will attest, a sweet spot in terms of the cost of fitting extra insulation and return (lower heating costs), but exactly where that point is will very much depend on your house design, location, orientation etc.
-
@Ralph What are you wanting to achieve in terms of running costs? As others have said, improving the U values of the floor, walls and windows would make a significant difference. Plugging your U values into the heat loss calculations for my house, saw a near doubling of heating requirement. Try dowloading the heat loss spreadsheet from @JSHarris blog: http://www.mayfly.eu/ plug in some different values and try and work out where the best value improvements would be. Our last house used the Supawall system (made by Scotframe - a licenced version of the Valutherm they now produce). It is used a lot up here in Orkney, and is a well engineered system and IMHO a good option, and takes away a lot of the workmanship risk in terms of insulating the walls. On windows, I've certainly found Nordan to be quite expensive in the past (albeit they are nice windows). Have you had quotes from anyone else? In respect of your heating / DHW, we went with a packaged Mitsubishi Ecodan system which you can read about in my blog: Key to using an ASHP is making sure its set up correctly, easy with this system as it has an auto adaptive mode so manages itself, and that you have correctly sized the heat emitters, either UFH pipes OR large (oversized) radiators and pipework designed for low flow temps. We had the latter in our last house, UFH in this, and I find UFH far more comfortable to live with. The master controller stat is set to 21C and it maintains the house at that quite happily, with flow temperatures usually around 26C (albeit the past few days they have been as high as 29C). I'll be posting on the blog soon with how the system has performed over 12 months but just a quick look indicates annual COP for DHW to be 2.3 and for heating 3.4
-
@Ralph, a bit late so I'll pick this up tomorrow.
-
Insurance
Stones replied to Woodgnome's topic in Self Build VAT, Community Infrastructure Levy (CIL), S106 & Tax
+1 -
MvHr in cottage refurbishment
Stones replied to Cpd's topic in Mechanical Ventilation with Heat Recovery (MVHR)
+1, no sign of any moisture in the extract ducts, distribution box or extract filter in the MVHR unit. -
I've never seen any sign of moisture on the extract filter, or in the extract distribution box. It genuinely appears that moisture only condenses in the core (hence the mould growth at the discharge point) @PeterW do you only have fixed speed settings on your unit? Do you know what volume of air those speeds are set at?
-
Have you calculated how much you will have to increase the flow rates by to compensate for the additional filter?


