
Russell griffiths
-
Posts
7884 -
Joined
-
Last visited
-
Days Won
61
Everything posted by Russell griffiths
-
Can you not use a deeper joist, your way will use double the timber, plus the steel, plus the bolts this will make the whole idea very expensive.
-
What are you actually trying to do. better explanation needed.
-
 Yep,you said it.
 -
What I don’t understand with this post is the negative replies, when it looks to me like all the negatives could be avoided. moaning about mud, well don’t have any then, dig it out and stone it up, large car park for trades and a path and patio at the static, simple no mud. frozen pipes and a cold caravan, they were obviously not insulated correctly then. build a large 4x4m shed beside the van, put a washing machine in it and a freezer, then a woodburner to dry all the clothes and boots, the van is strictly a no work clothes area.
-
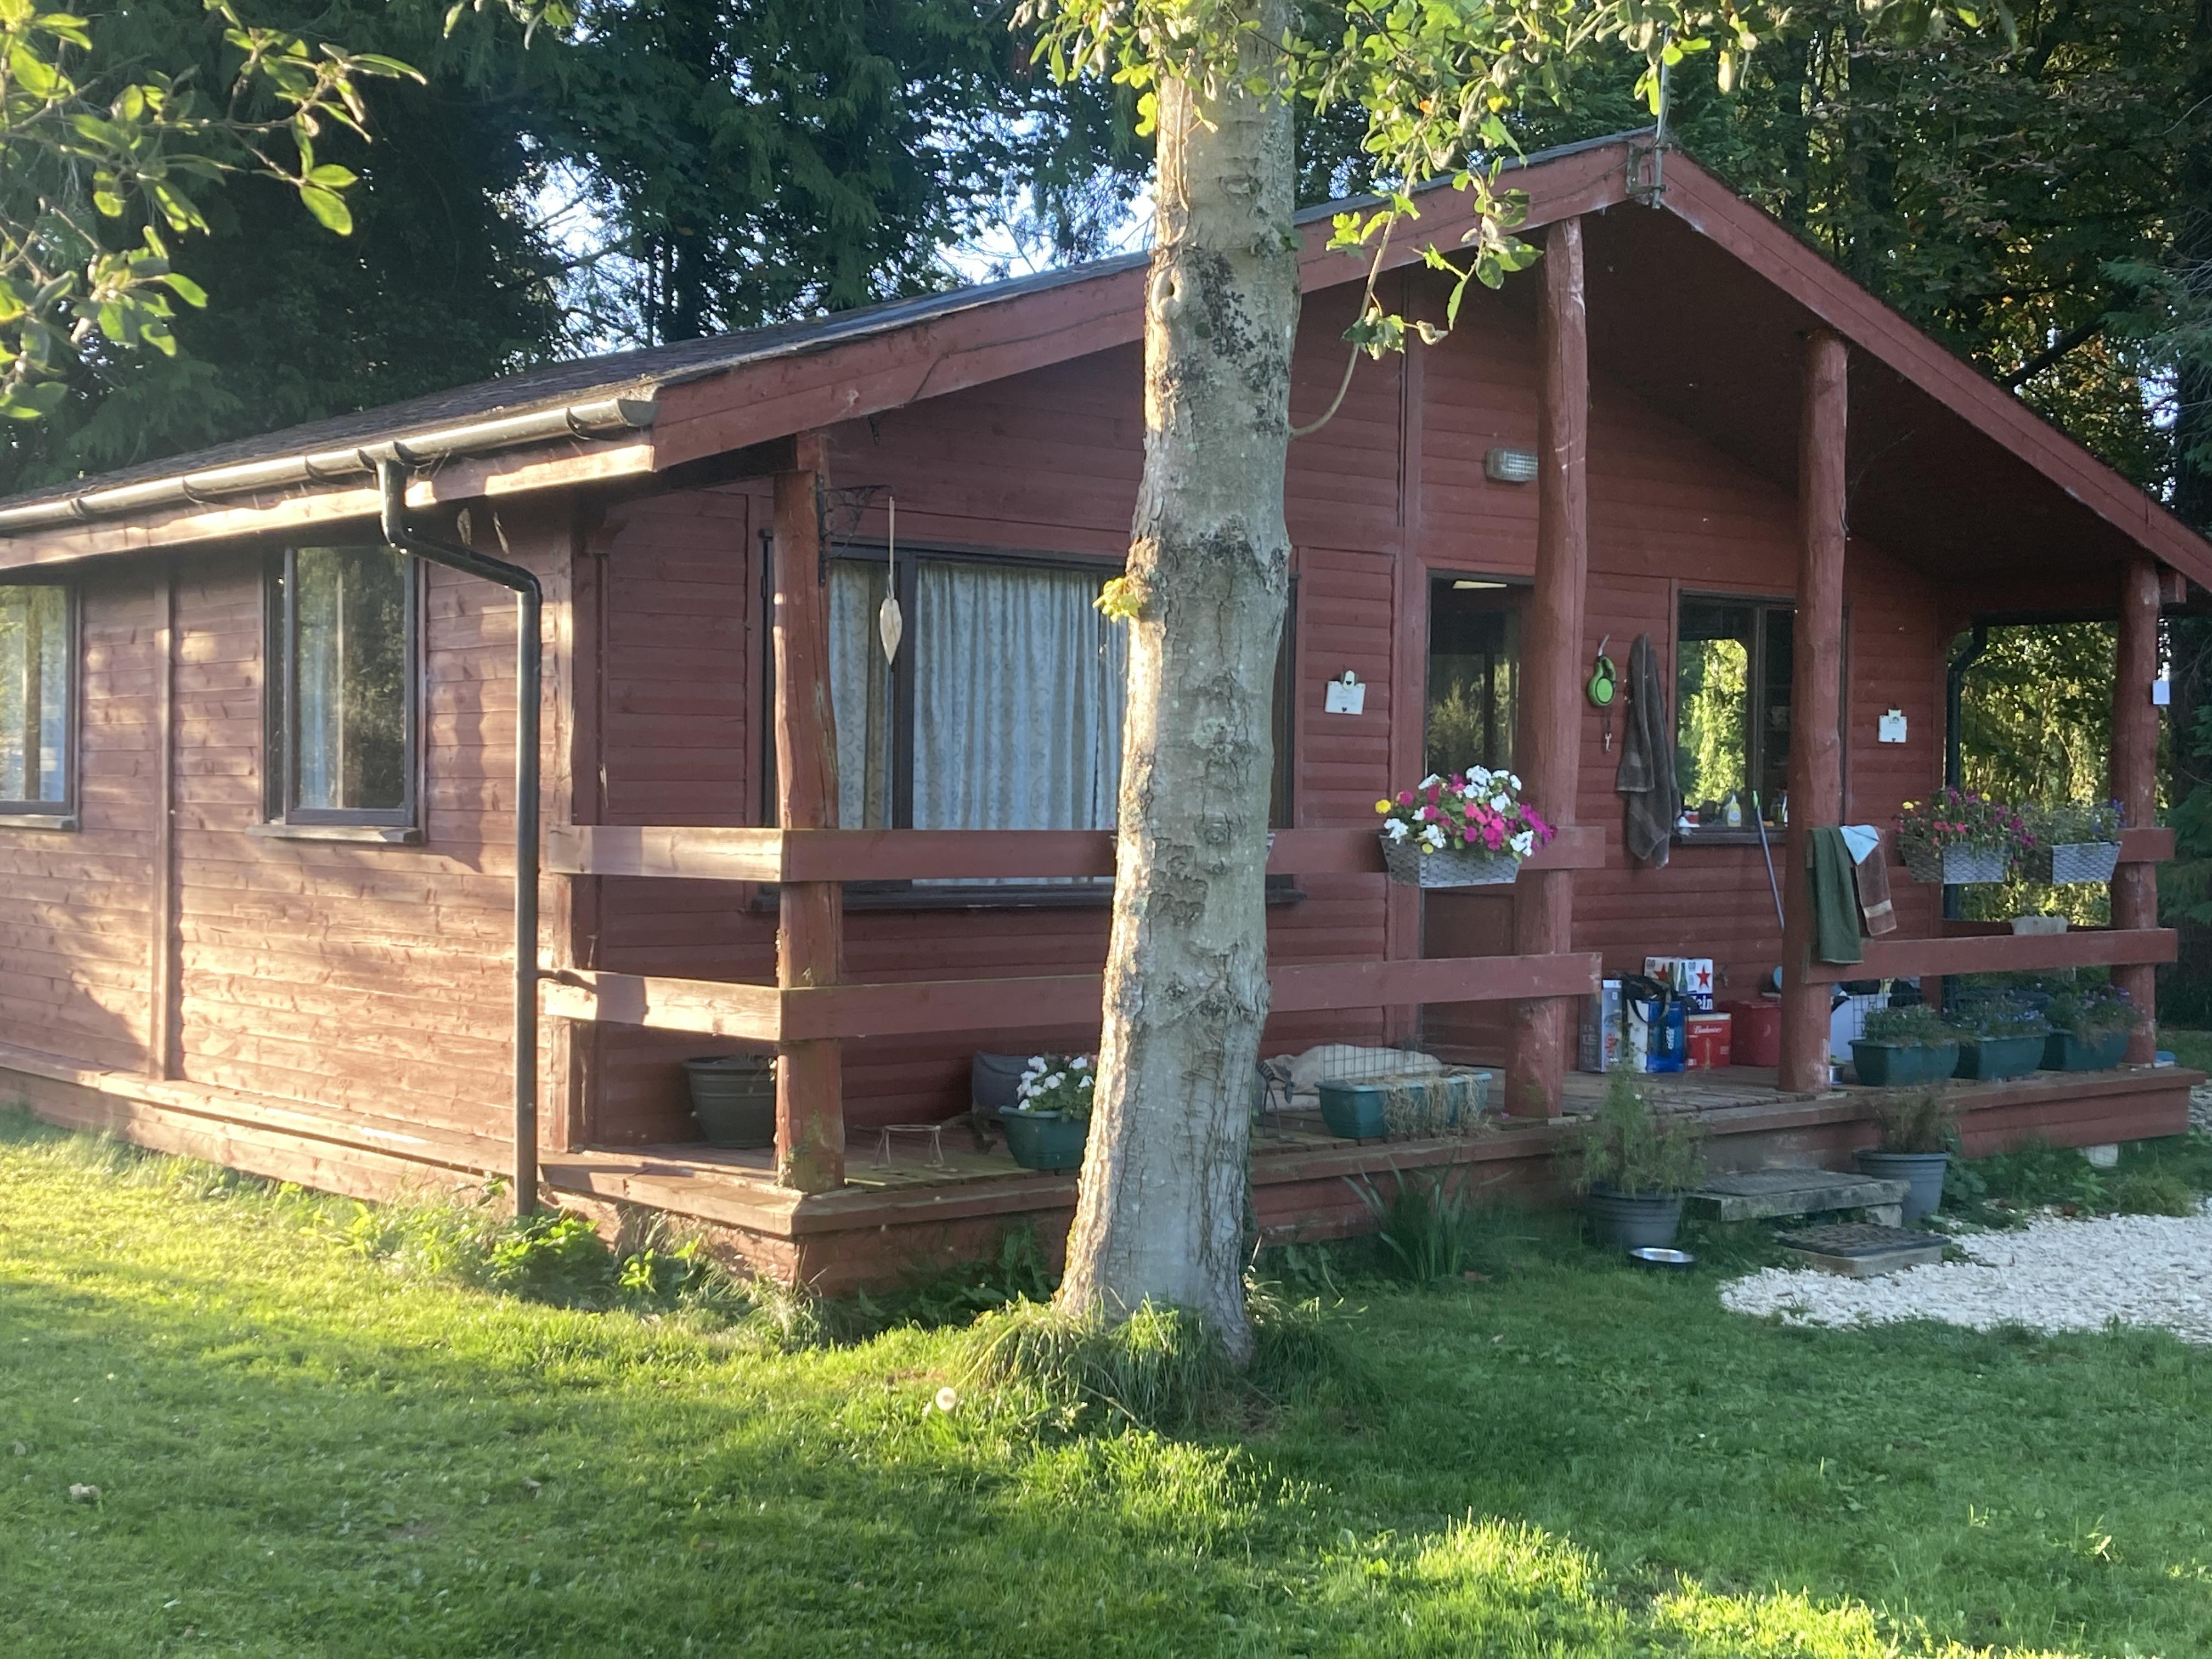
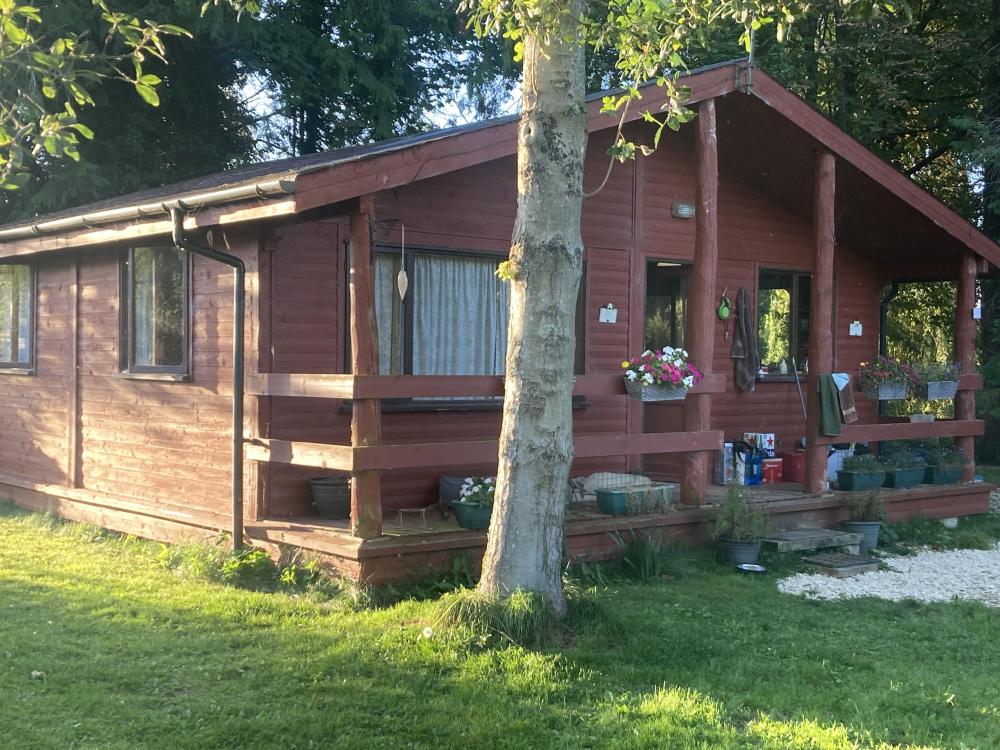
Buy a cabin, ours is 7m x6m, far more comfortable than a static, they are thin and pokey, tiny corridors, I couldn’t live in one. I’ve been in our cabin 2 years and I could actually carry on a lot longer.
-
How close to trees can I build
Russell griffiths replied to Bluebaron's topic in Building Regulations
Yes can be done, flying ringbeam above ground, with piles on the outer edge of the RPZ. or steel beam spanning across, you say cost is not an issue, but it must come into play at some point £100,000 extra, £150,000 extra there’s always a price where it all becomes a bit stupid. -
How close to trees can I build
Russell griffiths replied to Bluebaron's topic in Building Regulations
Post up some pics, this could get very expensive. -
Why can’t you measure what has been laid.
-
Creating a fall into a floor drain
Russell griffiths replied to Tony K's topic in Bathrooms, Ensuites & Wetrooms
You don’t need a fall, you will not have enough water for it to actually flow, water droplets and splashes will just sit exactly where they fall due to the surface tension of the droplets and the grout lines. I also have floor drains in all my wet rooms after having lived in oz for a few years. you need a definite fall in the shower area, but not the main floor. -
Do you fancy a gym, garden workshop or such like, build that down the garden and live in that instead. or buy your mobile home and just cut it up and remove it once finished.
-
Fit the foam then fit a timber trim over it, painted the same colour as the soffit. will look a lot sharper.
-
20mm vs 40mm gravel?
Russell griffiths replied to Steve06's topic in General Self Build & DIY Discussion
What for, is this to fix them in position, if so do as John said and concrete them in. if they are fixed to the wall and you just want drainage around them, then cut them off at ground level, they don’t need to be in the ground if the wall is holding them up. -
Labour Cost to lay Victorian tile
Russell griffiths replied to Oceanjules's topic in Landscaping, Decking & Patios
On nods basis of £1500 to lay the tiles, which I think is too cheap, you then have all the concrete to dig out, re hardcore, re compact, new concrete, new steps formed. thats another £3000, then the tiles. It’s a £6000 job at the least. also what’s under that stone slab, I bet it’s a manhole, so that needs a new lid and re bedding. -
How to raise 125mm SIP panels?
Russell griffiths replied to AwesomePete's topic in Structural Insulated Panels (SIPs)
It’s only a glorified shed, not intended for a house application. we all know the correct answer, but the original poster will either say it’s too expensive or the wrong size, this is just an educated fudge up really. I’ve used it under my sliders and front door. It will need protection from insect boring. Again, we all know what the correct item to use here is, but at £800 it’s an expensive option. what exactly are marmox blocks made of. I have no idea where you are getting your figures that long term use the loading could be 1/5 of stated manufacture rating. -
How to raise 125mm SIP panels?
Russell griffiths replied to AwesomePete's topic in Structural Insulated Panels (SIPs)
Look up a product called kingspan green gaurd. Get it in the thickness you want, then run it through a table saw to 125mm, it has a load rating of 500kg/m something. you can drill through it and bolt your sole plate down on to it. polyurethane adhesive under it onto the concrete, and below the sole plate. -
Setting out on a slope
Russell griffiths replied to oldkettle's topic in General Construction Issues
Find a very local surveying company you want them on site probably 4 times. 1. They will set out the site strip roughly 2m wider in every direction. 2. They set out the foundations to 50-60mm accuracy 3. They set out the walls onto the concrete foundation to mm accuracy. 4. Drain locations within the house footprint to mm accuracy. . we had one more visit to plot the location of the piles. £400 well worth it. -
Did you order directly with the company in Italy. if so tell us how you did it, and what you saved to make us all sick.
-
Outline Planning Permission - should I do it myself?
Russell griffiths replied to Mike Wynn's topic in Planning Permission
I paid an architect as little as I could and a planning consultant as much as I needed to. you want to gain planning permission, not draw a fancy house. -
Fixing of wall units
Russell griffiths replied to LinearPancakes's topic in Kitchen Units & Worktops
Yep that’s the way to do it. don’t do little bits of ply though. cut a 250mm wide strip the length of all the cupboards. -
In the time you’ve faffed about it would be in now. I have found that I find the solution to a problem, I then spend two weeks looking at ways to do it cheaper, try to reinvent the wheel, buy something crap. then throw the crap thing away and buy the part I should have bought two weeks ago.
-
Height of wastewater pipes into BIGT
Russell griffiths replied to umiq88's topic in Waste & Sewerage
As Conner said you need 110mm through slab and up, then change to 50mm you can have the 50 in the screed or insulation but not to run down and out. back inlet gulleys are for plumbing in a small kitchen refit, or trying to get an extra hand basin out, not for anything new where you have the ability to do it correctly. -
Just give them a call i had a nice lady from the council come round, she could clearly see we didn’t live in it. and has also offered us advice on another issue we have.
-
New project insurances. Urgent.
Russell griffiths replied to saveasteading's topic in Self Build Insurance
Public liability now then, then add £100,000 rebuild to it every year you renew it. I’ve upped the rebuild cost of mine three times now. have renewed it 4 times. -
Was that one on Amazon no good.
-
New project insurances. Urgent.
Russell griffiths replied to saveasteading's topic in Self Build Insurance
So is it an empty shell, or are they going to live in it. we are using protek, have never had to claim thankfully so can’t really comment if they are good, but they’re always helpful on the phone.