Leaderboard


Popular Content
Showing content with the highest reputation on 03/11/18 in all areas
-
if you put the work in now and spend the money on the fabric then you vastly reduce your heating needs. Then it's only the dhw that you need to worry about. I have ufh on the ground floor and rads upstairs. I heat a 350l thermal store using a wood pellet boiler with excess PV used as well. In the winter the pellet boiler is set to come on in the morning for 3 hrs. During this time I have the rads set to also come on for 30 mins to warm upstairs. Just my luck my wife and kids are cold people so they need heat in the morning to put their clothes on and brush their teeth. I used just over 1.5t of pellets this year which was £340. Your system should work just the same. You heat a large body of water and then use it for ufh/rads or for dhw. Won't matter if its oil or gas heating it up.2 points
-
Great idea I will divert the shower run off through our daughters bedroom - that is something of a s heap, she does not live here anymore but she us coming over to see her mum later maybe I can encourage her to tidy it up.2 points
-
This is a great thread, buildhub well and truly in action as a collective community. I have spent to much time reading this when I should have been working on my own house getting ready for windows. It has however frightened the life out of me regarding UFH & DHW heating and storage threads. I feel a lengthy post coming on later to get mine designed properly.2 points
-
Hi All, I've been reading this site for a couple of years, and now decided it's time to make my first post. My partner and I are currently looking at a building plot (a garden plot divided from the current owners) which has full planning permission for a 3 bed dormer bungalow. A bit about the plot: The current plot has a south facing garden, with 2 storey houses to the rear, right and on the other side of the road. To the left of the proposed dwelling is a bungalow. The proposed dwelling is 4.6m from the bungalow and the house to the right hand side, and 16 meters to the houses at the rear (they only have small yard, no garden). The current planning permission sets an eave height of 3.8m and a ridge height of 8.3m. The current proposed roof schematic runs so the eaves are only 3.8m by the bungalow (so in affect the roof is long). Currently the master bedroom only has a small window and two roof windows, but if we were to increase the eave height we would like a full sized window at the back of the property. Previously, the rear houses but in a object saying the window would over look there houses, (which are 16 meters back). Questions: Do you think we would have much success in putting in the a new planning application to increase the eave height to two storey? (From my reading, I don't think this would increase the ridge height) How much of a headache do you think it would be to a get a full sized bedroom window at the rear of the property? I've attached a link to the planning application. https://pa.shropshire.gov.uk/online-applications/applicationDetails.do?activeTab=summary&keyVal=NOLKXCTD0HG00 We thank you for your help. We would of course put in an offer subject to new planning permission, but would be useful to find out experiences before we do so. I hope that is clear, if not ask away and I will answer any questions. John1 point
-
That made me laugh - Keep it simple, a rule that can be applied to absolutely everything. Thanks the Salus IT500 has caught my eye - have you any experience of it? Thanks for the marriage guidance - we both want a real fire and have assumed that we might as well be heating the water at the same time, but it sounds like we would be introducing quite a bit of complexity and therefore cost. If I'm not back by tomorrow send help!! I'm coming round to this conclusion. Back to Keep it simple. What's an "airing cupboard" Thanks for the heads up on the Vailiant boilers.1 point
-
It won't be . When set up properly it'll just be coming on, topping up the top of the TS, and then knocking back off until needed again. That would be 'summer mode' where you don't want to run heating. If you want heating then the boiler must be allowed to run to offset whatever heat is being lost from the house. It will still only heat what is necessary, it's just set up terribly at the moment, and when it's doing things it's the wrong things.1 point
-
That’s about the volume of a 17t curtainsider at 300mm Ecclestons would want abojt £2200 for that inc Vat and you’re probably talking £250 or so delivery. http://ecclestons.com/xcart/sheet/eps70-polystyrene-sheet See if any of the local BMs will match it.1 point
-
Right ! its all bollocks “ deterimental to the local amenity “ blah blah blah took me 5 years to get planning . Analyse every reason for refusal and then look for fact - appeal . You can’t smash the ice cube but you can chip away at the edges . Takes time and money . You’ve only lost once you quit .....1 point
-
Thank you, lizzie We've had a couple of suggestions from the "appeal" companies who clearly track planning applications. If we do get rejected with this application we will consider one, but for now I have a reason to be hopeful :-) So my main task today is getting the remaining design details in order, particularly this small roof and its guttering, as this would be difficult to change at a later stage.1 point
-
If you're using "flowable concrete" make sure to place a well sealed DPM on top of the insulation otherwise you will end up in the same situation I found myself in 3 weeks ago. Not a nice place to visit.1 point
-
Would be fine assuming the car pit wall wasn’t supporting a small bridge or providing structural support for a building .... The trick is to cast wet on wet and and keep going so you’ve no dry bridges in the concrete - poker helps as does a retarder but not sure they are compatible with each other.1 point
-
The structural concrete comment is because to meet a strength requirement (ie RC35) the mix has to use gauged additives that are certified for use in that area and have the appropriate certification. Mixing your own will never meet that criteria hence the warning.1 point
-
Which reminds me that somewhere in the garden I have a couple of experiments I started months ago, with some mortar plonked on some samples of PIR, to see how real the reaction with the foil really is. They've been sat outside, so have been repeatedly rained on and snowed on, which should be a pretty much worse case. I'll dig them out, see if I can get the mortar blobs off and takes some photos to see what the real-world damage to the foil faces is, and then post it on the relevant thread (when I can find it..............).1 point
-
No not necessarily but a bathroom would be good.1 point
-
We have the max rebar machine. It's the newest one with a lithium battery. Think we paid £500 of eBay (used).1 point
-
If your really that concerned then exactly how much 'bounce' is there? Are you mistaking the layers compressing slightly underfoot for bounce? As I know you pretty well by now, a solution. Get a 4x2 cut it 300mm short of ceiling height. Drill the end to take some 10mm SS threaded bar. Use that with a couple of nuts andxwashers to create an 'acro prop' and sit the threaded bar on a bit of SS flat bar. Use that, pushing from the ceiling down, gently, to take any slack out during screening and grind the threaded bar off after the screed is dry.1 point
-
OK, I'll try and NOT resort to a drawing: The timber stud wall are suspended from the ceiling joists. The concrete floor was put in afterwards. I screwed screeding rails to the stud walls so the floor is pretty much bang on level. The 4 stud walls were made up on the floor then lifted up and screwed (6mmx100s) to the u/side of the ceiling joists. (The ceiling joists are a bit over spec for the span figuring storage and maybe a bath lift later on ). I have then a nom 50mm gap between the underside of the stud wall and top of finished concrete floor. The timber stud depth varies from 45mm to 145mm allowing for hiding the wc frame, services, feature pockets and to just generally square the room off. I've a minimum of 50mm of PIR in the walls. The timber studs are attached to the walls by either concrete screws or resin anchored M10 studs (high loads like the wc, where the concrete screws have failed to bite). Every single stud is held off the wall by minimum 5mm packers up to I think 100mm. Gun foam is squirted behind every stud and they're all PIR'd between. The wall drain is affixed to the original wall, so independent of the stud wall. I can mitigate that as I said above by using the M8 L bracket bolts. Thinking this through my main worry I think is that the wet room corner feels, by treading on it, has a bit of "give". Down to the batch of badly curved PIR sheets from Wickes I think. I'm worried even when the concrete goes in that after it cures, if you tread on that area there'll be a bit of bounce (especially with two people in that area, none of us are getting any lighter ).That in effect means the floor moving away from the wall and the tanking splitting potentially. That was good to think through and get down even it meant boring you lot! I'll go with what I said above and the bolts @Nickfromwales said just now. And yes Nick, I've got the big tanking kit and it's not yet past it's expiry! Did just drag it out of the loft as cold storage apparently drastically reduces it's shelf life Won't know until I open it.1 point
-
I got fed up with Firefox some time ago and now use Pale Moon with Xmarks.1 point
-
The chase isn't fun if you catch them .1 point
-
Better than expecting a child1 point
-
I did pretty much exactly this around the edge of our plot (also mainly clay). I had to dig a utilities trench around two sides of the plot, to relocate the power and phone cables in ducts, but had these filled with type 3, with a thin layer of topsoil to hide it, so turning them into big French drains at the lowest point of the plot. Works a treat and stops a big puddle that used to form on the lane right by the point where our drive now joins it. I'm sure it also helps our storm surge attenuation tank drain away, too, as there is only a relatively short distance between the permeable soil in one corner of that and the hidden French drain. The only slight snag is that several locals have commented on how much drier the lane now is after heavy rain.....................1 point
-
I'm currently going through Buildstore and they did mention issues as mine is timber frame, part skinned in weatherboard and part blockwork. So far it's not been a problem but the mortgage is only in principal at the moment. Not very many people have good things to say about Buildstore on here.1 point
-
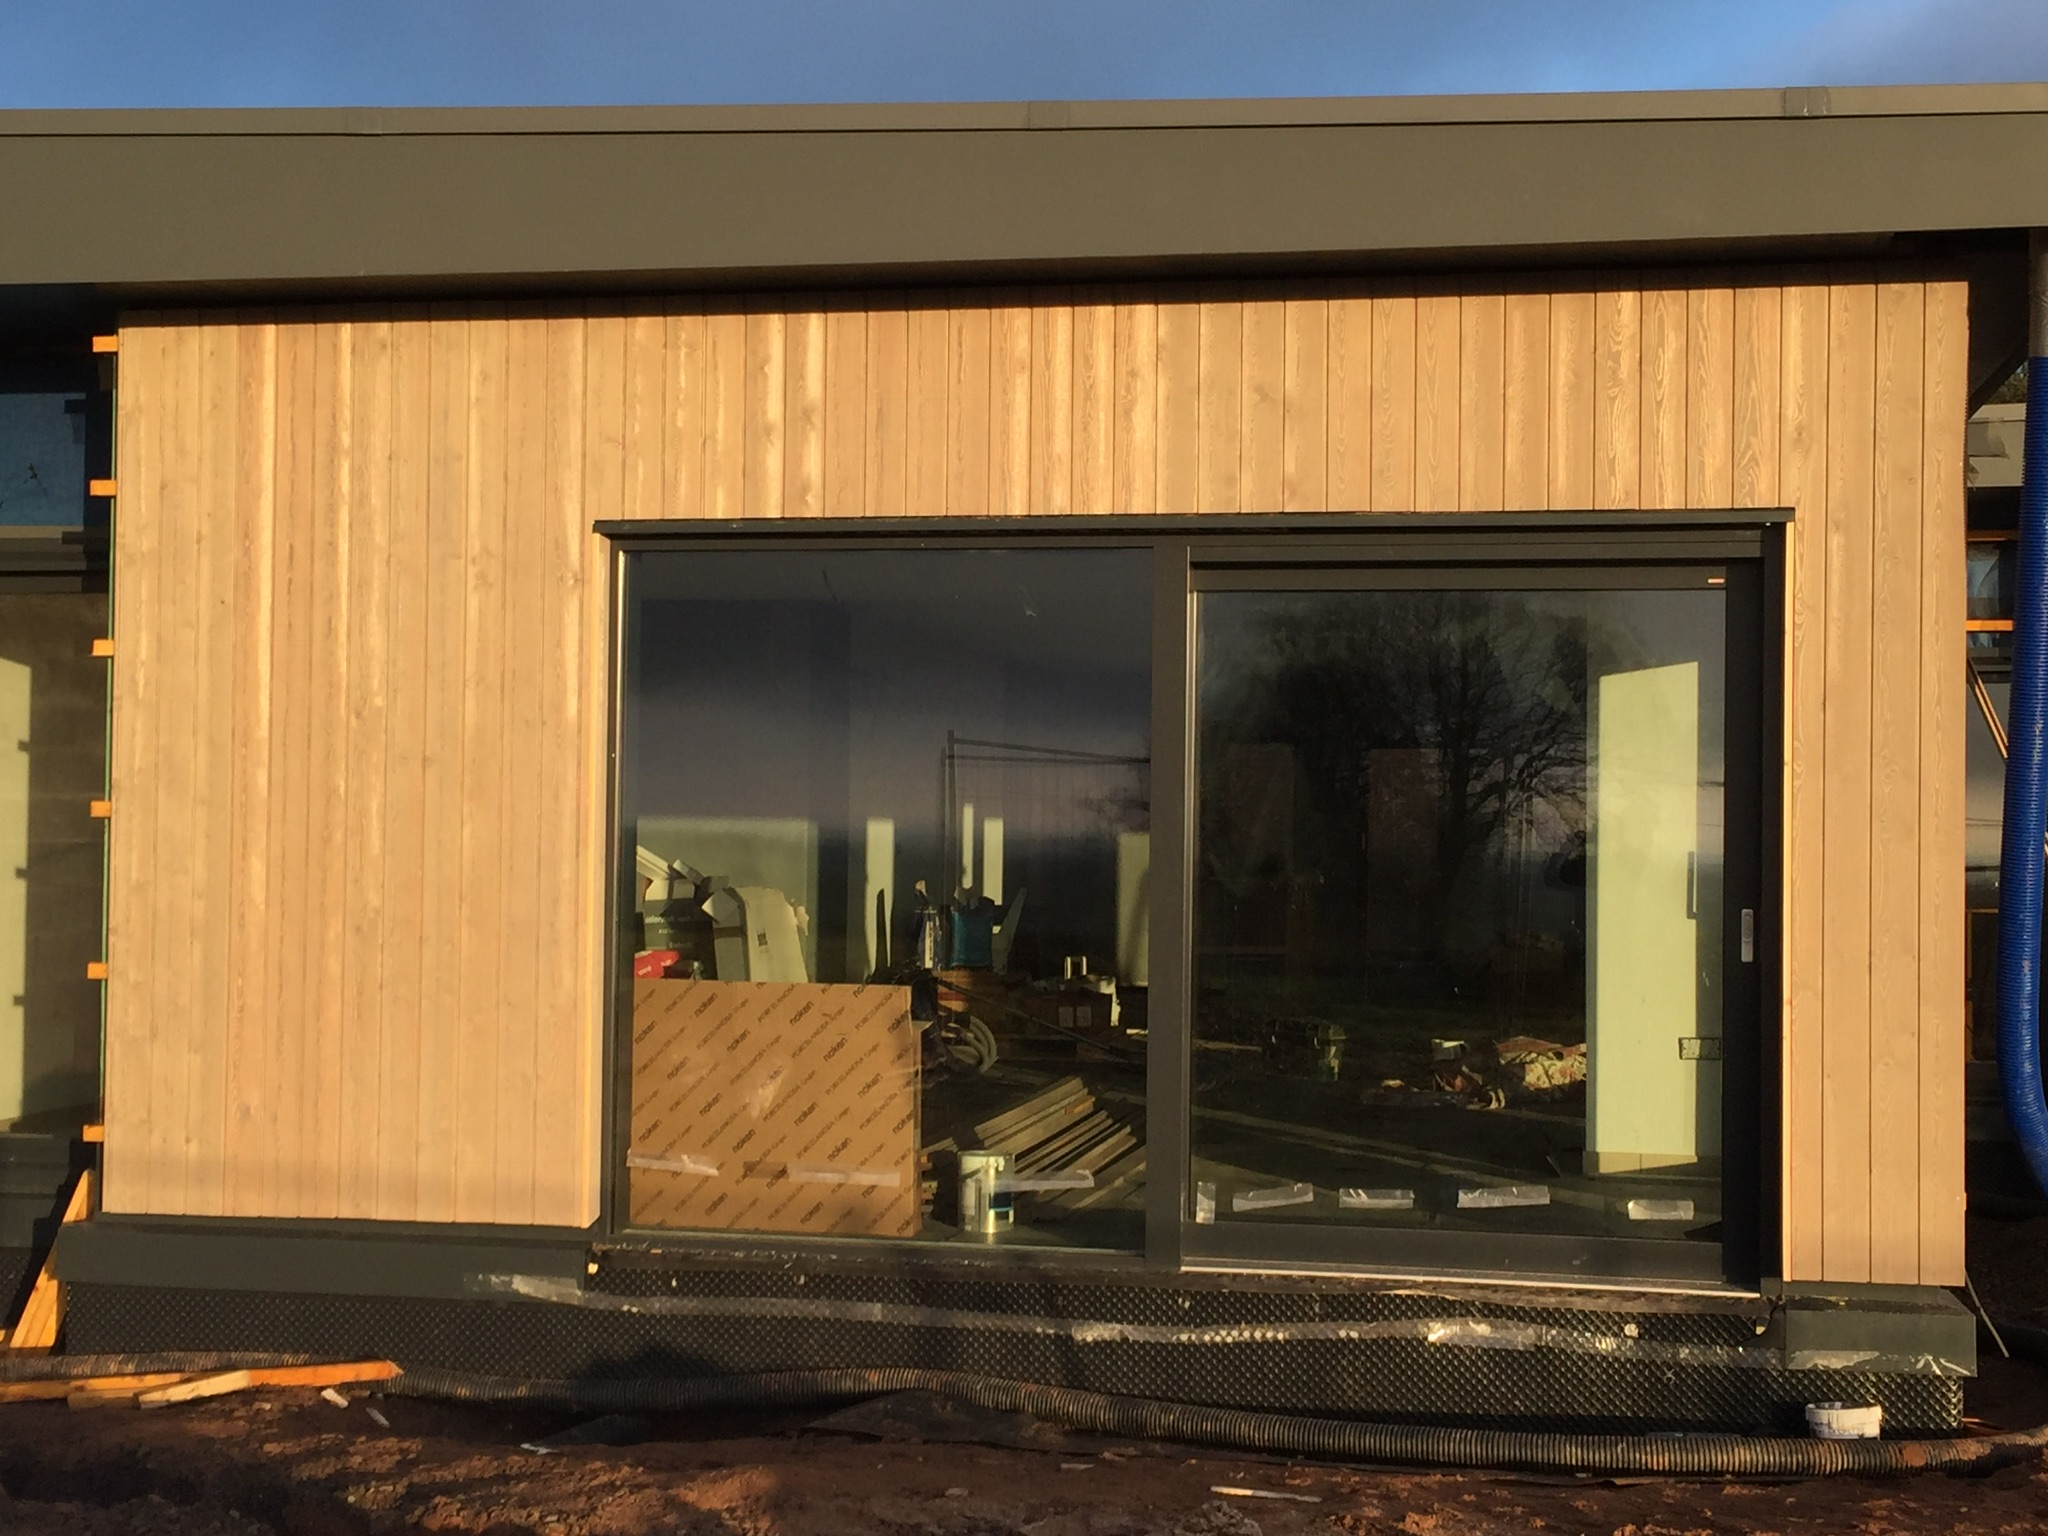
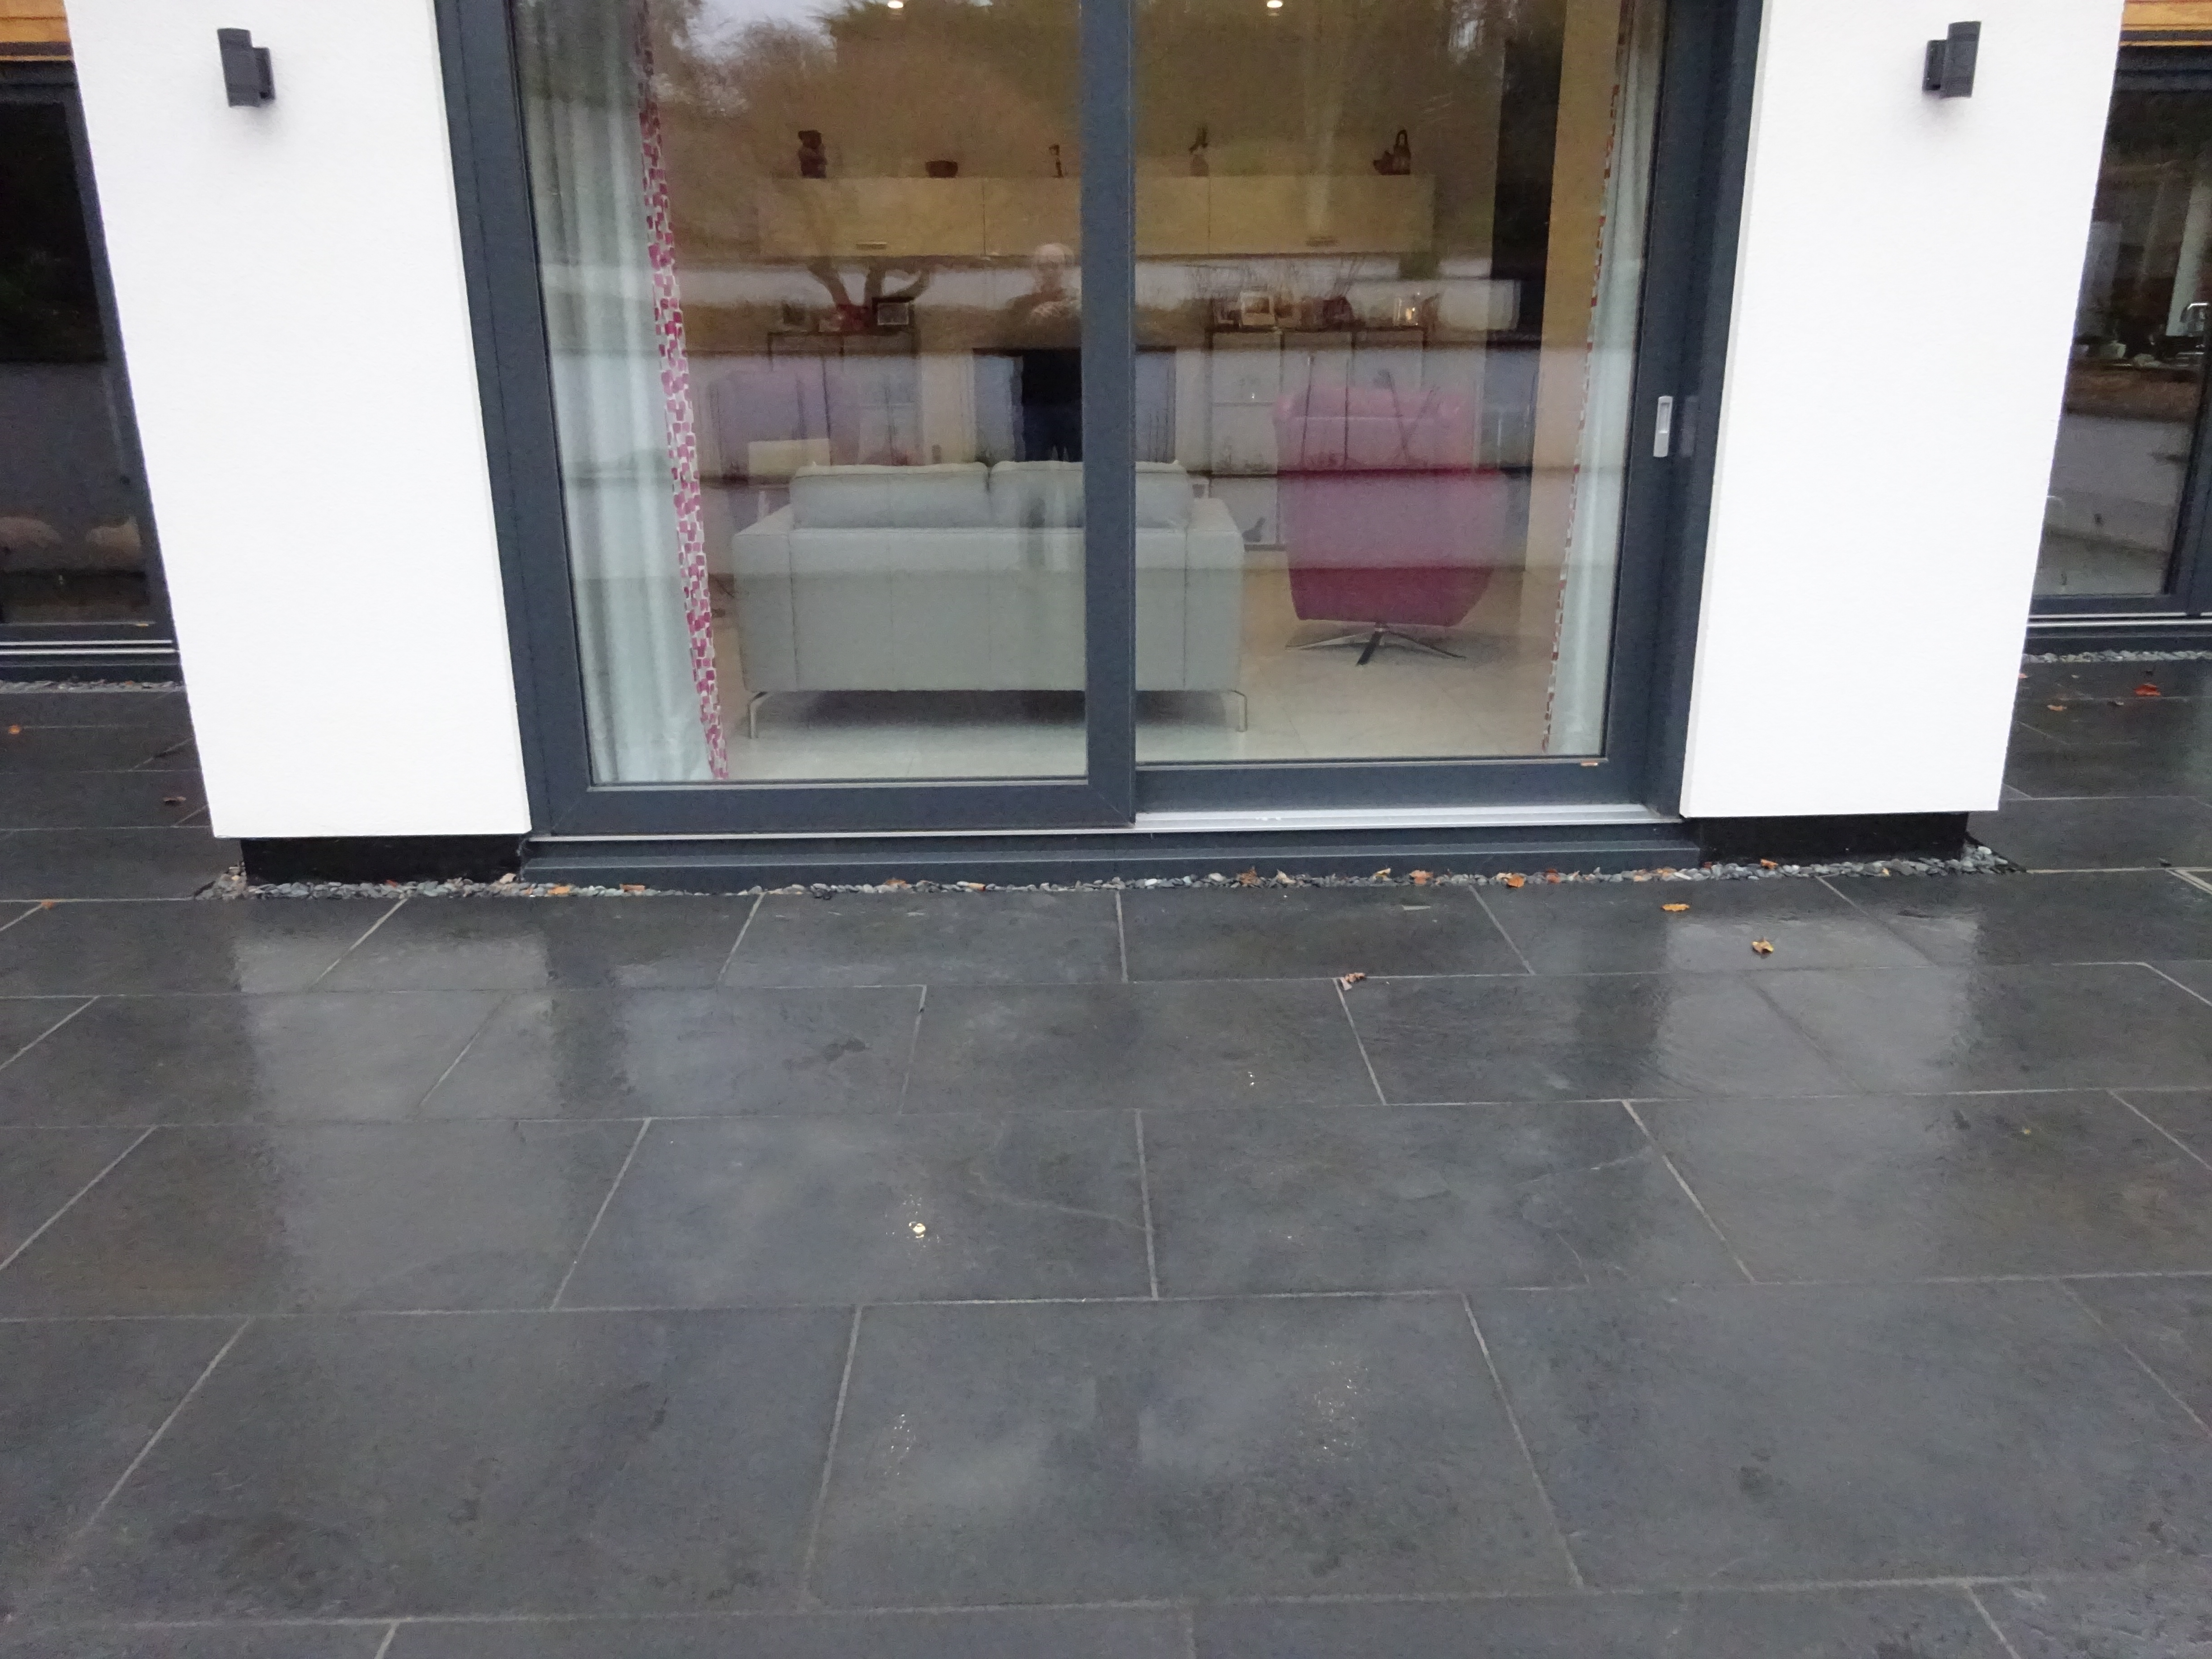
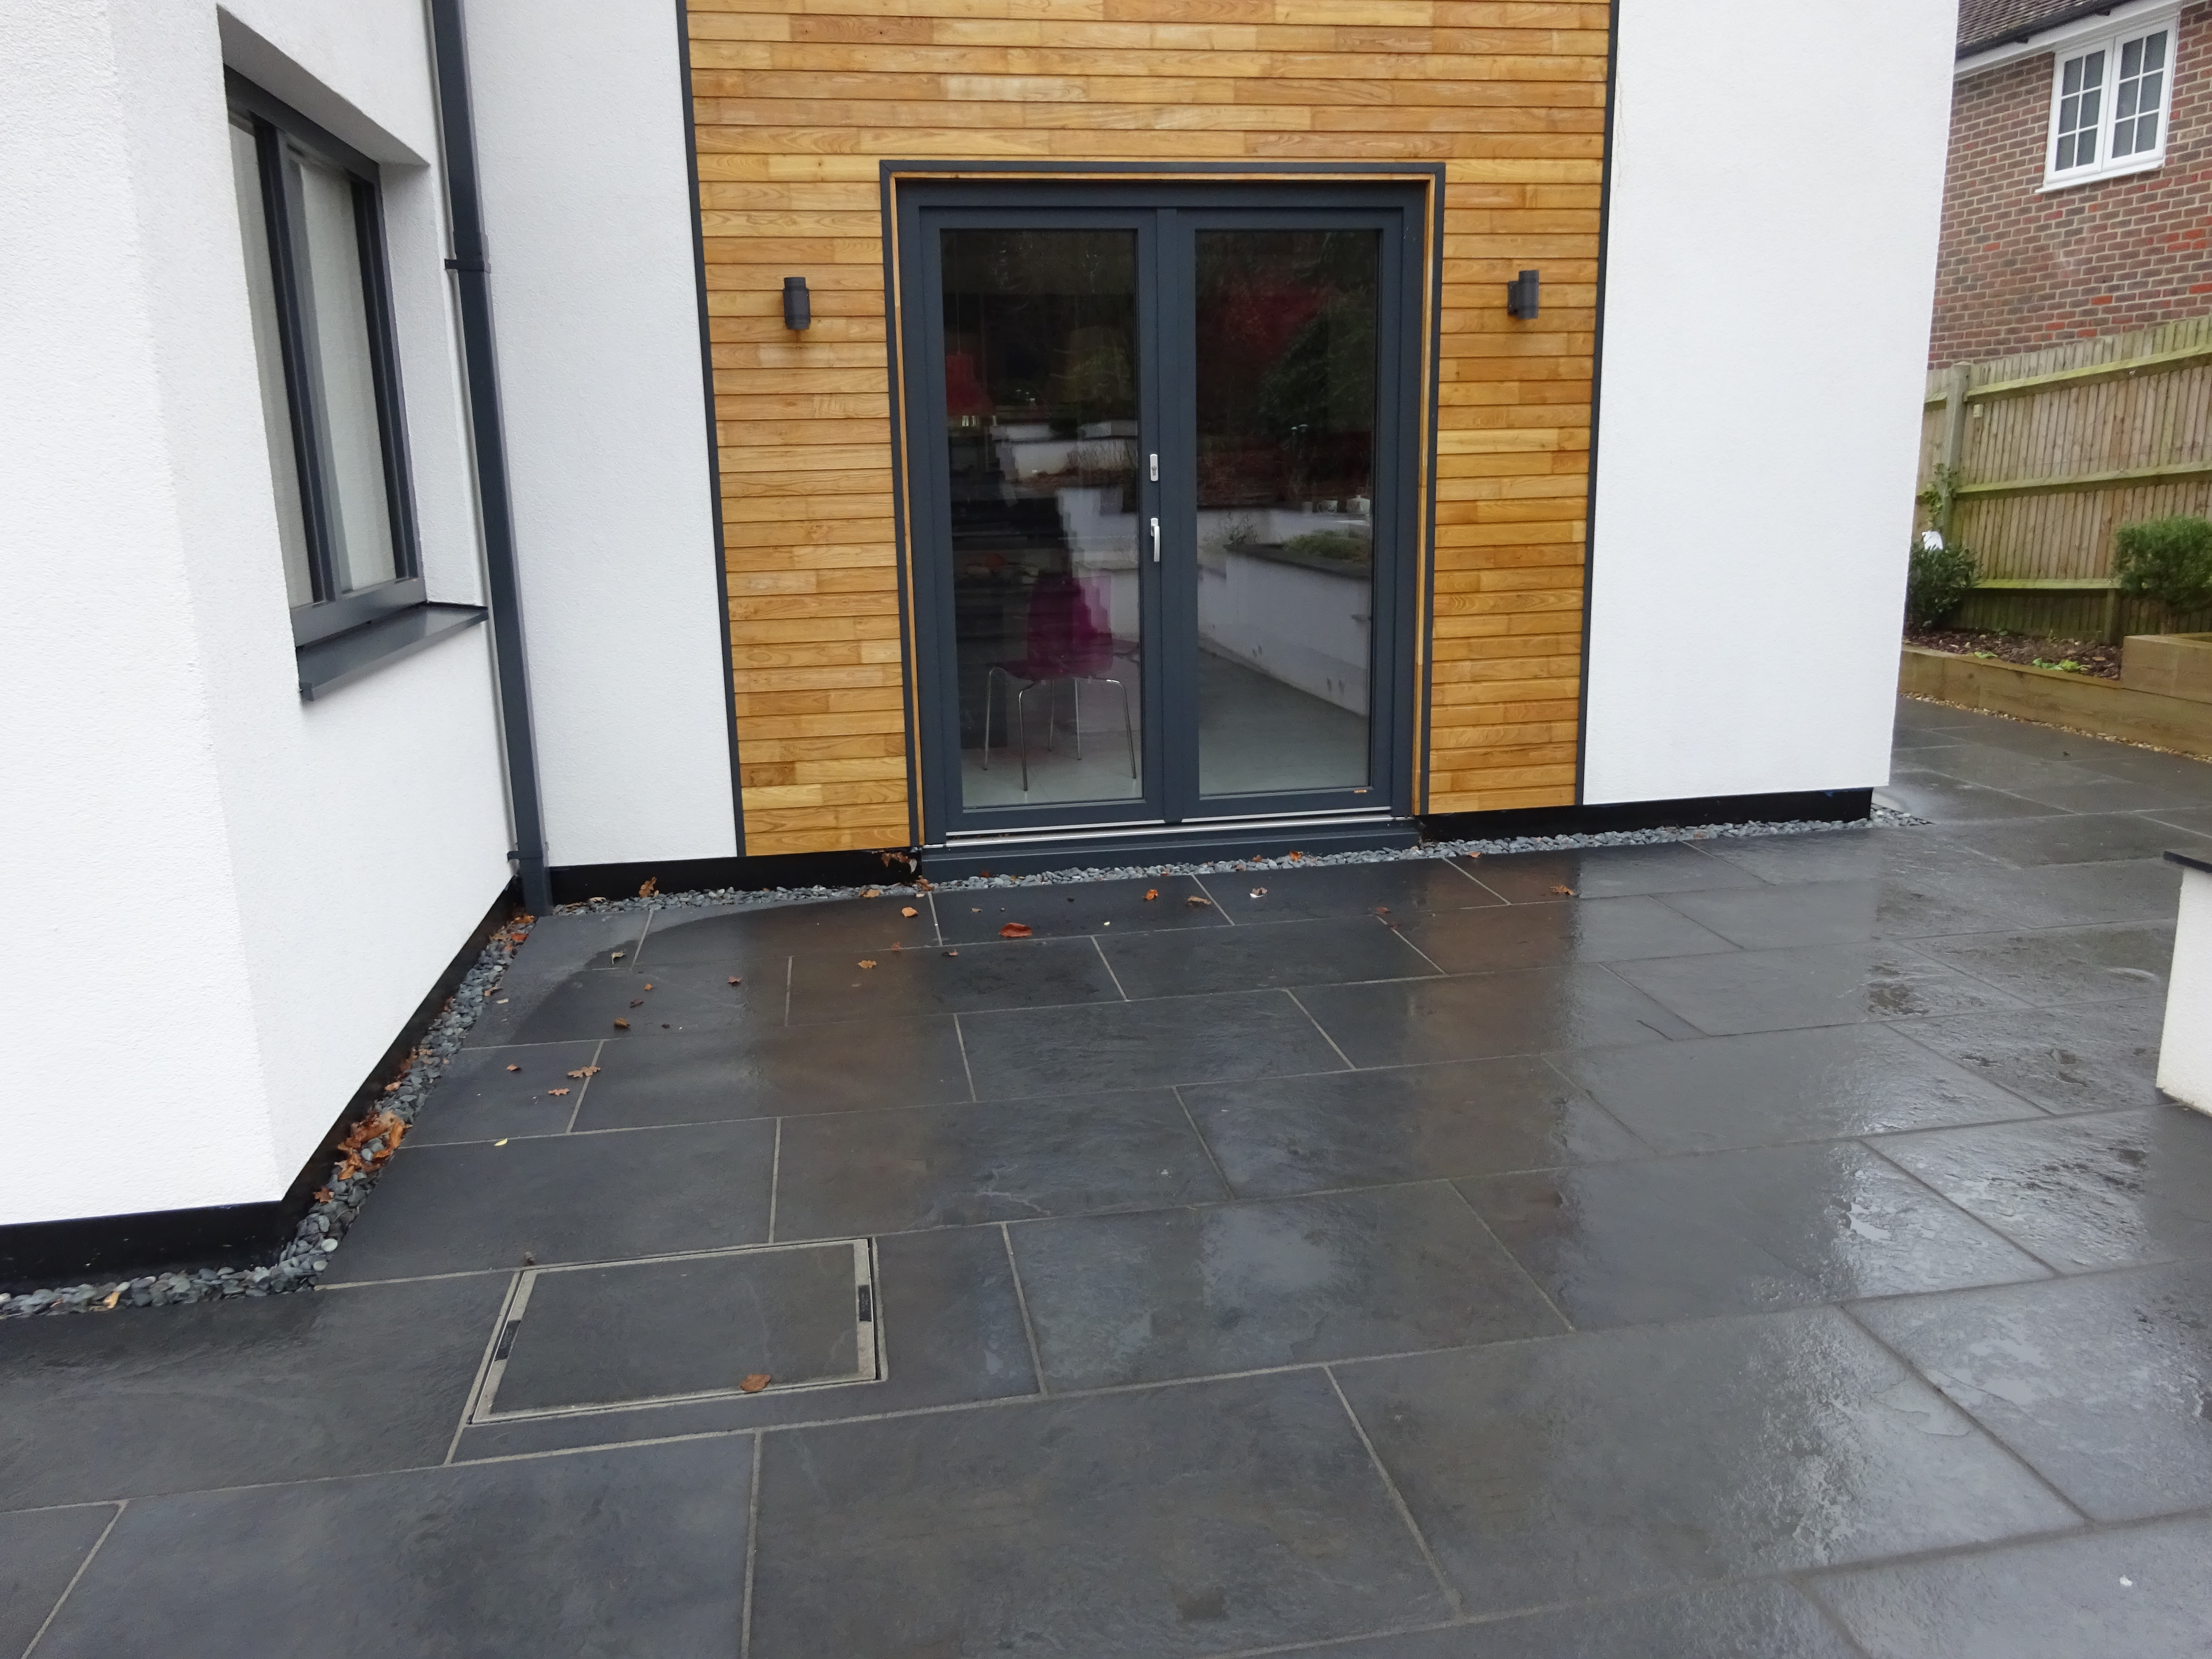
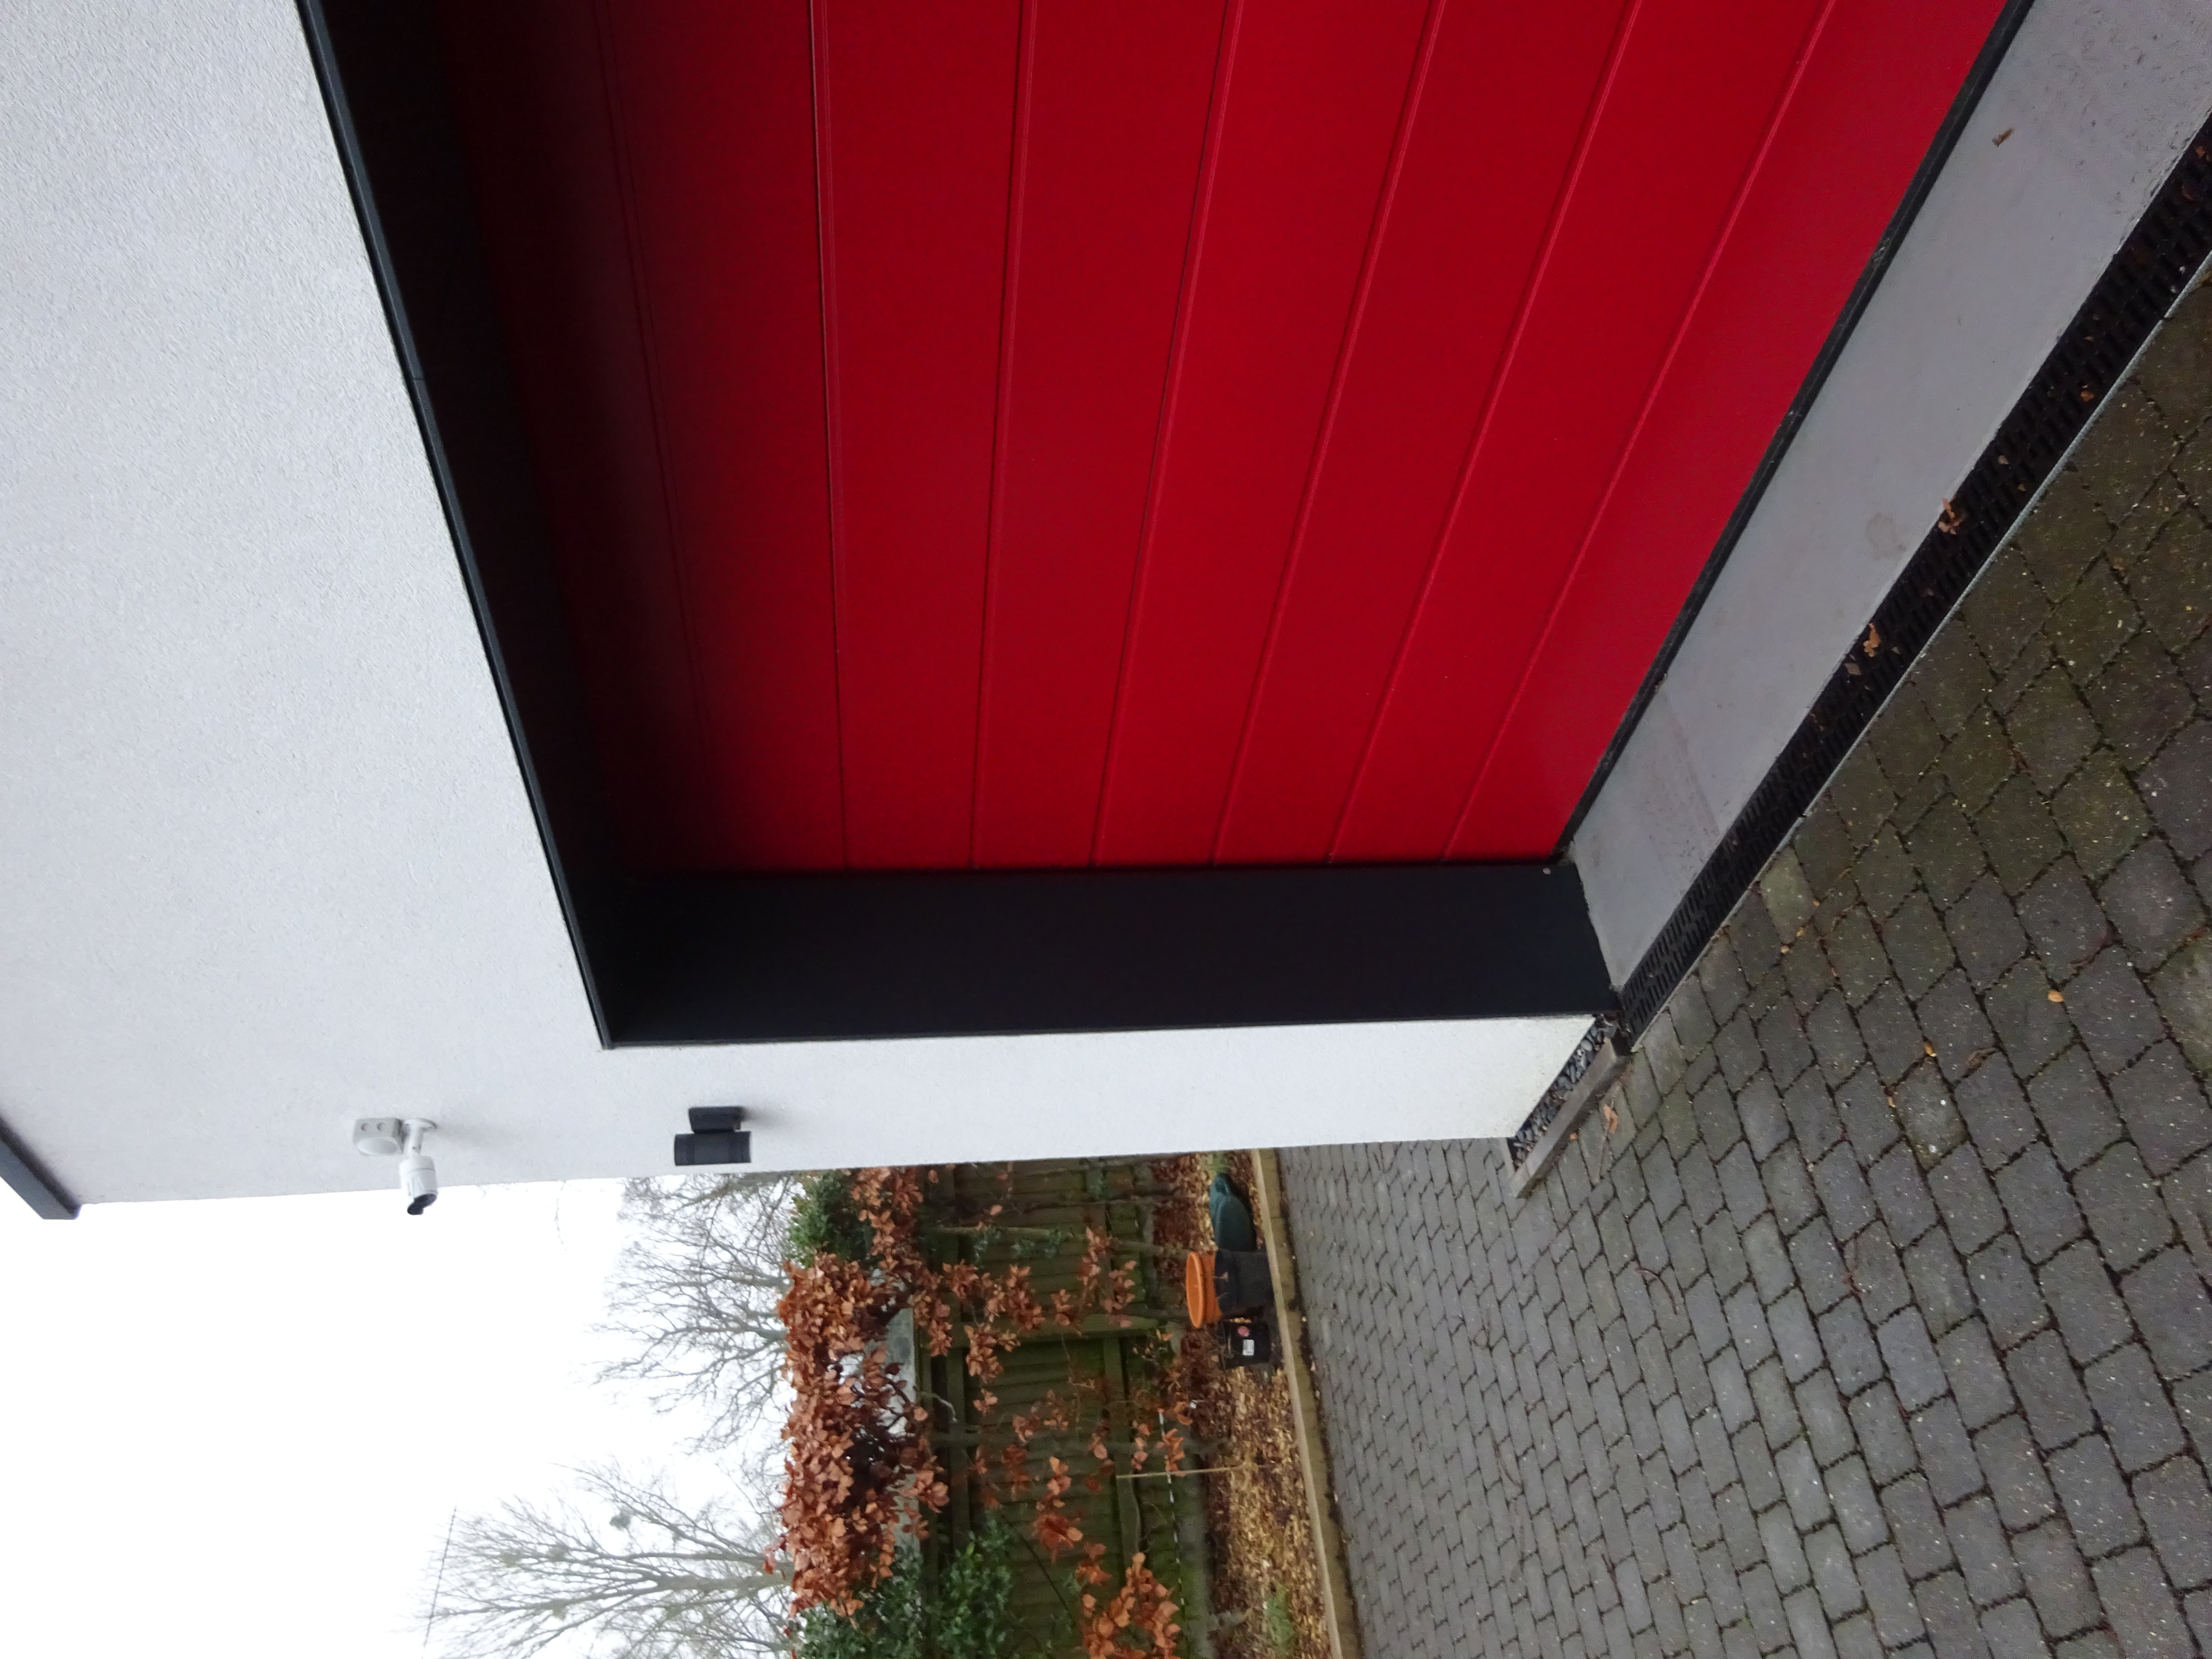
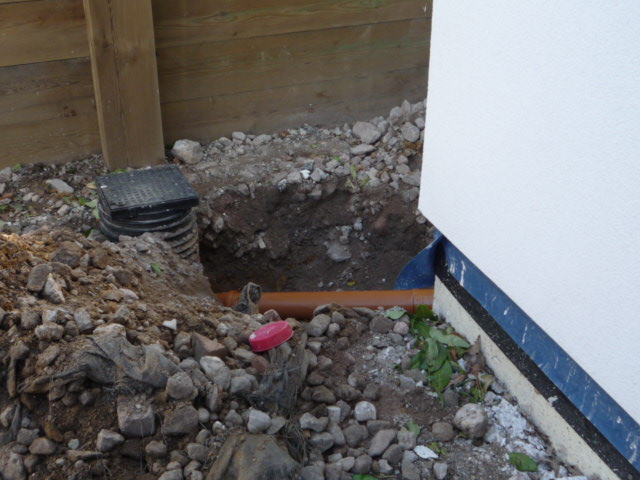
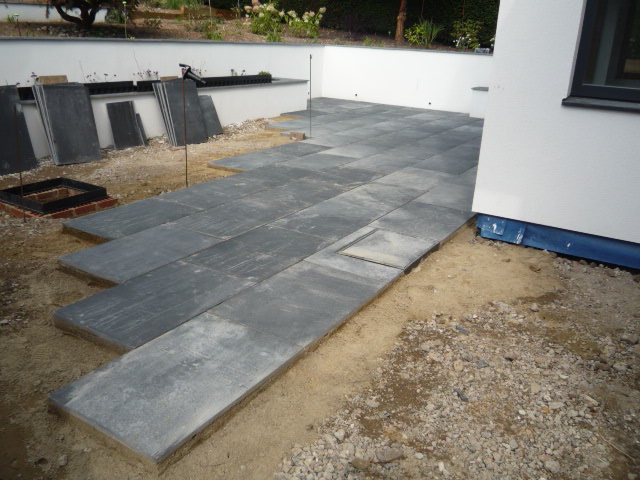
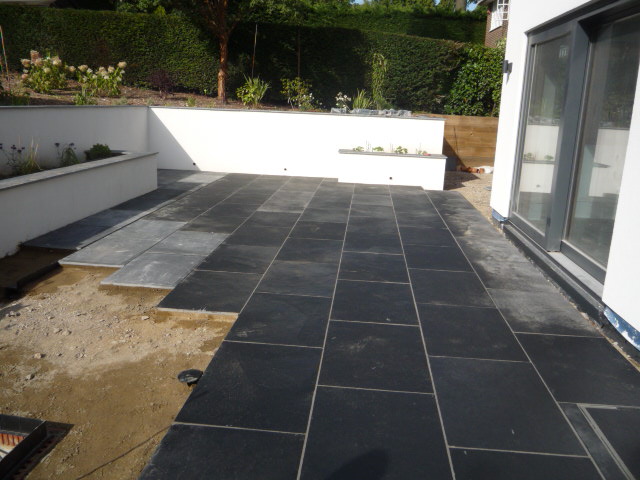
Ha ha I think Peter will be alive to possibilities, he is no slouch! There was much debate before finally settling on this as a solution and it works well enough. We did get ours done in a matt finish I was very clear no gloss on anything, think you are right about gloss being default, we are very modern style and gloss would have been wrong for us. Ours looks to be deeper over the EPS than yours it goes down quite a way and yours perhaps higher up the wall. We are part render (alumasc) and part larch clad with internorm 3g aliclad windows and doors. Did you only have Peter helping you for MBC for that part of your build, are you going it alone for the rest? We have been at it nigh on 2 years now and you look more finished than we do LOL We had a lot of issues to get past. Still getting there on some things but light beginning to appear at the end of the very long tunnel. We are on the Warwks/Worcs border near Stratford upon Avon. On the top of the Ridgeway with clear views across nearly 40 miles to the Malvern Hills and home beyond - I am Welsh but South, don’t know your part of the world at all Derek. Kitchen fitting going on at the mo but outside is a nightmare of mud, groundworks not finished yet.
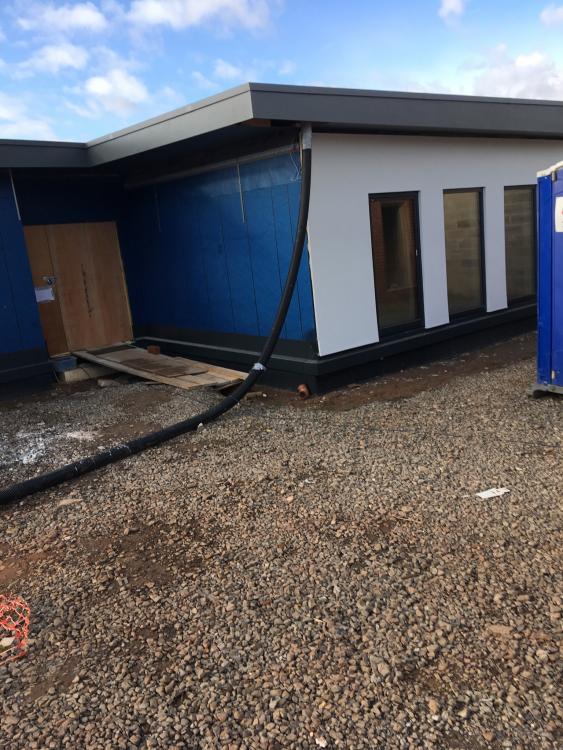
 1 point
 -
Great job -this is a very well considered detail and I wish I had seen it a couple of years ago when I was building my MBC house. I did ask around at the time and received various ideas. In the end I developed my own approach as follows: I installed an 300mm alumium flashing, it was actually the black powder coated aluminium roll used for seamless gutters but rolled as straight pieces with a seam rolled seam for strength. It seems to have worked out well - it is screwed and stuck to the EPS It was installed to form a flashing from underneath the external rendered finish , going across the soles plate and over the EPS to well below the nominal DPC level at which the extermal paving is installed. See the phot os attached, which should give you an idea. I had this flashiing made by the company that supplied and installed my seamless gutters, but they seem to be no longer installing seamless gutters and are concentrating on aluminium pressings , etc. I had some special aluminium flashings, coated to match the window frames, made for below the french windows/doors, ariund the garage doors etc. I attach some photos, during construction (though it at that stage still covered/protected by the blue external wrapping sheath used by MBC to keep render and other rubbish off the coating the flashing) and some taken today, to show the finished look. T

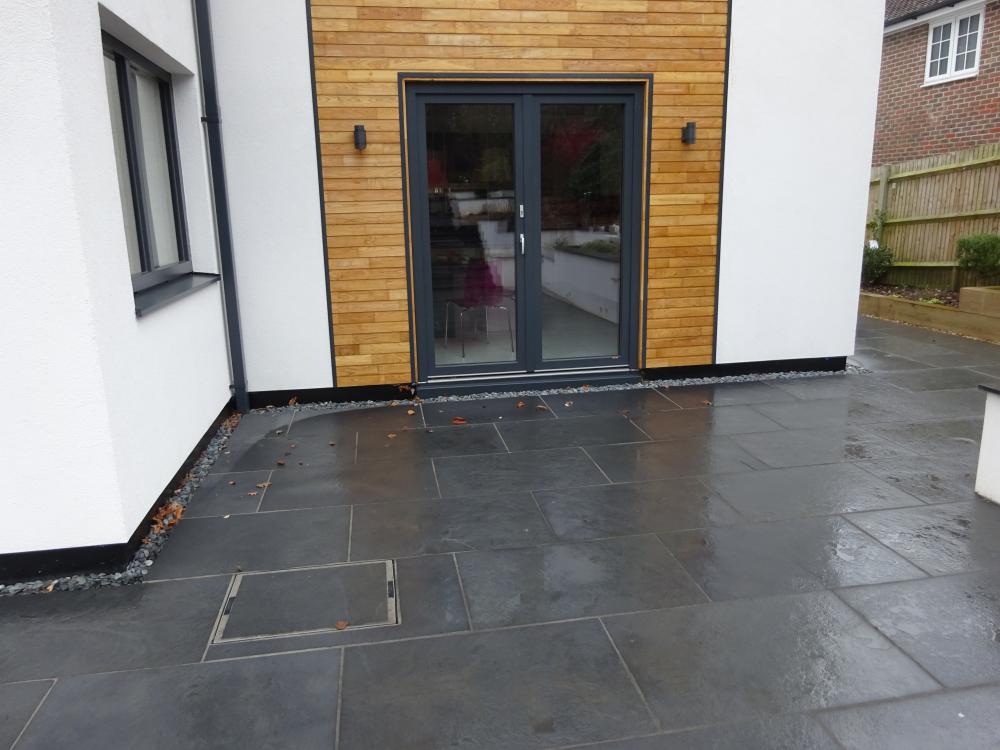
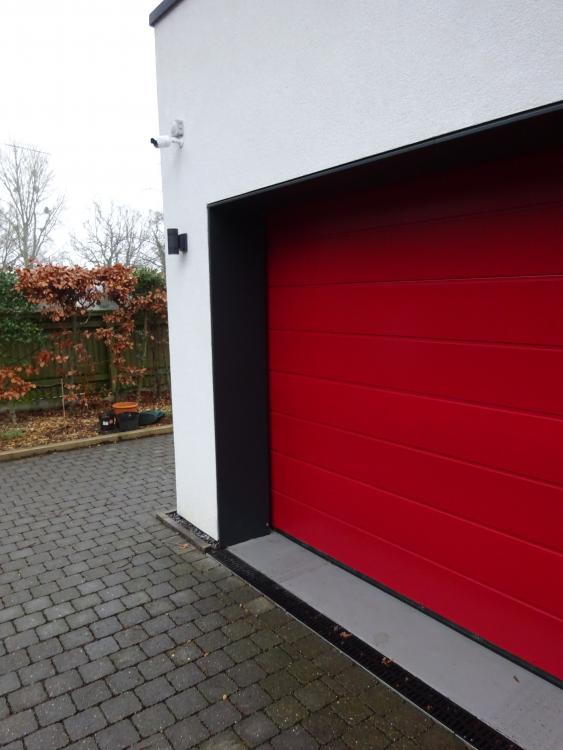 1 point
 -
as i understand it - if you are going to go for land drain/gravel you are better off not using a geotextile membrane in clay soils as the clay will in time block water travelling through the membrane. geotextile membrane works much better in sandy conditions where it won't clog up the membrane in the long term0 points