crispy_wafer
-
Posts
1194 -
Joined
-
Last visited
Everything posted by crispy_wafer
-
I suspect the answer is a no, but can I/am I allowed to notch the wall plate? reason I ask... I'm bringing some hep down from a roof void (attic trusses onto wallplate), over the wallplate into a shallow chase that I've taken out of the wall. Notching the wallplate would allow the pipes to sit a bit further into the chase which would then be hidden by the plasterboard ceiling and wall junction. Currently I'd need to notch the plasterboard to fit round the pipes. I'm accounting for about 10mm dabs. yay or nay? Thanks Marek
-
Discount Offers of the Week
crispy_wafer replied to Ferdinand's topic in General Self Build & DIY Discussion
For those who may not have any other options available Starlink doing refurb stuff at 199 for the hardware + monthly subs at the minute. -
Get the one with variable speed. I've got the other one and if i'd add anything to it, then it would be speed control. You can control speed with the trigger, but when you have to cut/grind, hold in position, holding a constant not full wack speed is bit of a challenge!
-
Help with air source heat pump
crispy_wafer replied to thenight's topic in Air Source Heat Pumps (ASHP)
Currently like a cave dweller 🤣! Stove with backboiler. Will be a heatpump in the self build, supplemented by air 2 air and a dinky stove, just waiting for electrics to be sorted then I'll plumb it in. The overriding thought on ASHP's certainly round this forum is positive, just do your due diligence, bring the property up to spec if needed insulation wise, look at air tightness and sources of unwanted ventilation then you'll stand a fighting chance of having something that will run at lower temperatures and give you efficiencies that match up with the cost of gas. Be mindful though that it may not save you money! -
Can't fix, won't fix...what's the alternative
crispy_wafer replied to Thorfun's topic in Doors & Door Frames
maybe chain drill it instead. Multitool any edges. Be careful though. Reckon it would take me about a month to pluck up the courage! -
Help with air source heat pump
crispy_wafer replied to thenight's topic in Air Source Heat Pumps (ASHP)
Yeah probably a few years of life left in it before it’s due to be replaced, I’ve never had gas but by all accounts they don’t last like they used too! If you haven’t already got one, would you have room for a hot water cylinder? -
Help with air source heat pump
crispy_wafer replied to thenight's topic in Air Source Heat Pumps (ASHP)
What's your current heating system and motivation to change? -
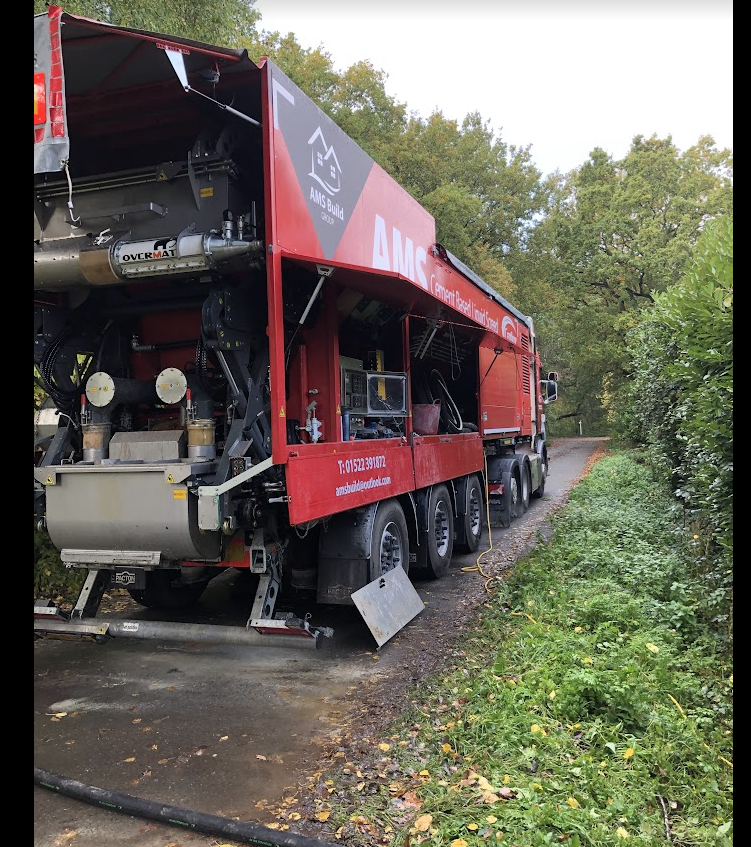
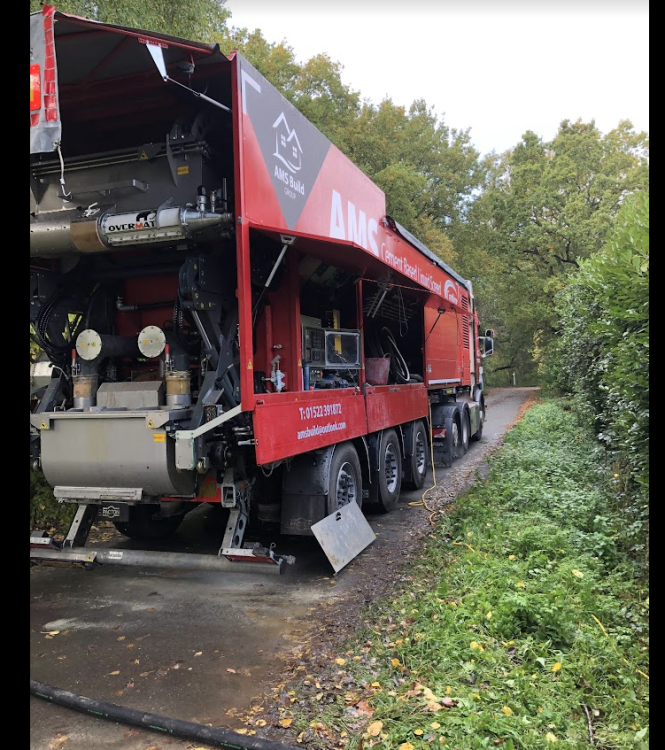
almost... straight out of the volumetric mixer truck
-
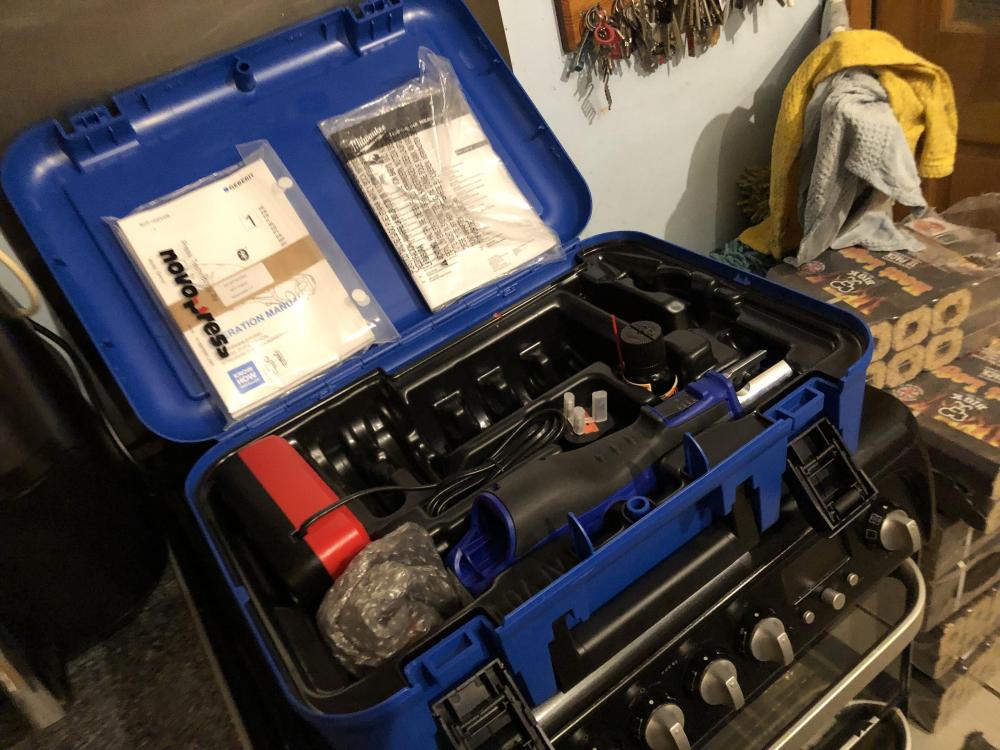
Aye, gas, water. Small, large, different materials with different jaws. But in this instance, it's boy wants toy!
-
Presuming it was a flow screed pour? If so the screed supplier would have records as to how much was poured.
-
Sadly for my wallet I didn't, but I now have a set of M jaws up to 35mm. Although I only have a big handful of pressing on my own project at the moment, it'll come in handy for when I go to mothers and fix a few jobs for her. I'm sure it'll keep me in pints and favours from colleagues at work too!
-
Can't fix, won't fix...what's the alternative
crispy_wafer replied to Thorfun's topic in Doors & Door Frames
👏 -
Can't fix, won't fix...what's the alternative
crispy_wafer replied to Thorfun's topic in Doors & Door Frames
10 gallon hat and spurs time. how's about cut a piece of ply to the same shape as the metal footplate and glue with some super dooper polywhatsit adhesive to the screed. Cut tile so that it fits perfectly around the bit of ply. Make sure the ply is the same depth as tile and tile adhesive. The metal footplate will cover the ply. -
Can't fix, won't fix...what's the alternative
crispy_wafer replied to Thorfun's topic in Doors & Door Frames
If it's not a daft question... What's the purpose of those doors? I'm thinking along the lines of fitting something to satisfy regs and the BI and then remove and make good later on, however if they are for firespread or something then nah! They are nice looking doors though! -
keep at it, it's not quick and it's not simple. I've had plenty of moments where I've spent a day doing something, then ripping it down and doing it again because of an oversight, getting ahead of myself, or because it was just wrong! This forum is a great sounding board, and there are some threads that have a lighter hearted view on things that help take the edge off and help getting things into perspective with everyone's different journeys.
-
I'm not sure I'd be bonding in place to be honest, a bit of twist when threading and I get the feeling it could break free. I think we can take the 'must be accessible' far too rigidly at times. I'm not sure there are too many cases where the joint, or transition to copper isn't either behind the wall, or in the wall face, cupboards I guess you can run hep right to the tails, or appliance outlets using service voids. Showers and some bathroom fixtures necessitate joints at valves that are concealed and at the outlets. It's about mitigating risk as much as possible and choosing which compromises are worth taking. p.s I purchased a frame for hanging a basin this weekend and that too had 1/2 - 1/2 wall plate elbows on it too, so they must be somewhere out there.
-
concealed-shower-bracketlength-150mm-thermostatic-mixer-tap-bar-back-plate-bsp-thread-faucet-connection-set-12x12-x-l-150 (pswtradesuppliers.co.uk) If pushed, and you need singles, you could buy these, saw in half, drill holes in the plate if needed and mount... Not as aesthetically pleasing, but sometimes you just have to innovate.
-
1/2 Inch Elbow Backplate Pipe Fitting Back Plate Wall Mount (plumbing4home.com) Bit pricey, Think I paid that for the warmer shower wall plate. or G 1/2'' Brass Wall mounted 2-way Air Junction 16 Bar | Tameson.co.uk
-
Didn’t really need one, but bought one anyway 😳. #cantsolderwontsolder let the plumbing commence!
-
I think you pinged me that manual before, looks similar. Thanks. I'm right going with the 3 port valve that's on my pre plumbed cylinder then rather than trying to match the plumbing on grant cylinder?
-
Without wanting to derail the thread too much can I ask @JohnMo a question I've seen this Grant comment quite a lot and never really questioned as I don't really know wrong from right at this point! Is this meaning the actual physical installation and the way the hydraulics are piped up, and/or the way the system is controlled via the interface. I'm curious as I'm yet to connect my unit up and can still make amendments to my scribbled design! The Grant install guide has 3 schematics to follow plus a high level diagram early on, the Chofu install manual just has a pretty high level diagram in it.
-
My thoughts were dependant on how much floor space you had to play with, you have plenty, so stick with your initial layout. I'd probably look to go left, either straight out the wall, or left then along the bath then straight out, down then into the IC.
-
Are you dead set on the WC location? Route WC left around the bath and out back wall? Or swap wc and basin round and route basin round the bath to back wall, and route basin waste round the bath. What are the dimensions of room, can you afford to loose some space build a false wall to conceal the pipework, a couple of niches, hidden cistern etc?
-
oooh bugger, very lucky not to have water tracking down the light pendant. Any evidence of the path the water has taken?
-
I've seen board to board edges screwed and dabbed together with bits of offcut plasterboard plasterboard and adhesive before.