Gone West
-
Posts
4609 -
Joined
-
Last visited
-
Days Won
20
Everything posted by Gone West
-
@Russell griffiths Are your areas total floor areas or footprints. We used the area of two single garages plus the existing bungalow footprint when we applied for our replacement house. They were particularly awkward and didn't want an increase in footprint. In the end we managed to get an increase in footprint of ~ 10% which combined with the first floor gave us a lot more floor area than the bungalow. We used the argument that modern living requires more space than 100 years ago.
-
We just went to our local Councillor and asked him if he would support our application because the Planning Officer was being an awkward bugger. He did support us as did the Parish Council and as we didn't have any objectors the Planners were overridden unanimously when it went to the Planning Committee.
-

Discount Offers of the Week
Gone West replied to Ferdinand's topic in General Self Build & DIY Discussion
@TheMitchells ok thanks I'll work out exactly what we need. -
Sometimes it has to be copper and I can only solder with Yorkshire fittings but most of the time I use plastic.
-
I used this stuff bought in boxes of 12. It worked well on my HDF skirting. http://www.axminster.co.uk/titebond-heavy-duty-construction-adhesive-ax22584
-
As @Nickfromwales has suggested I'll ask the BCO what his take is on it.
-
Yes they are. Speedfit is not everyones favourite but I think for amateur plumbers like me they are safer as when the connection is made and a collet clip is inserted you know its connected properly.
-
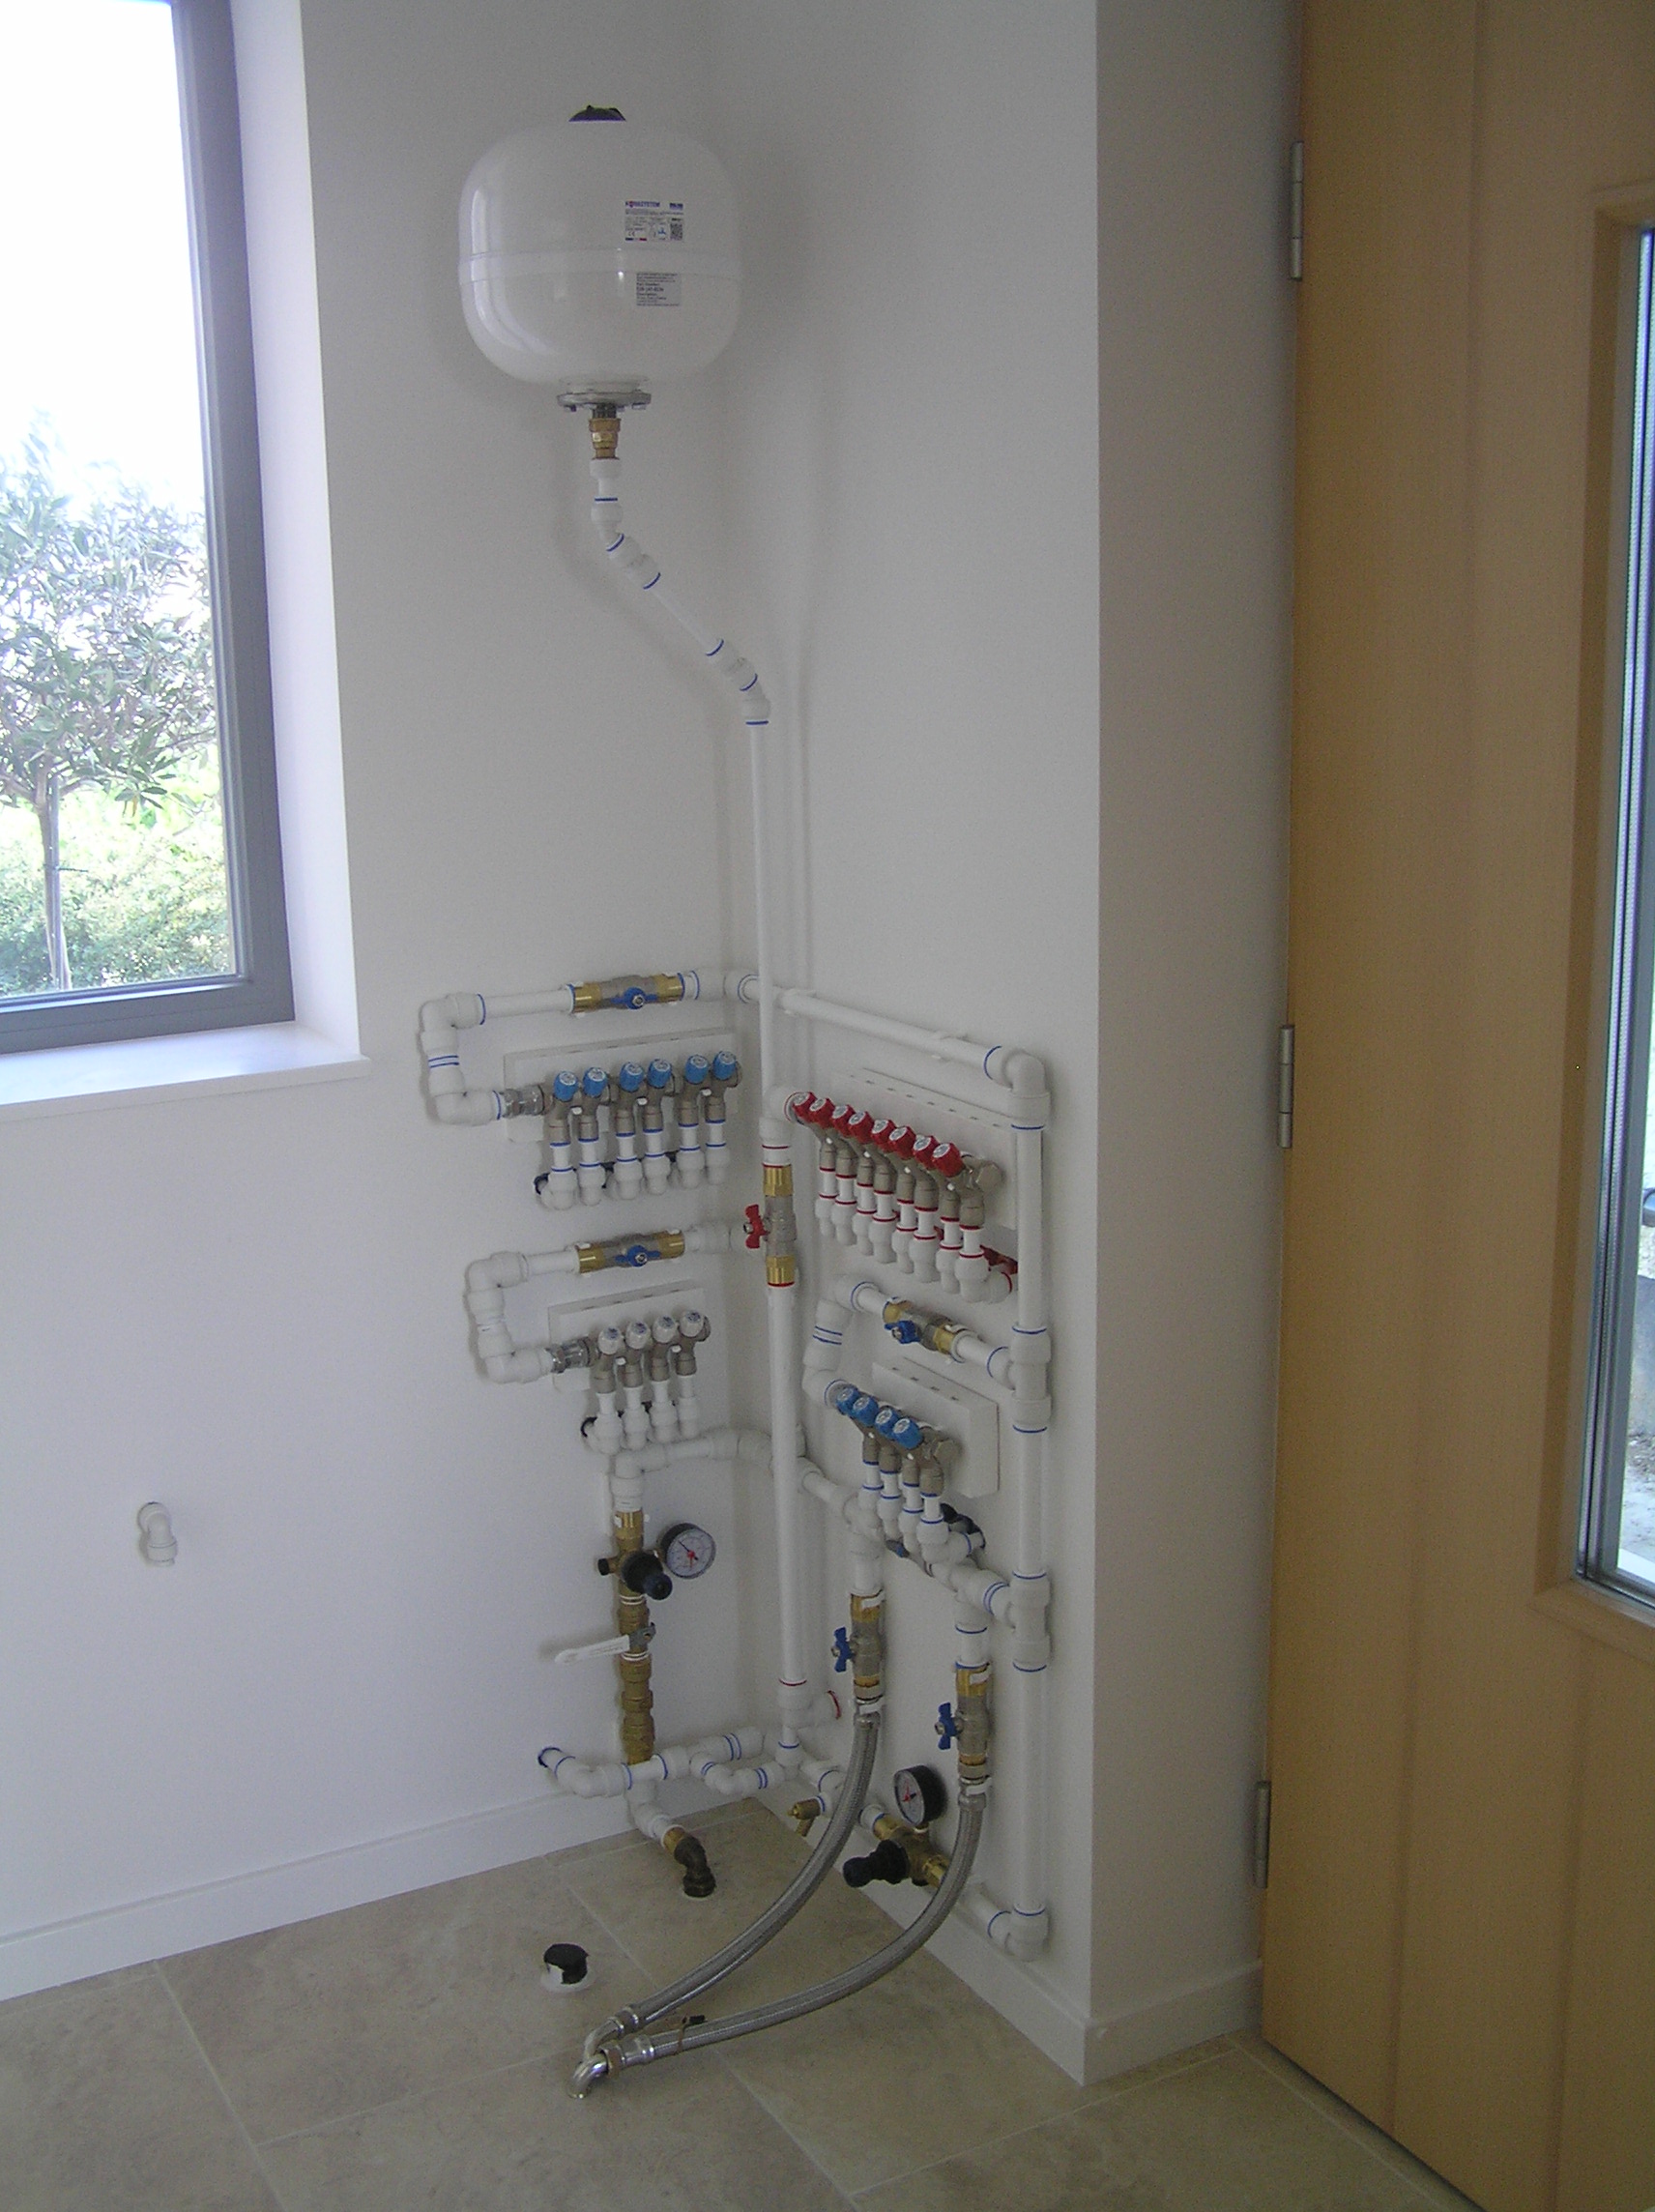
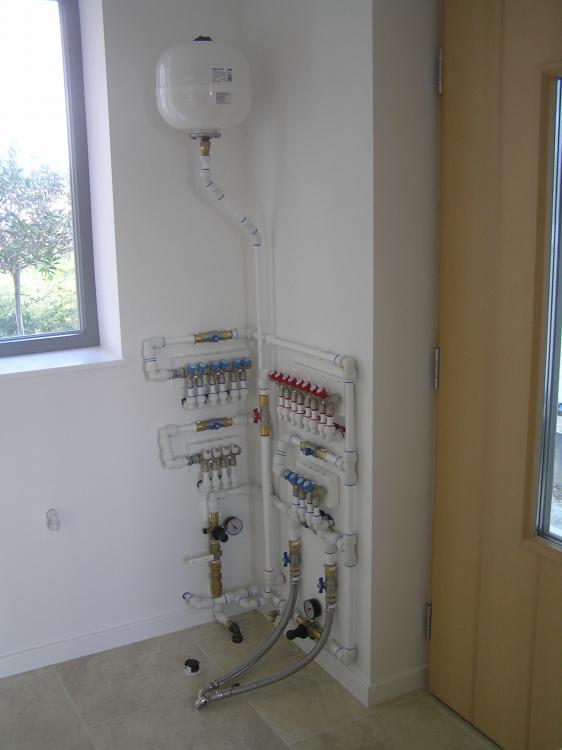
I had already fitted a PRV and EV for the Genvex Combi before it was delivered, but anything can be changed if necessary. If a pipe was attached to the HW circulation outlet and run vertically up the back of the unit and bent to the side and a PRV attached wouldn't there be enough height for the tundish etc? Not being awkward I'm just trying to understand.
-
That's strange because I have used that contact page twice and not had a reply on either occasion. That's annoying.
-
I have spent quite some time trying to find pictures of installations and watching old self build programmes on TV that feature the Combi, but with no luck so far. There are small developments in the UK that have had Combis fitted but it seems they have all been installed by Total Home Environment. I can't see them being helpful as I saved money by not buying from them. It would have been simpler paying the extra £3100, but that is expensive information on how to install in the UK.
-
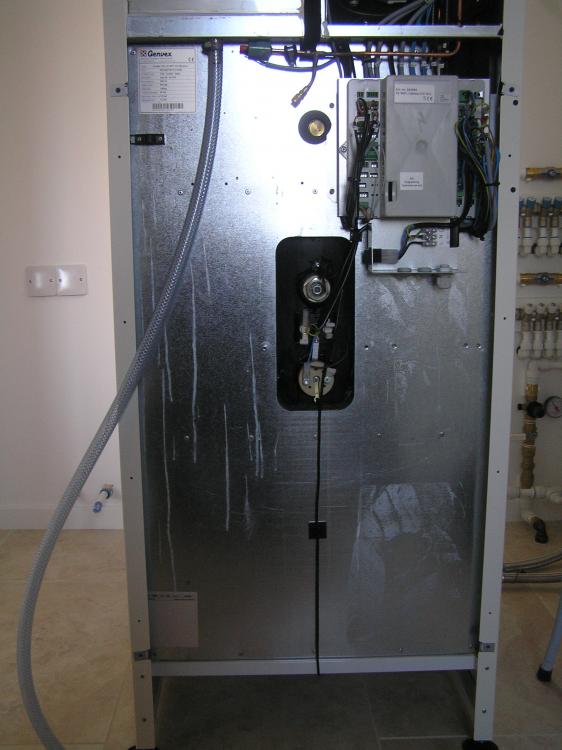
Unfortunately there's no way of exiting the case, when the cover is on, except downwards and underneath towards the rear. Very interesting discussion between yourself and Jeremy.
-
Thanks, that's interesting. Does their system meet our regulations?
-
It was in the purchase agreement that I would check the doors and report anything missing within 14 days. I didn't, so it was my fault. Neither the supplier nor Internorm were interested.
-
My Internorm doors were delivered without any locks. By the time I checked the doors it was too late and they didn't want to know. I fitted Mul-T-Lock locks to both the Internorm doors and the porch door and had them keyed alike. Makes life a bit easier.
-
I did wonder if it was a European thing not having an expansion vessel. There is another 3/4" BSP take off from the bottom of the tank that they call a 'hot water circulation pipe'. I'm not sure what it's supposed to do but it may be possible to connect a pressure relief valve to it.
-
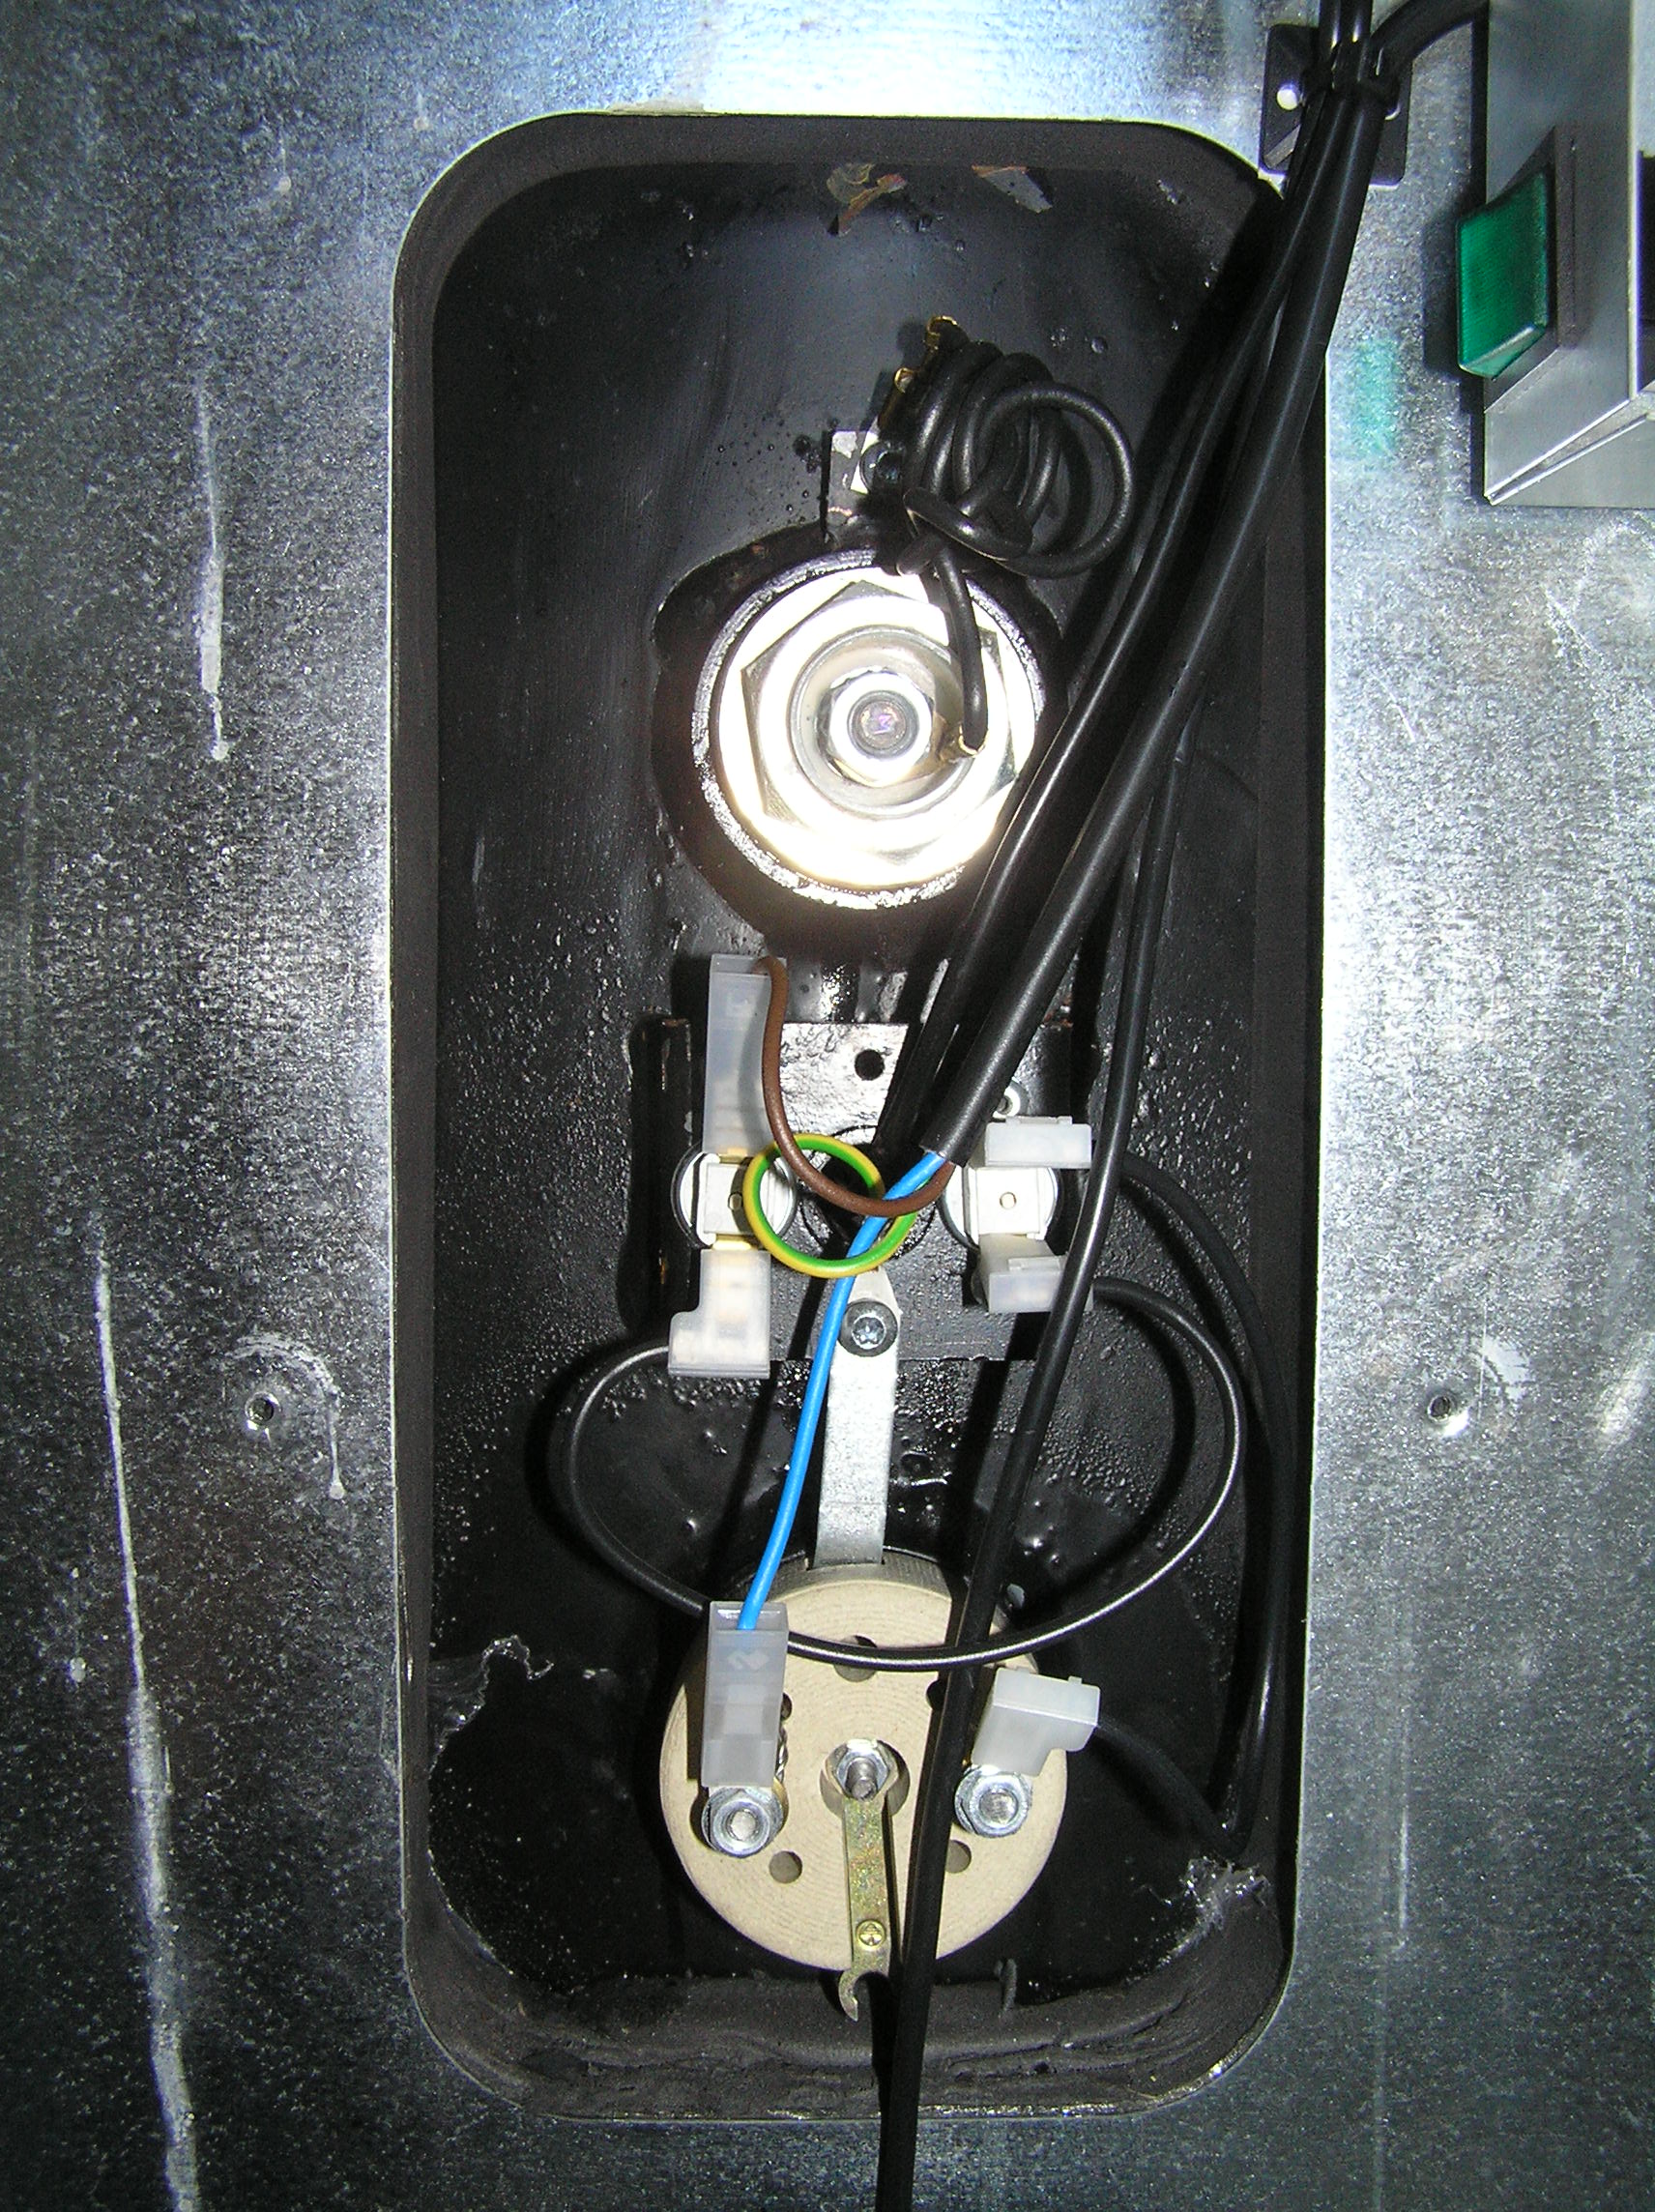
OK thanks. It has a regular temperature control stat and two manual reset thermal cut outs. There are around a dozen of these fitted in the UK that I know of so it's been sorted, if only I knew how. I'll try to find a friendly G3 fitter. Thanks for your help.
-
It is manufactured in Denmark and I bought it direct from Denmark. Before buying it I spoke to the UK distributors but as I didn't buy it from them I can't see them being helpful. I can try Genvex direct in Denmark. I was thinking that as it has two manual reset thermal cut out switches all I would need possibly is a remote pressure relief valve connected to the DHW outlet? It didn't come with any extra fittings. Maximum pressure is 12 bar, operating pressure is 3 bar.
-
Fitting an undermount sink to granite
Gone West replied to Lesgrandepotato's topic in Kitchen Units & Worktops
I used G clips to fix my undermount sinks to the granite worktop. They worked a treat. http://www.gclip.co.uk/Home.html -
I'm not thinking an expansion vessel is the same as a safety valve. When you say remove the brass bung and replace with a T&PRV how could you run the discharge pipework. When the front cover is on there is no room and the only exit for pipework is under the unit towards the rear.
-
Clive has linked to the installation guide that I've got. The tank doesn't have any overflow pipework. I've installed a pressure reducing valve set to 3 bar on the cold supply inlet. I think the 6 bar safety valve referred to is the expansion vessel.
-
There's no mention of a temperature & pressure relief valve in the Genvex documentation and it's not marked on their diagrams. The UVC is in the bottom part of the unit and is completely boxed in except for the front. The only other thing on the front of the tank is a brass plug near the top of the tank.
-
@Nickfromwales whoops, sorry should I have put this under 'Boilers and hot water tanks'?
-
I’m looking at how to connect up the UVC which is part of the Genvex Combi I’ve just bought. The UVC is heated with an EASHP which will heat the water to a maximum of 55C. It has a 1kW immersion to increase the temperature if required. Genvex say the maximum tank temperature should not exceed 65C. Reading up on safety devices on the internet it says there should be three independent ones. It looks like the Combi has two manual reset thermal cut outs with 80C stamped on them. Does that mean I would need just a pressure relief valve to have a safe system? The top part is an anode, under that two reset buttons and at the bottom the immersion.

-
Finally finished the front garden.
Gone West replied to Gone West's topic in Landscaping, Decking & Patios
Well done. I just hope we haven't got 10! -
Finally finished the front garden.
Gone West replied to Gone West's topic in Landscaping, Decking & Patios
We've now got moles under the new turf. This area is riddled with the little buggers. I've killed two this year and I've set the traps again. Hopefully I'll be lucky and catch them before the grass dies. I caught eight one year at my last house.