Nickfromwales
-
Posts
31382 -
Joined
-
Last visited
-
Days Won
346
Everything posted by Nickfromwales
-
It really couldn't be easier to plumb it yourself in Hepworth pushfit pipe. Whats the worry with the long runs? Talking to a plumber won't make them shorter, and the solution is a simple HR pump and loop. Heating is just two pipes, flow and return, and can be Hepworth too. Flow and return from the boiler to the TS and connect hot and cold to it, then order it with whatever space heating tappings you need and connect to those accordingly. ?
-
+1 Ask the questions here and crack on. Can you solder copper?
-
If it's a rented property then you really need the paper trail. If the worst happened and there was a fire then you'd be asked who fitted it. Or you can look the other way and we'll talk you through it. Easy job if you've got basic elastictrickery skills.
-
The controller needs to be "zero volt switching" so basically any controller that doesn't give out 230v. The one linked seems to be fine but is a brand I don't know of and have ever fitted. Tbh if this is to be a simple to use control for others to use ( grasp ) then I'd go for a wired timeclock at the boiler and a dumb wireless wall stat as the programmable stats are completely dependant on being correctly programmed and that being maintained. They do feature a temporary or permanent manual override but if there is no single user or system caretaker then simplifying this would be advisable IMO.
-
The worst that can happen is the pressure will go higher than 3 bar and the PRV will open. Tbh, if it hasn't already done so then it may be the static mains pressure is lower and therefore within the operating tolerance of the PRV. Just take wellies with you on Monday in case
-

Adding in a toilet to a run - plumbing query
Nickfromwales replied to CC45's topic in Waste & Sewerage
Simple TBH. If there is no need for 110mm pipe to be passing the toilet then cut the soil pipe where the wc is to connect and use a soil bend and go straight up into the pan connector. Use a Boss socket to join the bend and the soil together and then use the bosses to reconnect the sink and shower. ? As the soil is below the floor, there's nothing stopping you teeing the sink and shower into one 40mm run and use a single boss ( one will be 'open' and the other two should be 'blind' ) so no need to drill the second boss eye out . For belt and braces change the basin trap to an anti-vacuum / air admittance type like this to give some sort of air break. Ideally the bosses should be direct to the stack if its falling vertically ( to mitigate against any vacuum issues created when the slug of flushing water drops down to ground fooor ) as you don't say if there's is an existing 110mm air admittance 'Durgo' valve on the end of this run or not. -
Are you sure it's dead? I often fall asleep in the bath .
-
The red and black taps at the top are off. The black thing is prob a filter. The black taps on the filling loop are both fully open, not good. Close them both and get the pressure down by bleeding a radiator into a bucket. Whsts the make / model? A quick read of the MI's will say if there's a removable internal link to connect a timer to or whether it's maybe got it already onboard .
-
To boost the uvc . Thats a good figure for your CoP !
-
I think the unit would spend too much time idling, and 'stuck' in limbo trying to satisfy DHW without freezing and the space heating would get neglected for excessively long periods of time. I know you have a buffer so that may make it feasible if it stores enough energy to bridge these periods where the house would go 'unsatisfied'. CoP has to be maximised by design, from the outset, so you really should know what to expect before even plugging it in
-
Working out ASHP min COP to beat lpg
Nickfromwales replied to johny_99's topic in Air Source Heat Pumps (ASHP)
Vaillant do a complex setup as I describe above, basically it allows an uvc to be heated at high flow temp whilst the heating is separated from the S plan and is then blended down to suit the required ( reduced ) flow temp for the times that the two are running simultaneously. Afaic just fitting a W-plan ( DHW priority ) arrangement would do that with ease. ? -
Working out ASHP min COP to beat lpg
Nickfromwales replied to johny_99's topic in Air Source Heat Pumps (ASHP)
I'm unsure how you achevied that as oil boilers don't modulate ? Did you use digitally controlled electromechanical blenders off the store? I know Vaillant do such a thing but it was off the chart complicated from an end consumers POV and wouldn't control two different temp zones ( a mix of high temp rads and UFH ) so I didn't pursue that any further. -
Working out ASHP min COP to beat lpg
Nickfromwales replied to johny_99's topic in Air Source Heat Pumps (ASHP)
I tried to get the all-singing-all-dancing Vaillant W-Comp control to work and it was so uneconomical on time and effort by the the time I'd have actually got it fine tuned, the transmitter in EXACTLY the right position outside and blah blah blah it would have soaked up about 2 years worth of savings getting it to work properly. Single increment changes on the hub saw either too hot or too cold flow temp fluctuations and in the end even Vaillant admitted I was pissing in the wind. I have no experience of other manufacturers W-Comp controllers so maybe someone could give feedback from a real life case study of a PROVEN setup that works accordingly? -
It looks like plywood, capped at the front with a pine nose to me.
-
Get comfy, there's a lot of info here. .
-
Light at the end of the renovation tunnel.
Nickfromwales commented on TheMitchells's blog entry in Scooby Cottage renovation.
Keep up the good work ? -
Working out ASHP min COP to beat lpg
Nickfromwales replied to johny_99's topic in Air Source Heat Pumps (ASHP)
As Jeremy would say, "the laws of physics won't be changing any time soon" -
Working out ASHP min COP to beat lpg
Nickfromwales replied to johny_99's topic in Air Source Heat Pumps (ASHP)
How long do you intend to be in the property? -
Working out ASHP min COP to beat lpg
Nickfromwales replied to johny_99's topic in Air Source Heat Pumps (ASHP)
Plus if you stick with LPG then no need to pay towards the radiator alterations. Work out what that would have cost and see how much gas that would pay for . -
I'd find new heating installers as theyre causing you unnecessary worry and should have asked different questions like • what spacings • what pipe • DO they fit any valves etc and what type ....instead of just assuming the worst . Theyre just being dicks, so stick with MBC and watch how guys who do this daily get things done. . As abve, you choose the above ground stuff, and MBC are going to use pex so let them carry on. ?
-
Impey easy fit wet room former
Nickfromwales replied to dogman's topic in Bathrooms, Ensuites & Wetrooms
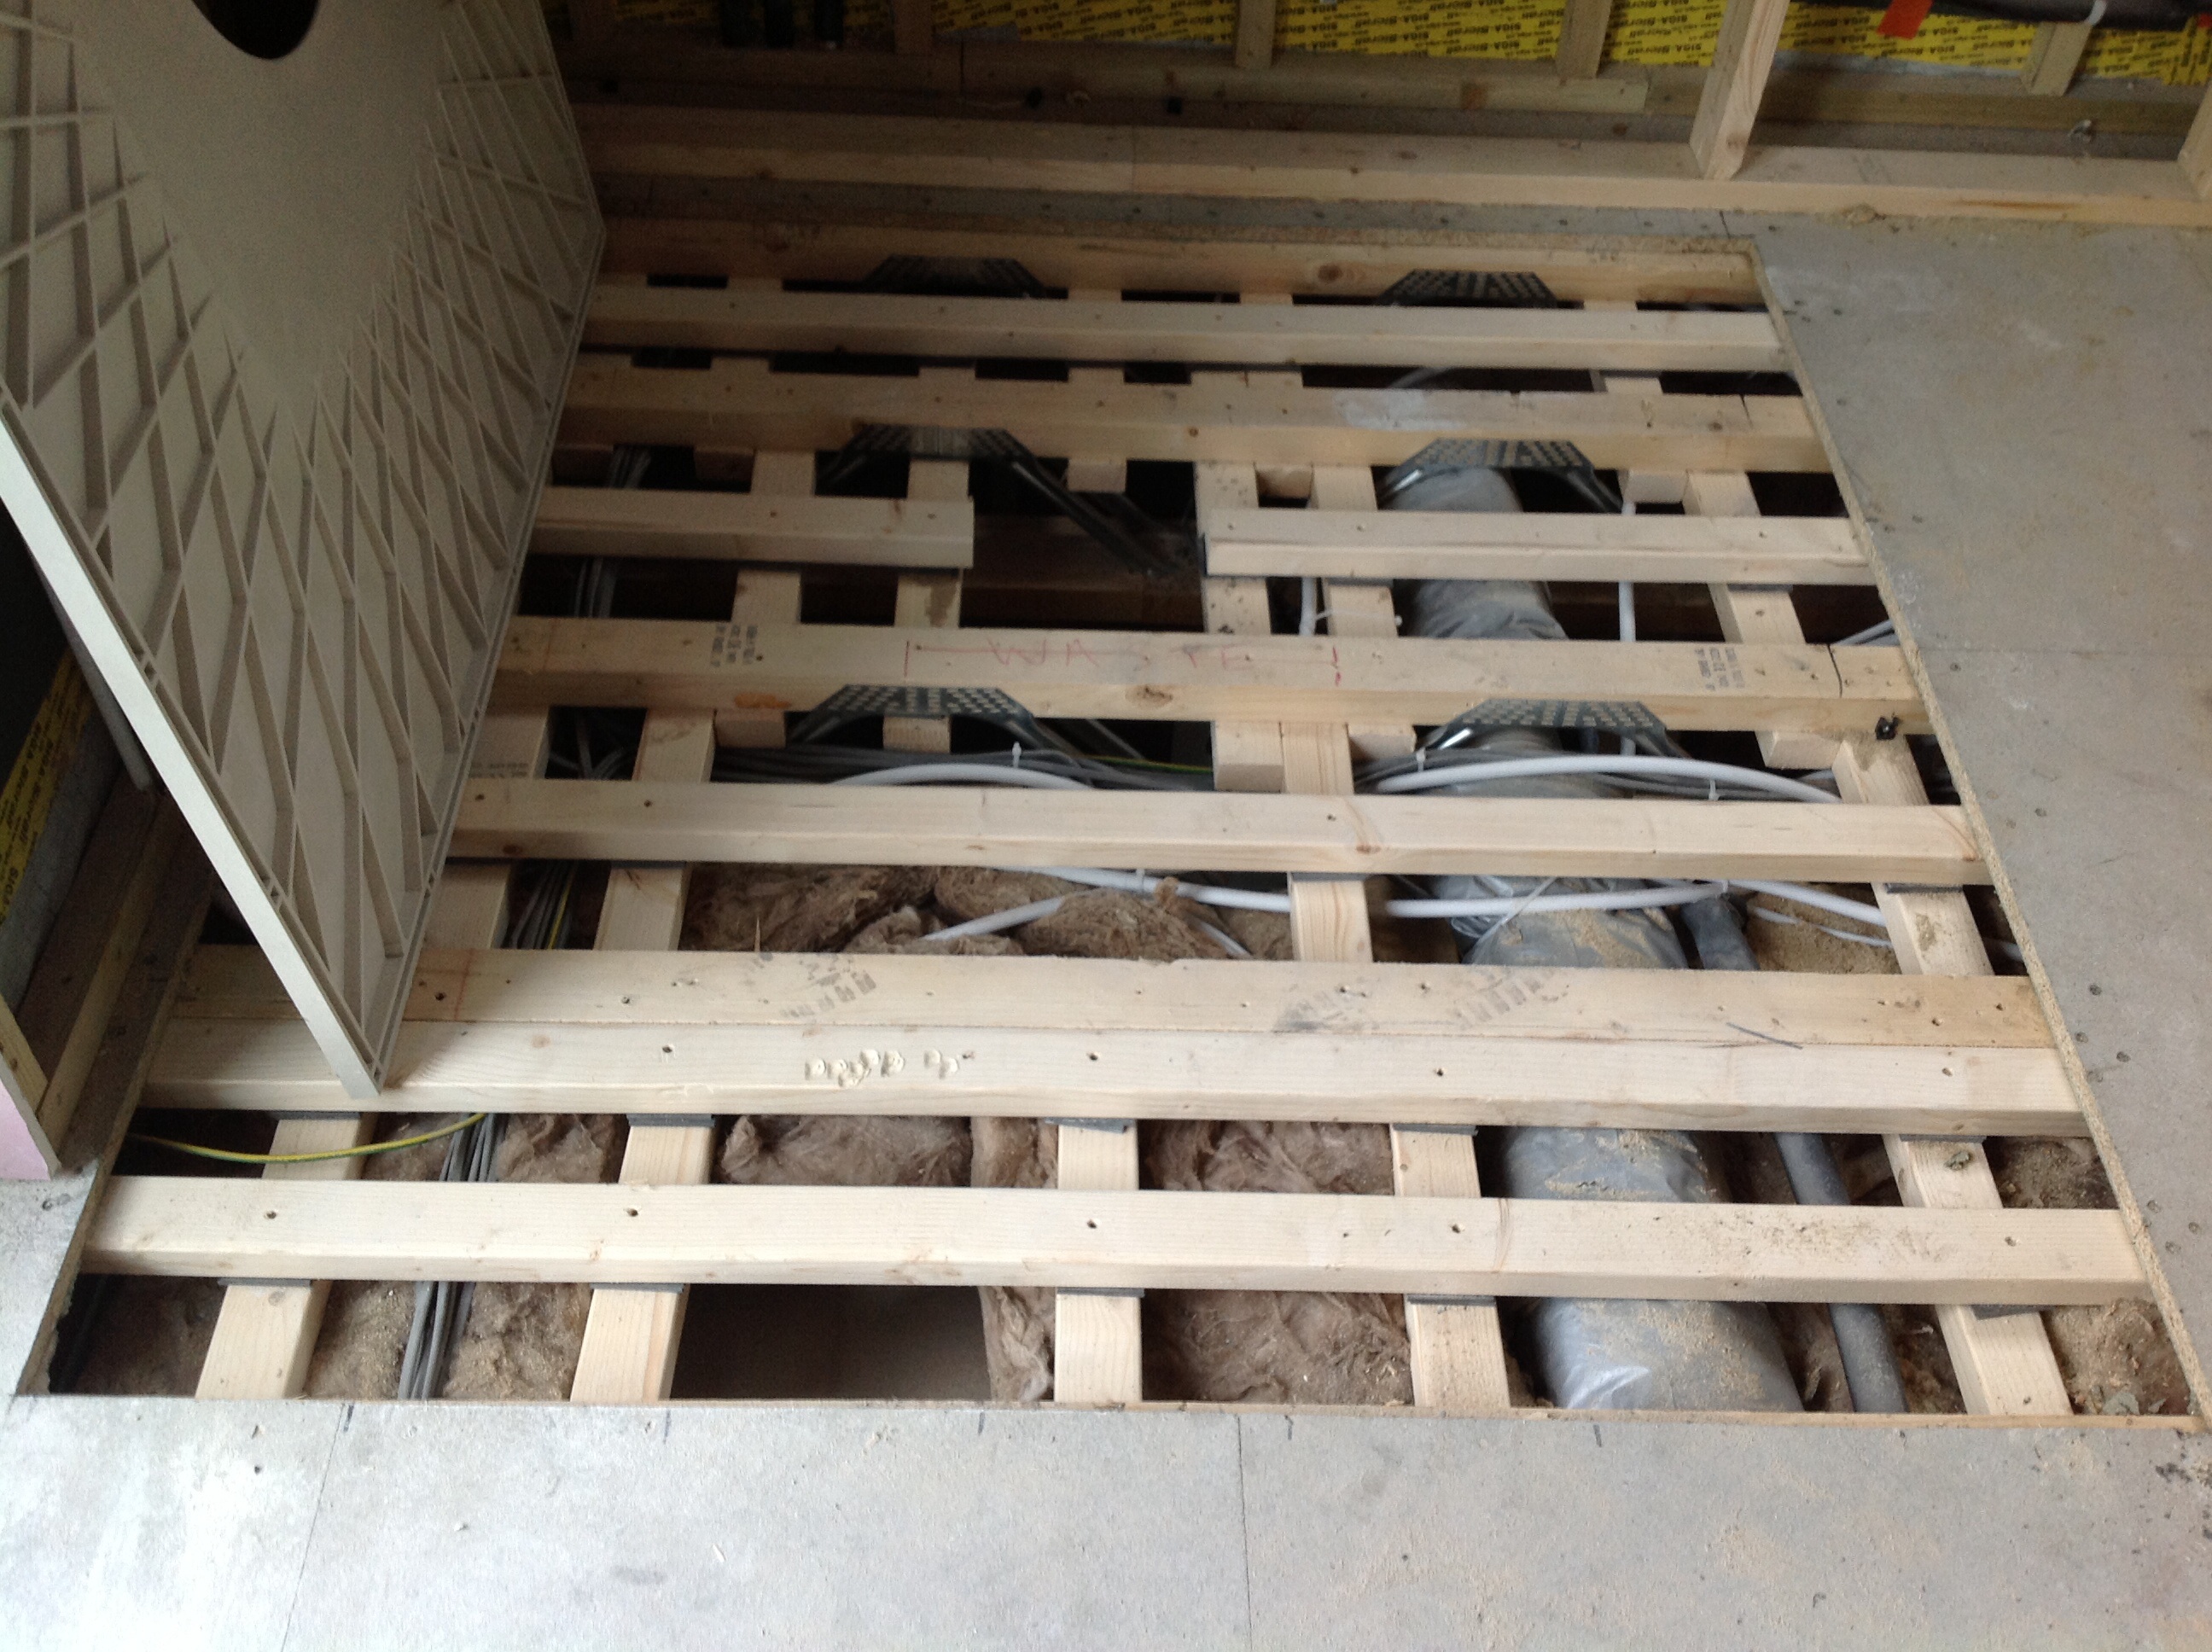
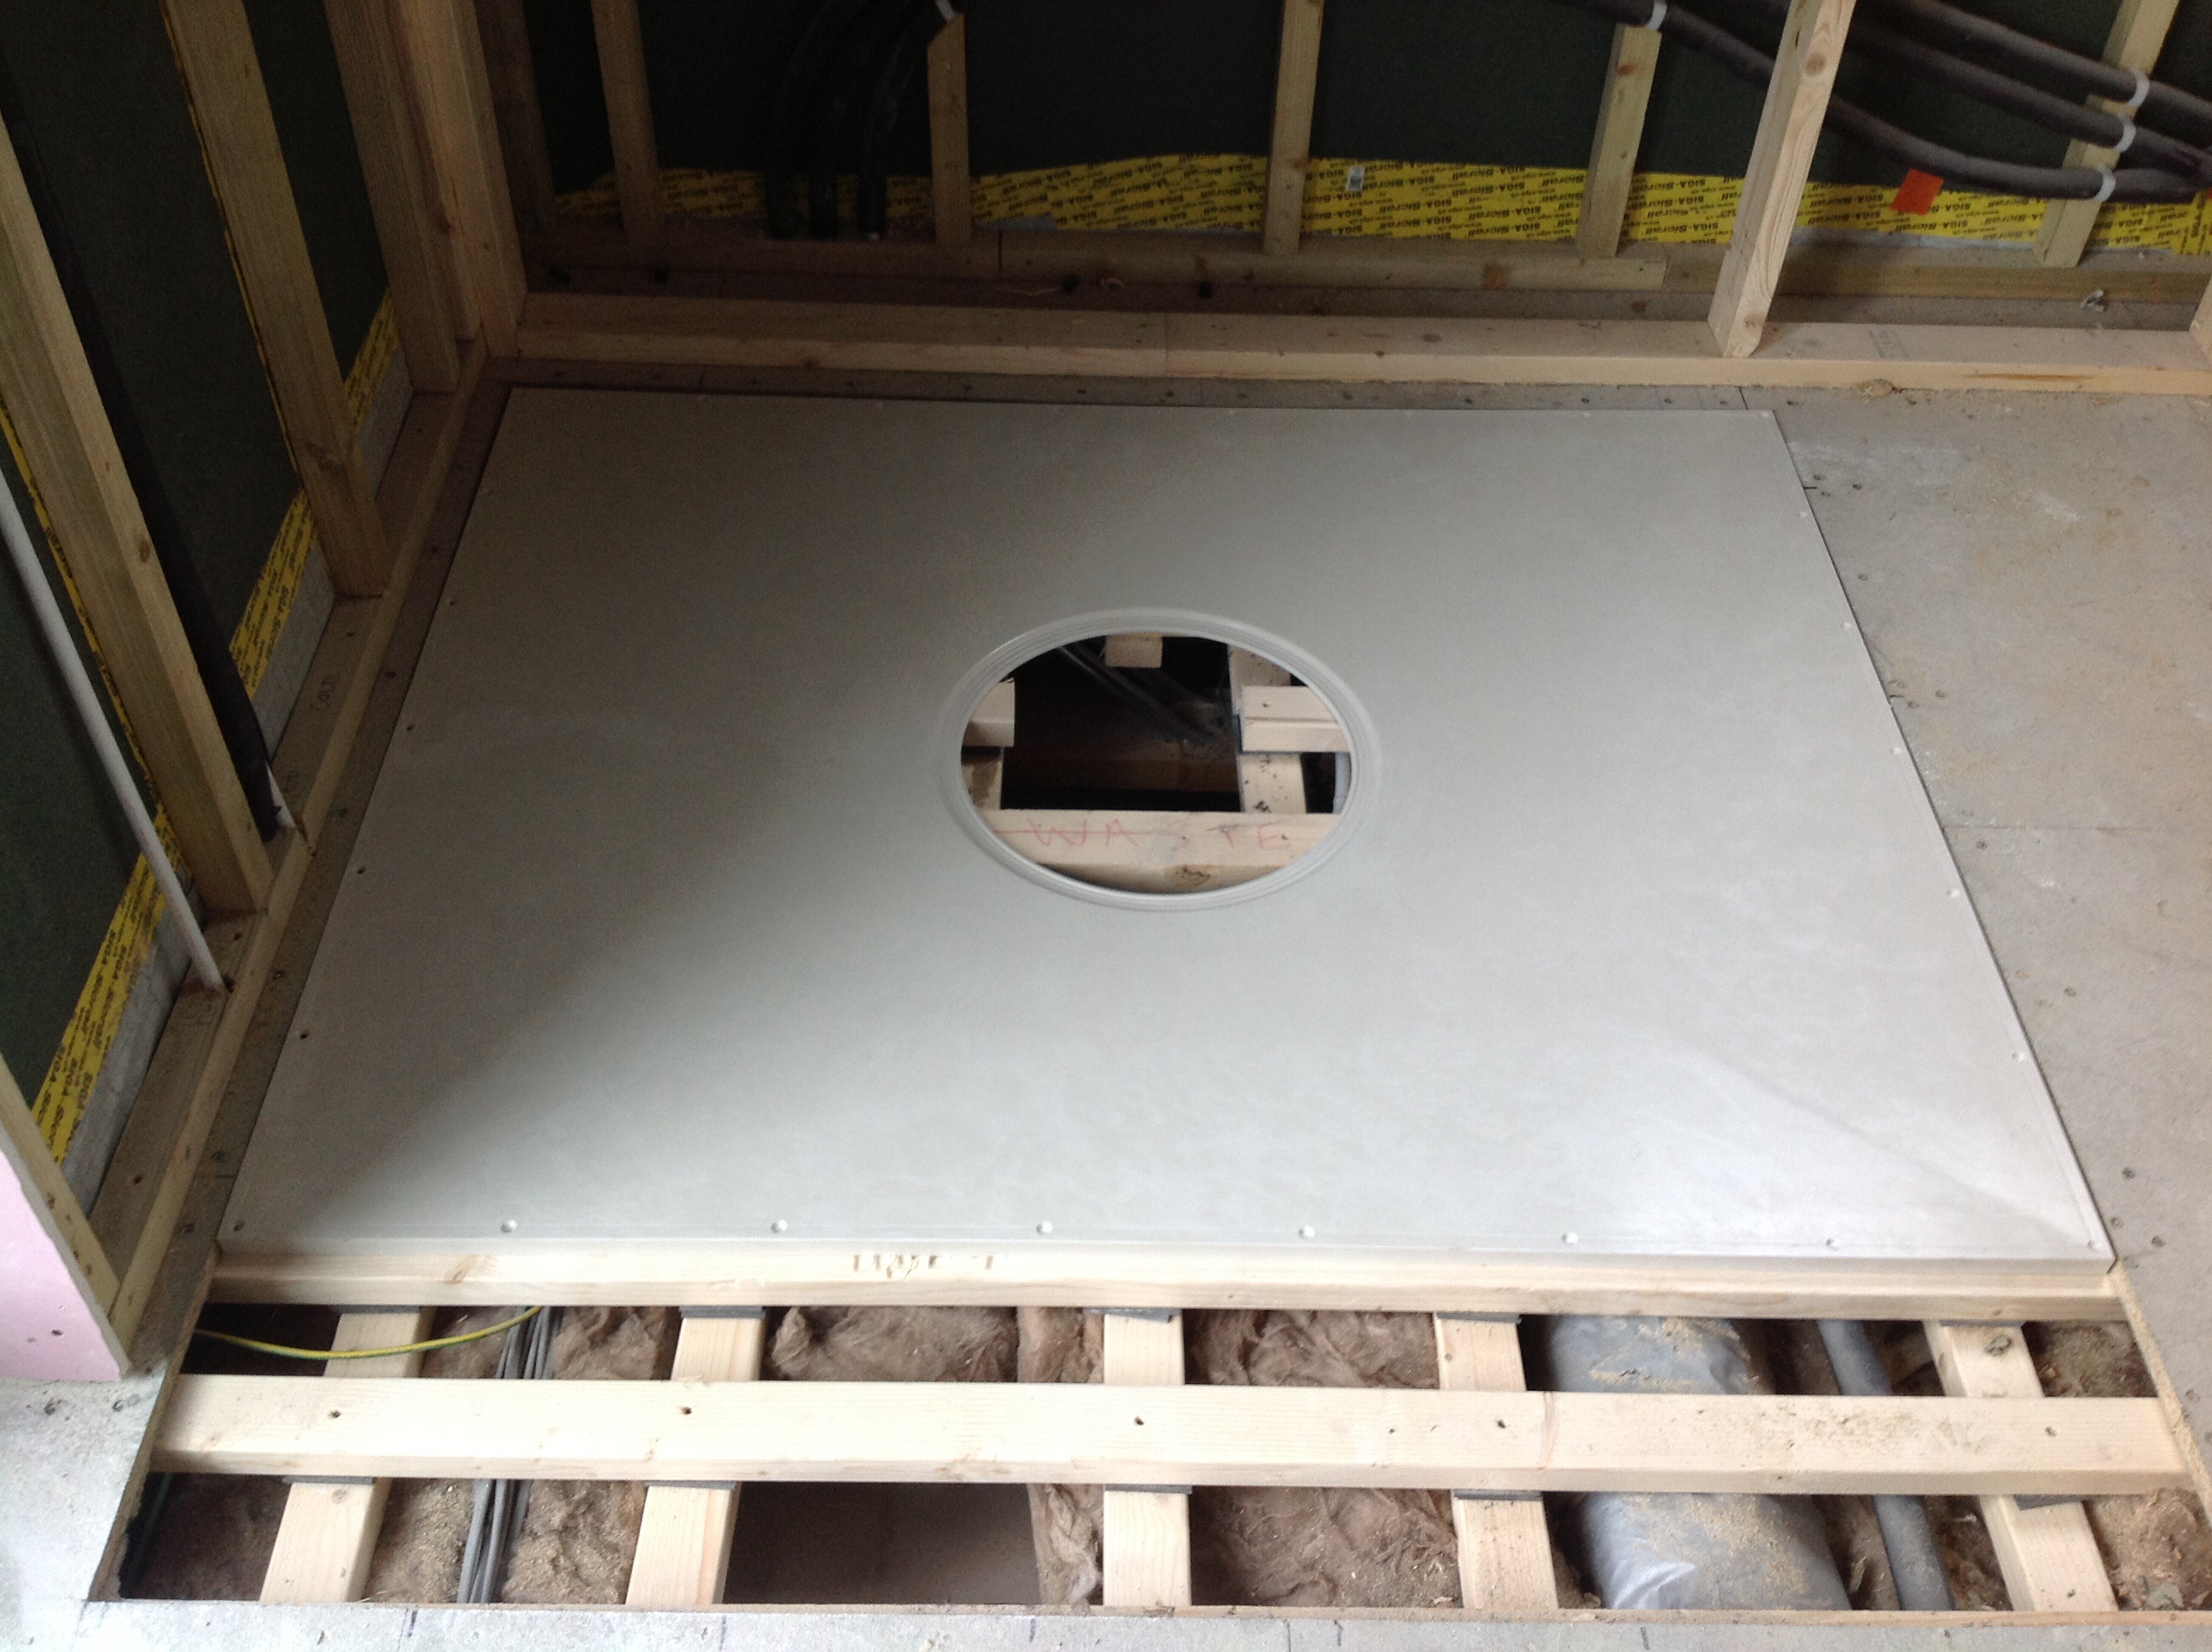
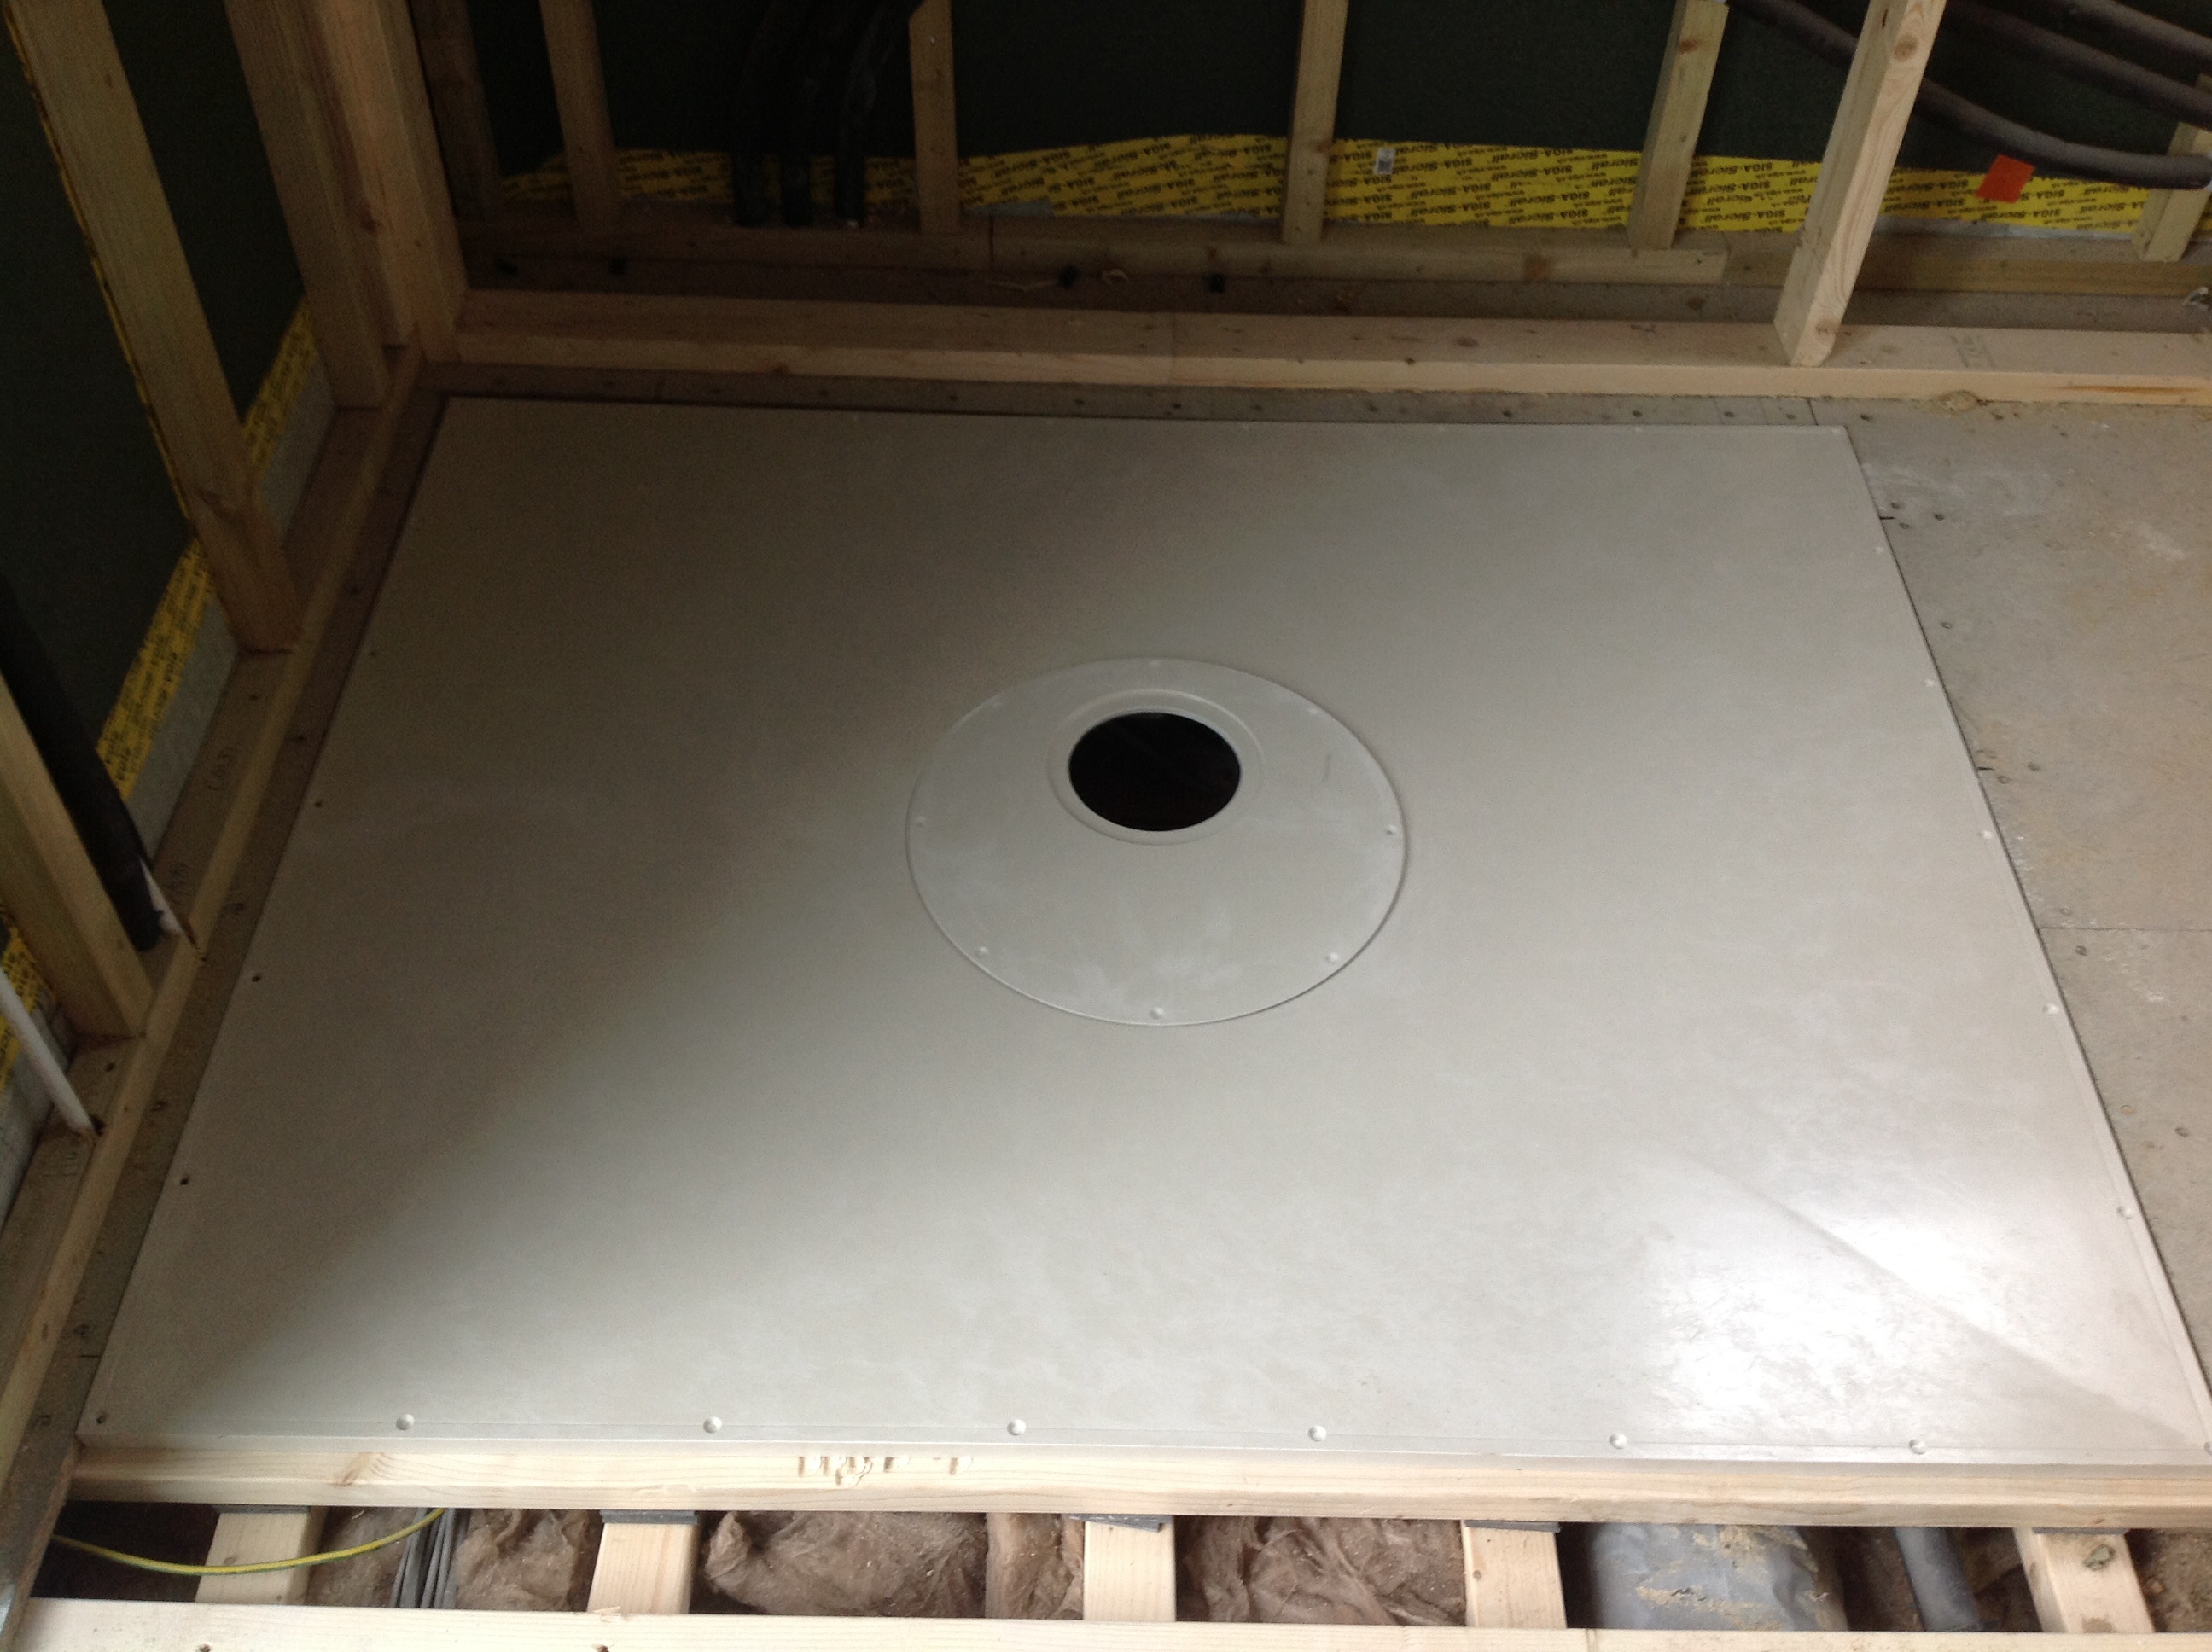
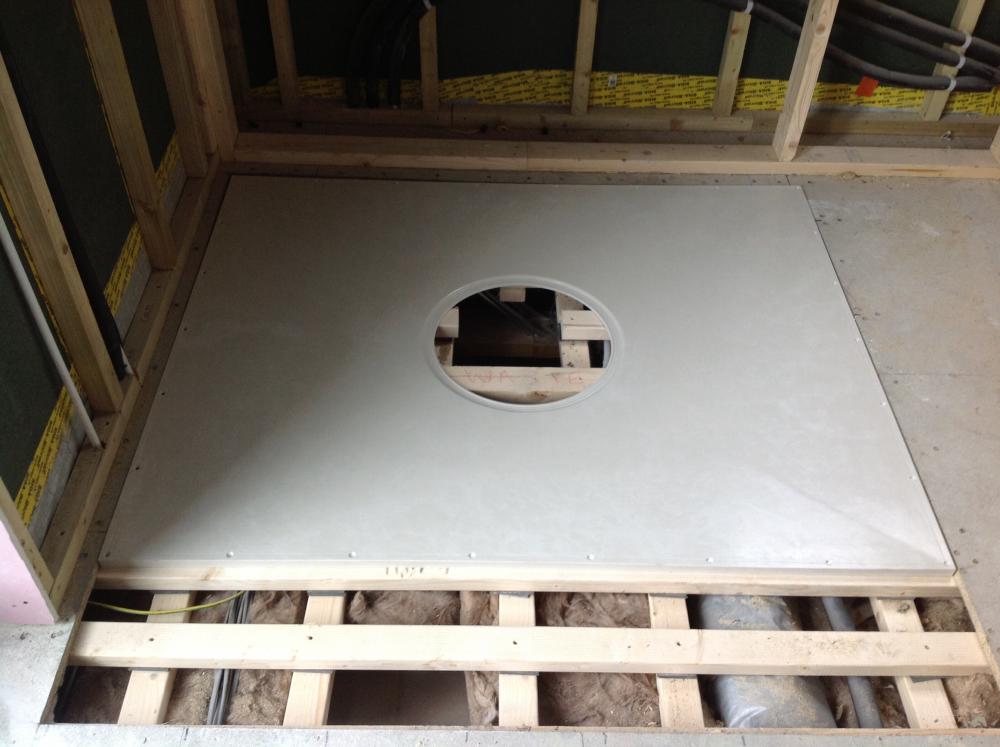
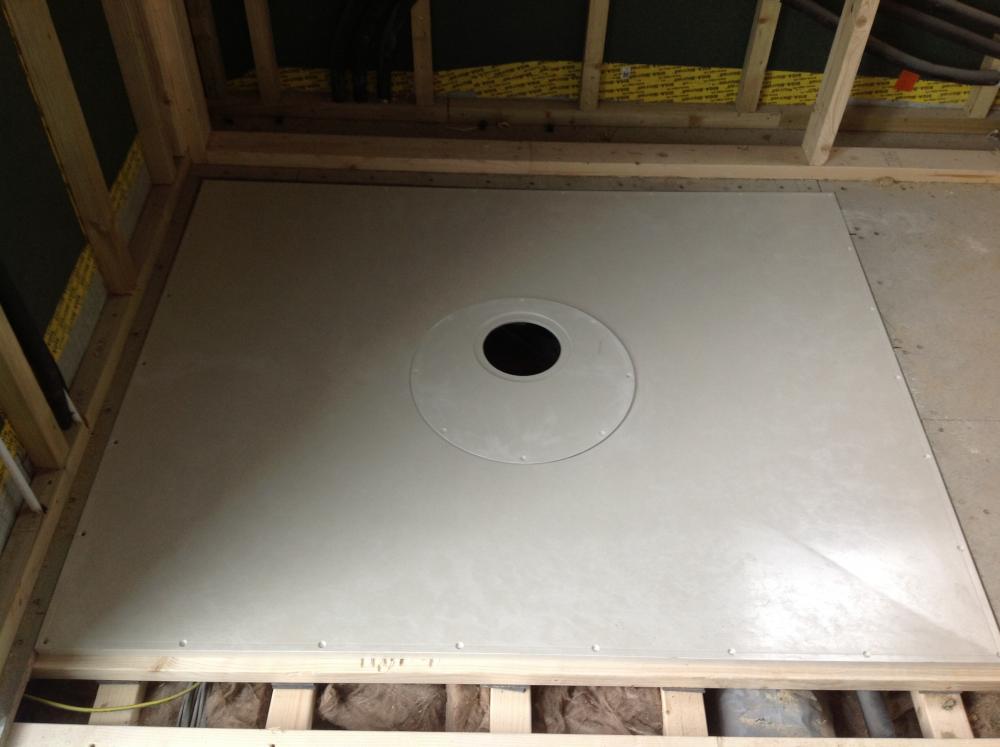
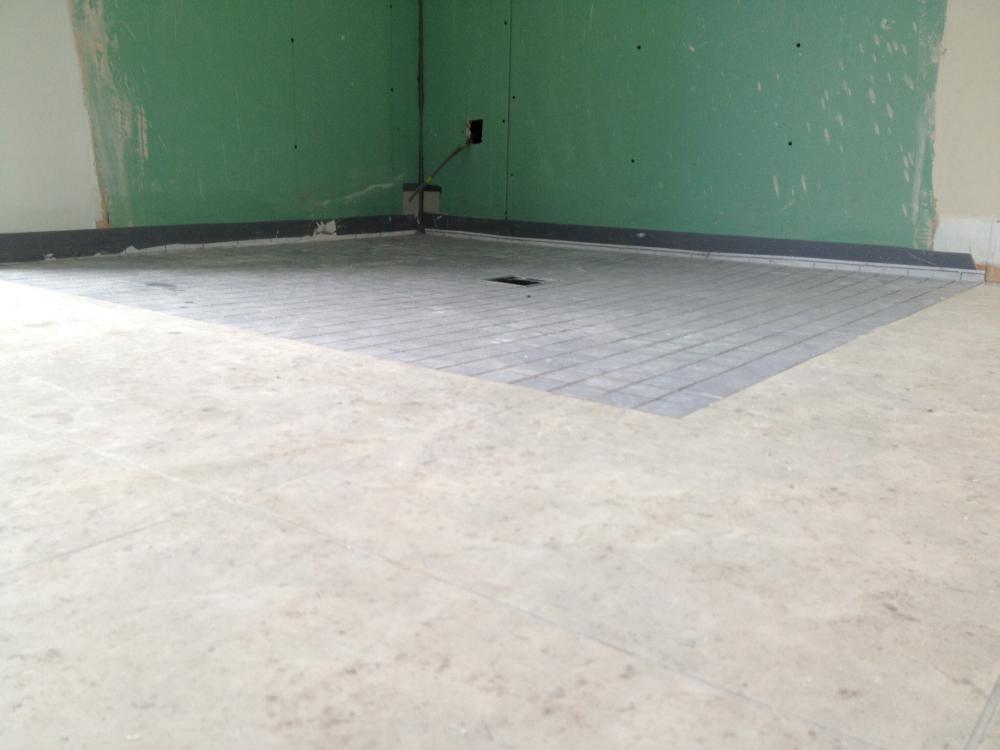
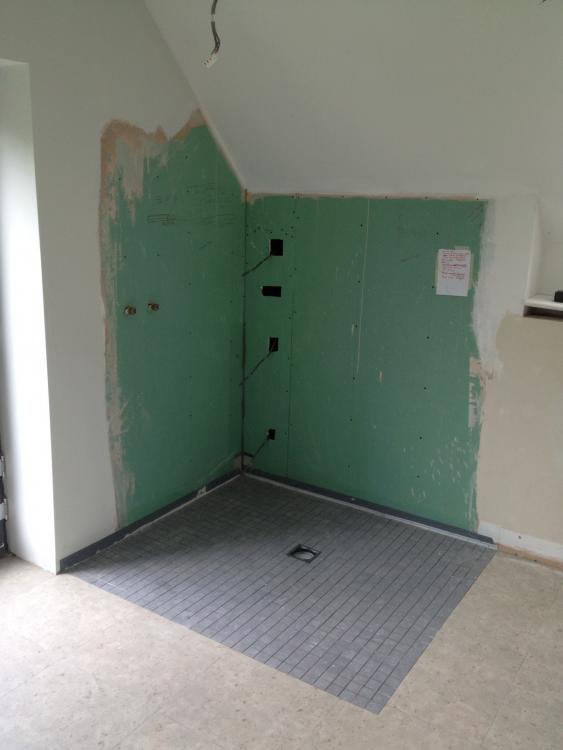
Youll be fine with what you have there tbh, with the additional cross bracing. The one I did had the ply for a few reasons, one was to act as a noggin as the TF company had decided they aren't necessary ? Your arrangement is much like another I did with the same tray. 15 lengths of 3x2 iirc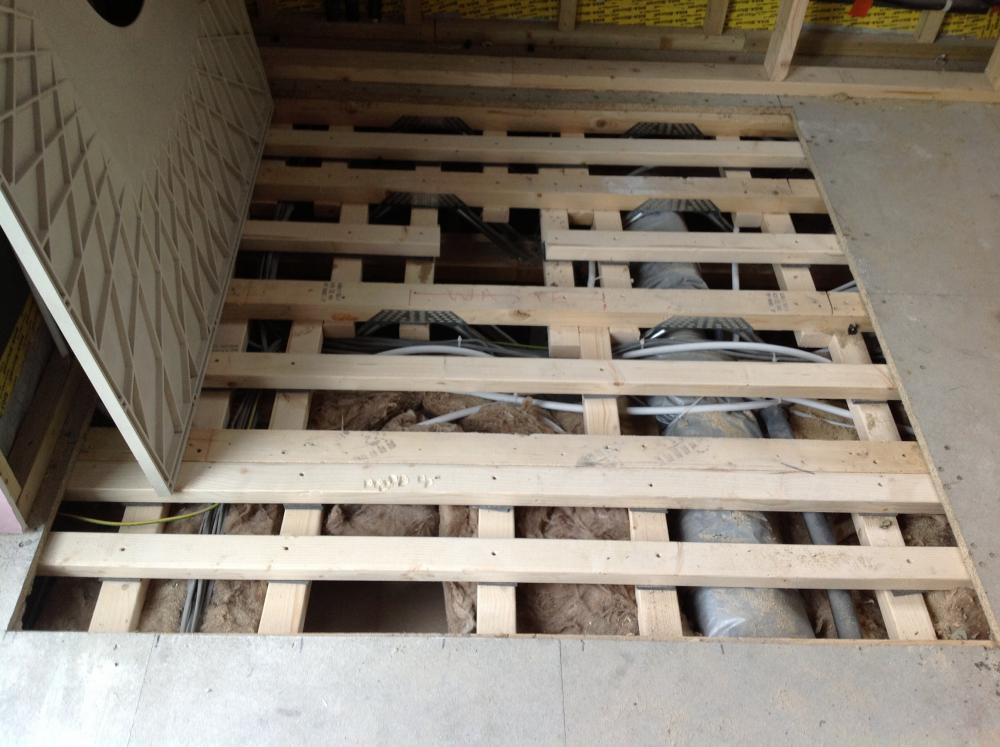
- 5 replies
-
- 1
-

-
- wet room
- wet room tray
- (and 1 more)
-
Impey easy fit wet room former
Nickfromwales replied to dogman's topic in Bathrooms, Ensuites & Wetrooms
The ply is belt n braces but I'd never even consider doing it without it tbh. Are you saying you need to offer the ply up from underneath in sections ? -
Help Needed With UFH/DHW System
Nickfromwales replied to Diablo's topic in Boilers & Hot Water Tanks
Yup, but at least they'll always have a tank FULL of hot water . -
Impey easy fit wet room former
Nickfromwales replied to dogman's topic in Bathrooms, Ensuites & Wetrooms
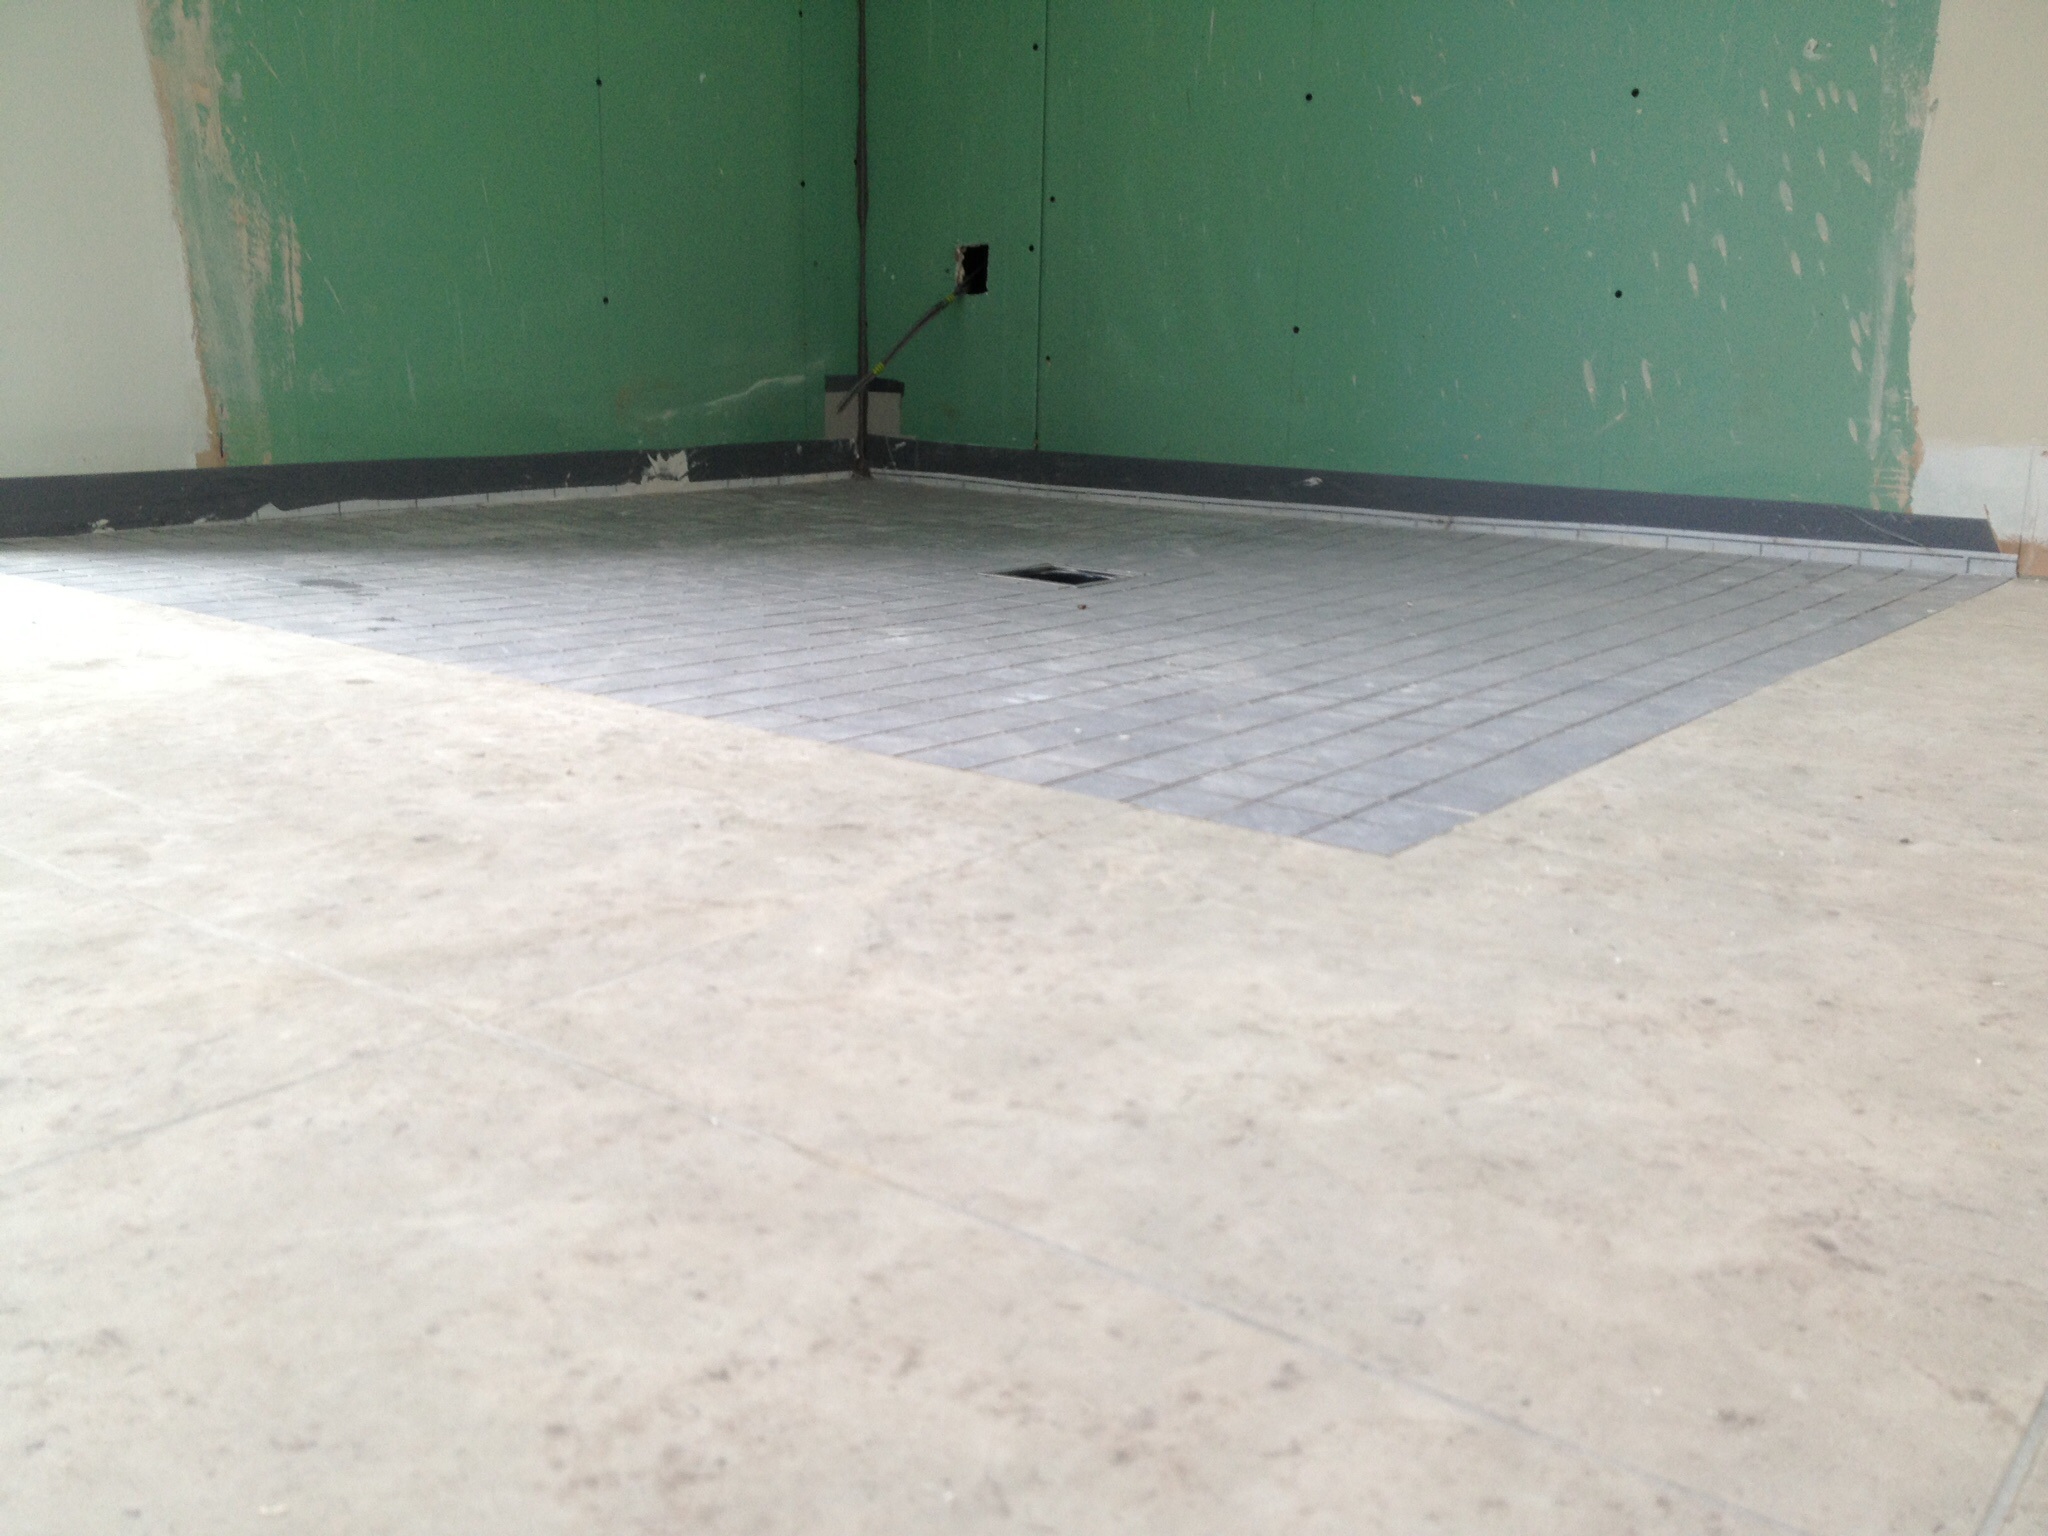
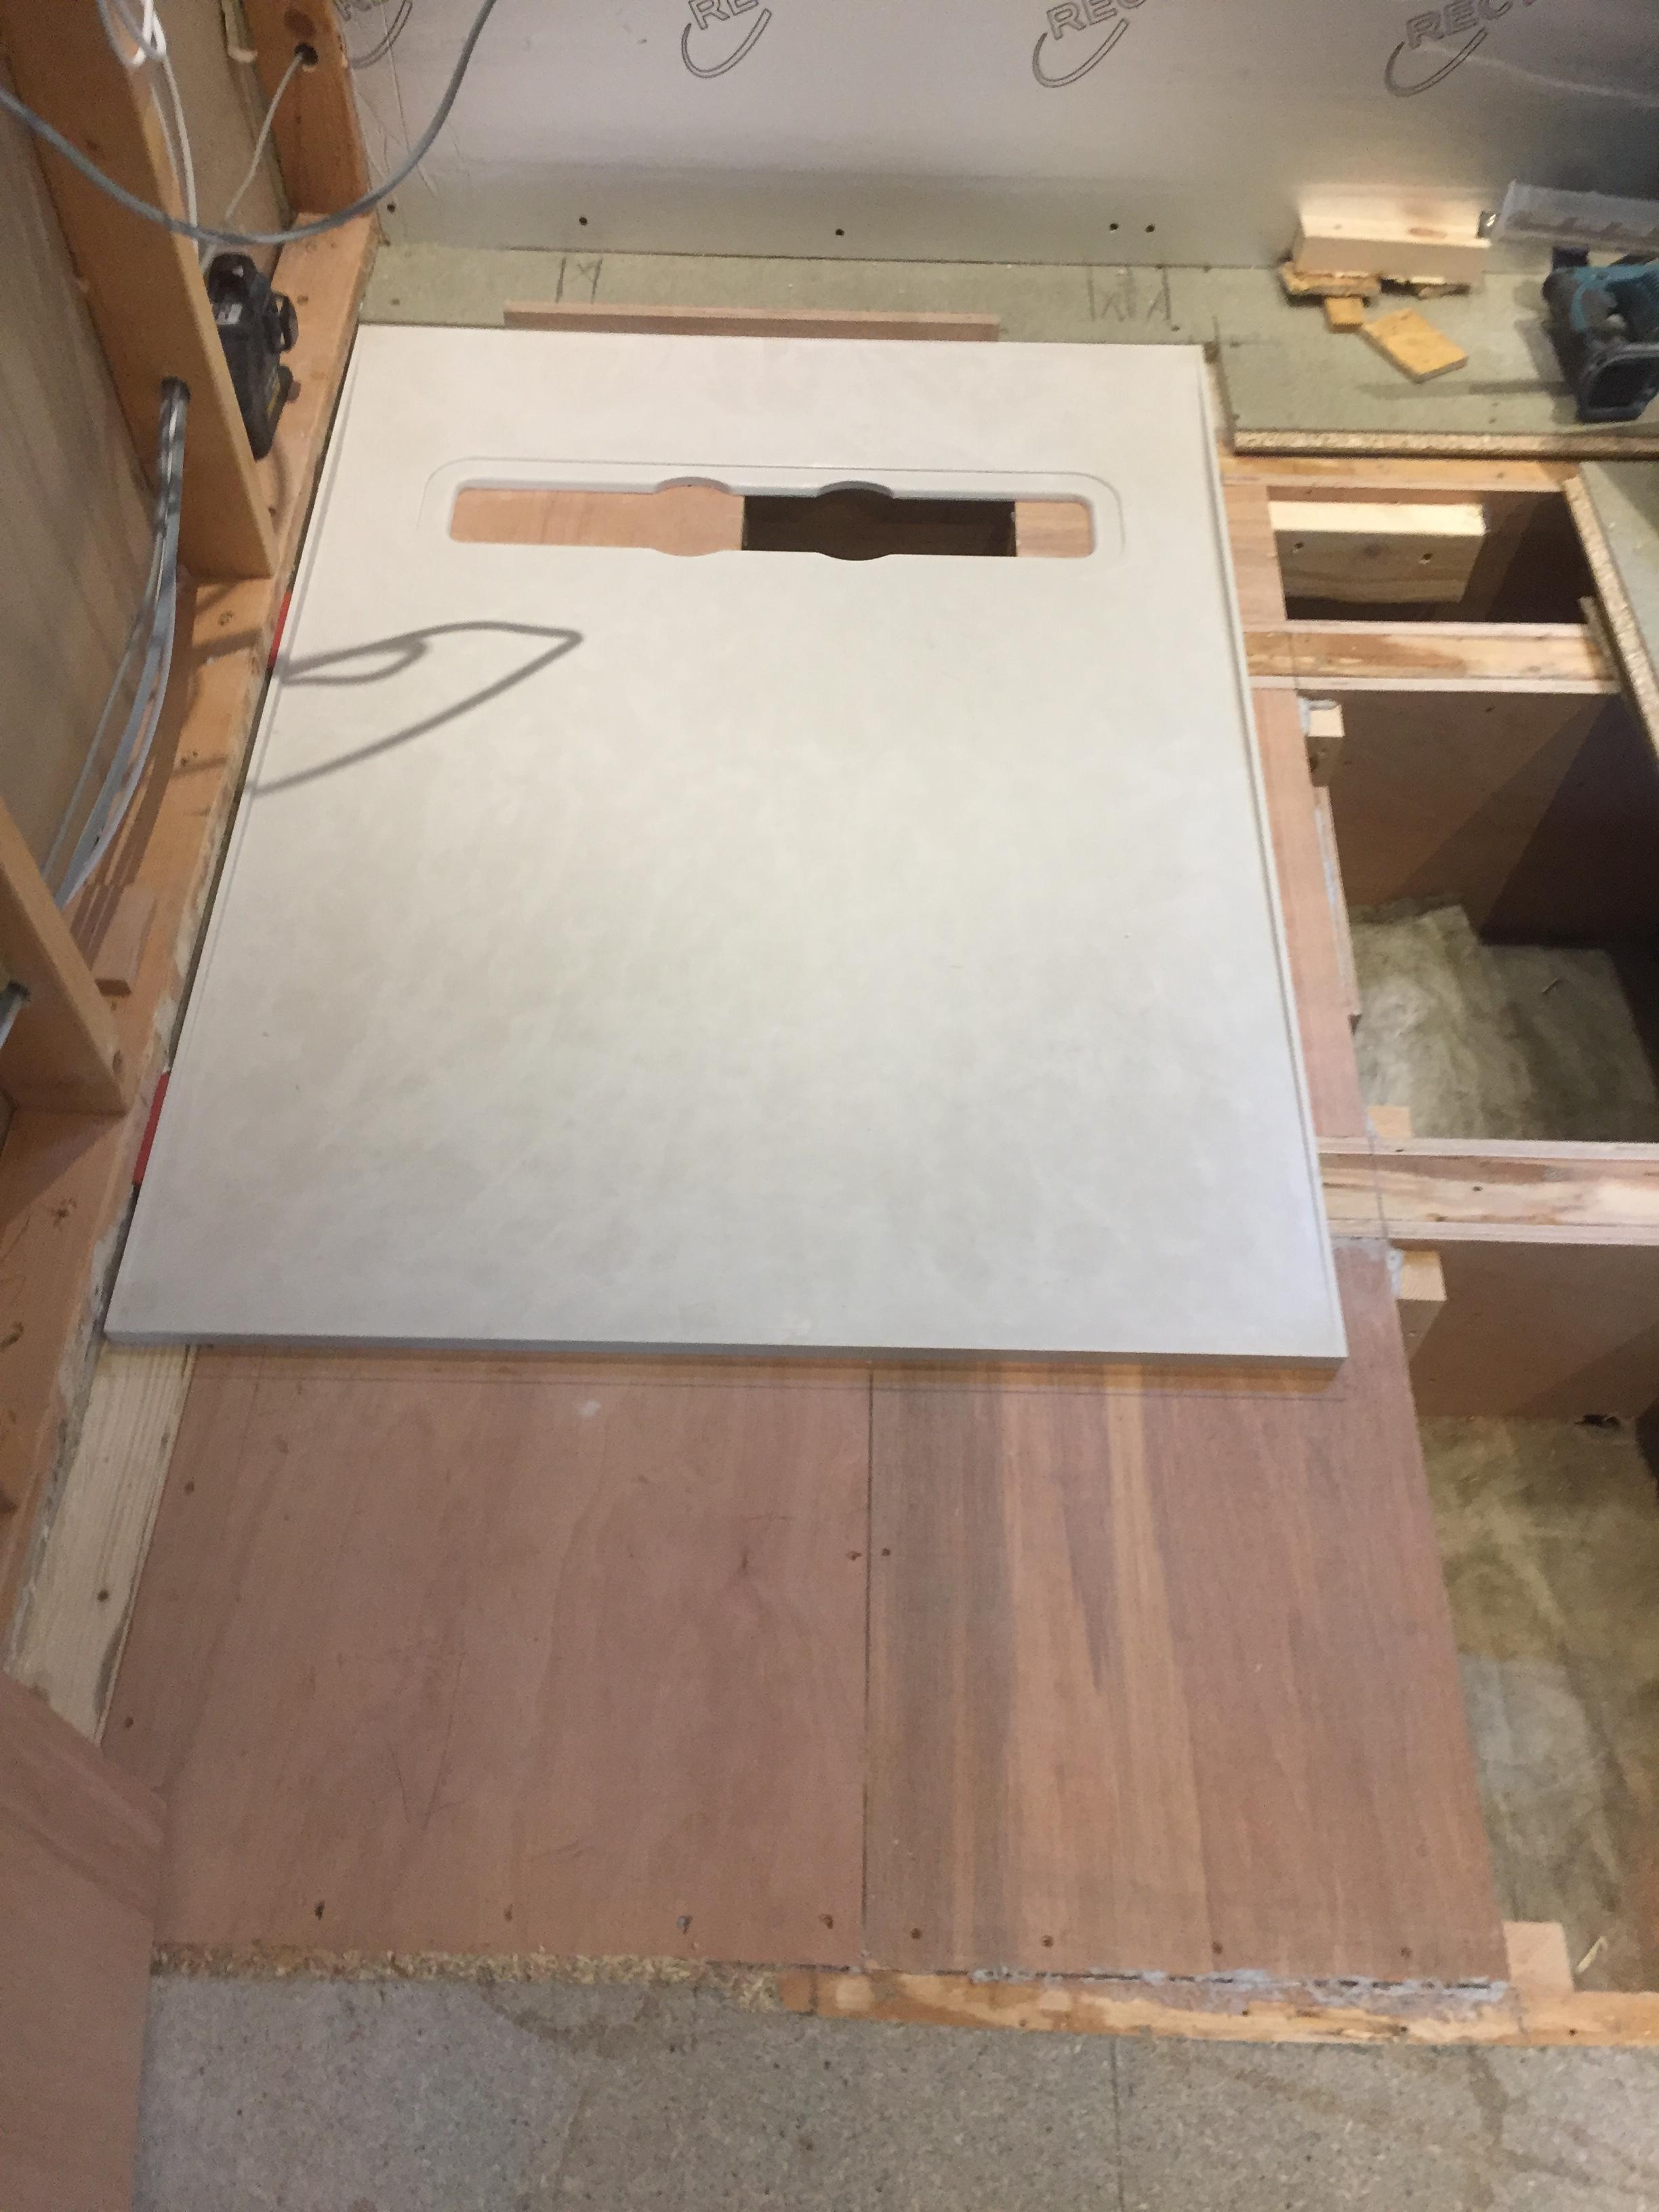
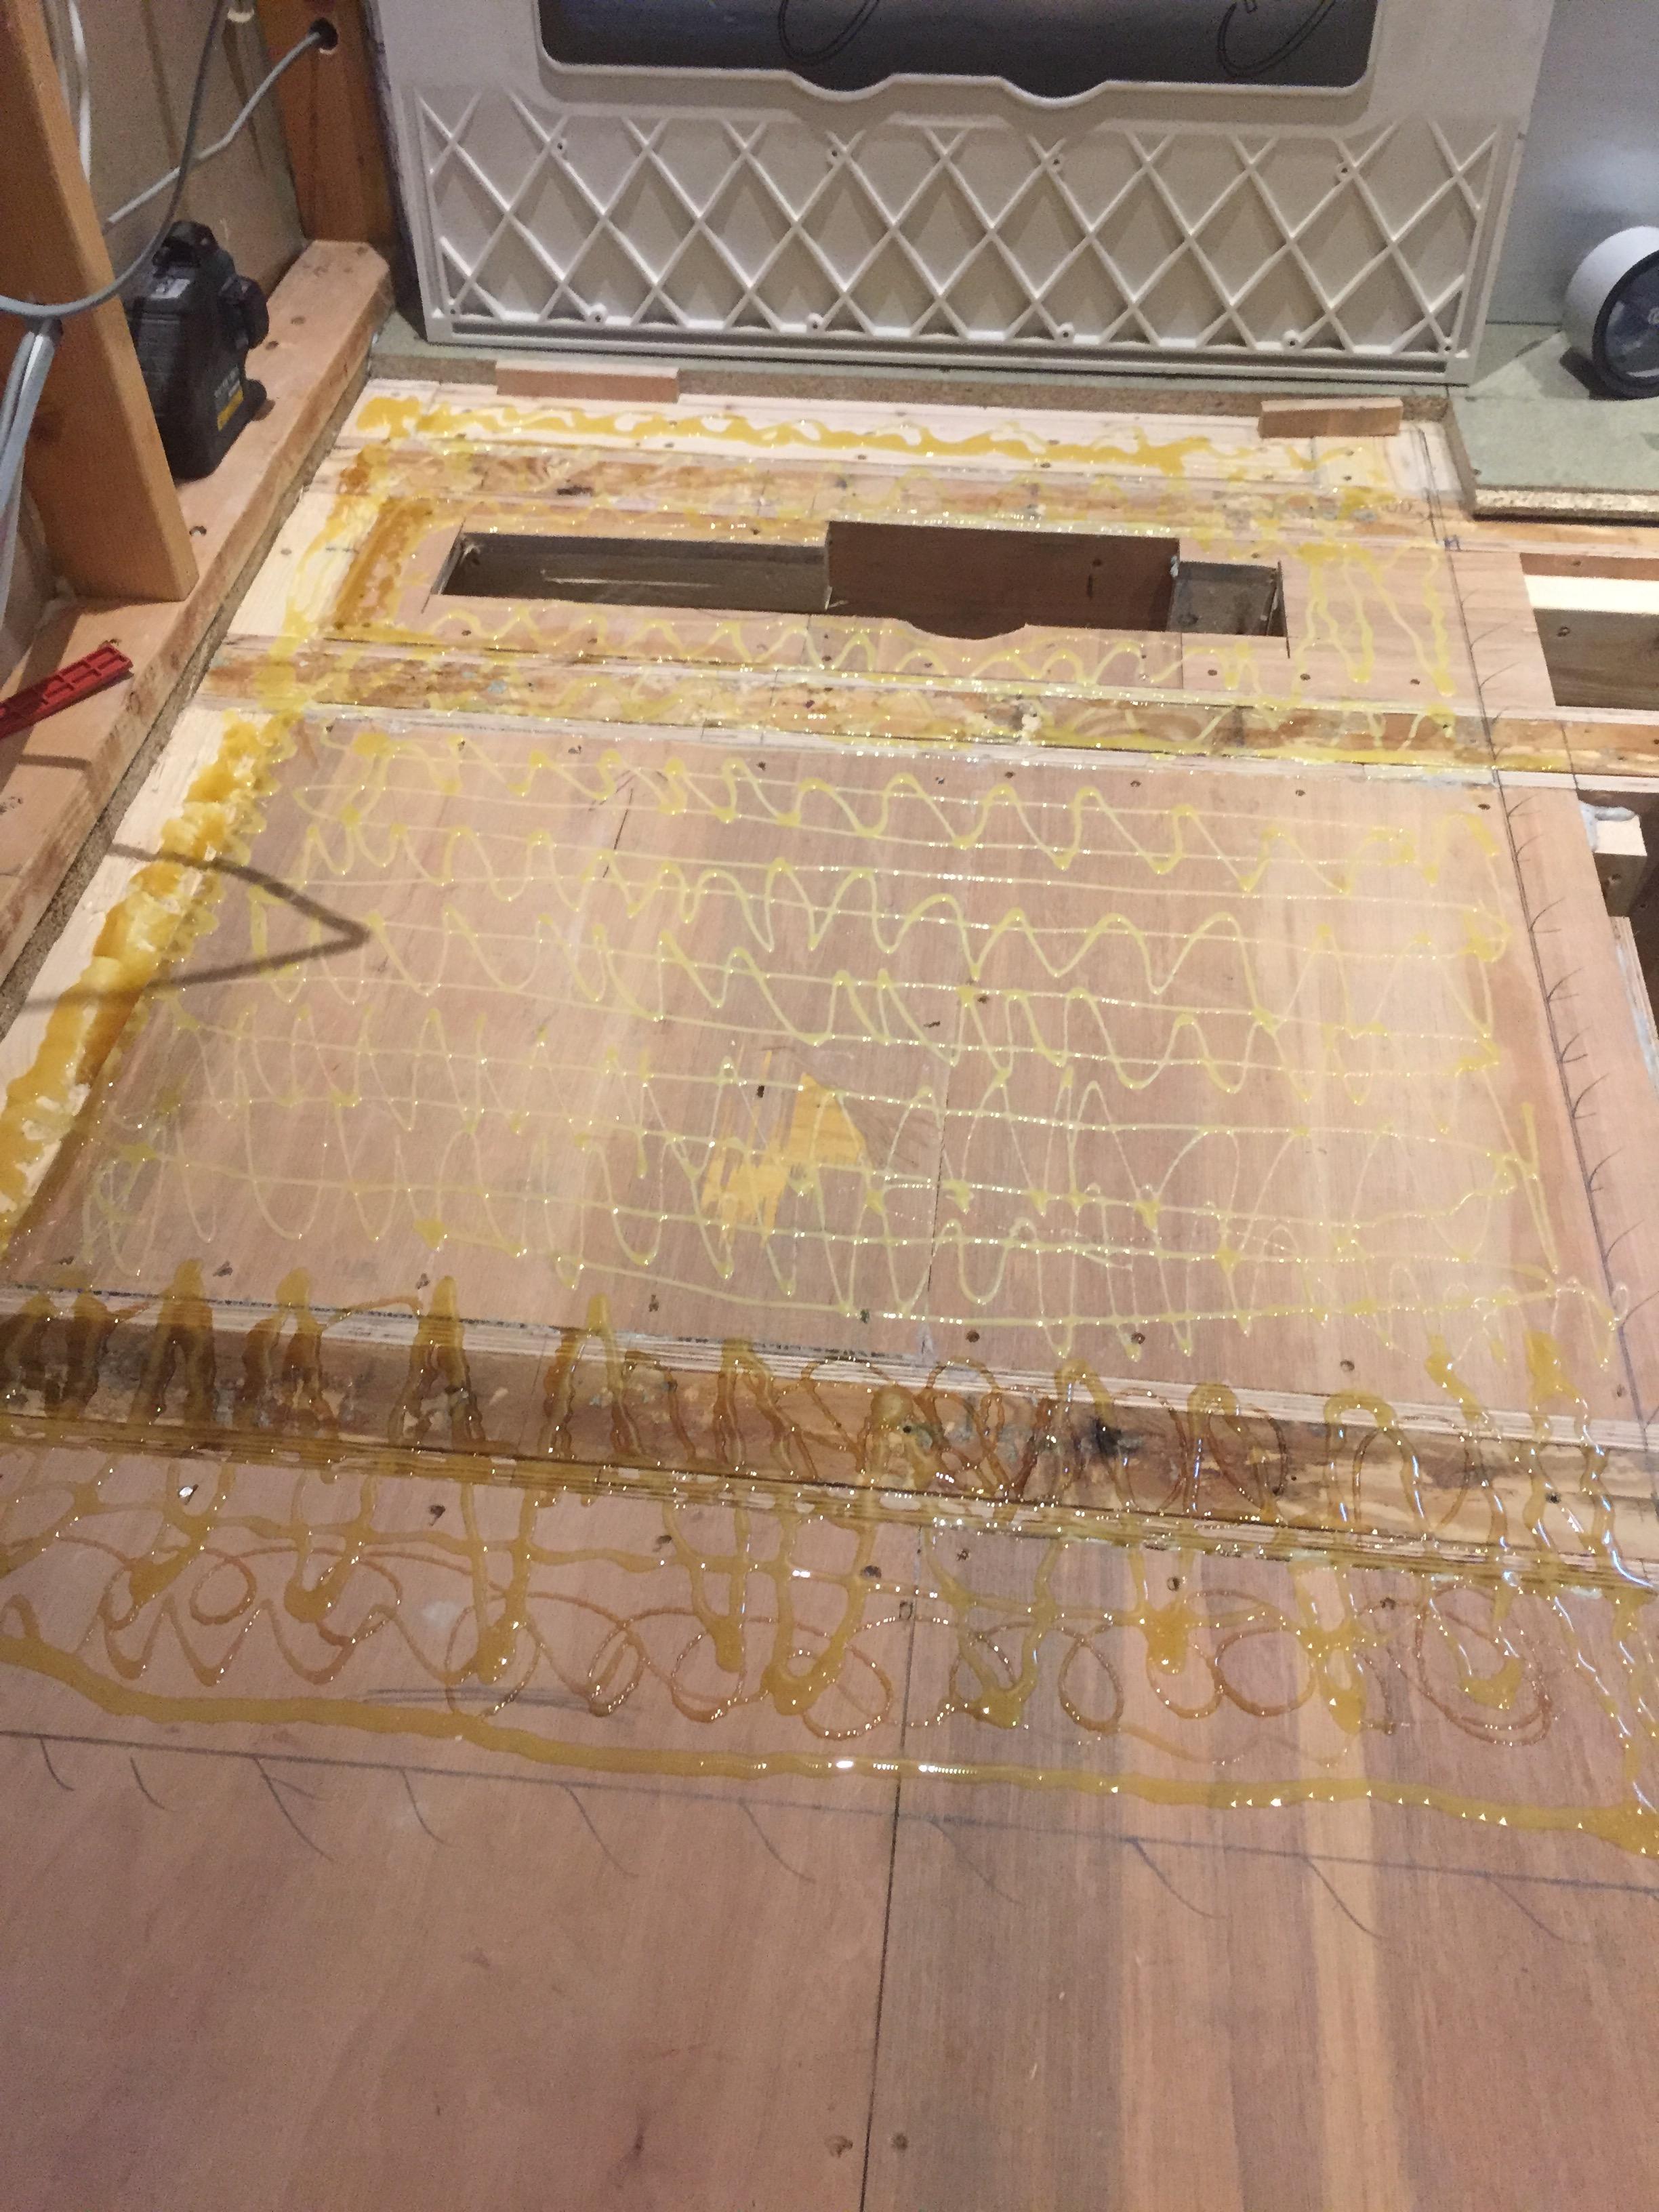
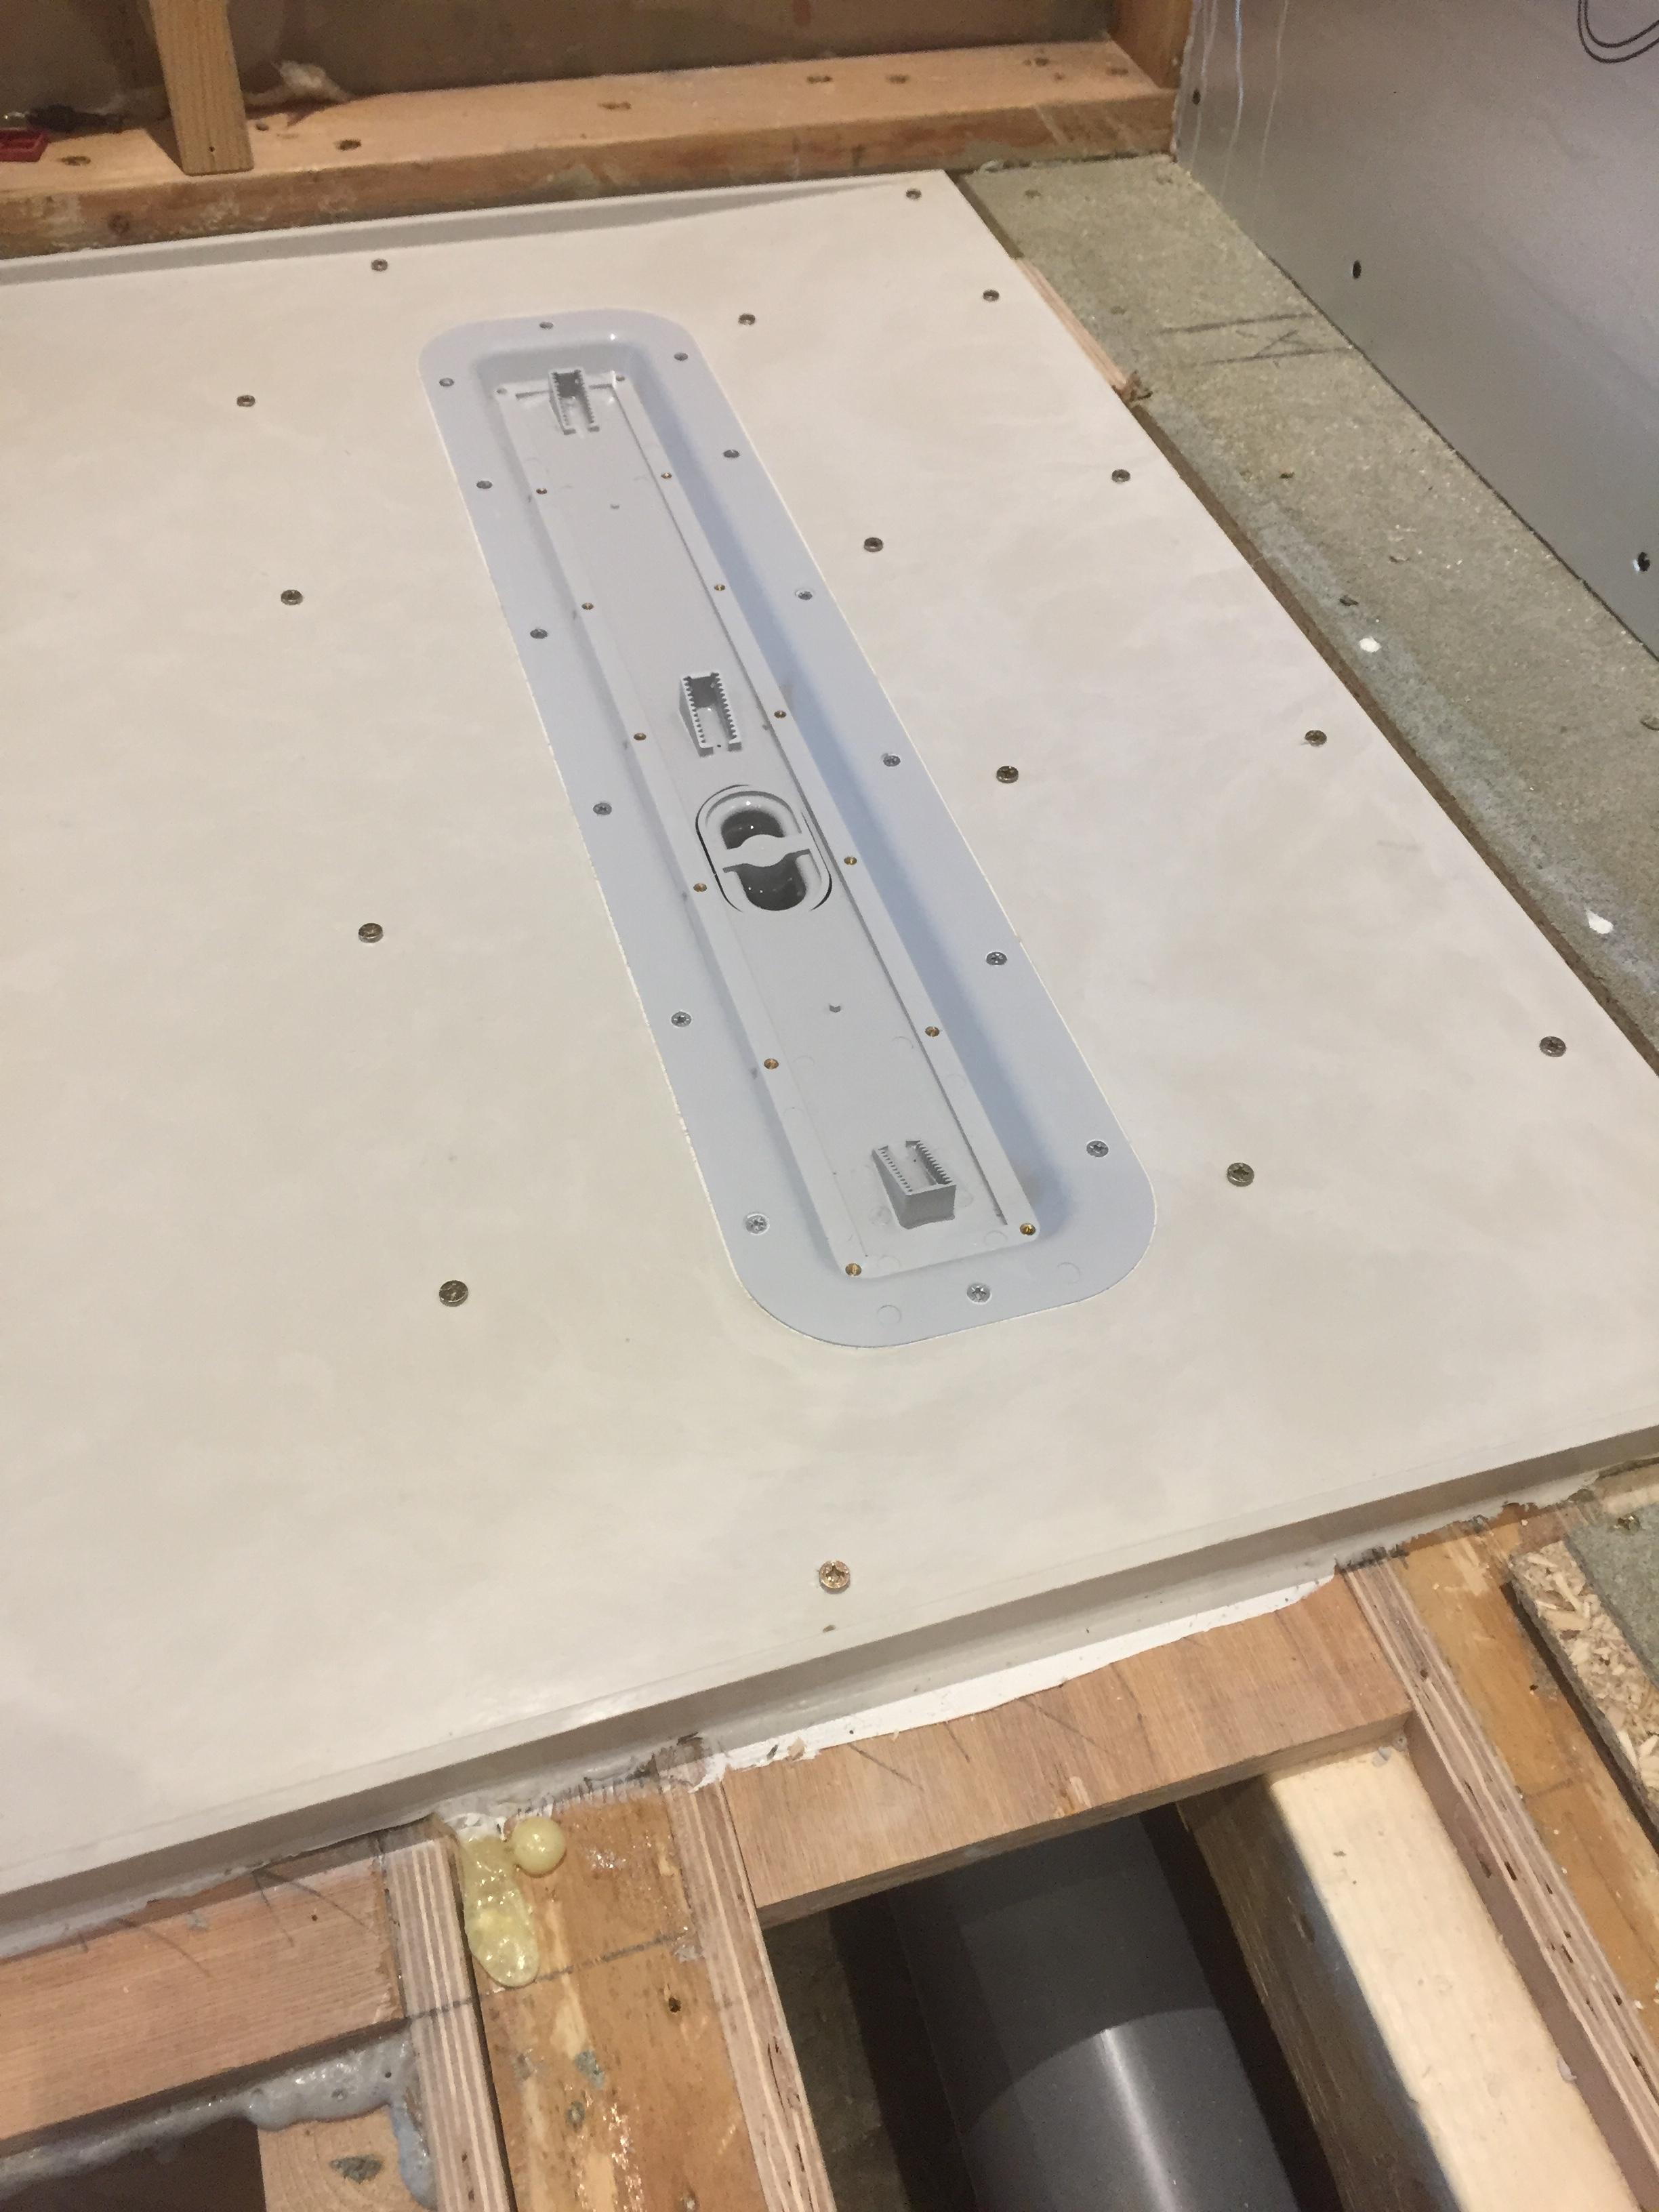
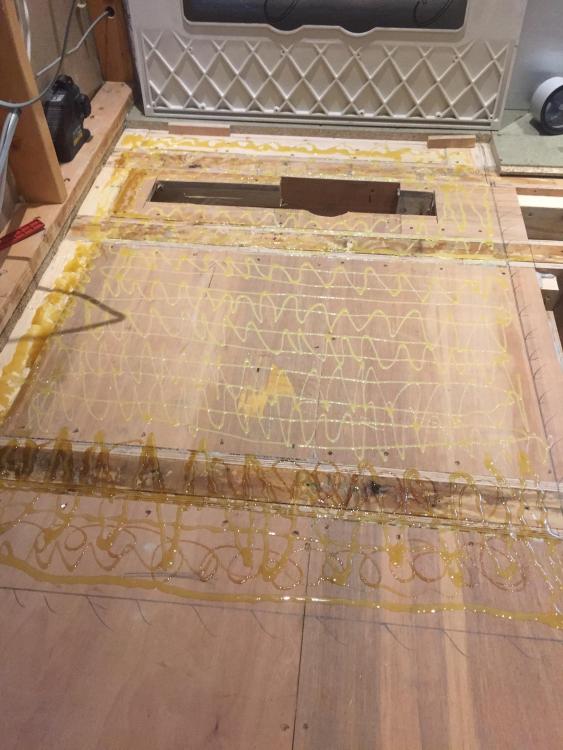
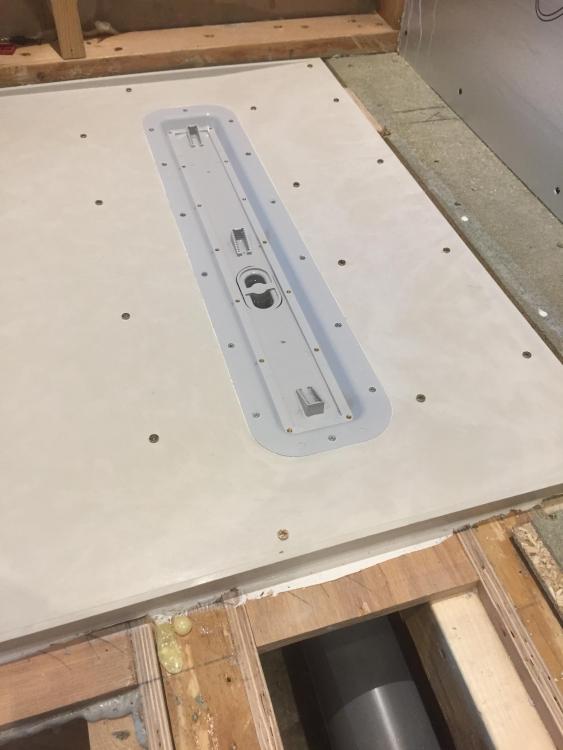
It's down to how good the subfloor is tbh. I always set them into a lattice of Sikaflex EBT and drill and countersink every single hole position. A solid deck of 18mm plywood D4 expanding wood glue ready for fitting the 9mm fillet of ply used to raise the tray accordingly, The tray set into SF and screwed at every hole marker ( the little pillars seen in the GRP from underneath ). See the little circles in the pic above You don't need mastic on the ring TBH ( DONT USE SILICONE WITH GRP EVER ) but I do use EBT regardless as I know it's bombproof then. The reason that Impey don't show that is because they assume you'll be covering the whole thing with they're waterproof decoupling membrane which terminates into the mouth of the waste, therefore after / past that ring and below the surface of the tray, negating the requirement of any sealant anywhere as the water ( in theory ) cannot ever get there anyway. Problems arise if you stray away from the Impey family of products so are you using their membrane?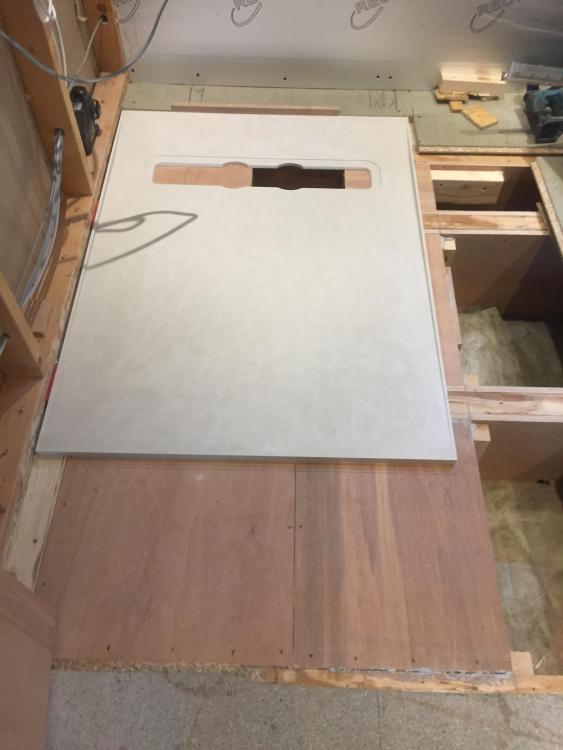
- 5 replies
-
- 1
-
-
- wet room
- wet room tray
- (and 1 more)
-
Budget wired network
Nickfromwales replied to Tennentslager's topic in Networks, AV, Security & Automation
Why not just use some stickyback trunking ? Lid just pops off for future tweaks and will look a lot neater for a few £