
Leaderboard


Popular Content
Showing content with the highest reputation on 12/17/19 in all areas
-
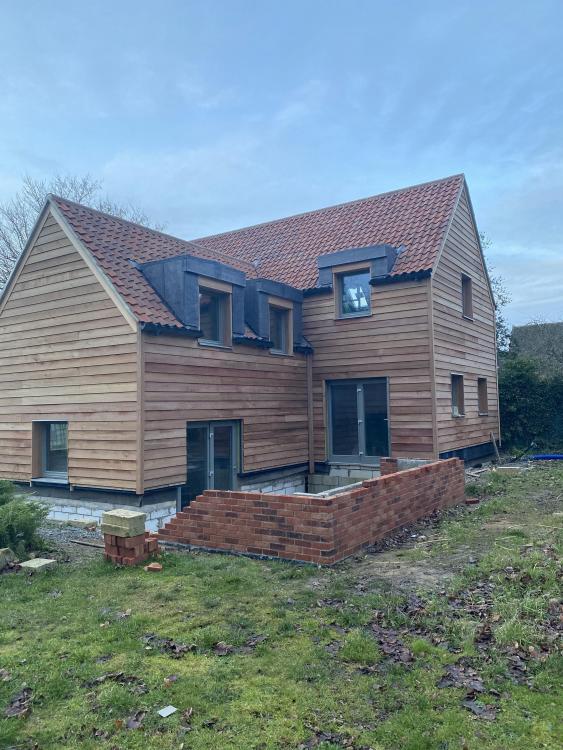
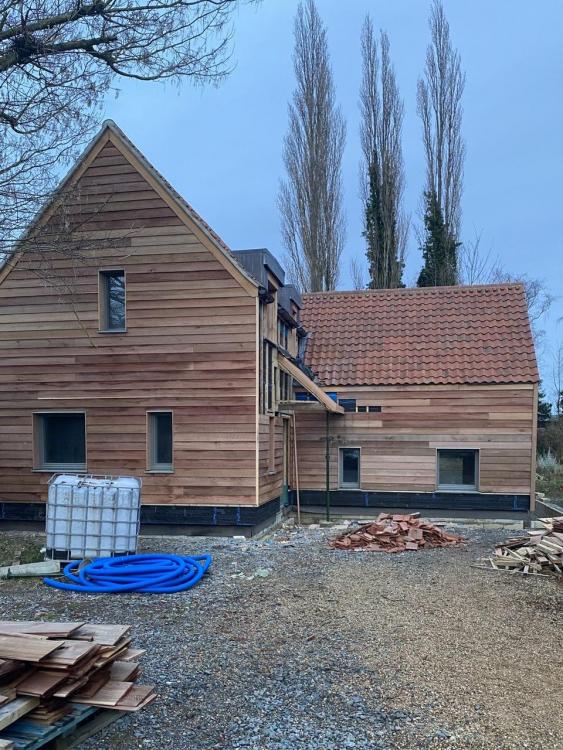
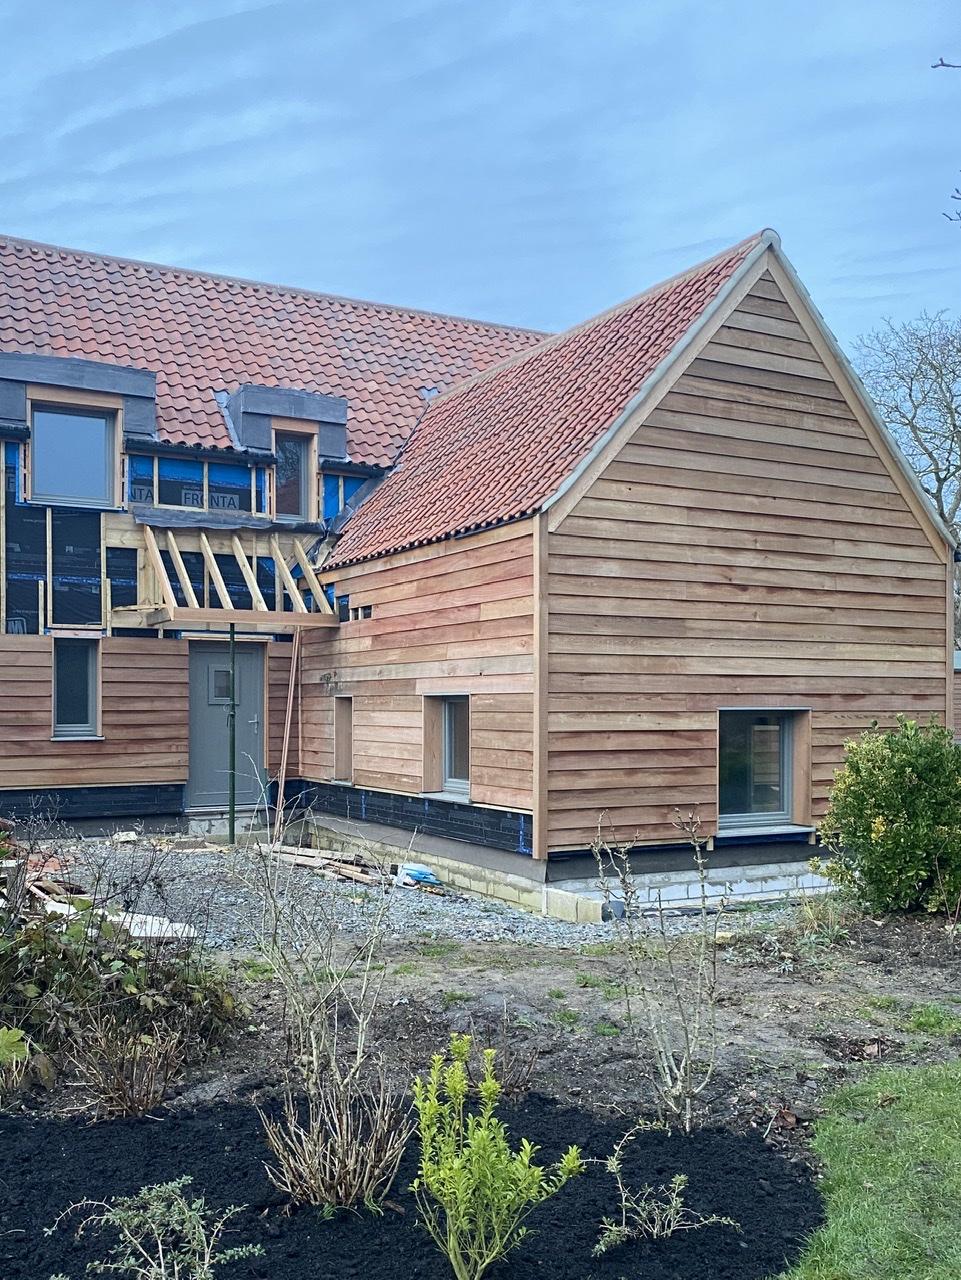
At last, we’ve got the scaffolding down. It’s taken a while and we’ve still got the cladding around the porch to finish off. On to the next stage - brickies on site tomorrow to do the plinth. Slightly out of sequence but we’re getting there.

 5 points
 -
I like threads that show the outcome, so here go's....I actually bought the stainless threaded bar, and then luckily found a supplier who had 400mm concrete insulation anchors or whatever you call them. (Thanks @Nethermoor) Then I put up some Aluminum track (secured with 150mm concrete screws) There are some metal C-sections running through the panels, so I could use 200mm Timco screws to get into them with a washer I put a heap of concrete fixings in around the esges above the next morning and forgot to take a picture. The final job, good enough for the plaster's to take care of I used Tec7/CT1 on the top layer, and then got my hands on some base coat adhesive to stick the final layer on , you can see a bit spilling over the edges. Thanks everyone for your advise2 points
-
That's how I did it when I used to work for a company doing this. The long bars across 2 trestles. Using chalk measure out the required distance between each ring. Slide the rings on and then just go along and tap tap tap away. Slide the 2 bottom bars in through the rings and put a spot on each end to hold in place then flip over and tap away till there all welded up. You could do a 6m length cage in 10 mins once you got the hang of it.1 point
-
Ours where pretty similar to yours 1.5 to 2000 Good ground surrounded by Ash and oak trees I used clay board to help with the heave Engineer specified BB However I built two D garages Same foundations BC was ok with me using a slab foundations for these He specified 25 mil insulation around the perimeter to keep the concrete off the walls1 point
-
Not usually accepted on deeper founds. Might be best off excavating an concrete before deciding on slab/floor. Bco might only make you go 1.51 point
-
we had the cages built for the pile caps, they put a quick spot of weld on each point; apparently quicker than tying if you have the kit?1 point
-
Cheers Russel, I’ve put them on eBay as buyer dismantles, got a serious enquiry already.1 point
-
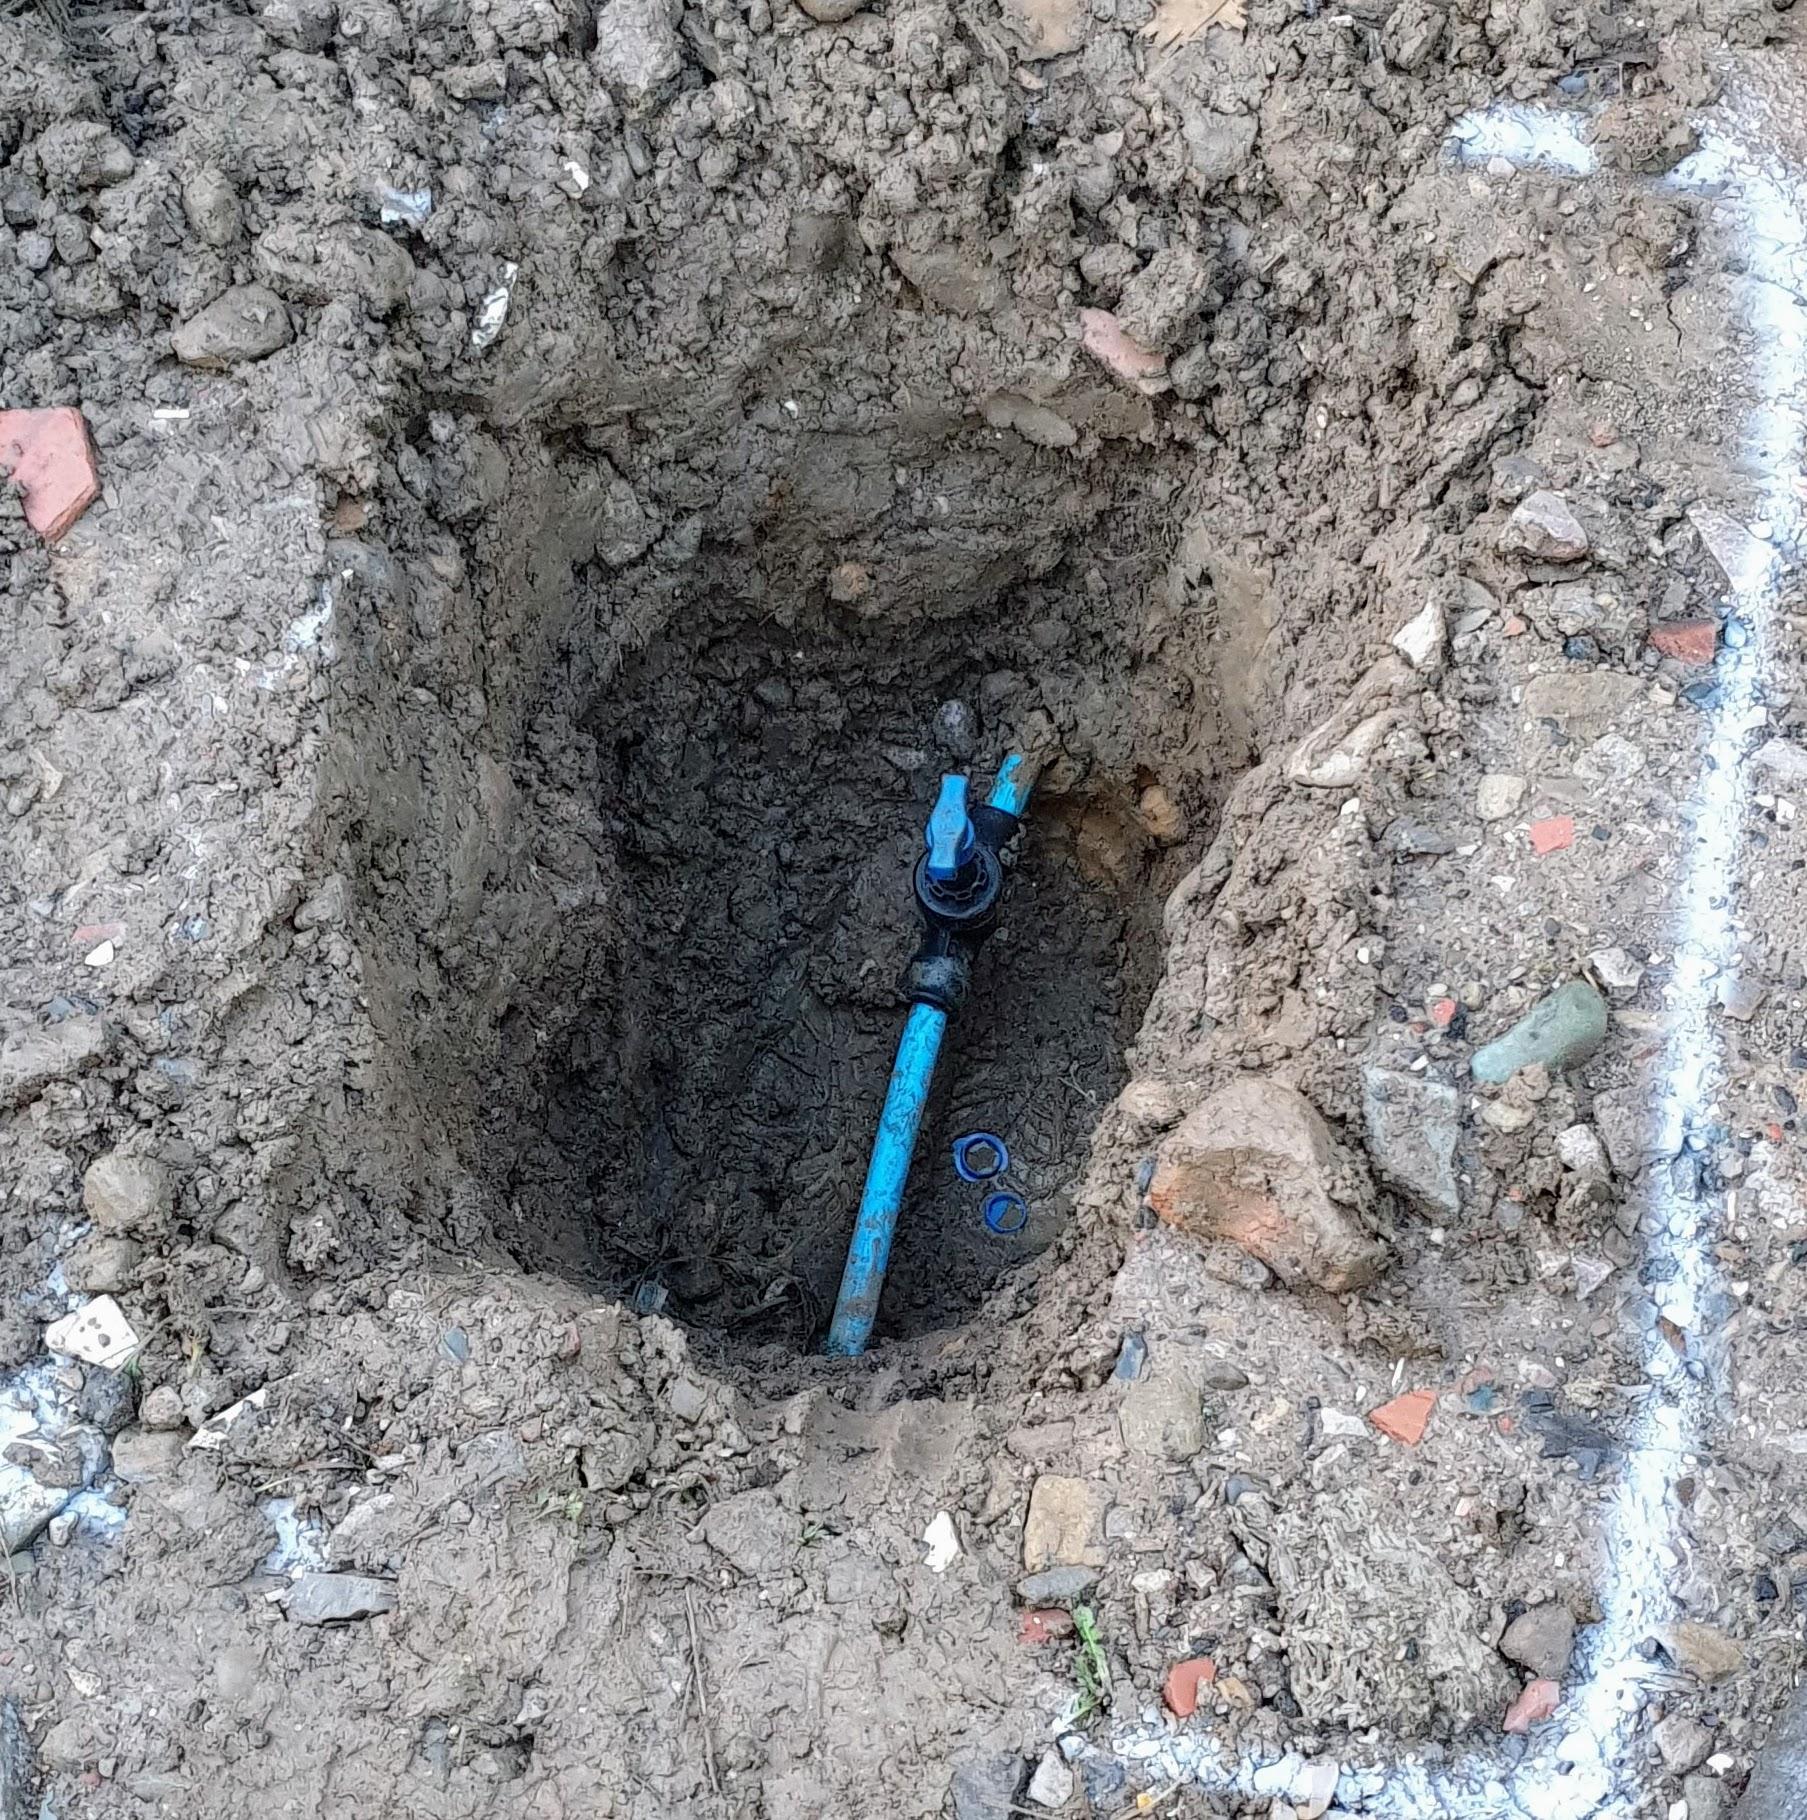
One of those long T shaped thingys with a yoke on the end of it. They are coming fit the container box for it sometime soon. Thats not what concerns me ... The hole will fill with water, and thus sludge. (fine bits of glacial till - sandy clay). Wont be long before the tap becomes unusable, unless I do summat about it. I think I'm just going to have to connect the hole to the land drain. What I could do with is a tame, obedient pet mole: I'm sick of digging up our frontage. I understand @Construction Channel trains them ......
 1 point
 -
Have you spoken to frame manufacturers who supply commercial sites? Not near your sizes but I am having new windows installed in our office block and the aluminium frames are being manufactured in Blackburn by a company called Alufolddirect Ltd. They supply frames and glass to trade and public and have worked on large builds. Worth a call1 point
-
So how are you going to make sure that stays accessible?1 point
-
Breaking this down into basics: You need a pump at the bottom of the hill that can pump from the break tank to the top of the hill, with enough reserve pressure to ensure a working head of ~3.5 bar at the top (you need this, as the normal setting will be turn off at 3.5 bar, turn on at 2.5 bar, or at least that's what we've found works well). That means that you need a pump that's able to pump the required mean flow rate to the accumulator(s) at the top at a pressure of roughly 13.5 bar (less if the break tank is positioned part way up the hill). You can probably get away with a pump that can supply around 15 litres/minute at the maximum pressure, as long as you have around a ten minute or so reserve in the accumulator(s). Look carefully at the pump curves, as the critical region is the area between the lowest head (the pump cut-in pressure) and the highest head (the pump cut-out pressure). For example, our little Grundfos SQ1-65 can deliver ~5 litres/minute at 8.8 bar, ~10 litres/minute at 8.4 bar, so a relatively small head difference can have a significant impact of flow rate (bear in mind this is a small, ~650 watt, pump). With 32mm pipe, and allowing for the fact that losses up the run to the accumulator really aren't a big deal (they have near-zero impact within the house, if the accumulator is sized properly), then frankly I'd not worry about the pipe loss, as you're never likely to be pumping high flow rates up it. Probably a lot cheaper and easier to just increase the size of the accumulator(s) at the top end than to spend a fortune on a bigger pipe and pump. For example, our borehole supply pipe is 25mm MDPE, but it would work just as well with 10mm (if 10mm was available), as it only needs a low flow rate to keep the accumulator charged. This Grundfos booklet has some useful information on pipe sizing, pipe flow loss, head, configurations for tank to tank pumping etc: GrundfosSQ pumps.pdf I would argue that just fitting a larger than needed accumulator at the top, and ensuring that the pump has enough head capacity to deliver, say, 10 to 15 litres/minute at the maximum required head (so your ~10 bar for the 100m height, plus another 3.5 bar for max cut-off pressure, giving ~13.5 bar (assuming the break tank is at the bottom of the hill). Large accumulators give advantages over a larger pump, by being able to even out any pressure changes when multiple taps are opened, so all around are a generally good thing.1 point
-
Two extremely sensible gorillas from UU turned up yesterday: muscles come out of their ears - I would not like to have tangled with either of them. In tow - a brand new Volvo digger in a proper smart digger trailer: I drooled. They listened patiently to me drooling "Loada Crap is 'em Voulez Vous diggas mert, load a crap" Using a Mark I shovel - I kid you not - they dug a neat hole in the time it took me to bring them a cuppa. In the time it took me to supervise the site labourer (SWMBO) they'd fitted the stop tap. In the time it took SWMBO to bollock me up hill and down dale (I'd jumped on the Gabions and knocked them out of line by a mm or two) they'd gone. What a neat, professional job. The shovel strikes again! Our ground is full of nasty glacial till stone. Hard as nails those lads, hard as nails. Thank God.
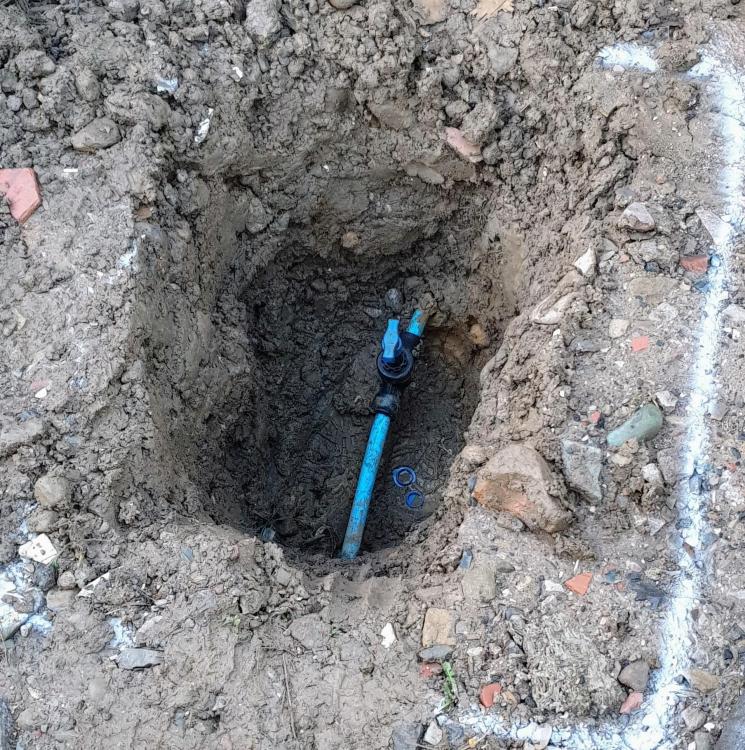 1 point
 -
Why not stand there and count them. If you take one off it should have a makers name on the back.1 point
-
Rip some 400mm strips from a sheet of 18mm OSB and set that below your standard flooring on top of a slightly reduced PIR if you can. It will spread the load and then glue and screw your chipboard to the edge of it. It will spread the load of the wall and it won’t move and your floating floor will also stay put ...1 point
-
Scroll down this site. The tech data says max 6m x 3m. https://supersealedunits.co.uk/product-line/sealed-units/#toggle-id-2 One problem I cansee might be the glass or seals breaking under its own weight if not handled correctly. For example you can't just pick it up by the short ends. It may have to be supported on a frame/jig until upright? Edit: Alsosays 6m x 3m here.. https://supertuff.co.uk/products/sealed-units/ And here https://www.iqglassuk.com/products/frameless-windows/s22754/ I'd also ask https://www.specialistglass.co.uk/portfolio_page/double-glazed-units/1 point
-
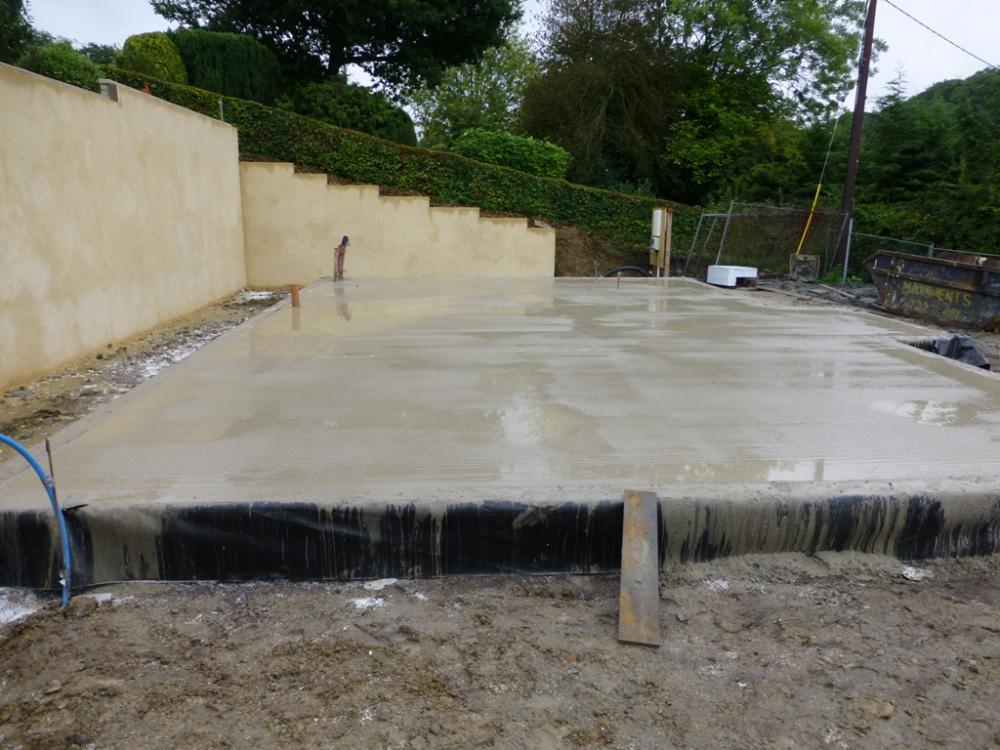
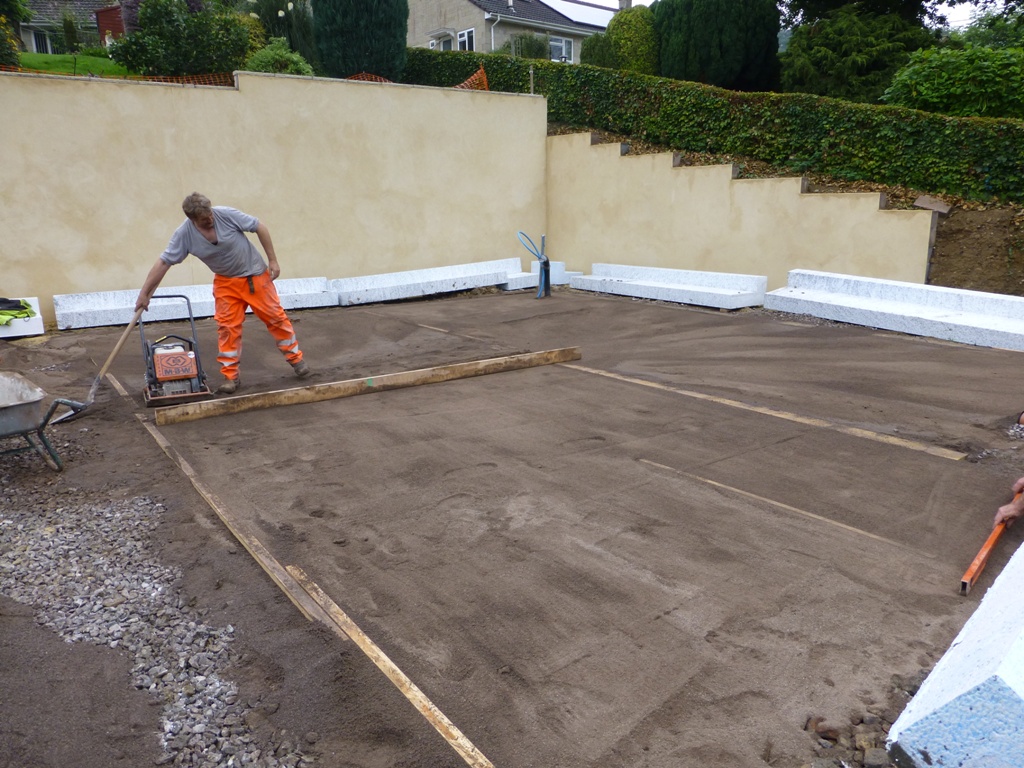
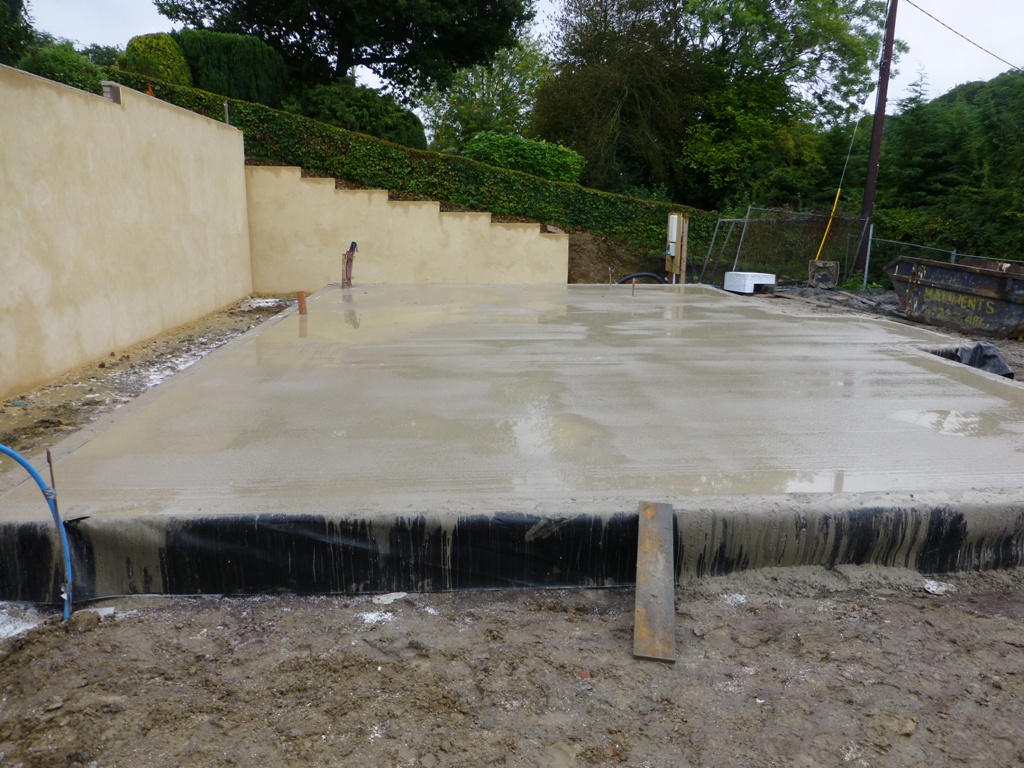
Nothing to do with Mark Brinkley, I'm afraid, I'd not heard of him when we contracted for our build. Our Kore foundation was a part of the frame package, so I don't have the exact cost to hand, but when I first got quotes for similar passive slab foundations the cost was around £10k +/- ~£1k for our 85m², including the UFH pipes etc. The companies I looked at were Supergrund, Kore and Isoquick, there are others worth looking at now that weren't around when I was looking. The guys blinded and levelled for the insulation on day one of the four days: Then laid the insulation, DPM, etc and tied in the UFH pipes by day three: The concrete was poured on day four, here it is before it was power floated:

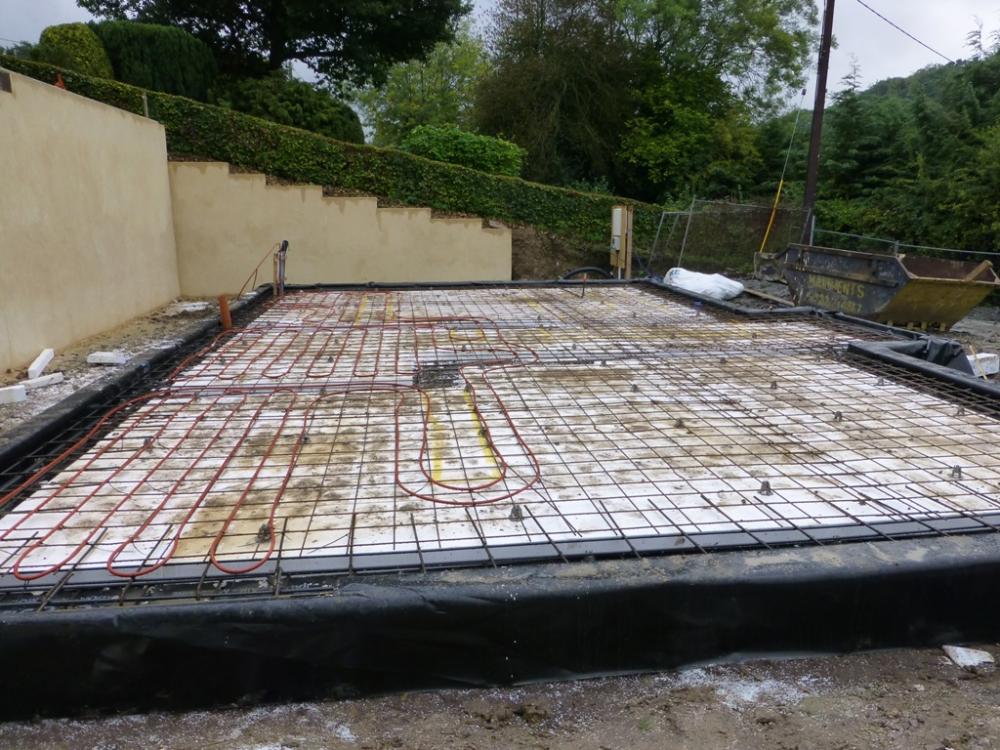
 1 point
 -
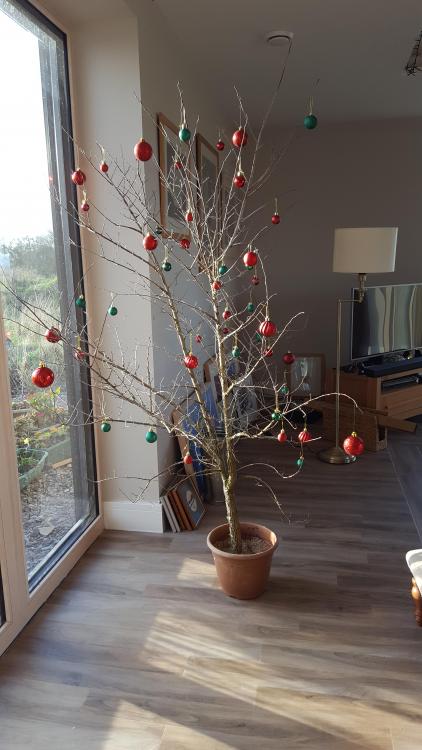
Our hedge that runs parallel with the lane needs pruning this winter so I made a small early start. Not wanting anything to go to waste, I channeled a bit of Scandi chic, grabbed my spray snow and baubles and set to. Eat your heart out, Pinterest!
 0 points
 -
No he does that for free @AnonymousBosch but the gap at top of hinge to hang coat off is extra!0 points


This leaderboard is set to London/GMT+01:00