Leaderboard
Popular Content
Showing content with the highest reputation on 07/30/18 in all areas
-
3 points
-
Whilst a number of people are trying to help here, when it comes to structural elements of a build you need to obtain sound professional advice that is backed up with Professional Indemnity Insurance just in case anything goes wrong. The advice given by the forum and its members is just that - it’s advice. It does not replace an architect or structural engineers calculations and knowledge which are based on plans and factors that members may not be aware of just from looking at photographs.2 points
-
2 points
-
Just remembered that silentcoat do a black version: https://www.deadening.co.uk/products/silent-coat-black-3mm-volume-pack That’s a bulk pack but you should be able to find smaller packs.2 points
-
EX MiL I should have mentioned, don't think she was on his side when the marriage went t!ts up!2 points
-
I think you need to track th3 source of the noise eg is it water hitting the far side of the pipe, or some sort of resonance effect. Then you could decide eg to instead some sort of diverted or absorber at the top eg stuck on sponge or a plastic mesh where the water hits the side of the pipe, or pad the mounts with rubber sheet, or have an extra mount in the middle. if it It is like bongo drums, then that suggests resonance effects. F2 points
-
I lad I knew walked into his MIL's kitchen to find her standing there holding a broom. "What's up Maureen, can't start it?" said he.2 points
-
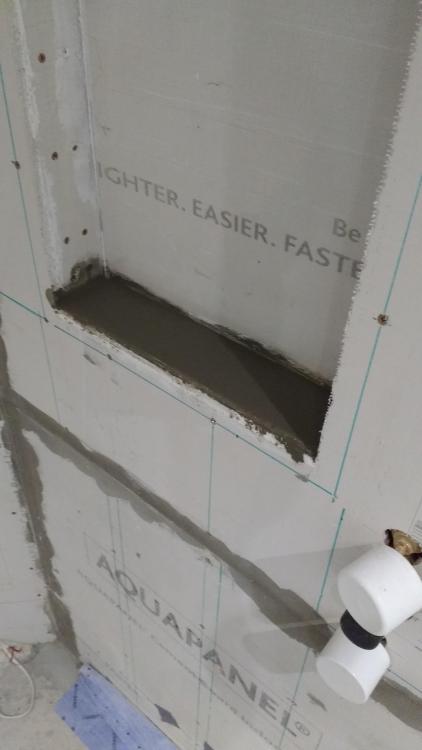
Temp does have a big affect on pressure, so could well be that. Chill. Tanking wasnt as bad as I thought it would be - just a bit slow with a brush / roller combo. Ive got tiling to do next - putting it off but need to man up now really.1 point
-
It'll be fine. Mortar is soft sand and cement. Concrete is sharp sand + aggregate + cement. When you buy "ballast" to make concrete (by adding cement) then that's just sharp sand and aggregate mixed together. The aggregate is often up to 20mm diameter. Concrete is stronger. As I said the bag linked has aggregate to 10mm max diameter. Add water just not too much.1 point
-
1 point
-
1 point
-
1 point
-
Problem is a lot of the fitters prefer to drive a screw through the frame fitted all my sash windows on brackets But as with the bifolds They advised me that there fitters didn’t bother with brackets It took me over a week to get the brackets for the bifolds tgat I’ve just fitted It took me about half an hour to fix all the brackets to the frame The fitters would argue that they would have the gram in while I was still messing about with brackets1 point
-
'll stick my head above the parapet and state the cavity shouldn't be filled. it's there for a reason and that's to stop water crossing to inner leaf. i know people who've done so with no problems and others who had to have it removed. it may depend on the type of fill and it may be ok 'dan sath' where it doesn't rain, ok it's been an unusual time up here! what type of fill were you going for?1 point
-
1 point
-
1 point
-
The power of BH write large before you very eyes..... You've caught this just in time.1 point
-
How long a wait until its cured/ ready to cut? Ive hit it with a broom- but its still coming at me..1 point
-
We had this on a job with hidden steel gutters and 110mm downpipes. Quickly solved using lengths of gutter hedgehog fed down the drops and had the benefit of keeping leaves out of the drains too.1 point
-
What @Nickfromwales should work. As an avid Landrover Defender driver in the past you become a master of trying to sound deaden aluminium panels. Dynamat is black but still has a silver logo printed on it but even thin strips on the back of the pipes should make a big difference. Whats really annoying is I’ve recently thrown a whole load of sound deadening off cuts away, sorry it looks like this (that’s the back of my last Defender)1 point
-
An alternative might be ClosetMaid - http://www.closetmaid.co.uk. I think it'll work out a bit cheaper. We've used both in the past - Elfa is a bit more heavy duty, I think, than Closet Maid but if it's not being moved from house to house it may not matter. We've moved our Elfa stuff about half a dozen times - currently used in the garage. Certainly no complaints about the durability of either.1 point
-
Load of pink grip and a metal dowel banged in will suffice as a cap end.1 point
-
Best include a broomstick store as well then. I built a tall slot in the utility room airing cupboard, designed to take an ironing board, hidden, out of the way and secured so it couldn't try and open itself and fall over. SWMBO was not amused when she saw it, asked what the tall slot was for, and I jokingly replied that it was a dedicated storage space for her broomstick...1 point
-
Hmm, bongo drums outside the bedroom.....no, I better not, I'll get as bad a reputation as Onoff!1 point
-
This is a good thread @Onoff very instructive and I see a top looking result on the horizon...1 point
-
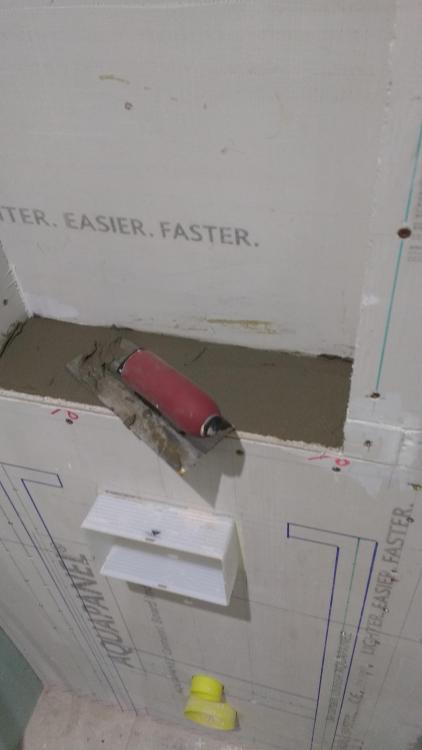
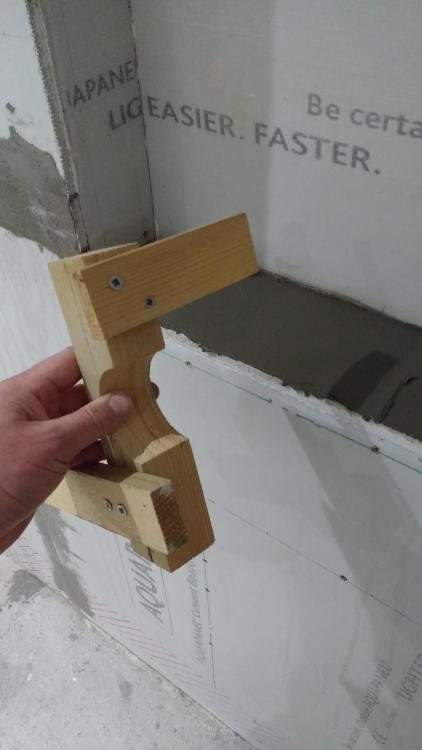
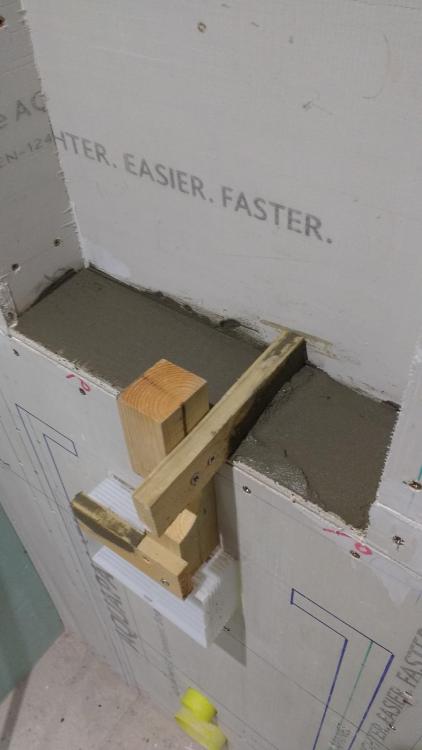
Ive foamed the cavity, stuffed eps in there before. so waiting for it to go off.. then I'll cut flat (@ the 3 'resting' white things line/ the 3 do-da's the frame seems to be resting on- I left them as is in case doing s'thing re. support). Still unclear as to how to make the bed on which the sill rests.. " Tbh you could do your pb up to the underside of your new / extended sill and bed the sill down on some dot n dab low expansion foam making sure you do along the back, sides and front with a thin line too to seal the edges. " I undestand the 1st bit 'PB'ing up to the underside', but the next bit I don't get. What to do for the majority on which the sill sits, in front of the foam rear strip? and am I using 27mm PIR insulated stuff for the sill itself? Christ the foam's going nuts.. its like that scene in "Sleeper" when woody allen's beating back the huge washing machine foam with a broom!0 points




.thumb.jpg.bac90f3bbf6868cf2118d010d936c99d.jpg)


