Leaderboard


Popular Content
Showing content with the highest reputation on 08/24/17 in all areas
-
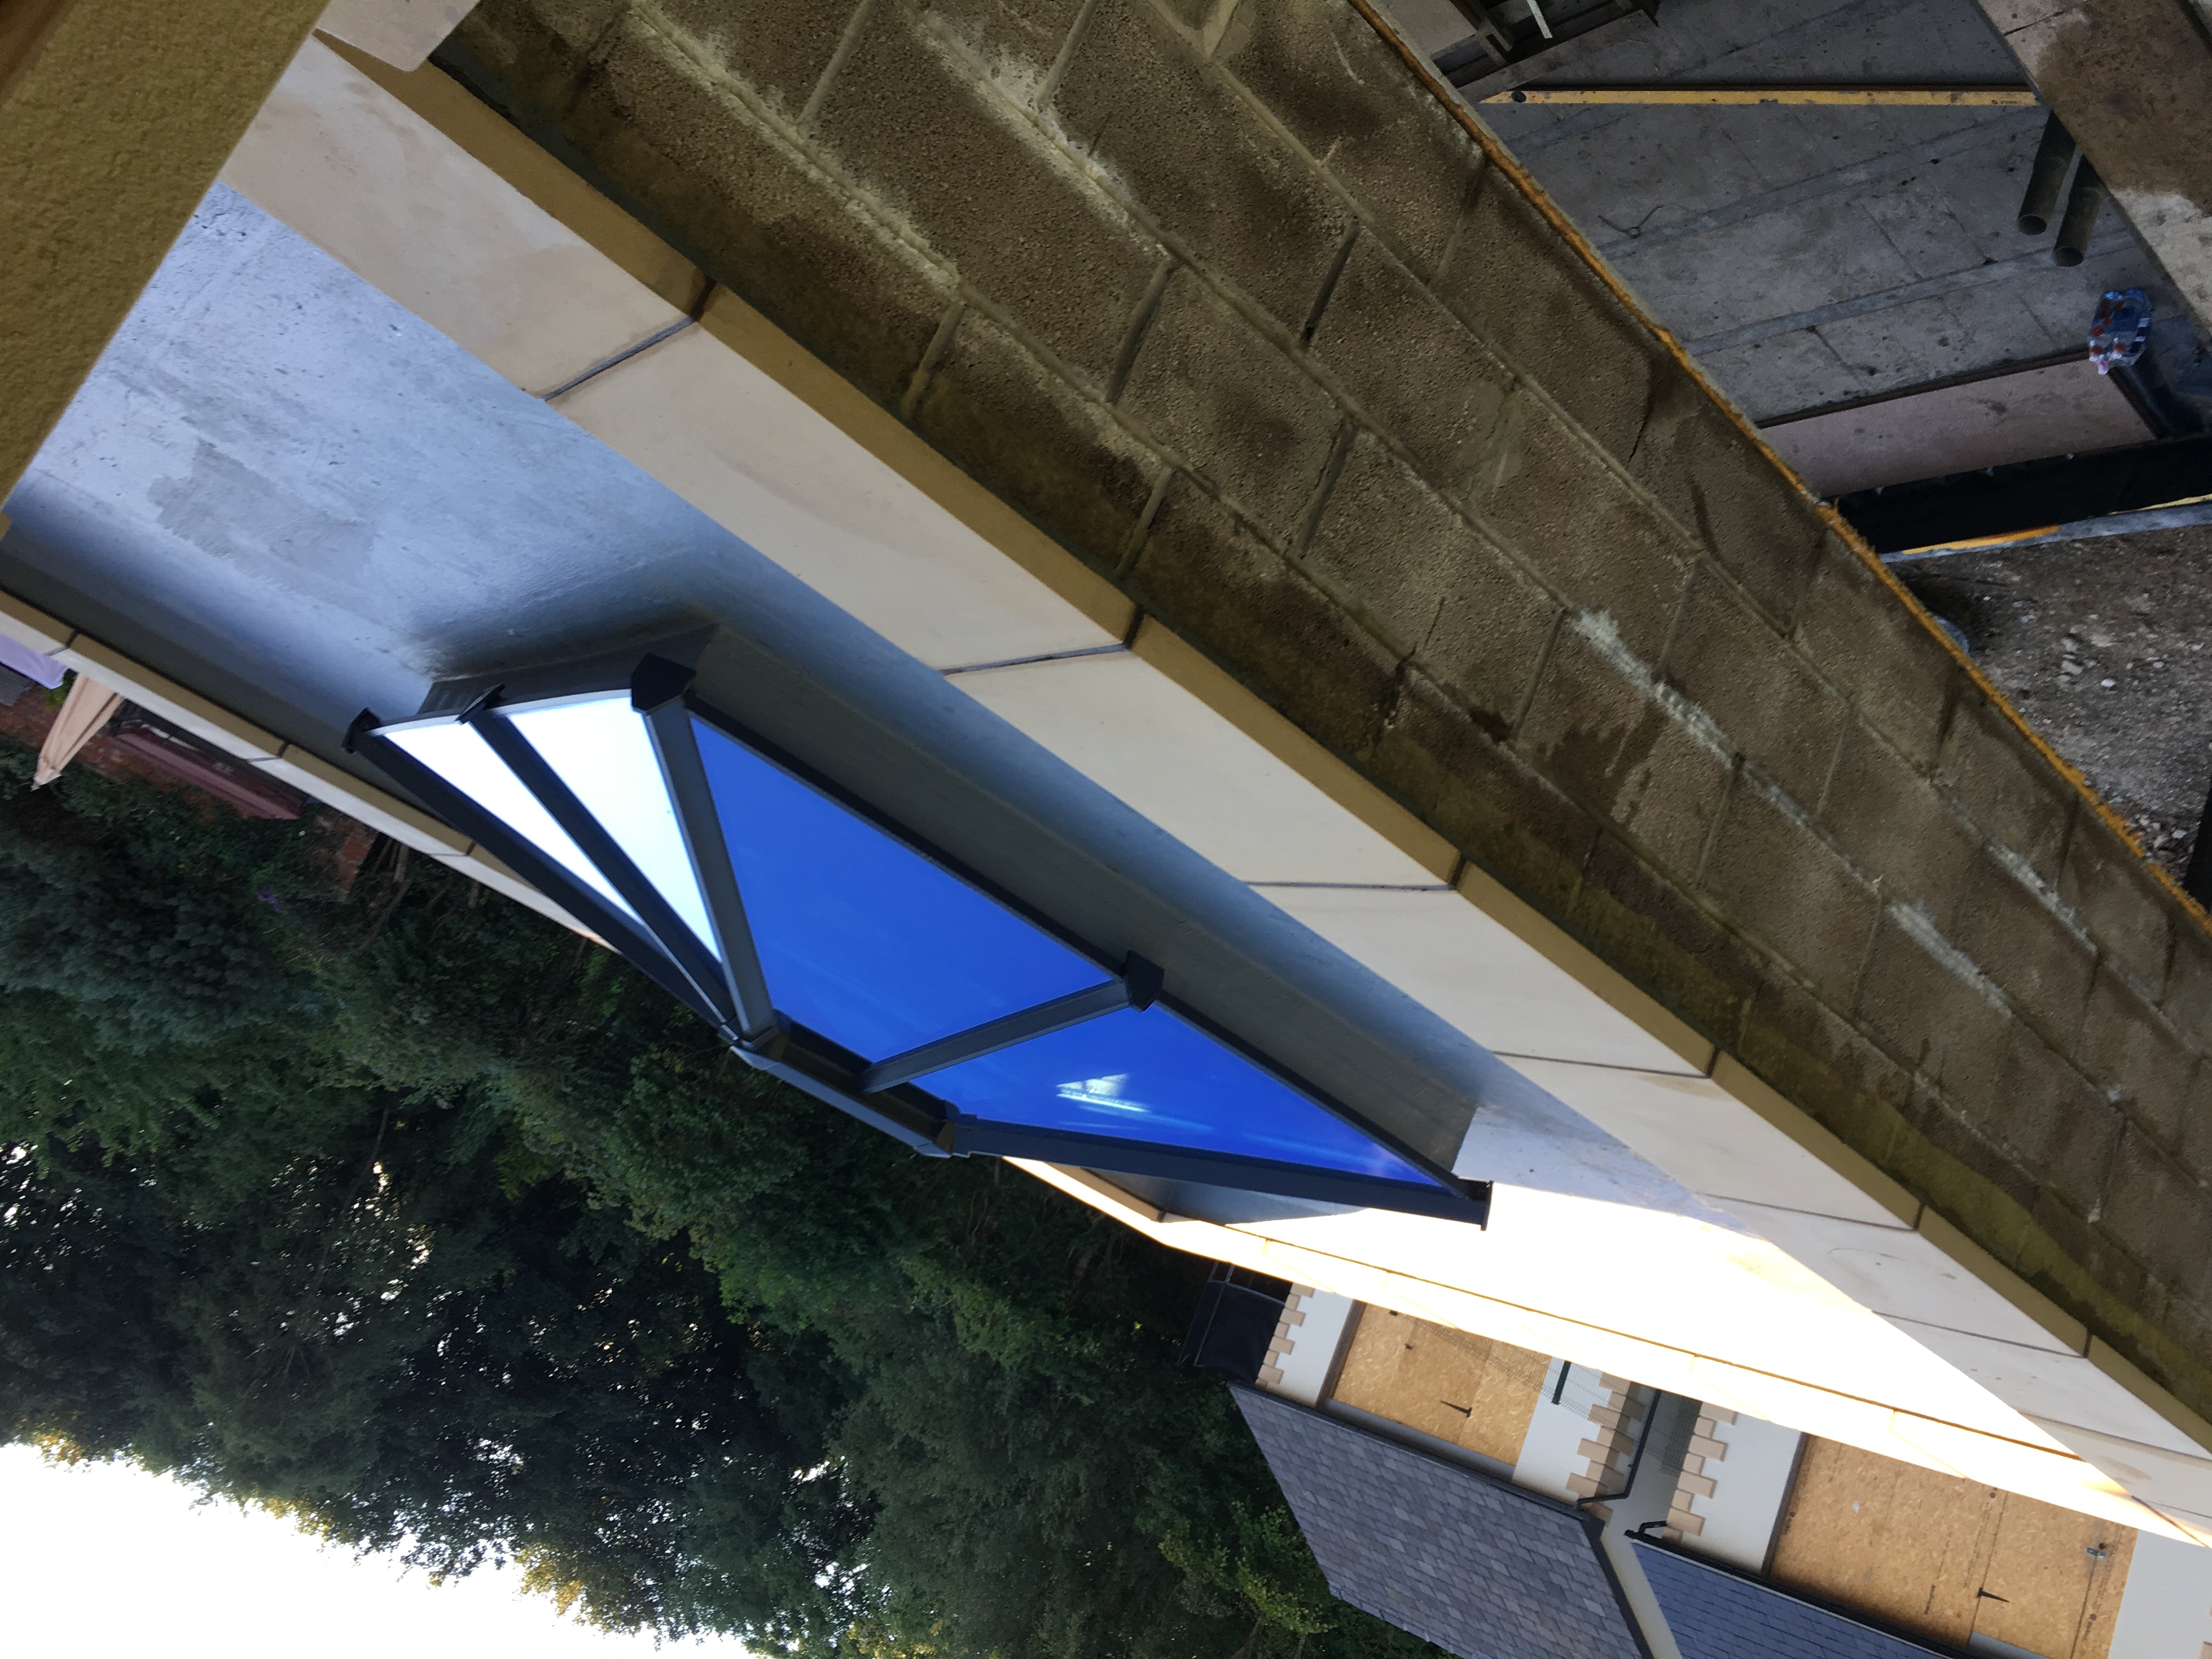
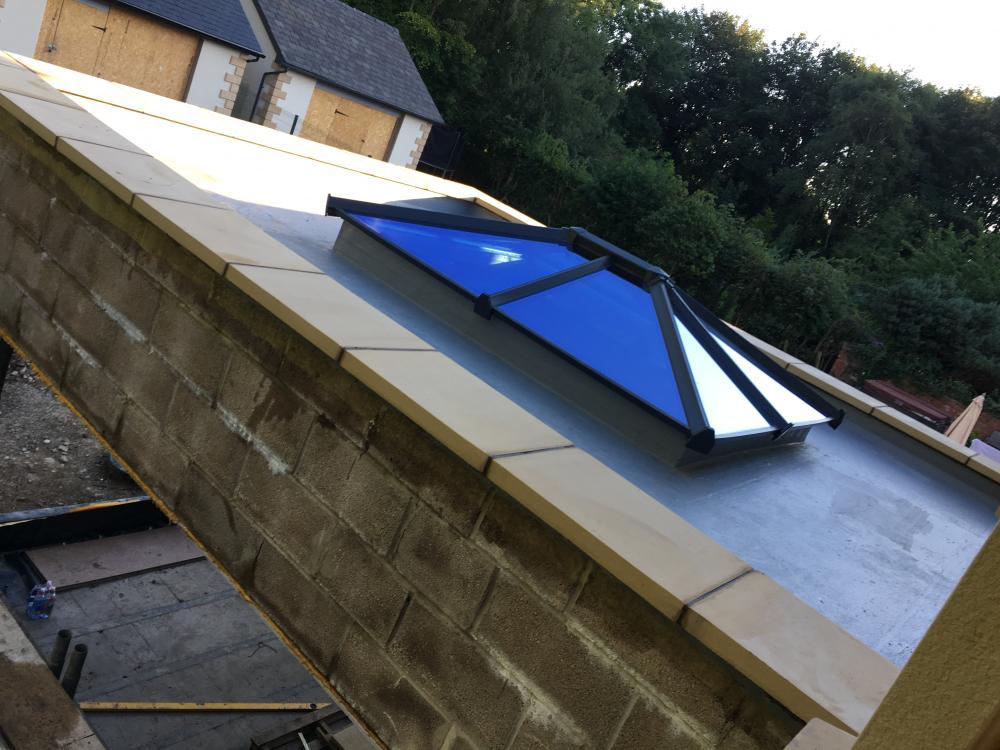
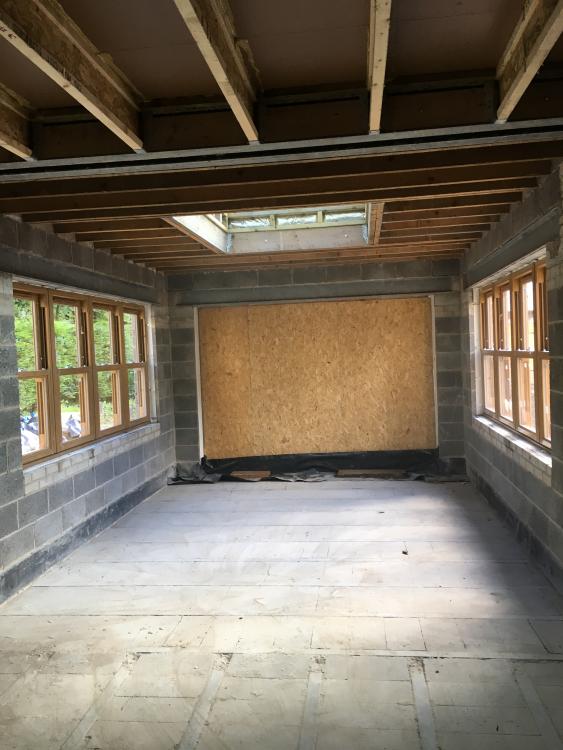
We finally took delivery of the copings and lantern for the orangery the local company offered to install the lantern £900 for cash Talk about easy money Very simple to fit It took my wife and myself three hours to install came in kit form and assembled like mechano Fitting the last two sets of four sash windows wasn't so straight forward i had the manufacture and joins in a set of four but had to take all eight sash windows out to unload them

 2 points
 -
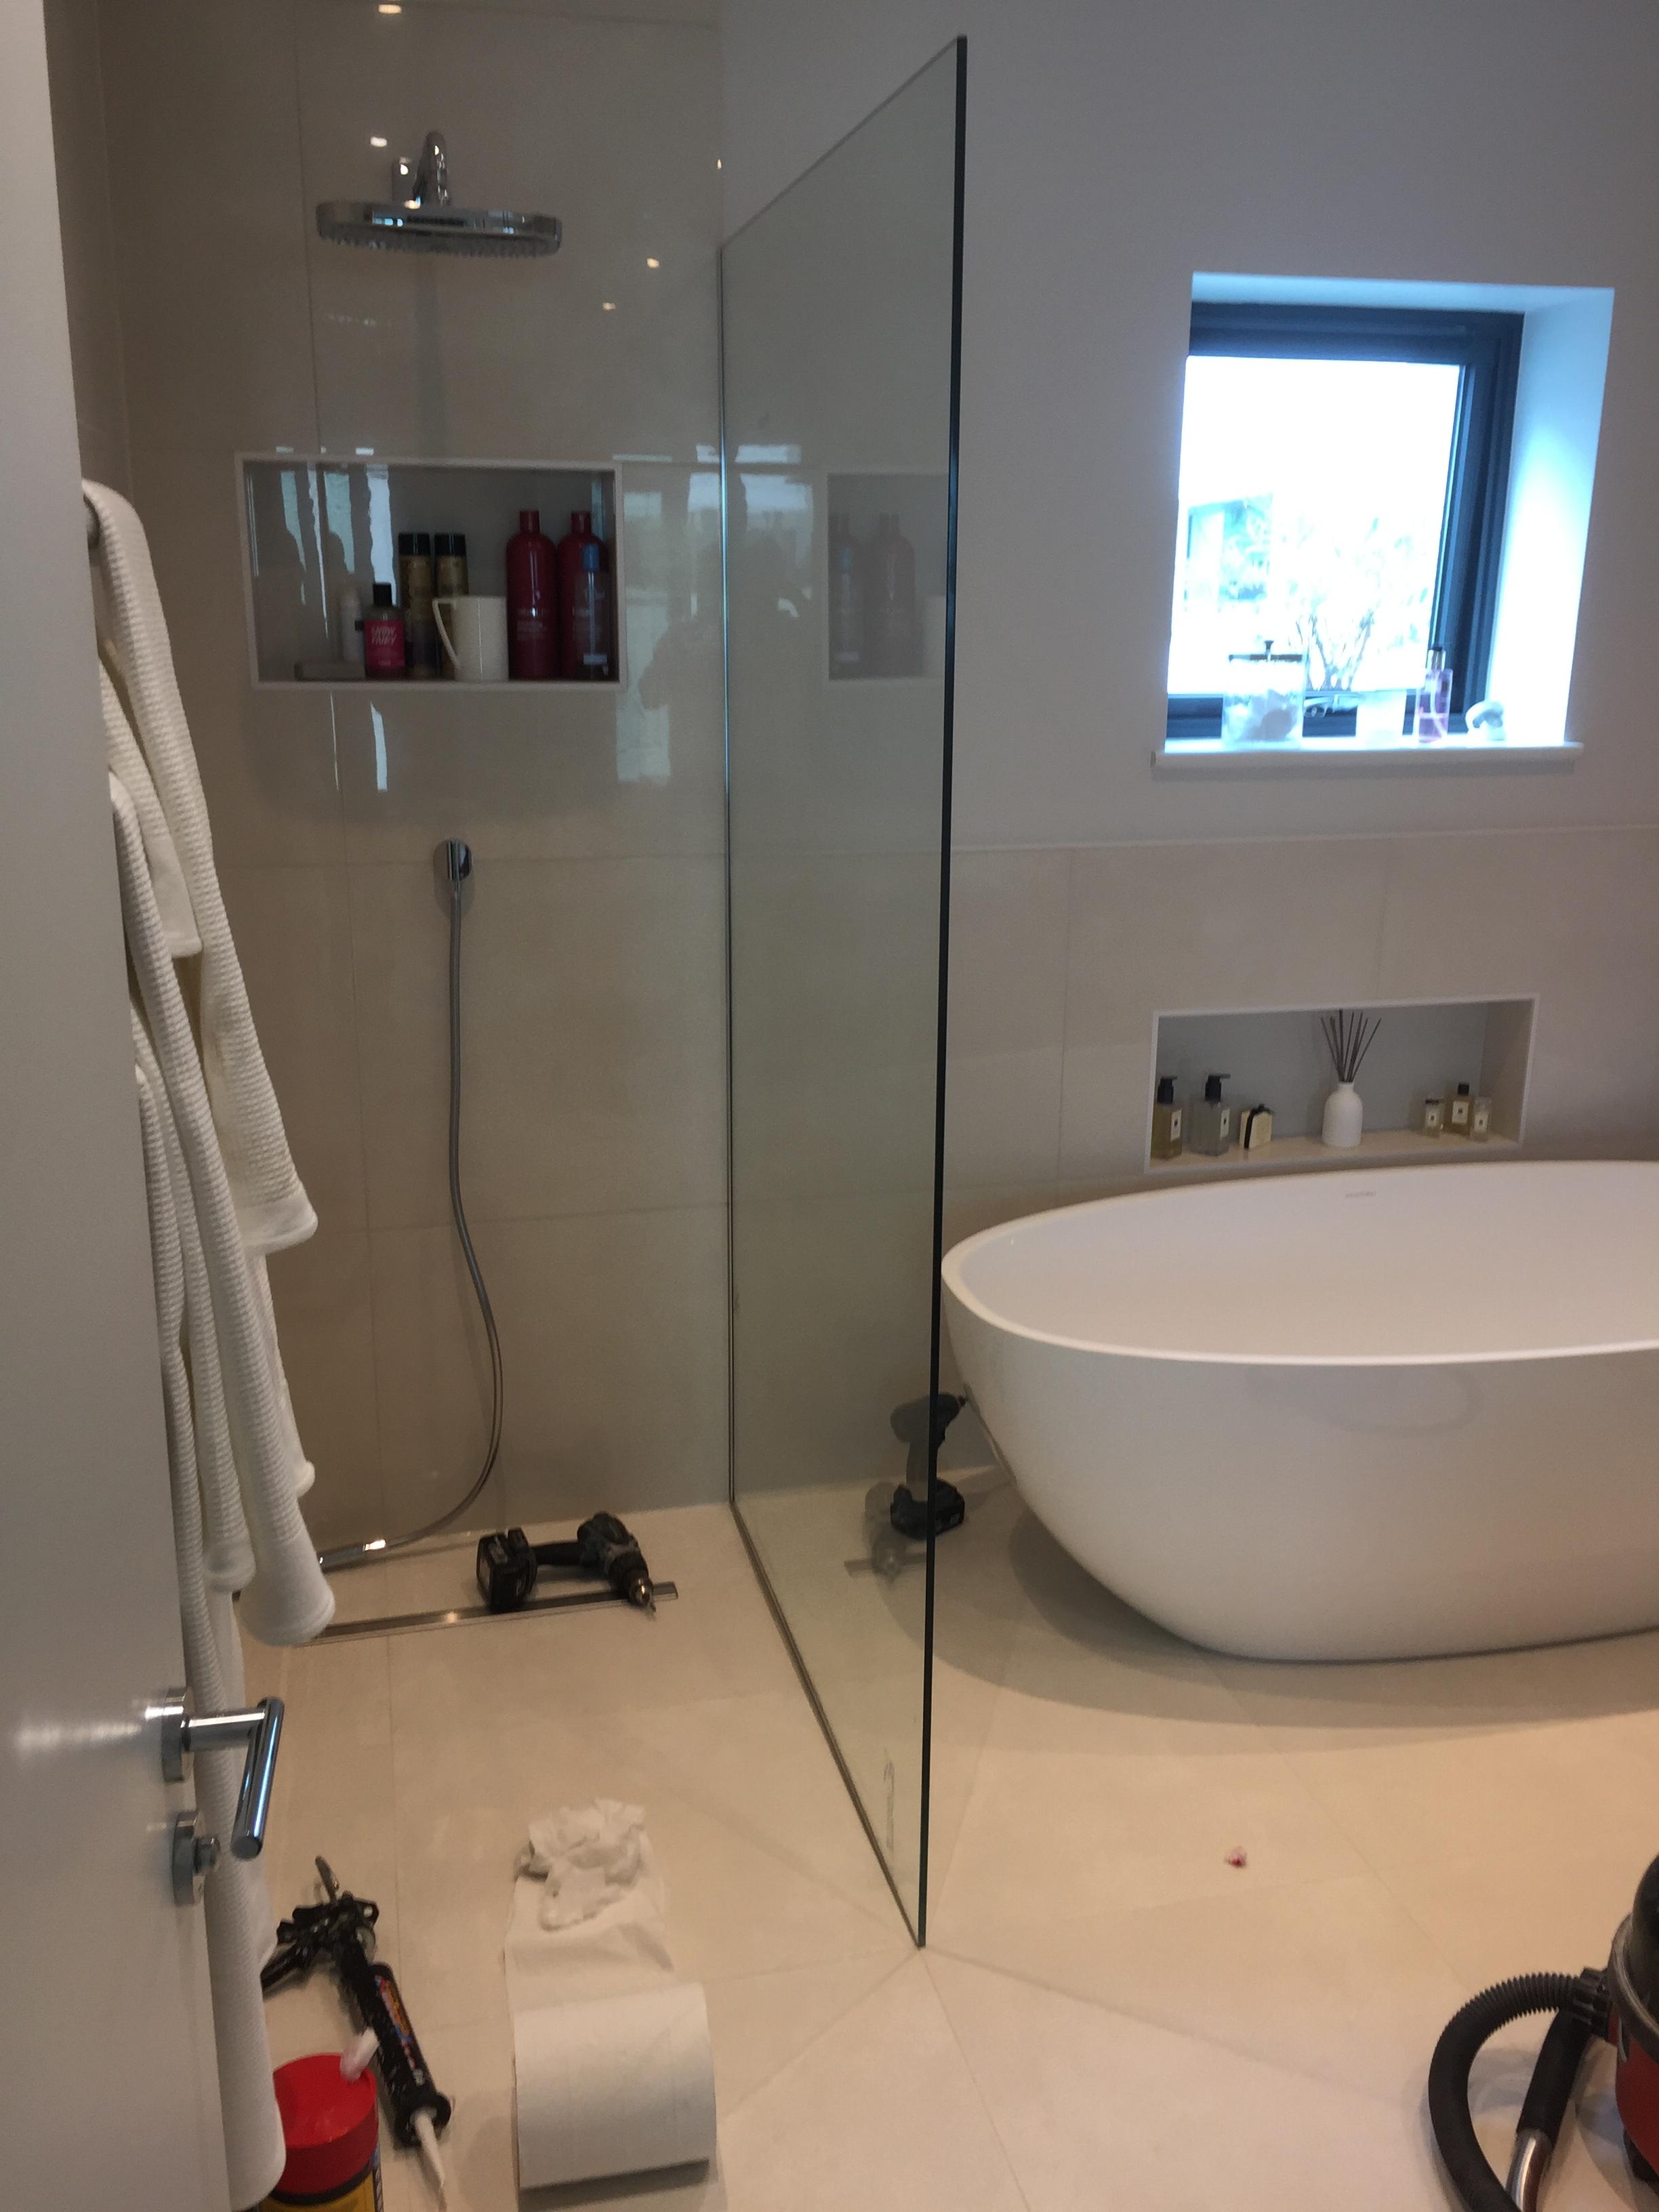
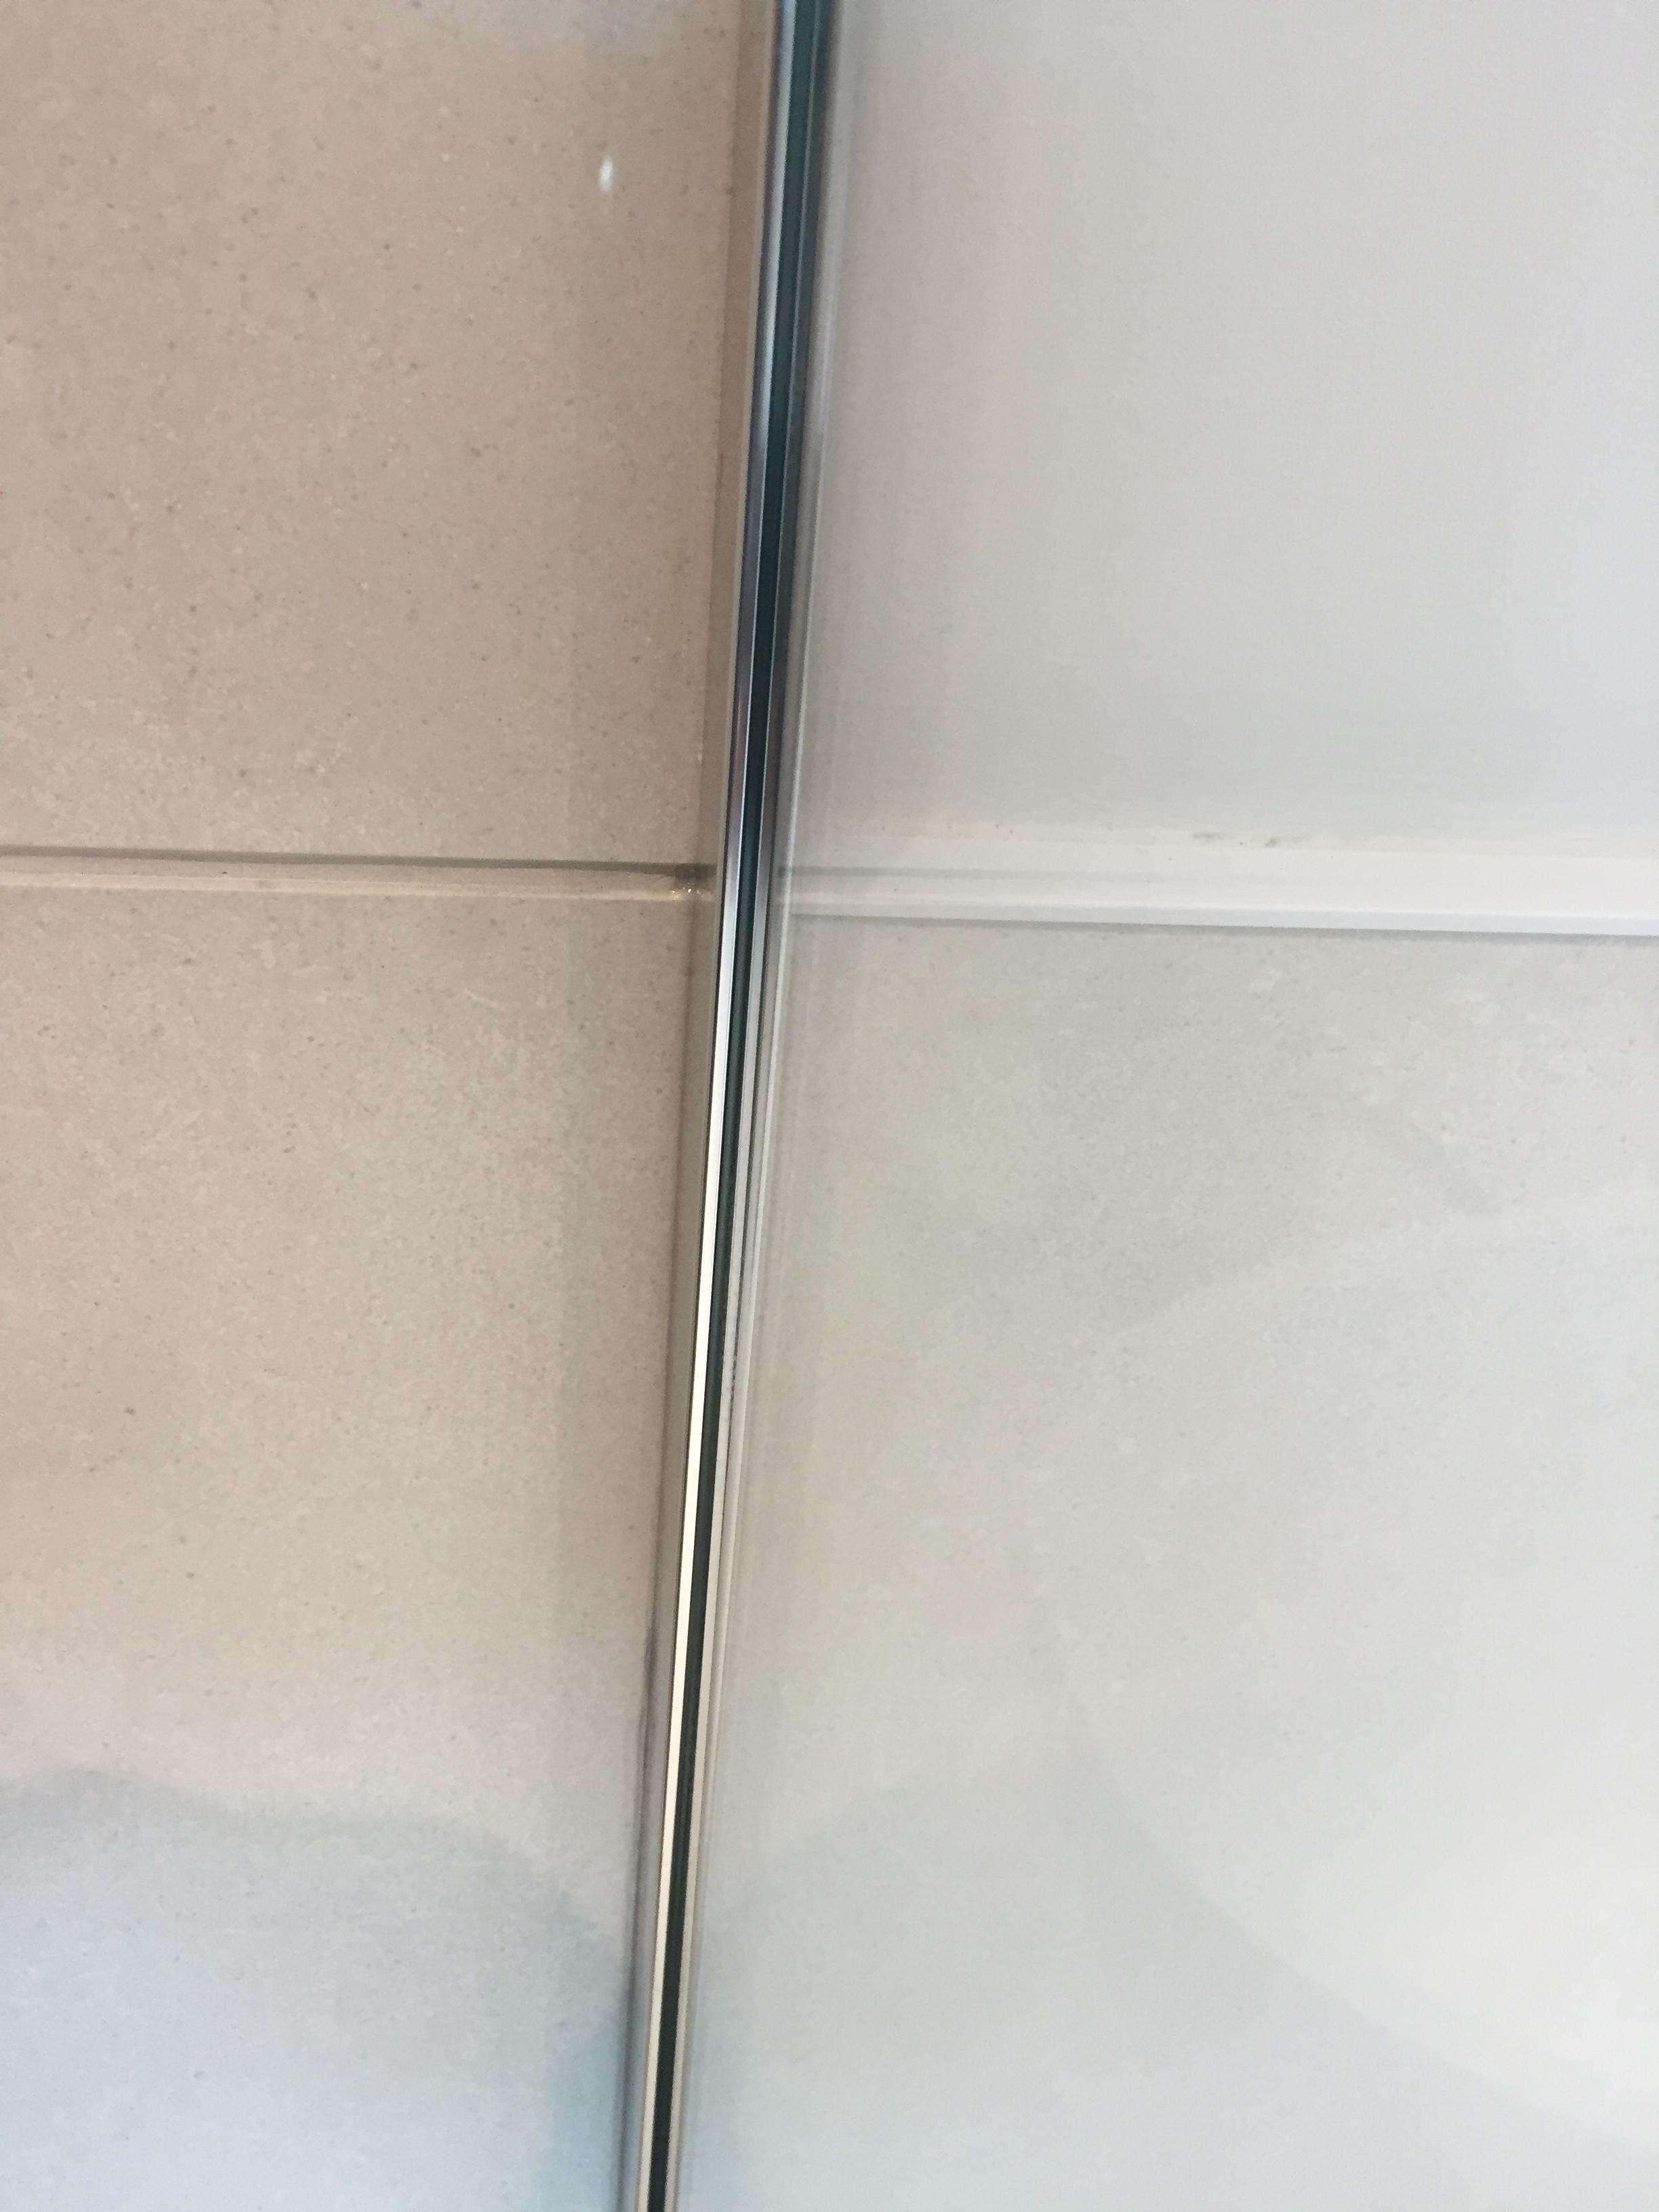
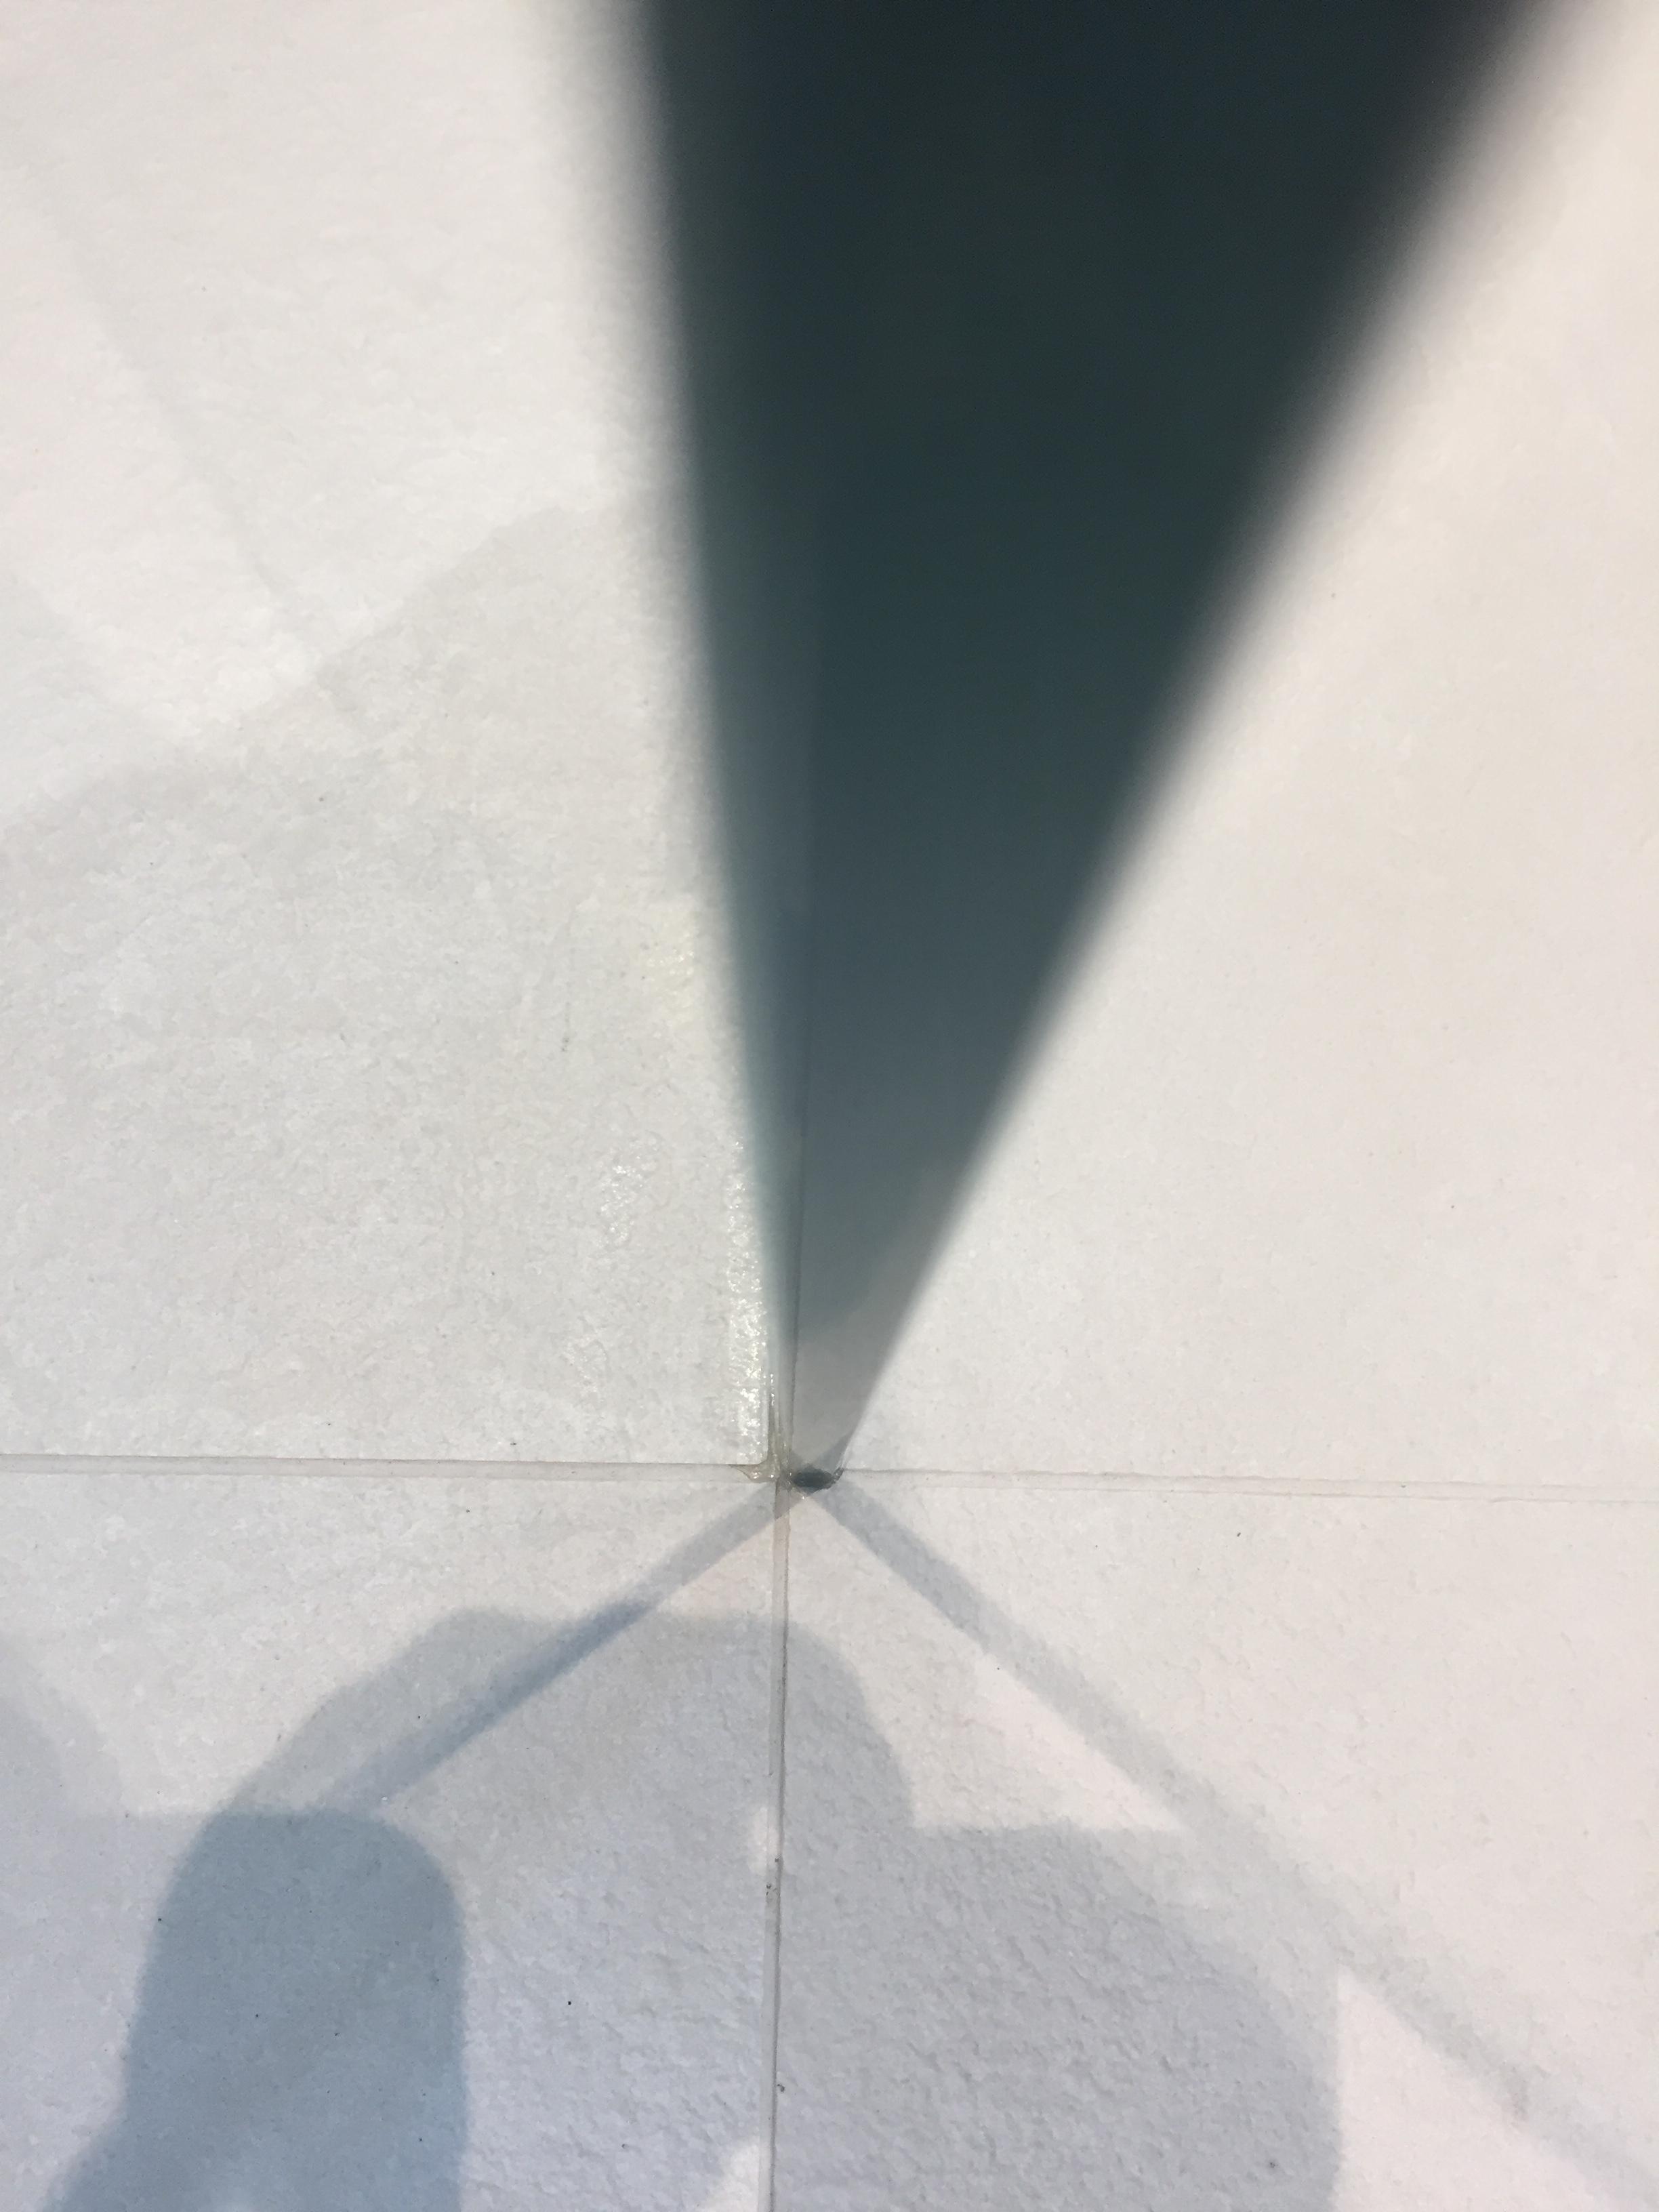
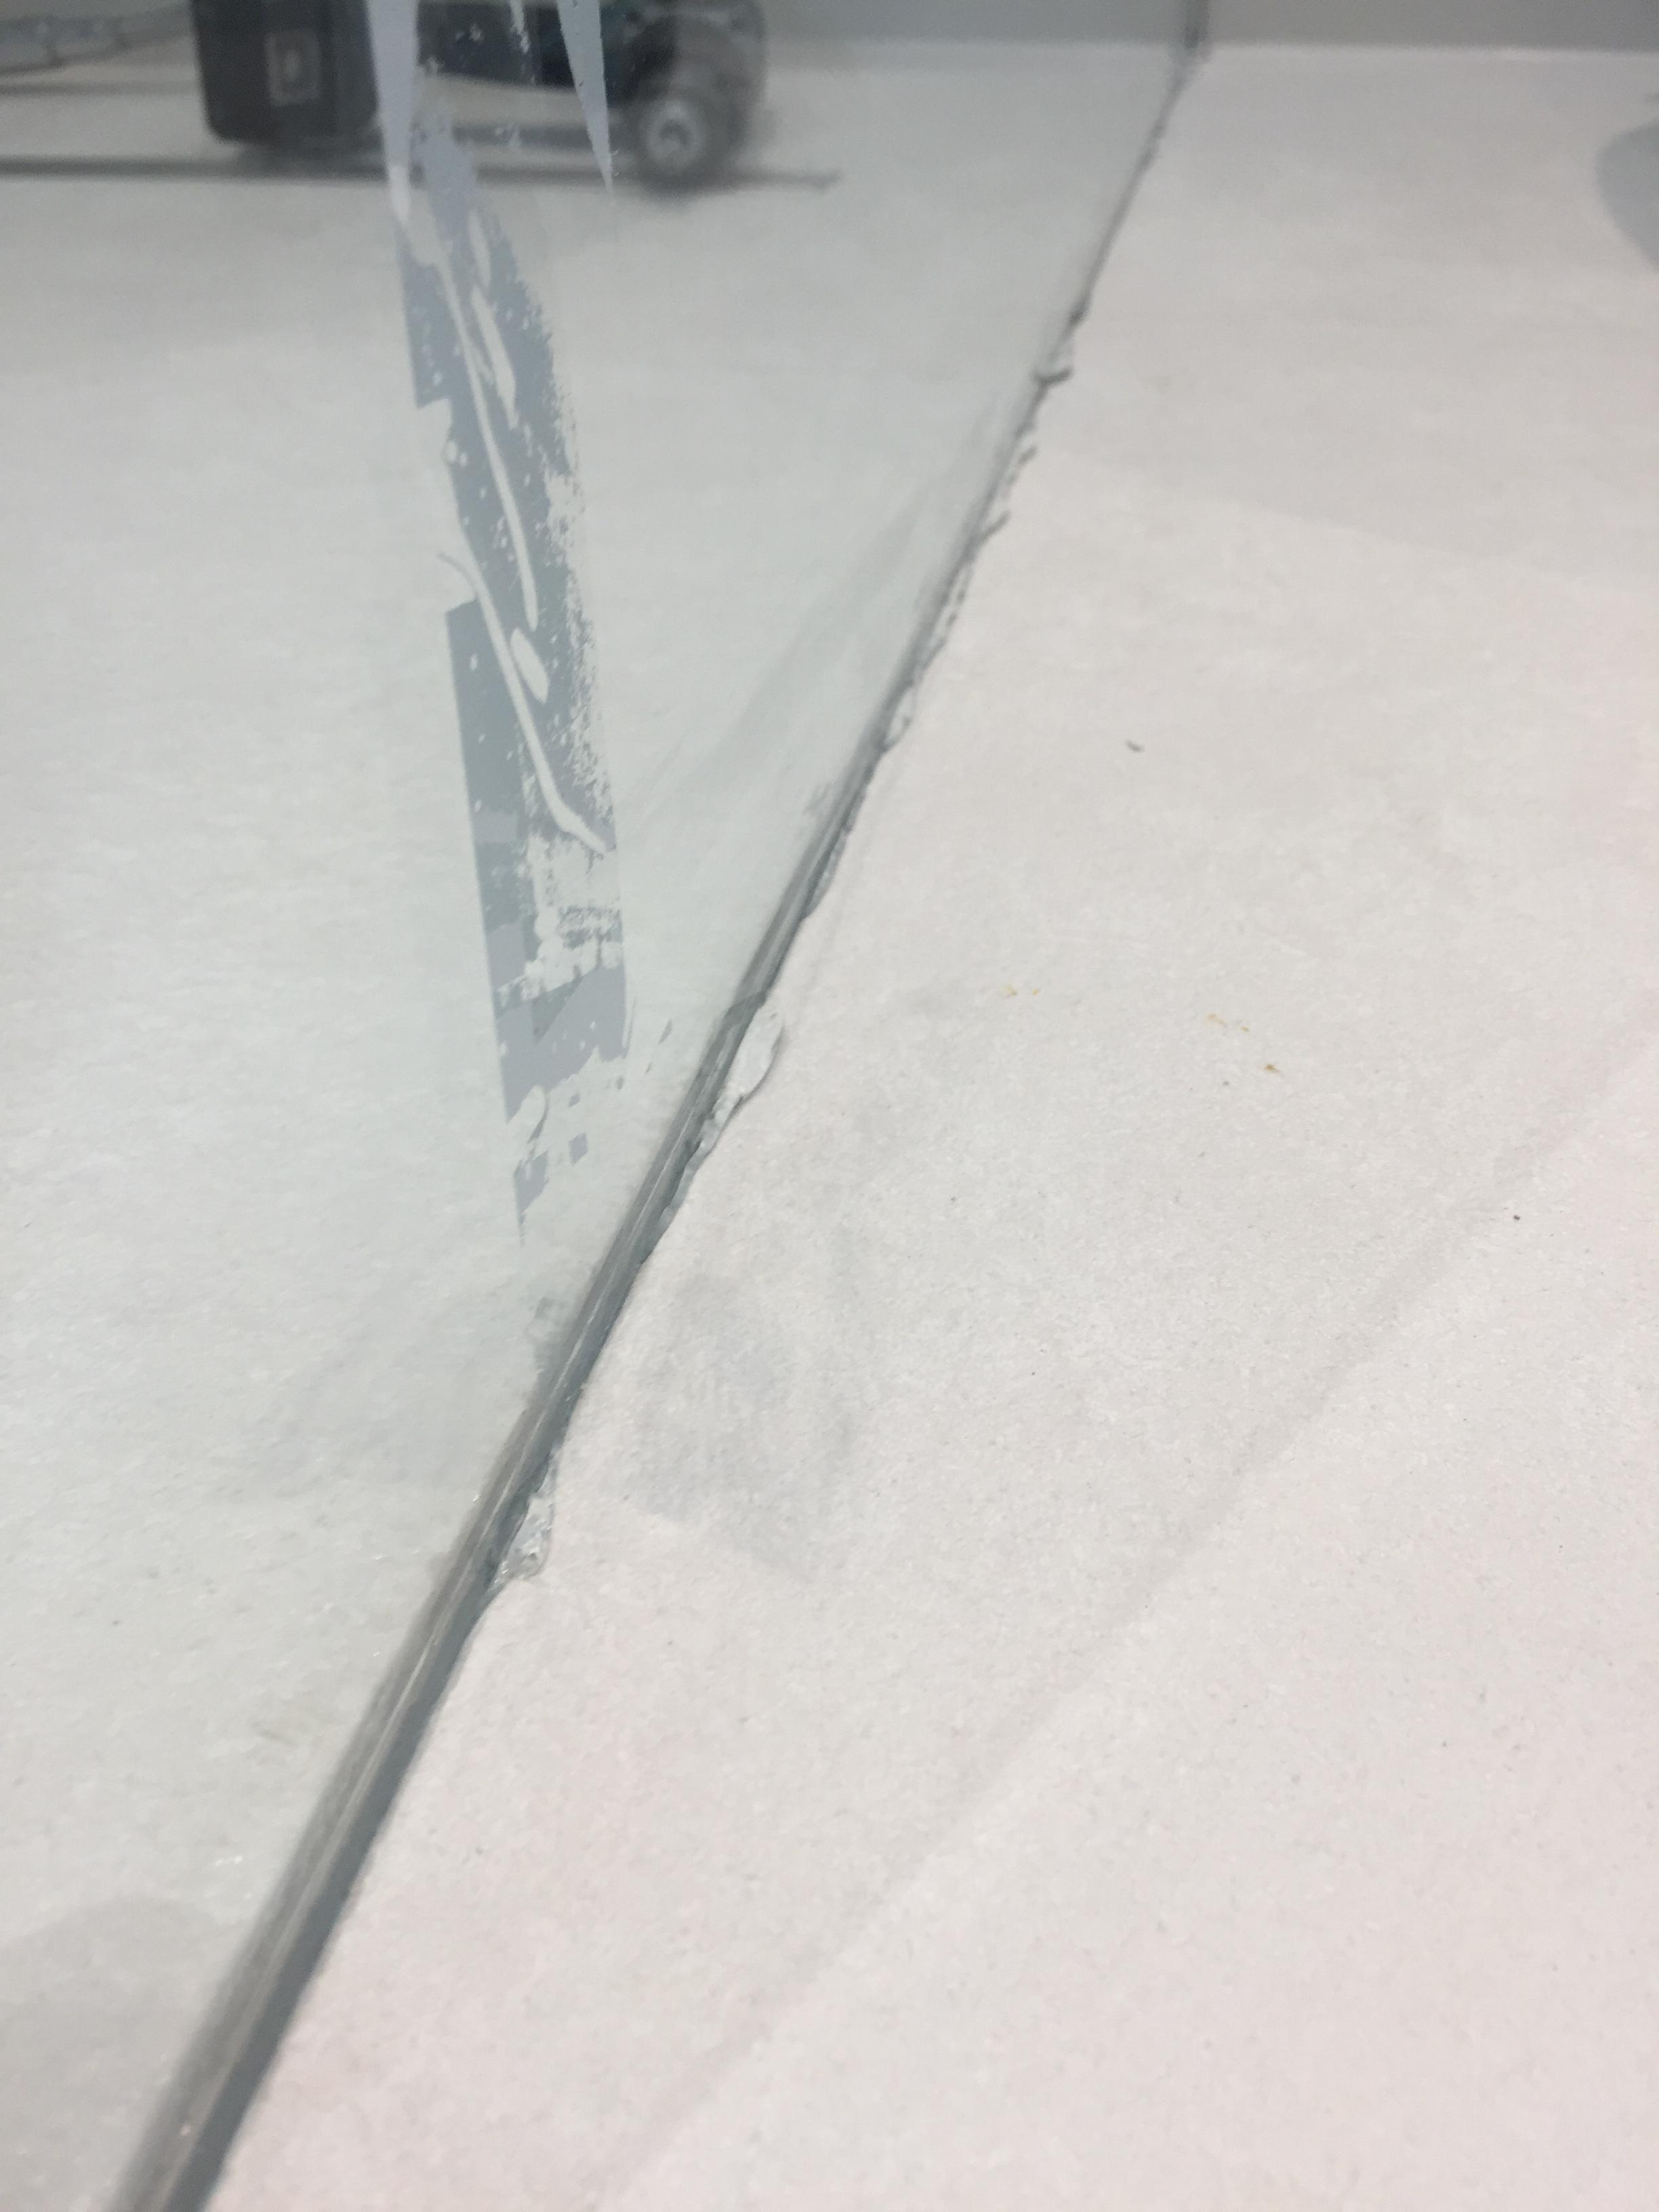
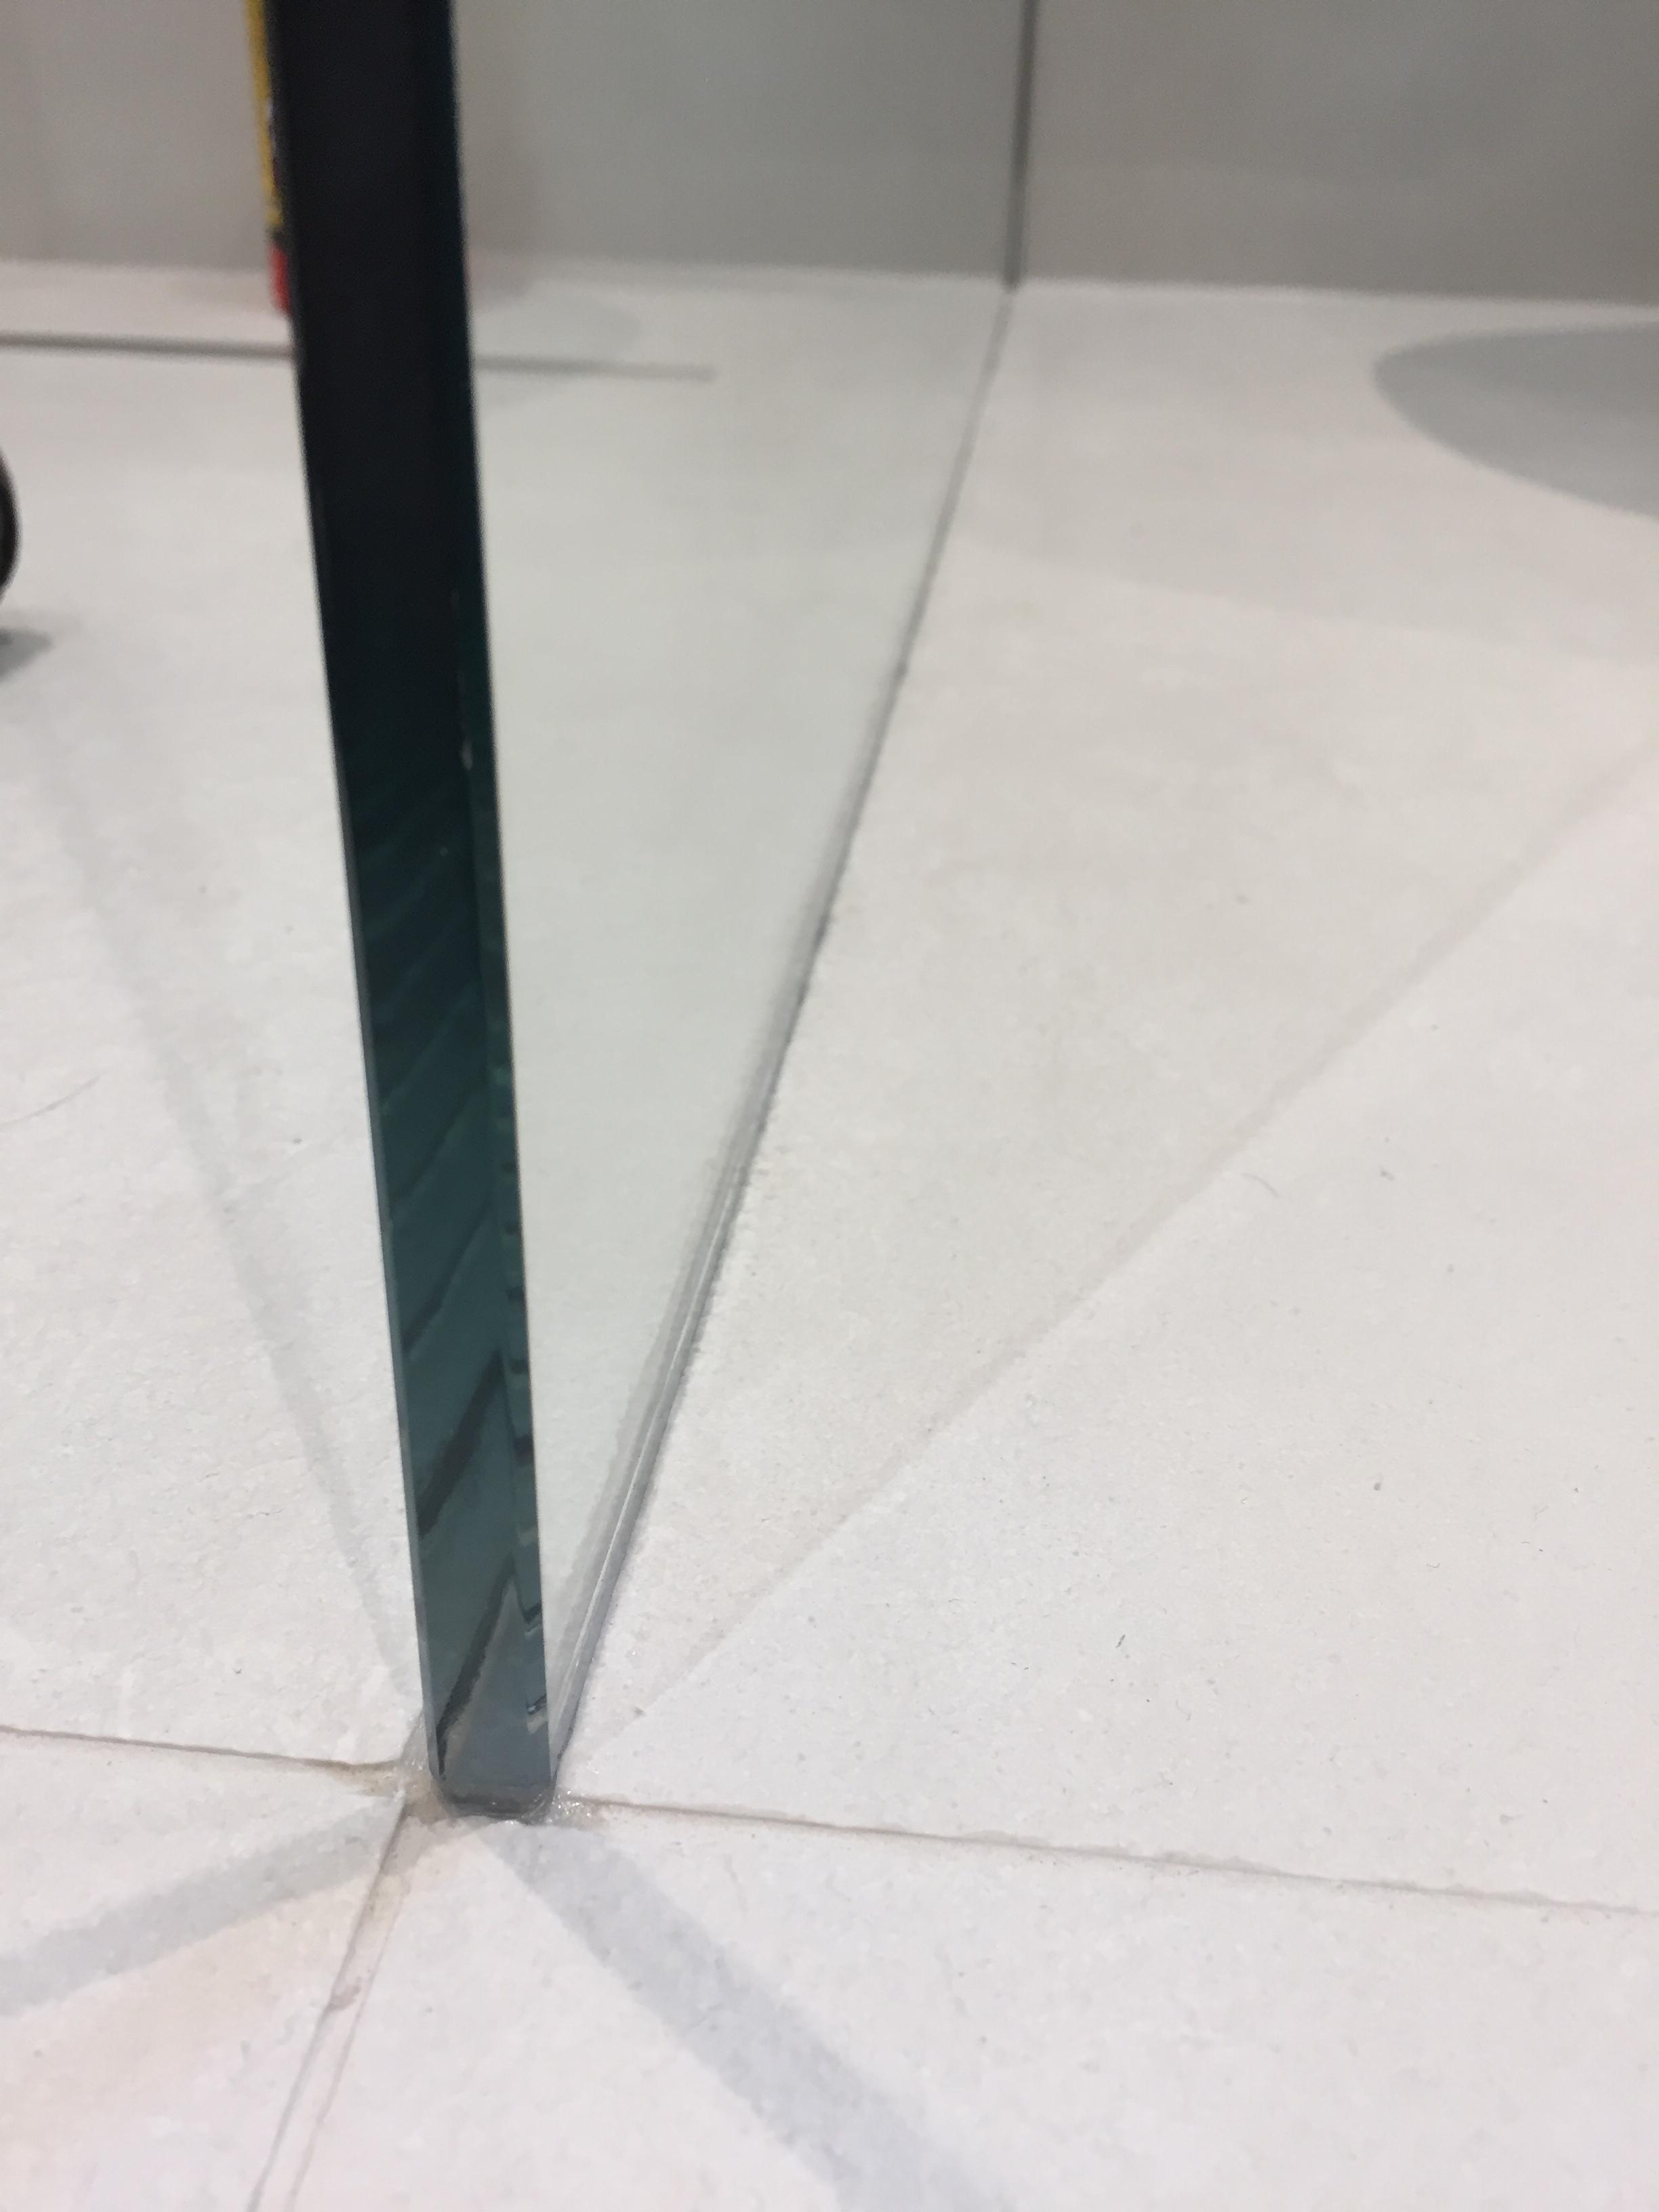
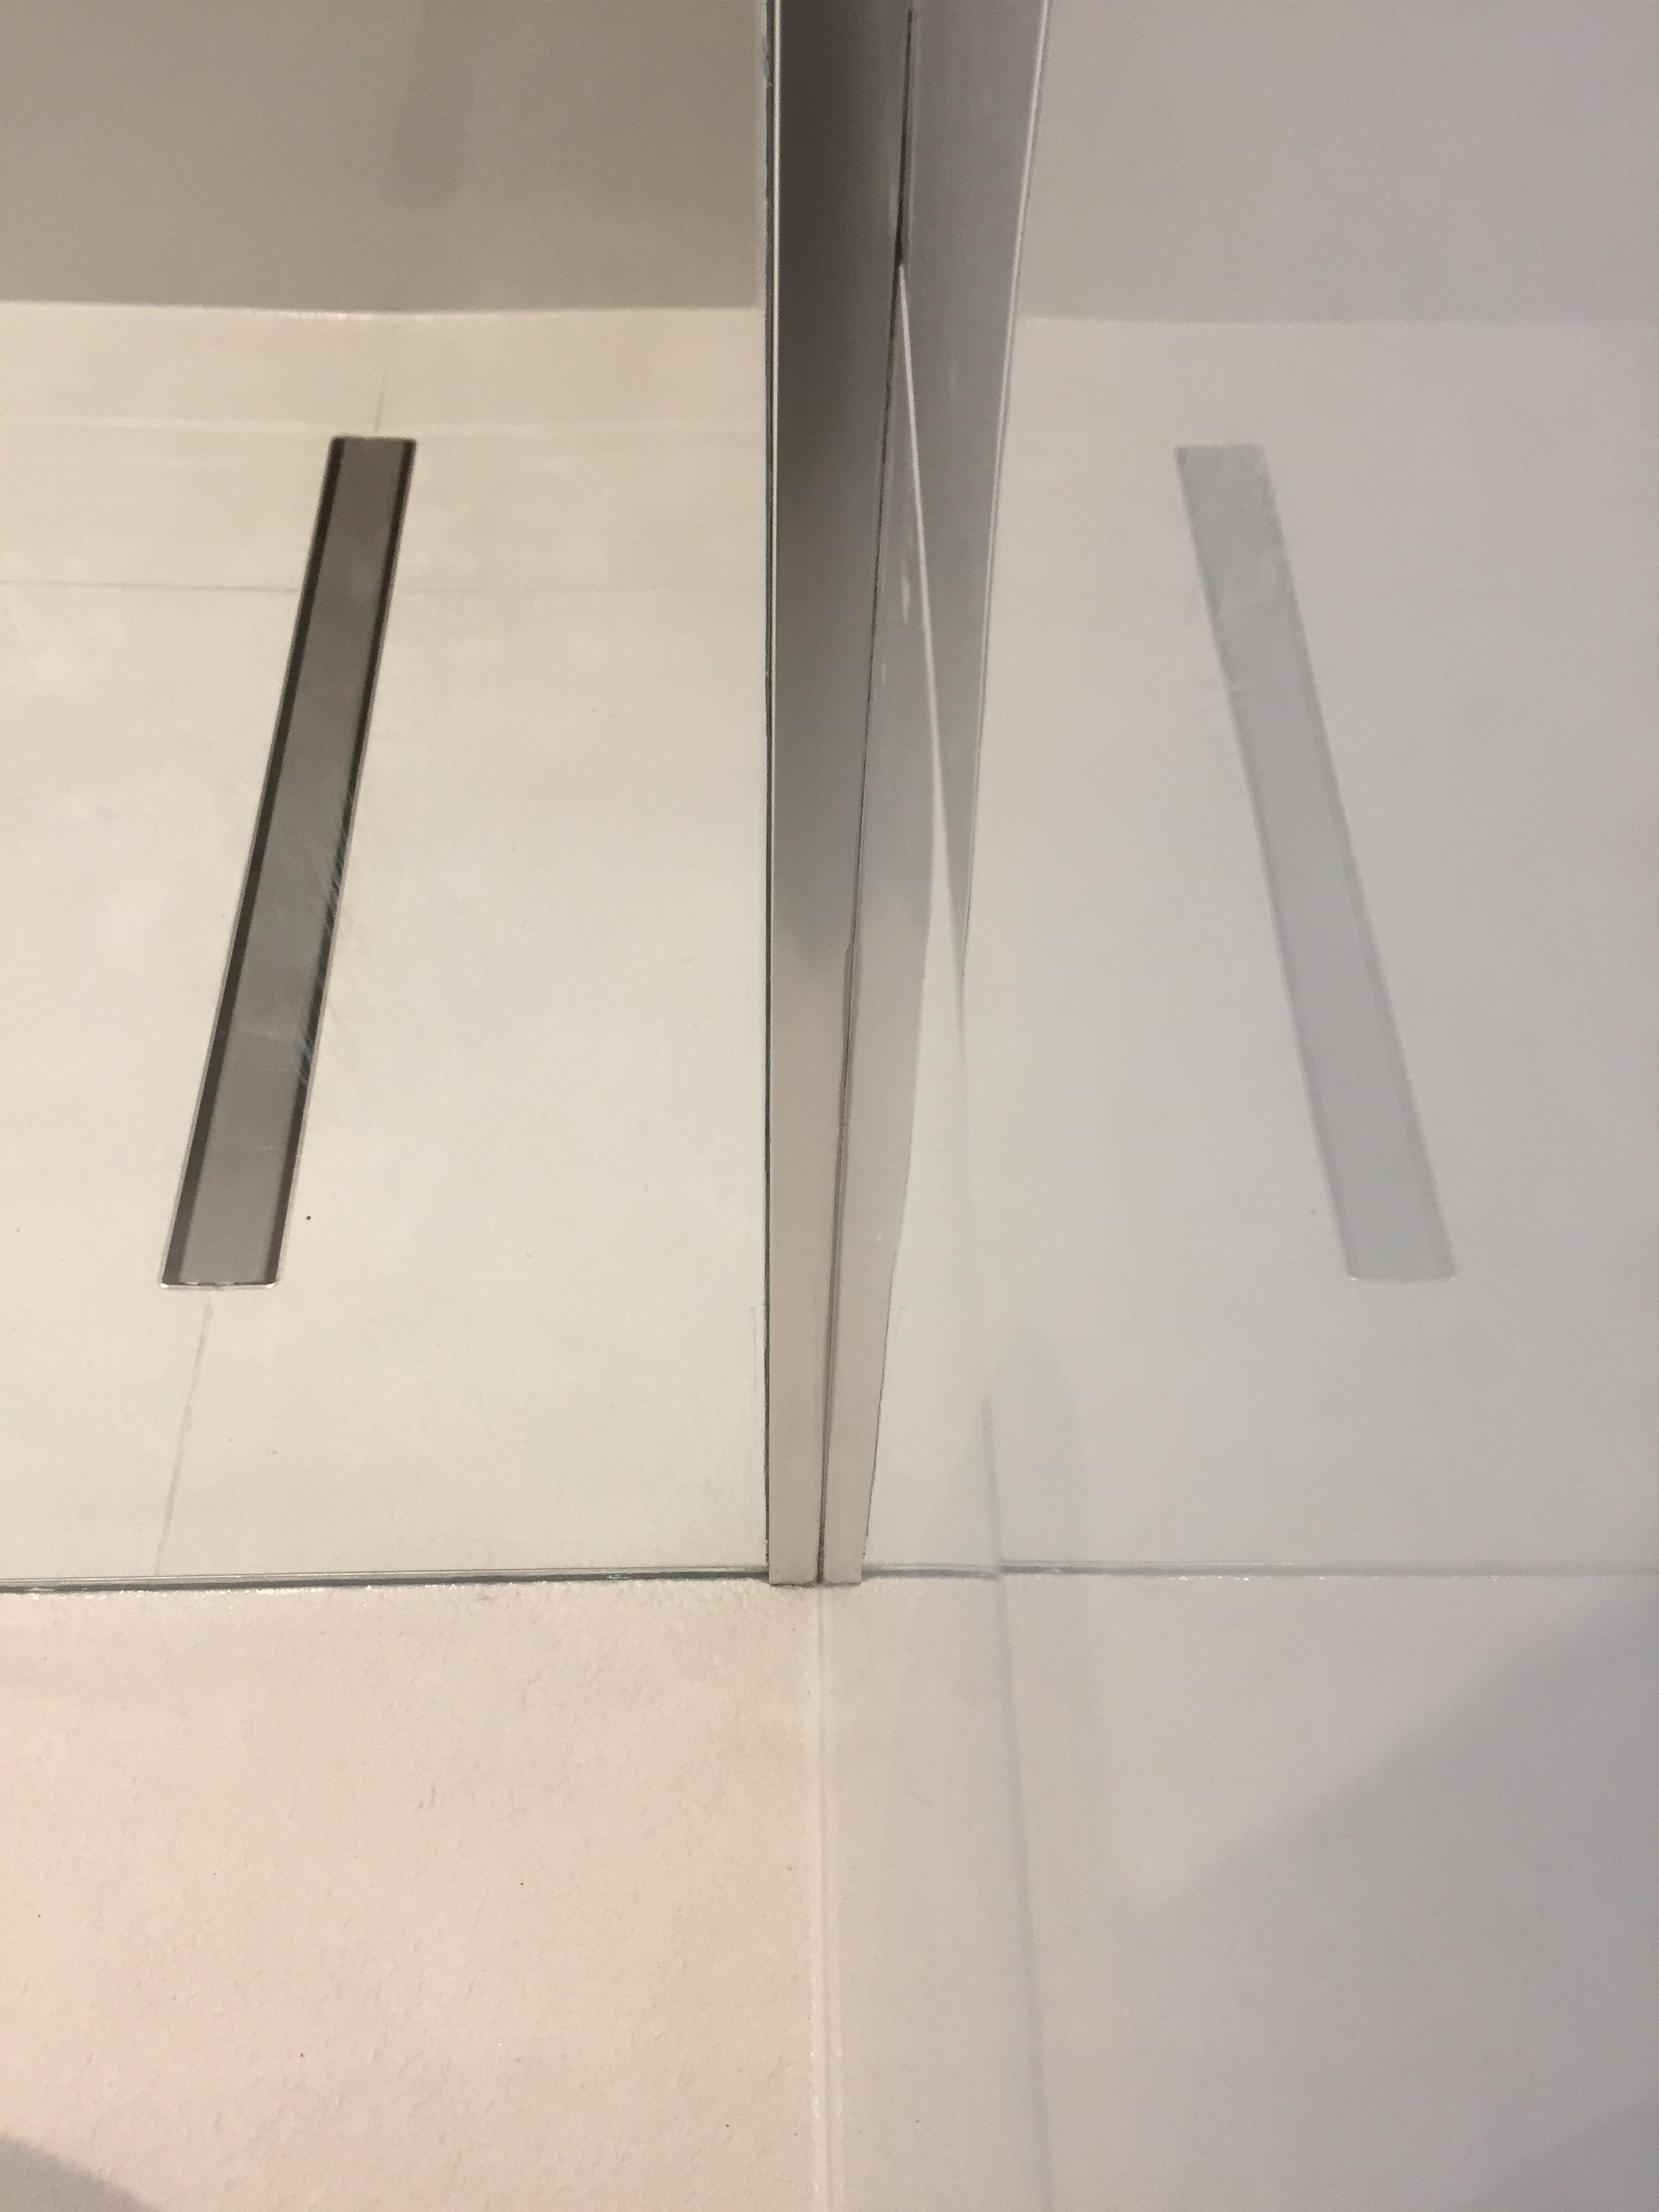
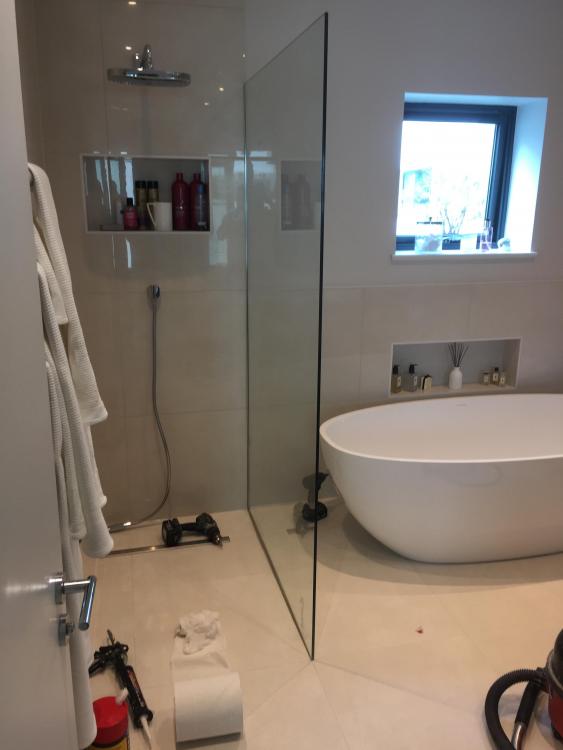
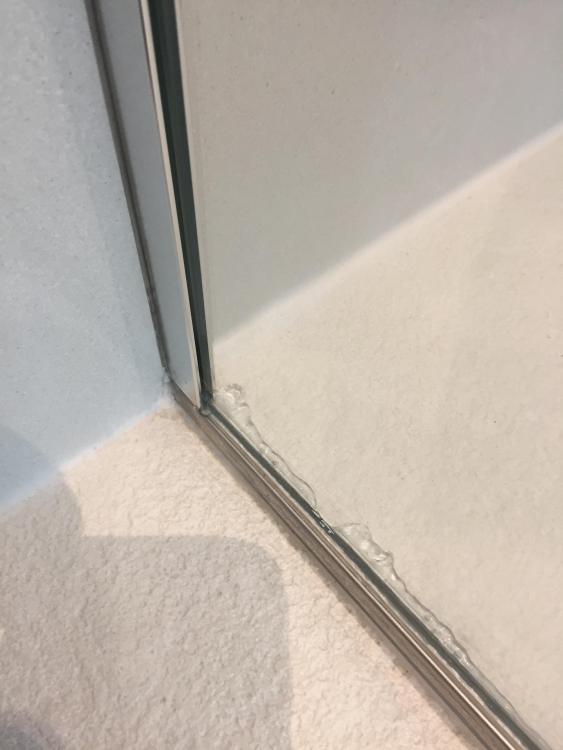
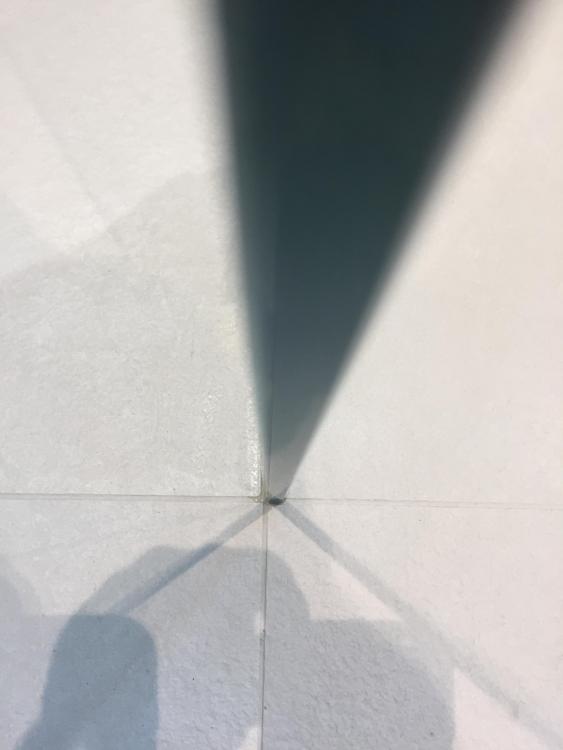
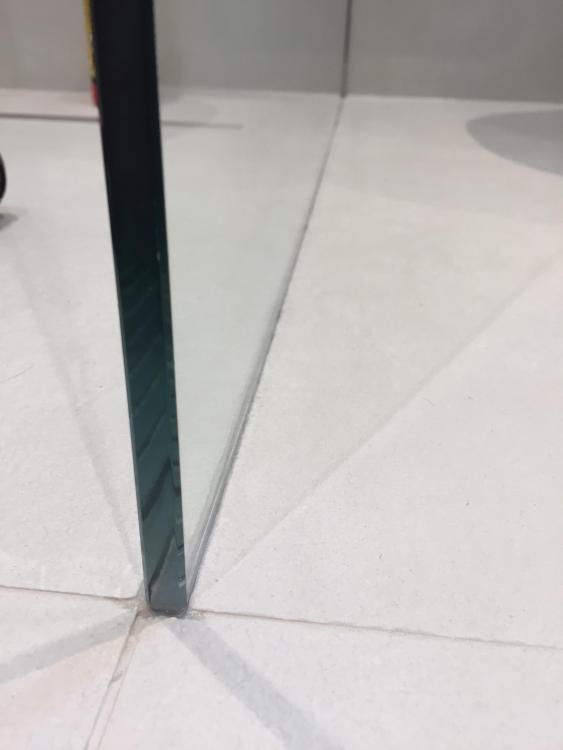
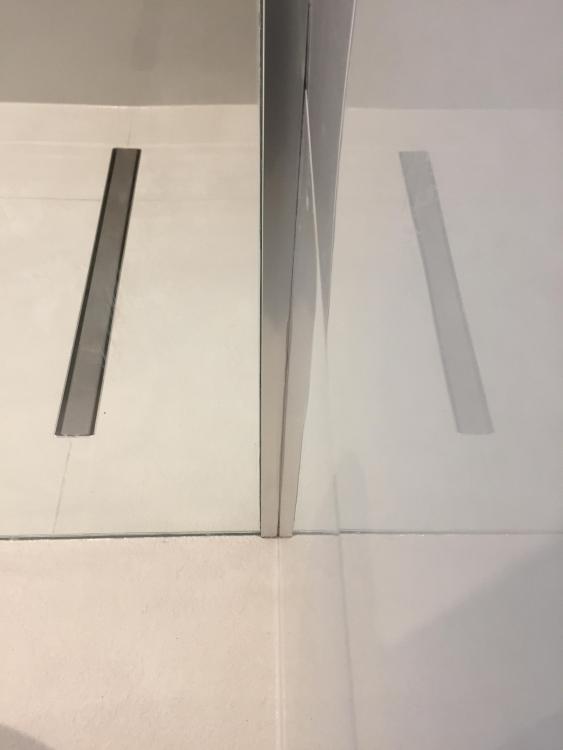
Fitted the glass today. 1.5 x 10 x 1.5 receiver. Minimalist as it can get. Slid into the wall channel and lowered into a generous bead of CT1. Measured so it ended where the grout lines intersected. CT1 displaced ready for the wet wipes Wiped up and looking slick. The wall channel after the gaps were CT1'd and cleaned back with wipes. Side view of the channel after sealing. Bird is the word. ?


 2 points
 -
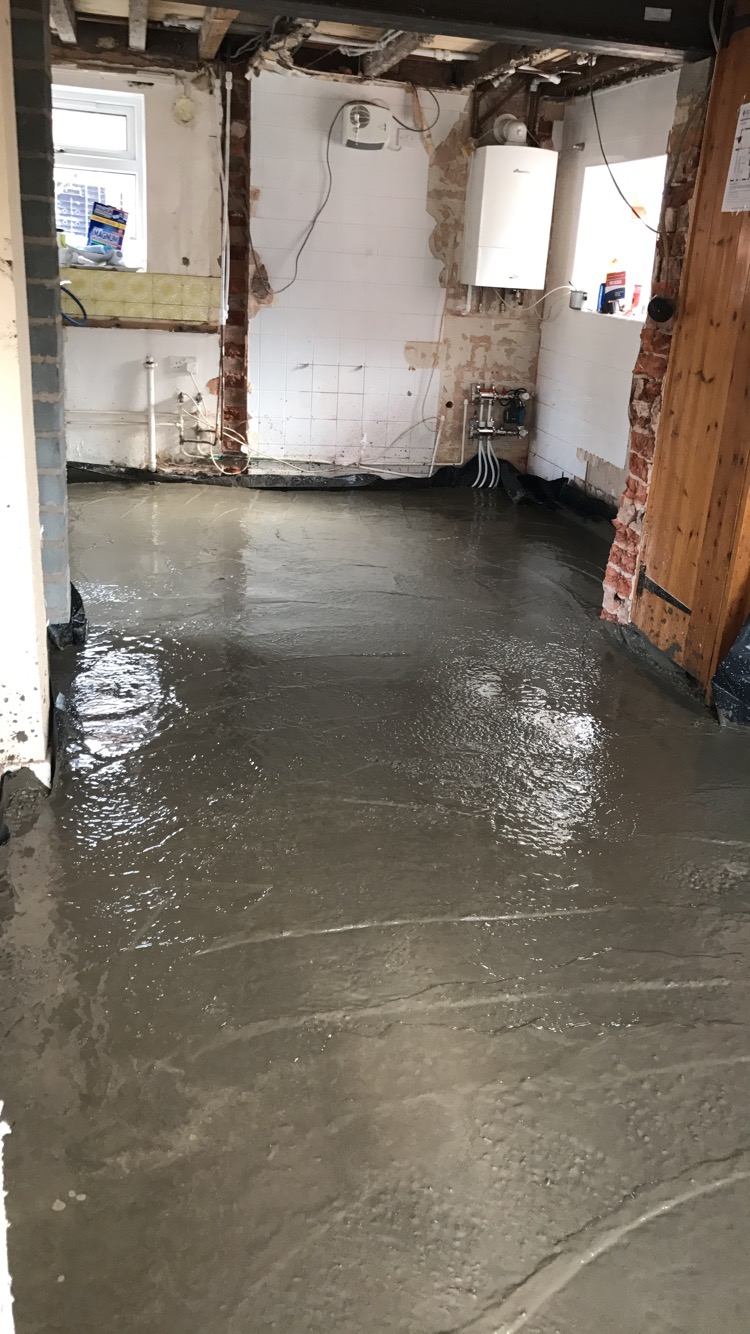
Well had to delay the concrete until 3pm due to plumber not turning up so decided at midday to pressurise it myself. Now sat at 3bar concrete laid and trouled! Not fussed with finish off concrete as got some free self leveller which will level the finish
 2 points
 -
Would you feel safer working from say a work positioning rope slung from a strong point the opposite side of the roof? It's something you can tug on and think "If I do slip it'll hold me!" Adult nappies are also available!1 point
-
To my wank pot neighbours it's a motorway if it blocks planning !!!1 point
-
Can I have kudos for my initial advice then!?1 point
-
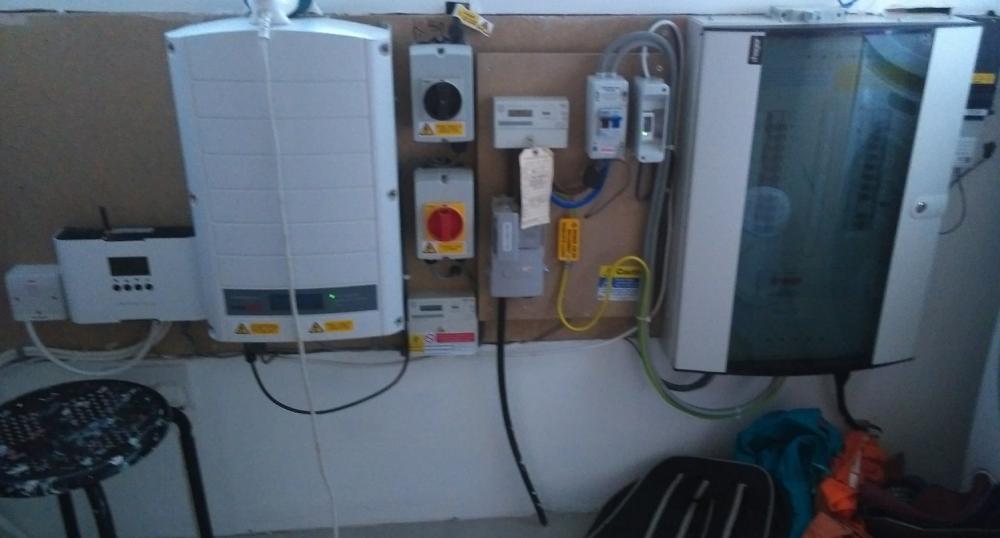
It depends on the DNO. Our supplier (UKPN) stipulates that all new supplies can only be connected to an external meter point, not inside the house, and require a regulations box (horrible grey fibre-thingy which I did not want on my shiny new render exterior)). I argued that ours was not a new supply but a move of an existing one based on demolition and construction, they conceded after a lengthy discussion and an appeal to a manager, and installed it indoors provided I gave space for maintenance at the supply point. Interestingly, they did not require a meter box and just wanted a bit of board to mount their bits on. Our supply is open in the utility room. From left to right: PV stuff: Immersun, inverter, isolators and meter Incoming mains stuff: termination, fuse, meter, isolator (note cable coming up through the screed from the basement, we came into the basement underground and used waterproof cement to close off and make it airtight) sub-meter for ASHP measurement purposes DB (Hager 3-phase unit but used for a single phase - this confused the DNO as they expected to fit single phase supply and saw a 3-phase box on site) controller for movement sensor lighting.
 1 point
 -
Sorry, my mistake. Just read meter box and went mad on the links. Inside, on / below something fire retardent is always good. CEF do "approved" meter boards AND spacers for them to mount off the wall. http://www.cef.co.uk/catalogue/categories/industrial-control-automation-meter-boards-boxes Careful with CEF as it's down to the branch how helpful they are. My local is "No problem, how many?" even if it needs to be ordered from their warehouse. Others have had "Nah, mate don't do 'em".1 point
-
Am internal meter box can be anything. Does not even need to be a "box" A bit of chipboard, mdf pr ply on the wall seems to be accepted (at least by the Scottish bit of SSE)1 point
-
One of these must be handy for you. Go see if you can as some of the cheaper ones are made from cheaper, thinner plastic than the plastic tray in biscuit tins at Christmas: https://www.tlc-direct.co.uk/Main_Index/Boxes_and_Enclosures_Index/Mitras_Meter_Box/index.html http://fascias.com/Meter-Boxes https://www.meterboxesdirect.co.uk/ http://www.jewson.co.uk/electricals-plumbing-heating/electricals/meter-boxes/1 point
-
Looks like this one does continuous ventilation adjustable down to <1L/S. Has boost etc.. http://www.greenwood.co.uk/product/18/491/omnique-multifunction-fan.html Date sheet.. http://www.greenwood.co.uk/uploads/docs/450.pdf1 point
-
Check you sums as I make it 7820 L. Does not help you though. Have a look here: https://www.tlc-direct.co.uk/Technical/Ventilation/Ventilation4.html It does all the work for you and should show you the gap in your thinking - English regs mind!1 point
-
Ah, thanks for the welcome...Didn't know the forum existed until Ferdinand spotted my recent post GBF. I did design a house on a site that was only 5.6m wide, but one 'no maintenance' wall was on the boundary, with the agreement of a friendly neighbour. Another was sold with my design attached as it were, to a builder who did indeed flip it, to no detriment. No important views, more or less level site, Steamy Tea, well said...but beware pre-conceived ideas overtaking your choice of site...good sites are few and far between...as many of us know.1 point
-
Heck knows what they do on a tight site.!
 1 point
 -
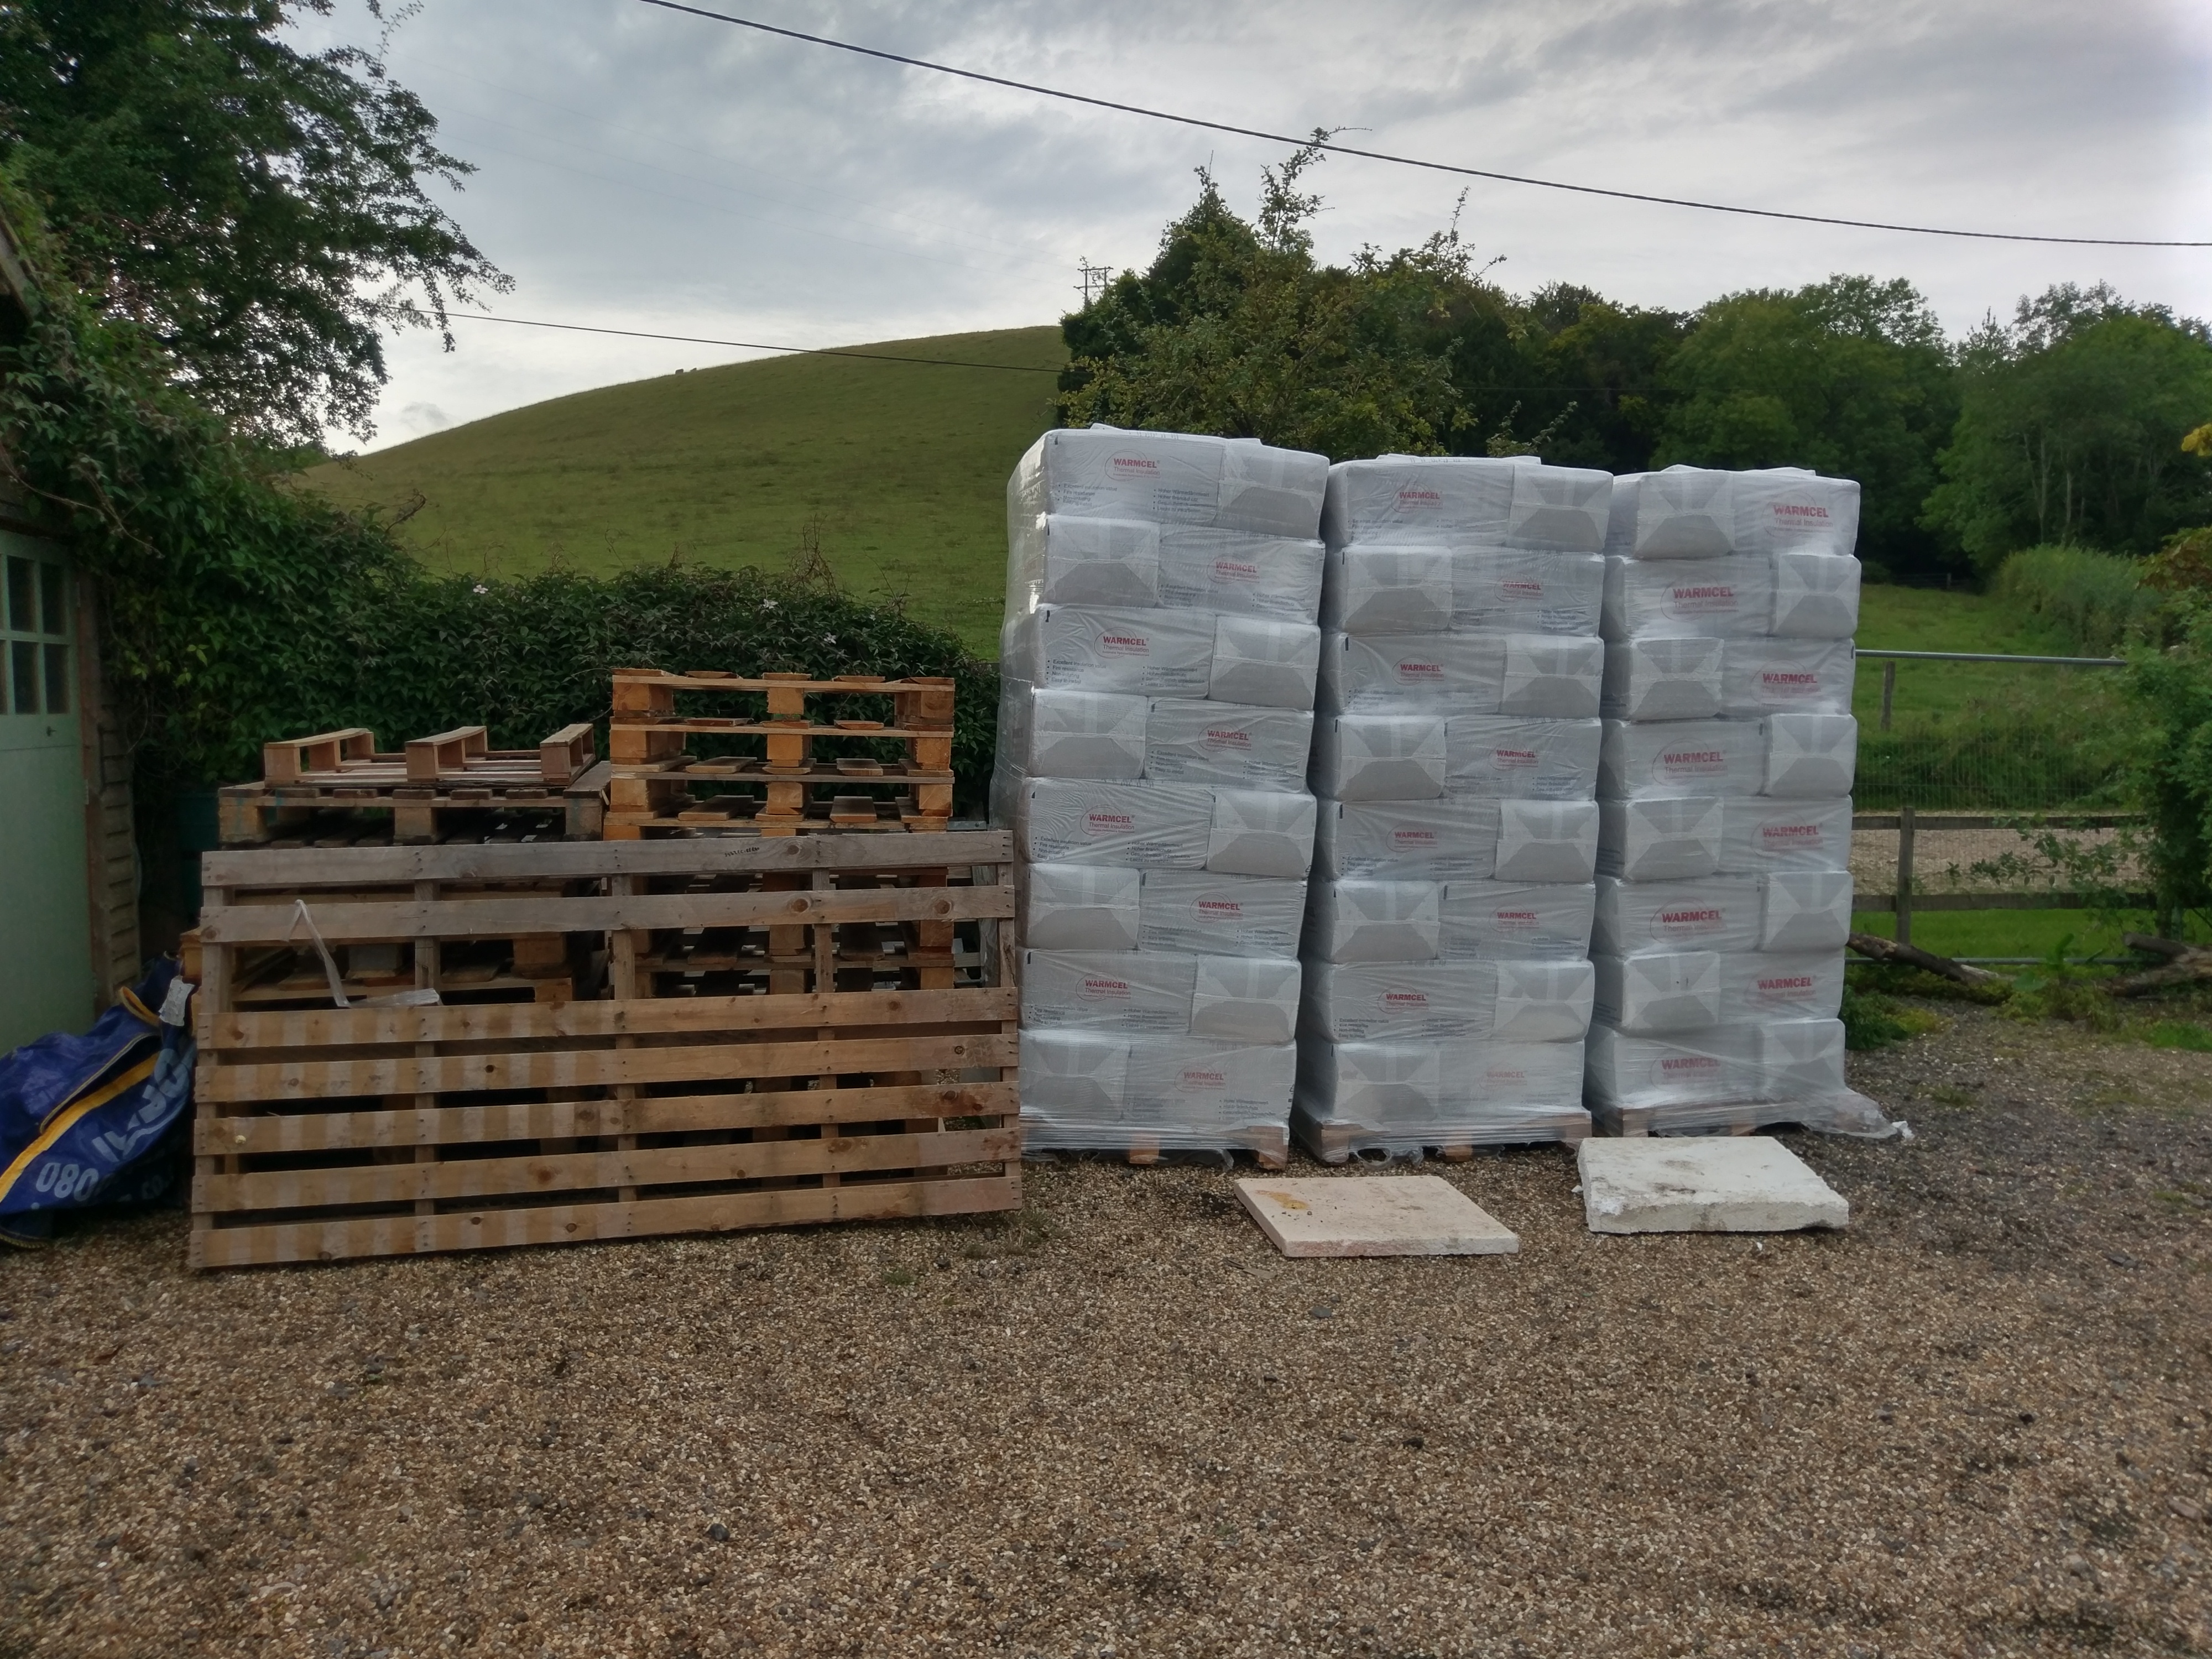
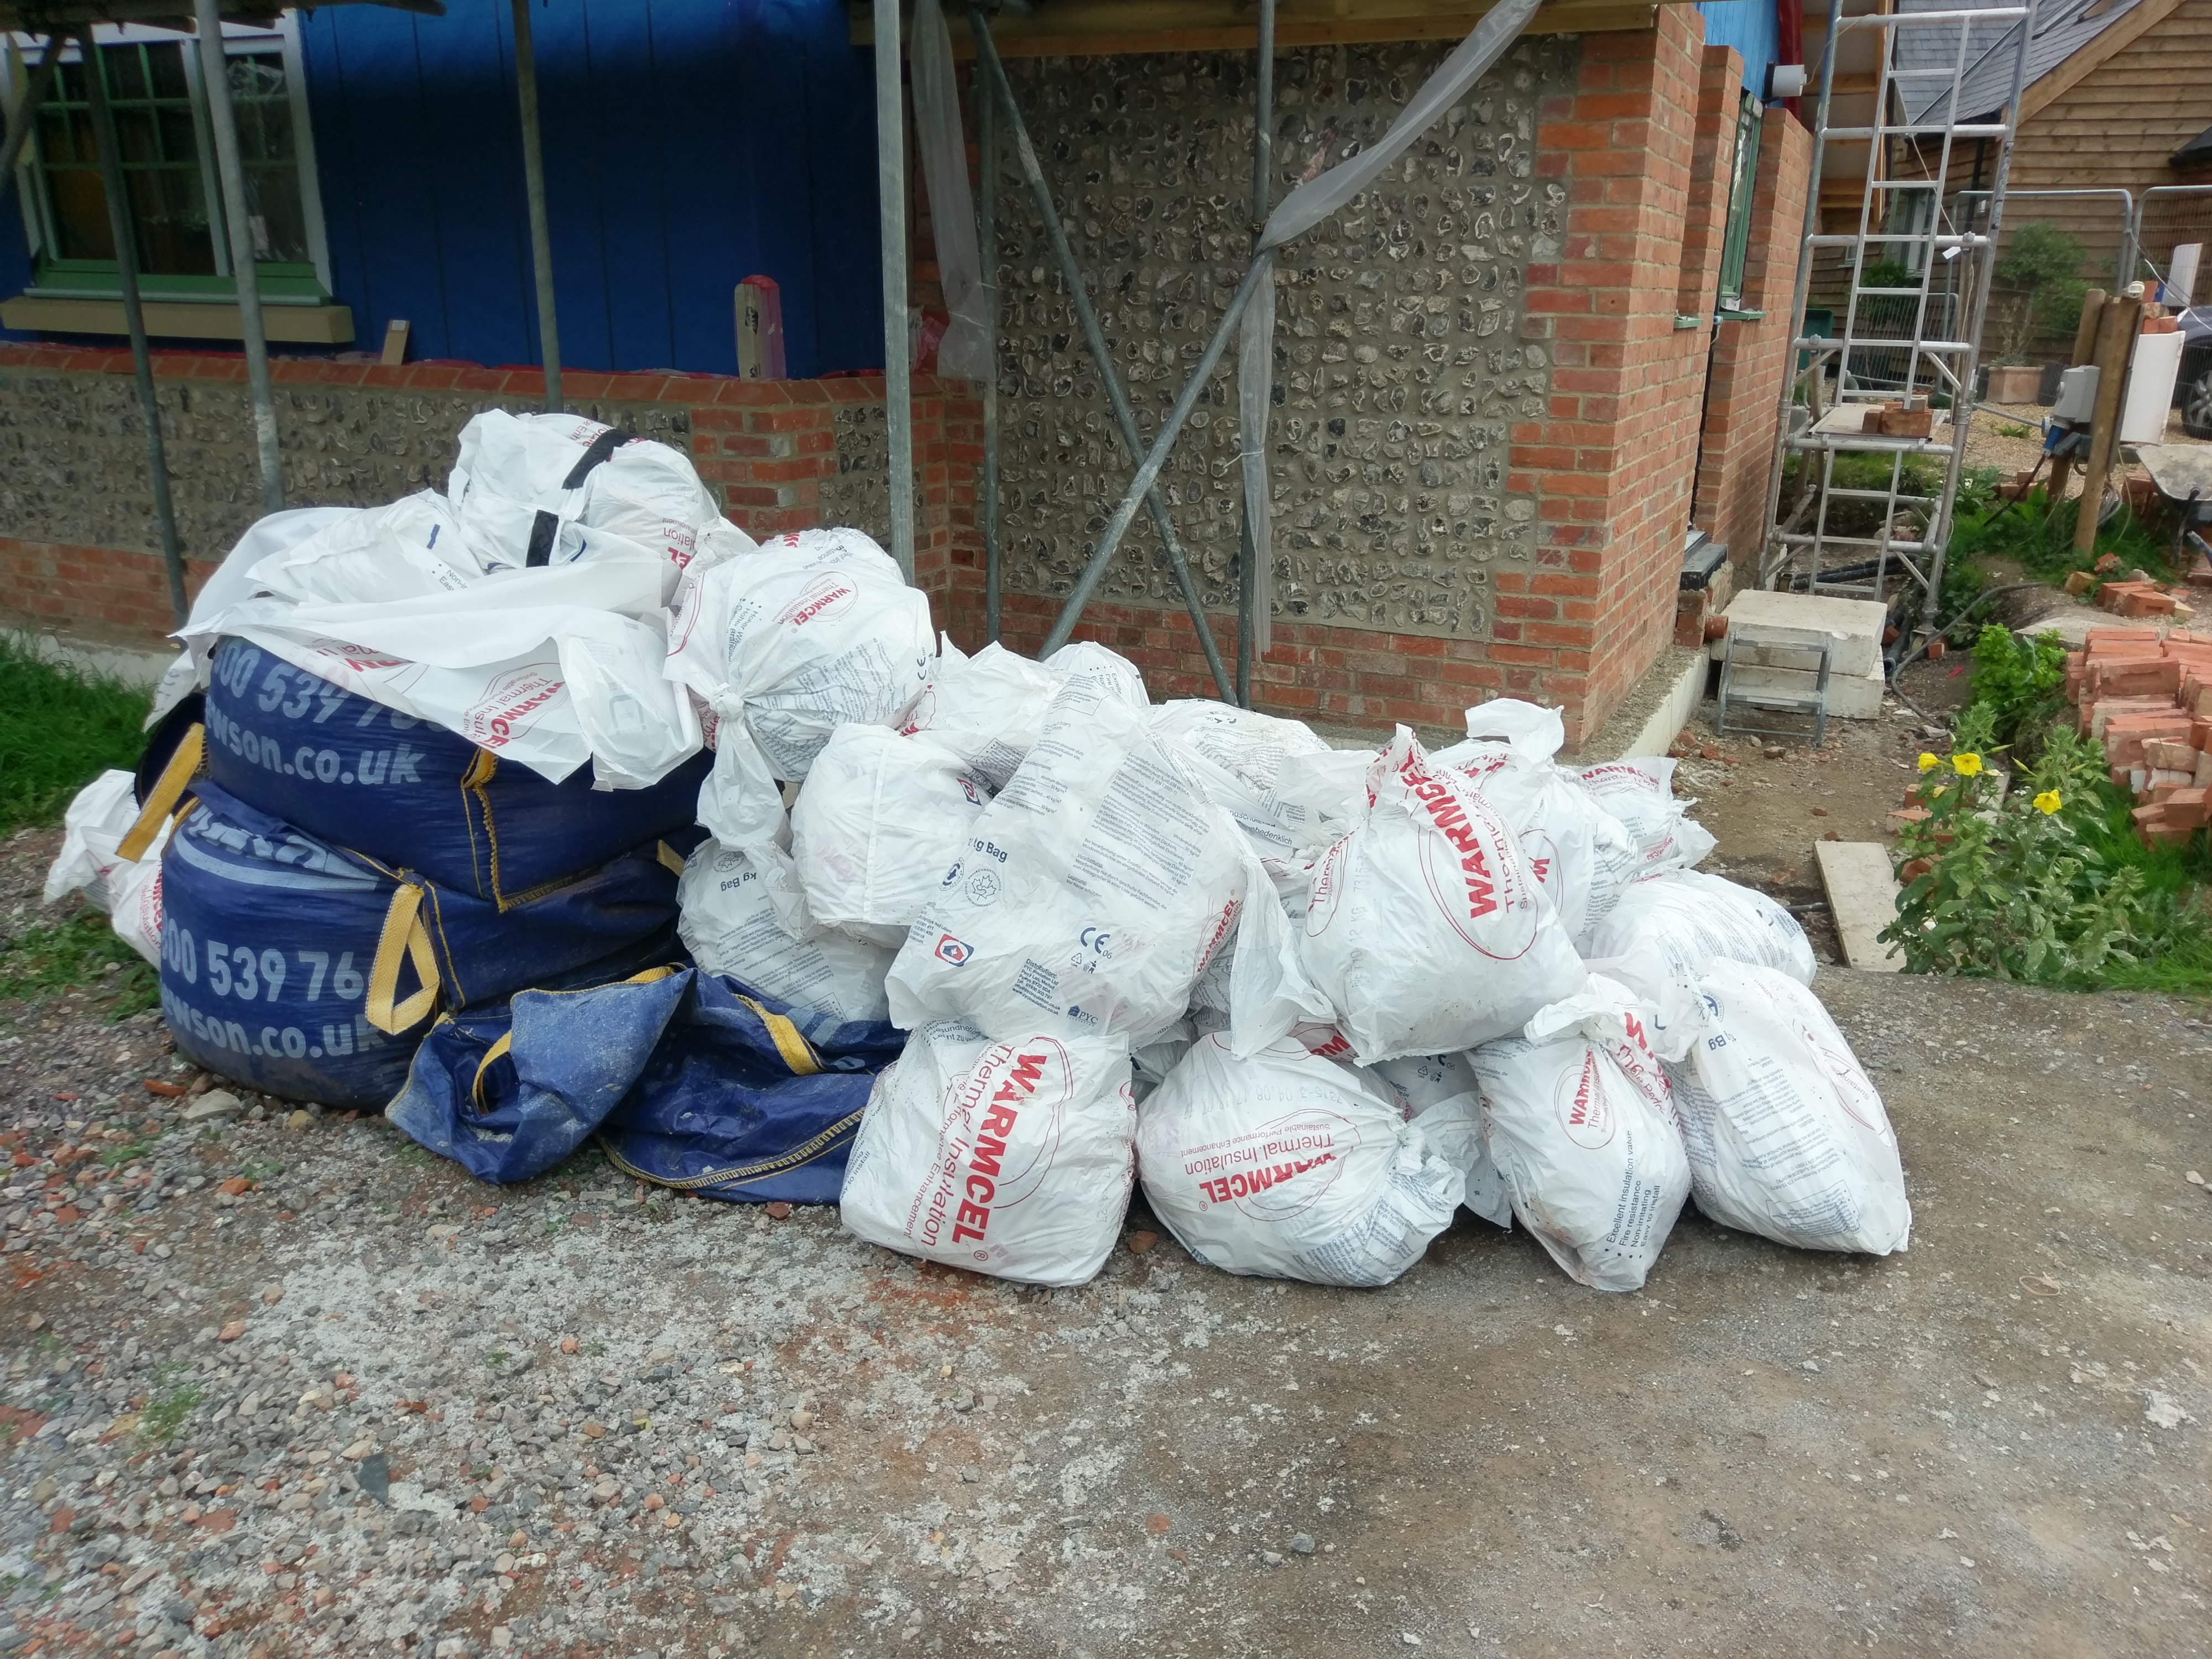
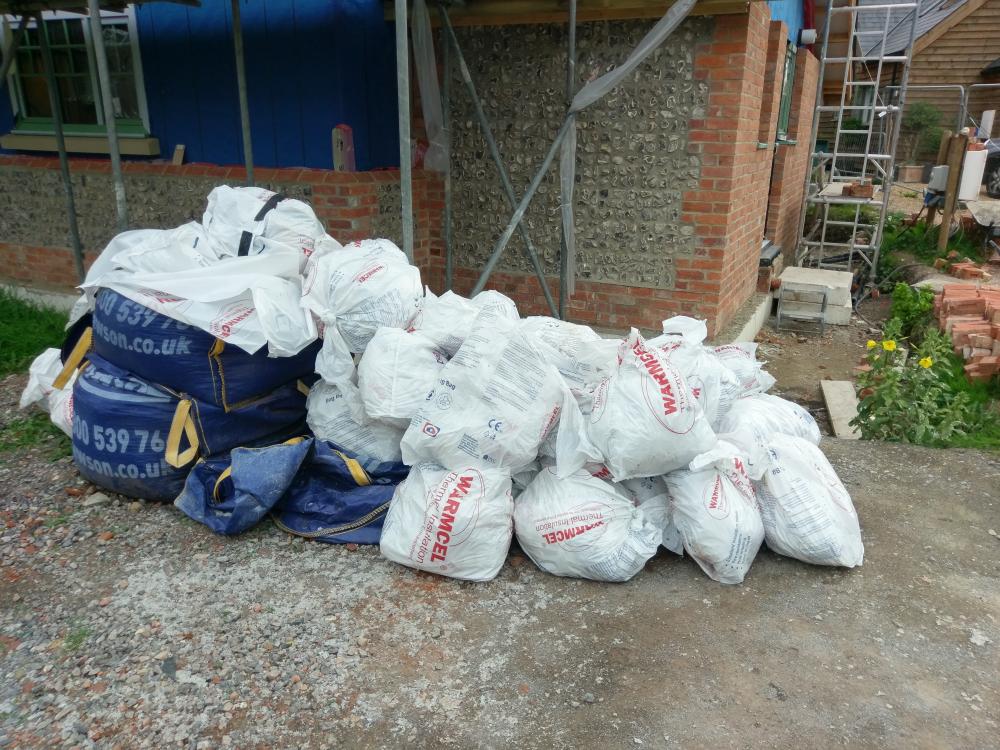
The guys finished on site last night. we have an insulated air tight house Someone over ordered though. Anyone want some pallets. @ProDave they are free. maybe another shed. Left the site clean and tidy. MBC not fully finished as they will be back to do some external works after the scaffold is down.

 1 point
 -
Local handyman might help, in the short term. Although he might charge a bit more than a labourer per hour he might be more useful1 point
-
My only gripe is nobody else apart from electricians knows about safe zones. I am not convinced they are entirely well thought out. I have seen it before, someone wants to hang a picture on a wall. There is a socket below it. So to make it "look right" out comes the tape measure to ensure the picture is exactly centred on the location of the socket........1 point
-
Ok. Topps recommending that you put additives in the adhesive to make it 'waterproof'....total waste of time and money. Water should never be getting TO the adhesive so that's not even a consideration imo unless it's a wetroom where you have to allow for that eventuality. For wall tiling in any wet / splash area it's a no brainer, you just use cementitious adhesive ( powder mix ) which is impervious to water / moisture ingress. I'll still use acrylic ready made stuff but only really for kitchen splash backs or large areas in bathrooms which are outside of the splash areas and if there's no tanking. Save yourself any confusion and just stick to slow setting powder adhesive . These are called 'standard' or 'extended' set and will stay workable in the tub for up to an hour. Mix enough for a couple of m2 at a time if your a novice, and only mix more if you feel comfortable that your going to use it up in time. With ceramic you don't need the adhesive to be flexible, so use the cheaper regular stuff. @Ferdinand is 100% right about these additives being problematic with cleaning up / off, and I've only used an additive once, and never again. A nightmare to clean off tools, hands and anything else ( including the face / edges of the tiles themselves ). Avoid it like the plague. I've done enough full-on wetrooms to know that you don't need to put this crap into your adhesive, even more so if it's a regular bathroom not a wetroom . Grouting properly is the most important part of any tiling job. Mix it carefully so it just start to 'stand' on its own, eg when you remove the mixing stick / whisk the grout should just slowly slump back down, rather than fall flat. That way you can force it deep into the groutlines which is the right thing to do. A lot of novices just swipe the grout over the top of the groutlines and that's not good enough. Ram in as much as you can, and using a proper full handle grout float make that easy work. Don't use the little flat DIY grout spreader / scraper thingy as they're crap. Also, as I've told @Onoff, don't leave the spacers in. Use them end on to space, like you'd do with tile spacer pegs, so you can pull them out when the adhesive has set.1 point
-
If it is a specialist tile shop used by the Trade, then you are probably safe asking the storekeeper what his tradesmen use and for their recommendations. As a rule of thumb, the powderered stuff in bags that sets in a chemical reaction is 10x better than the stuff that comes in tubs from DIY sheds - especially for moist areas. If you are buying to use not store, then they may let you take a bag extra and return if not used. Think about your sinks. Waterproofing agents and so on are b****y difficult to remove afterwards (being waterproof ) - so do not wash anything in even a poor sink. A couple of years later I still have a couple of globs of turquoise PrimePlus screed pre-treatment in my utility room sink which I cannot get off short of sanding or using something like a pickerawl. Use disposable containers. You have a paddle mixer, I trust - either one of those things that goes on your drill or a cheapie bought from LiDL etc. They need a surprising amount of torque. And remember to switch the drill to "slow" :-) . F1 point
-
You can tell the missus is out, I had to use a bag of rice for the "something heavy"! So 3mm spacers, a couple of tiles weighted down flat 'ish and some decorating filler: Smoothed off with a wet finger: So 3 or 4mm on the spacers? Doesn't look too bad I don't think.1 point
-
If you hate dormers, consider my idea of "gable ends" instead. Ours (like just about every house in the Highlands) is room in roof, but I built big gable ends, instead of dormers. Think of a dormer, but don't chop the sides off. I first saw this style of house on Skye and liked it. I have to say I am very pleased and just about the entire floor area upstairs has standing headroom.
 1 point