
ProDave
-
Posts
30861 -
Joined
-
Last visited
-
Days Won
427
Everything posted by ProDave
-

Mitsubishi Lossnay mvhr KAR-50RSDC
ProDave replied to ProDave's topic in Mechanical Ventilation with Heat Recovery (MVHR)
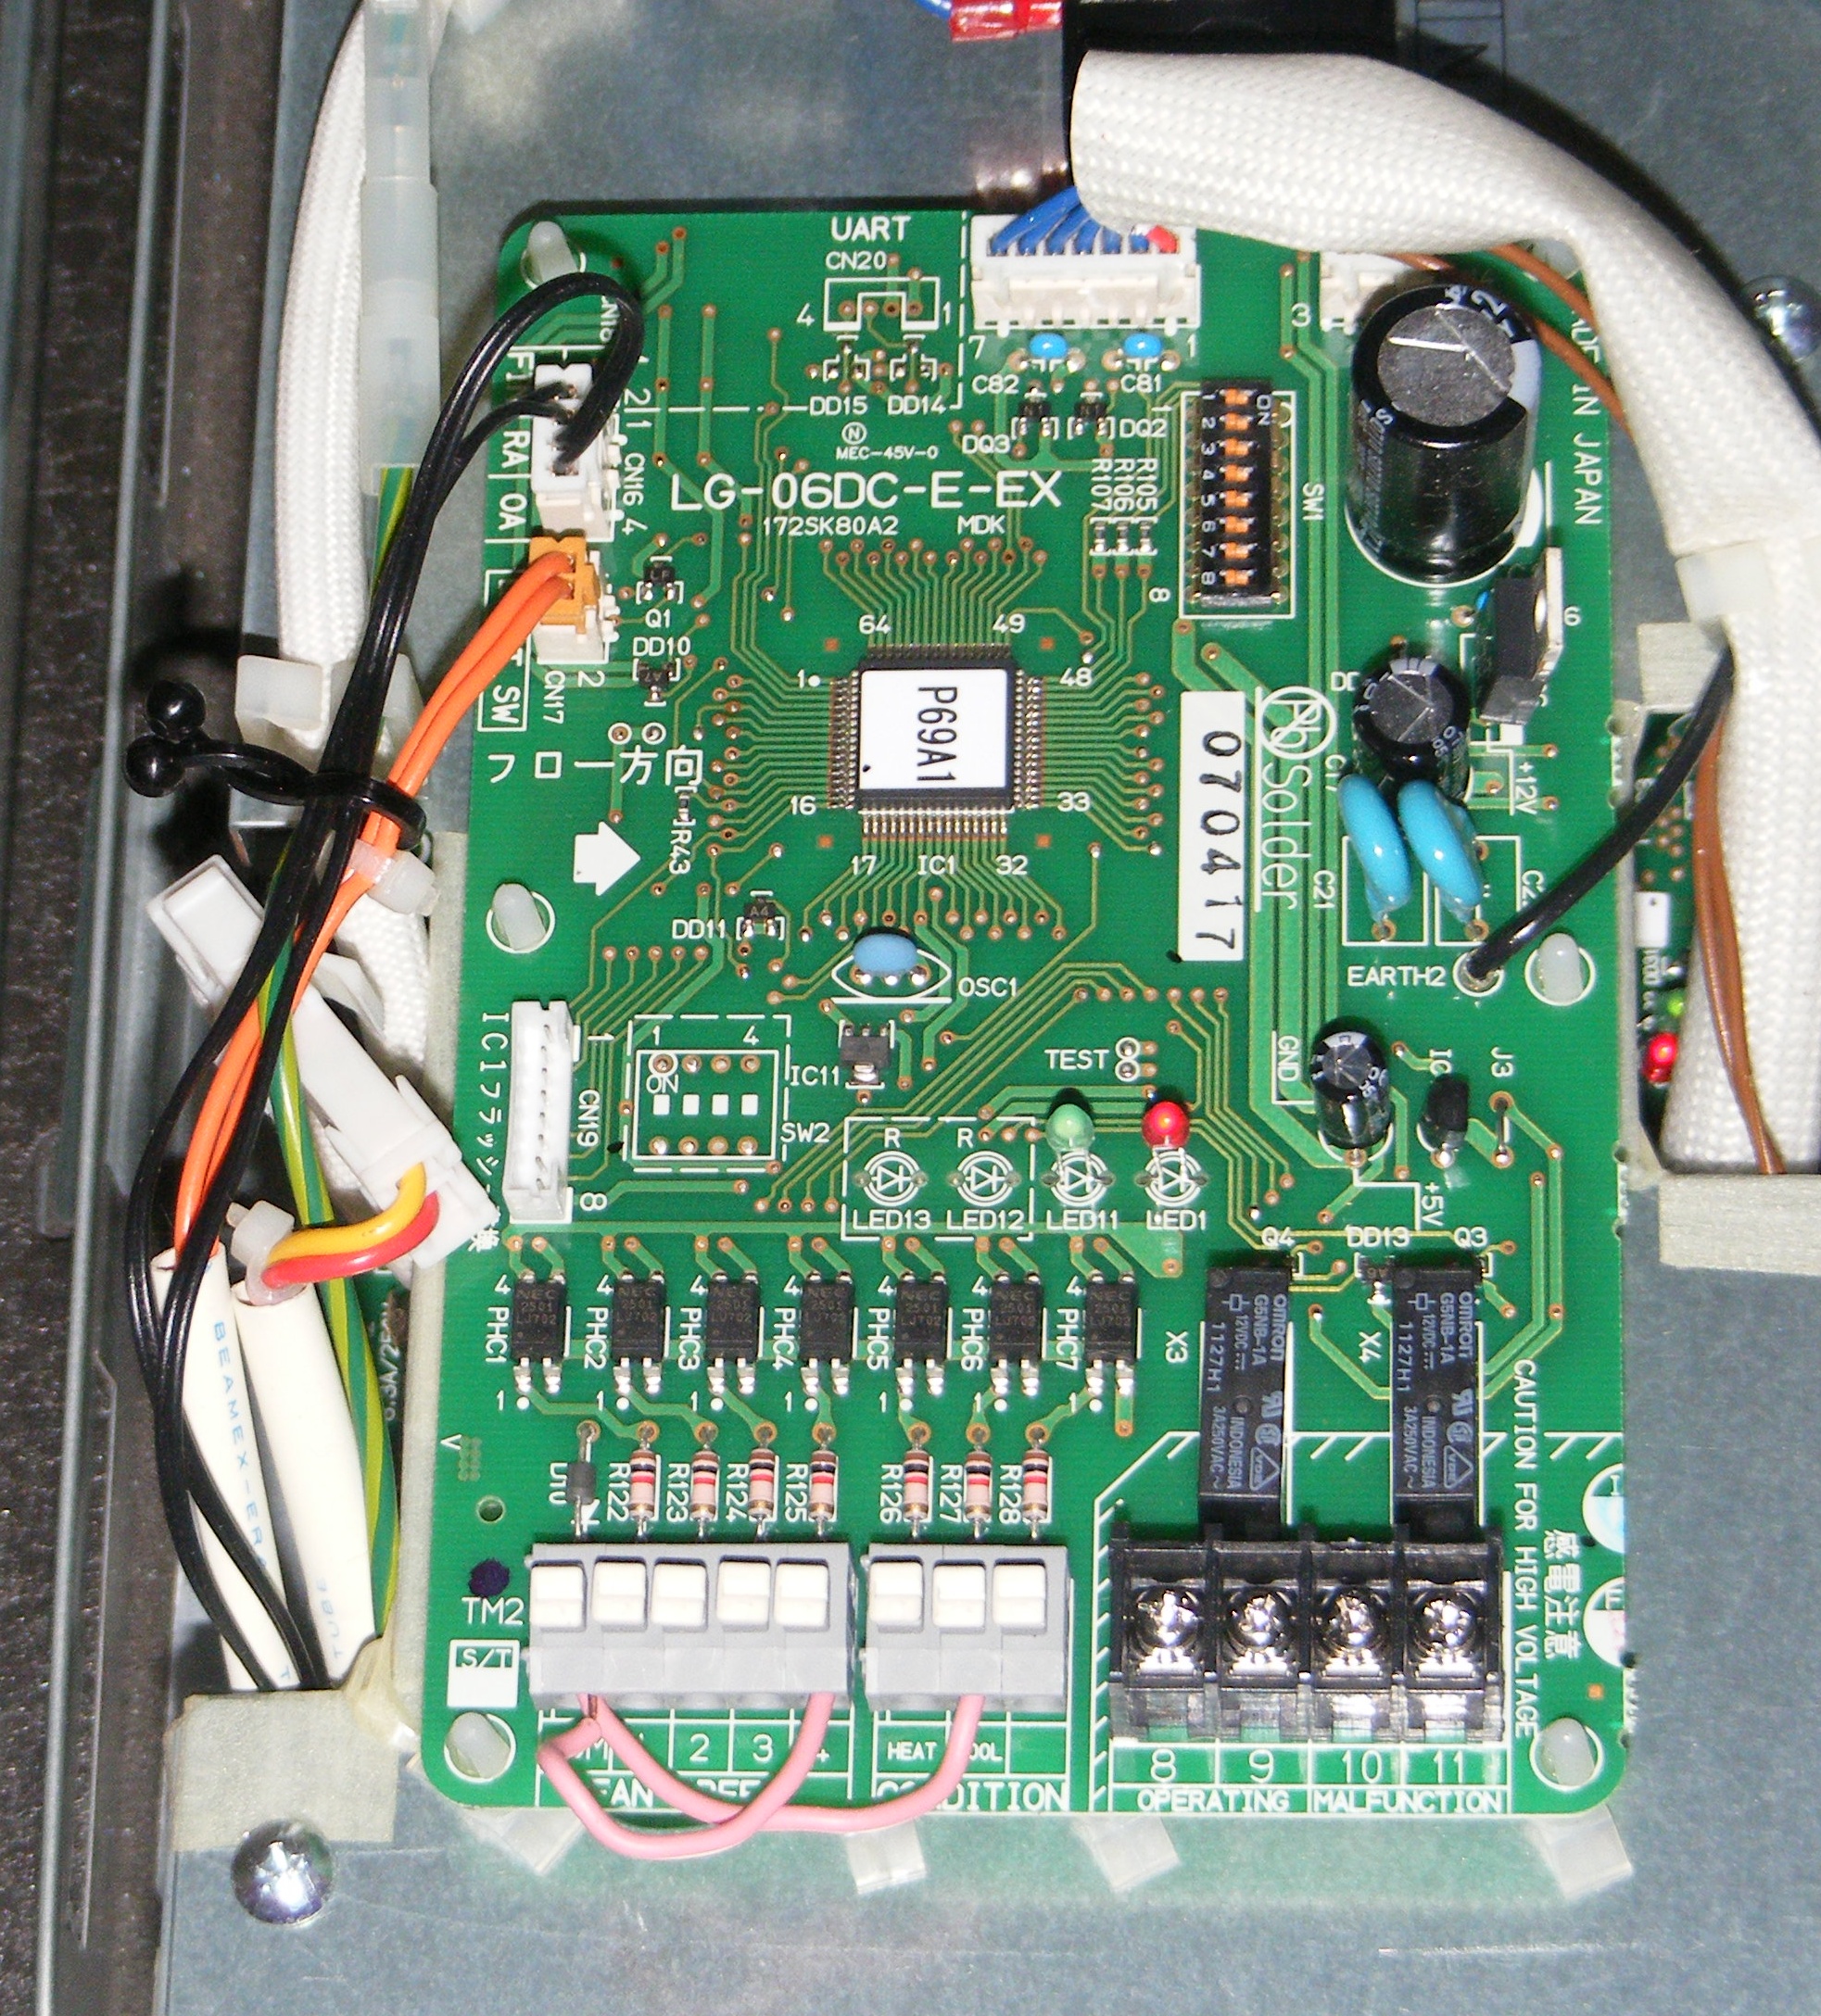
This is my controller pcb the TM2 and TM3 connectors are at the bottom of the board and have a slightly different function to the LGH version. Also m board has only one DIP switch with different functions to the LGH version.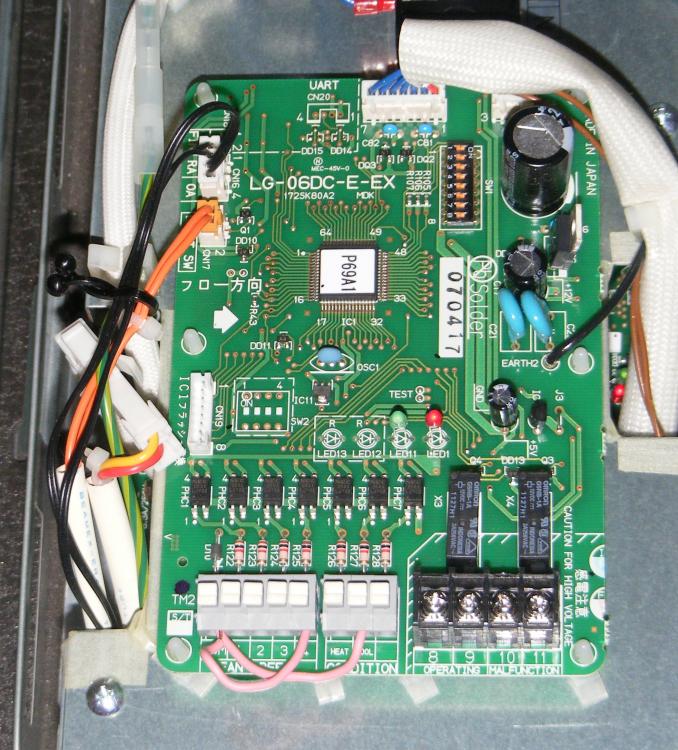
-
I am trying to find the installation / operating manual for my Lossnay MVHR unit model KAR-50RSDC I have the manual already for the LGH-50RSDC which seems easy to find and download, but it is different, with a different type of controller PCB. The issue I am having is I cannot manually select summer bypass mode. My unit has two inputs called "heat" and "cool" (which the connection diagram says refer to bypass condition select) and it does not matter which I select, the bypass mode does not turn on. I have just finished the ducting and giving the unit a basic operational check and frustrated I can't operate the bypass mode. Anyone have the manual for the KAR unit or have one working please?
-
A lot of tv's store a different set of brightness, colour, contrast etc settings for each input, so just adjust the settings to get the freesat picture correct, and I'll bet it does not affect the freeview picture settings.
-
I tried a UK supplier, Tree Craft who are very close to use. Very disappointed that their ex vat and ex delivery price was higher than Rational's price inclusive of vat and delivery. Don't rule out the foreign suppliers, get several quotes.
-
If the aerial is low down, try moving it horizontally to a different location to find the sweet spot, it can make a huge difference. I use a masthead amplifier, primarily to boost the signal before it passes down quite a long cable, then a distribution amplifier to feed multiple points. Definitely consider freesat as well, it slightly expands your choice of channels but is much more robust in bad weather.
-
Impedance only becomes an issue in regards to voltage drop over it's length, which in the case of an inverter actually means voltage RISE The impedance at the supply point will be so low that in practical purposes very little volt drop or rise will occur, but add a significant length of cable and you will vet volt drop (rise) The issue for an inverter is when the voltage that it sees approaches it's maximum limit. It will either throttle back the generation or shut down completely. This is exacerbated if your supply voltage is high to start with. Don't for one moment be led to believe we work on a 230V supply in the UK. Most places it is still 240V and 245V is pretty normal here. The limit for the inverter is 253V so here we only have 8V of "volt drop" to play with. This is the volt drop on the ac side I am talking about. Long runs of dc cable from the panels to the inverter won't result in tripping or power limiting, just a bit of wasted power in the cables.
-
Hi and welcome to the forum. I am sure your knowledge will be most welcome.
-
They had 100 blokes on site for 9 days, = 900 man days of work. Allowing for weekends and other work, I bet you have not spent 900 man days on the job yet. At least that's the answer I have for "that question"
-
I think a lot of thought went into the layout and design of the house to suit their needs and I really liked it. Yes incredible people to take on the challenges they have, they deserve to be rewarded.
-
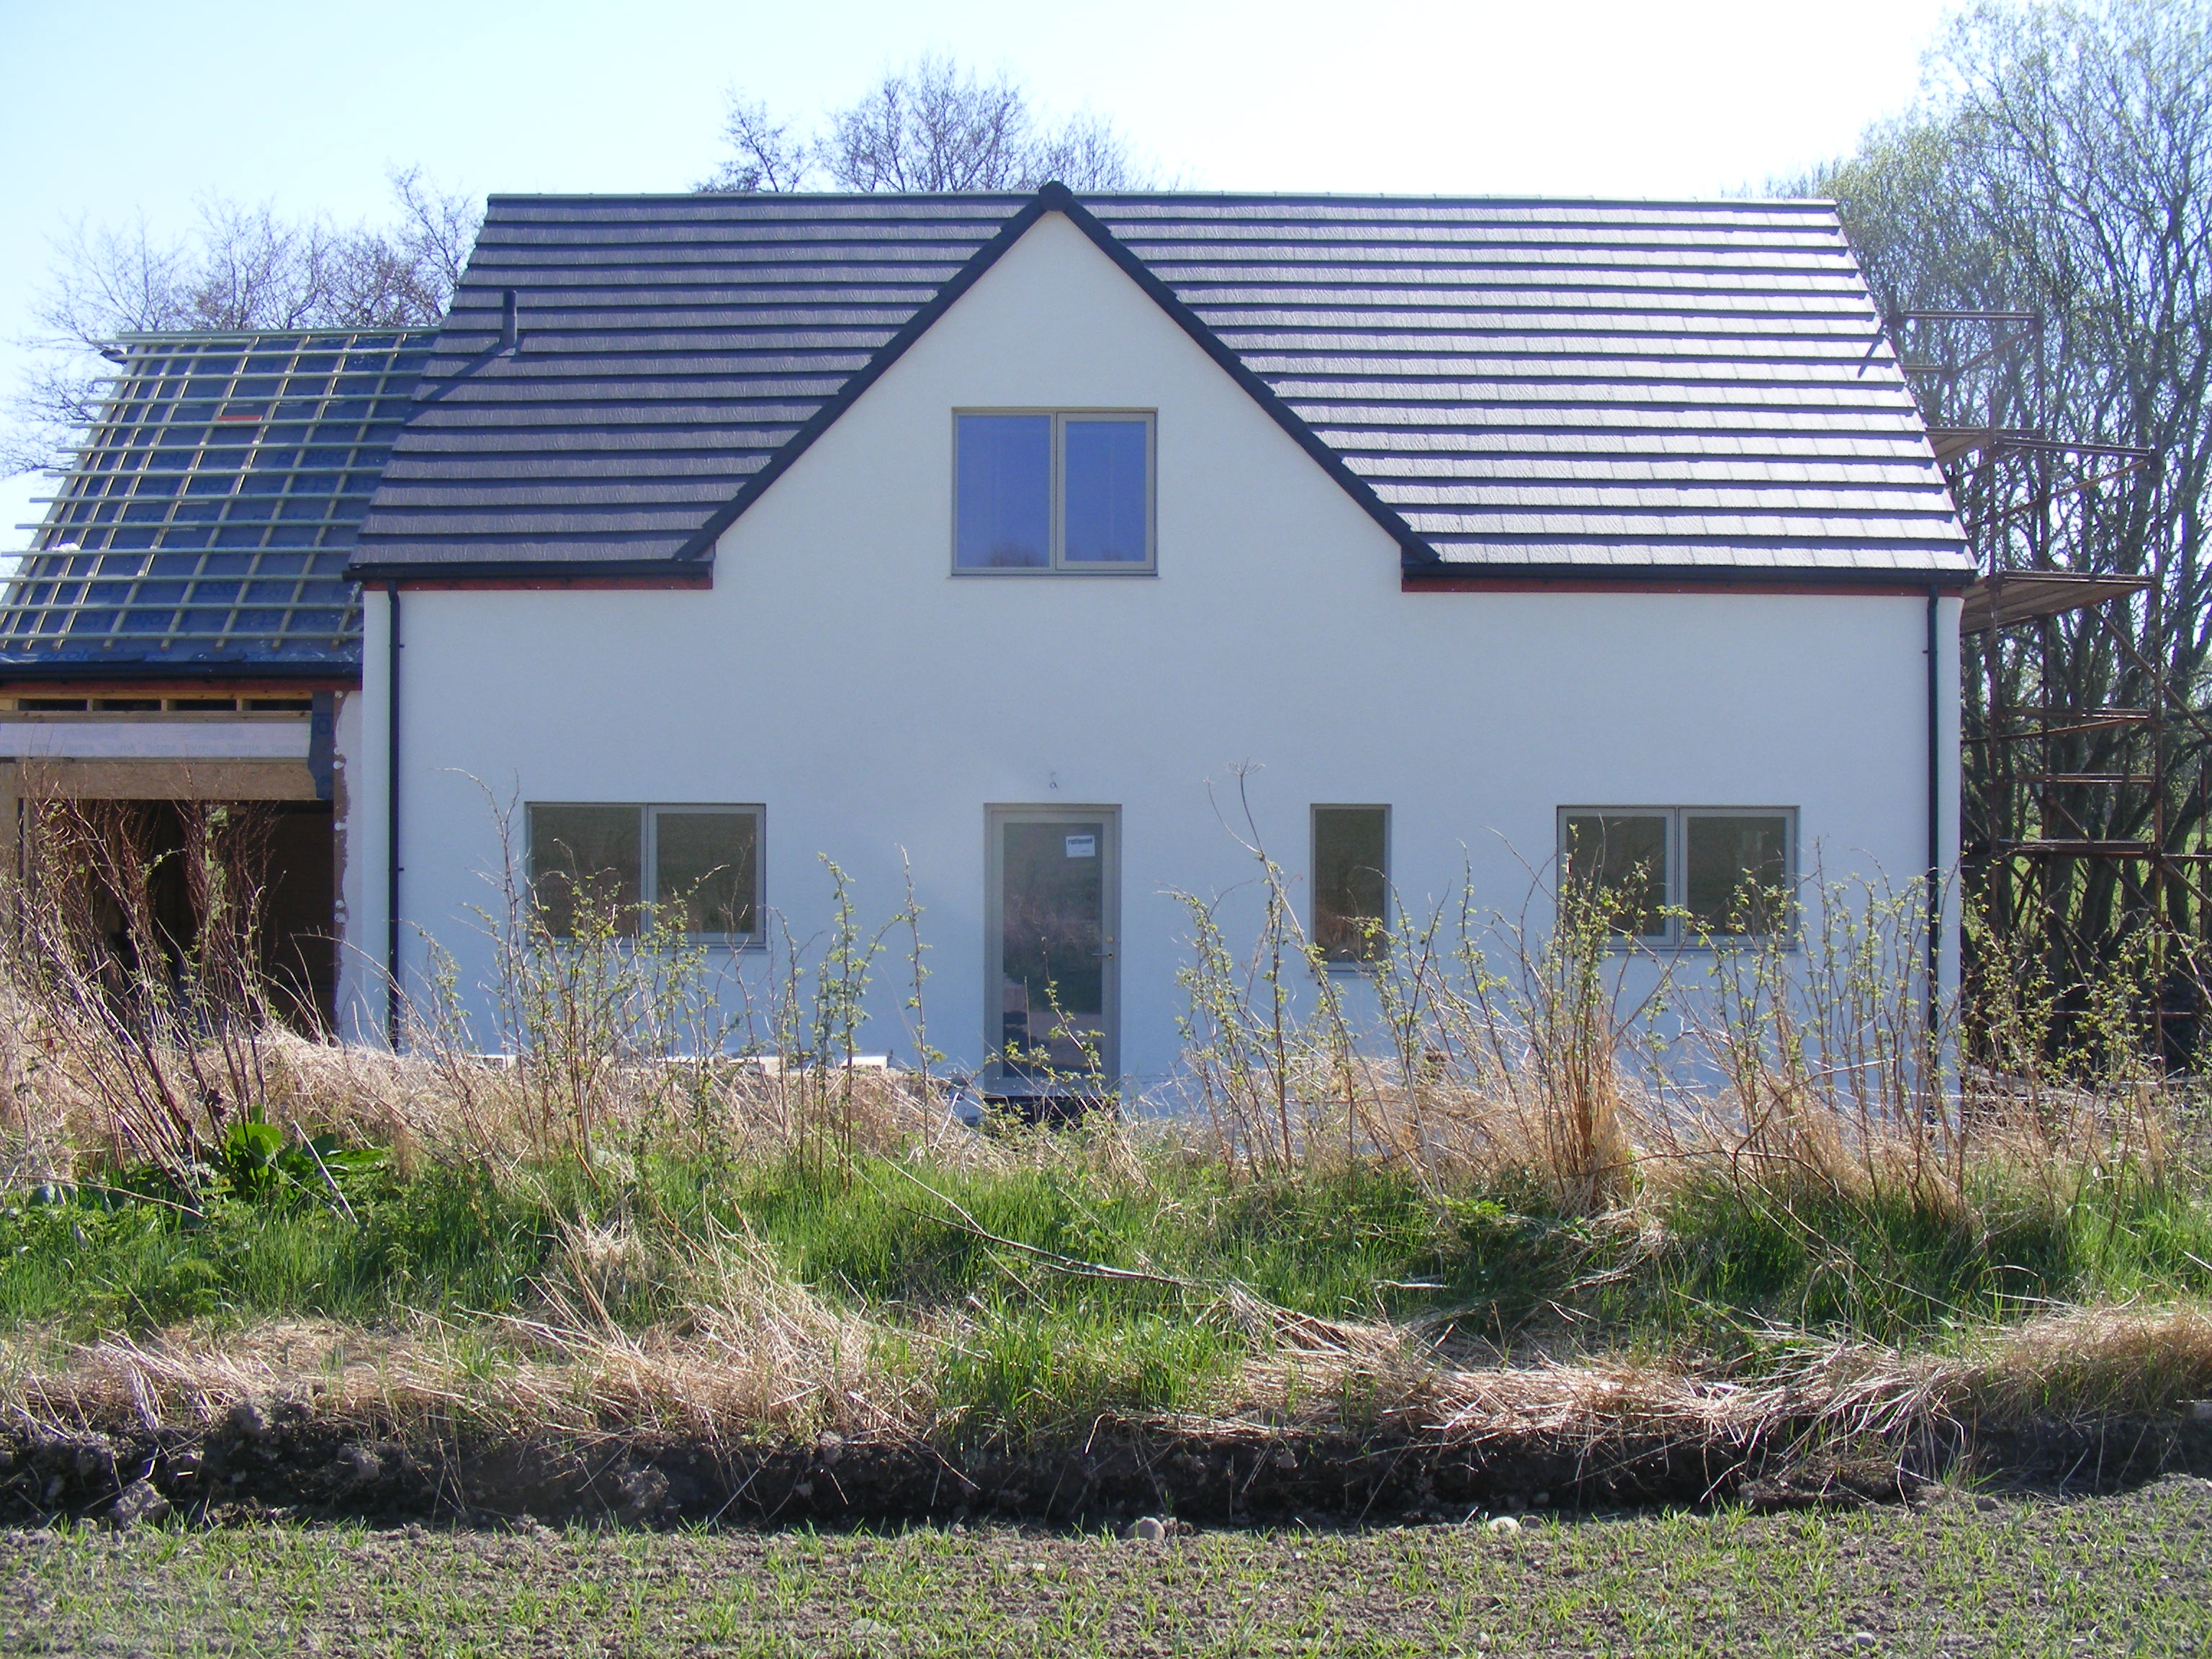
I don't normally watch this program, but last night it caught my attention as they were doing their first new build. In 9 days. Slightly cheated as the 9 days did not include demolition of the old bungalow and preparing the foundations. But with 100 or so builders on site, they went from bare foundations to completed 160 sq Metre timber framed bungalow complete and decorated ready to move into in 9 days. They even fitted MVHR with a fancy air quality monitoring system to control the air flow rates. One thing that struck me was the size of the treatment plant they fitted. It was branded Kingspan / Karglester. Do Kingspan put their name of everything now? They said the hole it went in was 3 metres square and 6 metres deep?
-
Full Planning Permission Approved - Unsure of what to do now?
ProDave replied to Gimp's topic in Planning Permission
Personally I would hang onto it in the short term until you are absolutely sure the new life abroad is right for you and she is a "keeper" If it has gained permission now, even if it lapses, it would be very unusual for it not to get permission again unless there is a drastic change in the local policy. -
Our house, 2 houses back was a bit similar, with the whole garden on a bank a few feet higher than the road (actually a very good example of a sunken road) What we found was a 5ft high garden fence was perfect. It completely screened the garden, and us to anyone walking or driving along the road looking up, but was low enough if we walked up to it, we could see over and look down at the road and whoever was there. It won't solve the overlooking window issue but would give the privacy you want from the road.
-
The Sun amp was featured on the STV news this evening. They did a very good job of making it look silly and a gimick without even telling you what it was, an efficient heat store. They featured a "low energy house" and showed this magic box that can save you money, then compared it to the chemistry of a phase change hand warmer. Had I not known what it was, I would be none the wiser, and would not be wanting to find out more. A dreadful bit of journalism and I hope the MD of sun amp cringed when he saw it.
-
Odd things used as a building material
ProDave replied to Triassic's topic in General Self Build & DIY Discussion
We considered buying a wooden bungalow that had all the walls and ceilings clad in wood fibre board. -
Seeing the pictures the overlooking issue is not as bad as I thought, mainly due tot he angle of the house opposite. Do they actually use that bedroom with the window on the end? I would probably just let your own hedge grow to the height you feel comfortable with.
-
I thought you could not erect any fence over 2M without PP? and it's 1M if "adjacent" to the highway. The rules have changed in your favour, it used to be between the road and the primary elevation could only be 1M. So I would think a 2M fence at the top of the bank would be okay. Can you raise the ground level there to make a 2M fence work?
-
How about a strategically planted tree or 2? Thinking of something like Silver Birch that doesn't grow too dense and is an attractive tree? Plant two of those as part of your hedge? I thought having trees south of the house would make it dark and oppressive in summer but they don't, probably largely because we have thinned them out and raised the canopy a little, but they do a good job of preventing too much solar gain, yet allow plenty of sun through in winter when the leaves are off. Is your concern the neighbours looking in? If you are worried they might be concerned about you looking in, well that's their fault for cutting their trees down.
-
Completion, Land Registry
ProDave replied to hmpmarketing's topic in Party Wall & Property Legal Issues
Can you post this magical "new numbers" phone number please? -
Upper timber frame on masonry groundfloor detail
ProDave replied to bissoejosh's topic in Timber Frame
The purpose of a Tony Tray is to join the airtight layers of the first floor and the ground floor by taking the air tight membrane round the joist ends . I can't see any difference whether the air tight layer downstairs is a membrane on a timber frame or a parge coat on a masonry wall. So yes I would do that. I am grateful for my builders for suggesting this when erecting my frame (though they didn't call it a Tony Tray) It was a detail I was not aware of at the time. -
General Election Predictions 2017
ProDave replied to Ferdinand's topic in General Self Build & DIY Discussion
Gawd forbid if the SNP held the balance of power..... -
Cooker hood to mvhr extract plenums
ProDave replied to CC45's topic in Mechanical Ventilation with Heat Recovery (MVHR)
If you want to see more mvhr ducting, I have just put another entry on my blog at www.willowburn.net look for the entry "MVHR ducting" -
Completion, Land Registry
ProDave replied to hmpmarketing's topic in Party Wall & Property Legal Issues
It is up to the council to provide an official address, but it's a service they charge for. So I have abstained from using that service., We don't have road names or numbers in our little scattered community, just house names and a postcode. so we have chosen a name for the house and are using it, together with the postcode that serves the houses on either side of us. So far I have bank accounts, all utility bills, electoral roll, even council tax bill, and all normal post and parcel delivieries all using the new address without paying for this "service" so I can't see me coughing up for it now. -
General Election Predictions 2017
ProDave replied to Ferdinand's topic in General Self Build & DIY Discussion
As long as the SNP send fewer MP's to Westminster I will be declaring it a success.- 29 replies
-
- 2
-

-
- general election
- theresa may
- (and 3 more)
-
Cooker hood to mvhr extract plenums
ProDave replied to CC45's topic in Mechanical Ventilation with Heat Recovery (MVHR)
THIS is a plenum, actually two of them.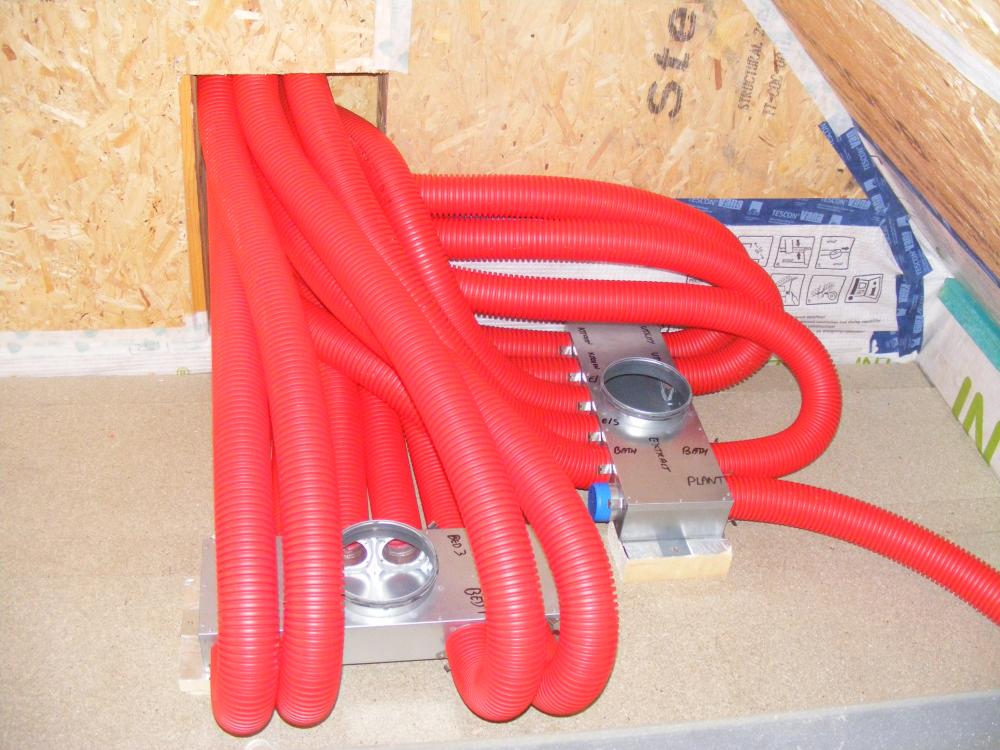
-
Completion, Land Registry
ProDave replied to hmpmarketing's topic in Party Wall & Property Legal Issues
Anyone have a link to how to change the "service address" of a plot? I assume this means changing it from "land between x and y" to the actual house name?