Carrerahill
-
Posts
2132 -
Joined
-
Last visited
-
Days Won
10
Everything posted by Carrerahill
-
Yes, our mechanical consultants did the vent and air, so they worked out that the system they were providing gave suitable fresh air, therefore CO2 would not be an issue. I work in kVA and W and A not kPa and °C so I am not claiming to be an expert but I just know that our side of the office didn't need to include them due to the clever design done on the other side!
-
No, to be fair it is right. Common to have a CO2 in master bedroom in Scotland, it does not need to be on the interlinked fire alarm system though as it's not a fire alarm. CO for combustion appliances, usually done with a combined CO/optical head.
-
The CO2 alarm doesn't need to be part of the fire alarm, it is just a monitor/warning alarm if the CO2 ppm gets too high, you get staged alerts then a danger level. Maybe if houses were built with proper ventilation rather than stupid sealed boxes. I have just finished a residential development of 36 flats just outside of Glasgow, we omitted the CO2's a design stage because we could prove the MVHR system would provide suitability fresh air.
-
I have taken assumption it is export...
-
Assume you're consuming 279.1kWh within your home thus it will not be shown as "generated" as you consumed it.
-
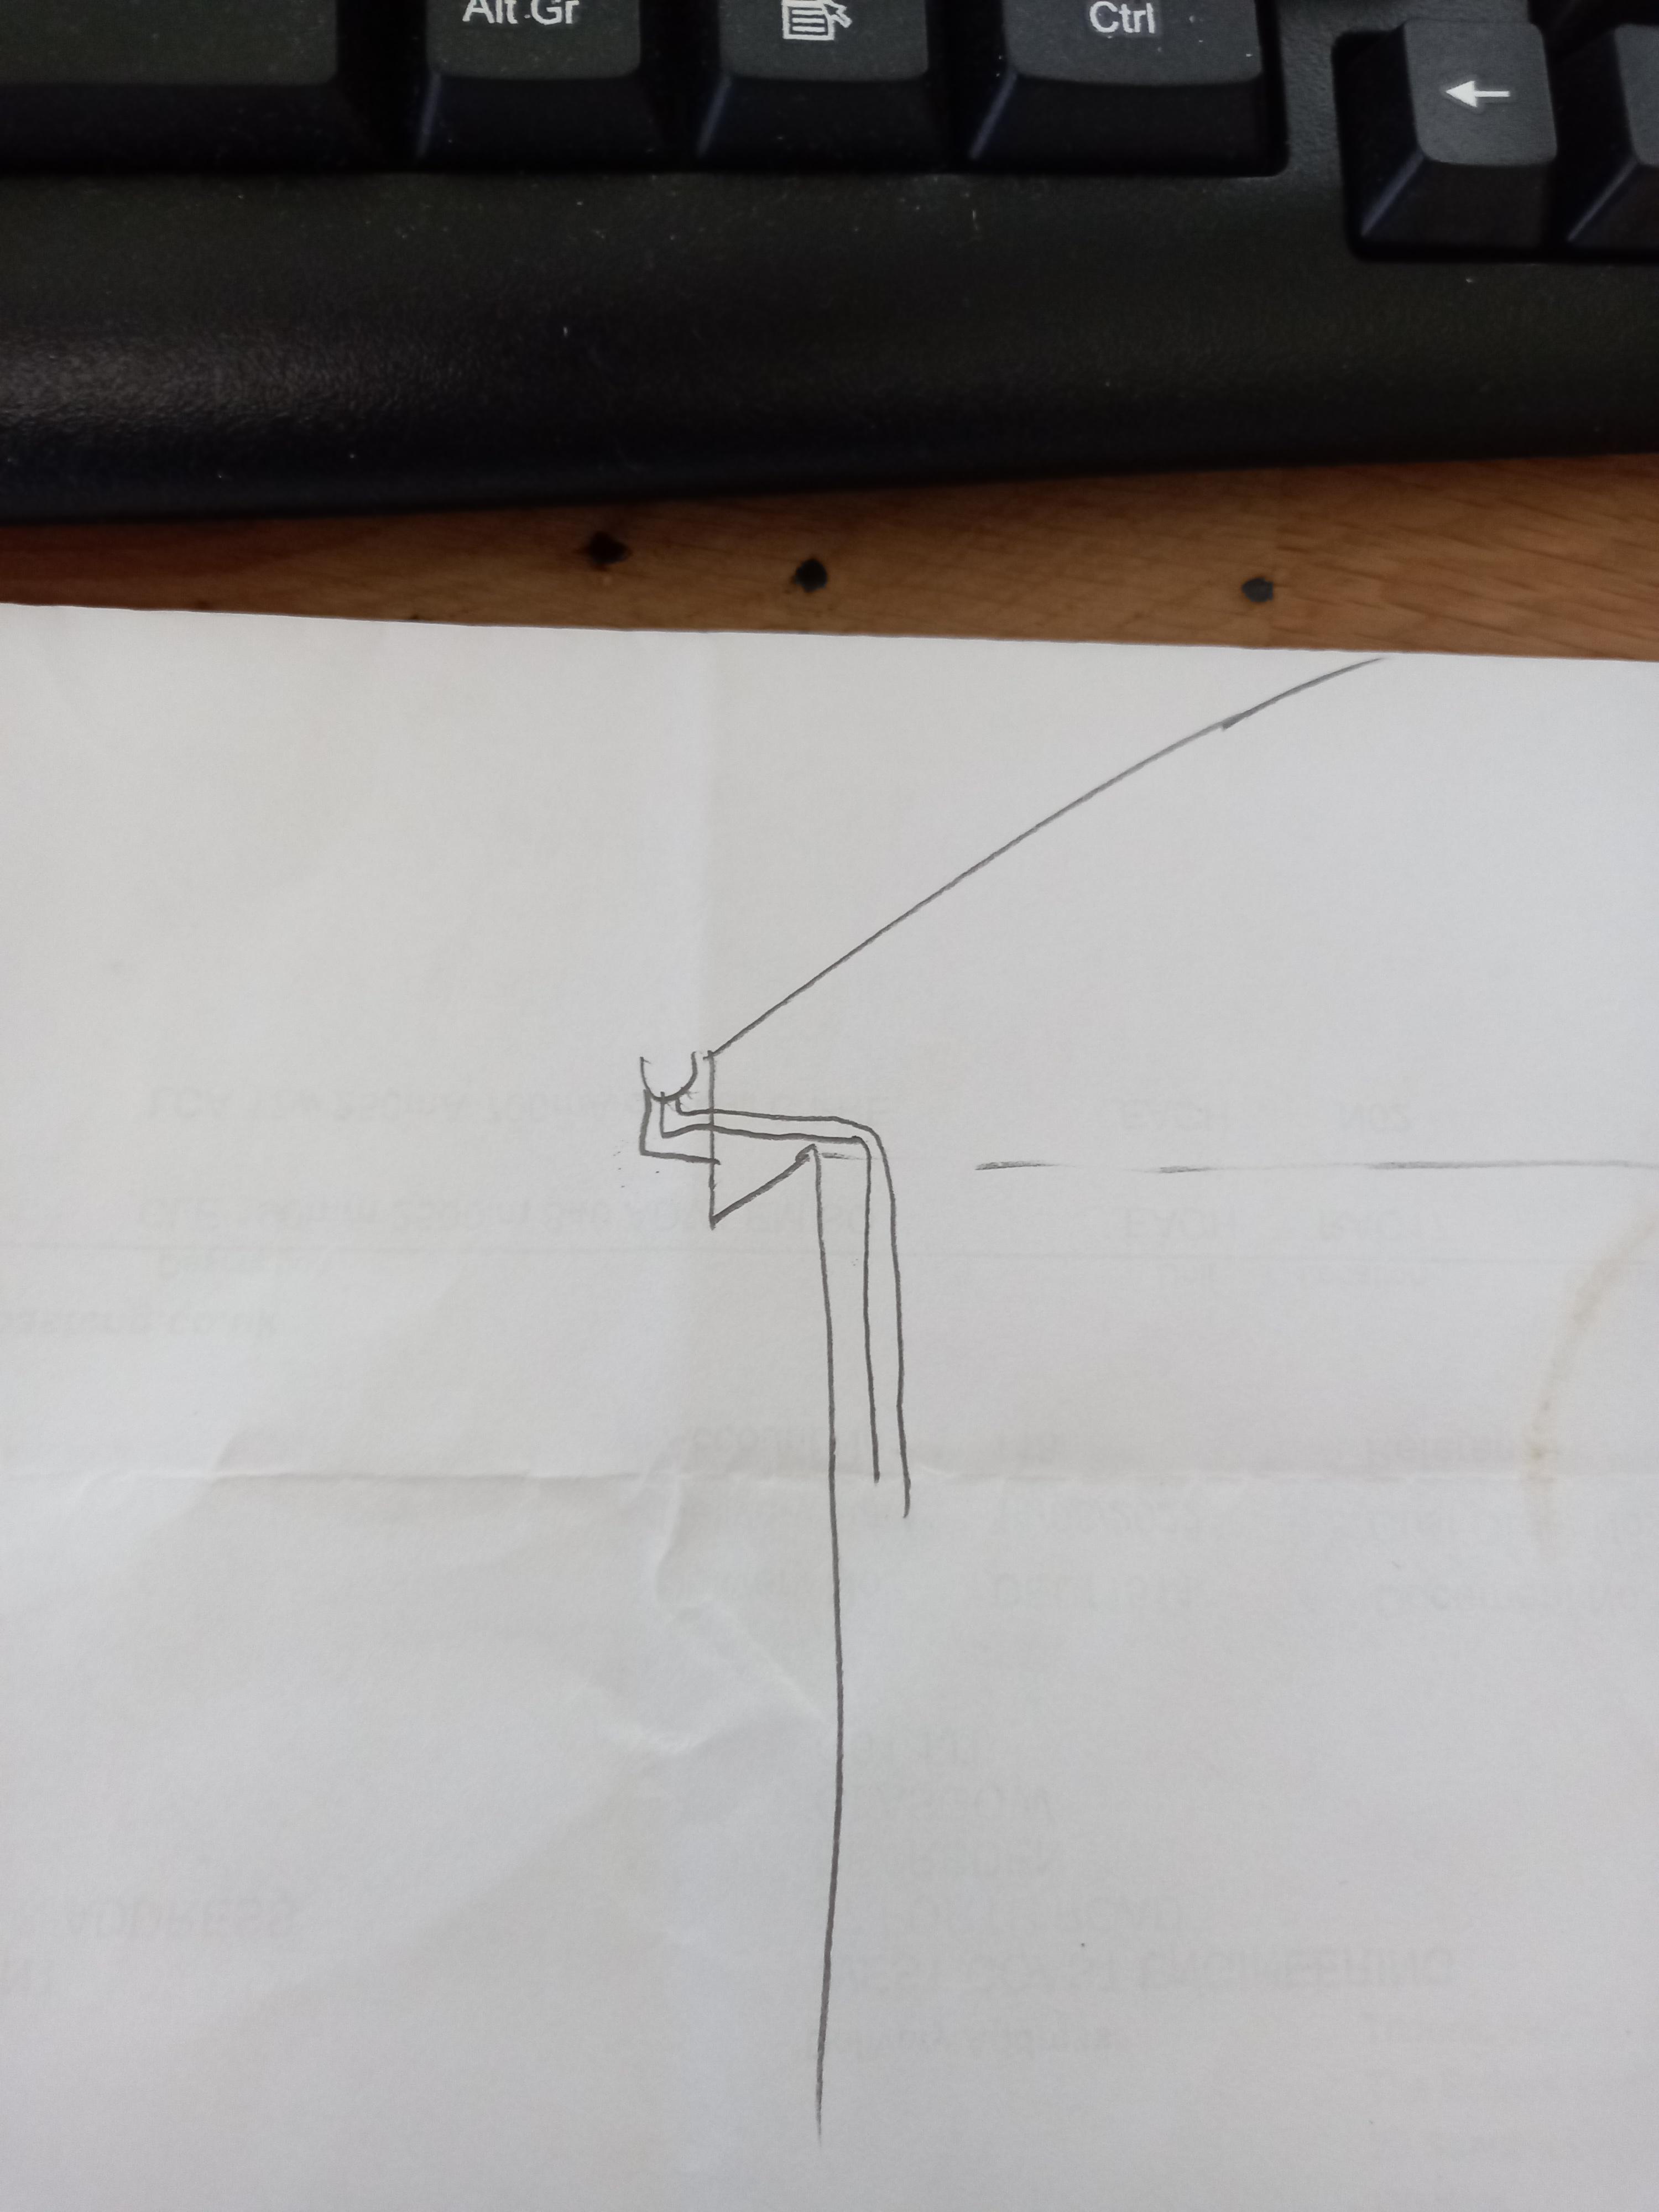
What about this bloody monstrosity!
Carrerahill replied to SuperJohnG's topic in Rainwater, Guttering & SuDS
Right, I have been staring at this for a while, I have an idea, sort of, it will need developed. Get yourself 2 outlet ends rather than the running outlet, some bits of gutter offcut, some solvent weld 32 or 40mm waste pipe, solvent cement and a sol-weld waste pipe coupler, other supplies and materials will be needed too. What you do is create two outlet ends, with 40mm outlet, I would solvent weld a piece of gutter into the outlet, drilled to the size of a 40mm coupler, solvent weld that on, turn it upside down and pour in some epoxy or something to seal it all up and make it solid. You now have a 40mm gutter connector, you can then take that on a 90° bend right into your fascia, however, then sleeve over a bit of normal downpipe so it looks normal. Drill a 32/40mm hole in the fasica and then can you deal with it in your loft somehow? Looking at it, could you get a piece of solvent weld up from the garage, into the loft space? I also say do 2 outlets because that will help with the face you have lost a lot of pipe size, yes it will overflow in heavy rain and yes it will block up easier (well maybe not on a slate roof with no tall trees apparent nearby), but I think it will work. I think maybe you should do this after BC have been, mind you, they might not even question it if they see the 68mm pipe and just assume you lost it somewhere in the building. In fact, I am now going to see if I can make one of these to solve a gutter issue on my garage!
-
What about this bloody monstrosity!
Carrerahill replied to SuperJohnG's topic in Rainwater, Guttering & SuDS
Ouch. What about run the gutter right across the two dormers, I've seen that done on a lot of older 1900's properties, it doesnt actually look that bad, mind you, it's castiron and self supporting, uPVC might sag. Another option would be to dive into the sofit and along, although you have pitched sofits so probably no space. What will your drive be? Hard surface or gravel? If a gravel then could you leave it for now, get BC sign off then just remove it and let the water come down onto the gravel, if hard surface I would say no as it will splash too much but you might get away with it on gravel. Or, could you dress the gutter round the 90° and return it towards window say 4 inches, then have the outlet, then drop it in hard against the house and just below the window, then take a very shallow run which would be less intrusive. I think I would investigate no gutter for a while. -
VAT abolished on solar panels insulation and heat pumps
Carrerahill replied to Radian's topic in Building Materials
I have just had a look at a site for panels, and they claim it is on full systems only?!? So if I wanted to top up with 4-5 panels, I won't get the 5% break, however, I think all the companies will just bump up their price 5% and leave it as was claiming "rising costs" prices never come down! -
Paying tips to delivery drivers
Carrerahill replied to Omnibuswoman's topic in General Self Build & DIY Discussion
I only tip the takeaway delivery guy/girl. I give them £1.50. No other form of delivery driver will ever get anything from me, doing their job. Takeaway drivers get something because they are usually students. My brother often gives them things, screen wash was one tip he gave a guy, he gave a girl bleach once. I am not kidding. He never has change and just gives them stuff. -
I've read the questions, they will note create an accurate snapshot of the cost and time overrun problems because the questions are not written well. For example, you need overcost values of more like half a million to a million and more!
-
Self installing solar modules and inverter
Carrerahill replied to Radian's topic in Photovoltaics (PV)
PM sent. -
If he loves your daughter he will find time. Show him this post! 😄
-
Tsk. No imagination.
-
Exactly, simples. I think the OP needs some 6inch fence posts or telegraph pole offcuts.
-
Sacrifice a couple of bags of Type 1? It is doable - just needs thinking. Is there no vehicular access down to where they are needed even for a car? Pallets drag not too bad with the right strapping.
-
What is the makeup of the path? Paved? could you borrow a pallet truck? Could you use rollers to roller the pallets? I have seen myself move some pretty immovable objects with some rollers and a helping pair of hands. I once used a sheet of plywood with rope attached to it to skid a 265Kg safe into place just by skidding it along. Scaffolding works OK on fairly firm ground, then round fencing stobs for rougher terrain and telegraph poles was for very rough terrain. Ideally have some help on hand and the rollers ready and have the pallets lowered onto the rollers, roll them away, rinse and repeat. If not have enough rollers ready so that each pallet can be dropped onto a set of 2 or 3 rollers ready to move them with multiple rollers when you get time/help. Think like a Roman.
-
Self installing solar modules and inverter
Carrerahill replied to Radian's topic in Photovoltaics (PV)
Best advice I have read all week! -
Self installing solar modules and inverter
Carrerahill replied to Radian's topic in Photovoltaics (PV)
If it was me, I would buy a solar kit of panels, inverter, isolators, safety stickers etc. Buy what you can physically install space wise and what you can afford/want to spend. Install it, in your case through a roofer and then an electrician or just a roofer then you doing the rest yourself (some inverters are wired to a 13A plug - yes you just plug it in!). It will work, it will be fine. The MCS registration is all about FIT payments, I don't want payments, I want to use all my energy because I am not generating energy for them to pay me 3p kWh. I would rather heat my garage than give it to them. The government need to get the DNO's told to cut all the nonsense and let people get on with it, which will encourage a massive shift towards small scale PV install. The DNO doesn't want you to install solar is the blatant truth. There are no structural implications in 99% of the case, the roof has been designed with snow and maintenance load. Maintenance load is 60Kg per metre squared, once the panels are installed you will no longer be able to load that roof with the maintenance load, the lightweight solar panel is about 12Kg and more than a metre. No wonder no one is installing PV when homeowners need to jump through hoops like all of this. A desktop survey? Honestly, in other words they know fine well their service is total nonsense. How any self respecting SE could provide desktop surveys for something like this and claim it to be worth the paper it is written on I do not know. You didn't hear it from me! -
That beam has been compromised then. Look at your SE drawings and check every detail, if any of it do not match, at all, tell the builder you want him to have a meeting with the SE and that any expenses shall be agreed beforehand between the builder and the SE or you make your own arrangement to withhold some monies at the end of the build to cover the SE visit and any report.
-
I think it looks rough!
-
Mess. Not even sure what was supposed to be going on here, that will certainly cause you some water ingress issues!
-
What happens if you stand on one? From experience they just flatten. I am sure with 100mm of concrete on top of them they would soon lie flat. They do shrink within the first sort of 3 months. I remember reading somewhere that you are meant to use boards that are a minimum of 3 months old so that they have gone through initial shrink. I have seen fresh boards installed all shrink and end up about 3-4mm short whereas they went in tight which was a bit worrying. I would not scrap them, I would just look at options to pull them down flat, maybe a saw kerf along the mid-section might help. They are not going to be lifting 100mm of C20 concrete!
-
Maximum demand greater than 100amp single phase ukpn
Carrerahill replied to Newbuildnewbie's topic in Electrics - Other
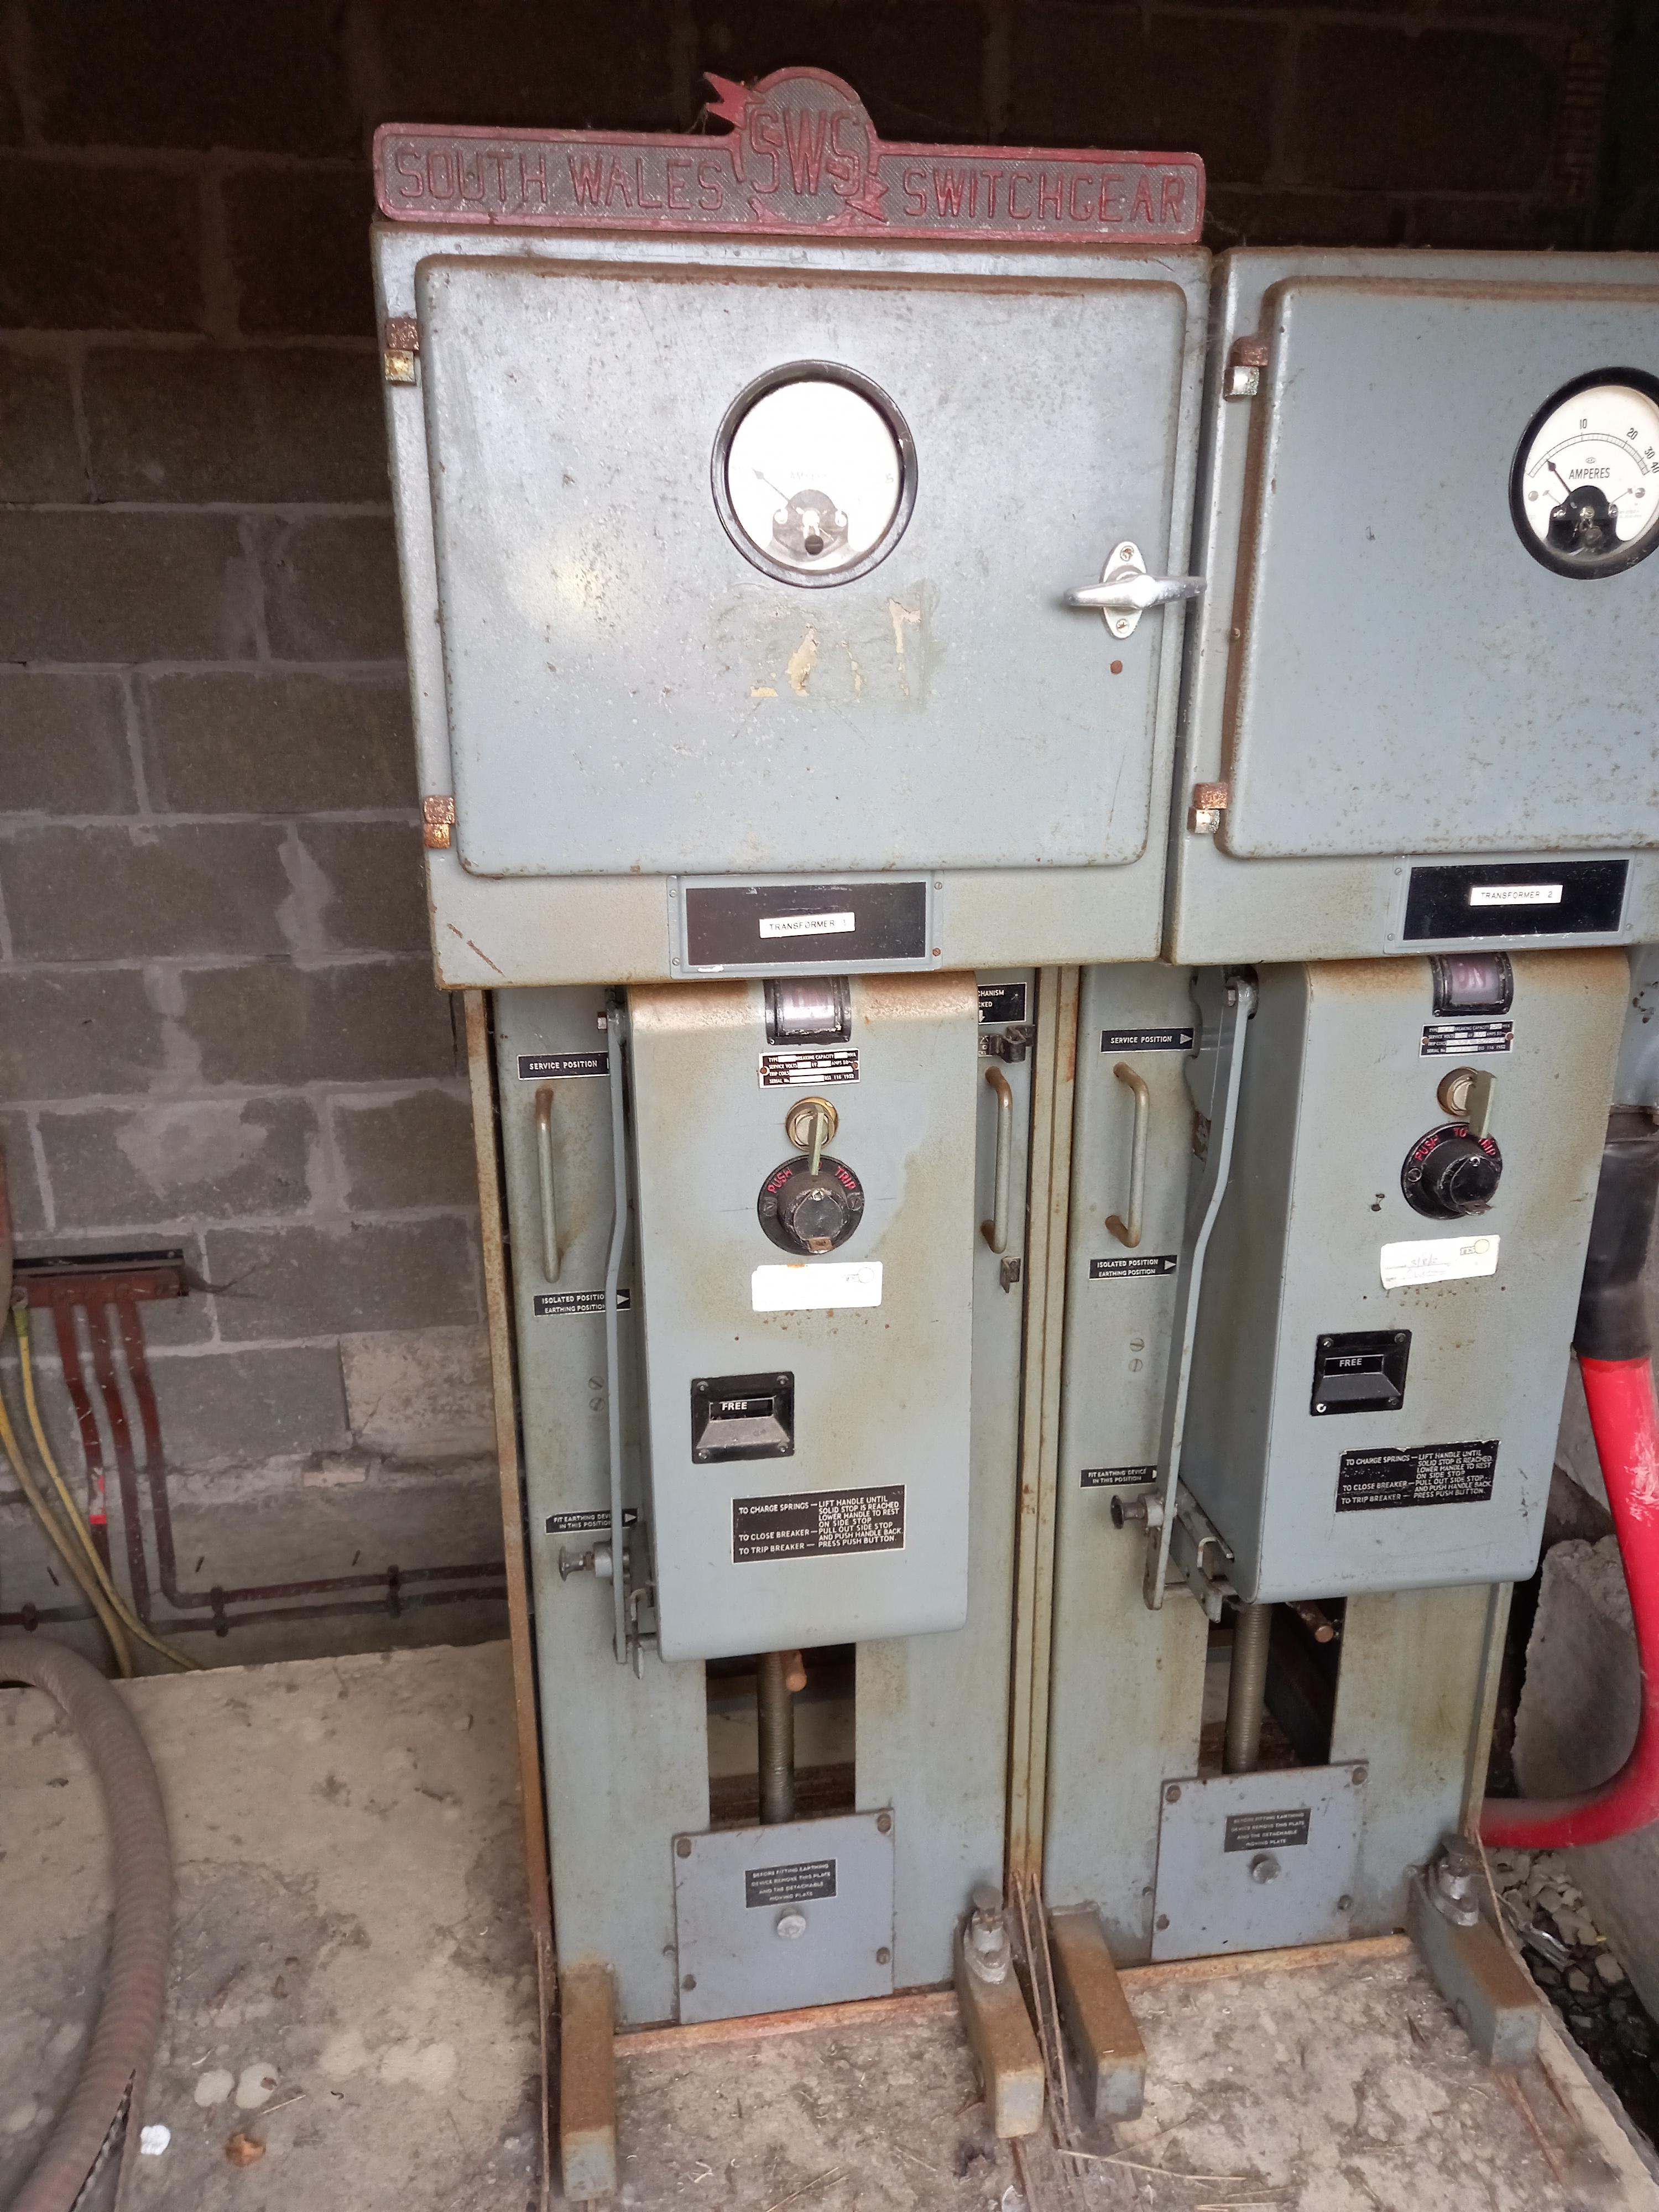
We all like photos, I took this photo yesterday doing a site survey. These are 2 11kV 400A breakers which protect two transformers. Note the 11kV cable coming in on the right, dropping out the back at low level and going into the trench are the 2 outgoing 11kV cables going to 2 transformers. This is actually client owned as the point of connection from SPEN is 11kV - behind this wall is a 11kV ring main tap using a MEM ringmaster unit - basically a 11kV cable in from the grid, and back out, then a single cable into these two boys. You will note on the right hand breaker the load is shown as about 4.5 (x10 multiplier) - that is 45A at 11kV! Pretty serious! This is what protects a 5 industrial units and 15 little modular offices.
-
Maximum demand greater than 100amp single phase ukpn
Carrerahill replied to Newbuildnewbie's topic in Electrics - Other
Have a look on this forum for posts by me recently, I have written pages and pages and screeds of text on this and posted BS88 (your standard UK cut out fuse type) fusing curves showing what a 100A fuse will actually do at 100A (nothing). Search by my recent posts and I am sure you will be enlightened. -
An alternative to RSJ in providing joist support
Carrerahill replied to Annker's topic in Lofts, Dormers & Loft Conversions
Gus is the engineer!