
Russell griffiths
-
Posts
7881 -
Joined
-
Last visited
-
Days Won
61
Everything posted by Russell griffiths
-
I fitted them in our first house, it did make it stand out as better detailed than everyone else in the street. Cut ours out of. 25mm mdf with a chamfer on the side. Think I used a piece of window board instead of. Buying an 8x4.
-
Why do you need to seal joist ends if you are fitting a membrane on top of the joists. Any way you can use a batt type insulation instead. Have you seen the price of sheet type insulation, and also cutting and fitting is a pain. I have previously used rockwall type insulation suspended on a net system slung over and draped between joists.
-

Rendering and airtightness
Russell griffiths replied to ToughButterCup's topic in Plastering & Rendering
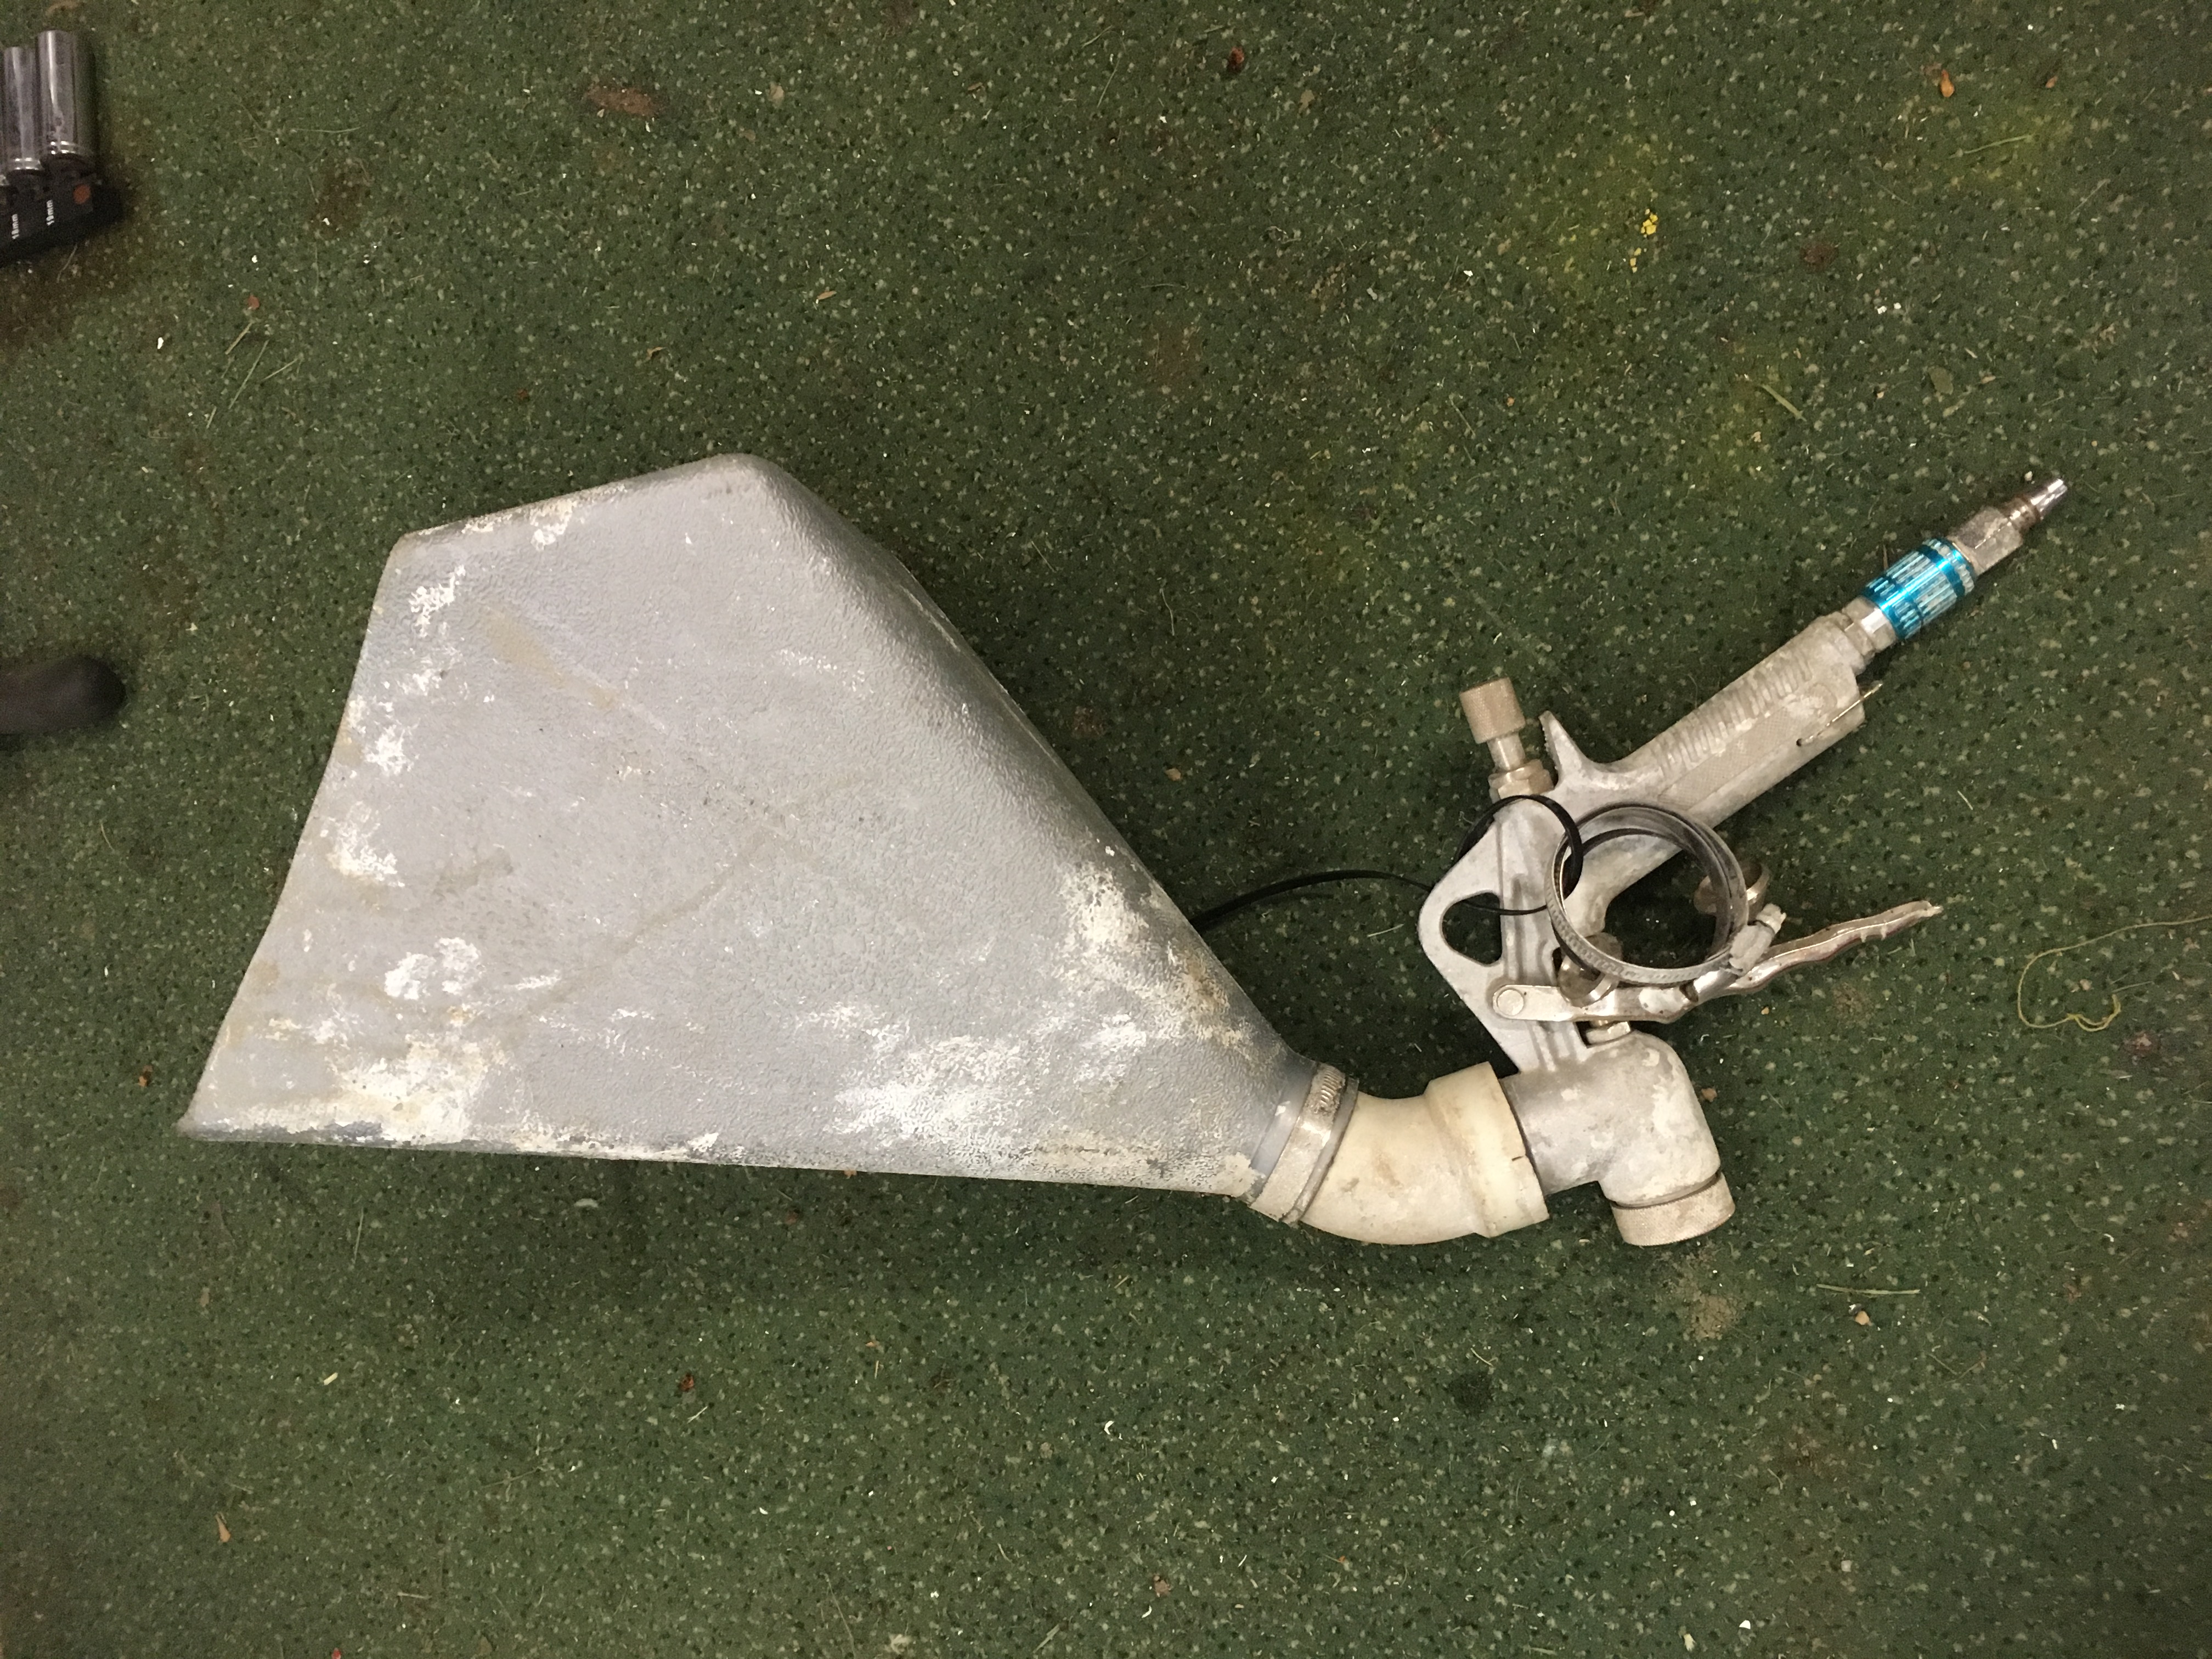
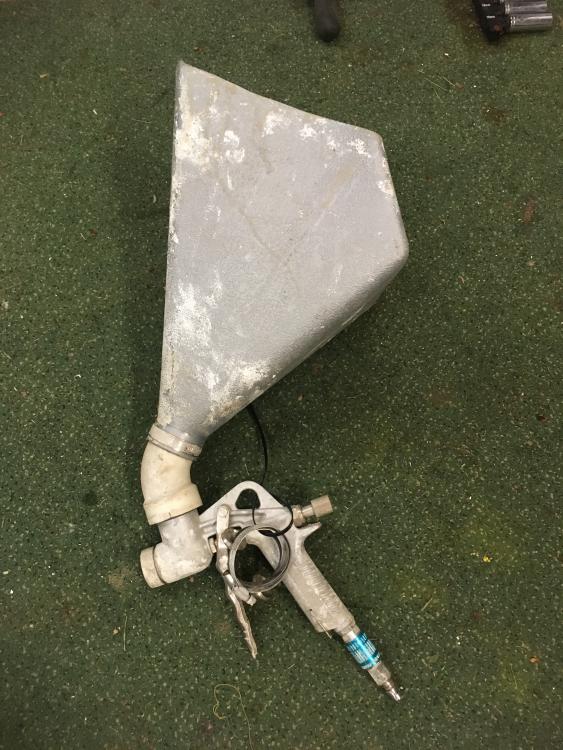
I use mine for acrylic texture coating. If I was doing a rough parge coat just for sealing purposes I would slap it all on with a broom head. Keep it simple. -
Rendering and airtightness
Russell griffiths replied to ToughButterCup's topic in Plastering & Rendering
The one above is mine, cost about £65 you need the little blue thing on the air connection it is a second regulator and makes adjusting the pressure at the gun so much easier. Will run off a standard diy compressor. Watch the grit size in your sand I would use a very fine sharp sand or as some would call it plastering sand or Leighton buzzard. Plenty of cement as it will make it a bit slicker i use a figure of eight pattern. Dont scoop the muck muck out of the barrow like the Neanderthals in the vids, make a scoop or you will end up in the biggest mess ever i would lend you it but it needs a new set of seals in it. Plenty on e bay, but I would avoid the smaller round hopper as you can't get a lot in it. -
Rendering and airtightness
Russell griffiths replied to ToughButterCup's topic in Plastering & Rendering
-
cheapest way to add depth to floor
Russell griffiths replied to Alexphd1's topic in General Flooring
Any solution of anything on top to raise your levels is going to cost in materials and labour, cutting down where the doors sit is labour only plus a diamond disc. Cut them in. -
If the threaded bar is a bit feeble you could ask if you can change the spacing to match the spacing of the concrete pads inside the blocks. How we fit the wall plate without struggling, mark its location on the wall and ping a chalk line to give you the bottom height. Fix a temporary timber roof batten screwed into face of block, you can now sit your heavy wall plate (rim joist) correct word in my book on top of the batten it will help support while you mark and drill all the holes. When all tight remove batten and use it on the other side.
-
Watch carefully the wording in some of that spec, it says masonry hanger, in my mind you will not be using a masonry hanger but a timber to timber hanger just be careful when buying. Regarding the threaded rod you would need to check the loading for the bolts specified and then look at the threaded rod. Some threaded rod is like cheese when it comes to strength. The bolts will be in a shear type environment so see what the se wants.
-
Cladding with a Cherry Picker
Russell griffiths replied to Fallingditch's topic in General Self Build & DIY Discussion
Anybody thinking of cherry pickers, look at getting a scissor lift instead it has a larger bucket so would be easier to get longer planks in and the ability to walk from end to end. -
Cladding with a Cherry Picker
Russell griffiths replied to Fallingditch's topic in General Self Build & DIY Discussion
That works fine. ? -
Hi welcome, we are in Cirencester. We brought and renovated 2 houses to try and get what we wanted. Now on our second new build ( if we get permission) look at older stuff usually better sized rooms than the new shite, and larger plots
-
Design for Racks for Spray Painting Skirtings
Russell griffiths replied to Ferdinand's topic in Decorating
Sounds perfect. But maybe your over thinking. Why do you need to spray it all at once. 32 lengths is a lot, I normally only have enough room to do dozen pieces at once, if using acrylic paint I find by the time I've got a coat on, the first ones are nearly dry enough to put on a second coat or move them and start another load. -
So I seem to have done a complete about turn and moved away from timber frame to icf, so re,doing a lot of research. First question icf are available in different insulation widths anything from 50mm to 150mm with obviously different u values, but also you can have a thinner standard block and add additional sheet eps to the outside to increase overall thickness. So the question is what would be the difference between using a thicker block in the first place as opposed to a thinner one and adding additional sheets to the outside? I'm trying to come up with a benefit of adding the extra and all I can think of is bridging all the block joins with a larger sheet May in someway prevent heat loss. Any thoughts. @Stones
-
pro's & cons of different ICF systems
Russell griffiths replied to mvincentd's topic in Insulated Concrete Formwork (ICF)
I was going to read all @najem-icf posts to see the reason but I was being lazy so just asked the question. No disrespect was intended, but from reading this thread it does read like build with icf because everything else is shit. By the way I intend using icf, but have previously built timberframe,and I'm also a bricklayer, but won't be building using brick or block. Work that out. -
pro's & cons of different ICF systems
Russell griffiths replied to mvincentd's topic in Insulated Concrete Formwork (ICF)
can you tell us why your user name is @najem-icf -
Why do you have to cut the insulation? Just buy it in brick tie spacing size. The small sheets should be sized at the same spacing as the ties. I'm out of synch with the current spacing but you used to put a row of ties in then your solid insulation then another row of ties. Most ties fit with a stainless ring shank nail, but I see no reason you can't screw them.
-
I assume you mean this stuff https://www.permagard.co.uk/stainless-steel-helical-spiral-bar-3-metre?gclid=Cj0KCQjw0ejNBRCYARIsACEBhDM0NP8lWl6ogOx0ixgLWua25136-J0ovgBODu1VOfv5d3kspzP2kDYaAgxiEALw_wcB if so you are going to do well to hammer foot long lengths of that through OSB, even with a pilot hole i reckon they will bend more often than not it comes with an instillation tool which is basically a piece of tube with a capped end for thumping with your hammer.
-
Can you not make your own ties? You can buy the helicoil in 3m lengths and just chop it up.
-
Rendering and airtightness
Russell griffiths replied to ToughButterCup's topic in Plastering & Rendering
Ok so I'm confused ? Not hard as I'm a bit of a thicko. If your blocks are core filled and your posi joists don't penetrate into the wall how and where are you going to get air loss. Is is it normal practice to air seal icf or is it just the type you have used. -
Phone him. Better to look a bit silly on the phone than him turn up and you will look a right plum.
-
"Softening" a rendered monolith
Russell griffiths replied to gravelld's topic in New House & Self Build Design
https://www.houzz.co.uk/photos/504212/swedish-exterior-traditional-exterior-new-york how wild do you want to go I get a lot of inspiration from this site. -
Steel (Acro) Props - Needle or Strong Boy?
Russell griffiths replied to LeanTwo's topic in General Construction Issues
The original idea behind the strong boy was you could work from one side whereas with a needle you have to go to both sides of the wall, if access is not a problem needles all the time, if you don't want to destroy the internal area to the room above then strong boys. -
Some good points there about icf I hadn't considered.
-
Who's icf system is that @jamiehamy
-
So again fwiw if you tile your main flat area first , last flat tile will overhang your flat area and extend into your fall area (is this correct) if so with a 2% fall let's say you have made your flat area 100 mm larger than it needs to be your flat tile will project onto your slope area by 100mm the bed under this tile for arguments sake is 5mm when sat down firm so you will have a strip of tile 100mm wide with a bed joint 5mm thick + 2%. This is ABSOLUTELY negligible just screed up to the flat area you have laid now.