


Nickfromwales
-
Posts
30977 -
Joined
-
Last visited
-
Days Won
327
Everything posted by Nickfromwales
-
Can we ask how much?
-
You can always go back to hairdressing
-

Bath Surround / Boxing In, and concealed pipework
Nickfromwales replied to Onoff's topic in Bathrooms, Ensuites & Wetrooms
Use the force , Luke............ -
That multi tool is a cracker, and if Dewalt hadn't gone through a stage of producing disgustingly poor tools for a few years, I'd have one now. I went all makita because of Dewalt's hiccup a few years back, and never regretted it, but the new Dewalt stuff is undeniably good. Fwiw I bought the Dewalt chopsaw a few years back ( DWS 780 XPS shadow line ) and it's outstanding. Still going strong. Anyone seen the new 54 volt "FlexVolt" Dewalt stuff? looks good, but Jesus H Christ, it is expensive !!!
-
Companies charge obscene amounts of money for fitted wardrobes etc, and most I've seen, including Sigma stuff, is utter shite. Youd be no worse off going to B & Q and buying their fitted stuff, and you'd have the benefit of about £4k saving to put towards your kitchen. Last lot I saw from Sigma was just terrible, and when i found out how much the punter paid I nearly puked. Don't go to the showrooms other than to steal inspiration. Oh, and don't take the wife
-
Thanks for the pic At least they've done the most they could do ie they've upsized to 32mm from 25mm as soon as practicable, and the 32mm pipe you've run to the house should mitigate any pressure reduction over the length as much as is possible. 9 L/P/M is shat, so you should get better than that with your arrangement. Have you / they tested it yet for the results ?
-
Western Distribution, Building control and too much water.
Nickfromwales commented on TheMitchells's blog entry in Scooby Cottage renovation.
+1. Ask more here, BEFORE, and get wise answers, Confucius say........ Comparing a renovation to a new build may be a bit misleading. A new build can be planned, but a renovation can often be Russian roulette. Agreed that a new build may stray off track, but the comparison is night and day IMO. I'm renovating a lean-to bathroom at the mo, and have gone from a dozen rubble sacks to filling a 4 yard skip. Yay. Oh, and there's more to go. if your renovating to sell then ask a few local estate agents about relocating the bathroom and see what the consensus is. . Don't provide anything more than the buyers will expect, unless your getting double the difference in return. If your spending £4k on the bathroom 'shift' then you need an £8k return. Pointless endeavour otherwise tbh. -
Standard 'practice' is to give you what you specifically asked for. If you asked for a 32mm supply, then what exactly did you / they stipulate that you'd get in return from your request? Eg if you asked for a 32mm feed, 32mm stopcock, and 32mm interconnecting pipework then that's what you should have received. If, however, you've left that open to interpretation then it's a can of worms. Stop them from back-filling and review your order / paperwork.
-
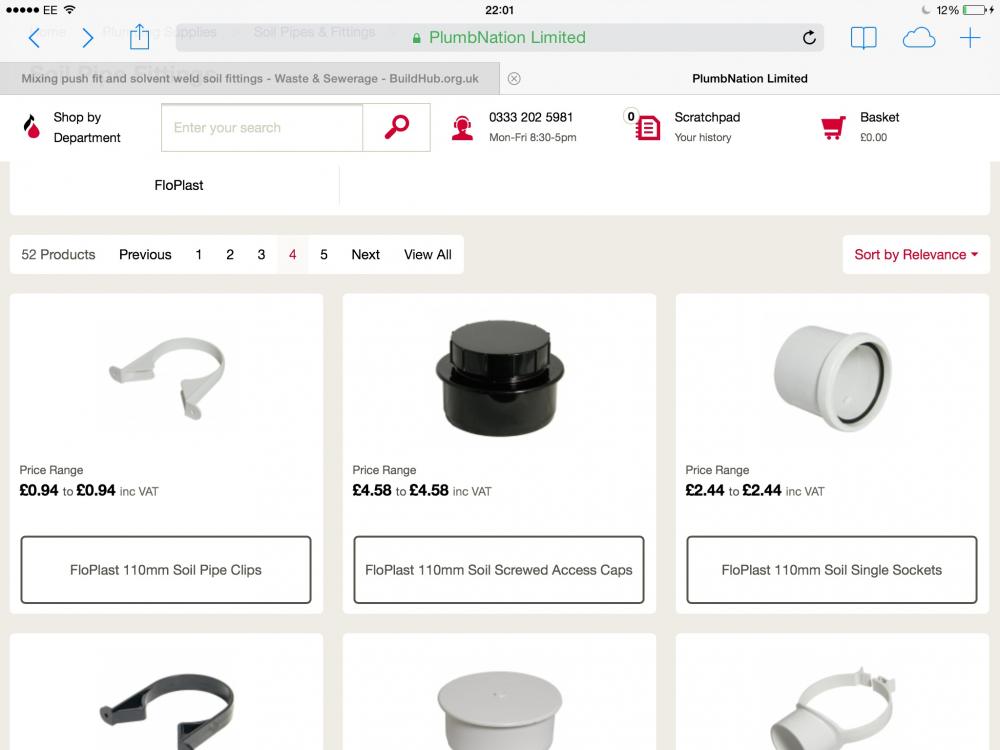
Mixing push fit and solvent weld soil fittings
Nickfromwales replied to Crofter's topic in Waste & Sewerage
buy a non-solvent ( push fit ) one -
Mixing push fit and solvent weld soil fittings
Nickfromwales replied to Crofter's topic in Waste & Sewerage
The grey states solvent, the black doesn't. -
Mixing push fit and solvent weld soil fittings
Nickfromwales replied to Crofter's topic in Waste & Sewerage
Vs....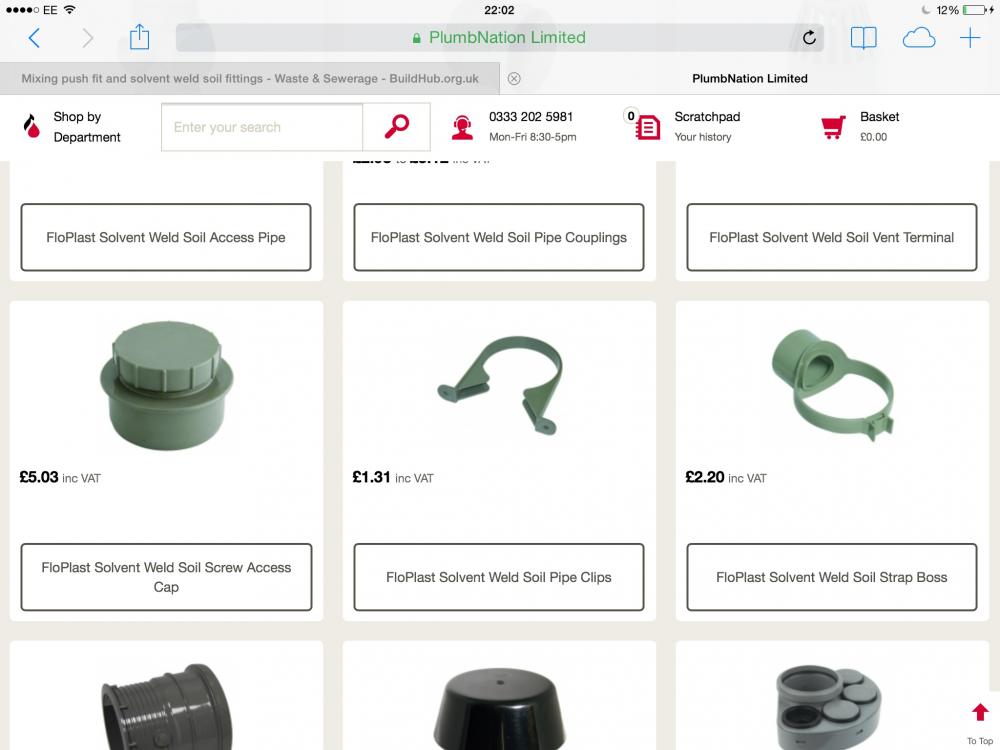
-
Mixing push fit and solvent weld soil fittings
Nickfromwales replied to Crofter's topic in Waste & Sewerage
-
Mixing push fit and solvent weld soil fittings
Nickfromwales replied to Crofter's topic in Waste & Sewerage
The rodding eye looks like a push fit to me. That should just push into the branch. Does it state differently in the literature ? -
Please upload some images ! Not heard of that before, and would make for excellent reading.
-
Bath Surround / Boxing In, and concealed pipework
Nickfromwales replied to Onoff's topic in Bathrooms, Ensuites & Wetrooms
I'd have used compression tbh, but nowt wrong with what youve got there. Just a tip to avoid inserts etc. . -
Bath Surround / Boxing In, and concealed pipework
Nickfromwales replied to Onoff's topic in Bathrooms, Ensuites & Wetrooms
Just a tip, use copper pipe as the links etc so you avoid flexible pipe and inserts wherever possible Only use the pushfit pipe when you have to. -
Bath Surround / Boxing In, and concealed pipework
Nickfromwales replied to Onoff's topic in Bathrooms, Ensuites & Wetrooms
Deffo need sharp cutters . -
Bath Surround / Boxing In, and concealed pipework
Nickfromwales replied to Onoff's topic in Bathrooms, Ensuites & Wetrooms
Are you moving the cutter around the pipe a little as you apply pressure to them? Your not supposed to keep the pipe and cutter still whilst completing the cut. Not rocking side to side btw, going around the pipe diameter Whoever said to use the rotary copper pipe slice is an idiot. Look at the damage to the outside of the pipe ! That's where your fitting will try and create a seal with the o-ring. . A tool with a tool. . -
Advice on filling/joining 2 freshly plastered areas
Nickfromwales replied to 8ball's topic in Plastering & Rendering
Oh, and for the record......why wasn't this plastered all in one go? Why the damn crack? -
Advice on filling/joining 2 freshly plastered areas
Nickfromwales replied to 8ball's topic in Plastering & Rendering
Hi 8 First job is to assess the repair. Don't just go whacking filler in straight away as you don't want to make any high points any higher. Get a good straight edge, a 600mm spirit level / similar, and put it centrally across the crack. One end on one ceiling and t'other on........t'other. Drag the level from one end of the crack to the other and see what the height differences are, where they're worst and identify any plaster that is creating high points. Mark them with pencil as you go along. Remove any high points by scraping or sanding with 40 grit paper until you get to a point where the level shows you a reasonably even transition from left to right. Get a brush and some PVA ( 50% PVA - 50 % water ) and thoroughly coat the crack and about an inch of the plaster each side. Wait until that dries almost completely and then coat just the crack with neat PVA. Allow to go tacky and then load up with filler. I'd use Gyproc Easyfill tbh as it doesn't shrink or crack as it dries, and is really easy to sand back. It's my preferred bulk filler, with Toupret as the smaller application / finisher filler. Use one of these filler applicator 'knifes' and it'll be easier to get a smooth coat in one go. Get a decent quality sanding paddle like this and go against the crack, not in line with it. Don't try to get this right first coat, but build in layers. Make the first just shy of the plastered surface and leave to dry. Give a quick rough sand to get rid of trowel /knife marks and then prime with the diluted PVA mix and load up with filler again, this time slightly proud. Leave to dry fully and then sand as stated above. Be gentle as this stuff sands back quickly. If your arms start to hurt a little from all these processes then your doing it right -
The 'expert' advice.
Nickfromwales commented on TheMitchells's blog entry in Scooby Cottage renovation.
The council BCO's here are great. Very helpful and happy to get an emailed pic enquiry rather than drag their arses to site for something simple ( wasteful ) so I'd use them again. That's after spending the £300 odd quid for the sub £5k 'package', but you get your pound of flesh if you ask for it. They'd rather be involved early and IMHO that's better as the sooner you identify what's needed, and get the correct method to do so, the better it is all round. -
Apparently your not supposed to do that ( radial ) method. Afaik your supposed to daisy chain from the first to the last and not T / branch off to do any on the way. @ProDave. Makes perfect sense re the 9V trigger now you mention it. Power cuts being accounted for etc. Cheers.
-
Plasterboard one side of the studs and then just stuff it in there. Cut it into smaller sections and lay it widthways and it'll stay in place without help. Or, do half length drops and glue the tops with aerosol spray glue ( like carpet glue ) and it'll stay put. Fine fishing line is a method I use for overhead work, in conjunction with a staple gun, zig-zagging at ~600mm intervals. Staple on the sides of the joists, not the face, to keep the joist faces clear.
-
I'm sure it's 230v as you'd not be able to run differing voltages in the same ( 3 core + E ) cable
-
Concrete Mixer: buy, hire avoid?
Nickfromwales replied to ToughButterCup's topic in Tools & Equipment
Electric for me too. Just to have less noise is a major plus tbh.


