Leaderboard
Popular Content
Showing content with the highest reputation on 07/13/17 in all areas
-
Stumbled across this page which has DIY tips and tricks for boring short holes under pavements and the like for services. http://www.askthebuilder.com/tunneling-under-sidewalks-and-driveways/3 points
-
2 points
-
2 points
-
Get some metal mesh, chicken wire or similar. Tie a bit of wire to the middle of it, then screw up the mesh into a ball and stuff it down the ends of the duct. Leave the bit of wire accessible so you can pull the anti-rodent plug out when needed.2 points
-
I have used the adjustable feet on a roof terrace with 600 x 600 x 20 porcelain. Look fantastic.2 points
-
2 points
-
Sorry, this is a very delayed update, as I didn't get around to painting the garage until yesterday. The cheap'ish pressure sprayer works very well indeed. There's a very slight knack in getting the pressure setting right, but overall it's not too fussy, so you can be up and spraying well after around ten minutes. It is blindingly quick; it will empty a 5 litre can of paint in around 10 minutes. The finish is very good, much better than I can get with either a brush or a roller. It sprays thicker emulsion more easily than thinned emulsion. I made the mistake of thinning down the first mist coat, and it really wasn't needed. It applies a LOT more paint than you can get on with a brush or roller, and runs don't seem to be a problem at all. The only limit on how thick a coat you apply is really the finish, it noticeable degrades if you go too mad. The big advantage of being able to apply more paint in a single pass is that you need fewer coats. Two coats of white was absolutely fine and just a single coat over the green finished ceiling boards was enough, really, the second coat didn't make the finish any more opaque, just gave a better surface. Spraying a 2.35m high ceiling from floor level was a doddle, with no need for any extension on the nozzle. I reckon I sprayed the whole 6m x 4m ceiling in around 5 to 6 minutes, including taking time to go around into the corners. Painting a garage isn't a great test, especially as the wall lining is OSB, but I reckon the smooth ceiling boards were pretty close to plasterboard in terms of smoothness, and the finish looks good enough to me. The main downside of the thing is the time it takes to clean it after use. After spraying 10 litres of paint in around twenty minutes, I then had to spend about half an hour washing the thing out and cleaning and drying the gun parts, then lubricating the pump ready for the next time I use it. The other key point is that you have to mix the paint really, really well. Mixing by hand with a stick isn't good enough, it really needs a paint mixer paddle on a drill. Time spent mixing the paint is well spent, as if there is one lumpy bit it will block the pick up pipe filter, which then has to be cleaned and the system re-primed. There is very little over-spray, so there's no need to go mad with masking, but there is a fair bit of dry bounce back if you don't keep the gun dead square and at the right distance from the surface. This bounce back is just like white dust, the paint particles are so fine that they dry in the air, but they do settle on any horizontal surface. They don't stick, though, so if you haven't put dust sheets down you will have a fair bit of cleaning up to do afterwards. You can spray right up to the edges of doors, windows etc, just by using a large bit of stiff card, with a straight edge, in your spare hand, as a movable mask. It's not like air spraying at all, in that the paint pattern from the gun is very well defined, with almost no over-spray. Overall I think this was a good buy. I hate painting, with a vengeance, so might well have ended up paying someone to do this job otherwise, and that would have cost at least as much as this spray system. For anyone looking to paint a large area I would highly recommend thinking about buying or hiring one of these units. Mine was pretty cheap, and looked new to me, and cost less than a day's labour for a decorator. Add in that there are no consumable costs, like rollers, trays, etc, and it looks even better value. As a final point, there is a safety issue that should be mentioned. These things run at pressure-washer type pressures, and can inject paint through your skin if you're daft enough to put you hand in front of the gun. The consequences of that could be very serious indeed, so best to wear gloves and be aware of the danger.2 points
-
1 point
-
Just a work of caution about pictures of tiles and even catalogues, having gone through the same process (for the bathrooms) we worked out what we wanted then went into Tops Tiles just to look at them and were warned by a very helpful chap (older) that the companies deliberately alter the colours in the catalogues to make them more appealing. You need to see tiles in the flesh to be sure that the colours are what you expect, especially with mosaics!1 point
-
1 point
-
+1 Just remember... as you shuffle your bottom backwards along the roof concentrating on the ridge tiles... look behind you every now and again :-)1 point
-
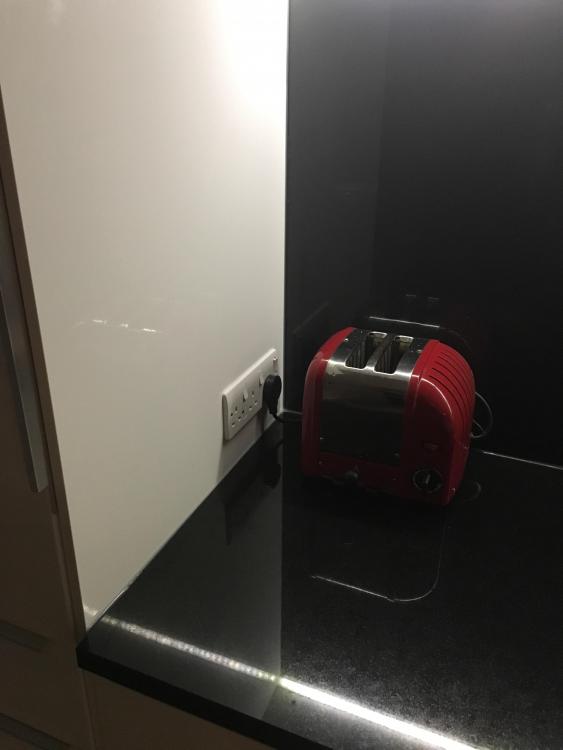
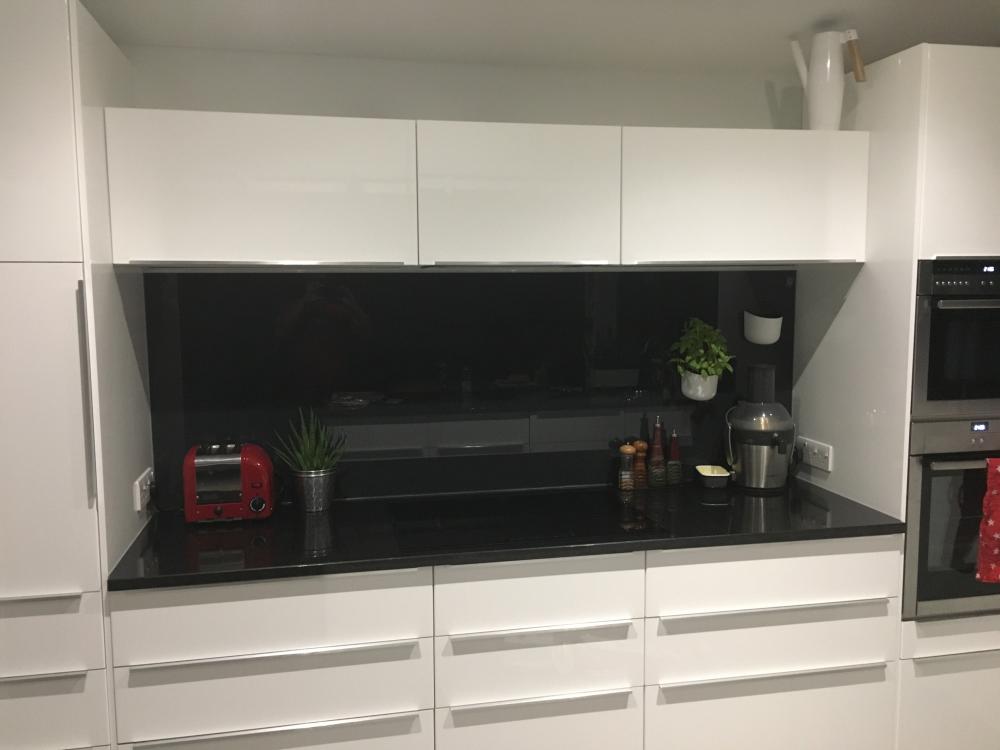
I have a glass one piece glass splash back. didnt want sockets cut out in it so I have them at the sides where I cut out holes in the units and they fit in between. Im not describing in well, but it looks good, very happy with them. I'll take a photo when I'm home1 point
-
Cutting glass mosaics isn't an envious task. I can mark them in straight lines with my big ( 1200mm ) rubi cutter and use my big nibblers to break them but it's just horrible TBH. If your wet cutting with a good new blade in an electric wet cutter then the little glass shards and 'flyers', which go everywhere when dry cutting, tend to stay on the cutter where you can keep washing / hosing down ( I rarely cut inside with glass ). You can't rub the dust / shards off with your hand so you need a bucket of water to clean down, where the glass bits can collect at the bottom. Coloured glass mosaics start life as clear regular bits of glass which then have a coloured film / backer applied to create the illusion of the colour going right through. Not damaging that backer is very important so take care if your cutter isn't new / could damage it. . Cutting slowly with plenty of water is my preferred method, and it's much more forgiving as you can shave a blades width off to give a cleaner edge if you so choose / have to. Point conceded .1 point
-
1 point
-
Start with the contractor, they will get in touch with Parex, who will send a rep out who will know what has caused the problem and suggest a fix.1 point
-
1 point
-
@Stones Invert the problem and procure some of the 25mm x 25mm samples to fill in the gaps instead? Does that also give you the nice edge to the individual tiles rather than a cut? https://www.mosafil.co.uk/sample-glass-mosaic-tiles-temple-white-25x25x4mm.html That is not quite the right version of white, but they must have them surely? They seem to cost about £2.20 for 6. As far as I can see, you could actually use a contrasting colour as you would need them all the way down the vertical edges, to give a boundary zip. Or have I missed something obvious? Add: Think these are the right ones (?): https://www.mosafil.co.uk/sample-ceramic-mosaic-tiles-white-glossy-25x25x4mm.html Ferdinand1 point
-
Can you not use a normal diamond cutting wheel of a tile cutter, of the sort that are around £90 from SF or Wickes? http://www.screwfix.com/p/erbauer-erb337tcb-750w-tile-cutter-230v/347711 point
-
I cut mine with a diamond coated disc on a hand held grinder. Bear in mind good planning so all cut edges will either go into a corner, or hidden behind a socket.1 point
-
It can imo. These people appear near to you. http://www.jetcutit.com It's the sort of place you want. Not on personal recommendation just found through searching. (Must be 15 -20 years since I dealt with a fabricator in Scotland and that was in Edinburgh!) Water / laser cutting is great. If you have rudimentary CAD skills they can likely cut it. From house signs to faux hinges in everything from MDF to 200mm thick stainless steel at one place I use. Cutting tiles in half of course wouldn't need a drawing! I'm guessing though your sockets are already in place and you need to tile over them? Not so easy as having a batch of like tiles cut I'm afraid. @Nickfromwales will be along shortly about cutting tiles I'm sure!1 point
-
Coverage is a LOT better than with a roller, as you can apply an opaque coat with just a single pass, as the paint goes on thicker, with a nice surface finish. The down side of this is that the drying time is extended, so re-coating times are a bit longer. I waited overnight between coats, and that seemed fine. You do waste around 200ml or so of paint when you clean it, so it doesn't make much sense to only paint a small area at any one time; it's better to try and use as much paint as possible at each go. I'm not sure how that compares to wastage from a roller, but I'd guess that it might be around double the wastage, if you were careful with a roller and made sure that there was no paint left in the tray, then a roller would have less wastage, I'm sure. It's worth either buying tall tins of paint, or dispensing the paint into a tall, narrow, pot, as the pick up pipe leaves about 20mm of paint in the bottom of the pot. This isn't really wastage, as you can still use that paint to cut in around tight areas where the spray gun pattern is too wide to paint easily, much as you'd have to do with a roller.1 point
-
Stainless wire wool? http://www.ebay.co.uk/itm/Stainless-Steel-Wire-Wool-Packing-Heat-Wrapping-Kit-Car-Bike-Exhaust-x-1-Metre-/2209082146591 point
-
My sole purpose on here is to make the rest of you feel good about yourselves!1 point
-
It will never happen. He wont allow it to be bought and will first need to design it in CAD then make it (one day). In fairness though @Onoff is very familiar with WIP (Work In Progress).1 point
-
I built a 10 x 12 one and I nearly lost the will to live. If I ever got another I will happily pay you for your "whole day", as it took me over two days to assemble.1 point
-
I can second the hassle with screws, nuts and bolts with a metal shed. I recently built a Globel (Lotus) lean-to metal shed and there were around 1000 fasteners. It had to be metal, as it's less than a metre from the boundary, and it's pretty robust, but it did take a whole day to put together.1 point
-
I have built a Yardmaster steel shed (several hundred components and took an age to erect) and a Keter. Keter was far lighter and easier to erect. We had a missing part but phoned and they sent it promptly. Note they get quite a slagging for service online, but I was happy.1 point
-
Look how much a local "man and a digger" outfit is. I pay £250 for a JCB and £195 for a mini digger per day if I am not self driving. A machine can move a lot of muck in a day, especially if it's just level changes etc. Get someone to do the grunt work and then finish it yourself. Sleepers on river banks are ok, but there is a much cheaper alternative that helps you lose the muck - sandbags ...! Fill them with the spoil you dig out and either stitch the tops (one for 'er indoors...) or just 3/4 fill and fold the tops. Stack and batter back at about 30 degrees. Hazel pins can be useful to stop them moving but not normally needed. Plant them up with stabilising plants and job done ....1 point


