Jump to content
  • entries
    26
  • comments
    247
  • views
    68777

Part 18 - 2nd fix electrics


Stones

6245 views

Working around the joiners as they completed the internal fit out, the electrician returned to complete second / final fix.  I won’t bore you with endless photographs of sockets and light switches, but will describe the most notable electrical installations:


LED lighting – after obtaining various samples and some electrical testing, I purchased a quantity of slimline 6W recessed fittings from


https://hartingtonheath.com/product-category/led-recessed-lights/non-dimmable/


I bought mine via their ebay outlet which gave me an additional 10% off.  The electrician was a little dubious, primarily on the issue of the cut out size required being greater than a standard downlight.  We went ahead and fitted them in the kitchen, utility, staircase and upper floor.  Each light comes with its own driver so to wire up to the mains, a connector block enclosed in a 'choc' box was used.  This did increase the amount of time required to install each fitting, but the actual cost of the fitting was significantly lower than the more traditional alternatives we had previously looked at.


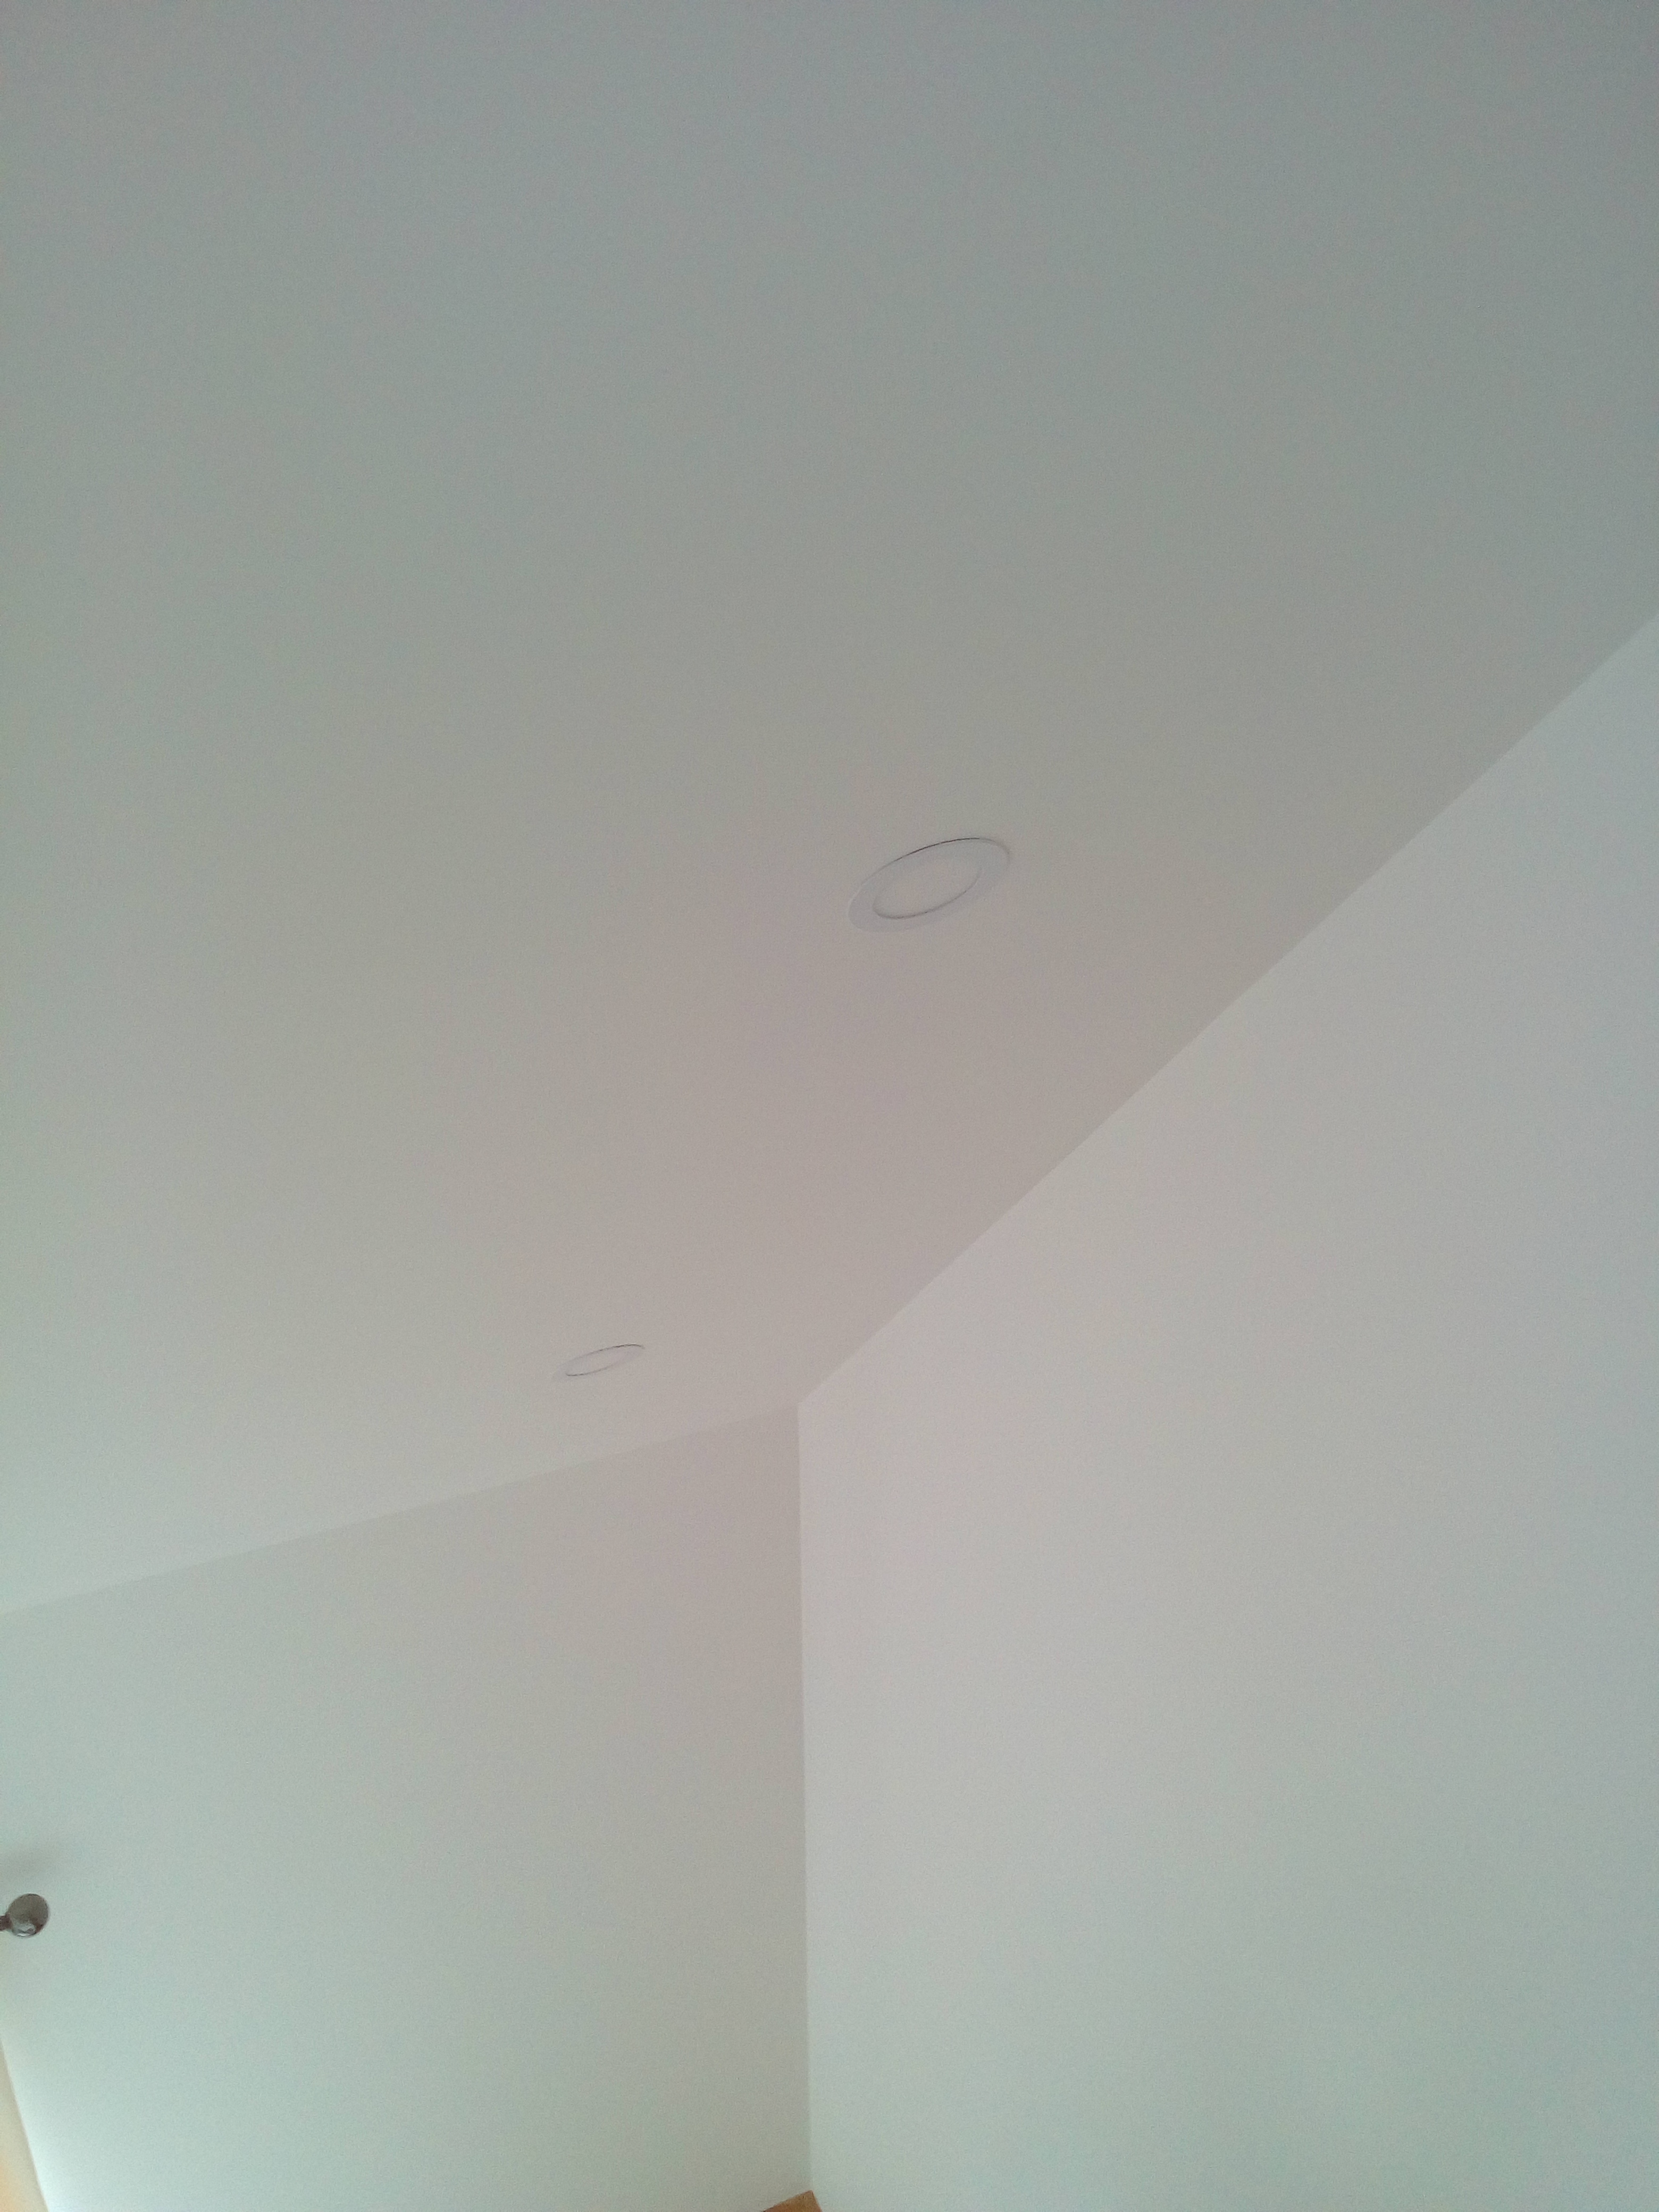
The light they give off is fantastic and they really do seem to disappear into the ceiling, far more so than many standard downlight designs I’ve seen. 


IMG_20170520_101018.thumb.jpg.ea7c805e34ebaa07b2776583b1cce82d.jpg


IMG_20170520_100953.thumb.jpg.565fd6677161d88358080adc23fbd2c1.jpg


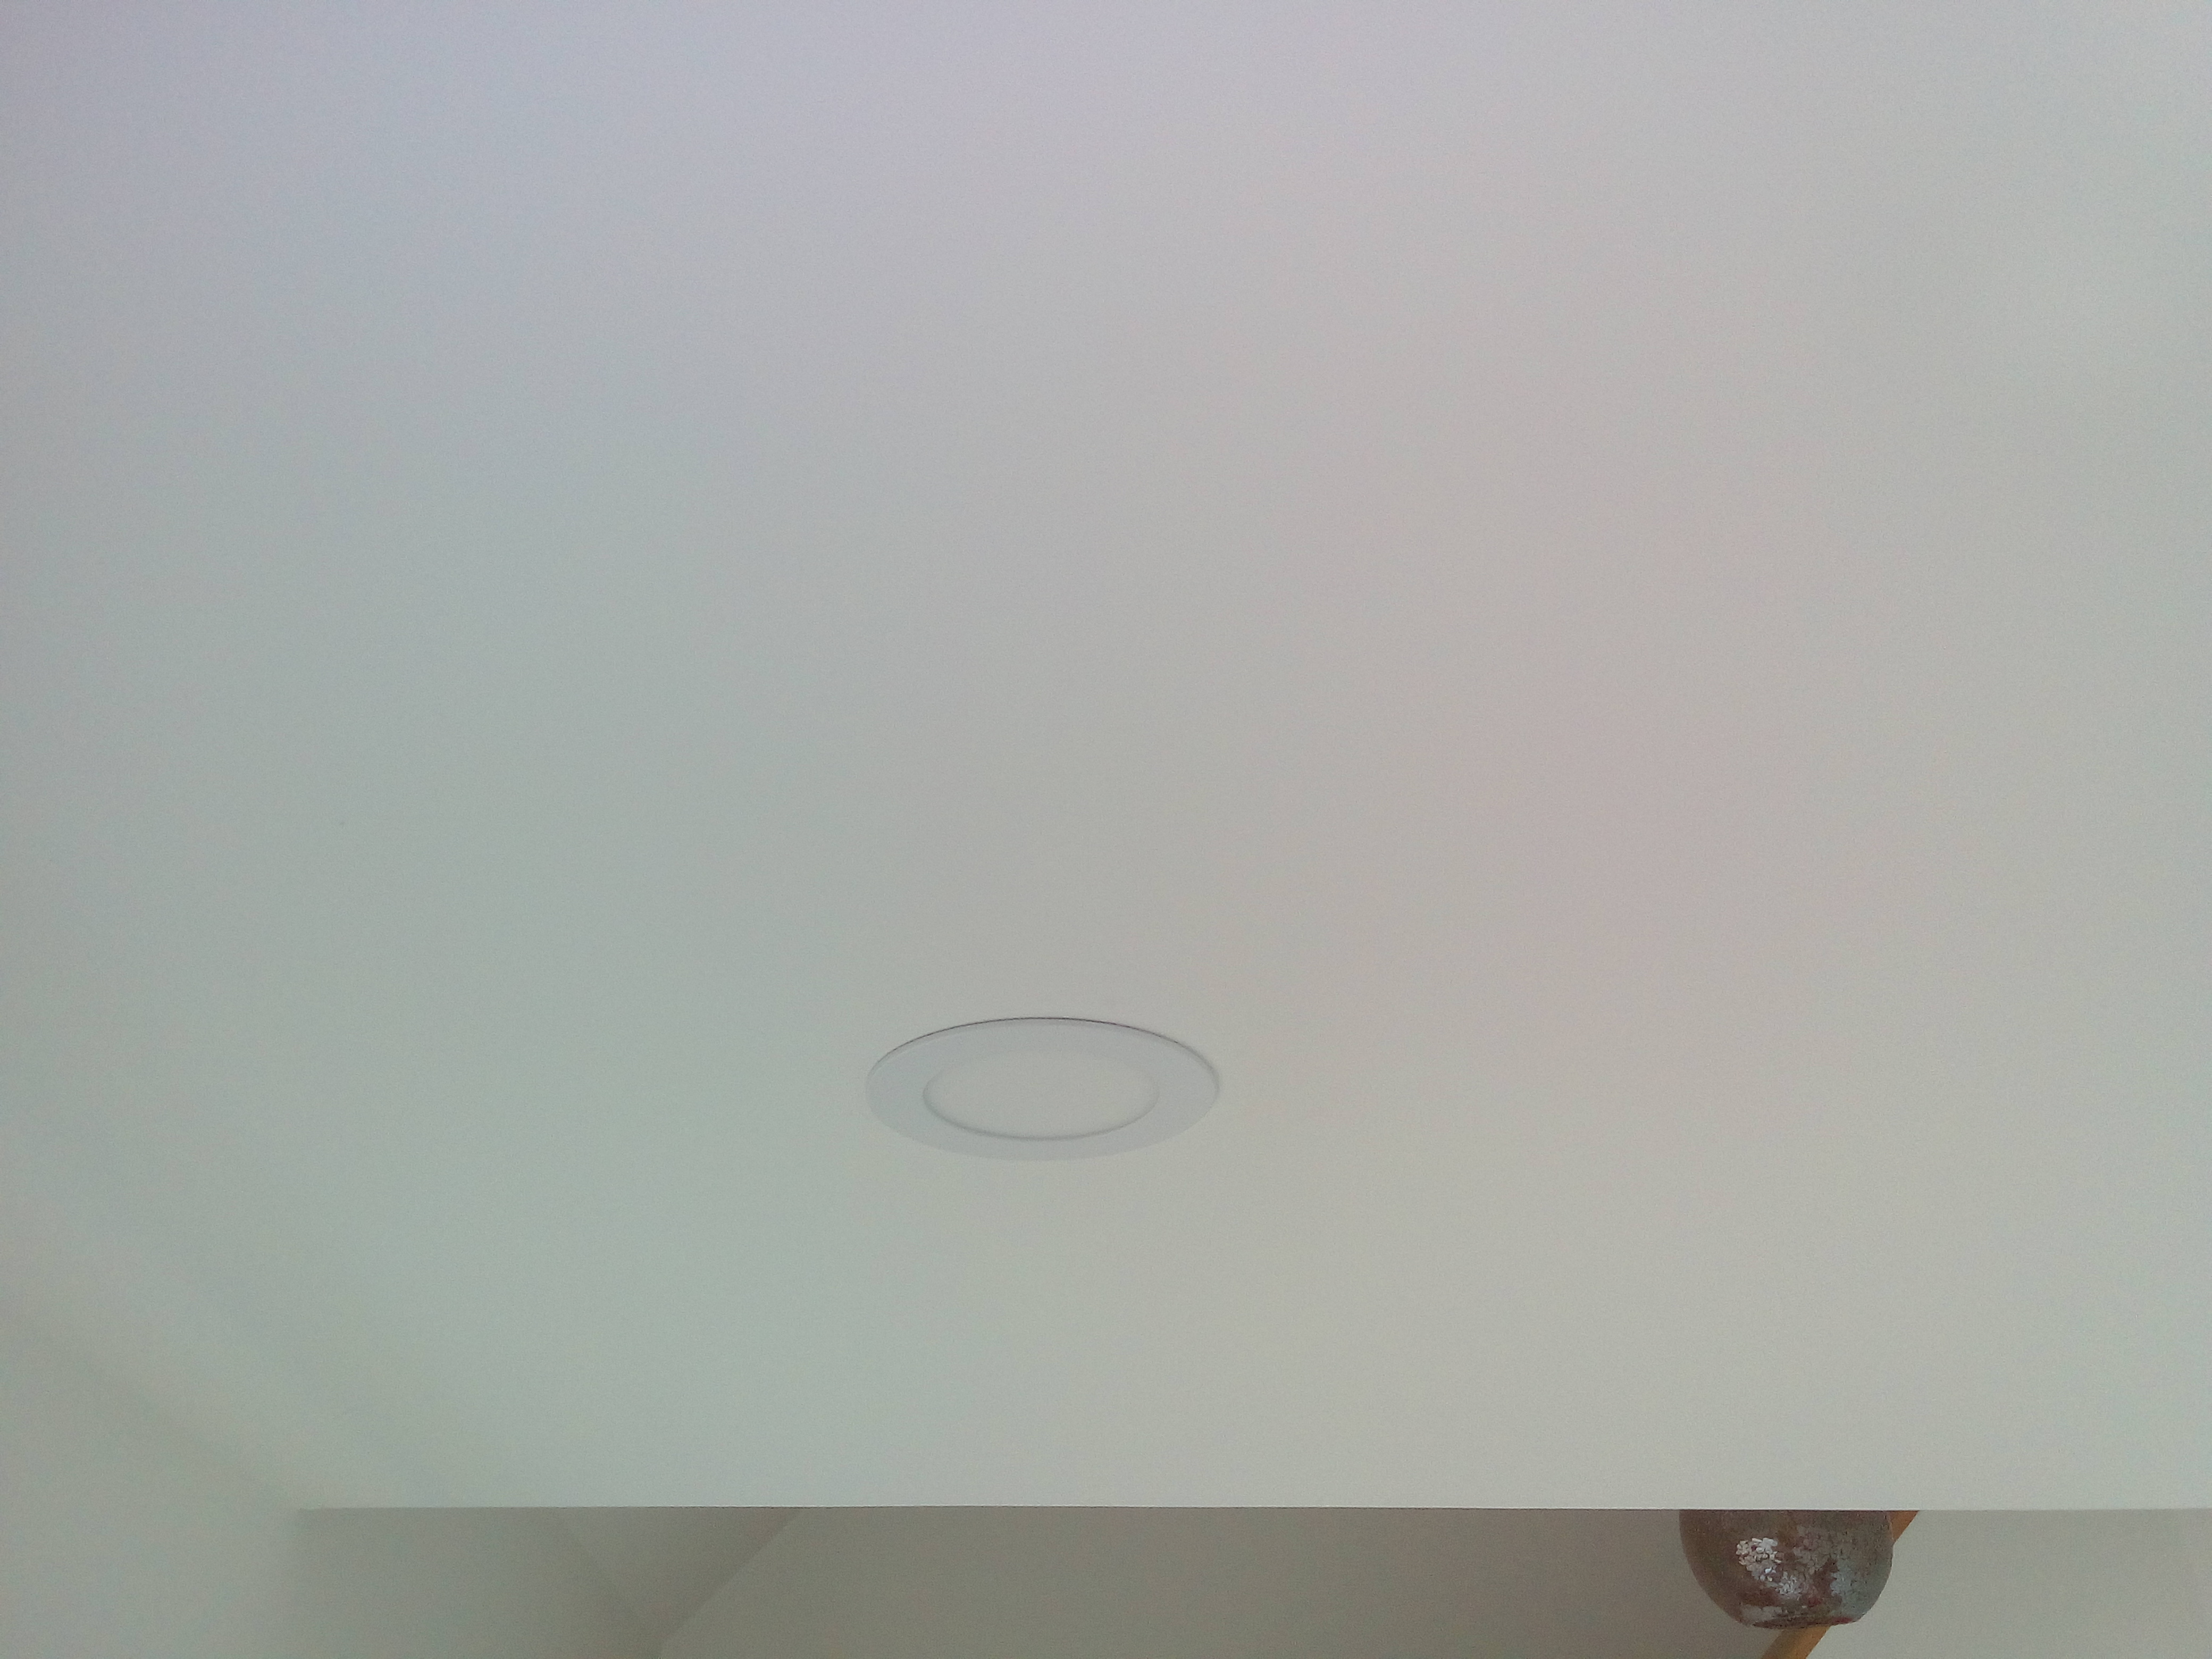
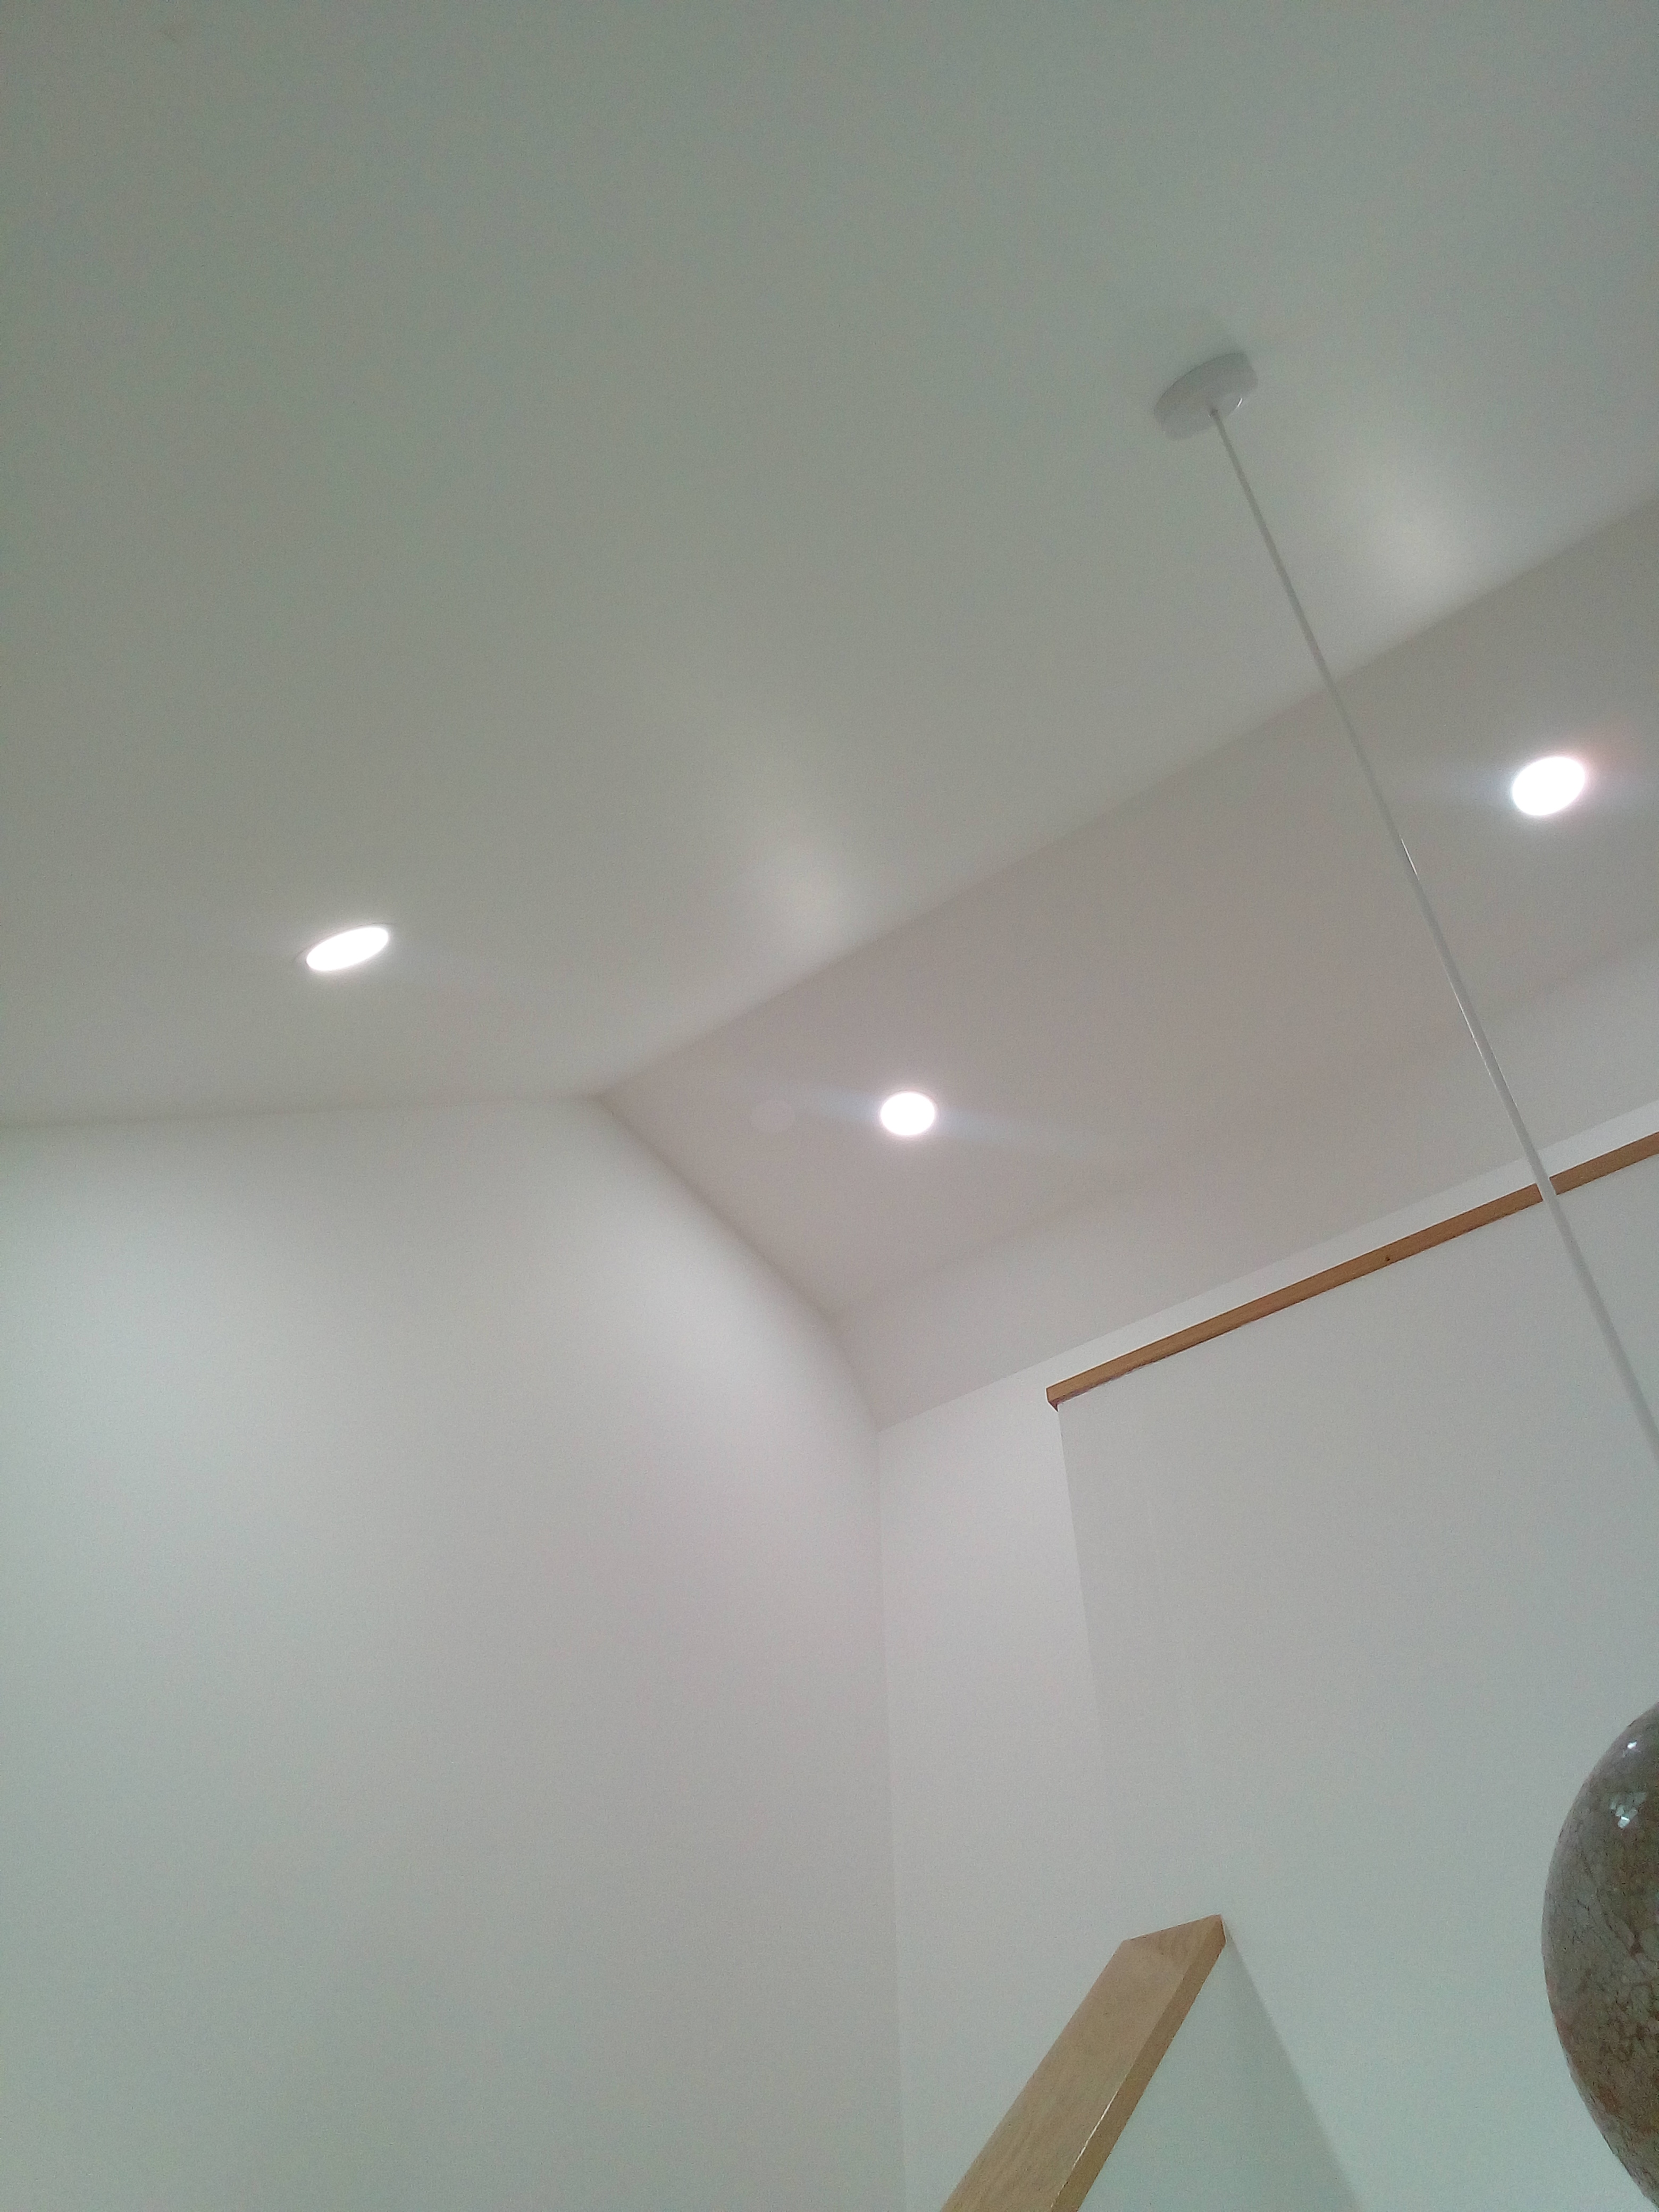
Apologies for the quality of the pictures!


The slimline design was especially helpful when fitting in the coomb ceiling as there was no requirement to hack into the insulation as the fitting sat comfortably in the service void.


IMG_20170520_100841.thumb.jpg.e1fcccdedb2200334a8982a5e587e22b.jpg


Chatting to the electrician, he commented that they had now adopted this type of downlight because of the flexibility it offers.  


Our next luxury was a 5A lighting circuit - fitted in the main room so we can switch off all the occasional lamps used from a master switch.  Simple, effective home automation!


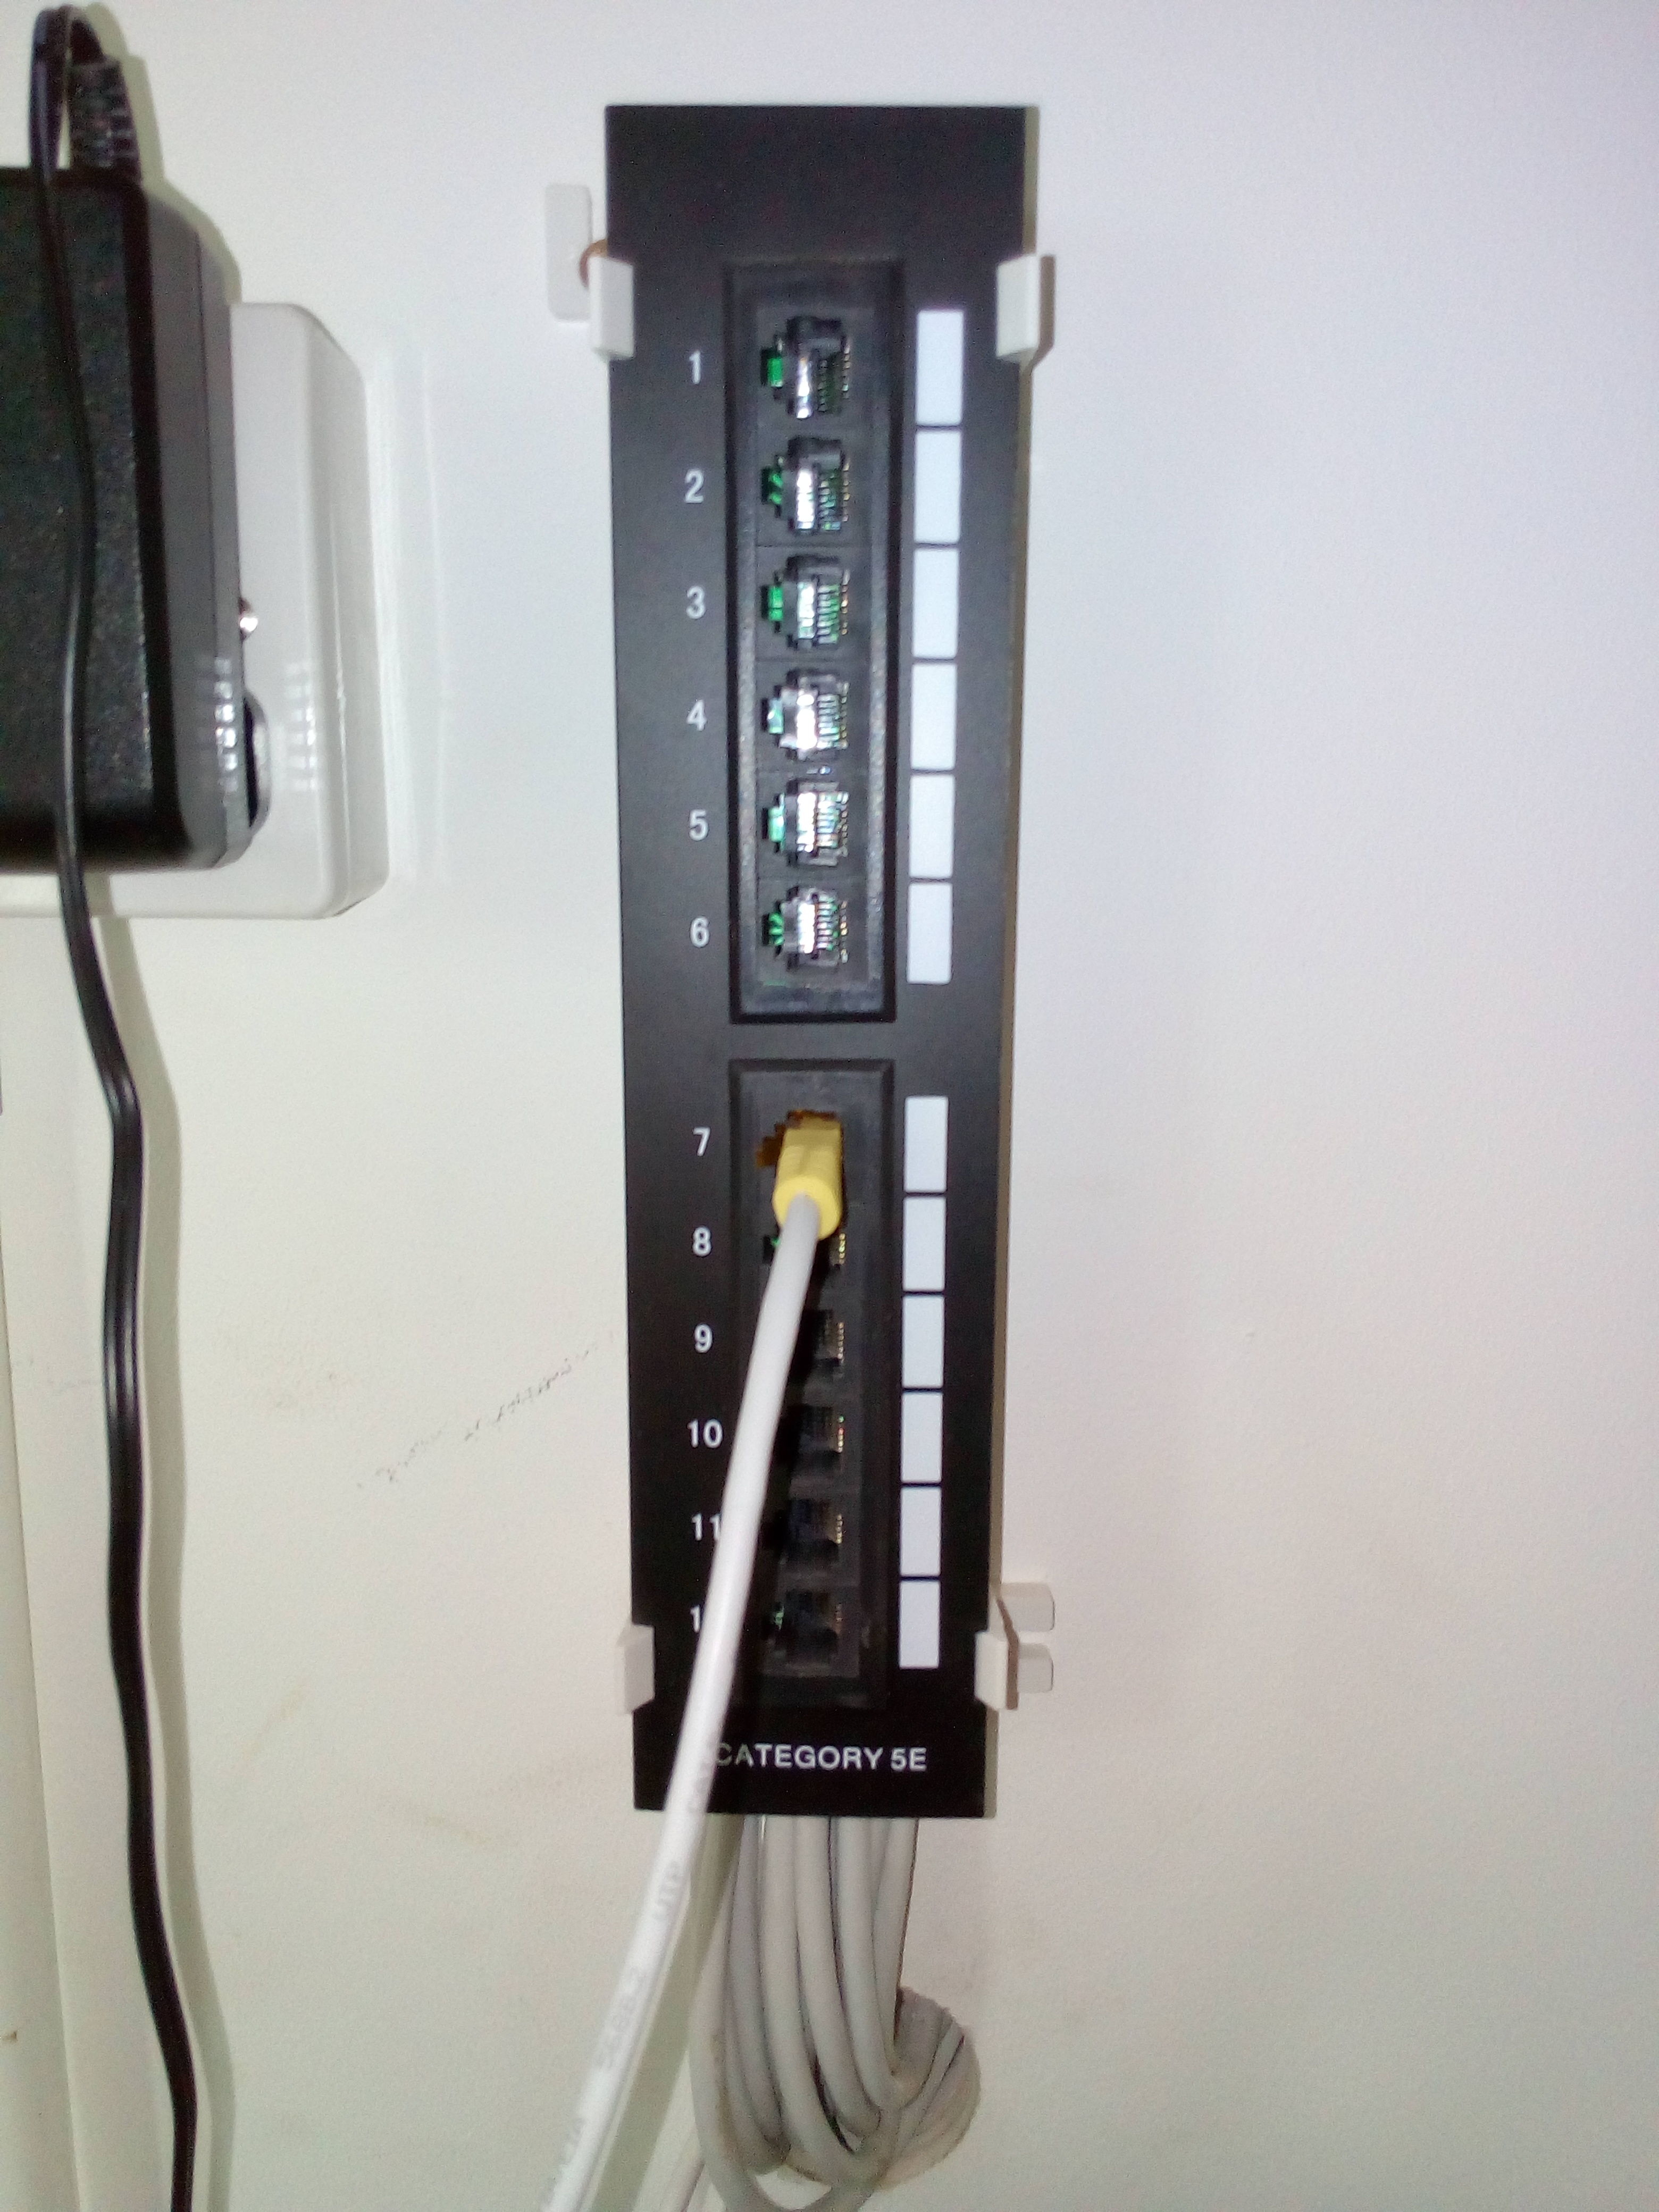
To future proof the house we installed Cat 5E data points to every room, with the hub located in the meter cupboard next to the BT master socket.  I've located my BT router there and currently hard wire direct from an ethernet port on the back of the router to the port on the hub for the data point in use. There are still 2 ethernet ports left on the router, however, if I want to make any more than three of the data point live, I'll need some additional equipment (not really sure what would be required so following various current topics with interest). Whether we end up using all or indeed the majority of the data points, I have no idea, but it certainly made sense to put all the cables in. 


IMG_20170520_101156.thumb.jpg.5bf645e11563e513110454cb1fa45645.jpg


The last electrical item of note was a CO2 detector – a wonderful (Scottish) building regulation designed, I think, as a way for large developers to avoid having to fit a mechanical ventilation system, because householders have a means of monitoring air quality and therefore a way to manage it – by opening windows etc.  


IMG_20170520_101129.thumb.jpg.b7cd7b90d49c621cd7e48957a4f899f5.jpg


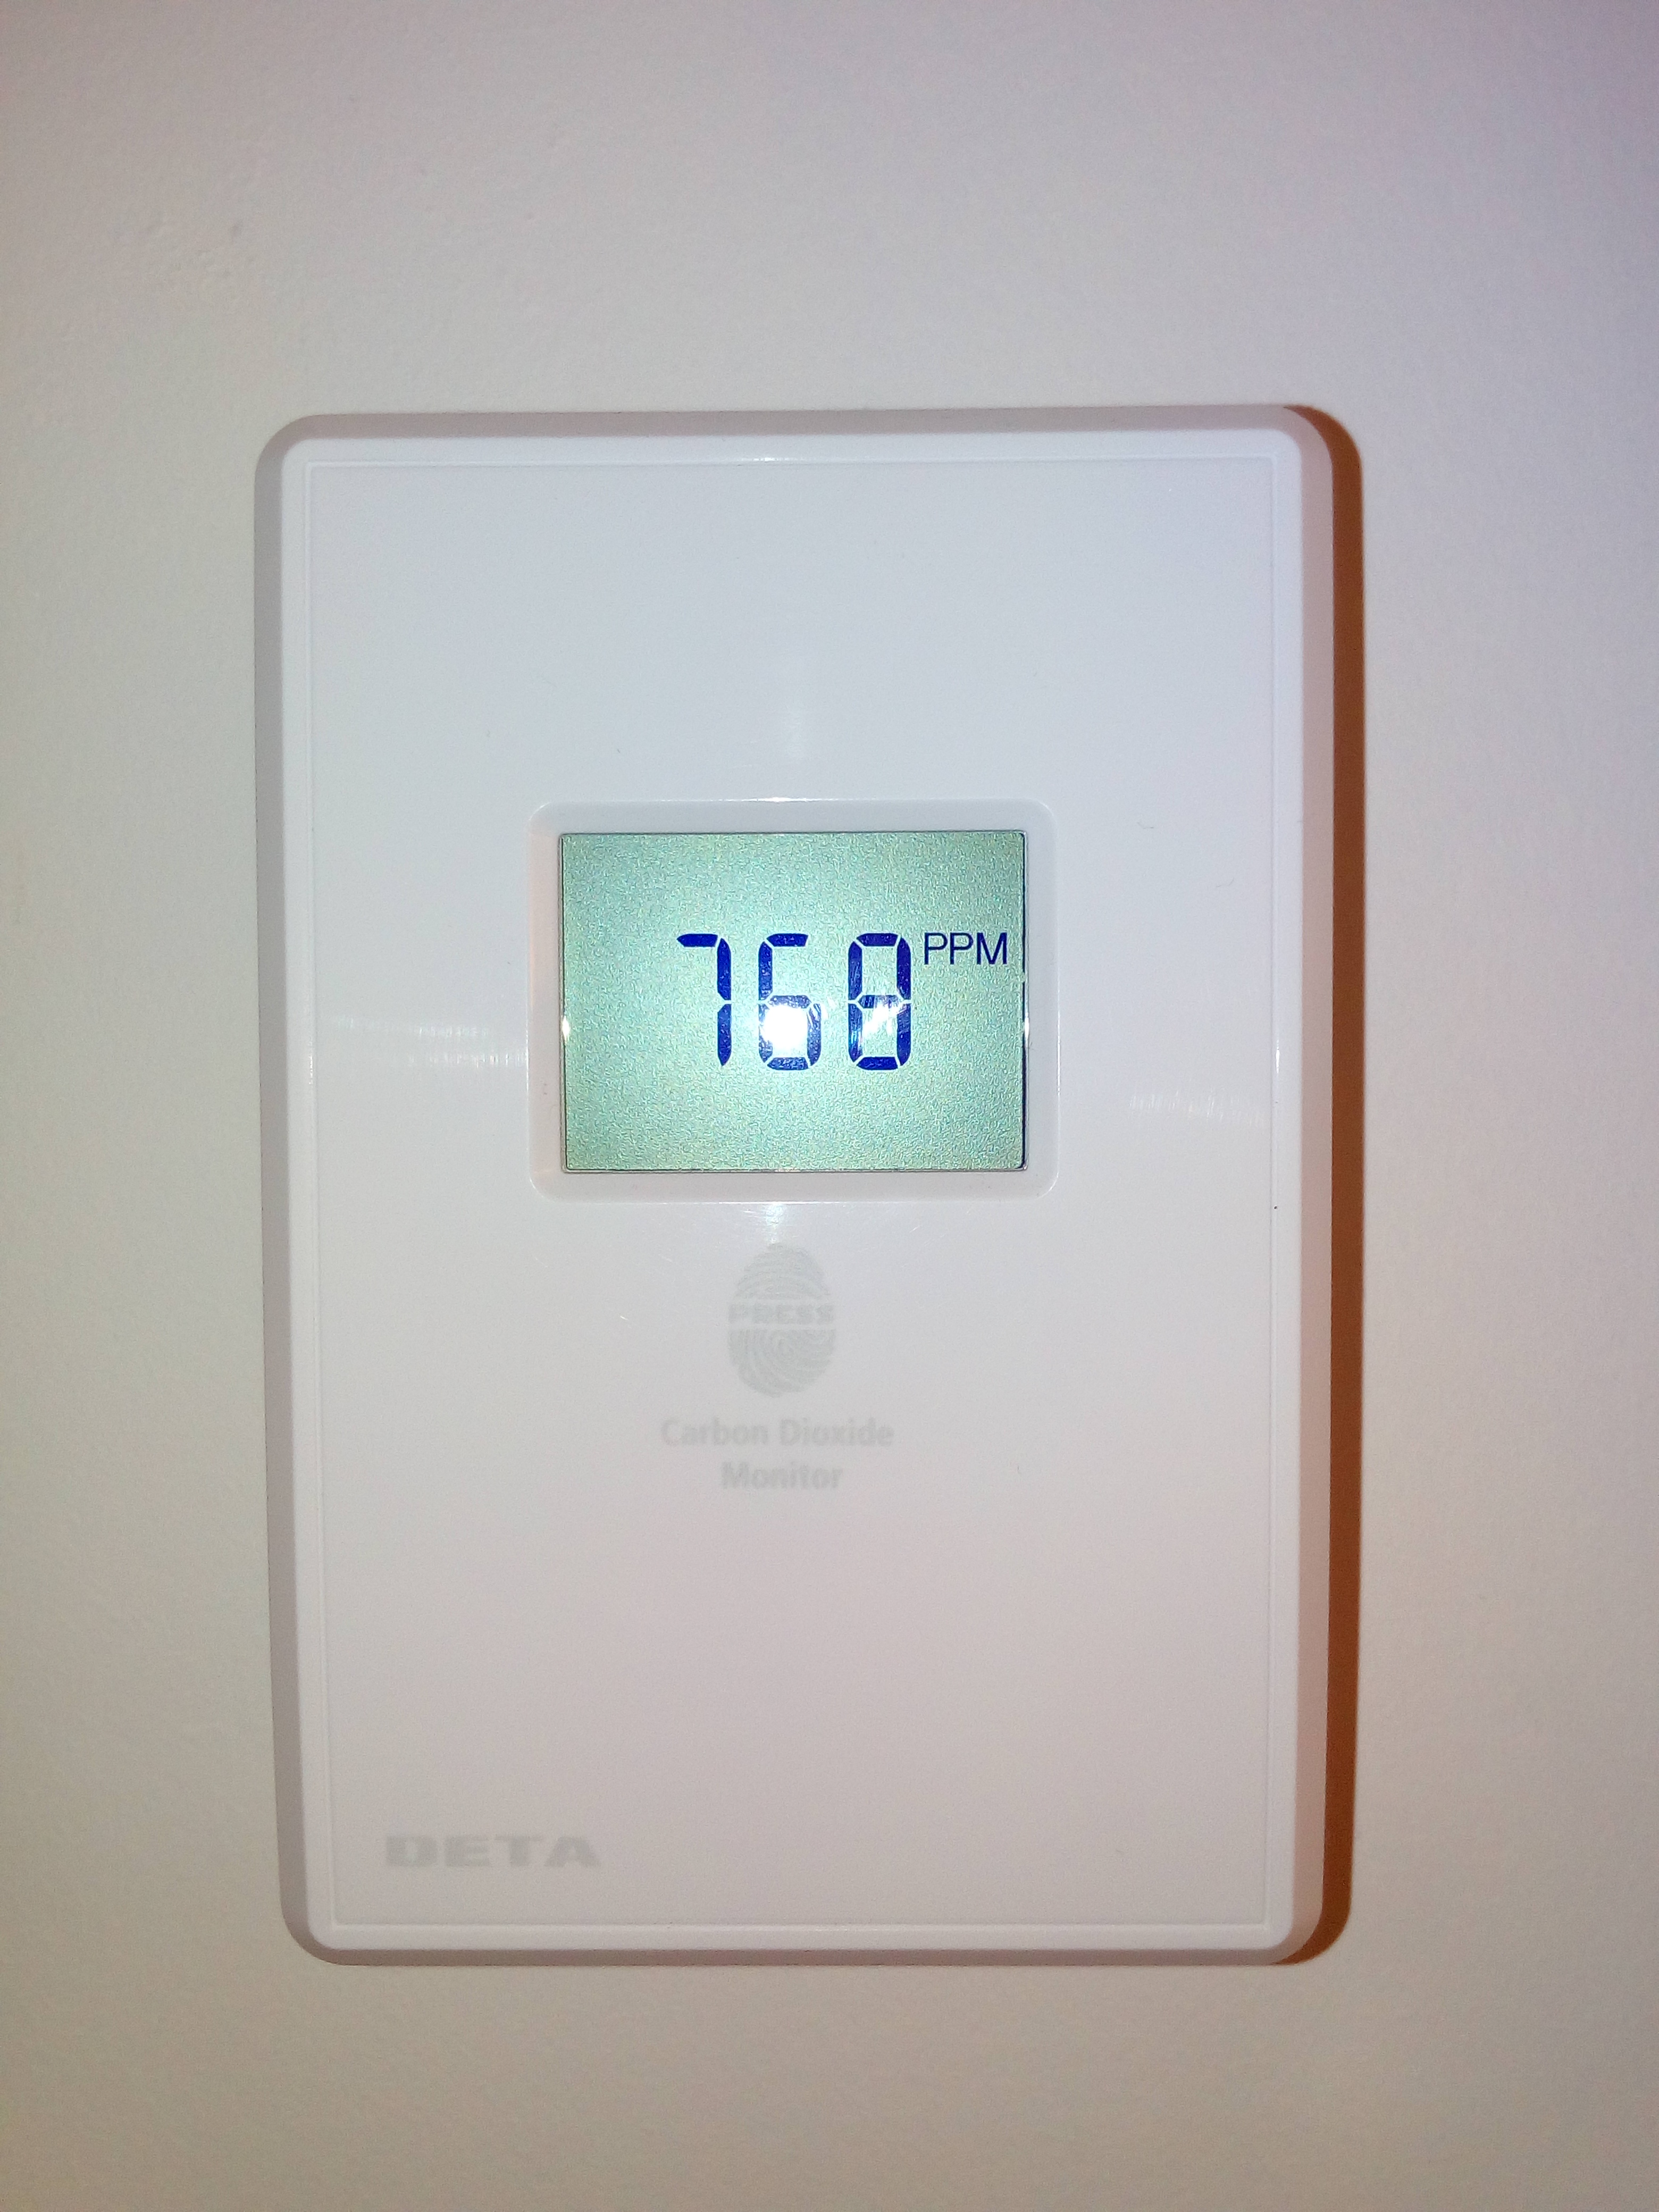
At £200 they are not cheap (but from a developers point of view, a lot cheaper than an MVHR system).


Here is the link to the relevant requirement - look up part 3.14.2


http://www.gov.scot/Topics/Built-Environment/Building/Building-standards/publications/pubtech/th2015domcomp


No doubt this regulation will creep in elsewhere in the UK.  I did have quite lengthy discussions about whether we could use a CO2 sensor in the MVHR to actively manage our ventilation.  The idea of doing so was certainly very positively received and thought to be a far better / more sensible approach, but unfortunately, there was no getting round the installation of a stand alone detector as the Vent Axia sensor that you could integrate with my MVHR didn’t have the specifications required in the regulations.  At £350, it was also significantly more expensive. 


If you read through the specification, you’ll notice that one of the requirements is that the sensor alarm must be capable of being switched off, which does make you wonder, why bother?


Next entry: MVHR final connections and commissioning.


  • Like 2

27 Comments


Recommended Comments


Our house is being done under the 2013 building regs as that is what was in force when our building warrant was submitted, so I escape the need for a CO2 monitor which seems to be new in the 2015 regs.   I agree it might be an interesting thing to have, but my interest does not stretch to £200 worth of interest.


I completed wiring a new build last year and that didn't need it, but the new build I am currently wiring does have to have this CO2 monitor installed.

Link to comment

Looks good, interested in your led lights. Their thin profile is very appealing...


We also need to install into a sloping ceiling (33 degree pitch) and looking to use the lights over our kitchen area / especially the work tops. How good are they at projecting light downwards when installed on a angle?


Link to comment

I've got something similar installed and they have a 170 degree angle and no shadows which make them perfect for sloping ceilings. 

Link to comment
5 hours ago, ProDave said:

Our house is being done under the 2013 building regs as that is what was in force when our building warrant was submitted, so I escape the need for a CO2 monitor which seems to be new in the 2015 regs.   I agree it might be an interesting thing to have, but my interest does not stretch to £200 worth of interest.


I completed wiring a new build last year and that didn't need it, but the new build I am currently wiring does have to have this CO2 monitor installed.


Given we have MVHR, I don't see the CO2 detector as anything other than a waste of money. My proposed alternative was simply a way of getting some useful benefit from it. One of those things I had to fit to get my completion certificate...


4 hours ago, Jimbouk said:

Looks good, interested in your led lights. Their thin profile is very appealing...


We also need to install into a sloping ceiling (33 degree pitch) and looking to use the lights over our kitchen area / especially the work tops. How good are they at projecting light downwards when installed on a angle?


Can't say I've noticed any issues in terms of shadows / not illuminating part of the area beneath the coomb ceiling.


We fitted the lights in our kitchen (12) and its like Blackpool Illuminations when they are on!


IMG_20170520_173336.thumb.jpg.d5d31005a25aed4d83913bfad7b5f3ce.jpg


IMG_20170520_173450.thumb.jpg.57ce623b6e13dd44c25994458e7b3852.jpg

  • Like 1
Link to comment

I too am a convert. Those flat panel Led's have an amazing dispersion and seem to light the room from everywhere. I put 5 of the 9w ones in the apex of my boys attic room and jeeee-sus they're like having your X-ray taken :). They really do make you wonder why you'd ever fit a regular spot again, but I don't know how you go about using them below a habitable space for fire regs etc. Anyone?

Jason, I'm loving the way your kitchen run is framed, I'll be showing that to my future customers, looks very neat and does away with the shitty dust magnet gap always left between the unit tops and the ceiling. Who's idea was it? And more importantly, who did the design logistics getting all that in snug and neat? ?

Link to comment

Nice lights. Might just have to copy you on this one.

As an aside, do you happen to know what voltage the driver delivers? I could do to revamp the lighting on my boat and if these are 12v units they would be quite snazzy.

Link to comment
7 hours ago, Nickfromwales said:

I too am a convert. Those flat panel Led's have an amazing dispersion and seem to light the room from everywhere. I put 5 of the 9w ones in the apex of my boys attic room and jeeee-sus they're like having your X-ray taken :). They really do make you wonder why you'd ever fit a regular spot again, but I don't know how you go about using them below a habitable space for fire regs etc. Anyone?

Jason, I'm loving the way your kitchen run is framed, I'll be showing that to my future customers, looks very neat and does away with the shitty dust magnet gap always left between the unit tops and the ceiling. Who's idea was it? And more importantly, who did the design logistics getting all that in snug and neat? ?


Ive been thinking the same about those led lights, I can't see how you can use them in any ground floor rooms as they have no fire rating? 

Link to comment
53 minutes ago, Barney12 said:


Ive been thinking the same about those led lights, I can't see how you can use them in any ground floor rooms as they have no fire rating? 


Aico FireCap would fit over it with room to spare. I would fit the transformer to the back of the light and it will be a neat package. 


If they are the same as the ones I have then they are a milled aluminum casing anyway that would effectively work as a solid barrier to flame. 


Begs the the question though about MVHR as most of the terminals and ceiling manifolds are plastic these days so definitely not fire resistant.   

Link to comment
11 minutes ago, PeterW said:

Begs the the question though about MVHR as most of the terminals and ceiling manifolds are plastic these days so definitely not fire resistant. 

Yes, another case of the left hand and the right being disconnected :/

1 hour ago, Barney12 said:


Ive been thinking the same about those led lights, I can't see how you can use them in any ground floor rooms as they have no fire rating? 

I'm mostly retrofit ( refurbishment work ) so a pita. I'd have thought that making fire boxes out of FR plasterboard whilst at the first fix stage would suffice where space is limited, but fire hoods, as above, would be another option just annoying that these units don't appear to have been scrutinised / approved by our regulatory overlords. :(

Link to comment
28 minutes ago, Nickfromwales said:

Yes, another case of the left hand and the right being disconnected :/

I'm mostly retrofit ( refurbishment work ) so a pita. I'd have thought that making fire boxes out of FR plasterboard whilst at the first fix stage would suffice where space is limited, but fire hoods, as above, would be another option just annoying that these units don't appear to have been scrutinised / approved by our regulatory overlords. :(


Yes, and by the time you've added the cost of the firehoods you're back to similar pricing of fire rated units :/ 

Link to comment

Aren't these I Lumos fittings the same make as @jamiehamy's switches  that his sparks wouldn't fit/warrant over concerns about CE marking etc covered in another thread?

Link to comment
15 minutes ago, Barney12 said:


Yes, and by the time you've added the cost of the firehoods you're back to similar pricing of fire rated units :/ 

I'd favour looks over price for the sake of £10-15 more per fitting ;). Fabric first, but the finished look is everything. 


Link to comment

A few comments so I'll answer the LED ones first.


@Nickfromwales @PeterW @Barney12 @Onoff


I initially bought a couple of samples to test for myself  - i.e. run for 8 hours to see if there was any issue with overheating or radio interference.  Satisfied, I then discussed with the electrician, who tested them and was happy to install them.  Can't comment on the results others have had when testing other electrical equipment, but I'm satisfied on the basis of my own and the electricians input.


The lights have milled aluminium casings and inset diffuser lens, which provides an initial solid barrier to flame, although I've not fire tested a fitting yet to see how long it would last.  Our installation is perhaps a little different as although the majority of lights are fitted to a ceiling where the 'room' above (mezzanine study) is open to the main living area, just as the kitchen is.  The remaining lights (over the stairs / upstairs) have no rooms above and are simply fitted in the service void.  


Our main reason for fitting them in the kitchen was asthetics.


@Crofter Looking at the driver, DC output 15 - 28V


10 hours ago, Nickfromwales said:

Jason, I'm loving the way your kitchen run is framed, I'll be showing that to my future customers, looks very neat and does away with the shitty dust magnet gap always left between the unit tops and the ceiling. Who's idea was it? And more importantly, who did the design logistics getting all that in snug and neat? ?


I first saw the idea (recessed bank of larder units) in one of the builders houses, and simply extended the idea to frame that run of units.  I'm pretty sure we'd also seen some pictures in brochures as well. We had initially been thinking about a straight run of larder units on that wall, but decided that we wouldn't have enough worktop space if we did that and settled on the design you see. Partitions / framing were built around the units, so the kitchen units went in a lot earlier than would normally be the case.  A 5 mm fillet of timber was fixed to the outside of the units to create a shadow gap between the partitions and units.


P9220010.thumb.JPG.e088f98063bc1fe0f0c903457703590e.JPG


P9220011.thumb.JPG.4205d6c2c05db081011413ec12017a5b.JPG


  • Like 1
Link to comment

Yes - taped and filled / decorated after. I did take the precaution of removing all of the doors / drawers whilst this was being done.

Link to comment
5 hours ago, Stones said:

 The lights have milled aluminium casings and inset diffuser lens, which provides an initial solid barrier to flame, although I've not fire tested a fitting yet to see how long it would last. 


Interesting point though as they are a solid aluminum fixture so would reasonably be expected to be min 30min fire proof anyway. 


Would be interesting to see if something like Zeroflame used on them would provide any additional protection. 


  • Like 1
Link to comment
19 hours ago, Stones said:

A 5 mm fillet of timber was fixed to the outside of the units to create a shadow gap between the partitions and units.

B|. All good stuff. Cheers. 

Link to comment

We're looking at the 6w downlights mentioned as they look fantastic in your build.. Did you opt for the warm or pure white version? 

Link to comment
On 21/05/2017 at 08:03, Crofter said:

As an aside, do you happen to know what voltage the driver delivers? I could do to revamp the lighting on my boat and if these are 12v units they would be quite snazzy.


Most likely they're not a specific voltage but a specific current (perhaps 350 or 700 mA). Running LEDs from a constant voltage source is not likely to be very satisfactory, either they'll be too dim or they'll go pop, maybe as the temperature changes.

Link to comment

They come with a driver and the label on the driver would have the info. Unfortunately I can't find a clear enough photo on the web.

Link to comment

these are just the same chinesium edge-lit panels you can get everywhere from B&Q to Ebay. I've just opened a B&Q one I had sitting here which is 5W IIRC and it's 380lm with a 245mA driver.

Link to comment

Like wise we have a mix of very similar 3 W and 6 W LED edge-lit panels here, been fine so far.  They all seem to draw ~ 250 mA to 300 mA, from a constant current source, with the voltage at the 3 W one being around 11 V, and the voltage at the 6 W ones being around 22 V.  Some of these panels are supplied with constant current drivers that can be a bit noisy, in terms of RF interference, some come with drivers that seem fine.  We have some warm white ones that are fine in the dining area, and cool white ones in the kitchen.  The cool white ones seem marginally brighter, and give a good light for cooking.

Link to comment

Whats everyones plans when these fittings die? particularly if they have a proprietary cut out size.


Don't get me wrong, they look very sleek and an all-in-one fitting seems like a good idea... just thinking this Vs. a traditional F/R GU10 can + replaceable LED bulb... I guess you just chop it off and bin it?

Link to comment
11 hours ago, Ed Davies said:

Most likely they're not a specific voltage but a specific current (perhaps 350 or 700 mA). Running LEDs from a constant voltage source is not likely to be very satisfactory, either they'll be too dim or they'll go pop, maybe as the temperature changes.


True for the vast majority of LED downlights, although some LED light sources (LED strip, in particular) need 12V or 24V.

Link to comment
28 minutes ago, MrMagic said:

Whats everyones plans when these fittings die? particularly if they have a proprietary cut out size.


Don't get me wrong, they look very sleek and an all-in-one fitting seems like a good idea... just thinking this Vs. a traditional F/R GU10 can + replaceable LED bulb... I guess you just chop it off and bin it?


I've taken one of these apart to see what's in it, and it's just a bit of LED strip wrapped around the edge of a diffuser.  There's nothing else inside the light itself, so my guess is that the most likely failure mode might be the driver.  I had problems with RF interference from the drivers on the lights we bought, so I binned all the drivers and fed the lights with low voltage DC (12 V for the 3 W lights, 24 V for the 6 W lights) using the same value of current limiting resistor at each light (6R8 ohms, 1 W).  This very slightly reduces the efficiency (there's a loss of ~0.6 W in the resistor, versus a loss of ~0.5 W in the old driver, not enough of a difference to lose any sleep over), but means that I can use a single supply to run lots of lights, and also means that replacing that supply in future should be easy.


I also ordered lots of spares, as these lights were pretty cheap, plus I wasn't sure whether to use warm white or cool white, so I have a box with over a dozen assorted spares.  I put these lights in around 4 years ago now, and they are all still working fine.  They don't noticeably warm up in use, which bodes well for them having a long life, as heat is the enemy of LEDs, and one reason why some LEDs that have been adapted to fit things like halogen fittings seem to have a fairly high failure rate (halogens like to run hot, so halogen fittings aren't designed to keep lamps cool).


The connection between the light and the driver is a standard low voltage DC power plug and socket (a 5.5mm x 2.1mm one) so it's easy to swap a light over, should one fail.

Link to comment

Create an account or sign in to comment

You need to be a member in order to leave a comment

Create an account

Sign up for a new account in our community. It's easy!

Register a new account

Sign in

Already have an account? Sign in here.

Sign In Now
×
×
  • Create New...