
Part 17 - Kitchen, Utility and Tiling

Entry posted by Stones
2789 views
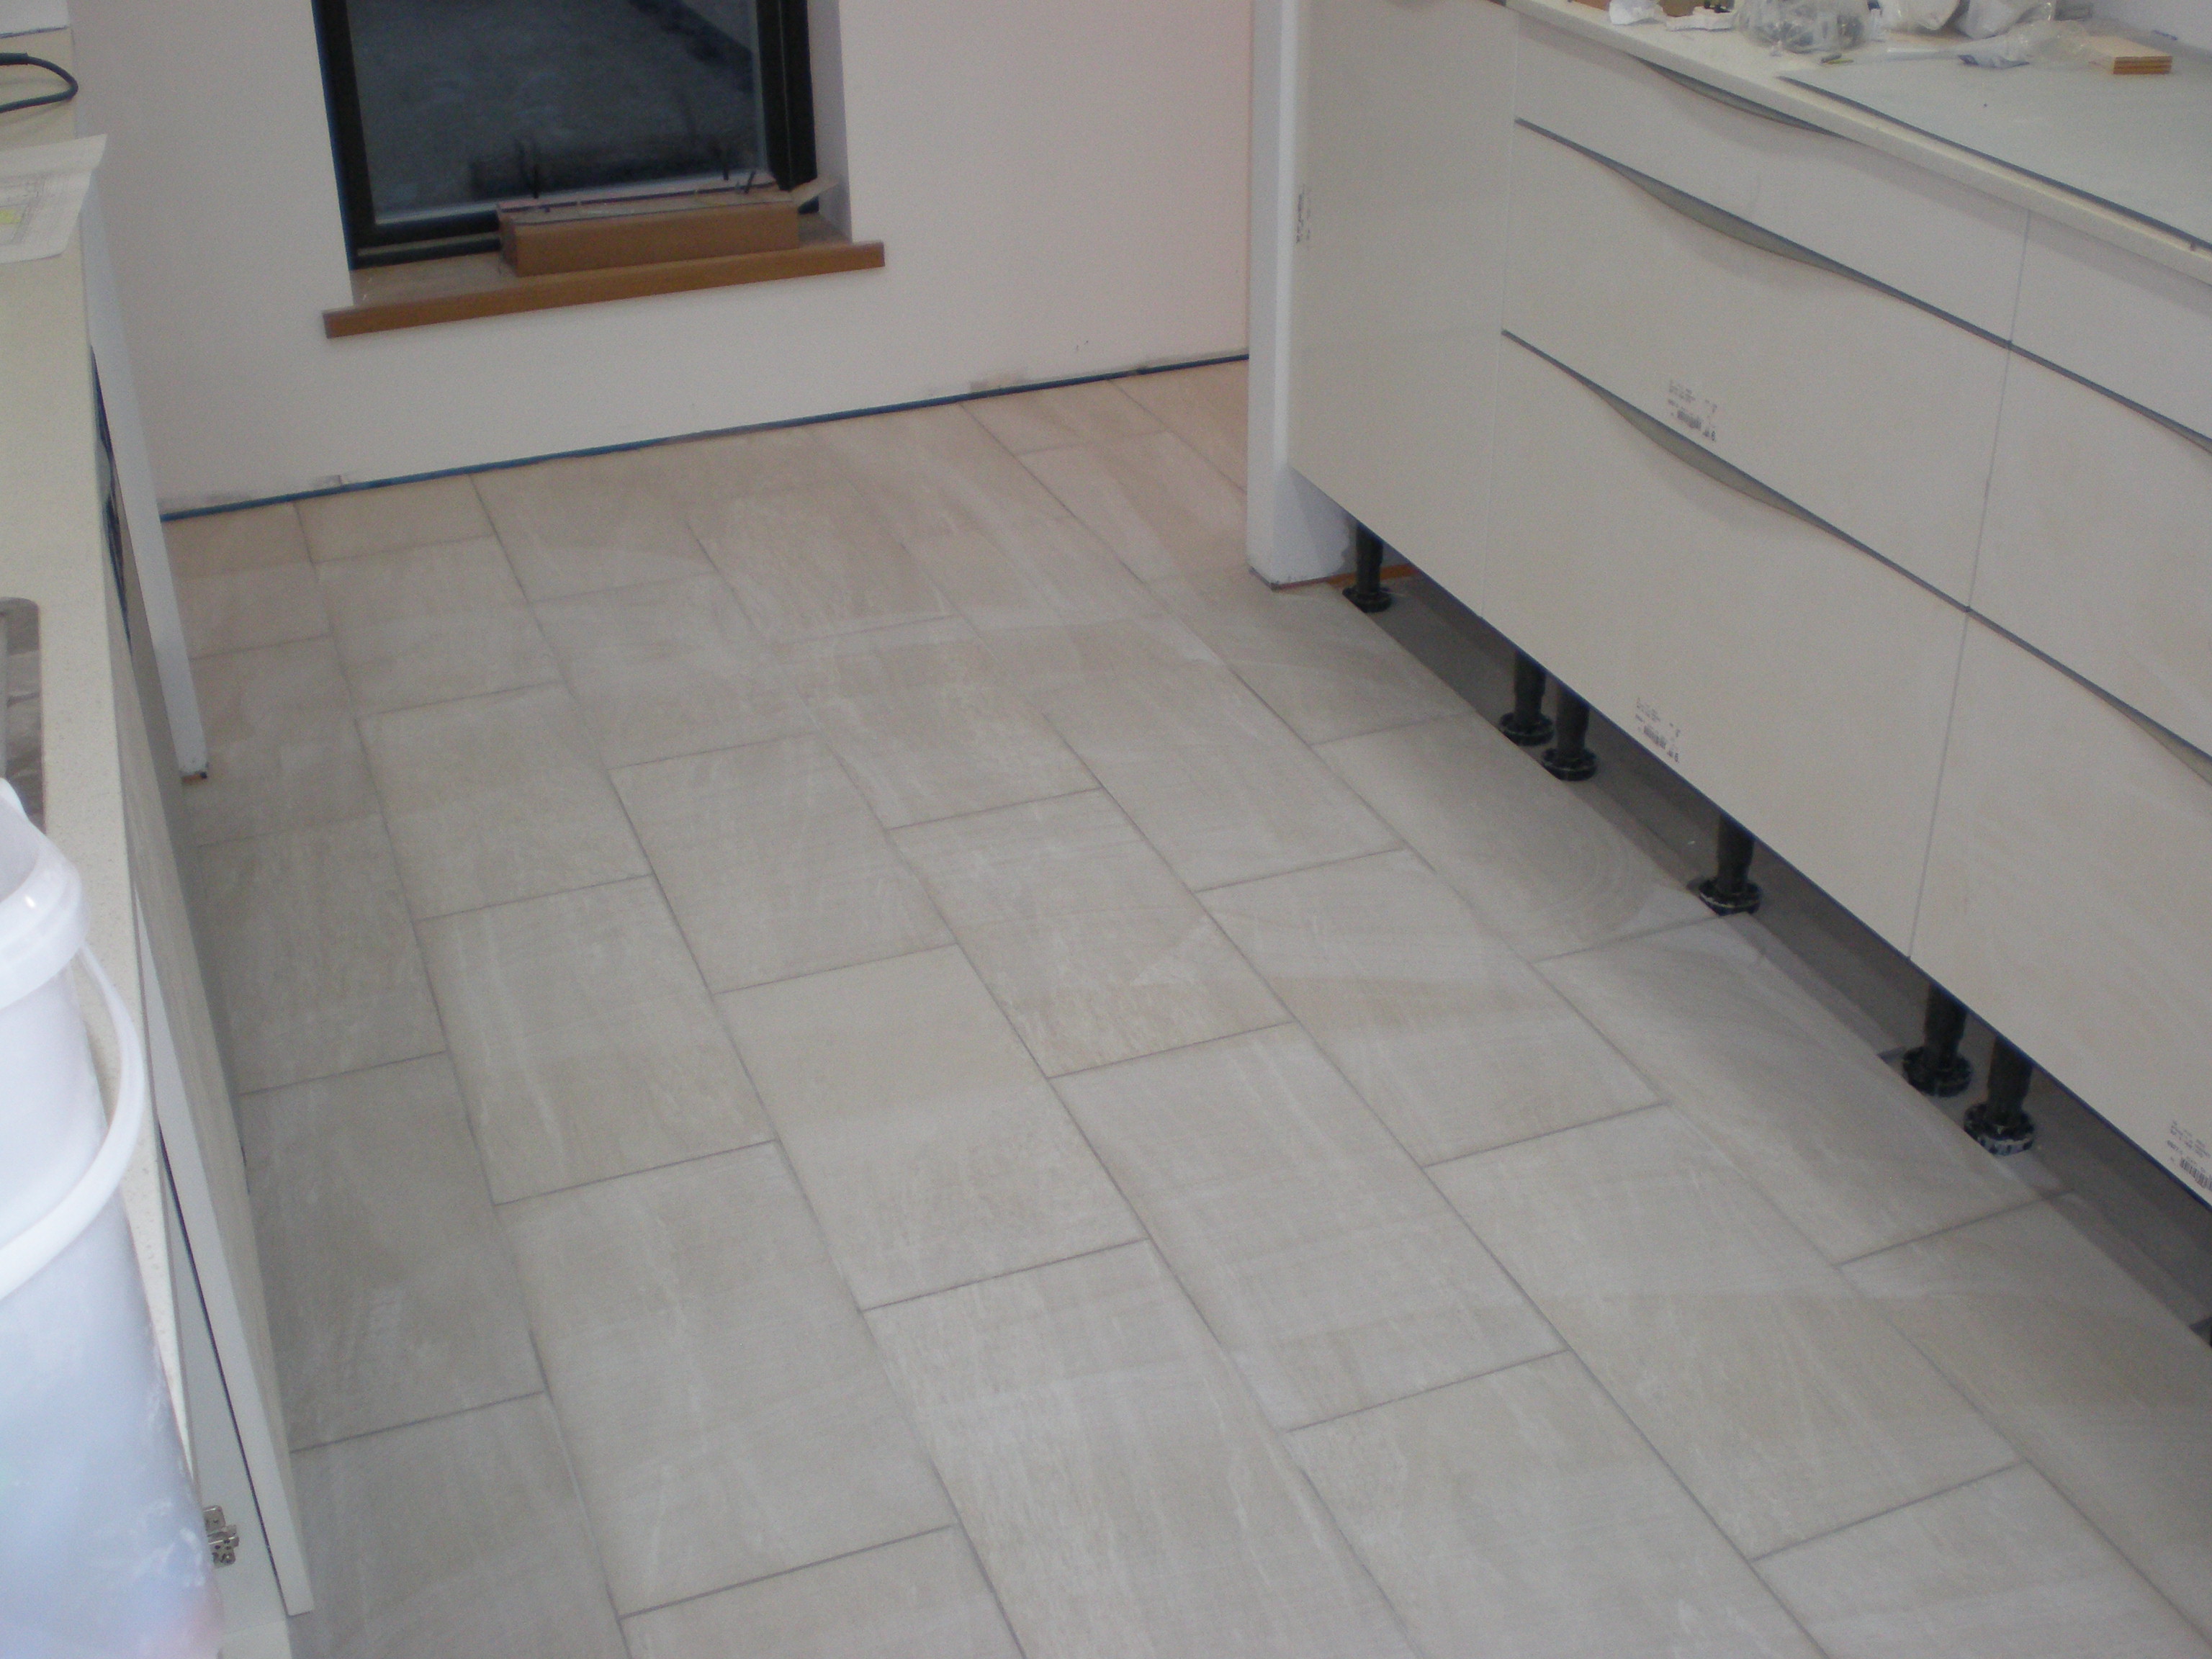
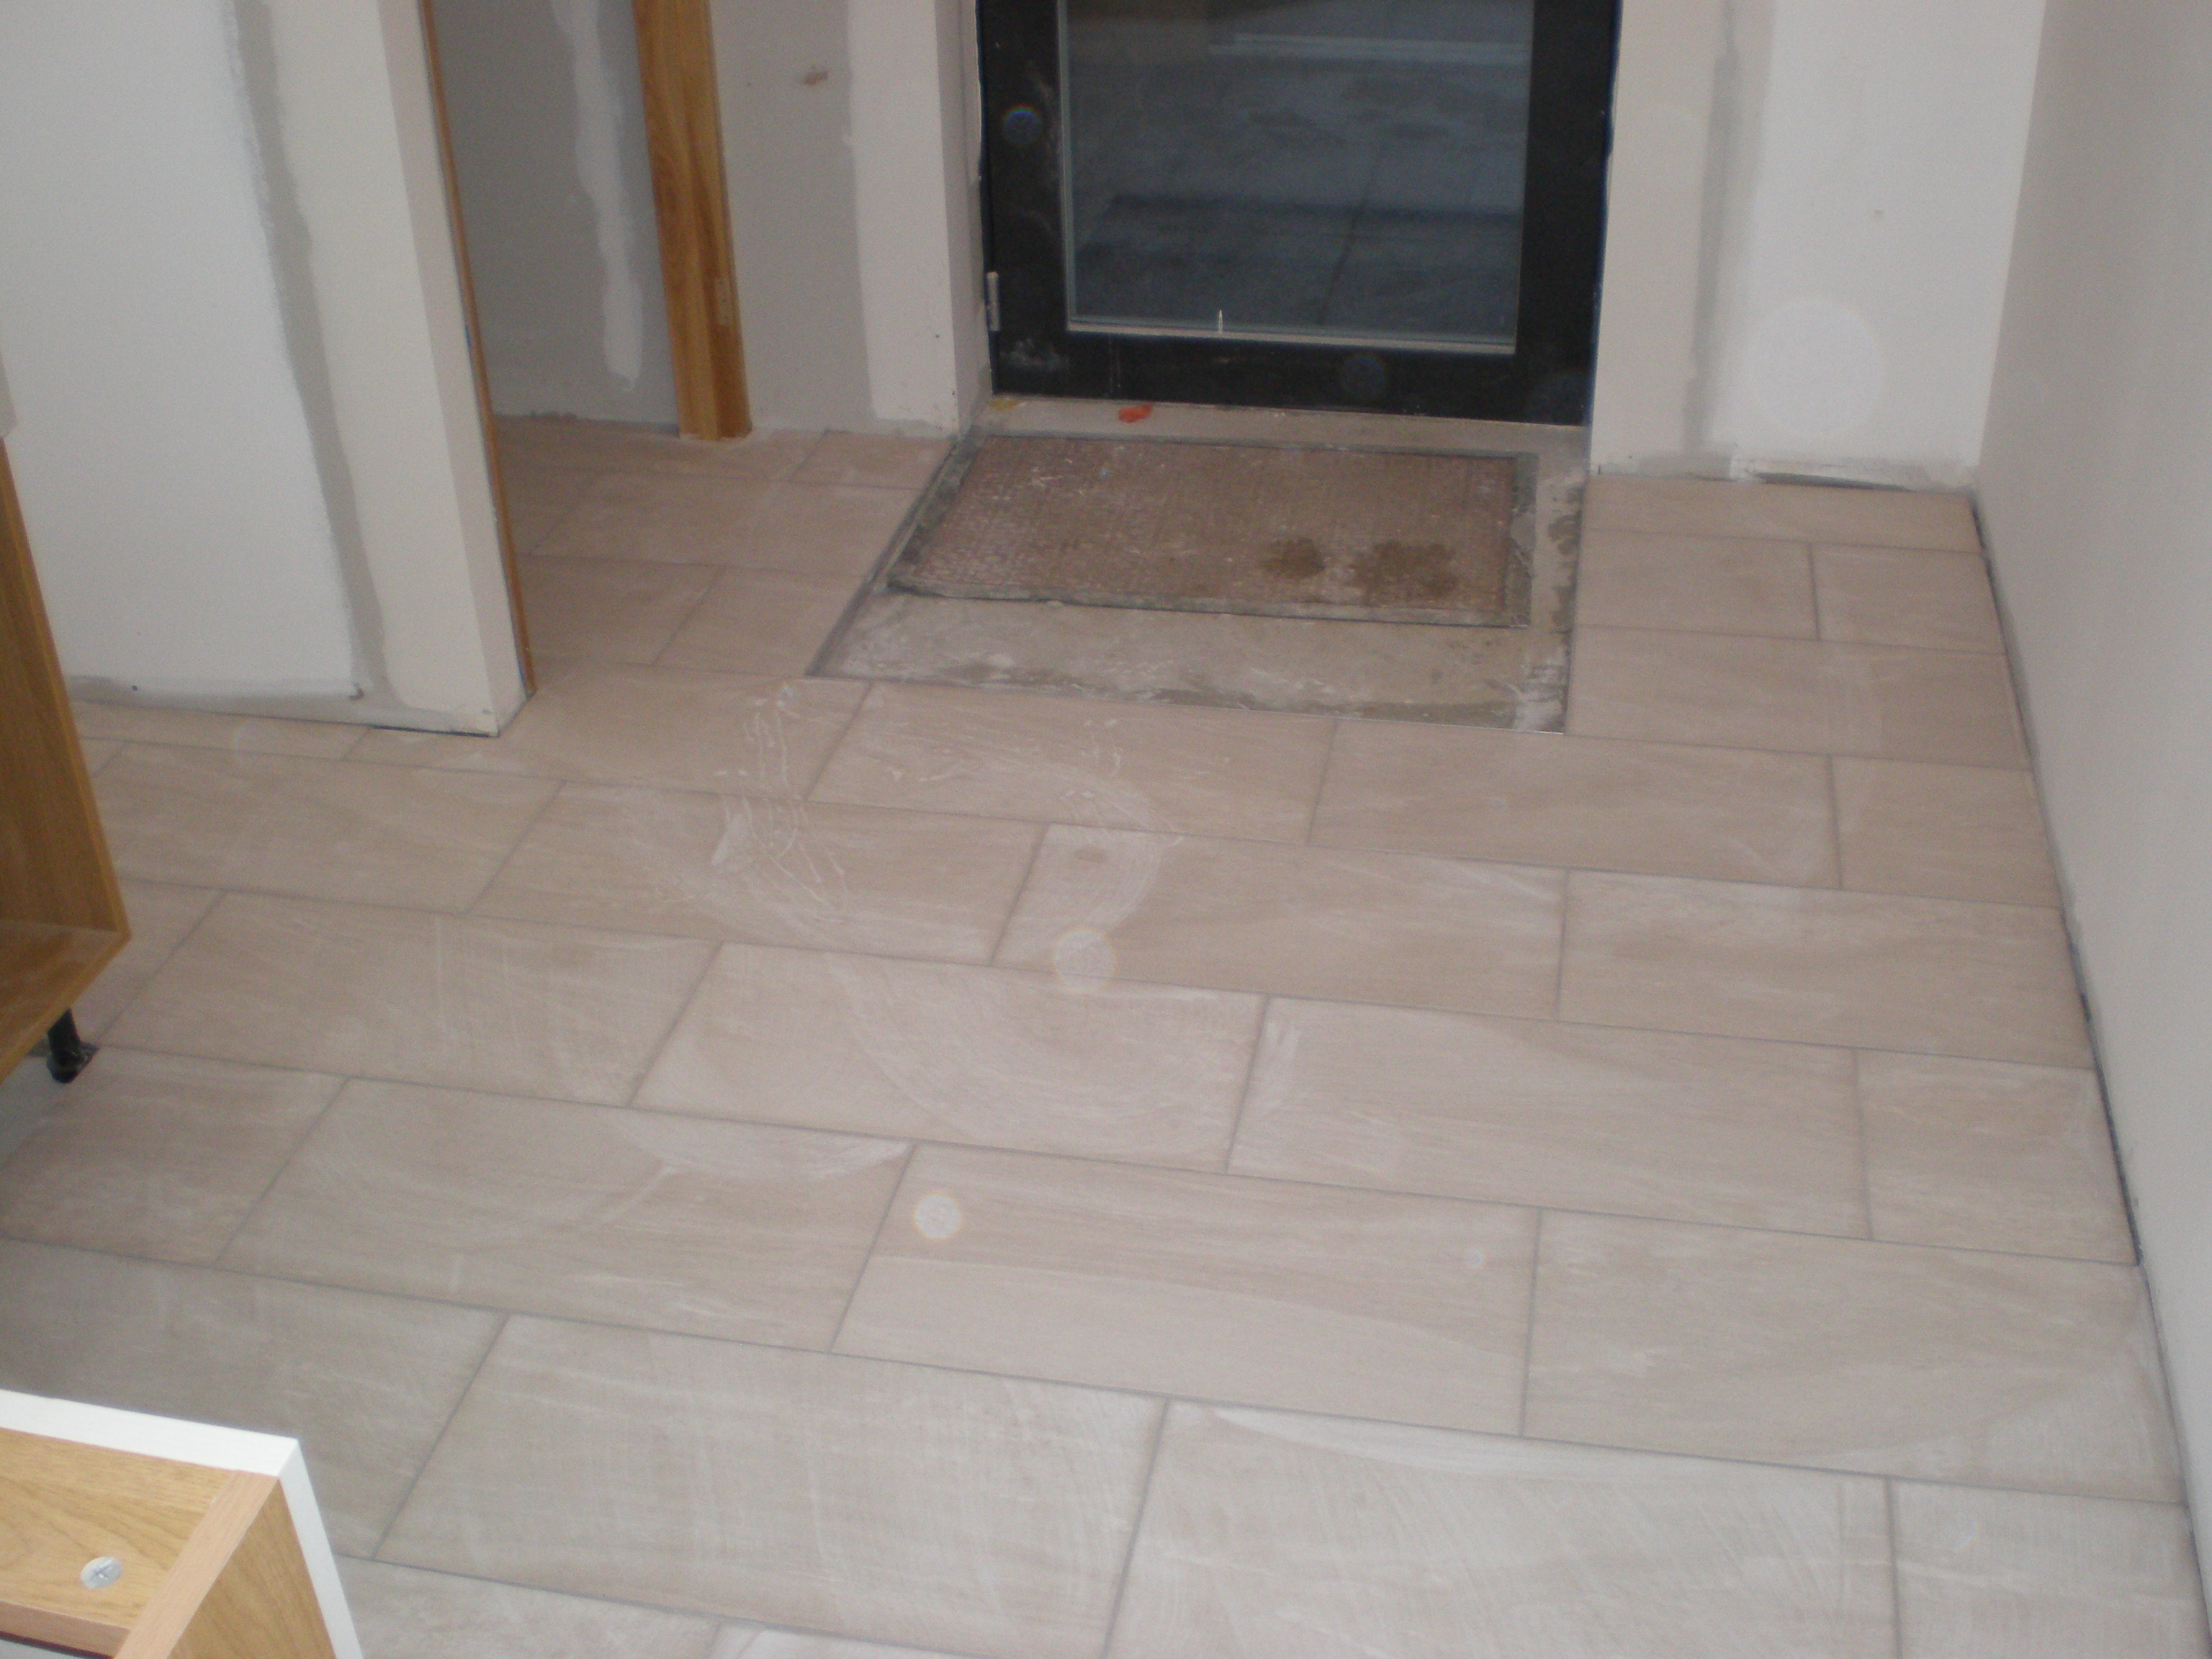
Having gone through the process of considering then discounting travertine as our floor covering of choice, we eventually settled on a porcelin tile to cover those areas (kitchen, utility and vestibule) that were not having oak flooring laid. Unfortunately for us, the person who we believed was going to be doing our tiling (and does virtually all of the builders tiling), at the last moment refused to undertake the work in our house. Quite why I've not been able to establish, nor has my builder. To say I was put out is an understatement. My builder was none too happy either. Fortunately, he was able to pull a rabbit out of the hat a couple of weeks later, in the form of Tony from Australia, a tiler on an extended visit to Orkney. As neither of us had seen his work, we agreed that he would tile an initial small area and decide whether he would do the whole job on that. We needn't have worried, a really nice and hard working guy, he set about measuring and marking out, discussing patterns and the best way to achieve the look we wanted. As the tiles started to go down, we could see the care he was taking, and we are more than happy with the result.
Due to insufficient clearance under both the front and back door we ended up creating mat wells for the door to open over, edging the wells with aluminium trim.
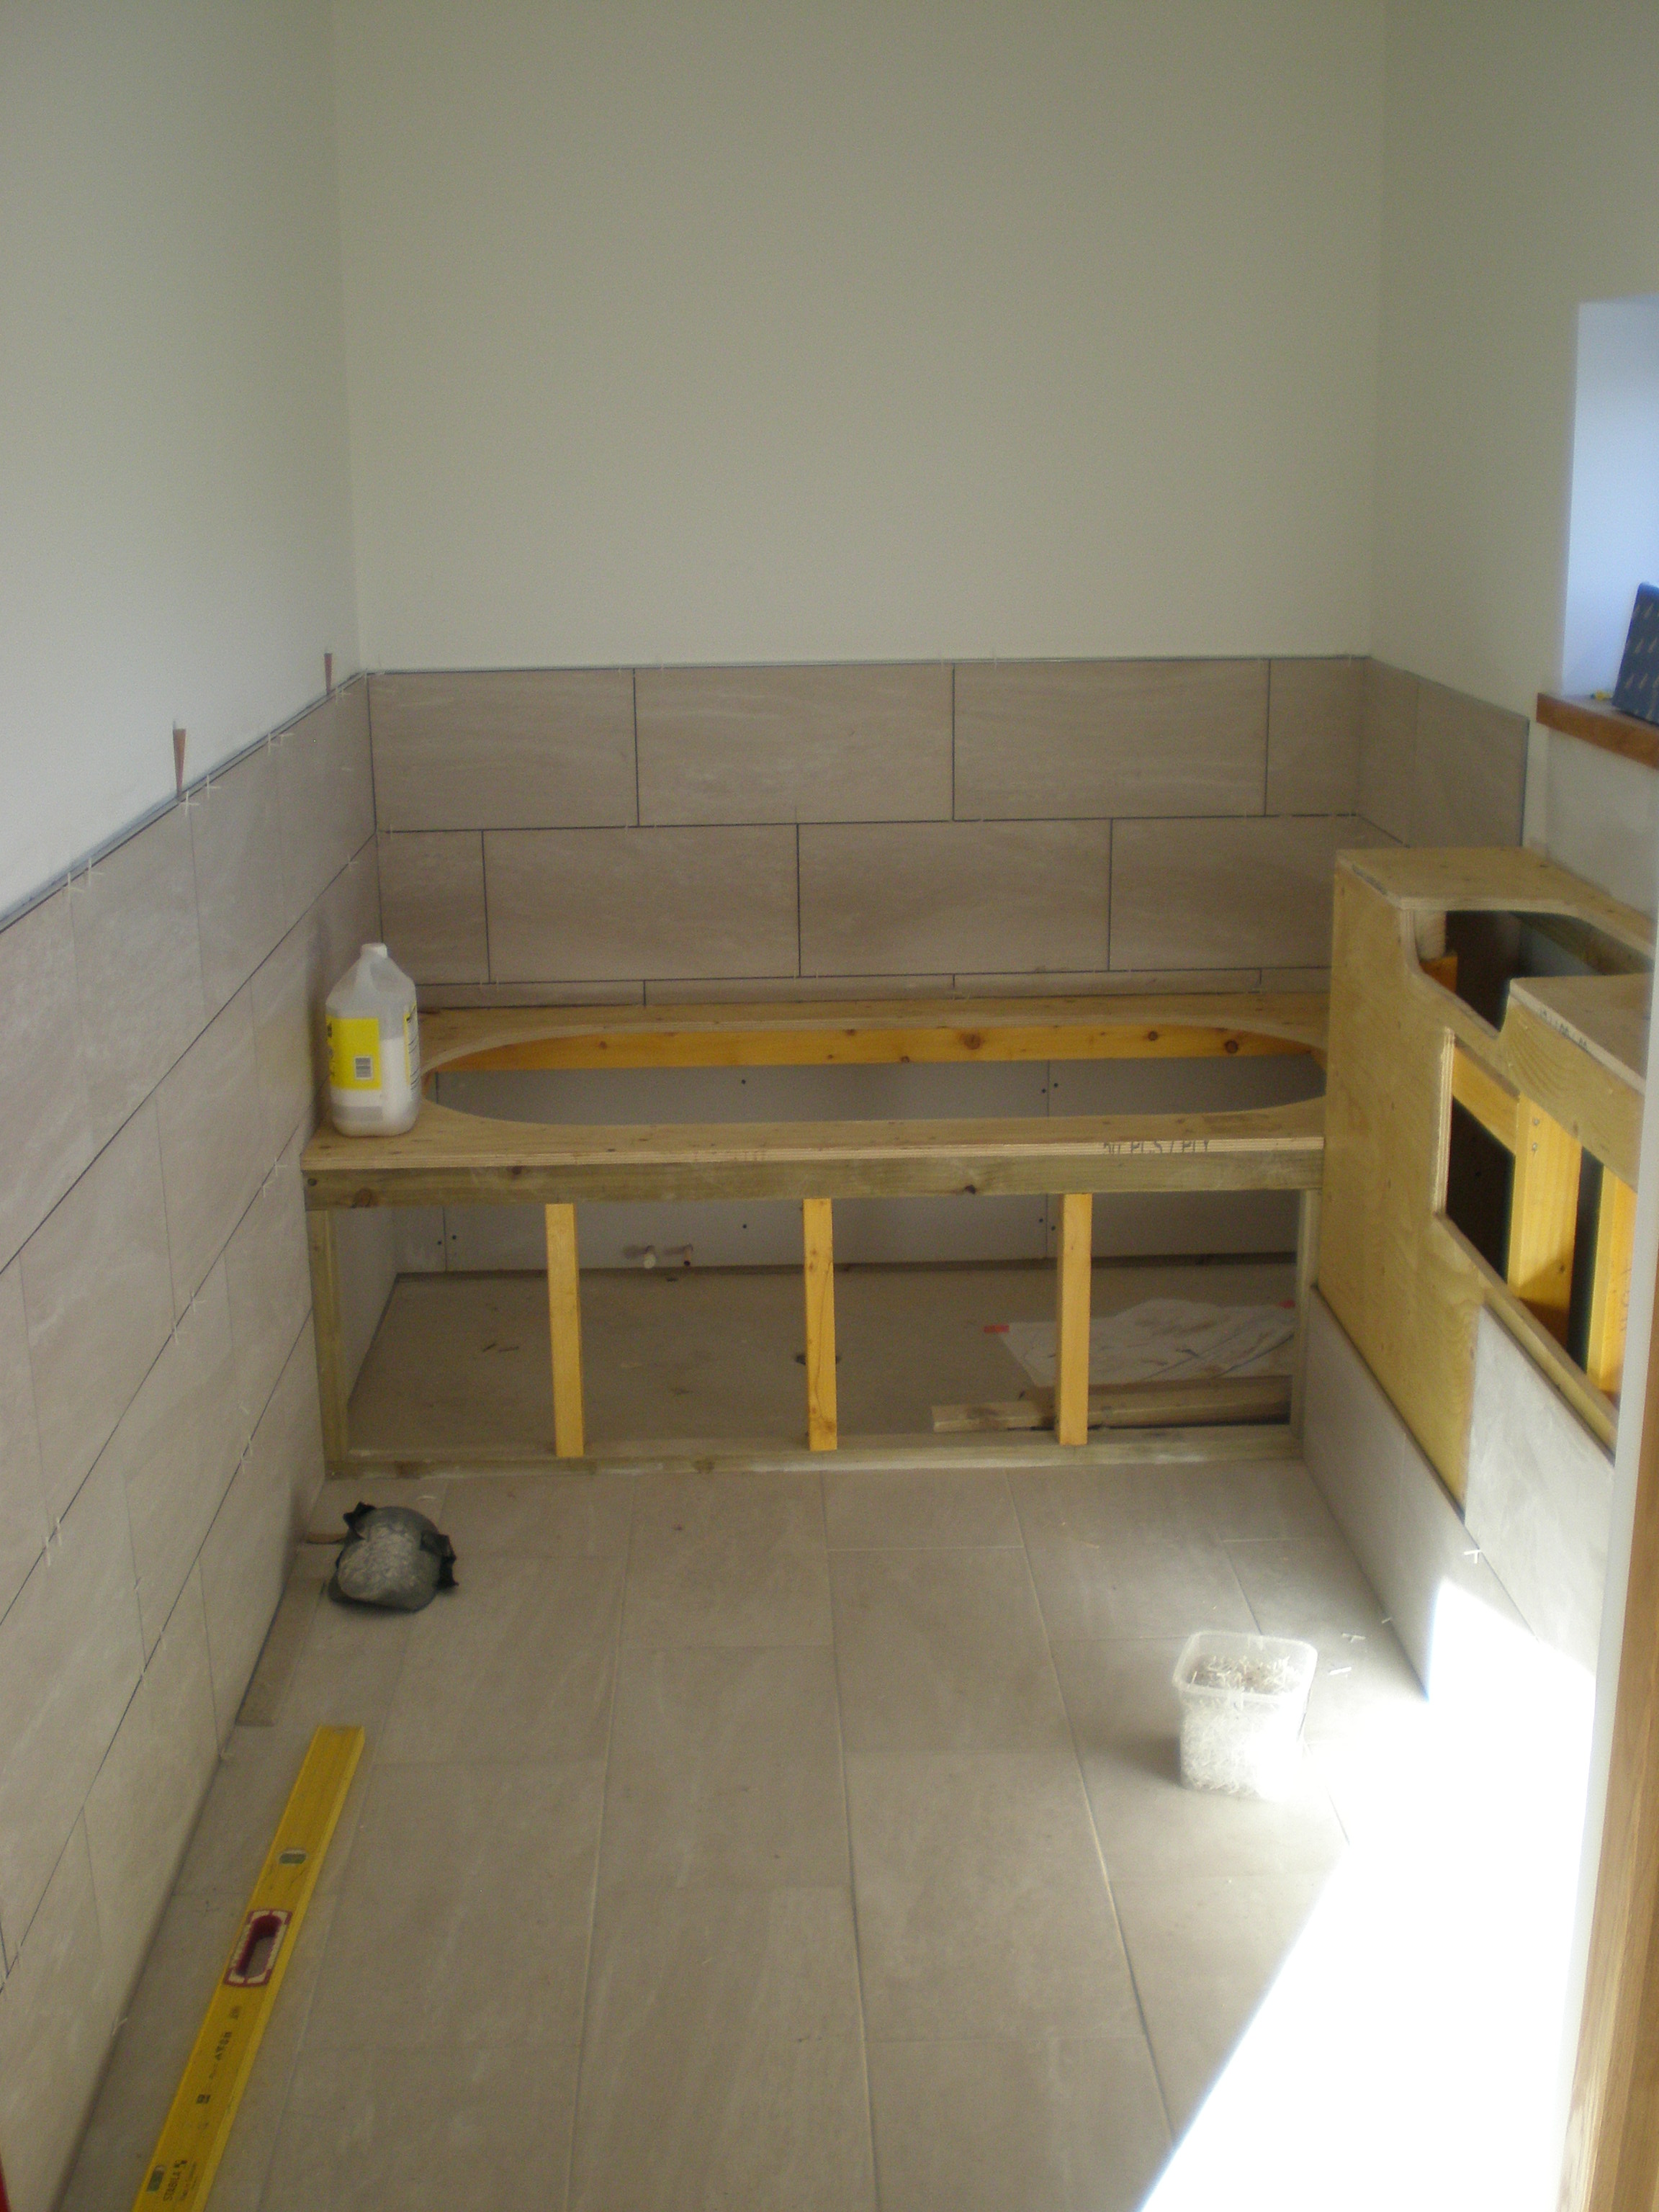
Moving into the bathrooms, where we had decided to use the same porcelin tiles, we tiled all the walls to half height, and finished with a simple straight edge aluminium trim. In the picture you can see the bulkheads we created to conceal the cistern and give a finished height of 1000mm, and the frame / surround for our bath. Access to the cistern / basin trap is by a removable tile (held in place with silicone). If for any reason we do need to get to the cistern and the tile breaks, I have 6 boxes left, so a healthy supply of spares.
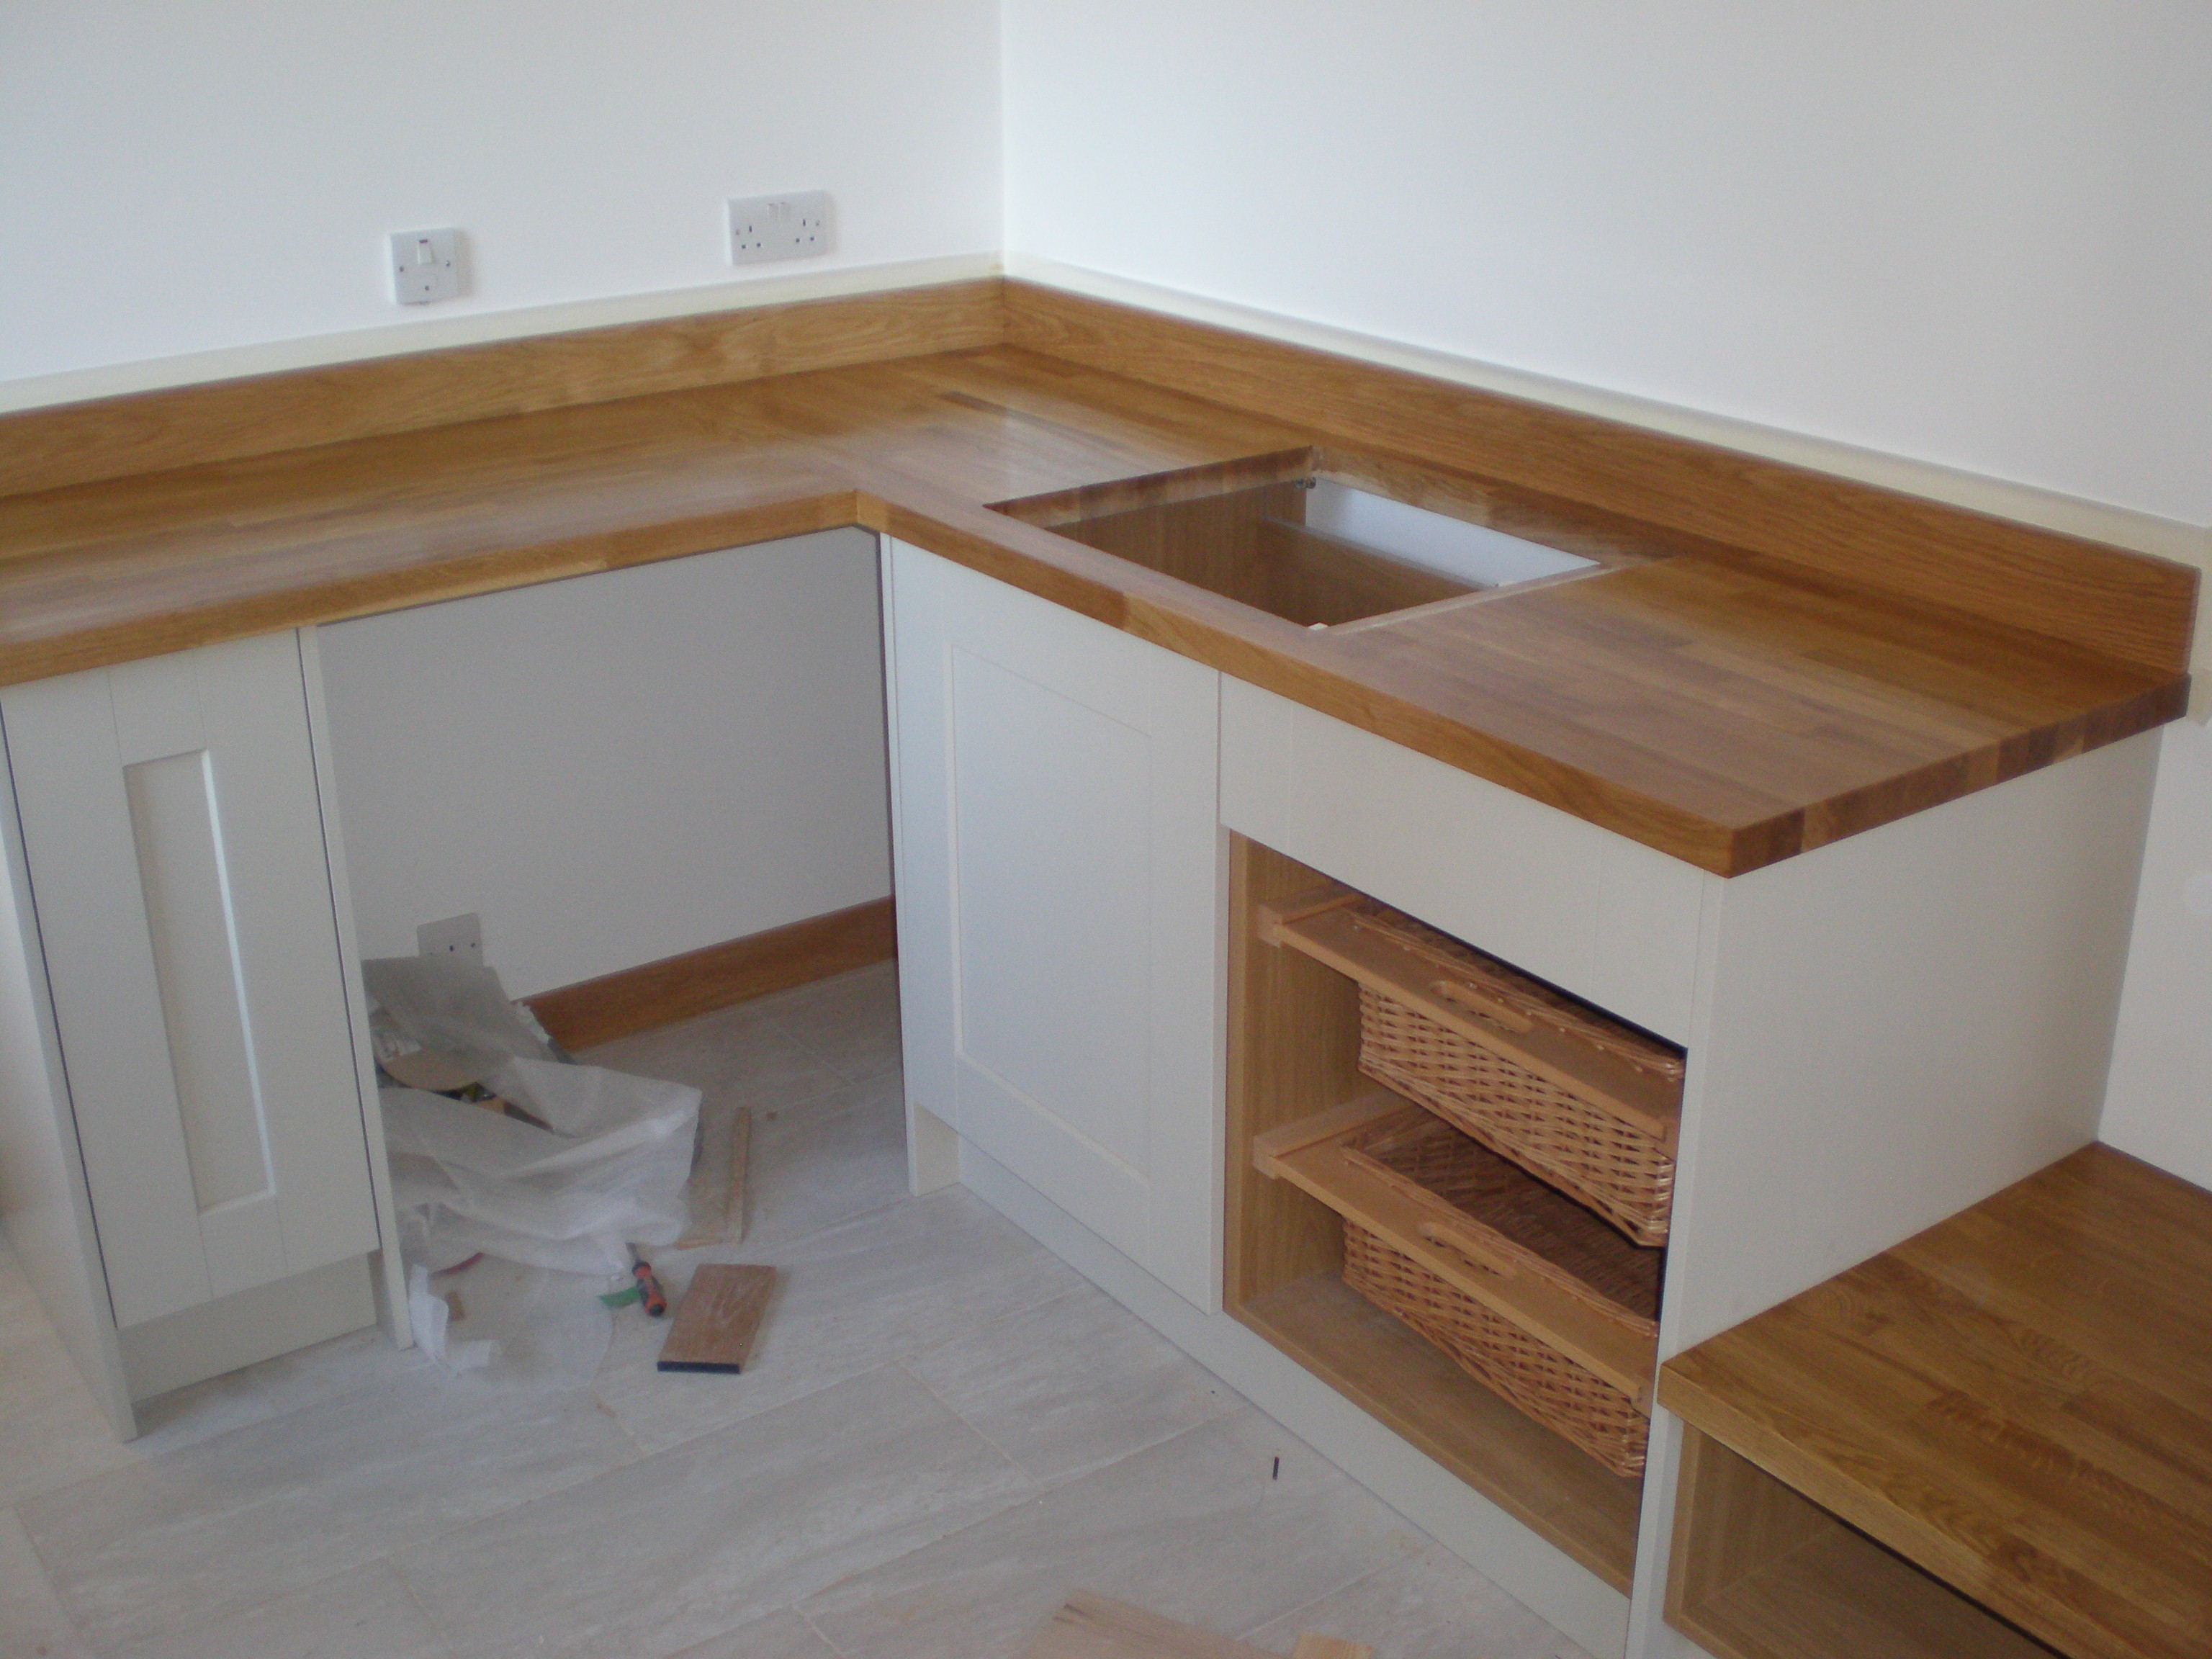
In the utility room, the units and oak worktop were fitted.
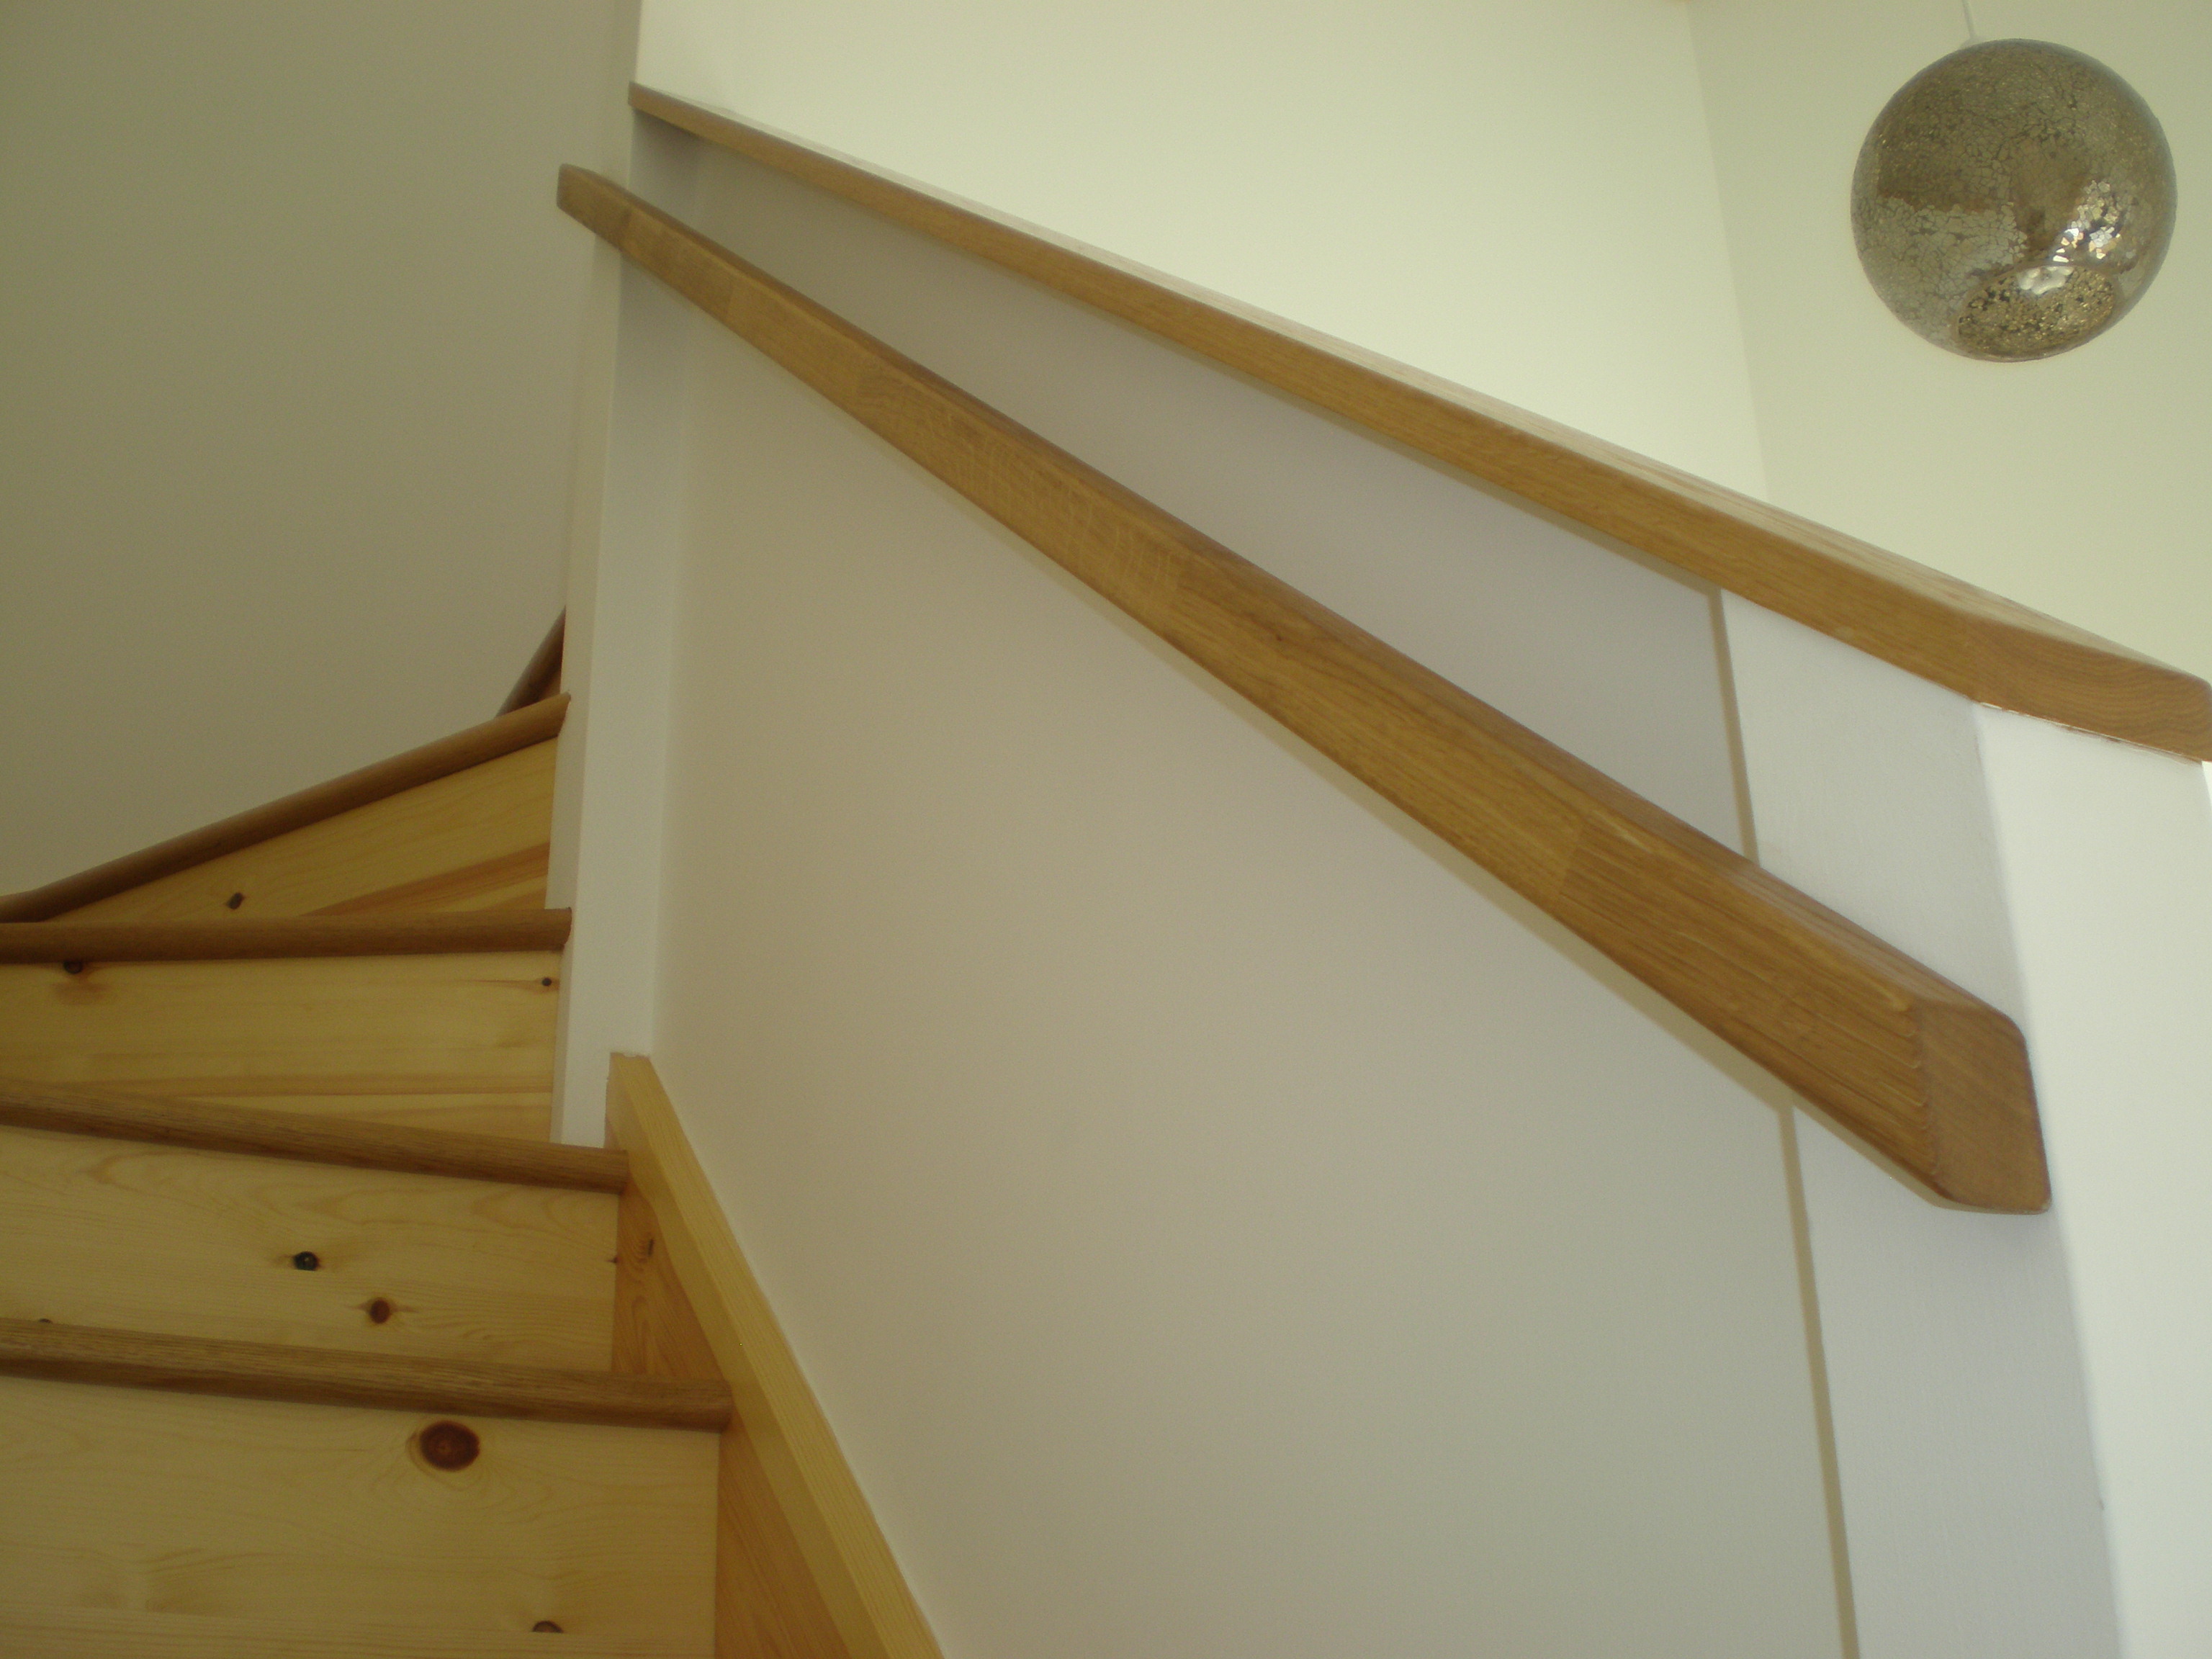
A 50mm offcut strip from the utility worktop was used to create a handrail on the staircase, as required by building control.
One of the key uses of our utility is as our clothes drying area. Readers may recall from earlier entries that we have a section of vaulted ceiling in the utility which now accommodates two clothes pulleys.
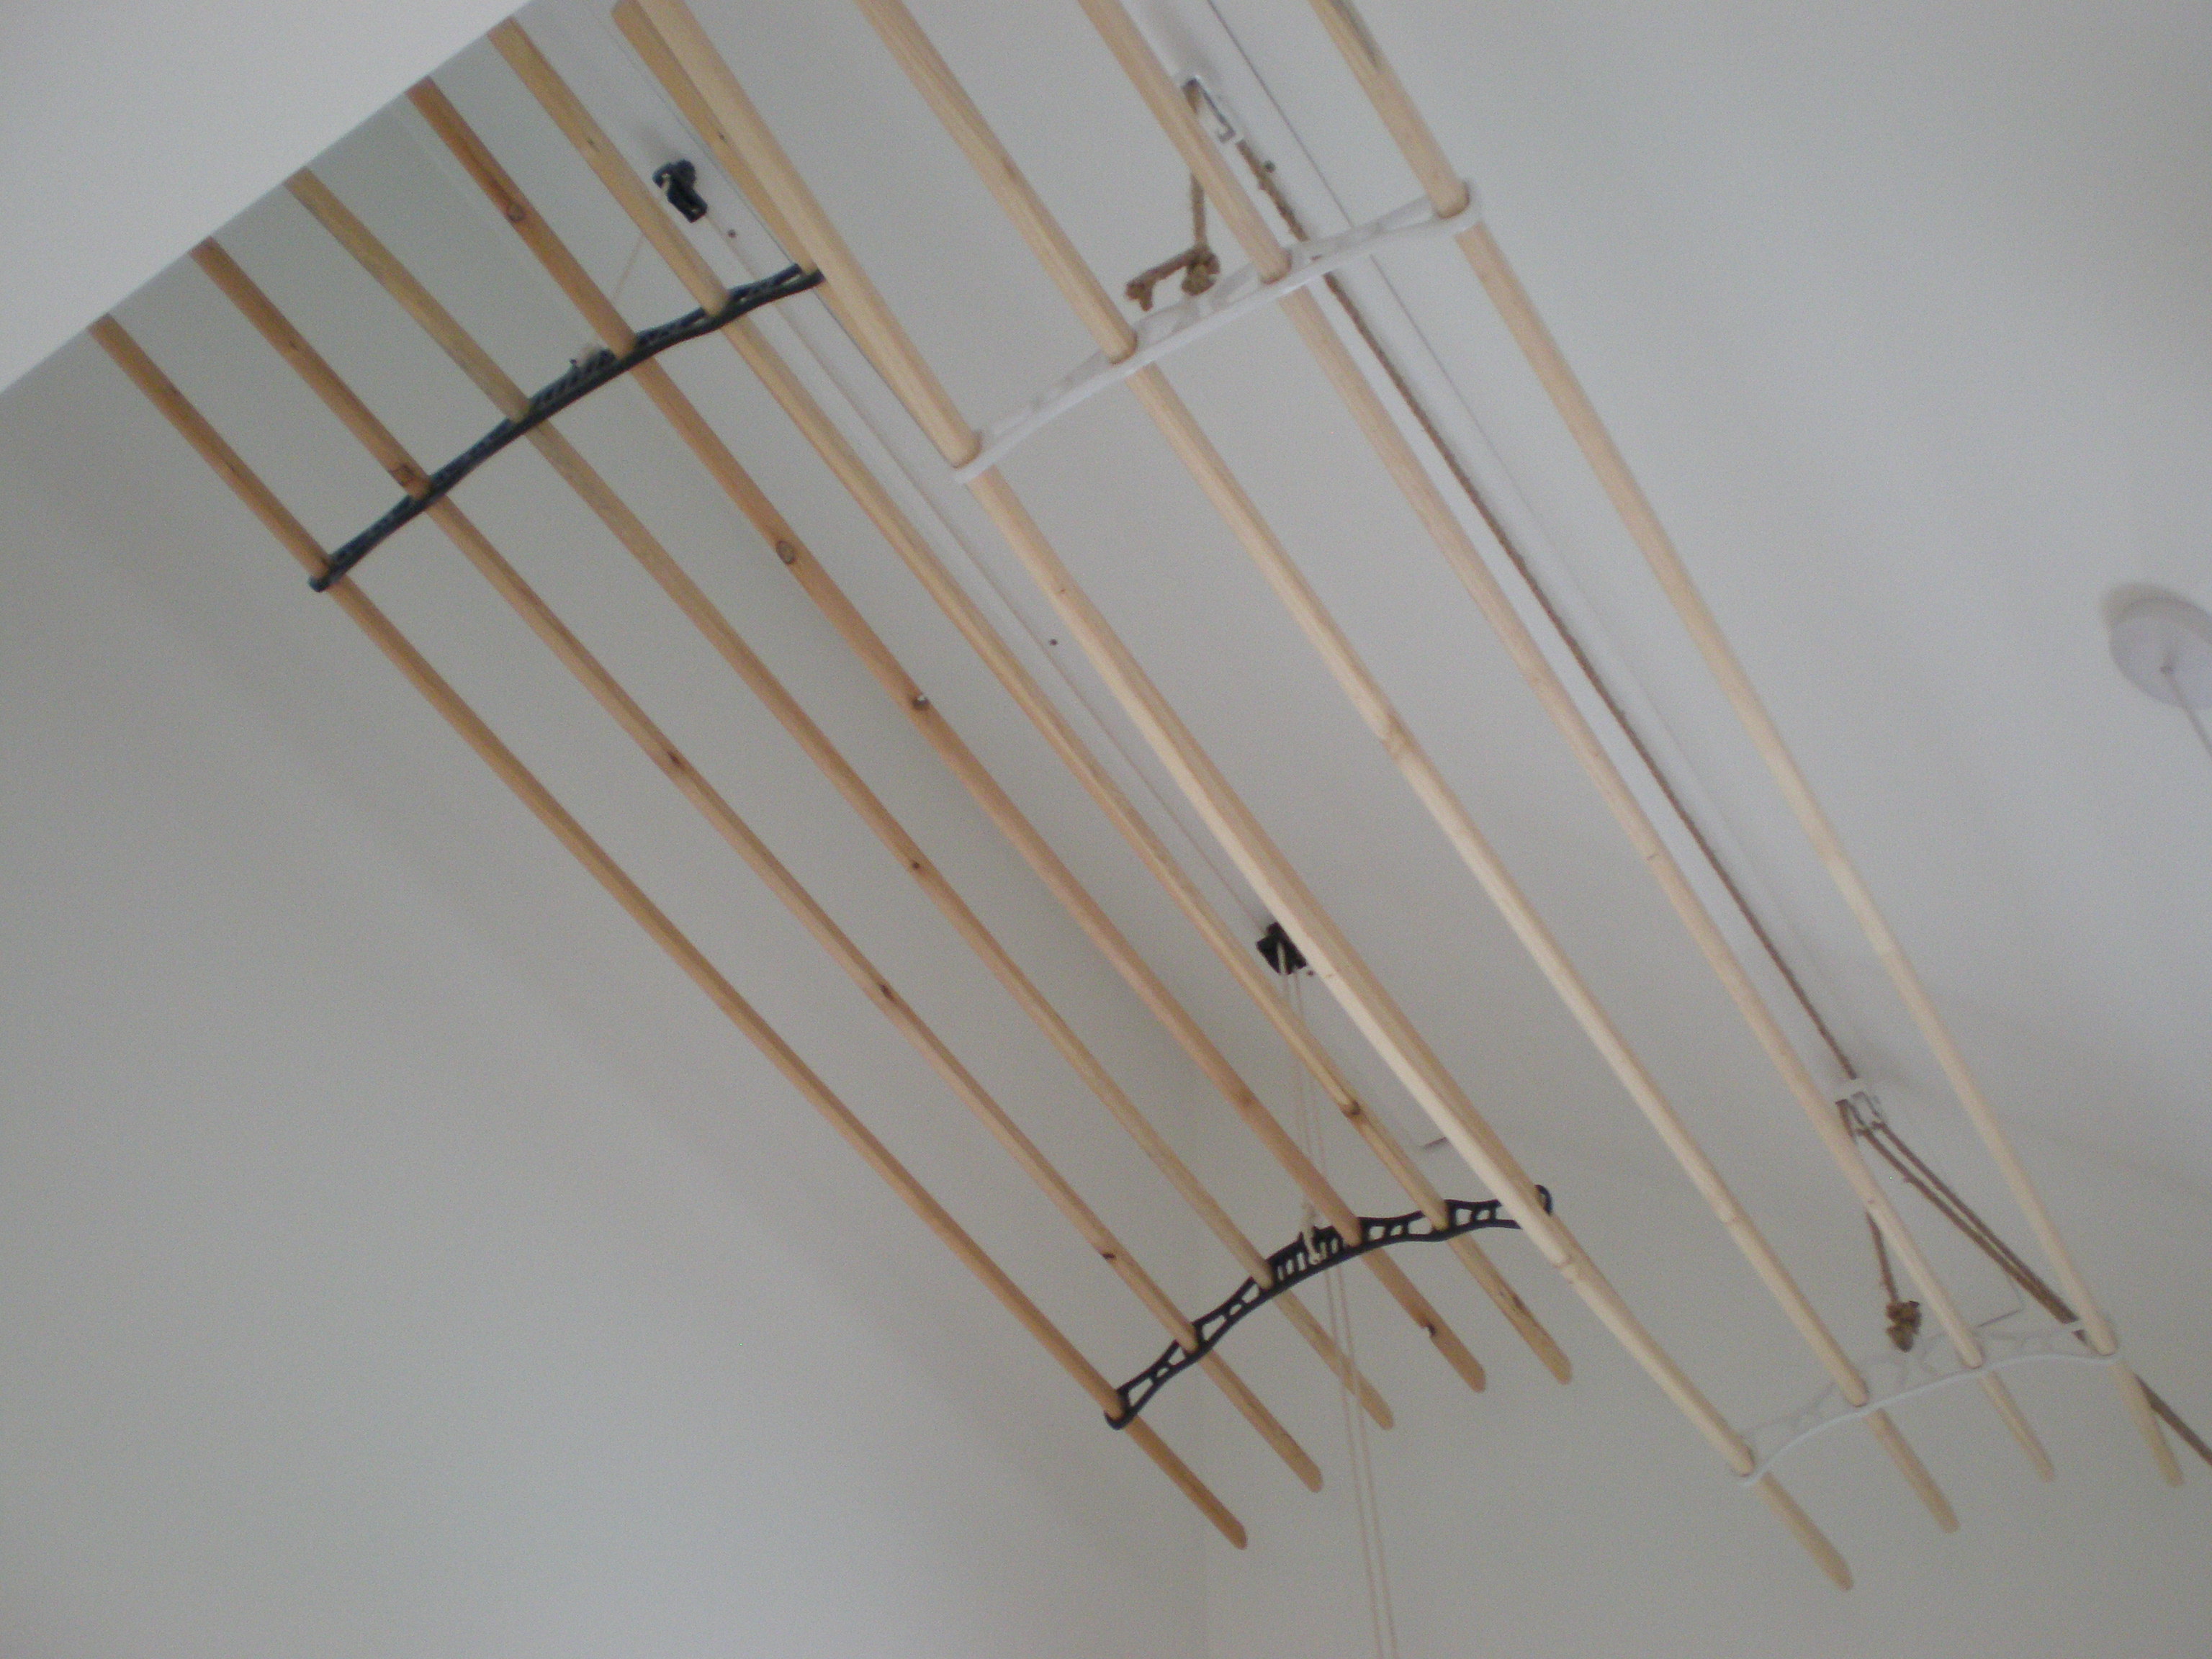
Each pulley can take a full load of washing which means all washing can be hung up above normal ceiling height,out of the way. I fitted the utility MVHR extract in this space to ensure moist air is drawn away, and can happily report this particular feature to be very effective, drying all washing overnight.
Through in the kitchen, plinths were fitted, doors put back, appliances installed and the worktop (quartz) lifted into place. On the island, we decided to go with a quartz splashback, and to finish with oak on top. We're very pleased with the finished look.

On the other side of the kitchen, we are still undecided how to finish the splashback, so in the interim have a length of quartz.

We may opt for tiles, glass or leave it as it is. We also have to decide how to finish the underside of the overhead units. This was something I flagged at the design stage but I was overruled in the quest for a 'clean look'. We have the option of fitting a piece of pelmet or a piece of shelving matching to the doors / carcuses. I suspect the later would give a better overall finish.
Next entry: 2nd / final fix electrics
-
 8
8
0 Comments
Recommended Comments
There are no comments to display.
Create an account or sign in to comment
You need to be a member in order to leave a comment
Create an account
Sign up for a new account in our community. It's easy!
Register a new accountSign in
Already have an account? Sign in here.
Sign In Now