ProDave
-
Posts
30857 -
Joined
-
Last visited
-
Days Won
427
Everything posted by ProDave
-
Hi and welcome to the new forum. Now that you have moved South and East, I assume you crossed over the border again?
-
Looking for a triple glazed roof window....
ProDave replied to ProDave's topic in Skylights & Roof Windows
Okay I have ordered my Eco+ roof window. I ordered the standard pine finish. Sterling build have just contacte me to say the pine one is 3-4 weeks delivery. They can "upgrade" me at no cost should I wish to the UPVC version that they have in stock and is usually a few £ more. Would you wait for the pine finish. or choose UPVC? I have to say I am first fixing a house this week that has UPVC velux windows and frankly I don't like them, I would have the more traditional wooden finish any day. but are the UPVC ones any better performing? -
Hello..your help will be needed.
ProDave replied to mvincentd's topic in Party Wall & Property Legal Issues
All I will say about the static caravan is leave it there once you have finished, don't worry about removing it. Clad it in timber to make it look nicer, and it will make a great workshoip / studio / store room. That's what we will be doing. If necessary, point out to the planners that it becomes a "permitted development" garden building after the build. They accepted that in our case, and the only clause we have is "residential use of the caravan will cease within 1 month of completion of the house" -
I know it's not what you want, but my B&B Workmate 800 is nearly 30 years old now and still going strong. for larger stuff, a couple of planks between trestles.
-
Hi and welcome to the forum. You will find a lot of familiar members here, so you are not alone any more. Try searching the sites for "newts" if you want to find out about people wasting your money and delaying your build.
-
You could have saved money and used fibreglass valleys and soakers, and just used the lead for the "skews"
-
Late to this thread, been out today. Knauf Earthwool Frametherm 35 on a roll. It's much stiffer then "ordinary" roll insulation. I am using two layers of 90mm thick, but it also comes in a 150mm thick roll that should do you. They also do it as bats if you really want that, but I can't see anything wrong with the roll stuff/ I got a very good price for it from SIG in Inverness.
-
Looking for a triple glazed roof window....
ProDave replied to ProDave's topic in Skylights & Roof Windows
Facro do a 2G "vent free" roof window for £250 with a U value of 1.2 I believe their 3G and the eye wateringly expensive 4G one are available without vents The vent issue does not concern me as much, based on present experience with a basic 2G velux roof window in the present house, when it's shut, it's pretty well sealed. I will report back in due course about how well sealed the "closed" vent is on the Eco+ this one is going in the "plant room (/ workshop) and won't be ventilated by the mvhr so arguably it should have a trickle vent anyway? My target was a U value of 1 or less and tripple glazed. It's only a small window, and if you work out the heat loss of a window with a U value of 1.0 and compare it to a slightly better one, you realise that paying a lot more for only a slightly better window is not worth it. -
Position of windows within timber frame section
ProDave replied to worldwidewebs's topic in Windows & Glazing
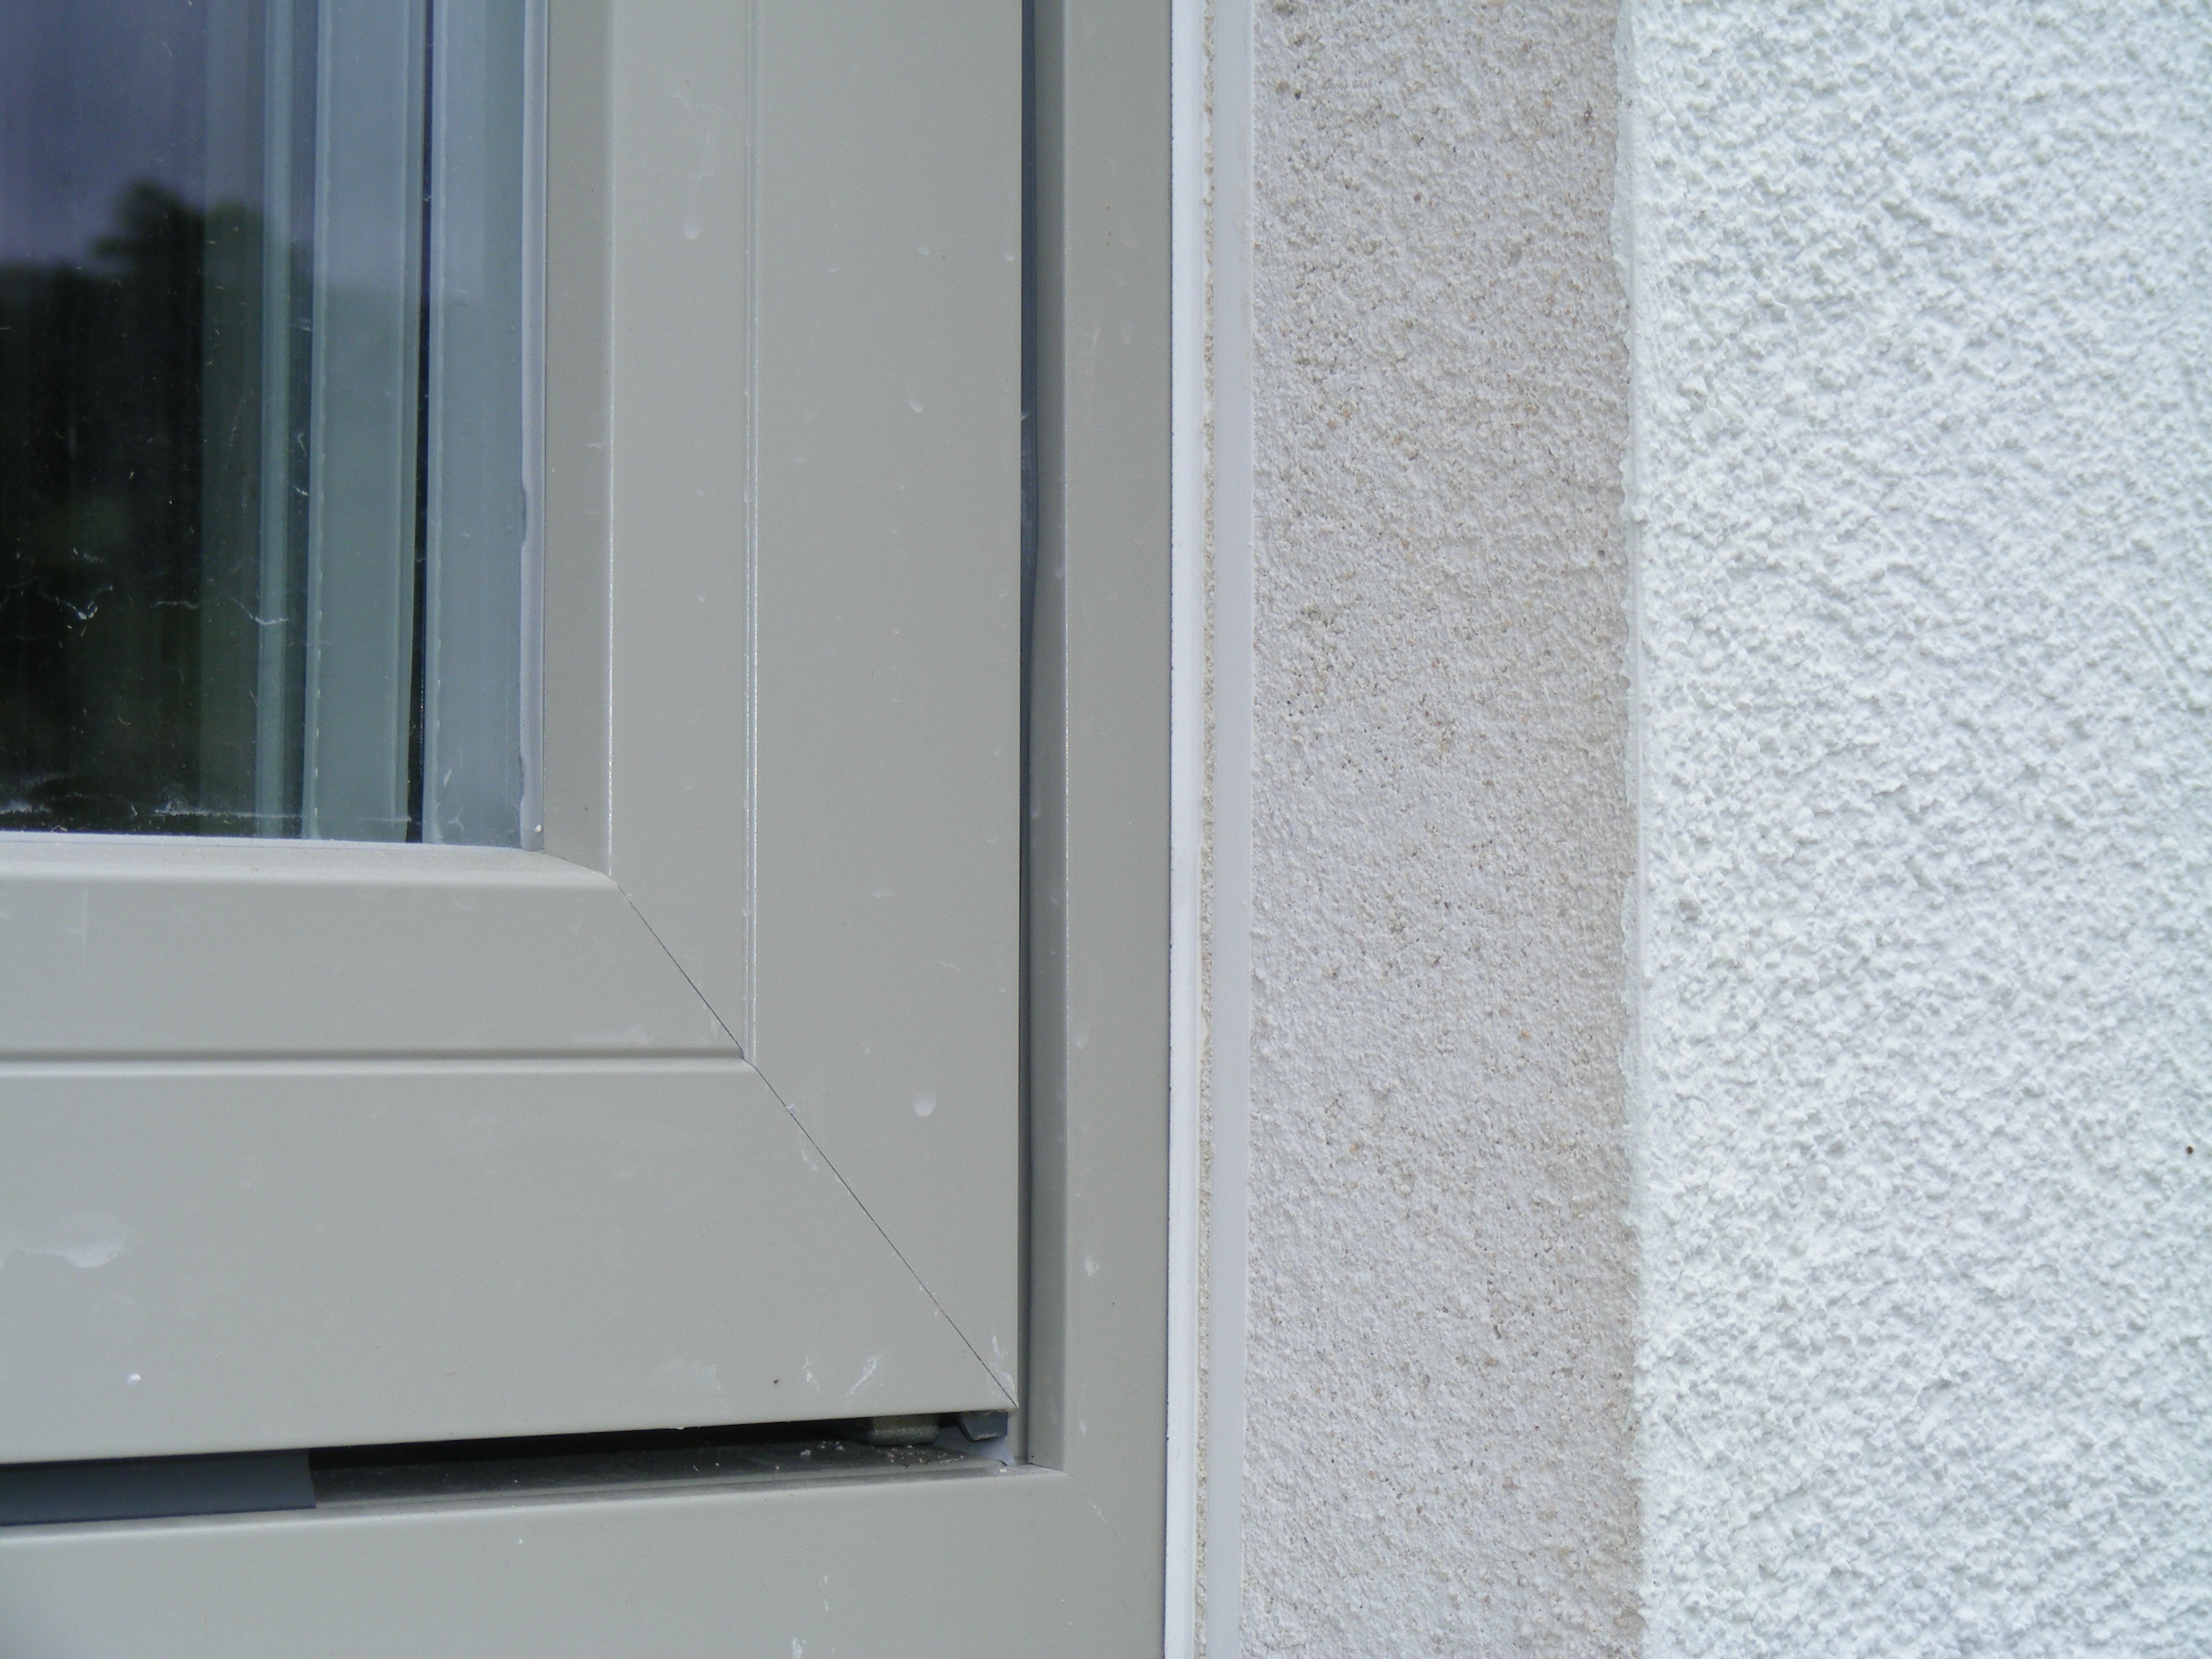
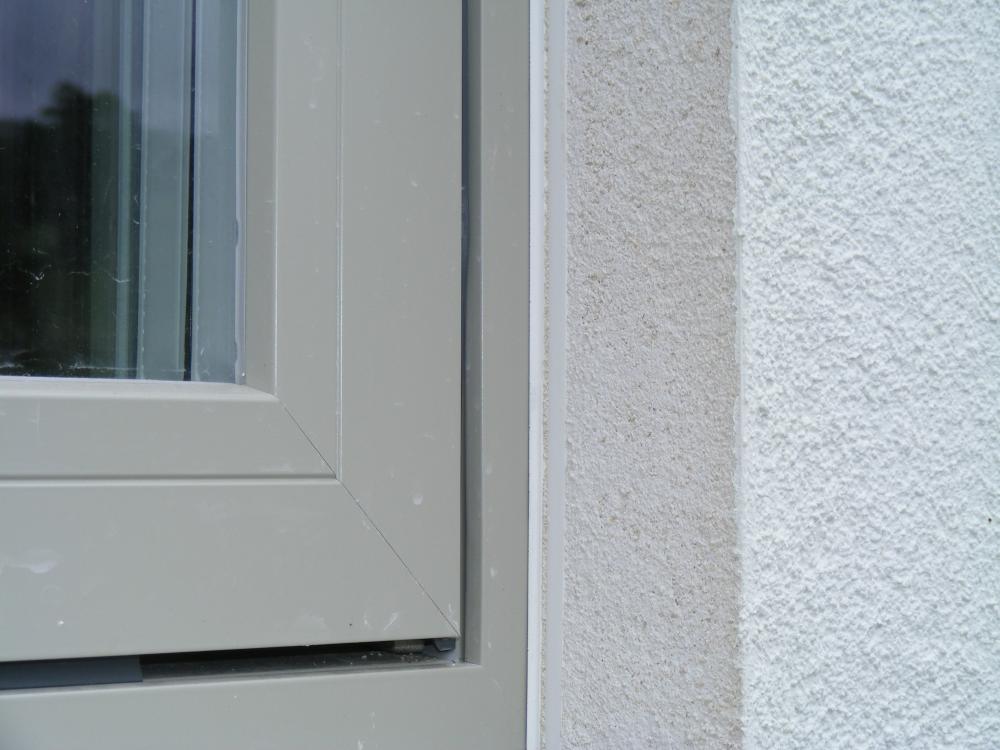
Re your "making the frame wider" Our frame was deliberately made 50mm to wide and too tall. The idea being the window opening was lined with 25mm kingspan and then the window fitted. Could a detail like that work for you allowing a greater width outside the window for the cladding detail? Our windows are set half way in the frame, and half way proud in front of the frame, but then the walls are clad with 100mm thick wood fibre board and then rendered, so arguably the whole window is within insulation.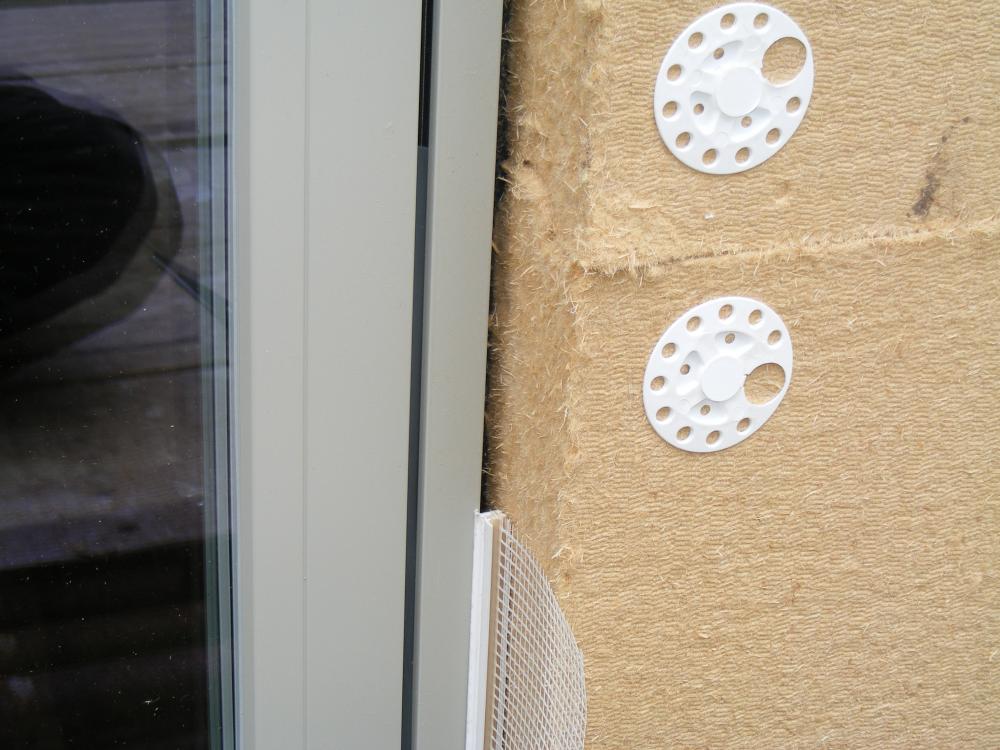
-
Looking for a triple glazed roof window....
ProDave replied to ProDave's topic in Skylights & Roof Windows
I have collected prices and U values for a lot of different roof windows now, so thought it was worth tabulating the information. This is all for size 780 by 980 roof windows, centre pivot, wood finish internally. No special options like anti noise etc. Dakeu 2G U=1.4 £110 Rooflight 2G U=1.5 £133 Fakro 2G U=1.2 £186 Velux 2G U=1.3 £201 Eco+ 3G U=1.0 £221 Roto 2G U=1.2 £222 Facro 3G U=0.97 £301 Velux 3G U=1.0 £321 Facro 4G U=0.58 £1044 All prices ex VAT and delivery I still think the Eco+ 3G at £221 looks a good bet so I am likely to buy one and see. If it does turn out to be good, I have another two to buy later on. The last one, the Facro 4G at over a grand, shows to me a rather high cost for a small benefit that would have a stupidly long payback time. -
I can't help directly, but try suggesting your engineer looks at using kerto beams, which are laminated timber beams (think giant plywood) I know from my own build that for a given size they have more strength than say a glue laminated beam and seem good for long spans.
-
It's all very subjective and down to the interpretation of your planning department In our case the planning was for "construction of new house, create new entrance from the highway, installation of sewage treatment plant" and I got it in writing from the planners that creating the new entrance from the highway constituted "starting" the development. (it was a condition of the planning that this had to be done before any building work started) I guess the question is what are you able to do by the deadline? If you could dig the footings and pour the concrete for the extension there would be no doubt you have started. But equally if you plan to start some of the internal alterations covered by the pp, just ask your planning department if they are happy to accept this as "starting" the development.
-
Scandinavian timber windows - durability of recent product?
ProDave replied to beenthere's topic in Windows & Glazing
Do you have to get "supply and fit" what about buying the windows and getting a local joiner to fit them? Have you tried Rationel? Certainly up here they are doing some good pricing. They were the cheapest of my window quotes, and almost the best (only slightly beaten my intermorm who were twice the price) Very good windows with an "expected" life of 80 years for the ali clad version. -
Looking for a triple glazed roof window....
ProDave replied to ProDave's topic in Skylights & Roof Windows
Looking at Sterling build, they have (in the size I want, 3G) Fakro £301.50 Velux £321.60 Roto £446 ECO+ £221.73 Anyone know anything about the ECO+ roof windows, it seems very cheap. This one https://www.sterlingbuild.co.uk/product/ECO-centre-pivot-pine-triple-glazed/eco-centre-pivot-pine-triple-glazed-roof-windows-78x98cm They offer that with free delivery and specifically mention the Scottish Highlands are included in that free delivery. -
As the title says, I am looking to buy a roof window for my plant room, size 780mm wide 980mm high. Ideally I want triple glazed and no trickle ventilator. I haven't found any of the on line suppliers listing 3G roof windows, so thought before wasting more time I would ask the forum for anyone who has bought one and knows a good supplier. It will probably be Fakro or Velux and if similar price I would choose Fakro to get the handle at the bottom. But also worth discussing is how much premium is it worth paying in the real world to get triple glazing and no trickle ventilator? The standard 2G Fakro is being advertised by the loft shop as a U value of 1.3 and it's on offer for £169 there at the moment. and do I really need one without a trickle ventilator? the Velux roof windows in our present house, when the ventilator is shut it does seem to be a pretty air tight seal, so is that an expensive option not really worth bothering with?
-
Rest and relaxation - escaping from the build
ProDave replied to Stones's topic in General Self Build & DIY Discussion
I assume you mean the boat?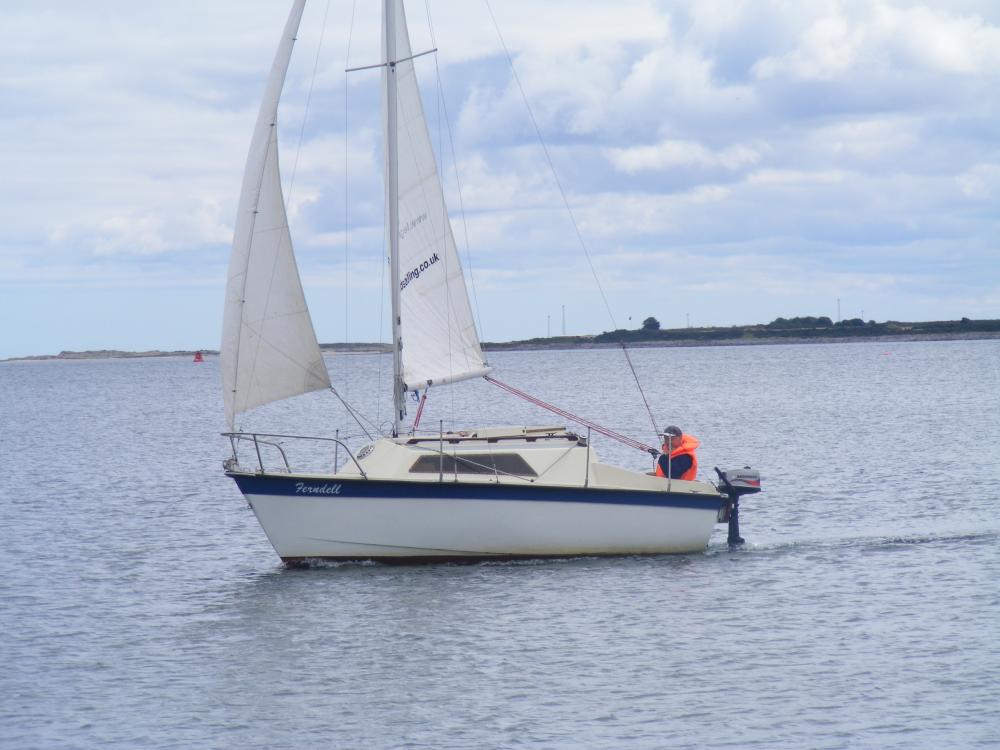
-
Rest and relaxation - escaping from the build
ProDave replied to Stones's topic in General Self Build & DIY Discussion
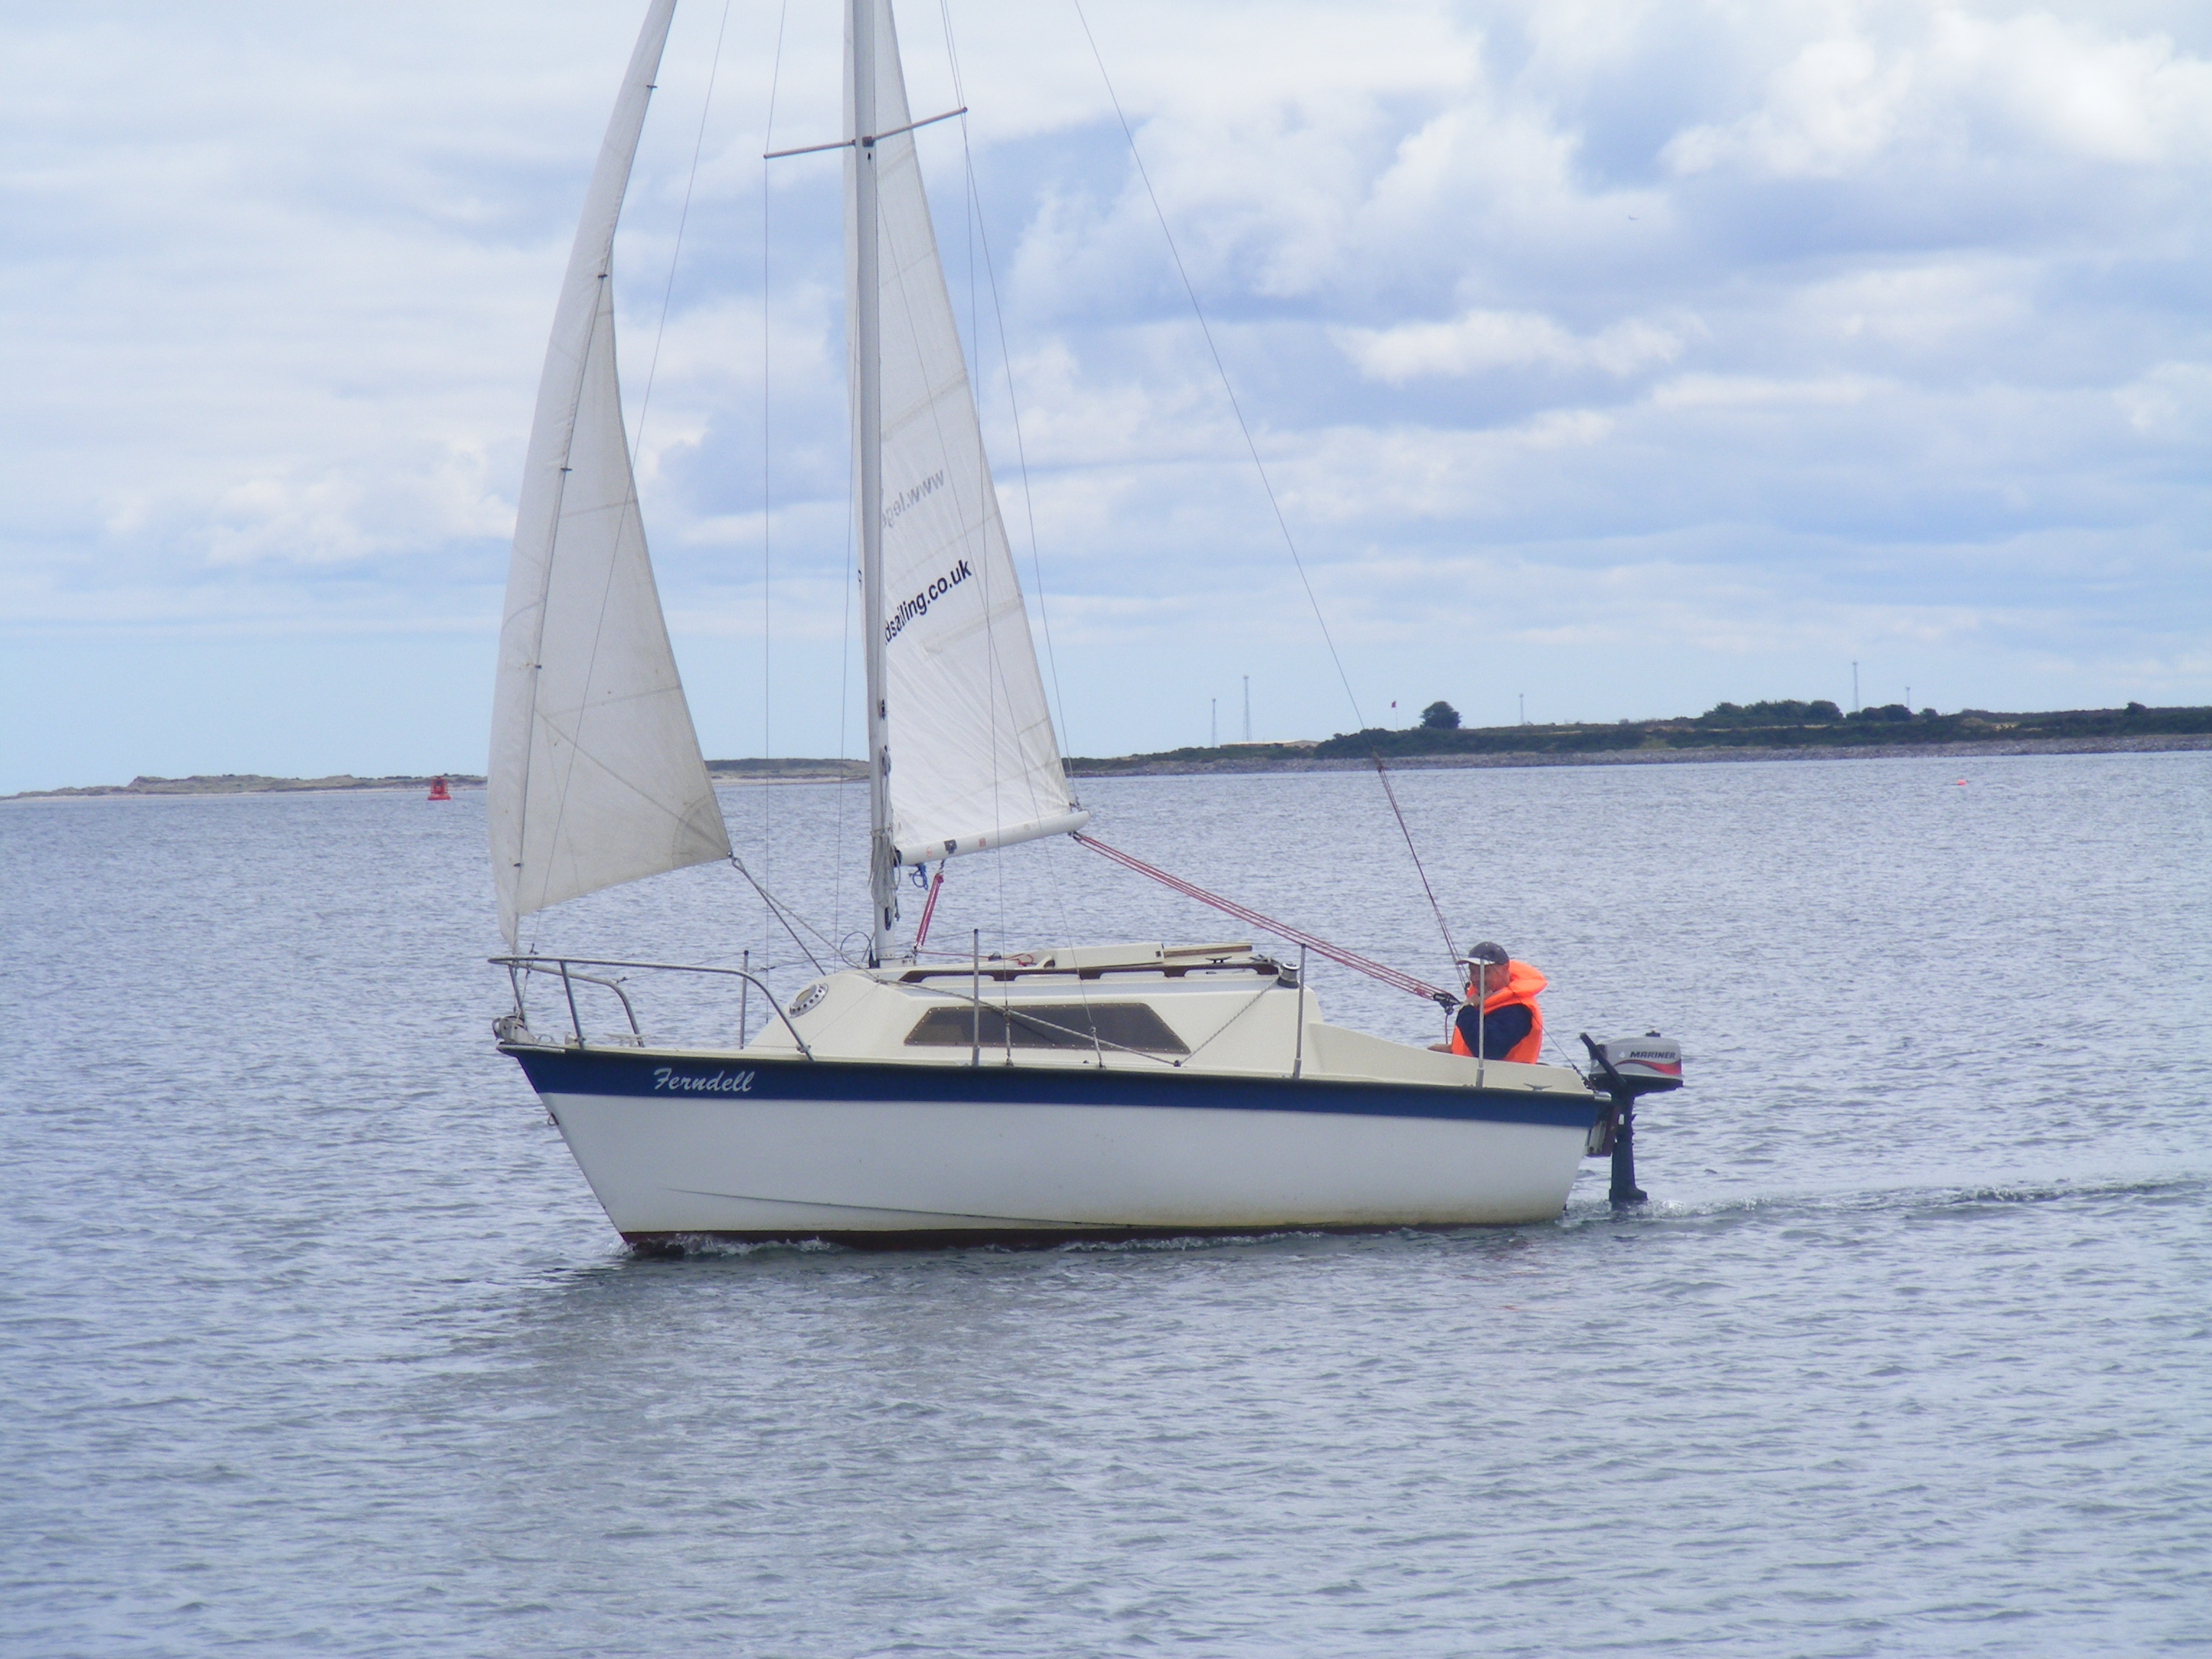
If you want to go sailing, buy a fibreglass boat. If you love sanding and painting and fettling, and don't particularly want to get out on the water, buy a wooden boat. Don't get an open dinghy unless you really are planning on keeping it ashore and launching to sail then retrieving. A much better prospect is something like I have, a small 1980's cruiser. It's only 18ft 6 and when new in 1983 was described as a "spacious family cruising yacht" a description we would laugh about now. But having the cabin to store all your gear and having a self righting boat that's unlikely to capsize anyway just seems a much better way to sail to me than an open dinghy. You will buy a boat like mine, a small 70's or 80's pocket cruiser for the same money you would spend on a good dinghy. Don't buy a "project" boat. History has shown anyone who does either gives up, sells it at a loss, or never gets it finished. And on the rare occasion they do, it has cost twice as much as it would to get one ready to sail. -
Rest and relaxation - escaping from the build
ProDave replied to Stones's topic in General Self Build & DIY Discussion
Yesterday "summer" arrived and we all had another day on the boat. Lovely weather and great relaxing sailing but no dolphins this time. 3AM this morning the thunder storms started, and went on for the best part of 12 hours, the longest thunderstorm I can remember. This morning my internet connection was lousy, only some sites would load, and then only very slowly and intermittently, in spite of re booting the router 3 times. I guess something somewhere got damaged. All back to normal now. Weather back to normal, summer over. And this evening I find I'm getting grumpy at the lack of work done on the house, and the fact I have to work on Friday so still can't get to work on the house. Grrrrrrrrr...... -
Yes but I'm taling of flat 3 core and earth. I bet you don't see many industrial motors connected with that?
-
I am planning something like 75mm screws, to screw the boards, batten, osb and into the actual joist, to pull the whole sandwich together to avoid squeaks.
-
Don't get me started on the colour of 3c&e cables. WHY can we only buy 3c&e with three phase colours? Can someone please show me an installation where it has actually been used as 3 phases (3 phase supply with no neutral)? I don't think it ever has. It's usually used as live, switched live and neutral, but there is no neutral coloured cable, so we have to invent one and sleeve it appropriately. Now for some reason, it was okay with the old red, yellow blue cable, to use the blue core as neutral, even though at the time, blue was a phase colour. But now it is frowned upon for us to use the black as neutral, even though most electricians who have been in the business more than 10 years would find that logical. Why can't we buy 3 core & e cable as say brown, blue and grey? For domestinc work that would make a LOT more sense.
-
That is what I am planning to do in my new house as squeaking floors like we have at present will not be allowed.
-
What's your "final floor"? I am planning my "final floor", some kind of hardwod, to go direct on the battens, just like in the present house.
-
Passive House? - Not if you have BATS!
ProDave replied to Barney12's topic in New House & Self Build Design
The issue here is you have PP to build a house that looks like the one in the PP. Whether it's an eco house, passive house or barely complies with building regs house is irellevant. That's a seperate matter. So I can't see anything stopping you making the "human" part of the house super insulated and air tight and leaving the loft cold and draughty for the flying rats. I wouldn't bang on about it being a passive house. Just agree with your ecologist to provide the cold draughty loft space he demands, and build the rest of the house well insulated and sealed and just don't make a big thing of that when talking to the ecologist. All he needs to know is it will have the cold draughty loft space he demands. -
What happens when your postman rings your bell?
ProDave replied to ToughButterCup's topic in General Construction Issues
Sue the post office for criminal damage.....