ProDave
-
Posts
30808 -
Joined
-
Last visited
-
Days Won
427
Everything posted by ProDave
-
I had my simple LPG install connected and signed off by the local gas safe installer. All I got was that rather pathetic looking Landlords Safety certificate. Building control accepted it. He seemed to do all the right checks, drop test, tested flame failure devices etc.
-
I am still waiting for this forum to do it's public service and determine without any doubt the exact value of this very expensive resistor.
-
Somebody "encouraged" you to support the cause?
-
If this is a new build then you should know exactly the wall floor and roof make up and U values and be able to accurately calculate the heat loss using Jeremy's spreadsheet. Has nobody involved in the design of the building done this for you?
-
It's not "sneaky" it's extortion. £5 I could accept, just. If they are going to charge £300 then they should expect to be outed for that and not surprised when someone offers "unofficial" alternatives.
-

Concrete Posts - fixing wood to either side
ProDave replied to mike2016's topic in Landscaping, Decking & Patios
Plain hole all the way through, threaded rod, washer and nut on each side to clamp the whole lot together. Try to miss the rebar. -
Someone put a multimeter on it to measure the value and solve the confusion?
-
I made it brown, brown, red, black, gold, = 112 ohm 5% https://www.digikey.co.uk/en/resources/conversion-calculators/conversion-calculator-resistor-color-code It seems a very odd value? Can we have a macro shot of just the resistor please square on to see the colour bands better?
-
FFS if they charge more than £2 for that it is criminal. This needs naming and shaming.
-
Is someone going to unclip the blue cover on this "dongle" and post a picture of what is inside? the suspense is killing me.
-
I hope you have not paid (or at least not paid in full) all these various "plumbers"
-
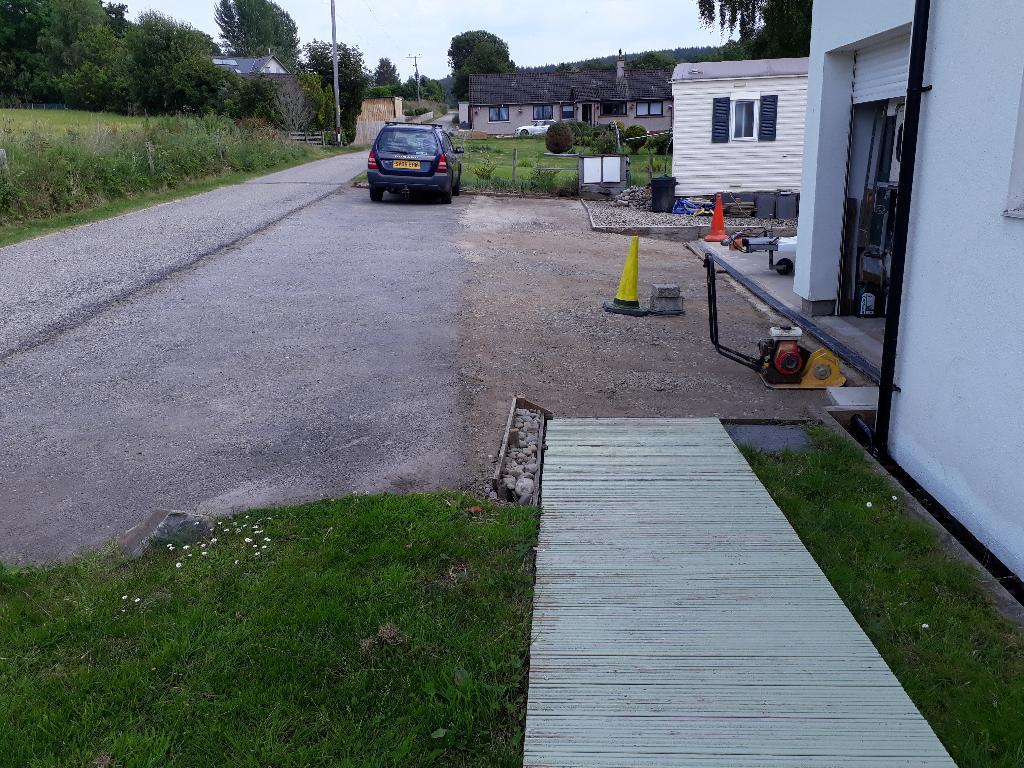
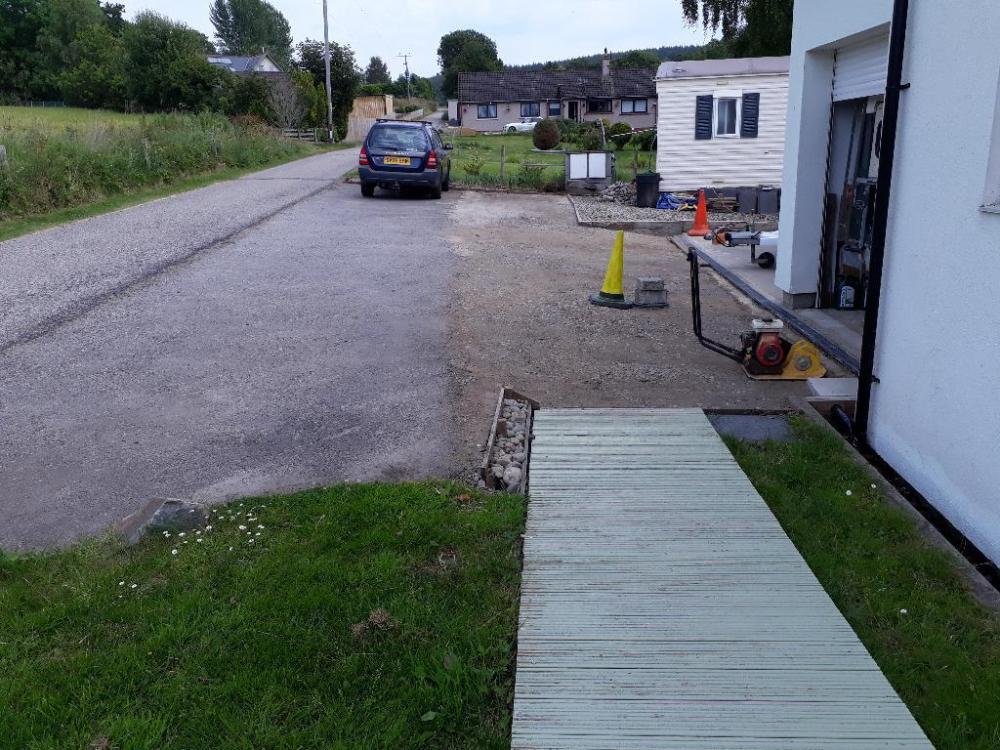
That's the caravan moved and the last bit prepared. I chased the second contractor for their quote to get the reply, I will try and do it tomorrow. They are not inspiring me with much confidence I was wanting to let the contract soon.
-
But changes in it's low resistance which will likely be dominated by the resistance at junctions, could make calibration subject to change?
-
Yes I have made the assumption that the dump load is the same immersion heater which is in practice 2.8kW not 3. It seems to work okay, as house loads vary and the difference between generation and use changes then the duty cycle of the dump load is altered. There is no right or wrong way to do this and I am enjoying this thread reading about a different approach to the same "problem"
-
I see a different approach there to mine. If I am reading that correctly you always wait until the joule bucket is 3/4 full then turn on your bump load for long enough to drain the bucket to 1/4. If I am reading that correctly it means your dump load will always be on for a fixed interval, with the time between bursts varying? I took a different approach. I had worked out that a nominally 3kW dump load (immersion heater) would empty an assumed size joule bucket in a little under 1 second. So I chose to work on a fixed time interval of half a second. So in each half a second, the dump load can be on for anything between 0% of the time and 100% of the time. The half second means the joule bucket should never over fill or over empty and should comfortably fill a bit them empty a bit without overflowing either way. I have not attempted the detailed analysis of how accurate it is performing, but I do have a separate export meter, and the only time I get significant export is when generation exceeds what the dump load can export, and on a sunny day the import meter does not count up so it can't be far out.
-
Posts and Rope/Chain
ProDave replied to canalsiderenovation's topic in Landscaping, Decking & Patios
Forget rope between the posts. Hang wire between them and a "Danger, electric fence" sign canal side. -
Orientation of house to road vs. preferred orientation for sun
ProDave replied to Alan Ambrose's topic in Planning Permission
Ours is angle perhaps 15 degrees off parallel, done to fit in with other objects on the plot to make the house fit better. No complaint from the planners, but other houses in the road have done similar. -
WiFi Bluetooth audio amplifiers
ProDave replied to Ultima357's topic in Networks, AV, Security & Automation
I just used an old 1980's hifi amp with IR remote control, so that sits in a cupboard and can be controlled by it's own remote with an IR extender. The aux input is fed from a Raspbery pi music box which can stream on line music, play music from it's own memory or you can cast music to it from your phone. -
..... And the boiler and it's flue.
-
I can't help with guessing where to dig your own quarry, but if you can find the stone it is very DIY able. I would want to be buying a much larger tracked excavator, remember you will get back most of what you pay for it if you sell it at the end of the job. And while you are digging the track think at the same time of what services you will want, e.g. electricity, water, telecoms that can go in at the same time under the track?
-
Posts and Rope/Chain
ProDave replied to canalsiderenovation's topic in Landscaping, Decking & Patios
Standard 3" square garden fence posts. Get the ones with a pointed end and you can (if the ground is not too rocky) just hammer them in most of the way with a sledge hammer. Drill a hole through with a flat wood bit near the top to feed a length of rope through. A nice thick chunky bit of traditional looking rope would look nice, low enough that you can step over it onto your boat. -
What is needed is that spark to read this thread, grow a pair, and connect the DC cables from panels to DC isolator after testing with his megger (other brands available)
-
MVHR condensate trap - how do I go from 25mm to 40mm?
ProDave replied to Conor's topic in Waste & Sewerage
How about https://www.amazon.co.uk/Polypipe-Connector-Pushfit-Adapter-Reducer/dp/B00V911X3C I would shop around though, that seems expensive -
I don't know anyone working for that little. But I only know self employed tradesmen. Double that and you are close.
-
What would YOU expect to pay per hour for a plasterer then? My view is tainted by the fact I plan to retire shortly so I am not chasing work, just taking what comes. Some may say that makes me lazy.