
Weebles
-
Posts
399 -
Joined
-
Last visited
-
Days Won
1
Everything posted by Weebles
-
Thanks for this. We weren't on site when the Egger boards were put down but there are some blobs of glue around and I think this explains it. If this saves us from screwing the boards down then happy days ? Good solution thanks. Sanding the raised bits off should work. Might mean another power tool for the collection. ?
-
We were planning on laying carpet (plus underlay) straight onto the OSB. But the OSB is lifting at the edges due to the house flooding a couple of times in the recent rain. Any suggestions for: 1. Underlay 2. What to do if anything about the slight ridges at the OSB joins now 3. Is laying underlay straight onto the OSB a good plan or not We have only allowed 20mm for first floor finishes, so its a bit late for that Cellecta board. ? As a result of this thread we will screw down the boards too. Thanks.
-
Gaulhofer windows and doors : Thomas Froelich
Weebles replied to ToughButterCup's topic in Windows & Glazing
We also heard the news from Craig today (thank you @craig). Thomas was with us on site at the end of May, his usual jovial self, finalising some of our window and door details. Knowledgable man, about windows and much more. Very sad. Our thoughts are with his family and the team at Ecowin. -
What affects the value of a static caravan?
Weebles replied to epsilonGreedy's topic in General Self Build & DIY Discussion
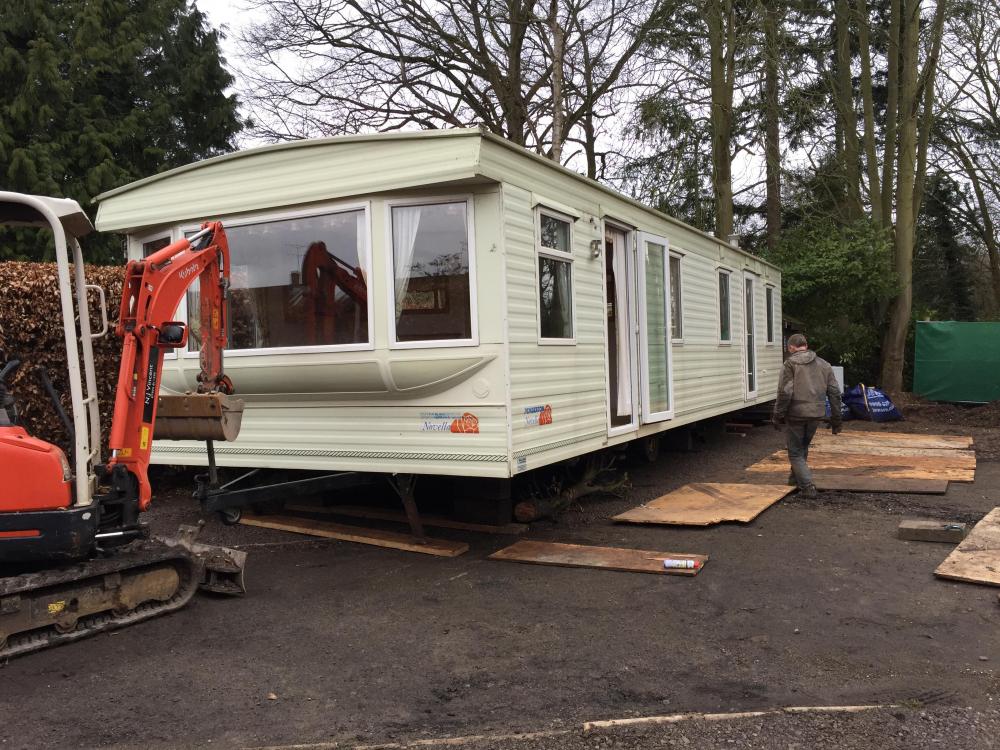
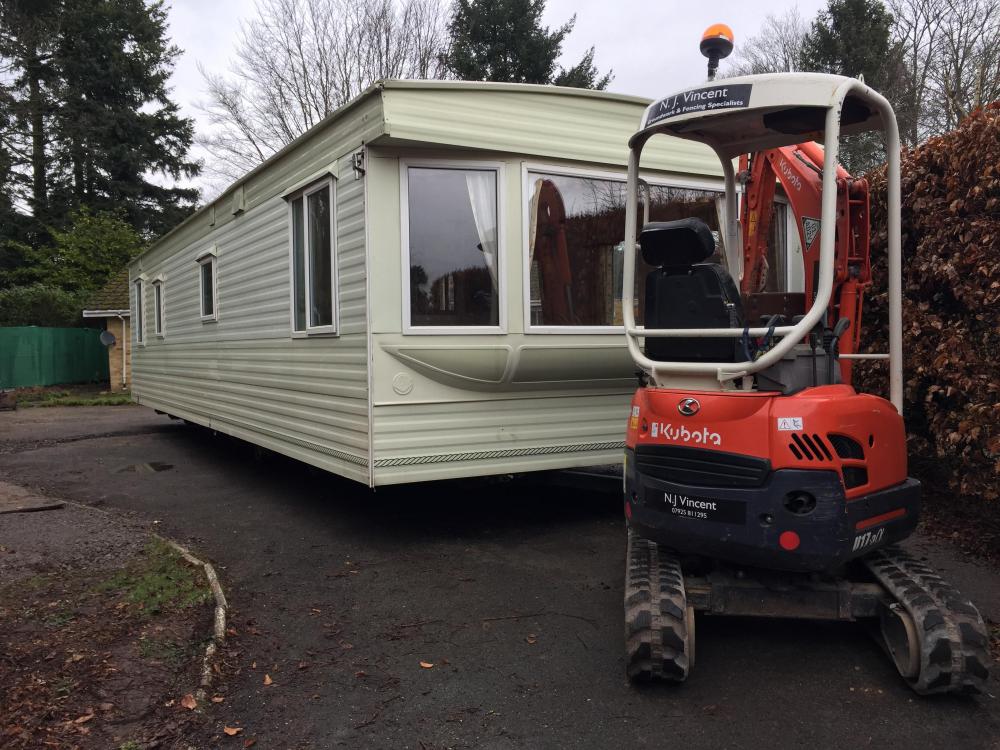
12 foot wide van still required a gap of min 14 foot. Shoved it back and forth with a mini digger to get it exactly in place as needed to site 90 degrees from site entrance. Challenging day as them had to level it in the pouring rain. Fortunately had laid some hardcore so it was not in danger of sinking. Been a fun 4 months so far in the van but last night I took a hot water bottle to bed as it is getting cold inside already (yes it is still August!). Can’t beat being on site though.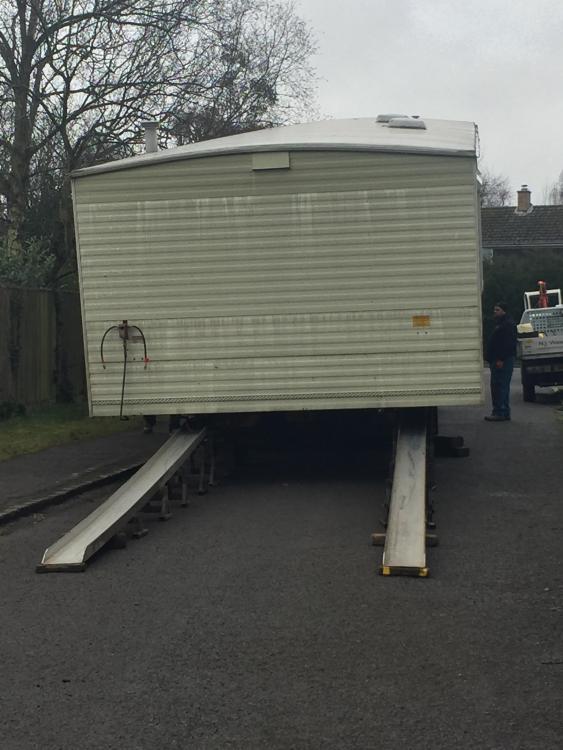
-
We are using Gaulhofer windows via Ecowin in our MBC frame. Structural openings, as agreed by us with MBC based on advice from Ecowin, allow for a 12mm tolerance on each side of each window so 24mm overall both horizontally and vertically. Many hours were spent liaising between MBC and Ecowin and they also liaised directly with each other. We, as chief checkers of everything, spent many hours checking and rechecking measurements. Both MBC and Ecowin have been thorough. The final result is not yet known. Windows are on order and should be arriving for fitting next month. We’ll post some updates when that happens.
-
Site visit? (MBC frame now up)
Weebles replied to Weebles's topic in General Self Build & DIY Discussion
We are using @Bitpipe plumber and sparks (in South Oxon). Nothing started on the house yet but some very useful conversations so far. And the sparky has already helped move us to a kiosk and sort out the caravan electrics. Sharing trades is very useful. We have also used the scaffolders used by @dogman. We would not be where we are with out the inspirational site visits to fellow buildhubbers @Bitpipe and @dogman and help from lots of people on this site. It is lovely to think we might have helped / inspired someone else. We didn’t think we’d get here. And now the next stage feels like a mountain too but we are having a lot of fun. @Bitpipe - do pop over when you have a free hour or two..... -
We saved about 400 decent whole bricks from our bungalow demolition for a future “project”. Flowerbed edging? Firepit? Offered the rest on a local Freegle site. No takers. People couldn’t be bothered to come and sort them out of the pile of rubble. We wanted to put some rubble back in the hole but we had no space to store the rubble whilst we dug out for the foundations. So it headed away in skips. Did manage to give away about concrete 150 paving slabs though.
- 35 replies
-
- 1
-

-
- demolition
- bungalow
- (and 3 more)
-
Site visit? (MBC frame now up)
Weebles replied to Weebles's topic in General Self Build & DIY Discussion
I did send MBC a couple of pics of our sunny site...... -
This was a really useful post as it has helped us solve a similar problem. Here is our experience. We copied @oranjeboom and shelled out for aerogel. Went for the 10mm thick foil backed stuff (foil backed on both sides). The aerogel people said it would be easier to cut and a bit cleaner and that proved true. Bit pricier but worth it for the ease of working with it. Cut with a Bahco insulation saw - really easy to get it accurate to within 5mm. Hard to wrap around the steel posts but with 2 of us we got it tight enough by taping it onto the post first and then pulling it around before taping it to itself. Then timber packers put around the outside so windows can fix to those. Not got to that bit yet but it looks like it should work.
- 10 replies
-
- 1
-
-
- insulation
- corner post
- (and 1 more)
-
If anyone would like to visit an MBC frame (finished last week, not air tightness tested) then we would happily welcome fellow Buildhubbers (we are in Henley-on-Thames) It would make a welcome change from mopping the rain off the floors (roof is not watertight) ? Bring back the sunshine!
-
Insect mesh help please - stainless steel or plastic or ?
Weebles replied to Weebles's topic in Roofing, Tiling & Slating
Thanks @Ian - stainless steel insect mesh arrived today with a staple gun so some fun will be had this week trying to attach it. www.themeshcompany.com very helpful and quick delivery. Got some rat mesh too for covering our EPS. -
Thank you. Message sent.
-
I would also like to post on the blog page please. I have some early stage build photos to share. @BuildHub please can I blog? Thanks
-
We need to put some insect mesh on our parapet roof edges. Got to allow ventilation into roof but stop the insects. Soon the parapet will be covered by a Sarnafil roof covering which will overhang, still letting ventilation come up but effectively weatherproofing the mesh. What sort of mesh would you use? Stainless steel (expensive but longer lasting) or plastic (cheaper but will it last?) or PVC coated woven fibreglass? Or something else? And will a staple gun do to fix it - if so, any clues on staple sizes? This is Saturday's job so going to need to order some stuff pronto. Sorry no photo - too dark to take one now.
-
What affects the value of a static caravan?
Weebles replied to epsilonGreedy's topic in General Self Build & DIY Discussion
We are living in this beauty. It is 17 years old and cost £7K. We hope to recoup some of this at the end. Rental costs round our way would be a min of £1200 per month so it will pay for itself fairly quickly. Being on site is already proving to be a huge advantage. It has 3 bedrooms (we have a 14 year old boy and a 12 year old girl). It has double glazing which just means the weak points are the floors and the walls. Not sure it will make that much difference but we will see in the winter. It adopts the outside temperature, whatever that is. So even now, it can be cool-ish at night. We chose a van with no furniture in it so we could put our own sofas / table and bed in - saves on storage costs. Got it from a static van seller in the East Midlands. Looked around 50 vans (there and at another site in Guidford) to work out what we wanted / needed. Originally thought £2-3K would do it. But then looked at some at that price and realised we couldn't live in them. We have been in it since mid April. It was very cold until the end of May. We are expecting to be very cold this winter but hopefully it will only be one winter to survive. We have a dehumidifier ready. And some 4 season sleeping bags. And we have a laundry (washing machine and tumble dryer) and a second toilet / basin set up in a shed next door. We have resealed the windows (rubber seals) and boarded up some of the outside between van and ground to reduce cold air flow underneath. And sited next to a tall hedge. This provides shade (very important at the moment) and reduces the impact from wind. The trees behind are the other side of the access road but also help shade the site. I echo @oranjeboom comments about the paper thin walls. Nothing is private..... No regrets so far but haven't been through the cold months yet and we have been lucky as hasn't been too wet yet either. wind.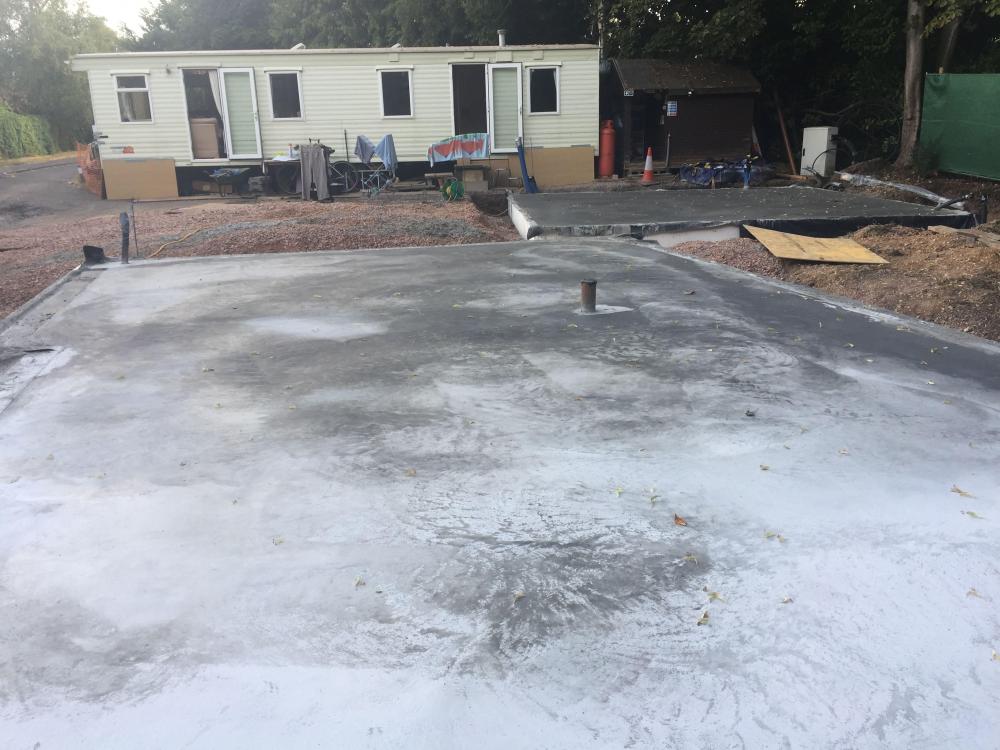
-
Windows delayed - what can we do whilst not watertight?
Weebles replied to Weebles's topic in General Construction Issues
Thanks all. Seems we won't be taking time off after all! -
Our MBC frame starts going up on Monday (yippee). But just found out that our windows will be delayed (until mid September). We plan to get the roof on but can't render / clad until the windows are in. What else do you suggest we do whilst we wait? Is it silly to start on any internals (MVHR / first fix elec and plumbing?) whilst everything is still open (and not secure - although we are living on site there isn't someone here all the time)?
-
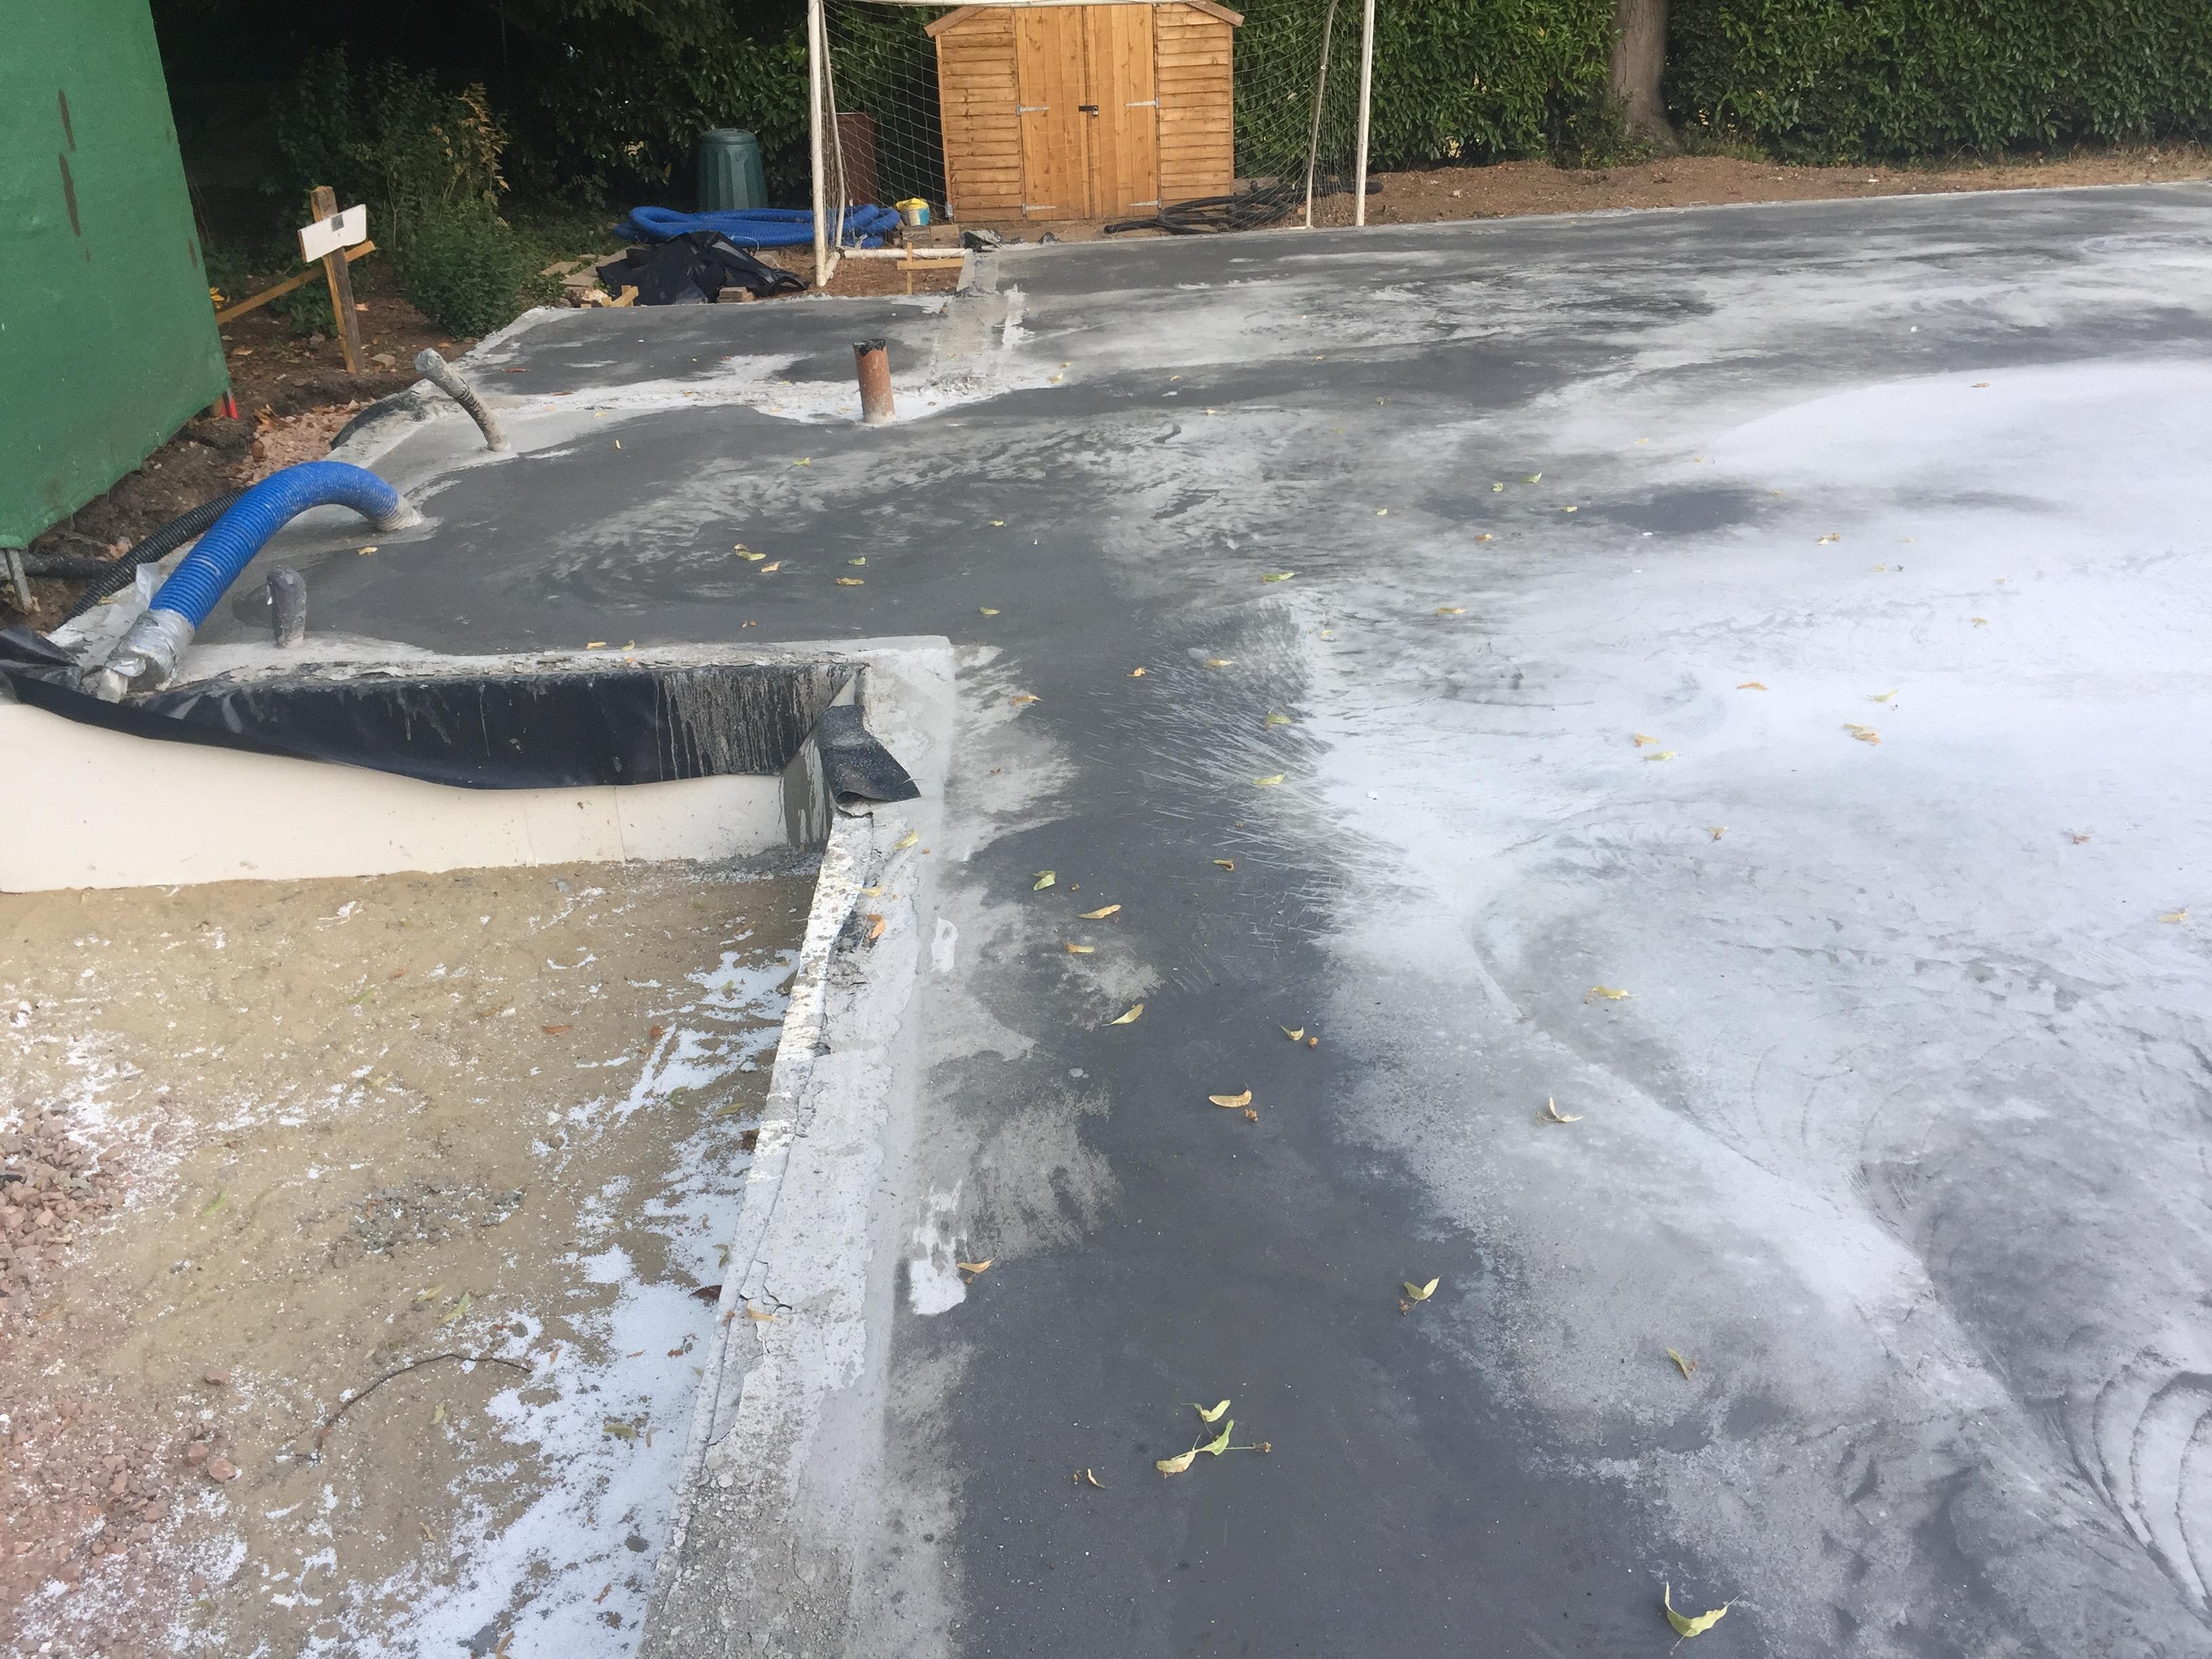
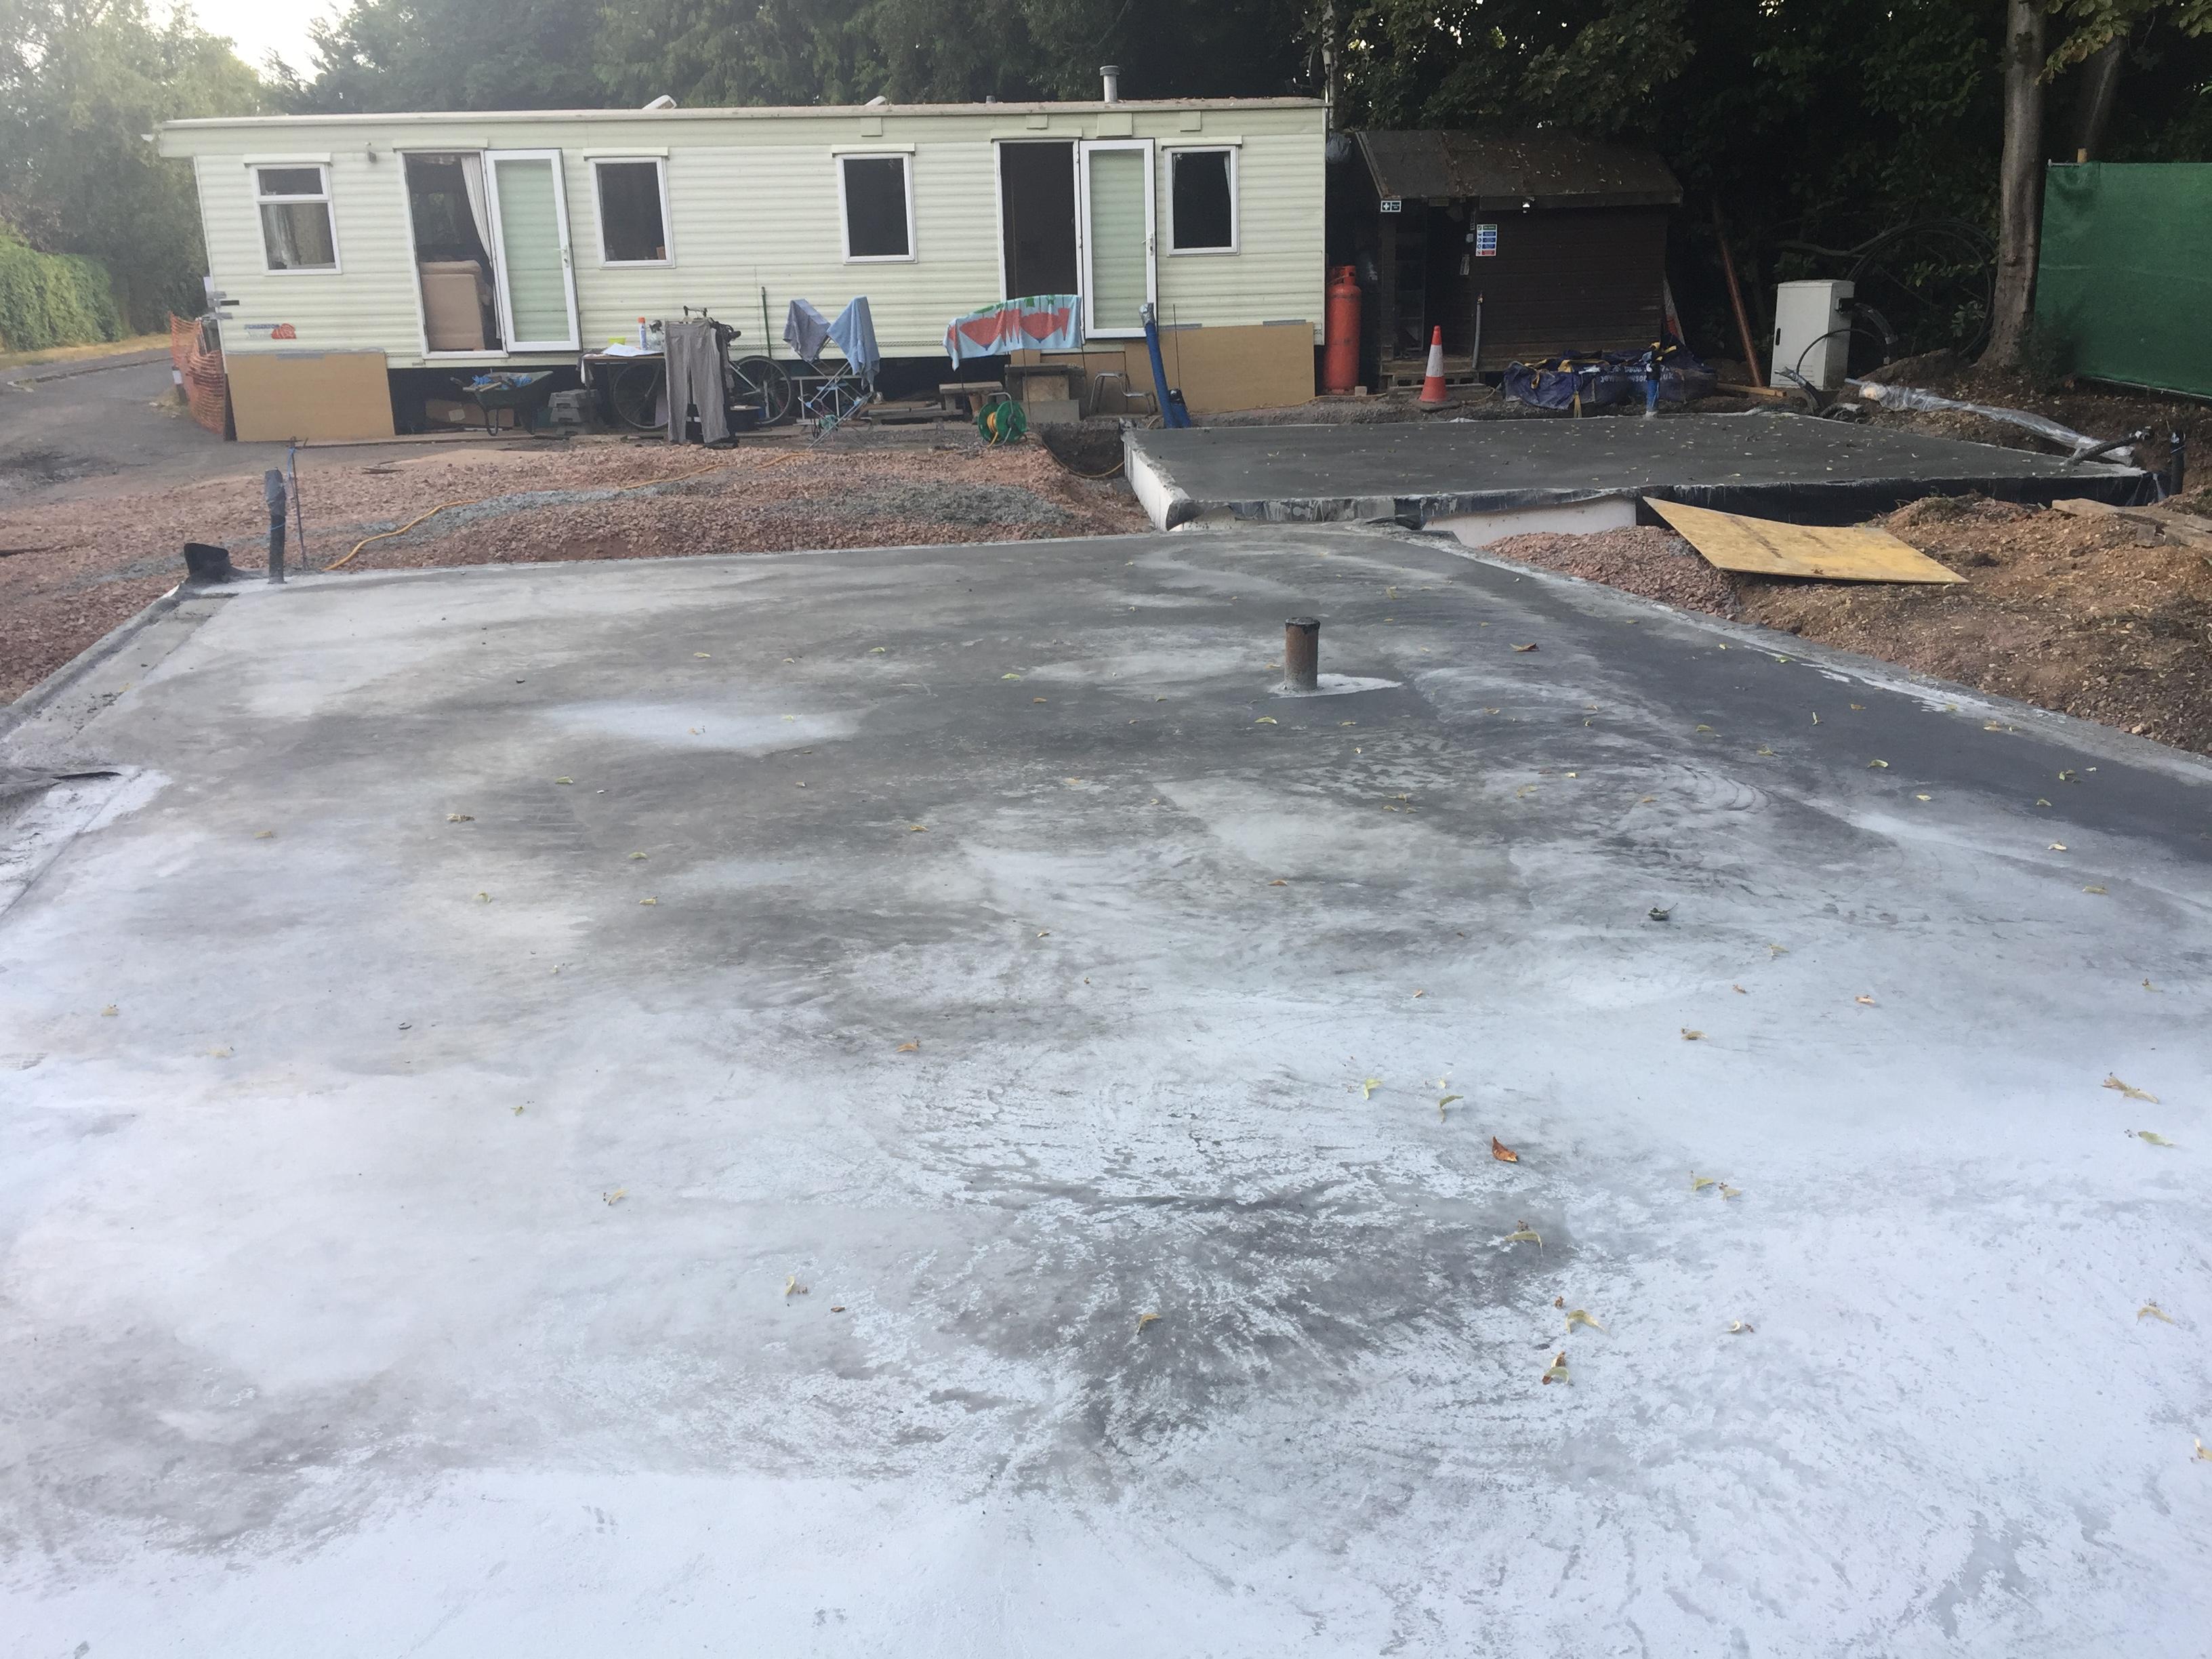
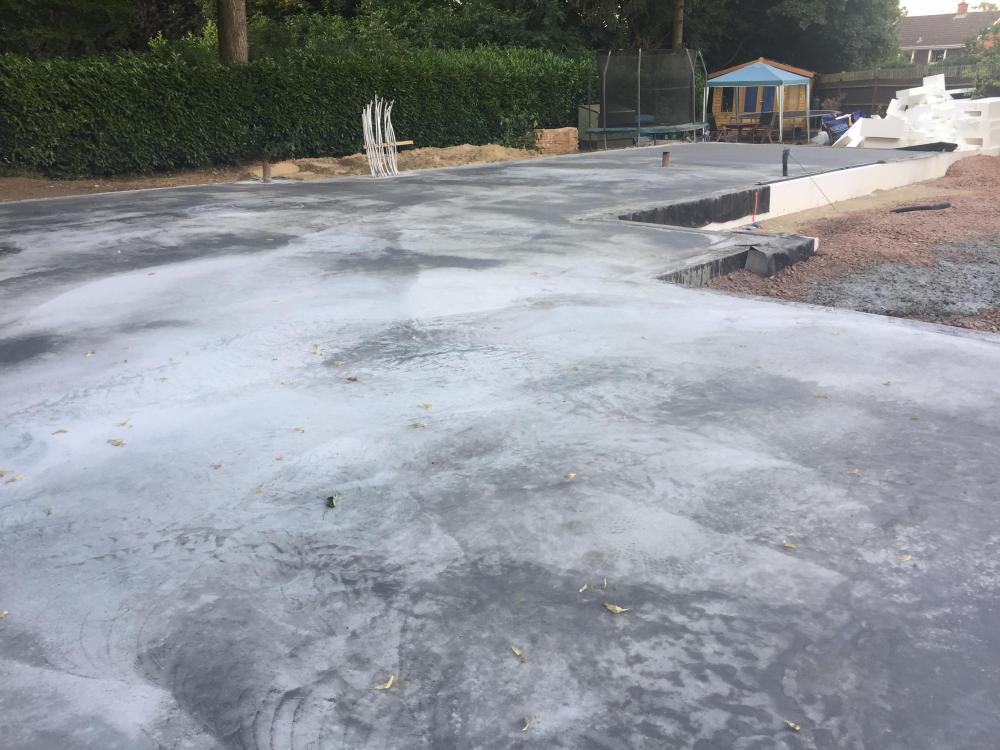
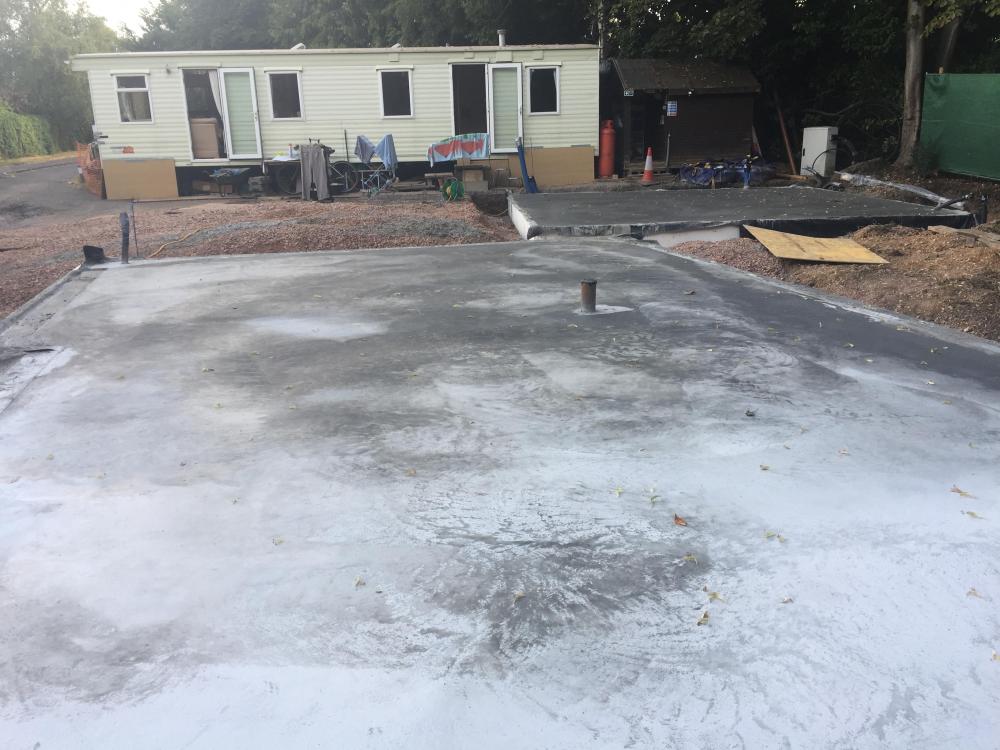
We have a slab! With ducts sticking out of it. All beautifully taped. Thanks everyone. I forgot to allow for electricity to the kitchen island but everything else seems to have gone well. Ducts aren’t all in perfect positions but we should be able to work around it. Will see for sure when the frame goes up. MBC back in 23rd.
-
Just about to start fitting UFH pipes onto the steel mesh in our MBC slab. Designer has used 150mm centres for the pipes. Guys on site say that 200mm centres are sufficient. I have ordered enough pipe for 150mm centres so there are no cost savings to be made now. It will be a gas boiler supplying the hot water for the UFH. Any views?
-
The guys we are using are also very laid back. There is a list of 6 or 7 stages they would like to inspect, the first one being before the slab is poured. They came out to look at the dig and were helpful with comments on its depth and the soil (which turned out to have no clay despite the soil survey suggesting there would be some). However, on being given a few days notice of the slab pour (scheduled for Tuesday) they noted they didn't want to hold us up in case they couldn't get to us and would happily do an inspection via FaceTime. I am adopting a proactive approach with them now and have sent some photos by text message too. I hope they are happy to input where we need as we go on.
-
Timber frame passive standard build
Weebles replied to Scotrock's topic in General Self Build & DIY Discussion
I am re-opening this thread (if that's OK to do?) with some questions on this neat finish. Our MBC slab is going in at the moment so we are thinking about this geotextile and alu finish. Looks so smart. My question is on the geotextile. Is this rodent proof or did you put something else over it? What have you back filled in next to that geotextile? I was thinking about putting my excess MOT type 1 in there. But don't want the rats to make a home under my house...... Any spec on that geotextile (is a minefield of choice out there)? Or any other finishing ideas for on top of the EPS? -
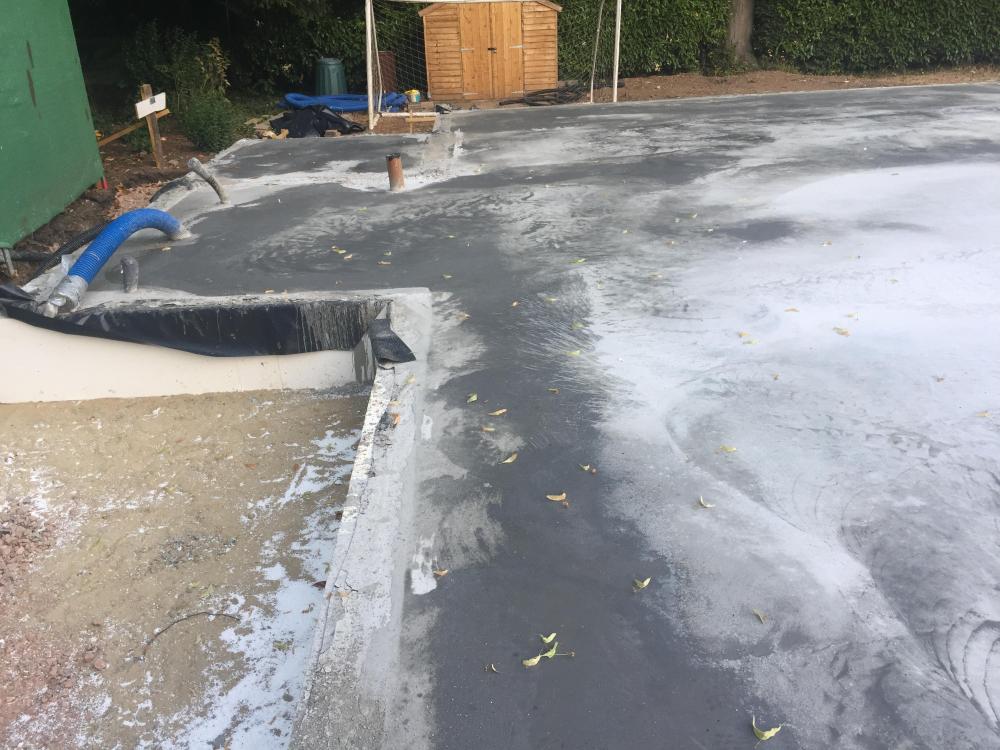
Finished in the dark an hour ago. Put in a duct for the electric armoured cable (needs a duct because the location of our plant room / rest of the build / kiosk means we won't be able to leave the armoured cable anywhere convenient to put through a short duct into the plant room. Put in 63mm twinwall (that's all we had but there is no reason for the electric people to come back on site now so they can't object) in a bit of sand. Duct taped / heavy duty plastic both ends. Shifted a tonne of sand tonight (just me and a shovel). Rolled the last of the recycled crushed concrete ready for the MOT type 1 tomorrow. Still got to get the 110mm twin wall water duct in. That is tomorrow's job, along with some BT duct. Thanks for all the help today.
-
Got it. Great photo, thanks. What about the other end of those ducts? Some of ours will be for some for random post build bits - electricity to shed etc. Seal the other end in DPM plus duct tape too?.
-
I have seen @JSHarris neat solution for sealing ducts when the house is finished (chicken wire and expanding foam). What about whilst the slab gets poured etc when there is no pipe in the duct. Will a plastic bag and a rubber band / electrical tape do the job?
-
Thanks Jeremy. That answers that one then. We will dig them in 600-700mm down under the top level and bend them up to go through the upper layers of the sub base. For BT, if I could get hold of Open Reach I would be delighted. They keep putting me on hold until they go home! I ordered some 56 duct online though so will just use that to get into the plant room. Though don't have a 90 degree bend or hockey stick of that diameter so will see what I can get at short notice. Will have to worry about where the cable will actually run another day. Might be routing it round behind the garage after we have finished the build. Thanks for the quick reply.