JFDIY
-
Posts
498 -
Joined
-
Last visited
-
Days Won
1
Everything posted by JFDIY
-
Is there any by-pass valve or a radiator permanenly on without a TRV (thermostatic valve) Might be worth trying one in a bathroom for example.
-
Is the rest of the house sapping the heat? I had issues with one of those actuators trying to get it to calibrate, the floor was always warm. In the end I loosened the body about one turn, did the calibration, then once completed tightened it back down on the manifold. Been fine since, I did email salus but never got a reply. I'd try running the calibration exercise a few times as I'm sure they get better each time. Failing that You could try the opposite of my bodge, but you'd need to just slacken the actuator to allow the pin to come up more after calibration to prove it. then contact wunda or salus to check if it's a common issue
-
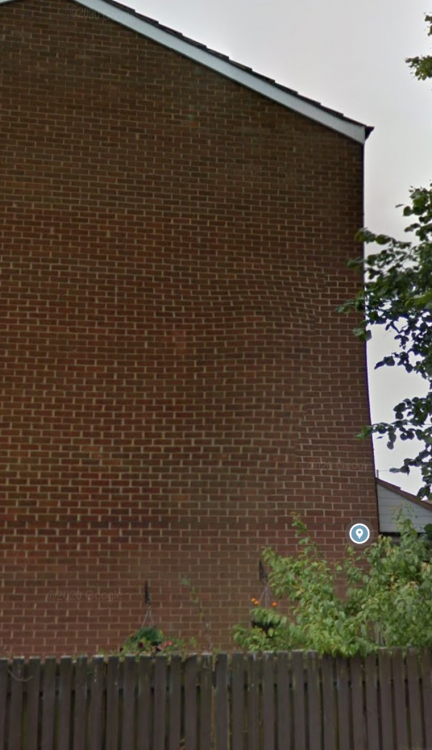
Even the pros can make a pig's ear of a job, I just spotted this while checking out a location on Google maps. Years ago I wouldn't have noticed the perps.....
-
Try the re-calibration procedure, sounds like something went wrong when you first switched it on. You have to have stable or rising temperature on the hot side of manifold. Also if your floor was warm to start with it will have possibly fooled it with calculating the flow direction as water in return side was already hot.
-
Rethinking the layout of my unvented hot water cylinder
JFDIY replied to Adsibob's topic in Boilers & Hot Water Tanks
With heindseight I'd put it closest to the point of most frequent use. This may be to serve the kitchen/utility or a compromise of a mid point between kitchen and bathrooms. Ignore the infrequent room (use small bore pipe for faster hot water response to basin) and don't stress over the minor pressure loss due to height, it matters on a gravity system but less so on a pressurised one. -
Toilet seat - bad design or am I missing something!
JFDIY replied to jfb's topic in General Plumbing
I'd be tempted to remove it and see if it's fitted with the leafs on the wrong part of the seat. Upper leaf looks to have s bigger offset, should this be on the lower seat and vice versa? -
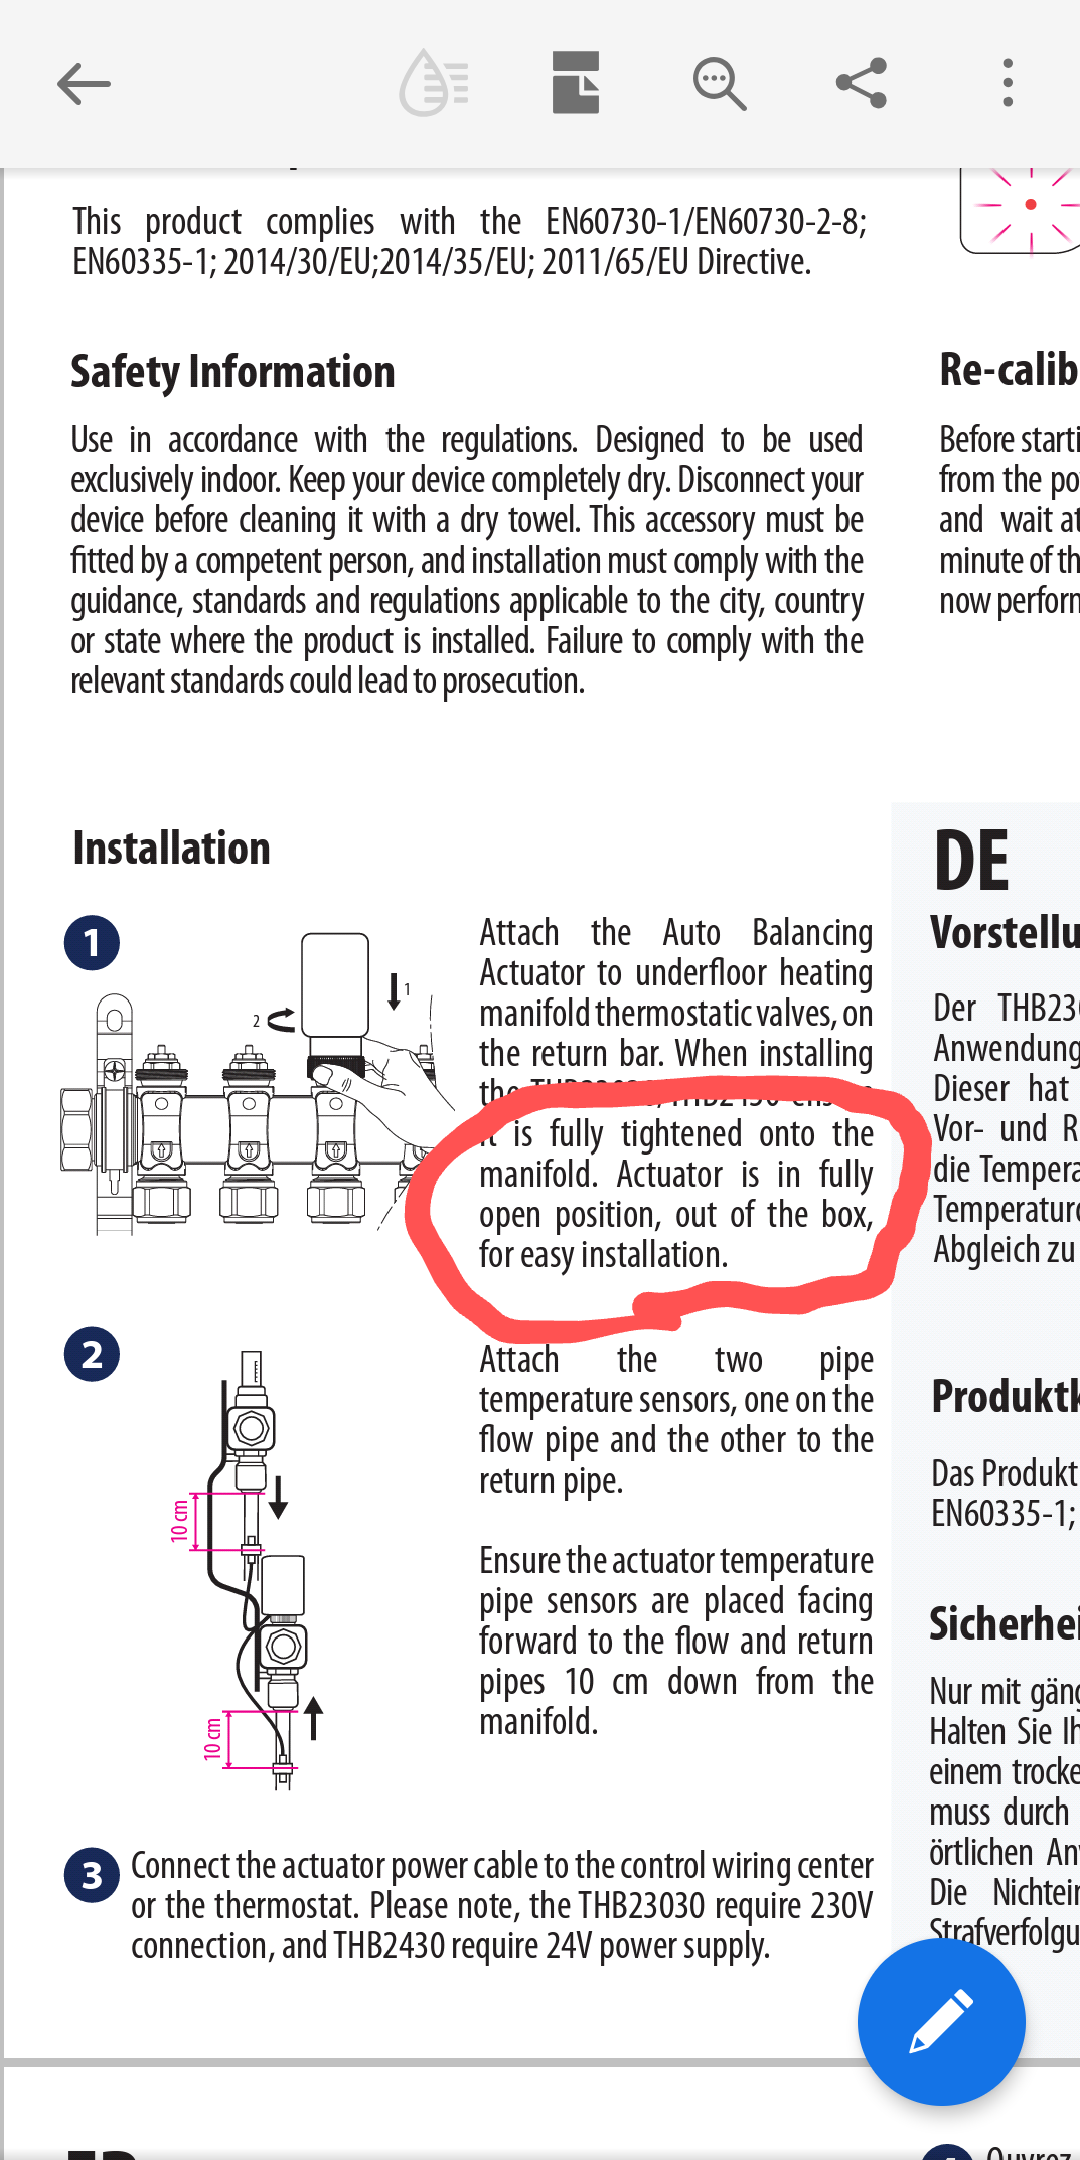
Don't they come with the pin retracted for easy fitting. When powered up it releases then does the calibration exercise

-
I've had this, oven in a rented property, working fine, property unoccupied for 6 months over winter, new Tennant comes in, oven turns on and trips. Father-in-law suggested moisture absorbed into element, I was dubious, but it was on an rcd circuit and it was RCD tripping not the circuit breaker. I just kept turning it on and eventually it dried out. Other option is remove the appliance, sit it on a workmate in the garden, supply it with an extension lead off a non RCD circuit (operate wearing gloves/rubber boot and don't touch the case to keep everyone happy) and let it bake for a good few hours. Chances are it will dry out and be fine
-
Stainless towel rail and Duel fuel it with CH and thermostatic electric element. I've bought stainless rails for £160. 1200mm X 600mm (As intimated above) If you've got MVHR just pop an extract in the space, doubt you'd need any additional heat.
-
Swap the actuator from a working room, leave wired to the working room, crank heating up in working room, see if loop in suspect room gets hot. After that; Is it worth fitting new (or swapping from a known good loop) the flow meter on the hot side of manifold and the pin valve on the return side of manifold and see if the problem goes away or moves with the components? Another consideration Is I wonder if you have the loop lengths of the problem circuits, or if you can see any numbers on the pipes to work out if they particularly long? After that I think you may conceed that the pipe spacing is too wide, or heat loss in the room (or downward) is too great for the system as it stands? That said what are the floor coverings? We used to have a big rug in our lounge, if you lifted it the floor was about 10*c hotter underneath it. Point is have you got a big insulating floor covering stopping the heat coming through? Must be something fairly simple
-
Your pipe spacing may be dictated by joist spacing on suspended floors, I ended up at 200mm upstairs because of that, but 125mm downstairs (screed over insulation and solid floor). Anything tighter than 150mm spacing requires you to form 'lightbulb ends' which can be a little time consuming. If you have to thread any of the pipes through the joists or structure, a multi-layer oxygen barrier pipe is way more do-able than an aluminium based pipe. Is yours a bungalow by any chance if it's all coming off one manifold. Mine was 75m² downstairs and I think came to about £1600 with a different supplier. The bulk of the money is in the manifold and controls side of things and the pipe runs to a little over £1 per metre, so area isn't such a big driver in the price
-
Just check your pipe spacing is close enough to support future requirements, for example a heat pump needs 150mm spacing typically. My bedrooms are at 250spscing and I wish if done them a lot closer, but it was 10 years ago. I went with a different supplier and was a fair bit less (25%) than wunda, then bought all my staples and tools off eBay and saved another hundred or so.
-
I would have done two 3/4 tiles but I'm weird like that
-
Couldn't you do 70mm PIR then used the grooved t+g structural chipboard flooring that takes the UFH pipes?
-
How can I join a concrete slab to a suspended floor?
JFDIY replied to carlosdeanos's topic in Floor Structures
Is it the area with the chair on? A layer of 25mm or 40mm insulation then clip your pipes to it and screed to finish level. Get someone in to either liquid or traditional screed, you'll be glad you got someone else to do it once you price the cost of materials. As others have said match the other area with insulation -
Liquid screed recommendations West Oxfordshire
JFDIY replied to OldSpot's topic in Building Materials
I used Ashley at AT floorsscreeds, he's based in Derbyshire, about 40miles from me but travels all over. Best bit was he actually quoted based on area and thickness and without obligation visited the job beforehand. I liked the way we got on, he set up level references there and then, worked out how much screed, then Less than a week later did the job. -
MVHR is Largely Bogus
JFDIY replied to DavidHughes's topic in Mechanical Ventilation with Heat Recovery (MVHR)
I don't think you'll be disappointed. My house used to stream with condensation from October to march, we'd get up and wipe all the glass down daily. We only dried one or two items of clothing a week in the house, it drove us mad Since fitting the MVHR, the house is bone dry, probably too dry some days as I now have to put moisturiser on!. We even now dry most of our clothes in the bathroom, with no more than a bit of condensation on the bathroom window for an hour or two as the extract clears it. -
Rob songer did some training videos which he put on YouTube years back, these are very good if memory serves . Stu Crompton is good but he and Charlie Collinson come across as a bit cocky to me (the latter mostly), however they are both doing a good job at promoting their trade, which is vastly under appreciated. The pick and dip method has many merits for brickwork and you can use a smaller trowel and carry less mortar, and minimise inputs to getting the bricks down; saving arm ache.
-
Wouldn't that only be marginal gains though? I'd cut round it and leave an island just supporting the bottom of the stairs, it will save you a lot of hassle, then just use the perimeter roll insulation to stop it sinking heat from the new heated section. In my new extension I considered building up a solid un-insulated and un-heated pad to land the stairs on, didn't think twice about the heat loss as it will be a small area in the scheme of things.
-
You have enough insulation under the slab, so I'd consider bonding clip track strips to the slab that will hold the pipes, then piping it up and covering with liquid screed. You may want to talk to screed manufacturers, because I think you'd want cement based so the screed and slab have similar expansion rates to avoid cracking of the screed. Or as you say the egg box type trays, if you use these with a separate DPM this will give a slip layer to prevent differential expansion being an issue
-
Not usually, you'd try and correct it over several courses, say max 2mm at a time so it doesn't stand out. Will it be visible or is it rendered?
-
If you have the time, personally I think you will save more money by doing it the other way round. You do the foundations and get someone in to do the building. I saved £20k doing that over 8weeks around a full time job. And all your mistakes are hidden! Without seeing plans to know how complicated it is then it's difficult to tell. Setting out the brick or block bond, even at the first row can be critical and make it much easier to get details of doors/windows and lintel supports right. Would at of it be visible or is it rendered? If you've done a bit before then you will have a feel for what is required. But I'd say if you watch a proper bricklayer, they make it look effortless and are so fast. Having a Labourer helping is more than twice as fast, if you're doing all your own mixing, loading out, jointing and cleaning up it looses the flow. It really depends on how much time you have.
-
Errr ... that mixer is back to front if those pipe isolators are correct as hot and cold Found this image on nu-heats website.

-
Towel rails: easy to install right? Wrong.
JFDIY replied to ToughButterCup's topic in General Self Build & DIY Discussion
The parts you are missing will be some tube (square or round) with a washer welded about 5-10mm down from the end. Will be pillar/stand-off of about 75mm long. That bit bolts to the radiator. There is then a plastic bobbin you fix to the wall, mine had a recess cut in the outside. You fit the rad to the bobbins then a grub screw in the side of the stand-off locates into the recess of the bobbin. I'd go with the others above and plead ignorance to start with. -
Is the manifold still isolated at the two ball valves at the end?