Onoff
-
Posts
21126 -
Joined
-
Last visited
-
Days Won
206
Everything posted by Onoff
-
What smell is it? Poo, rat, 10 Rillington Place type decomposition? ...
-
Daft question but how do you physically test for leaks at joints when testing if the pressure is dropping, logic says soapy water at the joints?
-
Posted this before: https://www.thetimes.co.uk/article/tiny-homes-become-the-next-big-thing-smnj8ns9t
-
I'd describe the smell when they die and rot as somewhat "meaty"... @Tin Soldier, noticed any more flies than usual, always a sign.
-

-
Dum, dum...dum, dum...
-
I primed my tanking then followed with cement based bag mix.
-
The big difference is yours looks so good it doesn't detract from the roof.
-
I could not get this 25mm mfpe to brass stop cock to stop leaking. Looking back now I see the pipe is a bit on the pi$$: It was I think @Nickfromwalessuggested assembling with a sealing paste, the name escapes me (Rocol Gas Seal maybe?). Anyway I went with Jet Blue Plus in the end. No more squeaks doing up compression fittings, they do up further and of course no more leaks! You can use on polyethylene too, see the description: https://www.wolseley.co.uk/product/center-center-jet-blue-plus-500-g/ No substitute for a decent fitting in the first place of course.
-
Our upstairs ensuite; the cistern overflow exits into the shower & basin waste pipe (I didn't do it). Sometimes a waft comes back up that way. My wall drain in the new downstairs bathroom has a hair trap. Both women here have hair like Cousin It. If I don't regularly (yes me) remove the face plate and clear the hair trap it starts backing up across the wet room corner. Happened recently but the hair trap was clear. The odd hair that had got through had built up on top the drain grille outside. (No holes in the grille for the pipe shoe as yet).
-
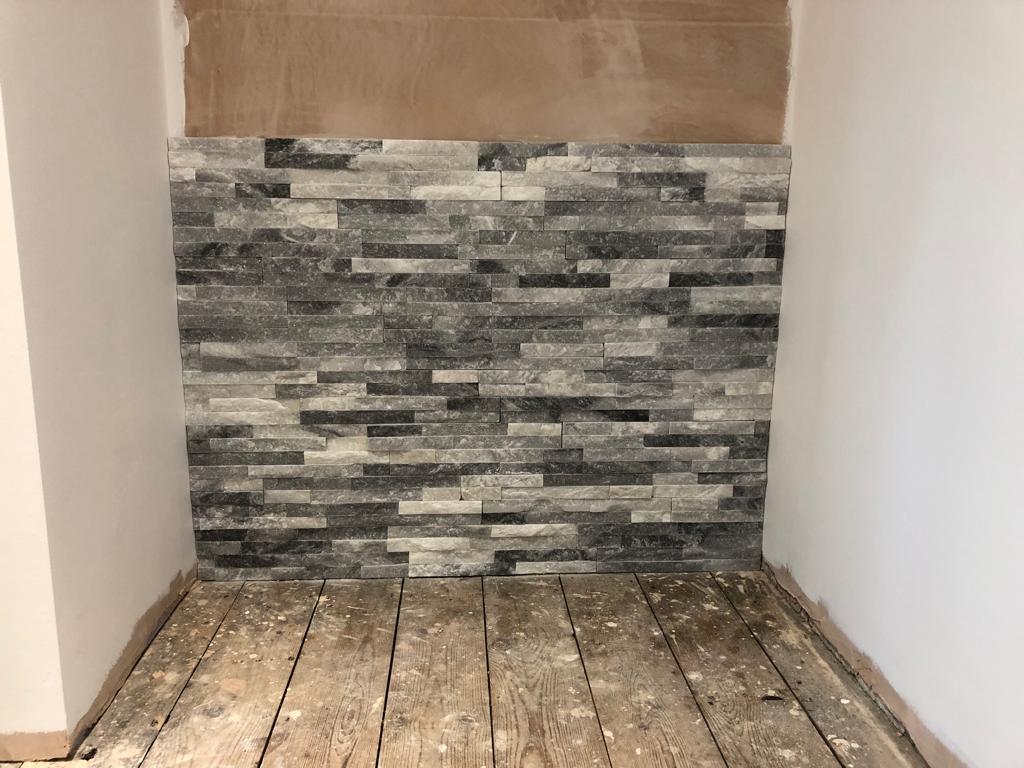
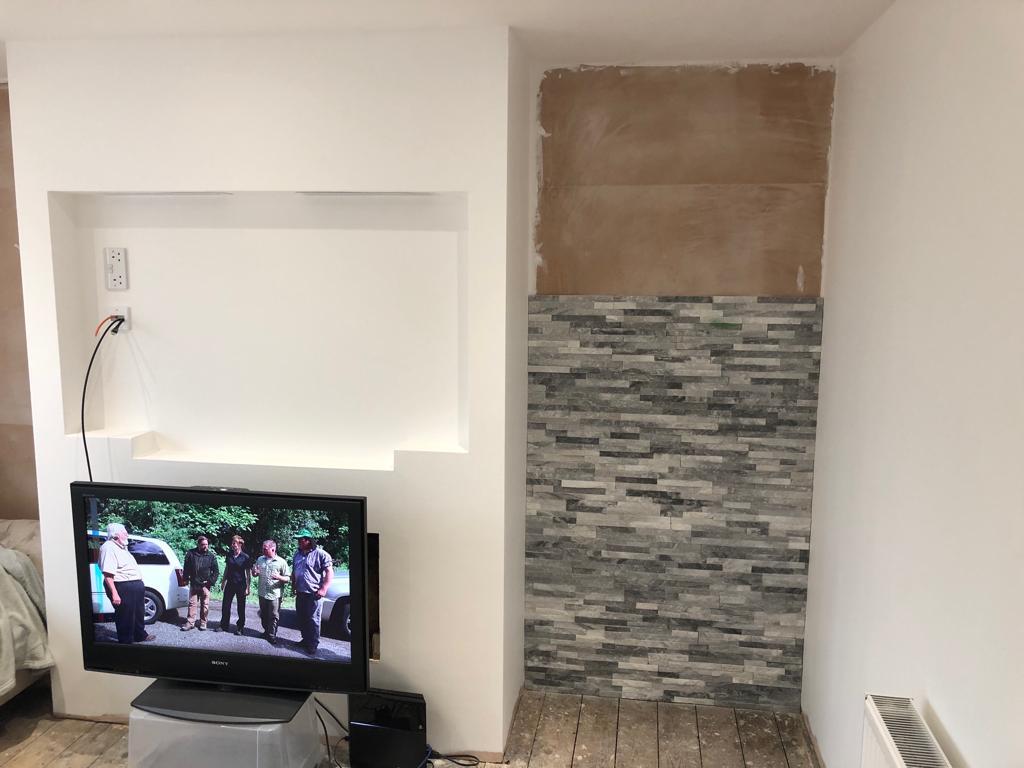
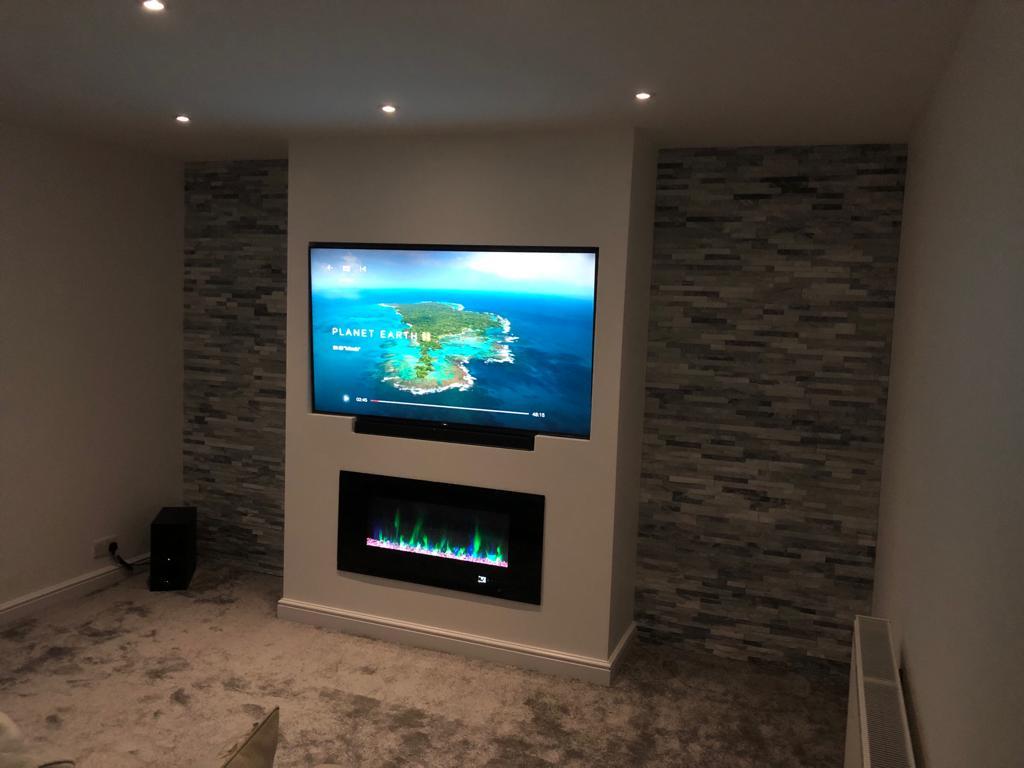
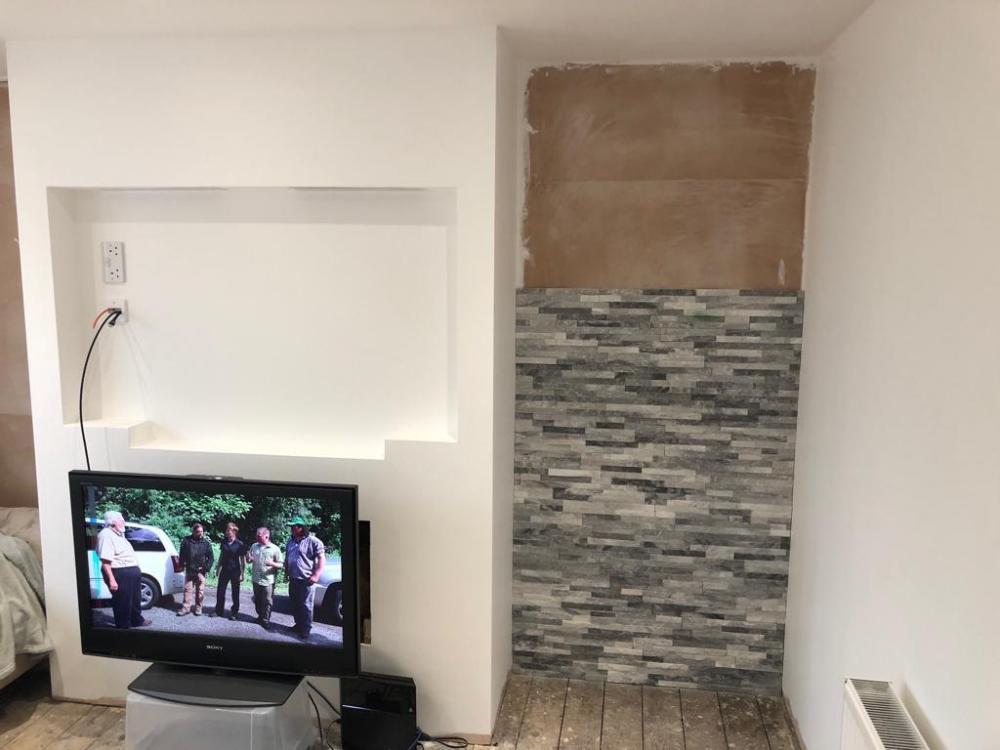
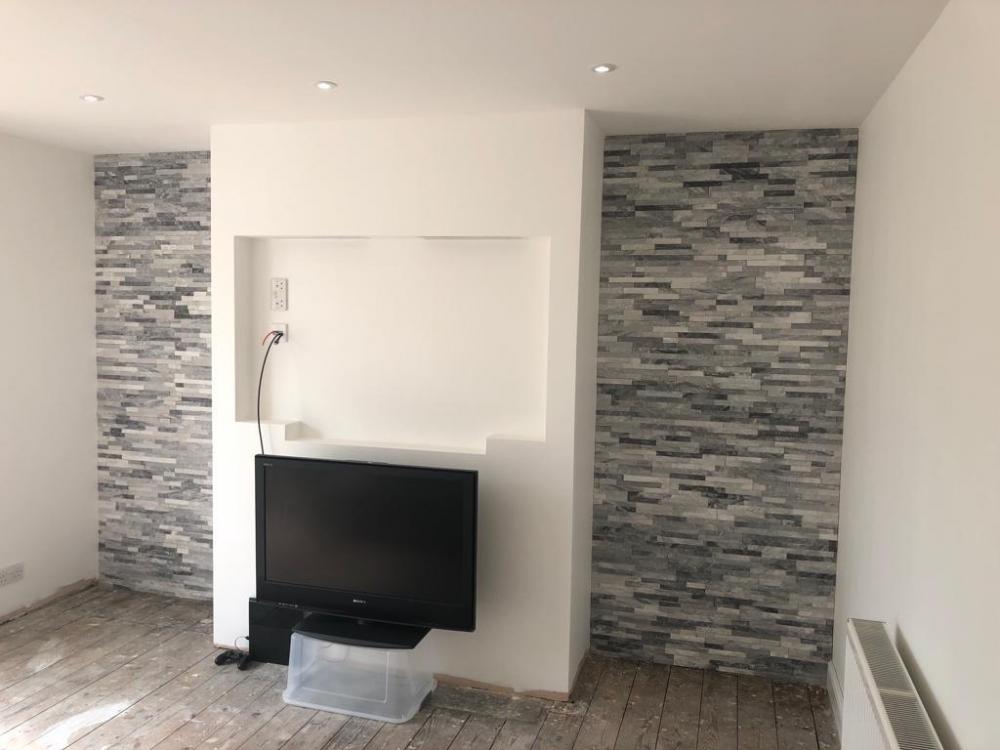
Chap at work has just done his alcoves:


-
As Peter says the Evo's tolerances leave a bit to be desired. Say you've faffed setting it to cut 90deg (don't trust the factory stop) then want to cut at 45deg, well more faffing to do 45. Take it back to "90" and more faffing again. If you leave it set at 90 its OK. Where it wins for me is versatility when precision isn't critical. Stud work, "shed" building. Doing my gate I've used the same blade to cut 100x100x6 steel box section for the posts, 6mm thick support angles for brickwork, plastic ducting underground, steel conduit, a 4x2 pfc. Various bits of timber of course. Now with a change to the diamond blade I'm cutting bricks. I'd not dare try and use it if building say cabinets or drawers with decent timber. Also it's impossible to accurately trench / house with it. Saying that both my nephews have recently bought the latest incarnations of my model and they seem better. I've also the 185mm circular saw. Out of the box it was cr@p if used with the supplied fence due to the base & fence not being parellel. I diagnosed the manufacture defect and modded mine even writing to Evolution. They responded not by acknowledging the issue but by suggesting a seriously dangerous "fix" to remove the riving knife from behind the blade! You can btw get spares for them.
-
Like that's over! Update coming soon...my kinda soon...
-
Nothing worse than effing up good materials.
-
I said the other week how I've been using my Rage Evolution saw to cut bricks with the diamond blade. I can confirm you can halve a brick lengthways. This lad has made a jig:
-
I've some old tins of paint and chimney sweepings your welcome to if you wanted to s**t them up a bit. Is that "real" though? Would there be that sense of history about it? Could you really feel the blood, sweat & tears of the common man if you did that? ?
-
Let's be honest these look pretty good. Go round a curve too:
-
As in you can or you can't? Presumably, given the price of electricity it makes sense if using an ASHP to minimise heat losses in the property so it becomes cheaper to run? Would an ASHP be cheaper than oil in a leaky old house (like mine ?).
-
Seams a bit rough...
-
Than many penetrations between rooms.....are there any Part B, Part E considerations that say you need to seal them up?
-
-
Off down the modification rabbit hole I went... Drilled 4 more holes to be able to move the roller assembly up, shortened the downward leg by 25mm and extended the slots. Also drilled 20mm holes through the top like on the other post for an M16 "safety" bolt (should the welds ever fail). A quick flap disc: And a lick of galv spray as a holding coat: Next I'll lop off the L shape bit to weld it back on 25mm lower.....when I can find the backing nut for my 9" grinder..... ?.....last used when I cut the first stainless lintels up....probably stuck to the slitting disc.....now where's that.....
-
Erm...I like making work for myself?
-
The first gate post is pretty much 20mm lower than the second. All pretty plumb and level, just lower: First post / pillar: Second post / pillar: Thinking for a start to cut off and reweld the high post 20mm lower, might even get 25mm lower. It'll mean too trimming where it's slotted to engage with the gate. My roller assembly (though it works a treat) was a "temporary" lash up of Buffalo board cut to fit inside the box, nuts, bolts and reinforced hose. Very resilient and quiet: Out with the set square & grinder then I suppose!
-
At least nothing leaks! ?