Onoff
-
Posts
21126 -
Joined
-
Last visited
-
Days Won
206
Everything posted by Onoff
-
You've lost weight!
-
At least I can have a proper sh!t. ?
-
Be interesting to see a tear down of one of these clones to see if it really is a "clone" or just a lookalike shell housing different internals. (It'd be nice if Makita spares fitted).
-
Sound block board is 15/16mm. You'd lose 5 - 7mm. You can btw get sound absorbing/ deadening curtains.
-
Alleged 90Nm bare drill for £42.99 that takes Makita batteries: https://m.banggood.com/18V-3-In-1-Cordless-Impact-Drill-2-Speed-Rechargable-Electric-Screwdriver-Drill-Li-Ion-Battery-Adapted-to-Makita-Battery-p-1602641.html?
-
If you are boarding out inside then you could could use the blue, sound block plasterboard. It's a bit thicker and heavier than the normal stuff.
-
His neighbours complain ref his woodworking router noise I think?
-
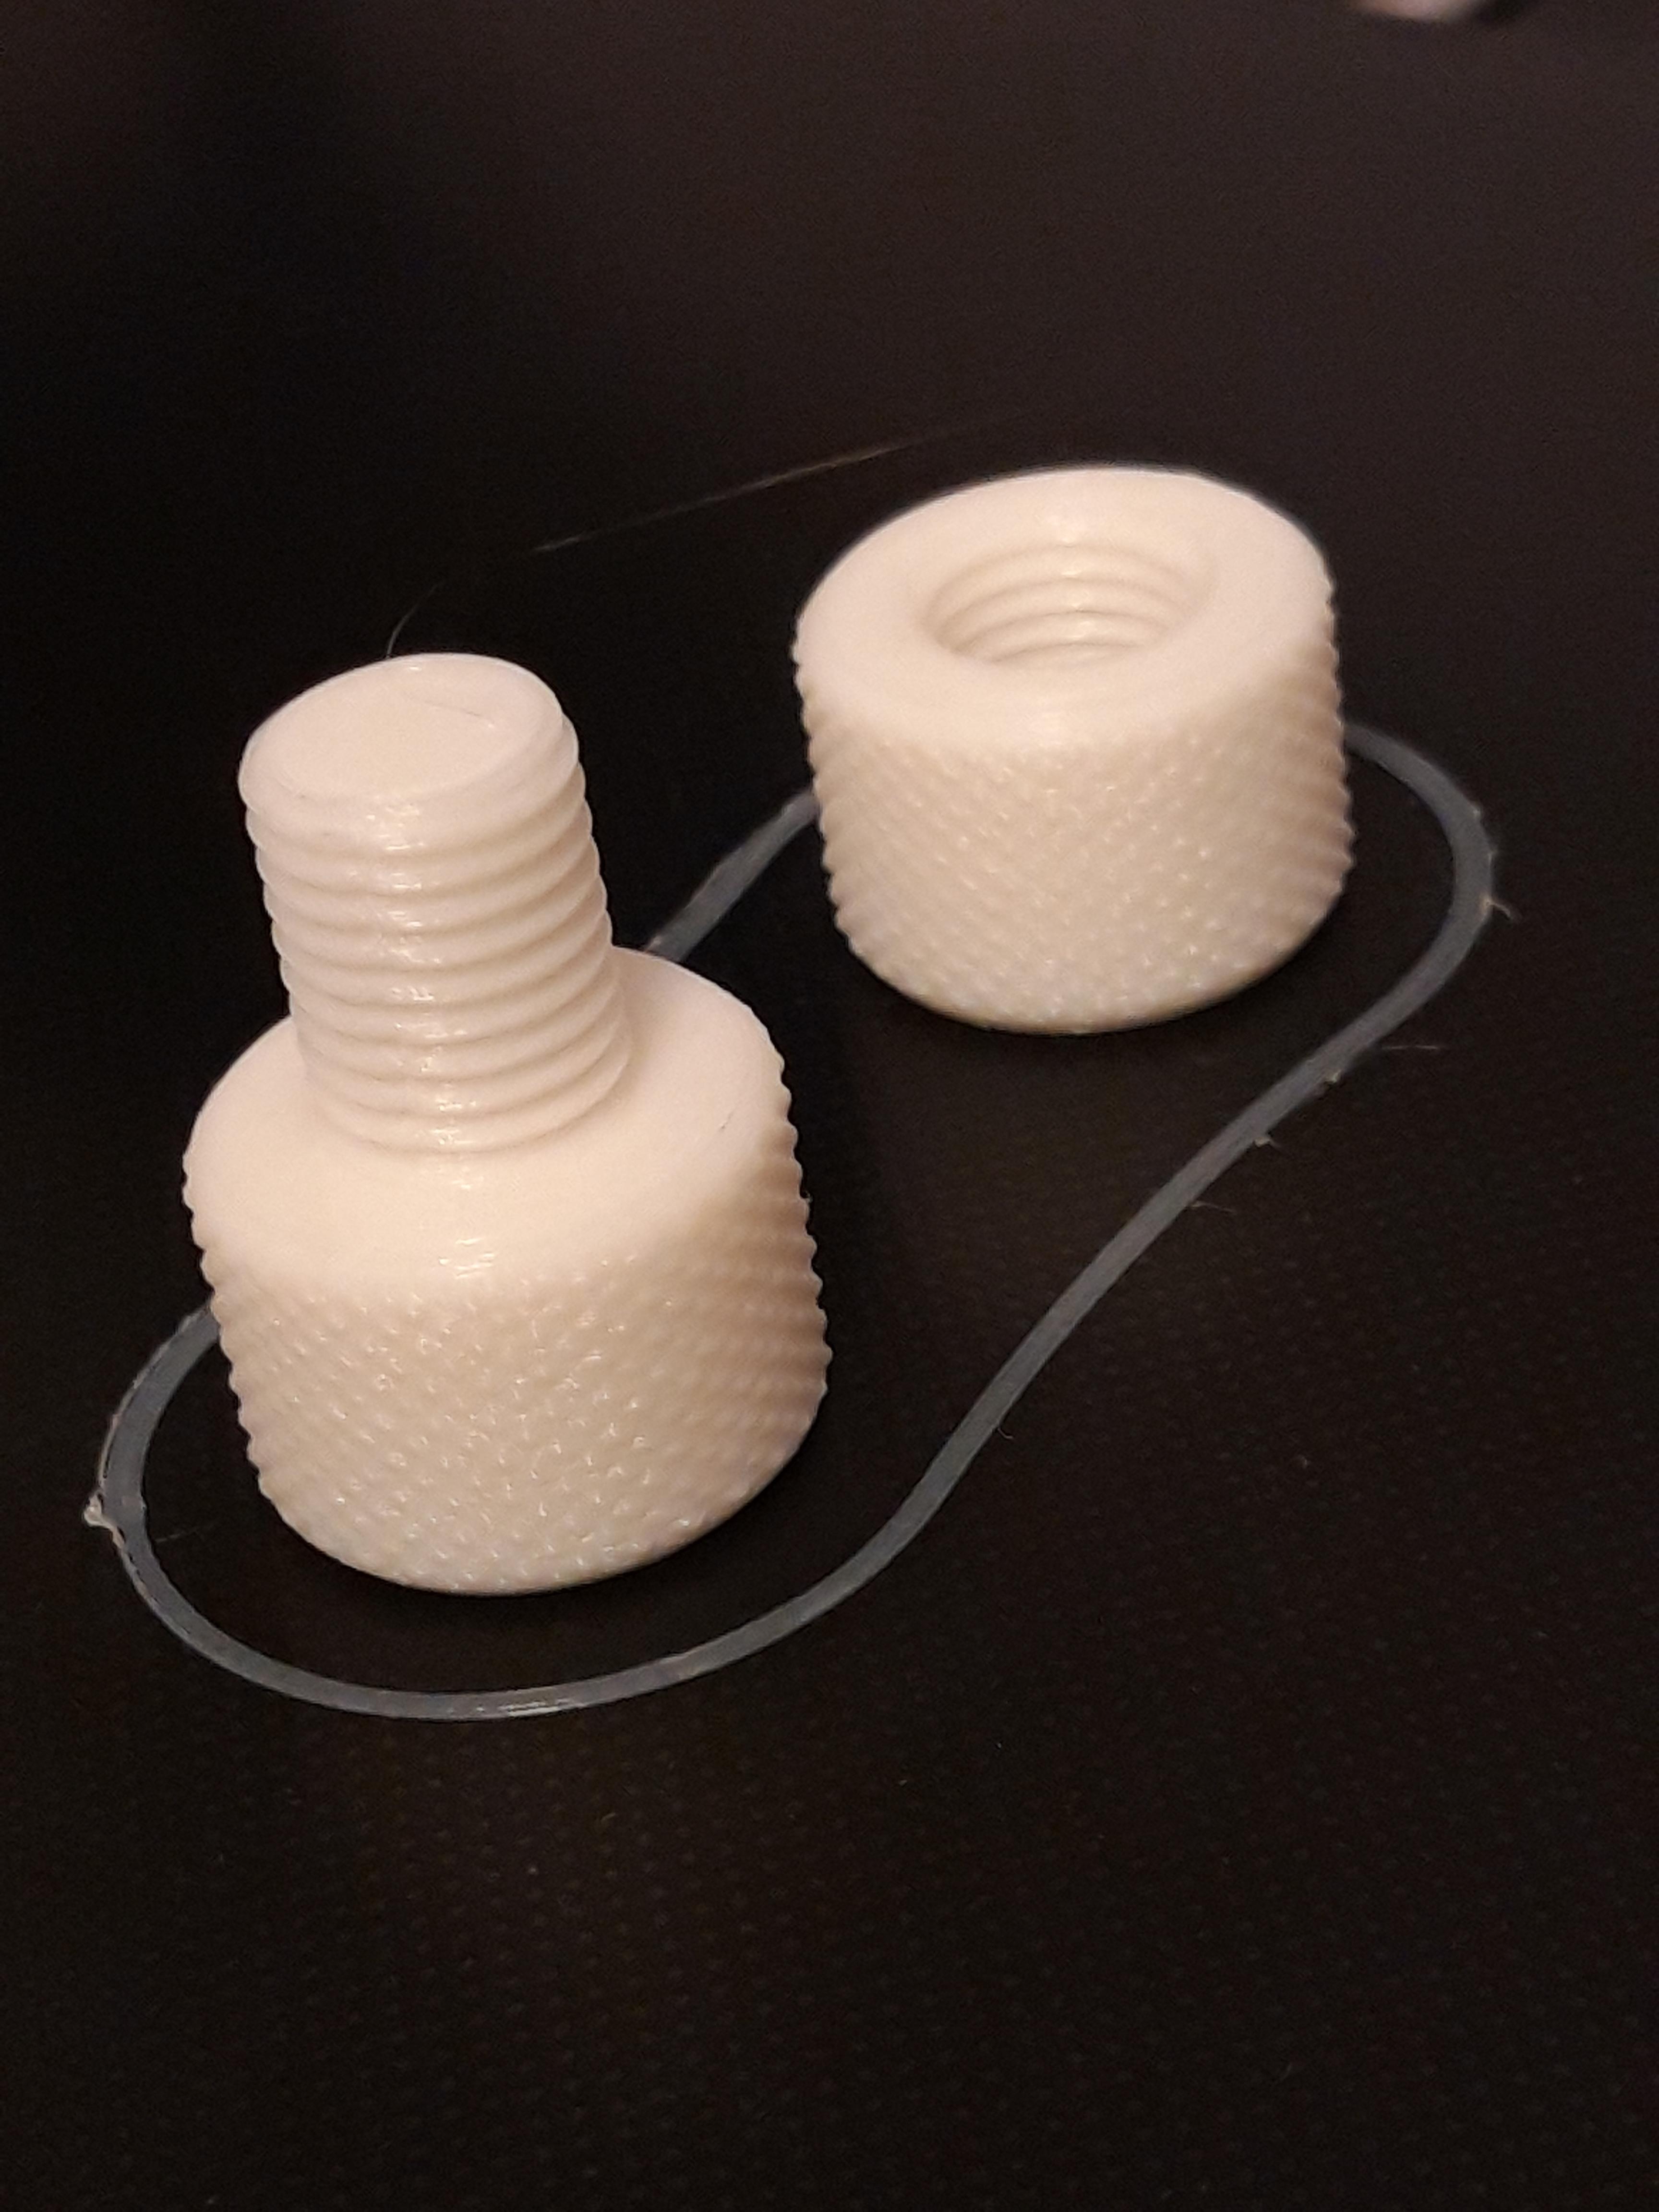
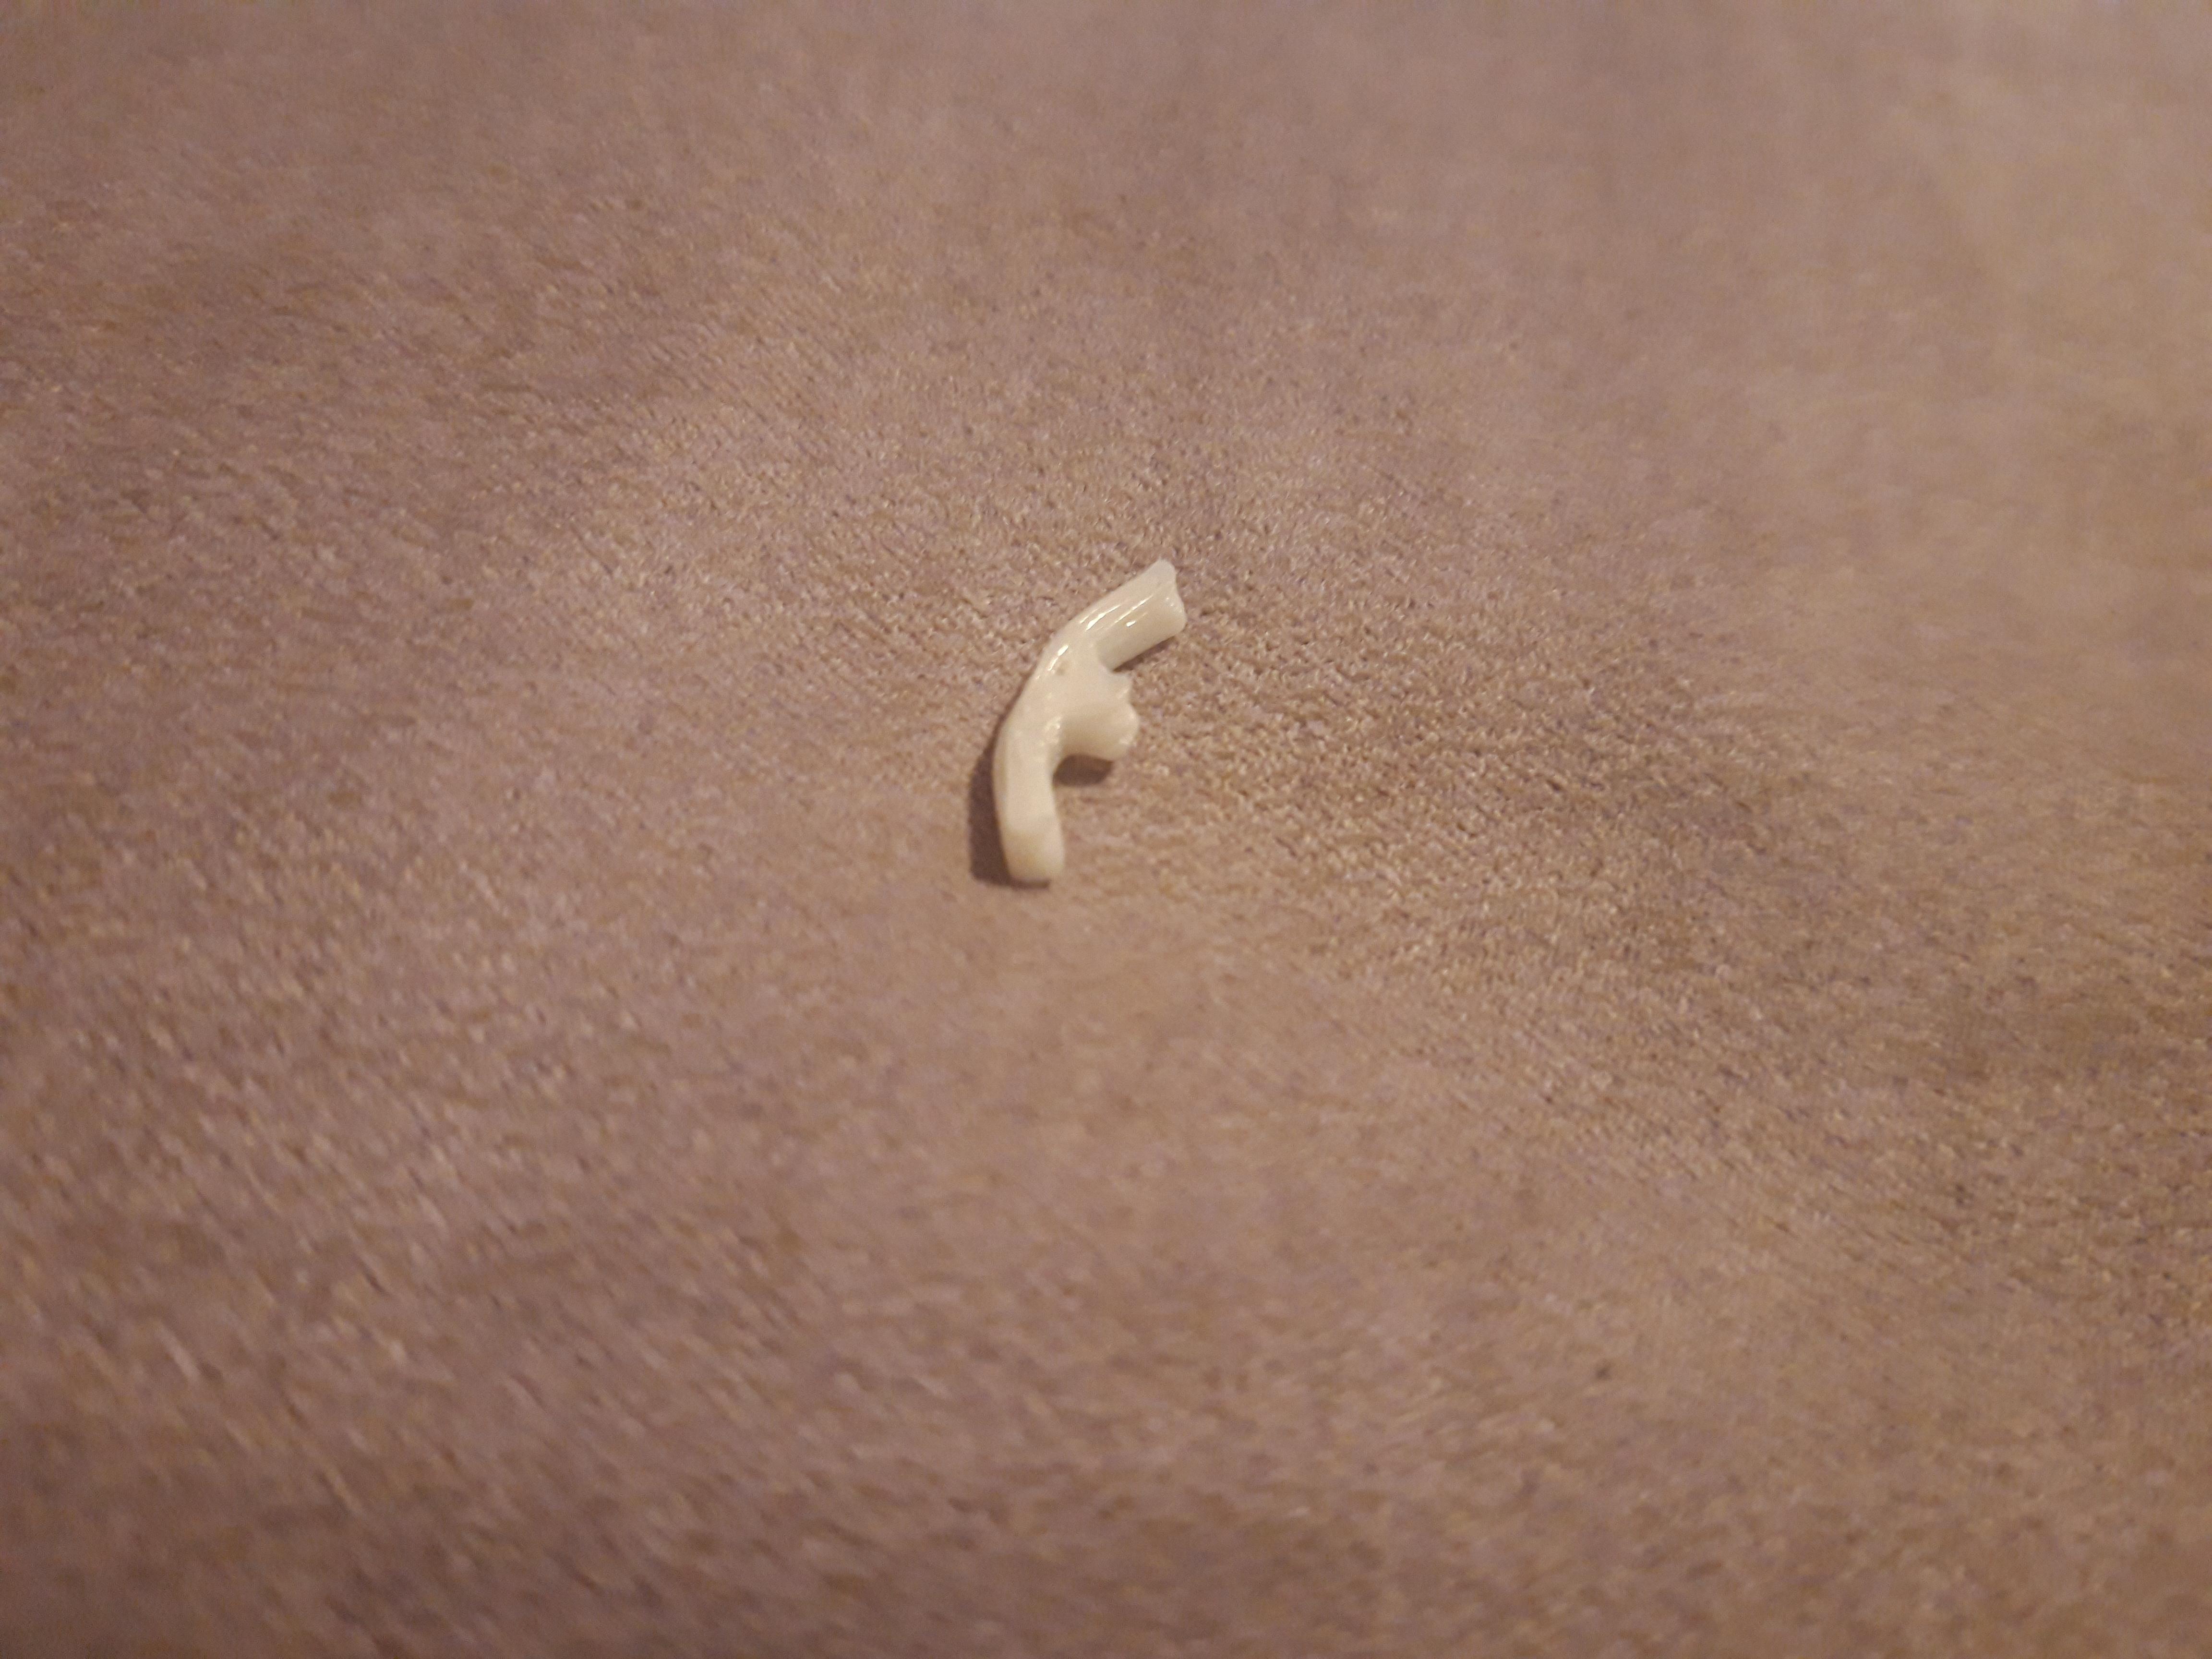
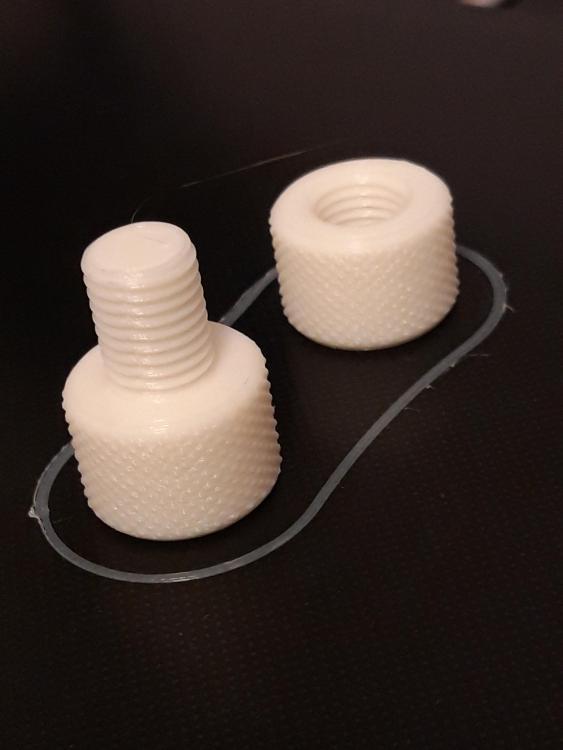
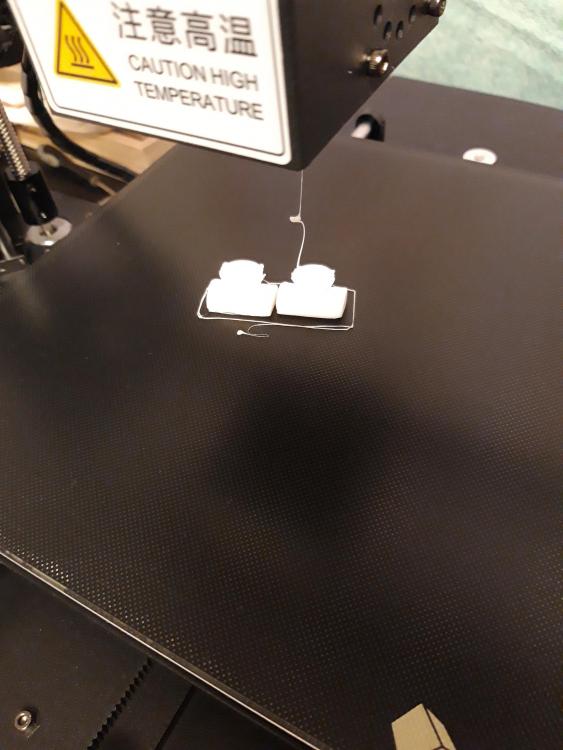
It's adhering fine to the bed now. This one looks the part but it's M? ? Think he was messing with the scale. Doesn't screw together either, in fact I think the helix angle is different on each bit. Never mind he's having fun. The knurling's pretty good:
-
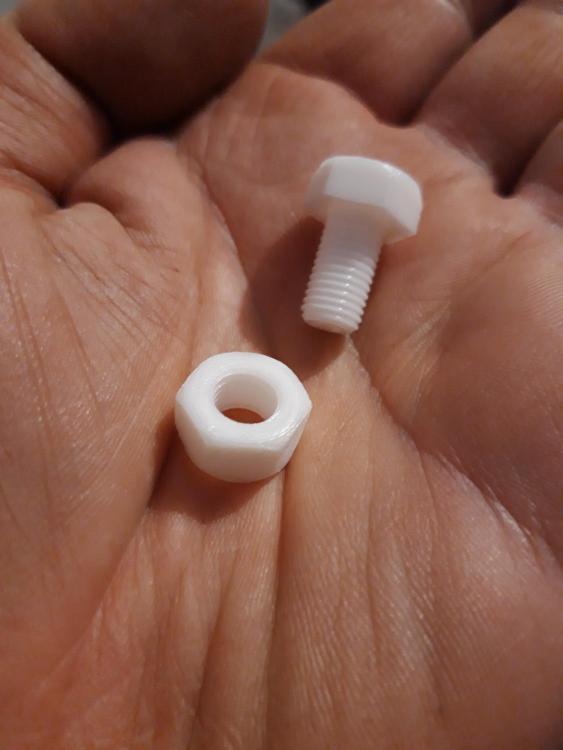
Pity they don't actually screw together! ?
-

MVHR is Largely Bogus
Onoff replied to DavidHughes's topic in Mechanical Ventilation with Heat Recovery (MVHR)
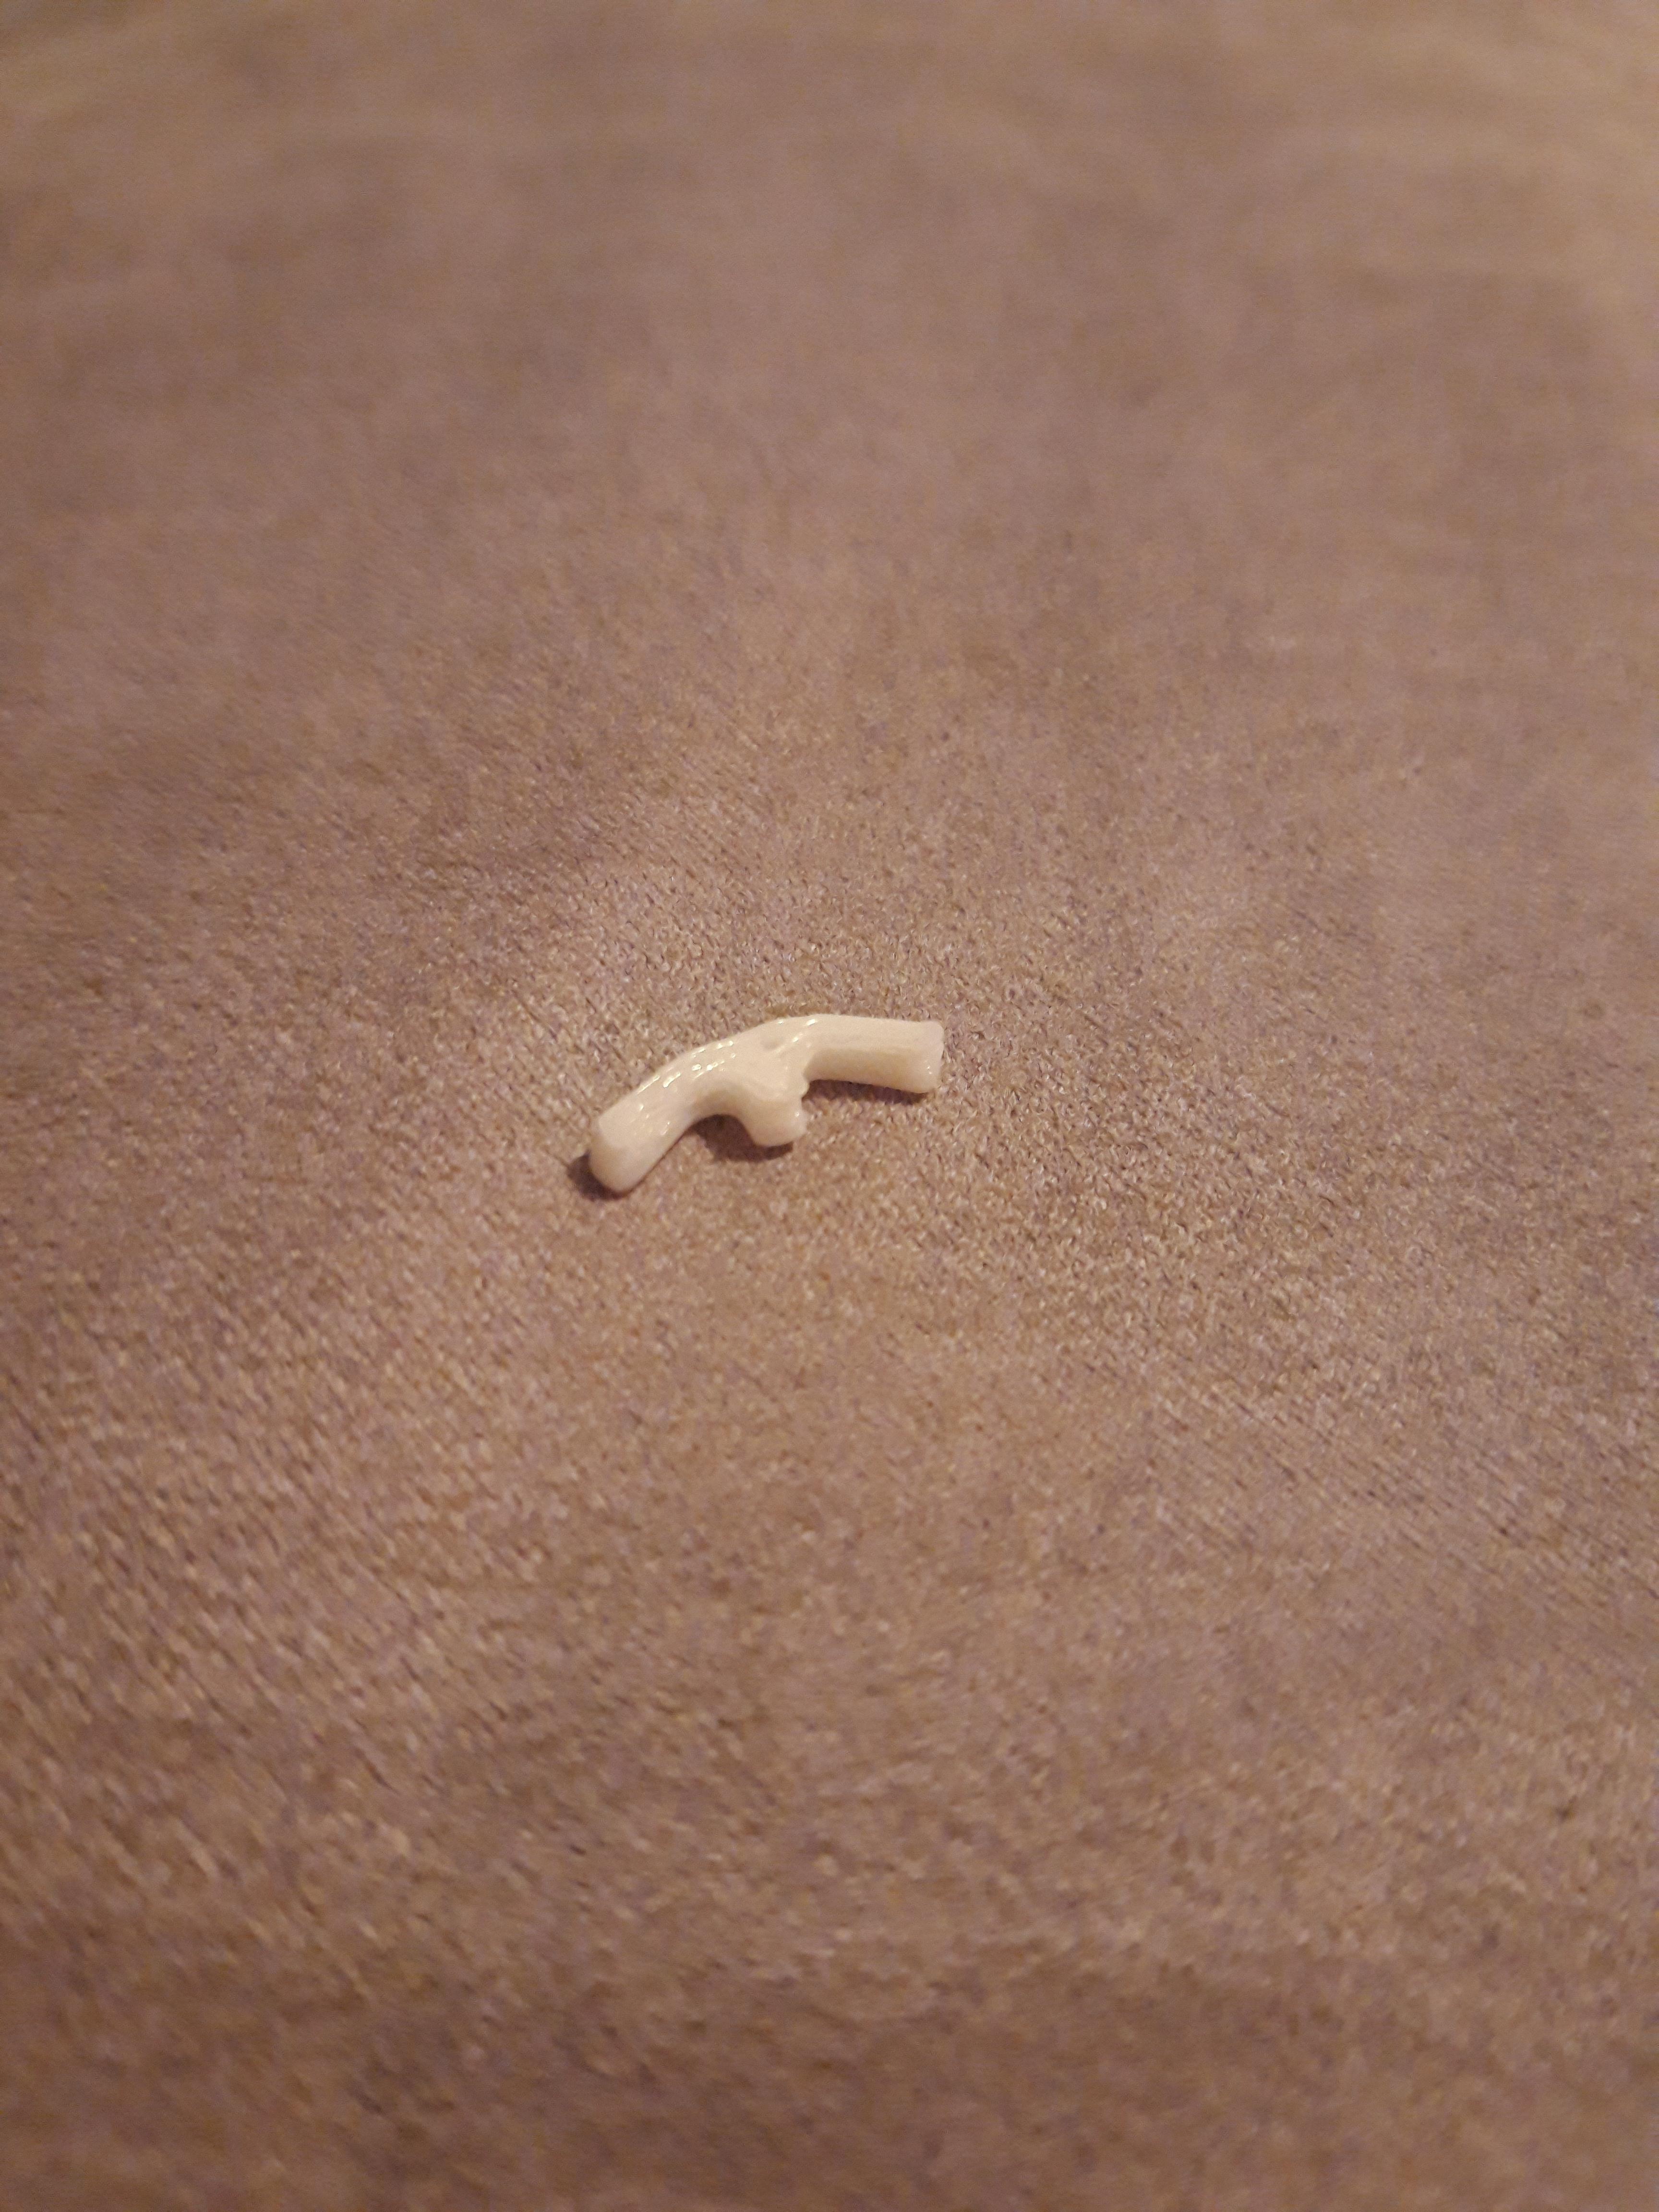
Finally, a use for this! ?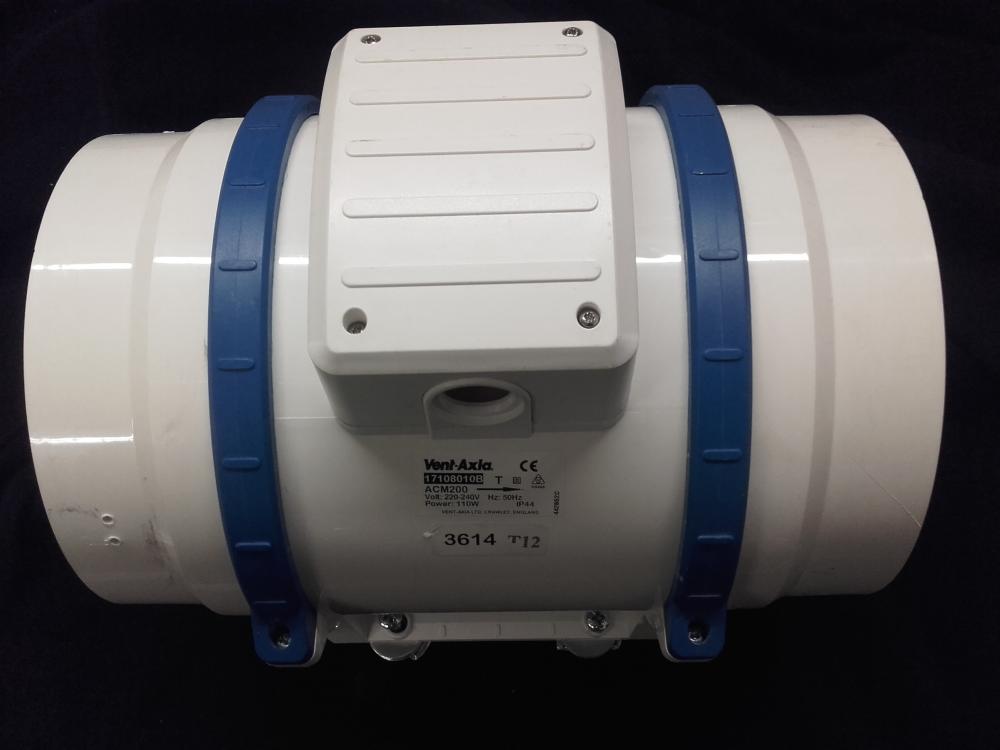
-
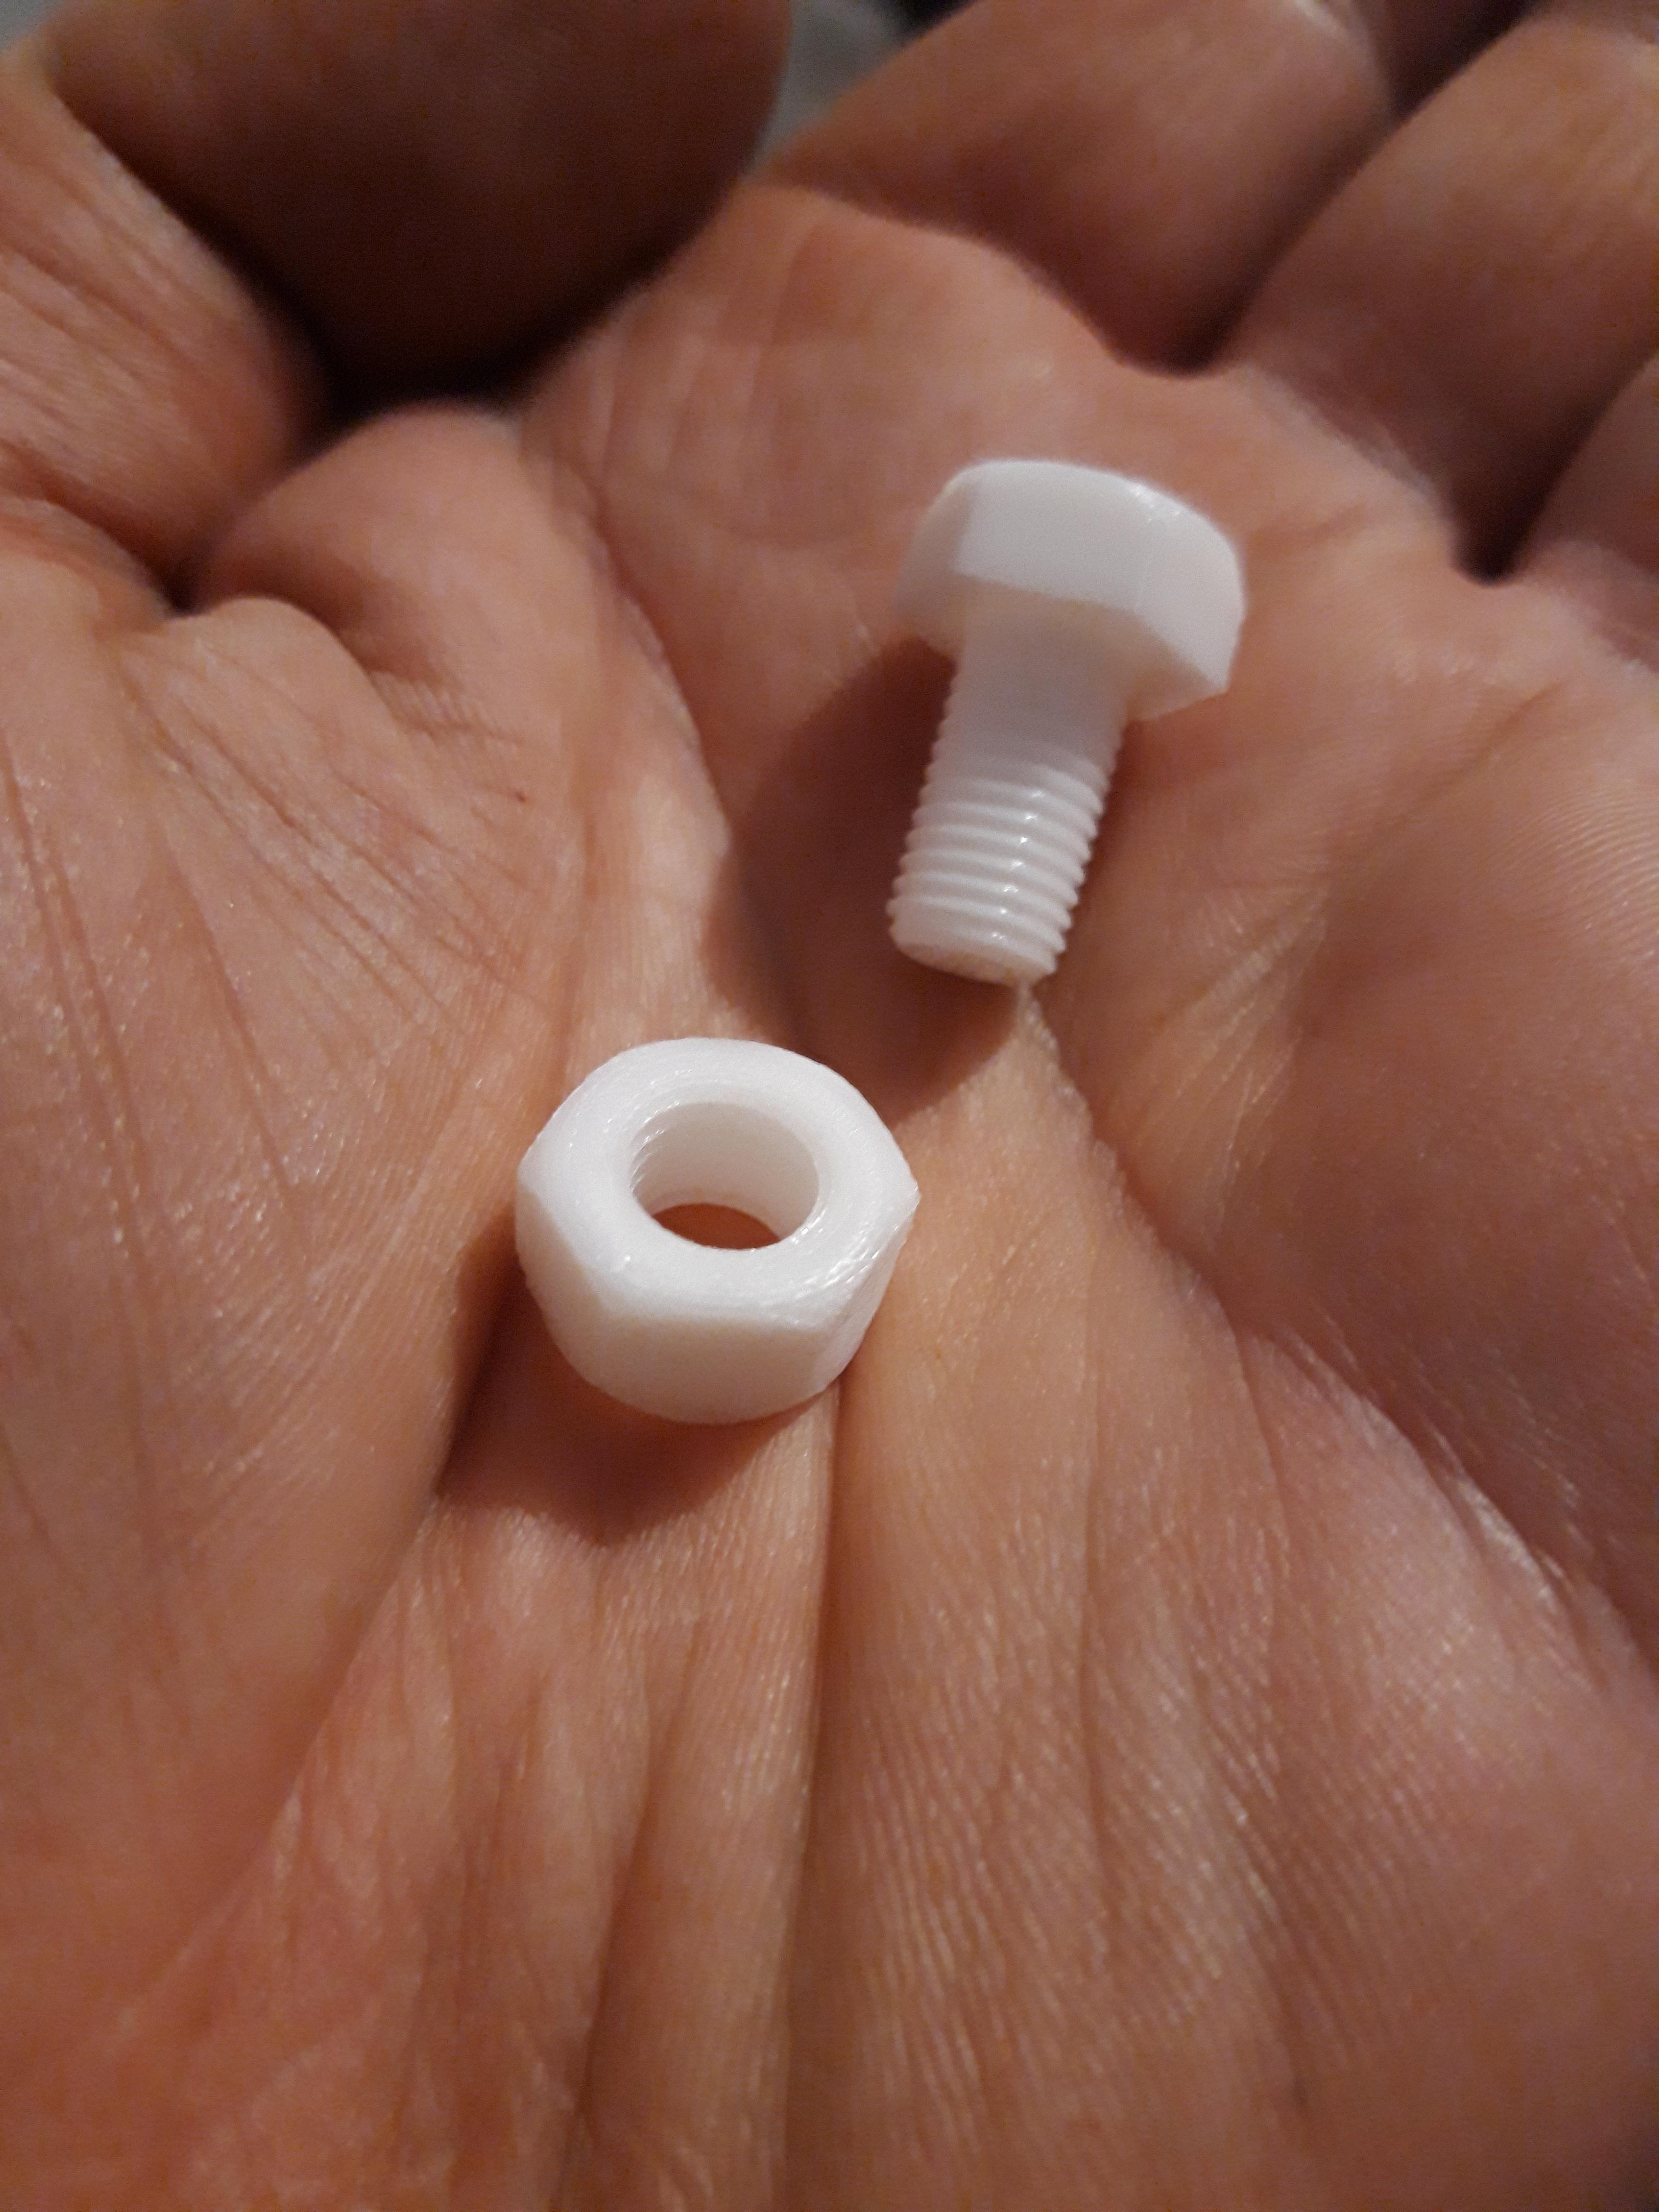
Another test piece. The fuzziness is the camera not focusing too well.
-
MVHR is Largely Bogus
Onoff replied to DavidHughes's topic in Mechanical Ventilation with Heat Recovery (MVHR)
Sorry, don't know. -
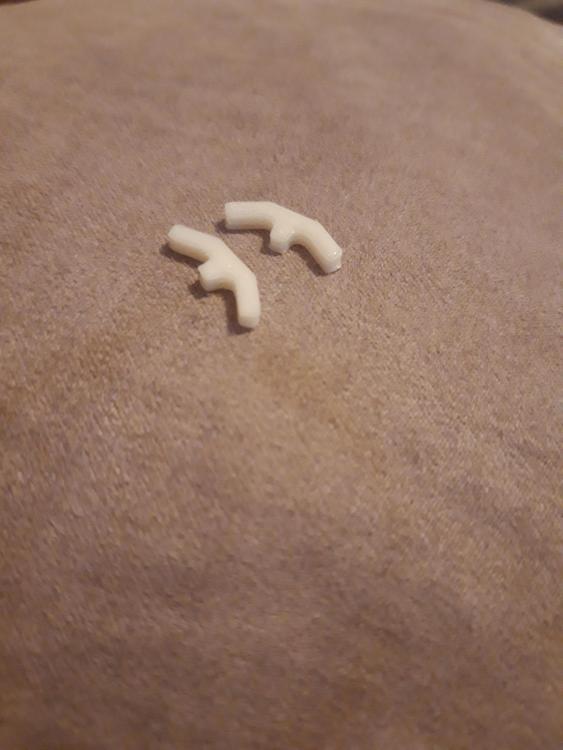
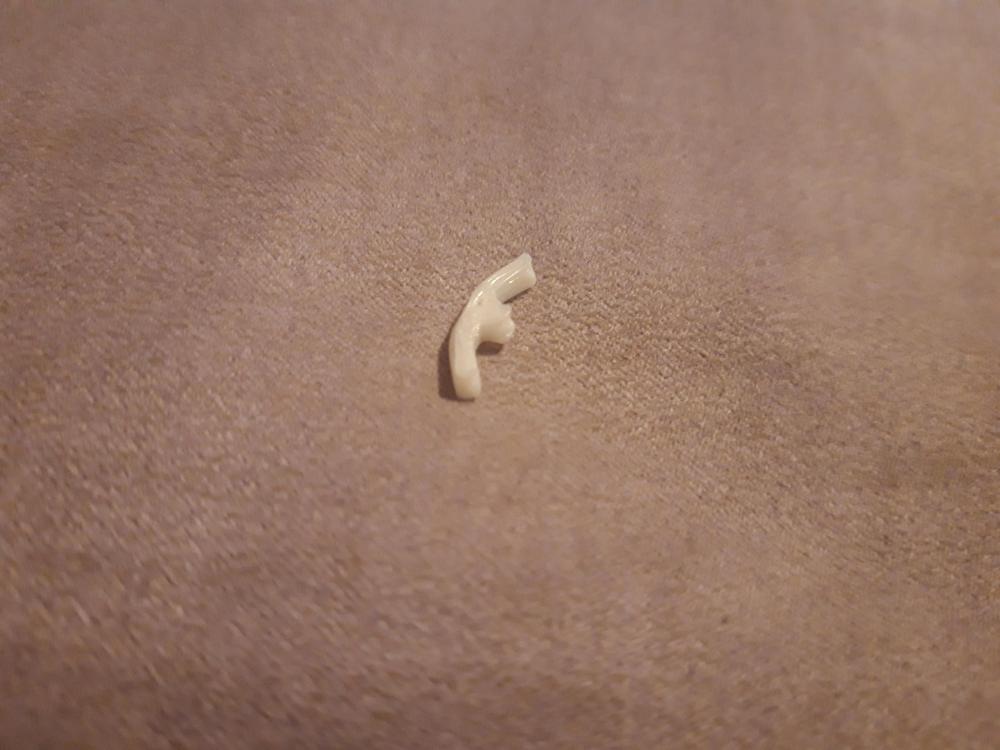
Just finished another keyboard foot at 100% infill, 50mm/s, 0.2mm layer in PLA. It's fine but not as sharp as the resin one Jeremy did imo still. Give my boy his due he's picked up Cura and Blender in an afternoon and is slicing and dicing 3D models as I write this.
-
So far here using 25% infill and a print speed of 50mm/s with 0.2 layer height. Just done the keyboard foot and your resin one has much sharper edges and the infill is "complete" as in no discernible striations. It's just "sharper". Trying now 50% infill, 50mm/s Then 25% infill, 40mm/s Just playing really!
-
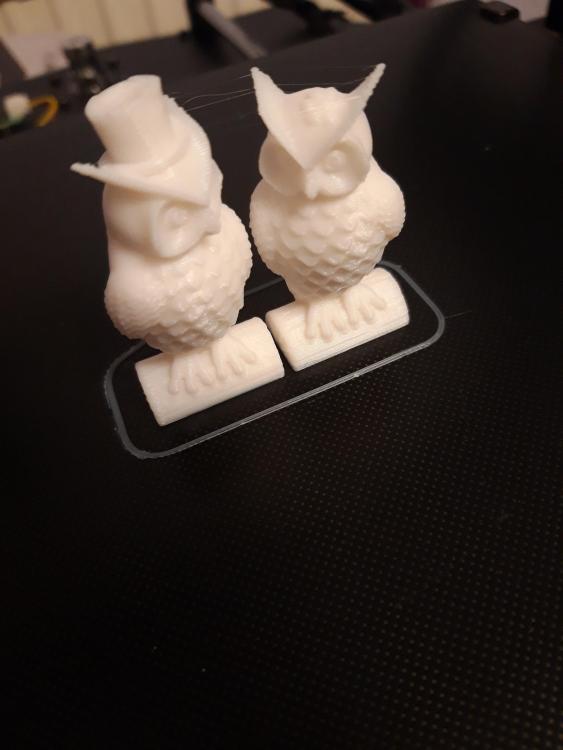
First two times he used generic, A4, "matt" inkjet printing paper, 0.1mm thick to level the bed. The owl pair didn't stick and the switch piece came out naff. Just used the glossy 0.1mm piece of A4 that came with the printer and looking much better. A little flash on the underside. Actually looks better than the photo.
-
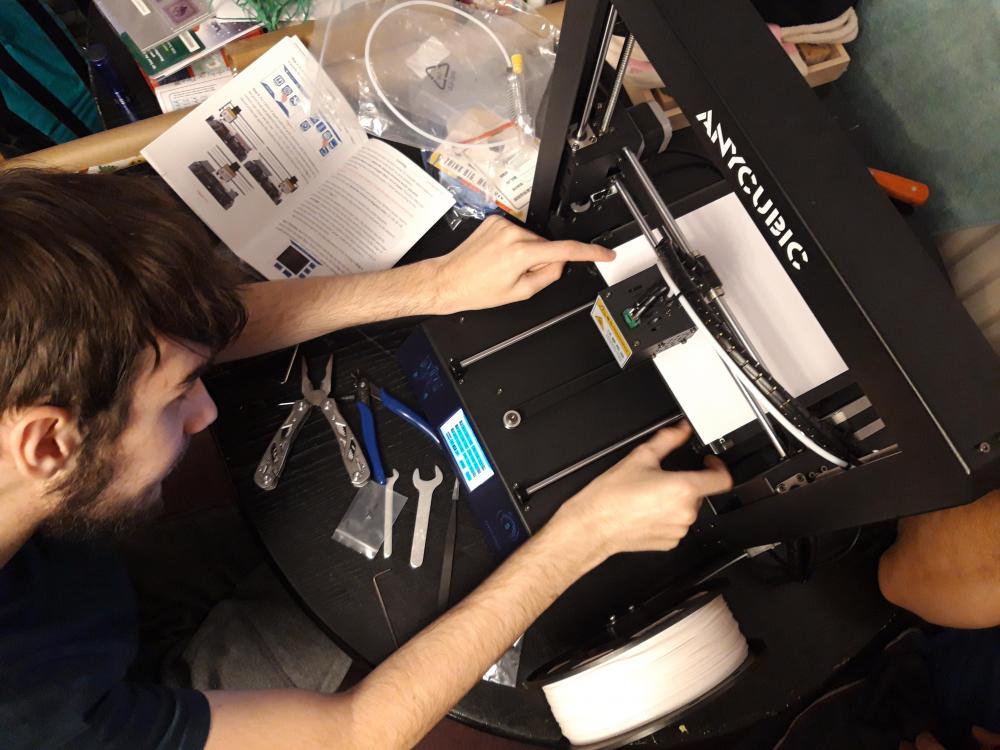
I did read somewhere, maybe it was @Temp mentioned it, that some put masking tape on the bed. Says in the book for this one not to do that. He just tried printing that little switch bit you did for me but it looked dog rough ? What fill percentage did you use? At the moment the printer is sat on the dining room table and as it prints you can the vibration through the table. I wonder if that's an issue? Only took 1m25s though!

-
Thanks. Trying the test model, a "pair of owls" and he set it running and went off (to download Cura). I noticed that as it was printing the whole print was moving where it hadn't stuck to the bed I guess. This print was square to the bed then "slipped" like this. Just cleaned the bed with IPA and trying again but I reckon it's a bed level issue.
-
Well, happy 21st! @Temp, do you reckon the MOSFET upgrade as worthwhile? He (we ?) do intend printing ABS: https://m.all3dp.com/1/anycubic-i3-mega-upgrades-mods/
-
Me too. Mines in the citric acid bath still. Complete with little folded tray that sits in it. I painted mine gold hammered finish.
-
Do you have any heating in there anyway?
-
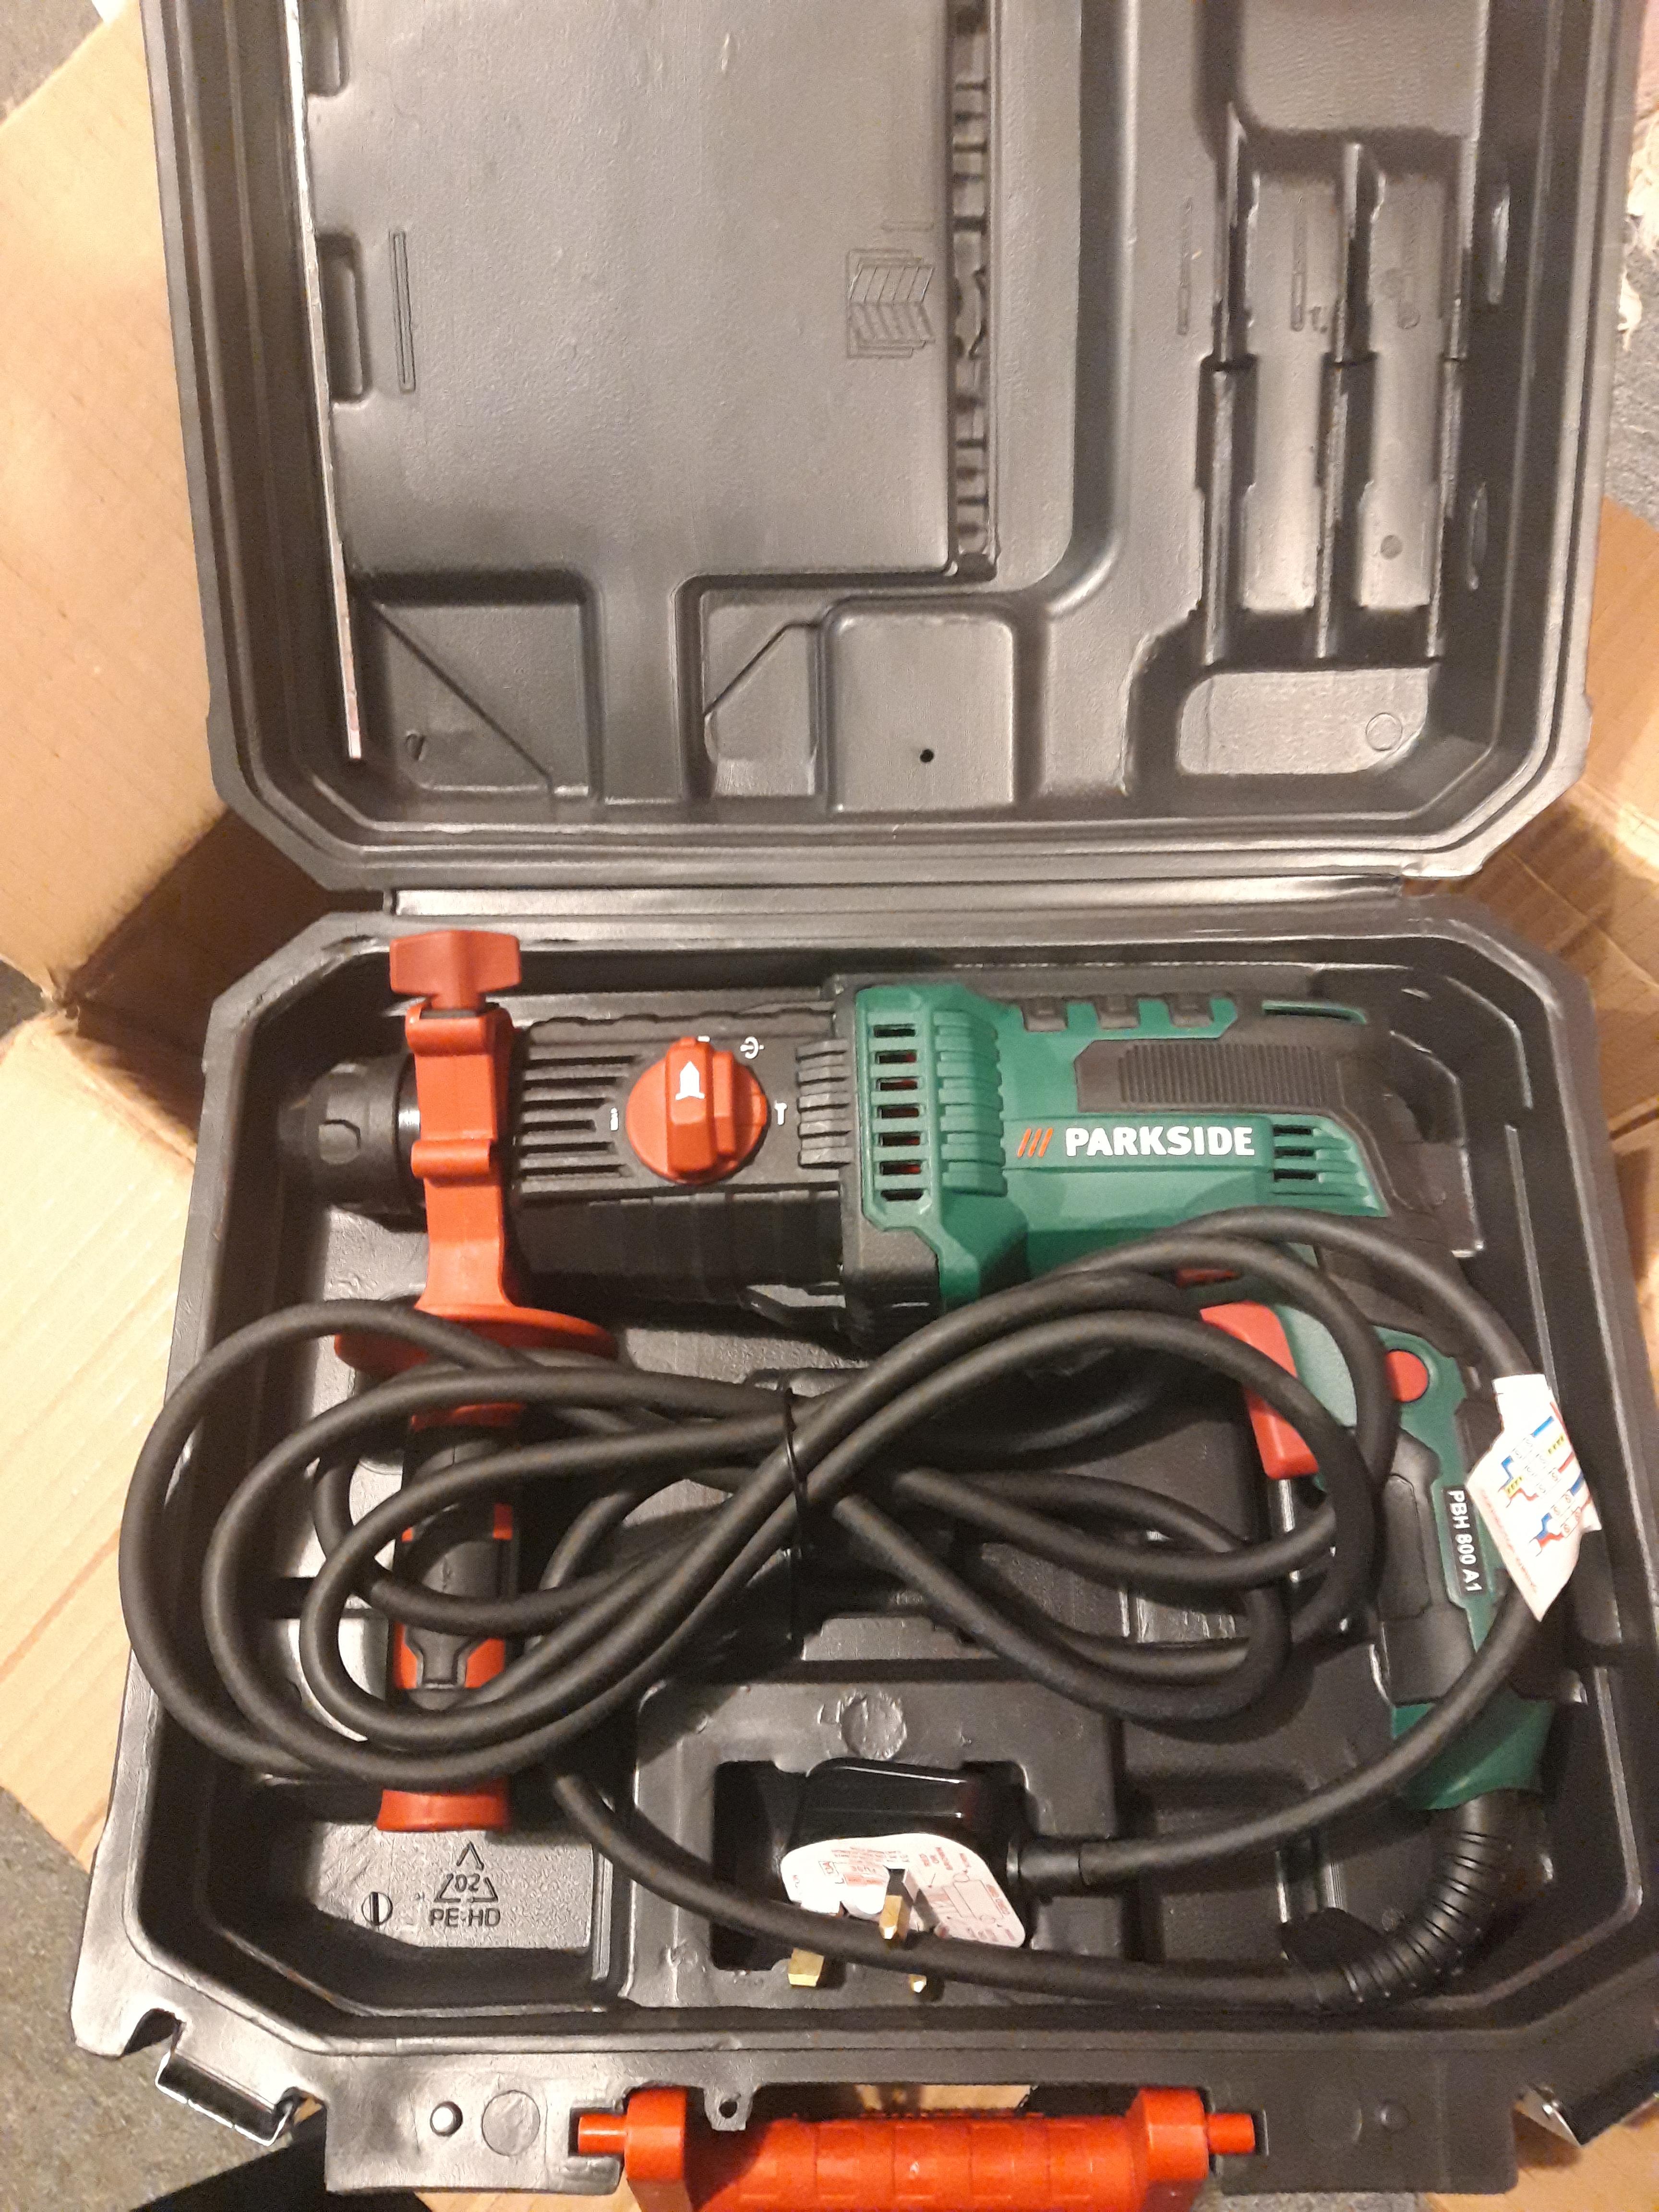
Brand new drill just arrived. Same model that died it would appear:

-
Is that 1st floor slate cladding original, surely not?
-
Lucky he wasn't a prisoner of the Australians! I bet an upside down blade takes some getting used to ? Always cut on the push here. Get more weight behind it. As an apprentice we were expected to be able to cut accurately to 20 thou.
-
I remember years back a chap I knew invented a cable reeling system which tbh he should have patented but he wasn't interested. Various rip offs ensued but they tried cheapening the design substituting white nylon instead of Nylatron. The cheap copies nylon components all swelled up and seized!
-
Jeremy has kindly printed me some more to try. This time I've added the radii on the stub axles that I forgot last time on the model I sent him. I can't see that moisture conditioning like you suggest could hurt so may give that a go. This I thought a good read: https://www.plasticstoday.com/materials/materials-analyst-part-85-fixing-brittle-nylon-product-water/141225133500 As a an aside I've also ordered a reel of ABS which might prove stronger? That and some wood PLA so my lad can print his sister a Baby Groot!