Onoff
-
Posts
21057 -
Joined
-
Last visited
-
Days Won
206
Everything posted by Onoff
-
Brown is for underground really. I'd use black or grey solvent weld 110mm. I made a mistake fitting brown pipe into the grey solvent fitting in the pics above. Ended up using gap filling solvent cement at the join. What glued white plastic? All my waste from bath, basin, shower is black solvent weld. I'd go solvent weld boss onto the side of the 110mm for wastes.
-
There was a thing yesterday (The Independent I think) suggesting Tesla is driving the German economy towards recession. Such is the German economy reliant on it's big car producers. Buyers are shifting in such droves to Tesla it's having a knock on effect. Pretty much it's a case of upping their game or falling by the wayside in the face of a more in demand product.
-
Isn't the elbow in your pics the one that came with the frame? Certainly something similar has come with the 3 frames I've bought: All with the kit: In the end and I can't remember why, I went with a 90F/110M elbow @PeterStarck kindly gave me:
-
Maybe these if you need to extend the pipe without making the slab/beam hole too much bigger: Geberit 366.887.16.1 Hdpe Straight Connector £21.48 Tax included Geberit 366.887.16.1 HDPE Straight Connector 90mm - 90mm Ring seal socket Or Geberit 367.887.16.1 Hdpe Straight Connector £21.48 Tax included Geberit 367.887.16.1 HDPE Straight Connector 90mm - 110mm Ring seal socket As used with Geberit WC frames
-
Erm... that black elbow isn't glueable type pvc (I don't think). It's HDPE. The elbow goes into an adapter that comes with the Geberit then that push fits into a 110mm female. The 3 black fittings are all Geberit:
-
You can bring the elbow back / forward in a few configurations depending where you clip into the blue frame and whereabouts you clip around the fitting.
-
I hope you Hoover up all that debris underneath...
-

Temporary heat source for UFH: Willis heaters
Onoff commented on oranjeboom's blog entry in Kentish RenoExtension
I liberally smear compression fittings with Jet Blue Plus. They do up better, smoother and with none of that nasty brass on brass squeak. I don't use PTFE anymore. No weeping and going green and crusty after a few years either. Just my humble opinion.- 159 comments
-
- 1
-

-
- willis heater
- ufh
- (and 1 more)
-
https://extension.colostate.edu/topic-areas/yard-garden/storage-of-home-grown-vegetables-7-601/
-
"Get down Shep!"
-
A picture would help.
-
Only the minted few! ?
-
It's not a giant (maybe collapsed) wasp's nest is it? ?
-
"chimney breast a gap about"?
-
Casting thin concrete.
Onoff replied to Russell griffiths's topic in General Self Build & DIY Discussion
I found this info a while back. "P.R. EPOXY - SBR POLYMER SYSTEM TECHNICAL DATA SHEET USES. P.R. Epoxy - SBR Polymer System is used for screeds, floor repairs, waterproof renders, waterproof fine concretes and bonding. DESCRIPTION P.R. Epoxy - SBR Polymer System has been formulated to enhance the physical and chemical properties of cement mortars and concretes. It is compatible with most forms of cement, sands and aggregates. Together with the cement, it forms a powerful adhesive to bond the aggregates together, producing a tougher, waterproof and more impact and abrasion resistant floor, repair mix, render or bonding primer. PROPERTIES The properties of the cured mix will vary depending on the type of cement, sand and aggregates used. COMPRESSION AGE. N/mm² 1 day 14 – 18 28 days 40 – 50 (Strength is dependent on mix design) PREPARATION Surfaces to which P.R. Epoxy - SBR Polymer System mixes are to be applied must be clean, strong and free from oil, grease and with a rough profile. Best preparation is with a scabbler or power washer. If metal surfaces area to be covered they must be rust free and wire brushed or grit blasted. Cement based substrates must be damped with clean water and excess water removed. A primer coat of 1:1 P.R. Epoxy - SBR Polymer System/cement is brush applied to the prepared surface. Refer to relevant standards and codes of practice. MIXING & APPLICATION Hand mix or use a forced action mixer. The components of the selected mix are measured by weight or volume and dry mixed. The P.R. Epoxy - SBR Polymer System and water is added to give the desired consistency. In an efficient mechanical mixer, mixing should continue for 2-3 minutes. When hand mixing, mix the cement, aggregate and sand dry then add sufficient of the P.R. Epoxy - SBR Polymer System/water until a homogeneous consistency is achieved. The mixed mortar is applied to the prepared and primed surface whilst the primer is still wet/tacky, using conventional screeding, rendering and concreting techniques. Apply as required on to wet or tacky primer, compact well and finish. If the primer dries, crosshatch scratch and reapply. If necessary apply mortar in multiple layers to achieve total thickness, priming between layers with P.R. Epoxy - SBR Polymer System :cement primer. STORAGE P.R. Epoxy - SBR Polymer System must be stored unopened in dry warehouse conditions between +5°C and 25°C and out of direct heat and sunlight. In these conditions P.R. Epoxy - SBR Polymer System should have a shelf life of approximately 12 months. PACKAGING P.R. Epoxy - SBR Polymer System is available in 5, 25 and 240.0litre containers. HEALTH & SAFETY There are no emissions of noxious or offensive fumes, P.R. Epoxy - SBR Polymer System is alkaline when mixed with cement and sand; do not allow prolonged contact with skin. Health & Safety information is available. OTHER INFORMATION Mix Design’s 1. Floor Screeding and Screed Repair (min. 6mm) by weight by volume 50kg cement 1 pbv 150kg medium sand 2.5 pbv 10 litres SBR (1:1 SBR:water 9 litres water* (add to consistency Yield approx 0.1m³ 2. Heavy duty floor toppings (min. 12mm) by weight by volume 50kg cement 1 pbv 75kg medium sand 1.25 pbv 75kg 6-3mm grano chips 1.25 pbv 10 litres SBR (1:1 SBR:water 9 litres water* (add to consistency Yield approx 0.11m³ 3. Waterproof Renders (min.6mm) by weight by volume 50kg cement 1 pbv 125kg medium sand 2 pbv 10 litres SBR (1:1 SBR:water 9 litres water* (add to consistency Yield approx 0.1m³ 4. Water Resistant Concrete (min.25mm) by weight by volume 50kg cement 1 pbv cement 100kg medium sand 1.5 pbv 100kg 10-5mm pea shingle 1.5 pbv 5 litres SBR (1:3 SBR:water 13 litres water* (add to consistency Yield approx 0.14m³ 5. Bonding Screeds, Plaster, New Concrete to Old by weight by volume 1kg cement 1 pbv cement 1 litre SBR 1 pbv SBR Yield approx 3-4m² per litre 6. Floating Screeds (min. 38mm) by weight by volume 50kg cement 1 pbv 150kg medium sand 2.5 pbv 4.5litres SBR (1:3 SBR:water 13.5 litres water* (add to consistency Yield approx 0.1m³ • * = add to working consistency. • All sands must be medium grade sharp. • Aggregates must be clean, well graded and not “to dust”. All P.R. Epoxy Systems products’ are manufactured to a high standard of quality. Whilst we aim to ensure that any advice, information or recommendations given are reliable and correct, the Company cannot accept any liability directly or indirectly arising from the use of its products, as we have no direct or continuous control over where or how its products are applied. No undertaking can be given against infringement of any patented processes." Pretty much I went with mix No 4 and when I did my wet room corner to falls did: 5l bucket cement 7.5l bucket 10mm pea shingle 7.5l bucket sharp sand So 1 : 1.5 : 1.5 3:1 water to SBR A handful of fibres -
Got two from Screwfix. One posh Rothenberger and the other their own brand. One's red, one's blue, look identical to me and do the same job.
-
Could you drill a deep shower tray and fit a 90mm waste? Don't knock a deep shower tray. In our house the upstairs ensuite tray served as a defacto mini bath when the youngest was very small. (Cos we had no bath for a short while ? )
-
Finally! Got a second hand UPVC door and frame off eBay. £68.
-
I've an original 2G socket here on a spur off the ring. Runs the dishwasher and washing machine. Gets a bit warm if SWMBO attempts to use it for the washing machine AND hot tub despite me keep telling her!
-
Belt and braces. If the fcu is on the ring replace with a 20A DP switch...then put another next to it both in a dual box. No real worries about that single 13A fuse popping. You could do the drops in 1.5 or 2.5. Gives isolation to each appliance. No need for a fuse anywhere but in the plug. No need for the sockets to be switched. You can get 20A DP switches marked "Water Heater" and "Washing Machine"

-
Has it got a fused connection unit above the worktop, maybe on the kitchen ring, switching the single socket below?
-
Be careful. My mate had a conservatory with just a single gang socket as a spur off a ring. His plan was to run new sockets around and make this new loop part of the ring. He then called me to come and make all the faceplates off. By now it was fully decorated. He'd forgotten to take a return leg up into the loft. After telling him how to do it properly I had the arse so just changed the single gang socket for a dual box and put a 13A fcu up front protecting the 10, 12 whatever doubles he's put in. His wife complained recently the 13A fuse blew one time! ?
-
It doesn't completely set. The idea being you can stuff another cable through later or dig out the encapsulated connector blocks, WAGOs etc. They call it "re-enterable". Still messy and sticky. I often fill limit switches, Amphenol/Bulgin type mains connectors, outside jbs with ordinary silicone grease. Works wonders. Totally non setting. I reckon that might work to give airtightness but nothing under pressure.
-
I just fitted a wall drain it came with a 50mm outlet. Nick said 50mm waste from there on. Job done! ? Nothing will impede the waste flow like having two women in the house with long hair. Wish I'd married Sigourney Weaver.
-
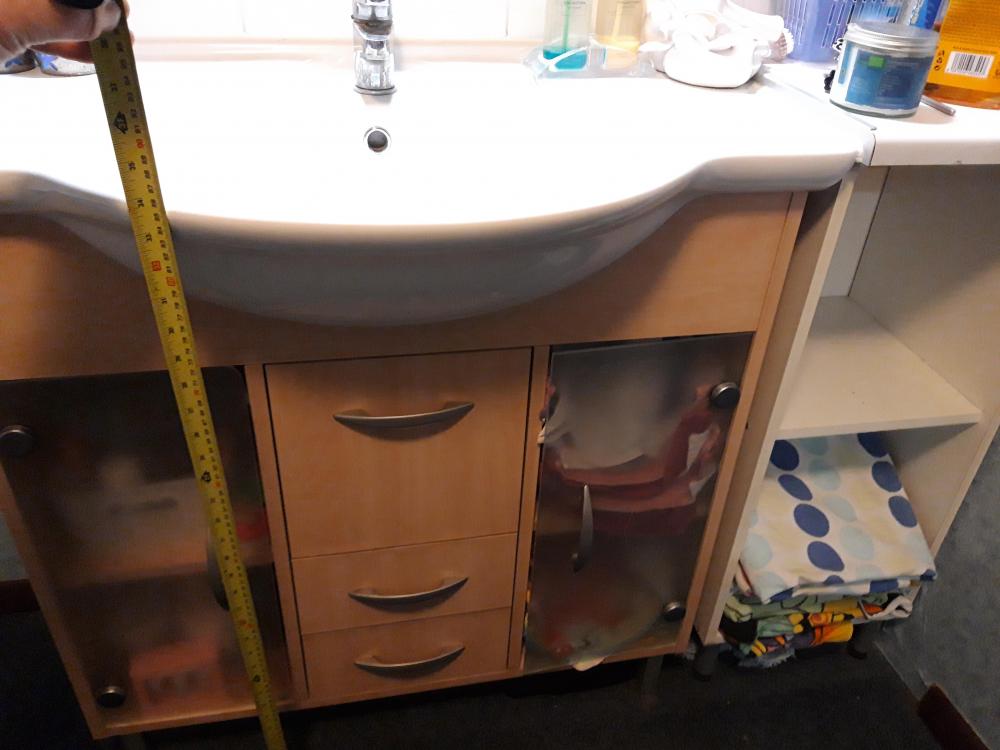
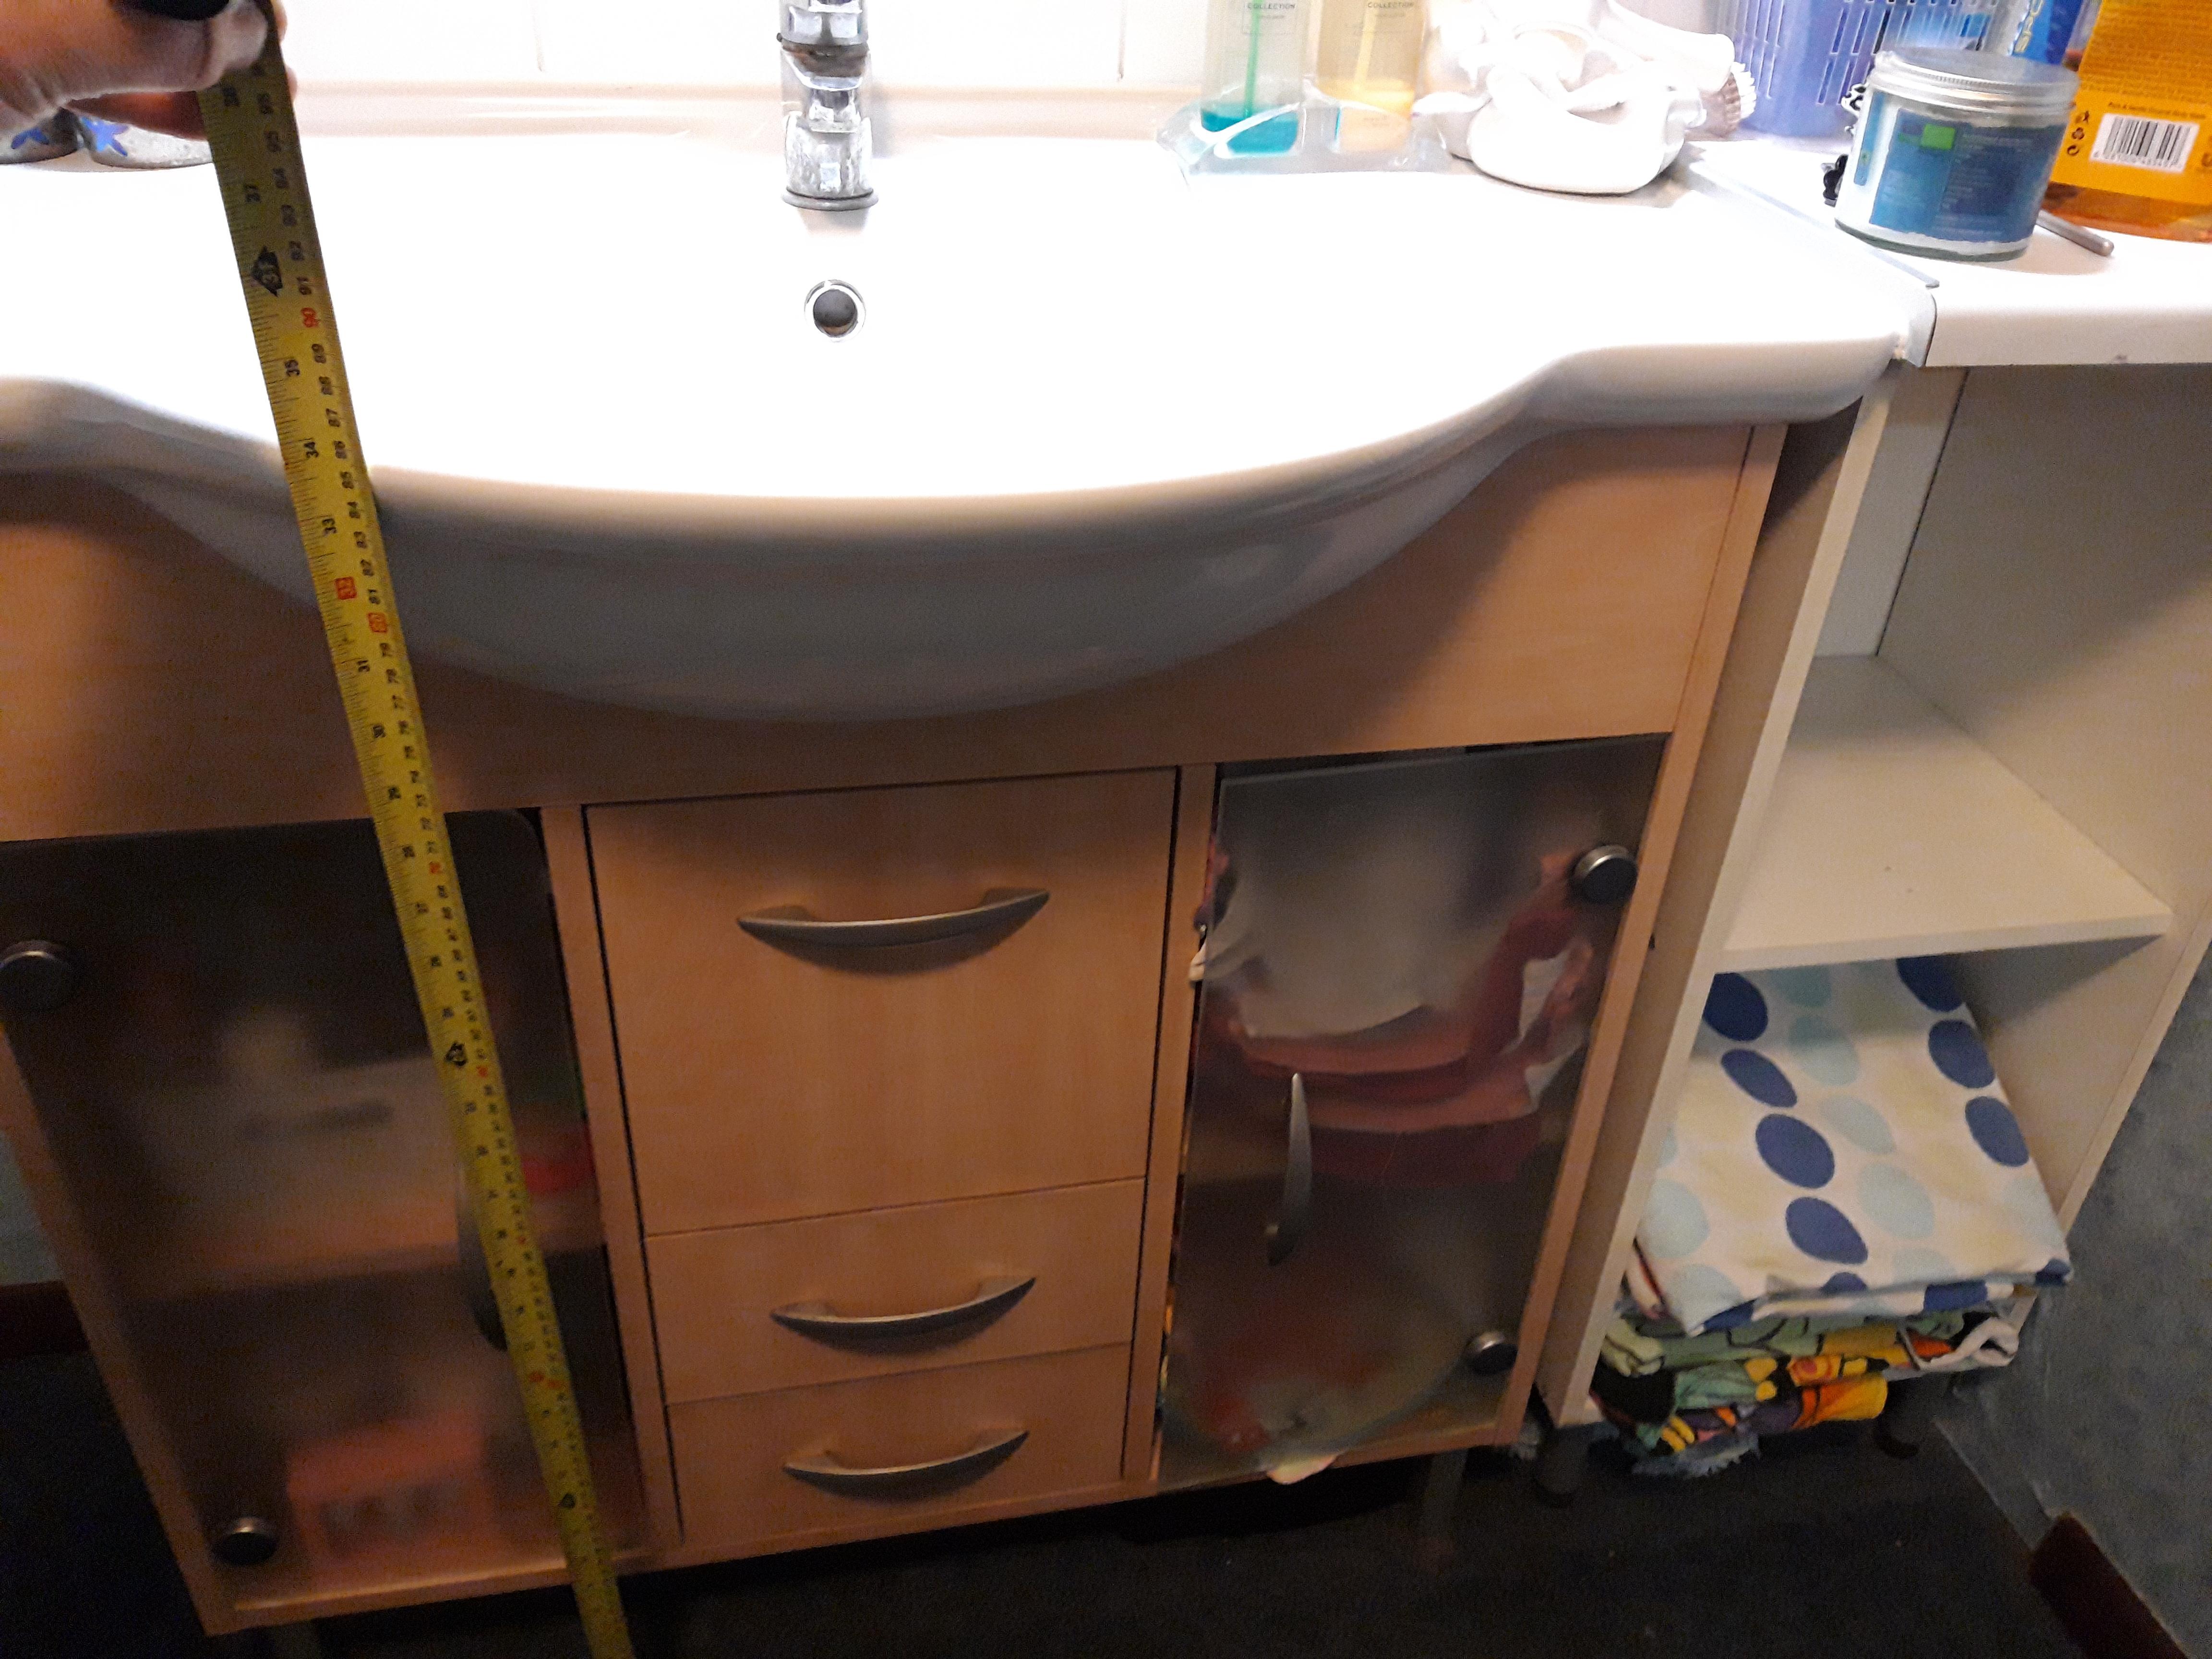
825mm to top of basin in the new bathroom. 860mm to the top of the freebie vanity I put in in the upstairs ensuite. To the right is a cheapo extension to it I threw together out of old salvaged melamine and a bit of kitchen worktop. I broke one glass door so fabbed another from perspex suitably made opaque by wet and dry. Both heights are very useable to me and I'm 6'4". This will one day be gutted as in walls, floor, ceiling renewed. Literally I'll be going back to the studs/joists. Really though need to sort the roof out before that!