


Onoff
-
Posts
21126 -
Joined
-
Last visited
-
Days Won
206
Everything posted by Onoff
-
Stick the temporary faceplate over the flush mechanism and the two yellow bungs in the flush and poo pipe holes asap to prevent debris getting in. Do not cut your poo and flush pipes until the tiling is done.
-
Whassa 90 degree tee, an elbow? Yep, if it's all in firm your there.....unless you go ott and stuff the cavity with sound deadening stuff.....like one bloke on here did.....
-

Idiots guide to mvhr.
Onoff replied to Russell griffiths's topic in Mechanical Ventilation with Heat Recovery (MVHR)
Isn't that more to do with how well the house is physically sealed. No gaps round windows, doors etc. for them to get in and doors and windows rarely left open? -
Use it I reckon. I used it to stick tiles to mrpb.
-
Dunno...I will say that Sikaflex I think skins up quicker than CT1... Sikaflex I think goes off more solid that CT1 though it still has a resilience about it.
-
I used these wing screws. Did have to countersink the ply from memory. They went in a treat. https://www.screwfix.com/p/easydrive-carbon-steel-self-drilling-roofing-screws-4-8-x-38mm-200-pack/2688h
-
I Sikaflex'd 9mm ply onto my frame. I had to add a 9mm layer to ensure the subsequent Aqua Panels cleared the soil pipe at the base of the wall. Pretty sure that adds to keeping the frame in place. I used self drill screws through the ply into the Geberit frame. I was really careful to draw the frame on the ply so I didn't drill into any pipe or God forbid the cistern! Aqua Panel again Sikaflex'd to the ply: Again I marked a red zone where I daren't have drilled! The self drill screws were no good for screwing the Aqua panel through the ply and into the metal frame. I just used the proper Knauf screws where there was timber behind.
-
Don't joke! There is that 59 year old sadly just died in Bristol...
-
My old Rage 3 isn't too clever at remaining square if you keep moving it about. Once set it's alright. 45 either way isn't 45 and needs setting too. I wouldn't be without it though. Galvanised conduit, scaffold tubes, bricks with the diamond blade. It's a great all rounder but not a precision tool. Useless for cutting through housings. The two nephew's later Rage 3s are much better.
-
Nothing serious I hope! Get well soon.
-
I thought it dropped into a recess for some reason?
-
Some cheap ratchet straps maybe, 3 or 4 to lift with? Put on loosely. Cut off and leave in there on final positioning? Careful of the ratchet mechanisms chipping the tray. https://www.screwfix.com/p/ratchet-tie-down-straps-5m-x-25mm-2-pack/24567#product_additional_details_container
-
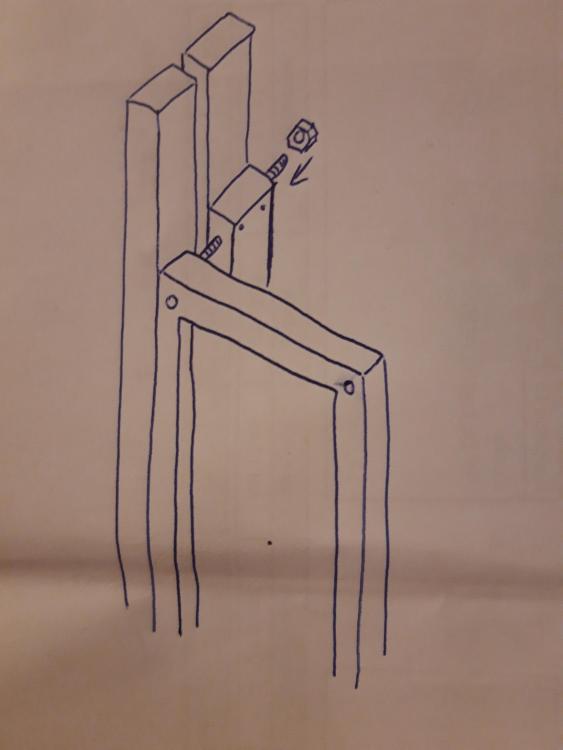
Undo tighten the legs with a 13mm socket or spanner. I put coach screws in the side of the frame: As for not using the top, main fixings... You could glue & screw some timber blocks to the uprights and use studding. Might need to counter bore the blocks with a flat wood bit to take the nuts. Double nut it too so it doesn't come undone. As for the pan security...once tiled put it on the wall with clear CT1 backing up the fixings and leave for 36hrs.
-
Moi? Can you sand those wispy bits off those blocks sometime...
-
Water cooling not an option then given the local supply? ?
-
I just wondered if he was going to use it for say washing down garden tools, rinsing buckets, boots etc. As in where any excess water will go.
-
Is that outside tap over a drain?
-
88cm here. You win!
-
Another mad idea. But who can tell me what exactly this Plywood is?
Onoff replied to Patrick's topic in General Joinery
I've a 1/3 of a sheet of the thicker stuff, maybe 20mm. Reckon it could make a nice long lasting bird box / table. -
Out of interest how wide is the "room"? I've similar cloak almost identical in layout.
-
You got $1M?
-
Longest for an item unsold on eBay?
-
Didn't know you were a gardener. Fair play.
- 25 replies
-
- 1
-

-
- awards
- brick awards
- (and 1 more)
-
Soil pipe assembly: bottom up, or top down?
Onoff replied to ToughButterCup's topic in Waste & Sewerage
I start at both ends at once then have a fight in the middle. -
Or two cars even... ? It does have a dpc though...


