Onoff
-
Posts
21126 -
Joined
-
Last visited
-
Days Won
206
Everything posted by Onoff
-

A creditable attempt to pour all my money into a hole in the ground...
Onoff commented on dnb's blog entry in Building in a woodland on the Isle of Wight
Well done. Pop along to the Horse & Groom for a celebratory pint! -
Seems I have a door fetish. I have now gotten 4 upvc doors with frame. 3 bought and 1 a freebie. Just came up at the right price. I have homes for 3. 4th one I might sell on or build a garden room around it! ? Where can I buy Compriband or similar in small quantities i.e enough to do a single door? Maybe it goes by another name? Cheers
-
I can't imagine where Jose lives the temperature drops that low outside ever! ? I think his scissor lift is pretty cool. The handle mech, only a length of studding. Would need some bits of tube too and a few tack welds. That tape is fine. You don't have to vcl but I would, it's so cheap to do.
-
Worst case you lift a board wrong or it slips and breaks over your head. Rite of passage for the DIYer! ? You can generally make use of the two broken bits somewhere! Just think how many "skills" were daunting for you when you started the kitchen. You had a go and learnt in the process with a very good looking end result. ? SQUARENESS! When you do your ceiling boards the whole room may not be 100% dead square on plan. Your plasterboards are dead square. Say you are fitting this as your first board. It can be a kick in the nuts to struggle lifting it up to find doesn't touch where it should! Then to struggle to measure how much needs to be trimmed. Two people AND some sort of support is handy. Don't underestimate how knackering it is holding a board above your head with one hand trying faff with a tape measure with the other! Pretty sure seasoned plasterers have all sorts of long term neck and shoulder issues. The idea is that first board fits tight against your double header on the long and short sides. On the left hand end the board wants to finish on the halfway line of the under side of whatever posi joist makes best use of the 2400mm long board. If it fits tight against the double headers on both sides then there's less gap for draughts etc and the subsequent wall plasterboards will support better the ceiling board. It might mean trimming both long and short sides to fit to ensure this. All depends how square the room is. This is where the board lifter "robot" as you called mine is dead handy. You could screw some wood screws horizontally into the header on the short end. Two of you then lift the board and poke the short end so as supported by the temporary screws. One then supports the board with a near fitting wooden T bar. The other measures up. Or screw a second T bar / horizontal batten to the wall studs to take the short end ... Many ways to skin next door's cat! Plenty of mad ideas on diy "dry wall" and plasterboard lifters on YouTube. I like this one. You could drive that with a cordless drill: Won't you end up though paying your electrician mate more than buying a board lifter and doing it on your own? For example: https://www.ebay.co.uk/itm/Pro-11FT-Drywall-Hoist-Lift-Plasterboard-Panel-Sheet-Board-Lifter-Tool-Jack-UK/193368916963? You can flog it afterwards and make half your money or more back.
-
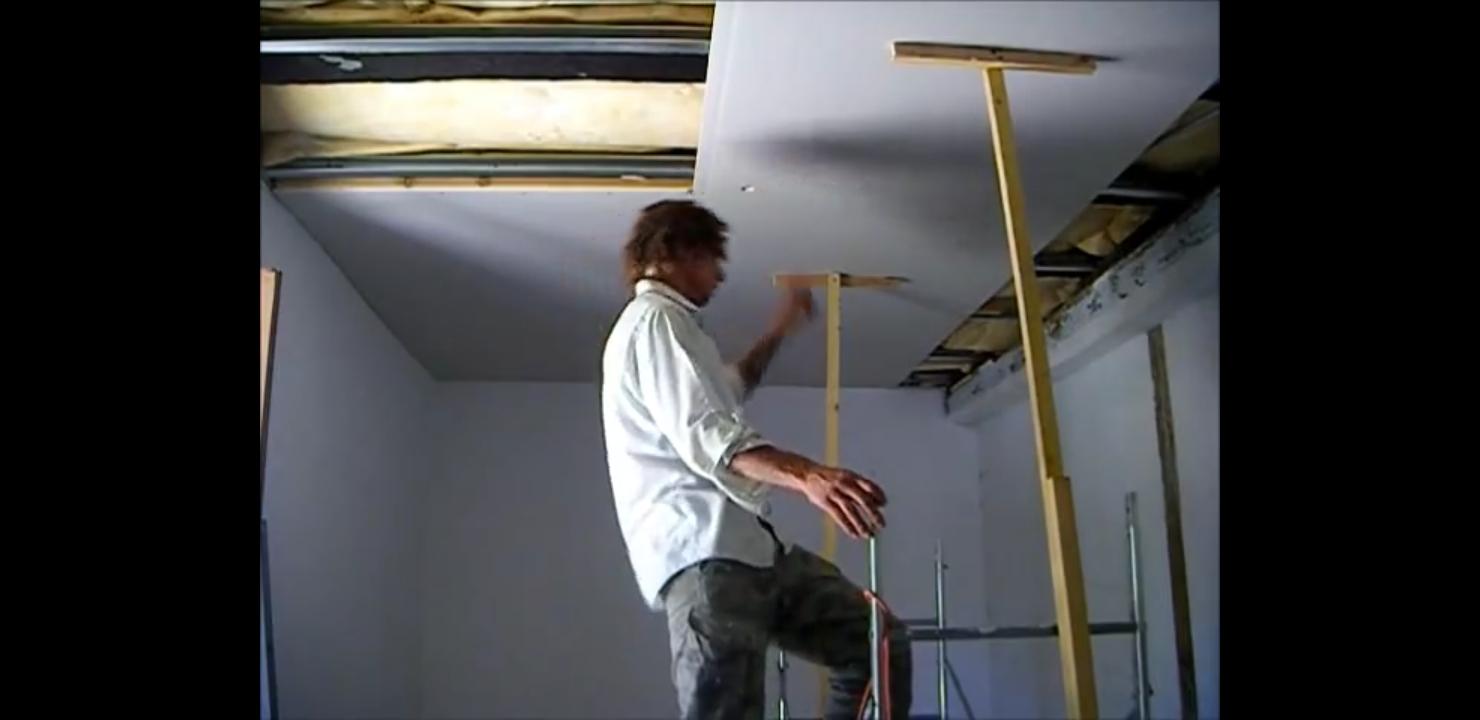
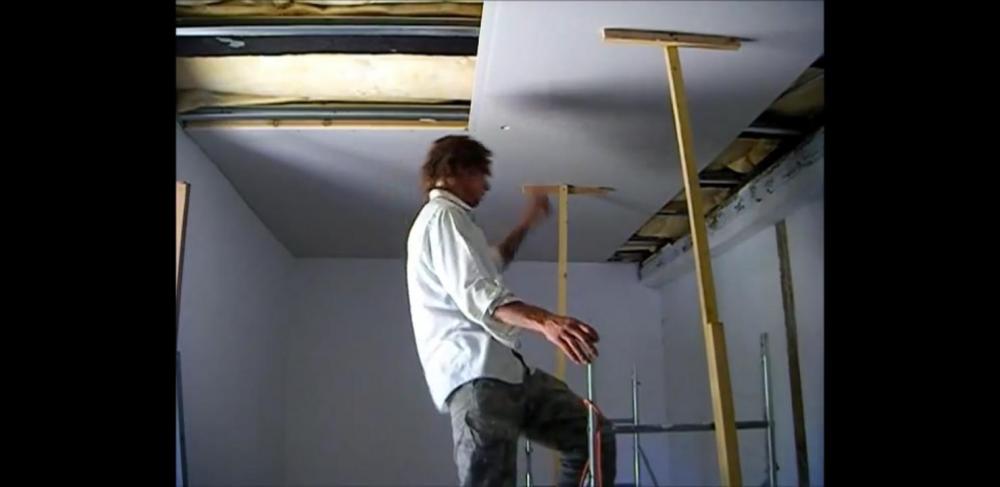
This sort of thing. Still from a YouTube vid. Bloke's doing it on this own. He's standing on a hop up of some sort. T bars are made to such a height so they "wedge" near vertical. Best to have two people. It's a bitch when on your own and a T bar slips and falls and the board comes crashing down. Loads of ways to do it. Watch YouTube vids!
-
Yes. I used the cheap stuff as per the Screwfix link I gave. Cuts down the draughts via any slight gaps between pir and studs you may have missed. A cheapo staple gun is handy too. I have two from Lidl.
-
Perfectly feasible. Making up a wooden T bar (or two) can help. Just YouTube "plasterboarding a ceiling". Lots of videos.
-
If you were able to drill those concrete beams you could have resin anchored the long studs in.
-
Stick some mock wheels and a tow bar on it? ? A bit of decking, some strategically placed potted conifers, a few down lights...
-
+1 on the Leyland Super Leytex as recommended on here. Diamond matt over that. I also used Easifill after the Leytex for any imperfections...only because my plastering is less than perfect.
-
Known as a "split load board". The red switch is the main double pole switch that switches both incoming live and neutral. Next to it is the 1st RCD (residual current device) that provides earth leakage protection to the circuits on the 4 circuit breakers (with space to add another future circuit). The circuit breakers provides over current and short circuit protection to each circuit. The 2nd RCD protects the last 5 circuit breakers in the same vein as above. The circuits are split so that for instance if downstairs lights go off, upstairs lights should remain on. Same with sockets. Of course if you have an earth leakage fault on any circuit protected by that particular RCD all those circuits lose power. The "best" way is to have all circuits on their own RCBO so a fault on one circuit only affects that.
-
I like lying in the bath with the lights dimmed, a beer and some tunes from the ceiling speakers. I used a Quinetic (the grey square) wireless switch literally within arms reach of lying in the bath so I can dim / turn off the down lights and control the pocket / mood lighting. I say I like doing this, there's barely enough HW capacity to fill the bath or the kids have used it all having showers! ? (The led strip is on the pi$$ in the pic above).
-
The BCO bit was tongue in cheek! ?
-
What's a b...c...o?
-
When I did my ceiling I foil taped all the joints. When I put the boards up I laid the vcl on top then just lifted up with the board lifter:
-
Can I ask why it took you so long to complete?
-
Right or wrong this is what I did. Seems to guarantee no draughts. I used every bit of pir up and foamed it in. Then used Screwfix vcl and silver taped the joins. https://www.screwfix.com/p/capital-valley-plastics-ltd-vapour-barrier-green-300ga-20-x-2-5m/12869?
-
Maybe some sort of IQ test?
-
Guessing you might mean on different miniature circuit breakers rather than RCDs. You could always post a picture of the service unit by which I think you mean consumer unit.
-
Worth a read: https://blog.lightbulbs-direct.com/dimming-for-dummies/
-
Is that on a downstairs ring then you have a separate kitchen ring?
-
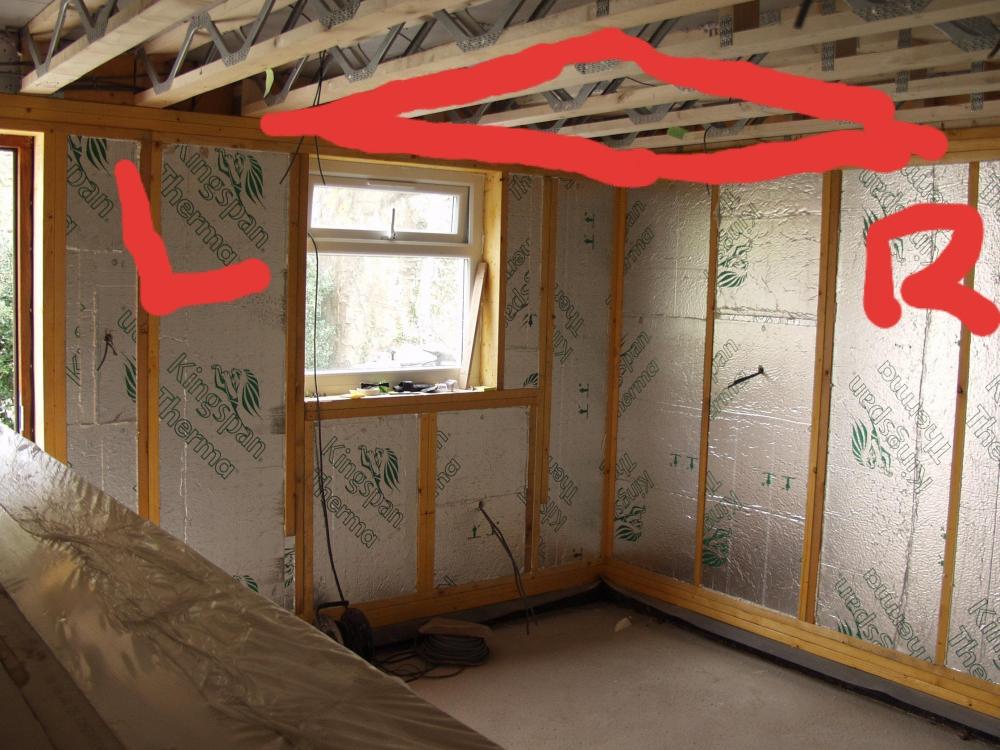
That looks good. I imagine a vcl, vapour control layer type membrane would help with air tightness? The clever people will be along shortly. That socket under the window, which way do the wires run?
-
Sorry, my 32mm basin waste tees into the 50mm bath waste. There's an anti siphon trap on the basin so the emptying of the bath doesn't suck the water out of the basin trap. Don't think you'll need it if not pipe sharing.
-
Bath 50mm, sink 32mm into the 50 is what I've done with an anti siphon trap on the sink. 32 too small for a bath I think.
-
Have you an accessible socket internally you could spur off of? On say a (lightly loaded) downstairs ring. You don't need an RCD protected external socket if the ring main itself is already RCD protected. Just a suitably IP rated socket. Drill at a slight downward angle through one of the back box knock outs and fit a length of 20mm pvc conduit from there into the back of the external socket. Project into each back box 6-10mm. You can either spur it or make part of the ring.