


Super_Paulie
-
Posts
869 -
Joined
-
Last visited
-
Days Won
3
Everything posted by Super_Paulie
-
 I used UltraTile Pro Primer. It looks and smells exactly like SBR and out of the 5L I used barely a mouthful... Would just use SBR if I could go back.
 -
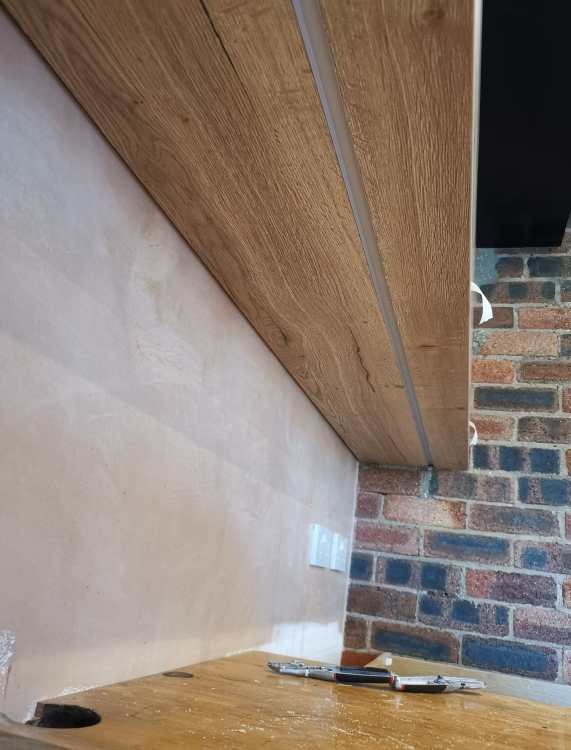
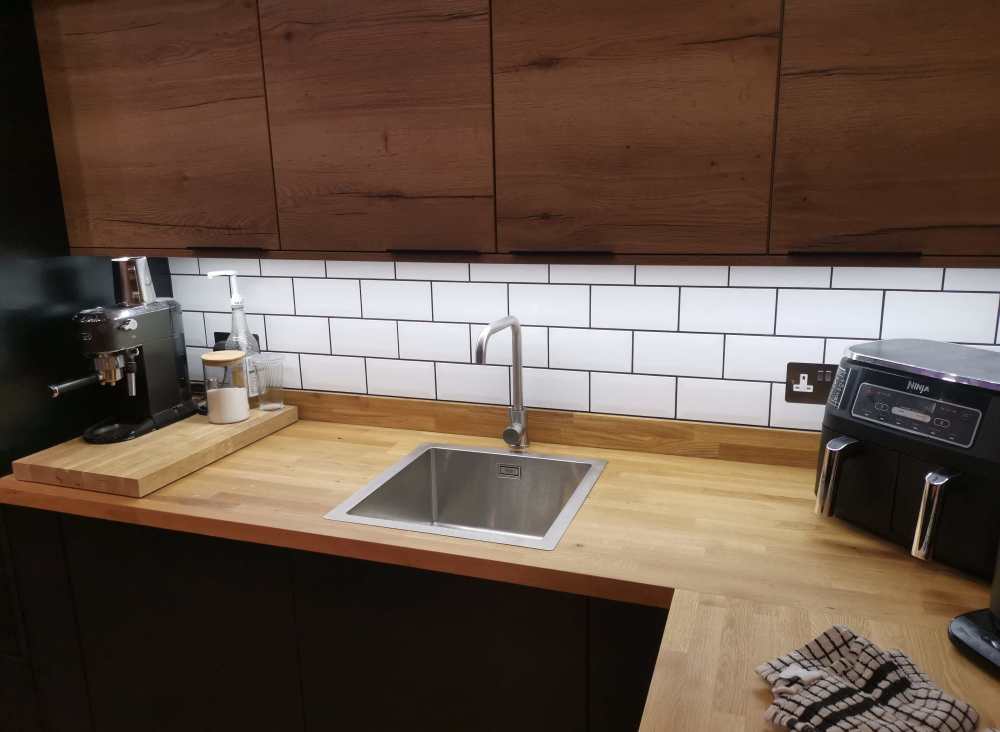
I have my worktop lights in an aluminium profile with diffuser routed in the underside of my cabinet panel. The router wasn't happy with the chipboard but it got there. I ran the cable down the dead space that is covered by the filler at the end of the run, goes up over into the ceiling then down to the switch, the switch in turn is connected to the driver which I've got behind the kitchen plinth sat on some chipboard. Working so far!
- 13 replies
-
- 2
-

-
- led lighting
- led strip
- (and 3 more)
-
in my landing and bathroom ive 22mm P5 glued and screwed and then 6mm ply glued and screwed. Makes the suspended floor feel like solid concrete.
-
about 300 i think. My back didnt thank me put it that way.
-
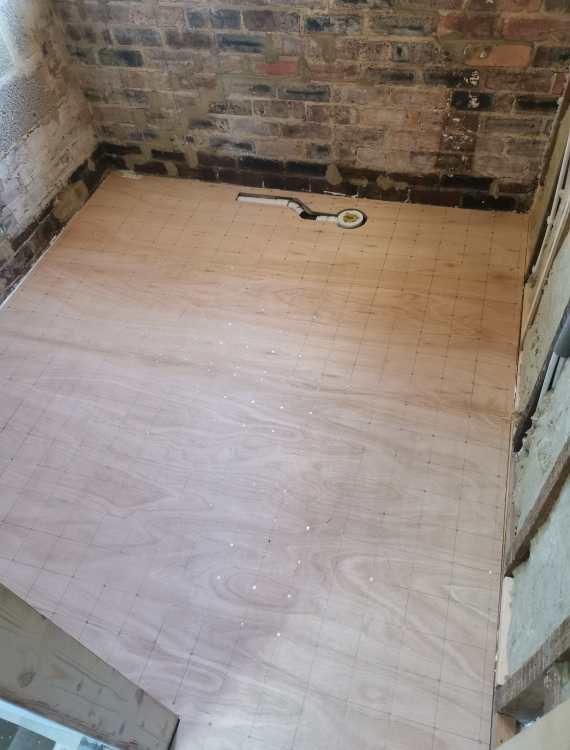
I took the advice of big Nicky and put 6mm ply over the chipboard, notched PVA comb and then an unholy amount of screws.
-
Shower tray fitting on wood decking
Super_Paulie replied to G and J's topic in Bathrooms, Ensuites & Wetrooms
I full bed PVAd the ply, no chance that would ever come up! -
Shower tray fitting on wood decking
Super_Paulie replied to G and J's topic in Bathrooms, Ensuites & Wetrooms
the chipboard is there purely to act as a backer for the tiles, ive been informed tiling directly onto P5 is not a good idea. -
Shower tray fitting on wood decking
Super_Paulie replied to G and J's topic in Bathrooms, Ensuites & Wetrooms
Gotcha, it's solid as in 22mm P5 with 6mm Ply glued and screwed. It says on the back of the container that it must be dry before adhesive, which is kinda the opposite to what I've read on here where it needs to be "tacky". I've just found a tech sheet from UltraTile SPES that says to apply it neat on plywood before adhesive as well, so that's 3 options! 🤣 Happy to go with professional plumber experience with this one though 👑
-
Shower tray fitting on wood decking
Super_Paulie replied to G and J's topic in Bathrooms, Ensuites & Wetrooms
Does this still l hold true for tiling @Nickfromwales? I'm going for porcelain over 6mm plywood (which is over chipboard) already glued and screwed. I went over it with Ultra primer 3:1 mix last night, should I go over over it again just before I start to mix up my adhesive? Instructions on the container are ropey at best. Advice welcome. -
Taking a day off from the bathroom job and going to finally tile my internal porch. Be good for practice as well. Everything cut and dry fitted, so now it's time to get to it. I've got Ultra tile Pro Primer, what's the best way to use this? Instructions on the back are rubbish at best, I was going to mix it up with 25% water and then just lash it all over the floor (P5 chipboard with a glued and screwed 6mm ply top). Let it soak in and then crack on with the adhesive. Sound correct?
-
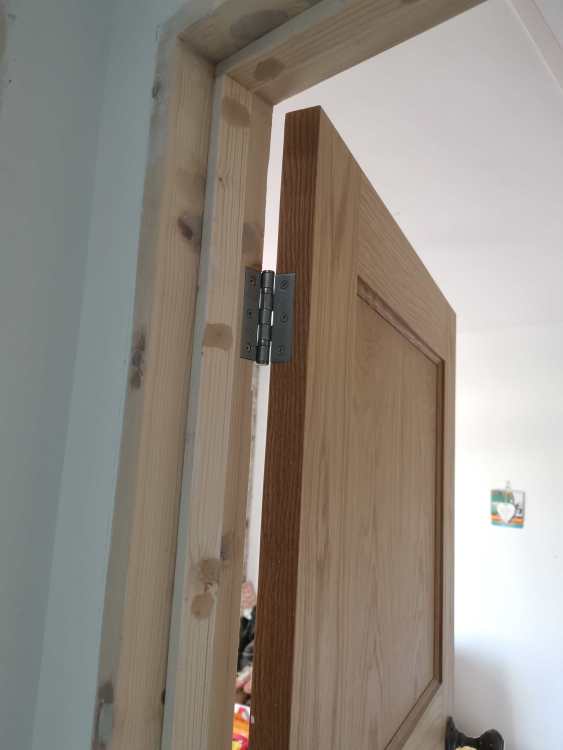
Thanks everyone, job done with a 2mm gap. I opened up the strike plate to give me a bit of wiggle room when it comes to adjusting it after painting. Once the glue has gone off I can get the filler over the nails sanded and the edges I assume caulked, need to look into that one. Cheers folks.
-
Thanks folks. Yeah it's the gap between the stop and the door I'm meaning, I have the gaps around the door all sorted at 2mm. So some of you guys say 3/4mm for paint, others 2mm 😆
-
Anyone got any tips on attaching the individual door stops to the linings? I've got the doors hung, the linings are all filled and sanded ready for paint but I've got to get the stops on first. As I'm painting the frames (not the doors) should I be leaving like 2mm all round to accommodate that additional thickness, and should that be more like 3mm at the hinge side? Planning on Zinsser BIN then my topcoat.
-
always love a "done in" photo mid-build.
.thumb.jpeg.6e2ba1b01c056fd3b3fe7c8845e6819a.jpeg)
-
Stone Plastic Composite. Probably all the same stuff.
-
im south facing with 2 sets of bifolds and its been fine. Mine is SPC for what its worth, but its ok so far.
-
Shower enclosure layout choices
Super_Paulie replied to Super_Paulie's topic in Bathrooms, Ensuites & Wetrooms
Yep, love that @Tetrarch, great effort. -
im still not sure what i really need, do i need it to be that flexible? The SPES seems to have the best of both worlds.
-
i was planning on using tile adhesive for the tray, as the welsh plumber @Nickfromwales recommends, with CT1 around the sides. So should i be going for the SPES gear all round?
-
I always left an expansion gap. One can assume with UFH and the south sun beating down it's gonna move. I left it maybe 5, 8mm from the edge of the doors and put a trim over it with the trim attached to the doors rather than the floor so it can expand underneath it without bucking. The rest was just a gap that you can't see once I'd added skirting. I did ponder having a sunken mat as well but ultimately couldn't be arsed with the hassle. My plan was the same as above with a trim from the mat well and then over the edge onto the floor with the LVT edge covered by this, I guess like an upside down L shape. Like I say I didn't go for it, so couldn't really advise on that one.
-
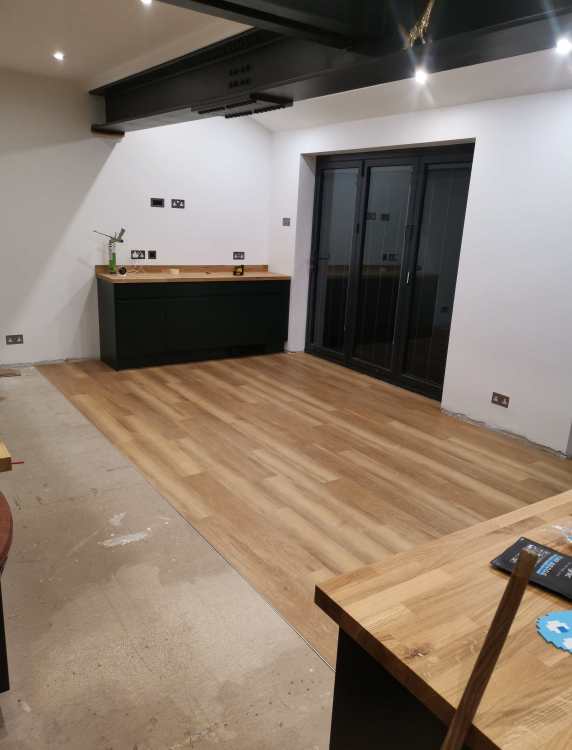
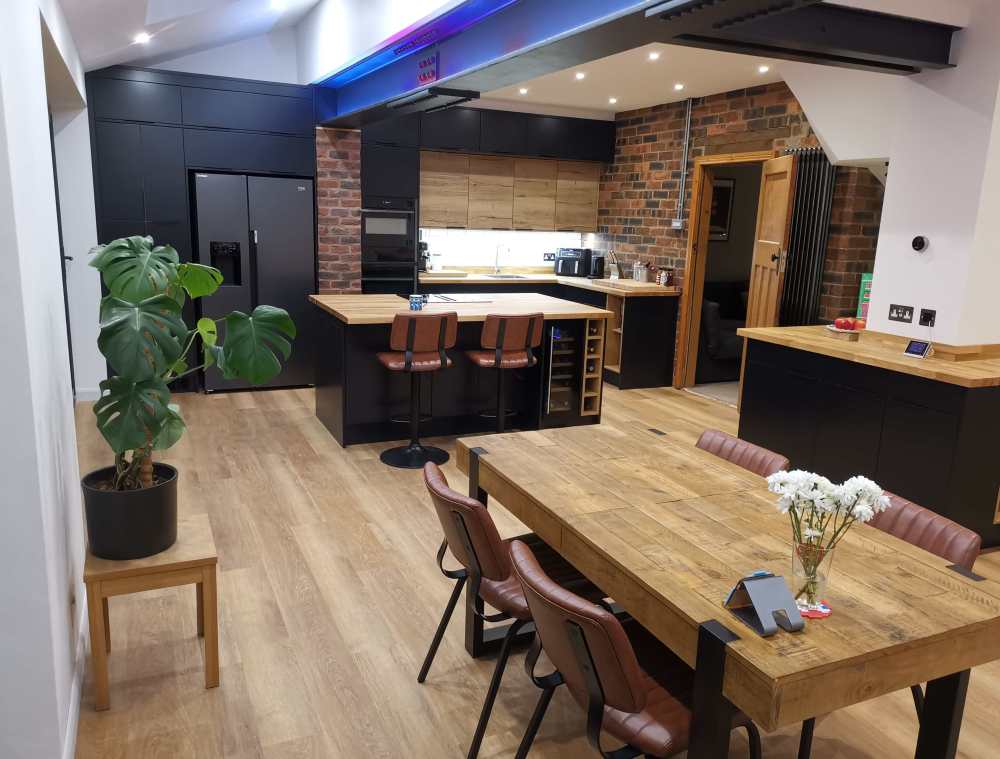
Yeah I've done it. I used a block and mallet on the short sides to put that home and an offcut and mallet to bring the long side into the tongue/groove. It's a fairly satisfying project I found. Easy to cut with a straight edge and a Stanley knife, just score it and snap, jobs a good un. With the UFH I often hear the odd click of a length popping out slightly I assume, but it hasn't been a problem so far and I'm 18 months in. Also dropped SWMBO's favourite ceramic ice bucket on it which exploded into a million bits but the LVT was undamaged. What I found a pain, especially in a big room, was trying to keep the pattern random. So a plank with as many individual designs as possible is a bonus, I was always fighting it trying to randomise it. Worked out nice though I thought.
-
tiles to primed plywood, shower tray to primed plywood and tiles to jackoboard.
-
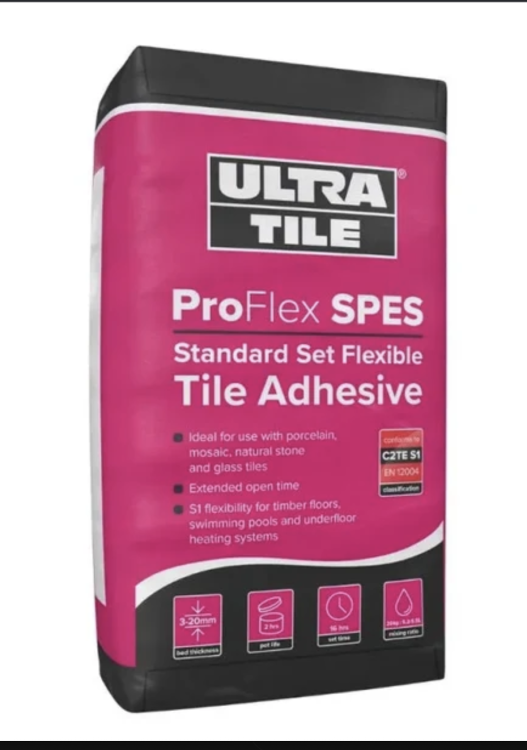
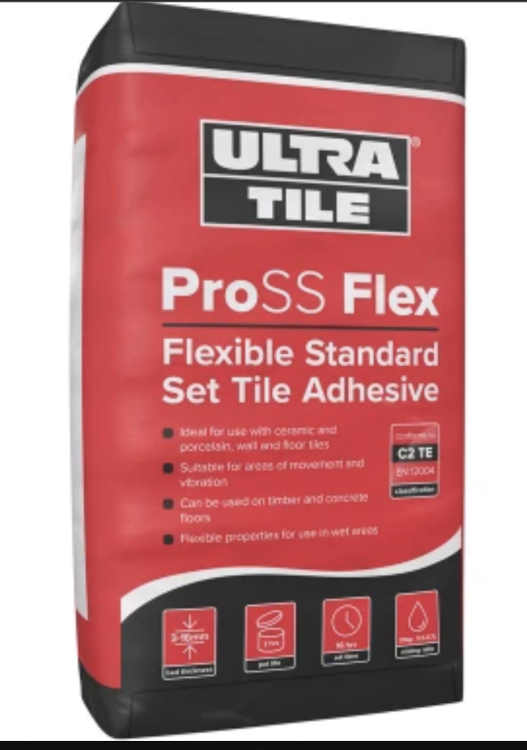
whats the difference between these 2 then? "Standard set flexible" vs "Flexible Standard set". Ha'way man UltraTile, make it a bit more feckin obvious. Should i go for SPES because id imagine that stands for sommat important.
-
Shower enclosure layout choices
Super_Paulie replied to Super_Paulie's topic in Bathrooms, Ensuites & Wetrooms
Looks like I'll be going with something similar. How do you feel about the hose going through the niche, that might drive me wild so might have to offset the niche instead. -
Shower enclosure layout choices
Super_Paulie replied to Super_Paulie's topic in Bathrooms, Ensuites & Wetrooms
Can't happen. It's in a corner with an external wall one side and stud wall the other, where "everything" will be. But the door is hinged right next to controls so that should avoid the cold splash issue by opening the door wide to turn on the controls.





.jpeg.3c8041118b6ba140040706f378e5dbe2.jpeg)




