
Super_Paulie
-
Posts
831 -
Joined
-
Last visited
-
Days Won
3
Everything posted by Super_Paulie
-
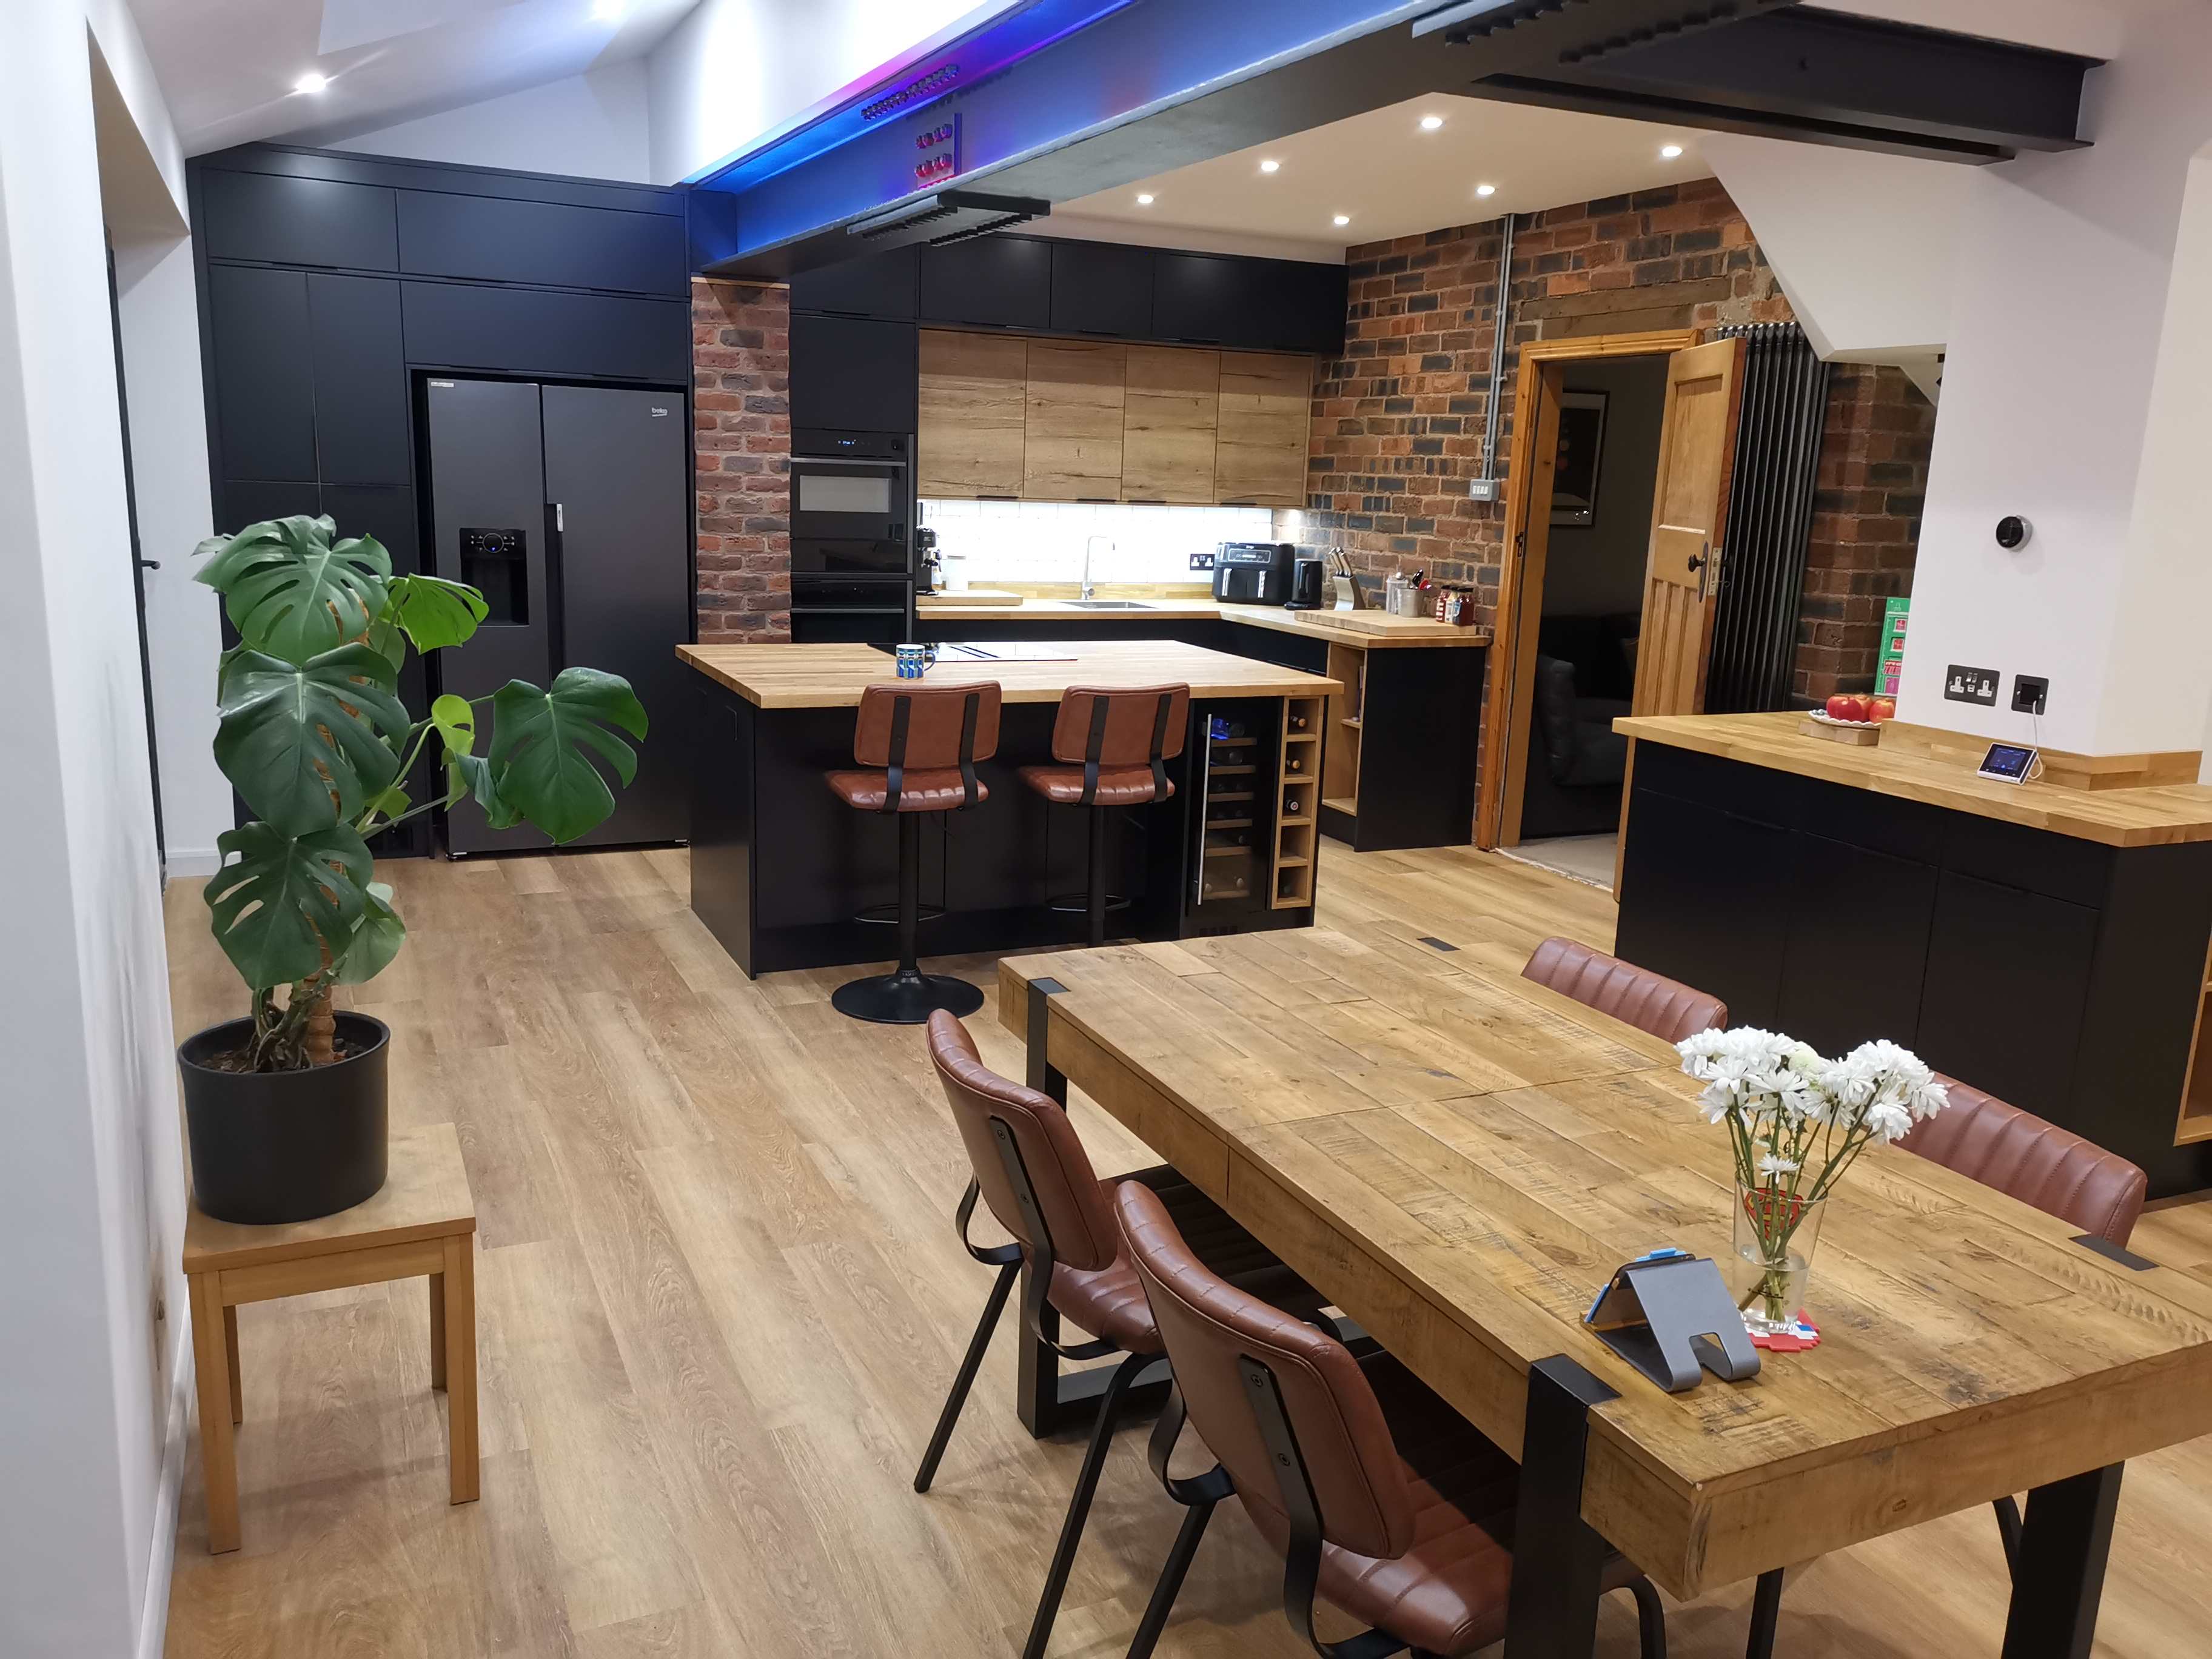
mine isnt attached to the floor at all. The only thing tethering it to its location is the ducting for the hob and a few cables.
-
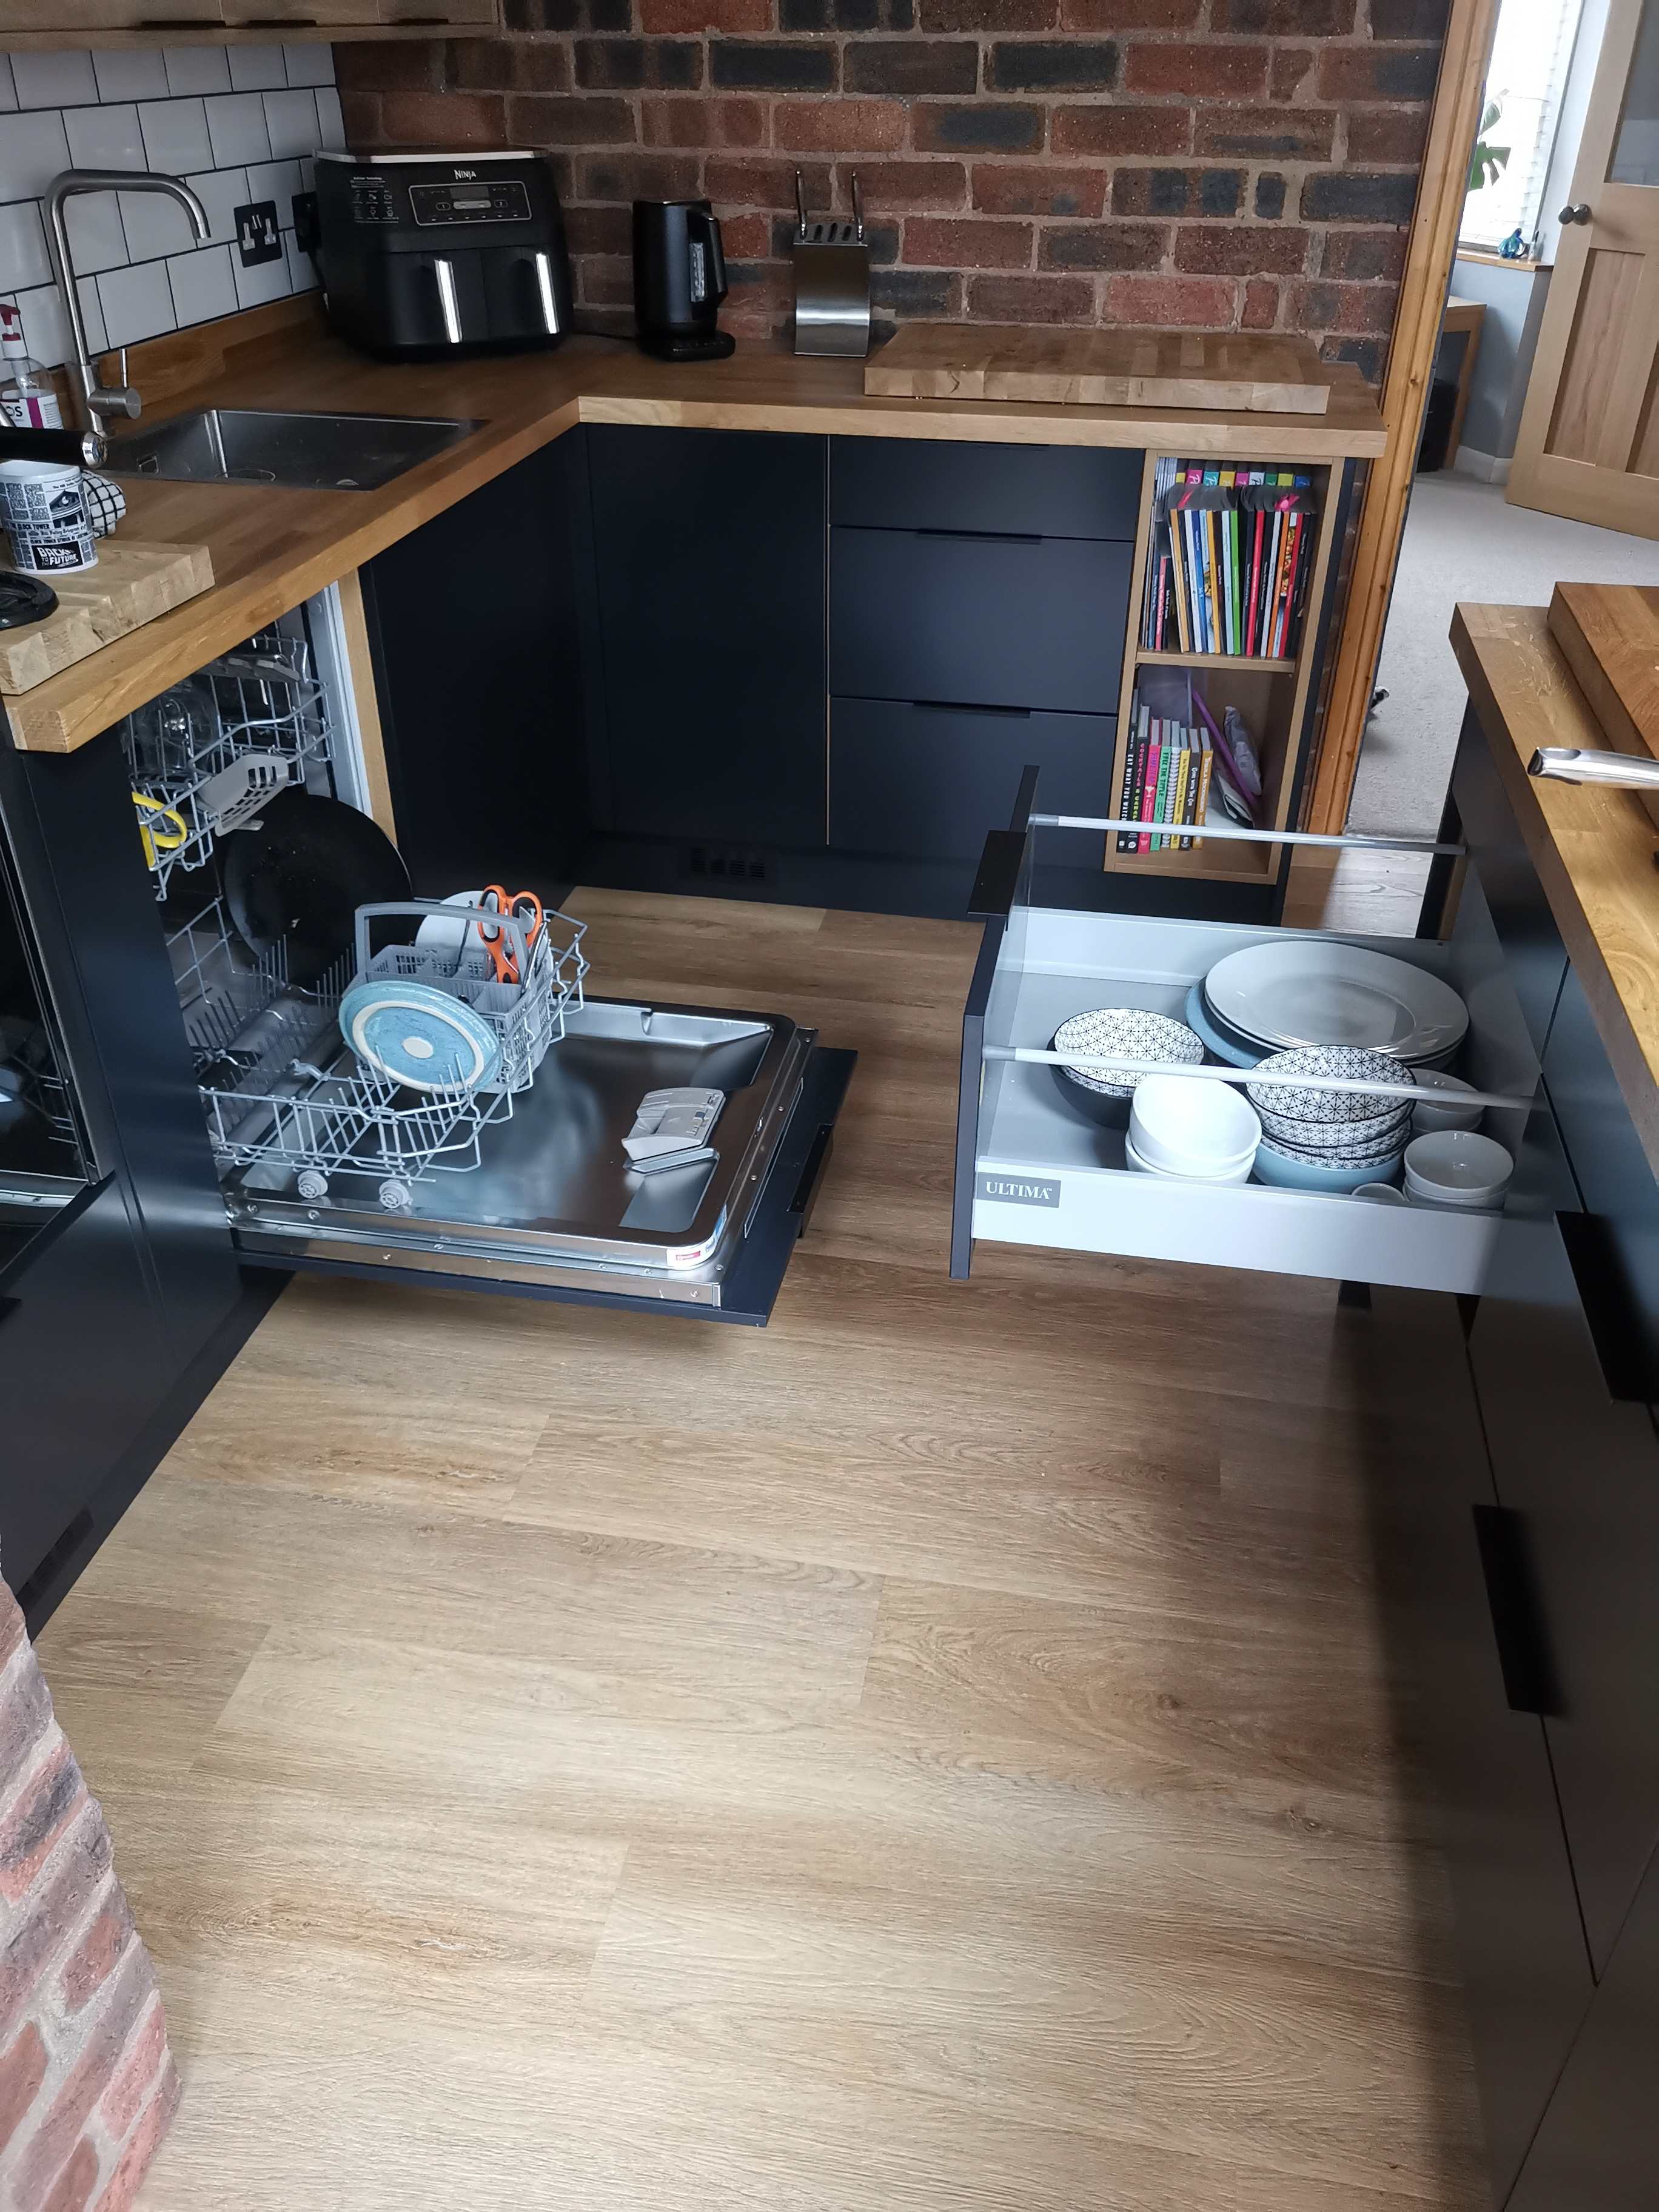
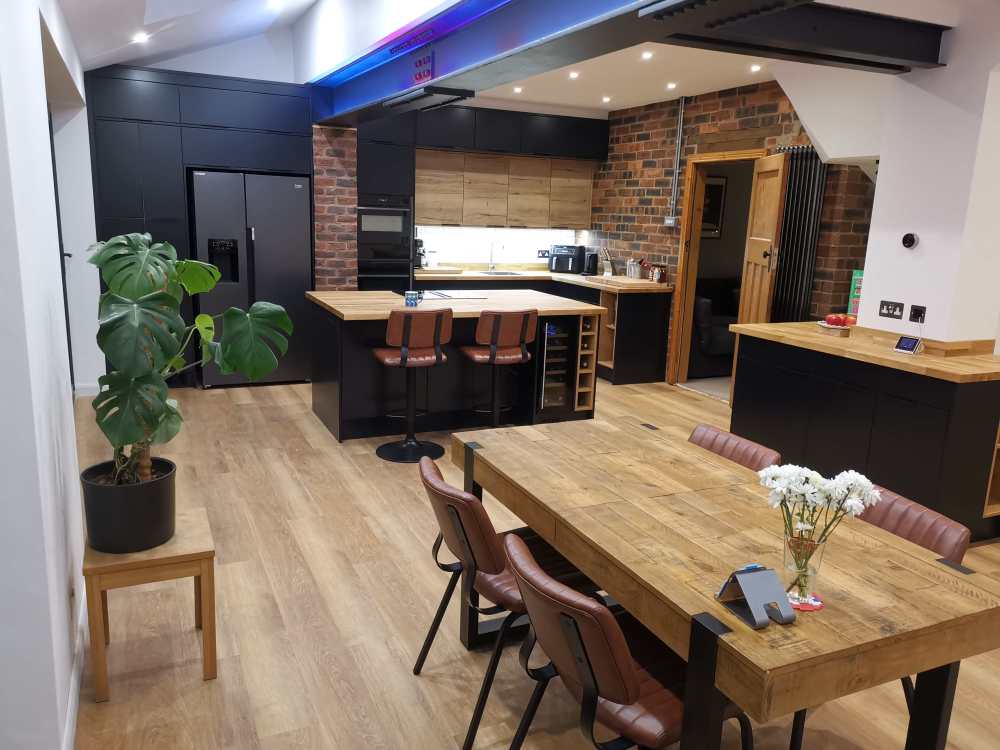
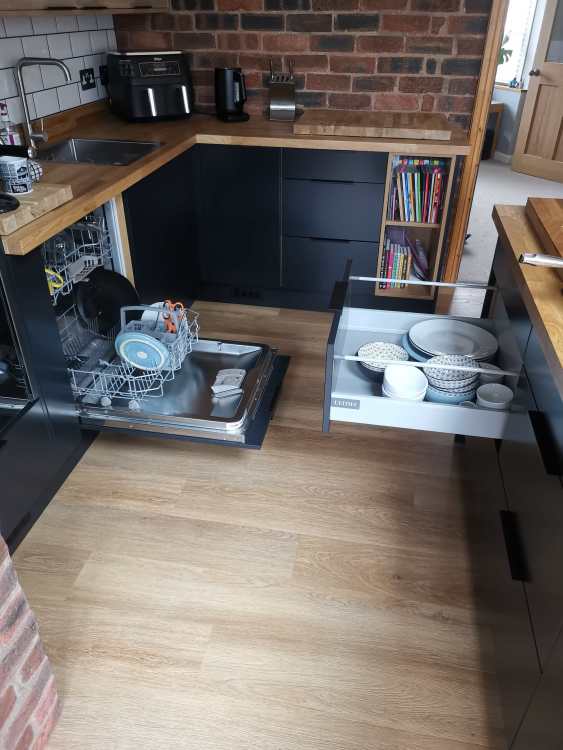
not far off, 5m x 9m if you count all the way across to the dining area. No that is a splice on the beam as it is in 3 sections, the extractor is a downdraft on the hob. For what its worth, the 1.2m i have between the units and the island is pretty big. Its great to be able to empty the dishwasher into a cupboard and i positioned/designed purposely so i could do that, but it wouldnt be a problem to have that gap smaller in my opinion to create a galley.
-
Might be the way the photo is, but its 900mm at that point.
-
Anyone got any experience with a 980mm Geberit frame? Does the seat hit the flush mechanism and is it a problem if it does? Doesn't seem a great design choice if that's the case.
-
1200mm gives me this dream scenario, much like Dave.
-
-

Insulation in renovation, Suspended timber floor
Super_Paulie replied to andreas's topic in Heat Insulation
all seem the same really. Most times ive bought "Celotex" what actually turns up is Recticel or something else quite random, cant say ive noticed anything different between them. When i had a similar situation i chamfered the PIR going up to the vent and foil taped the exposed end. I replaced the vent with a bigger flow version as well. Seems to be fine, howls a gale underneath the floor but zero drafts above it. 100mm PIR foamed and taped, but my joists were 120mm as i have UFH on top of it. -
Insulation in renovation, Suspended timber floor
Super_Paulie replied to andreas's topic in Heat Insulation
as long as your airbricks are clear id just fill that with with 100mm PIR if it was me. -
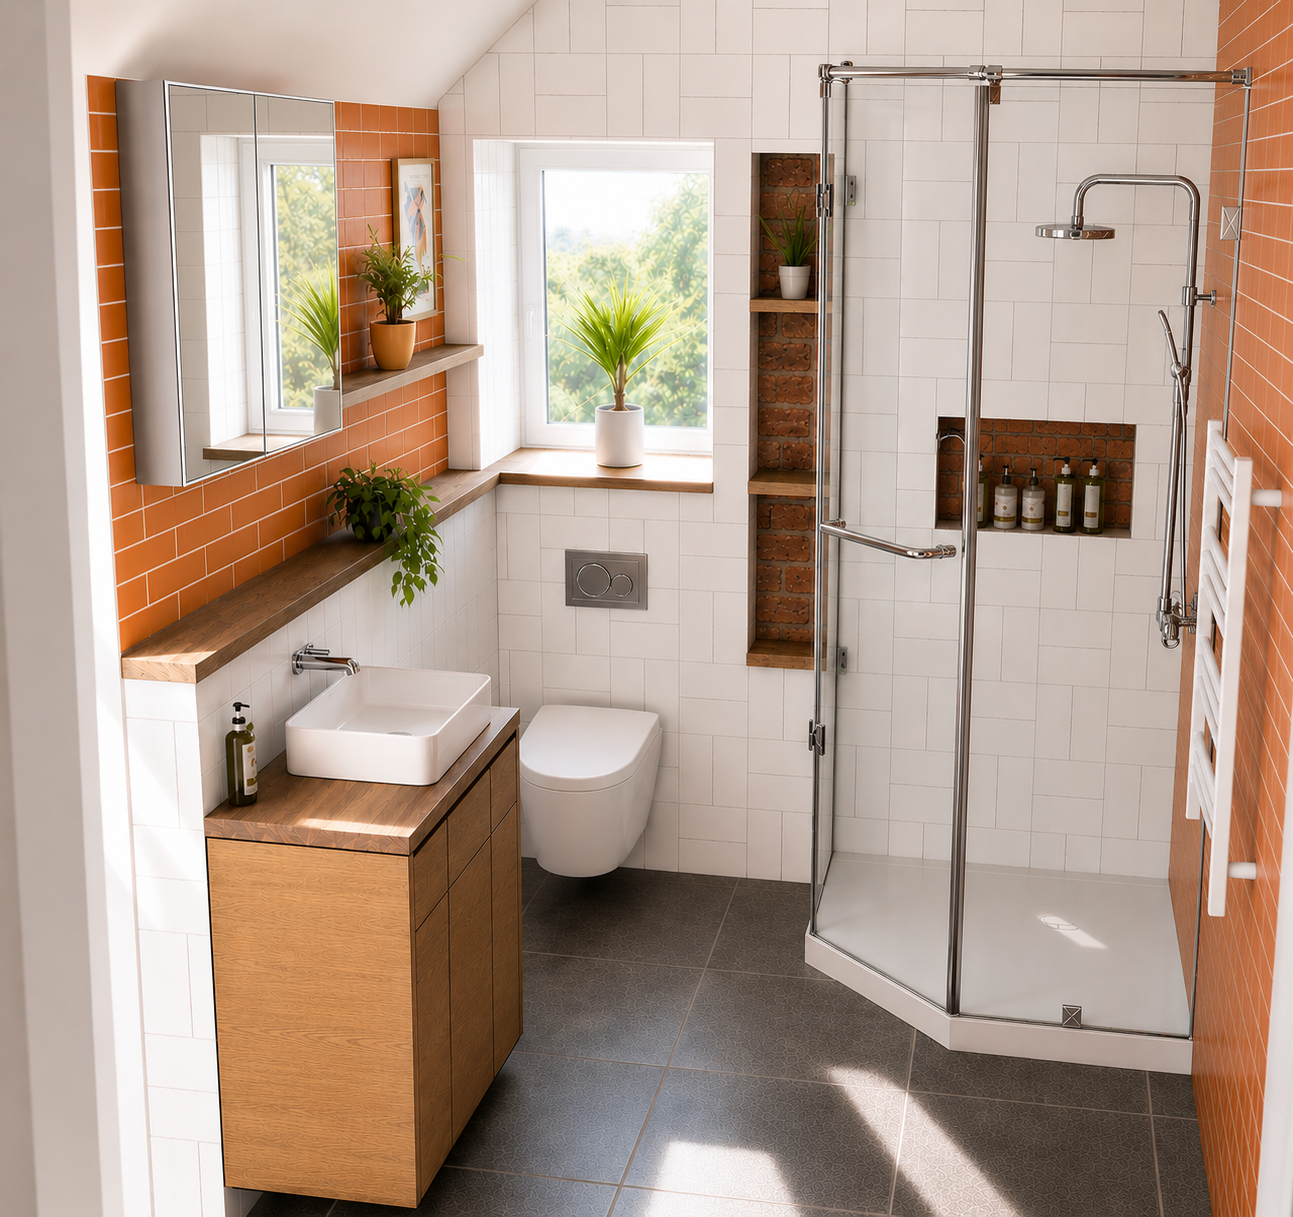
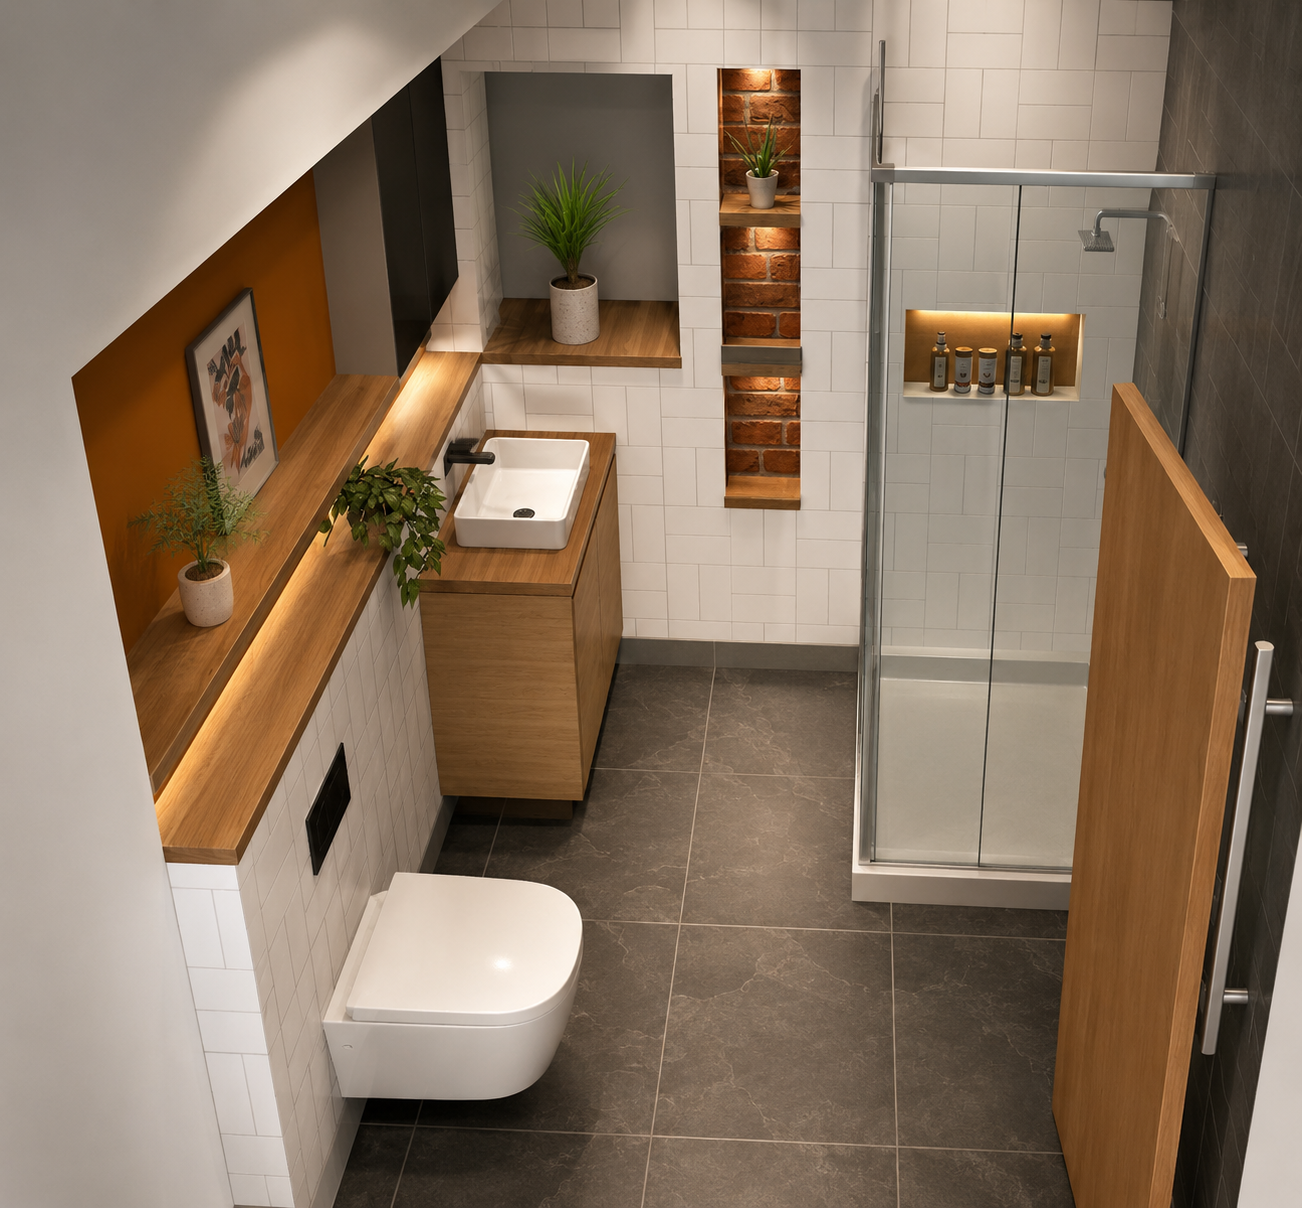
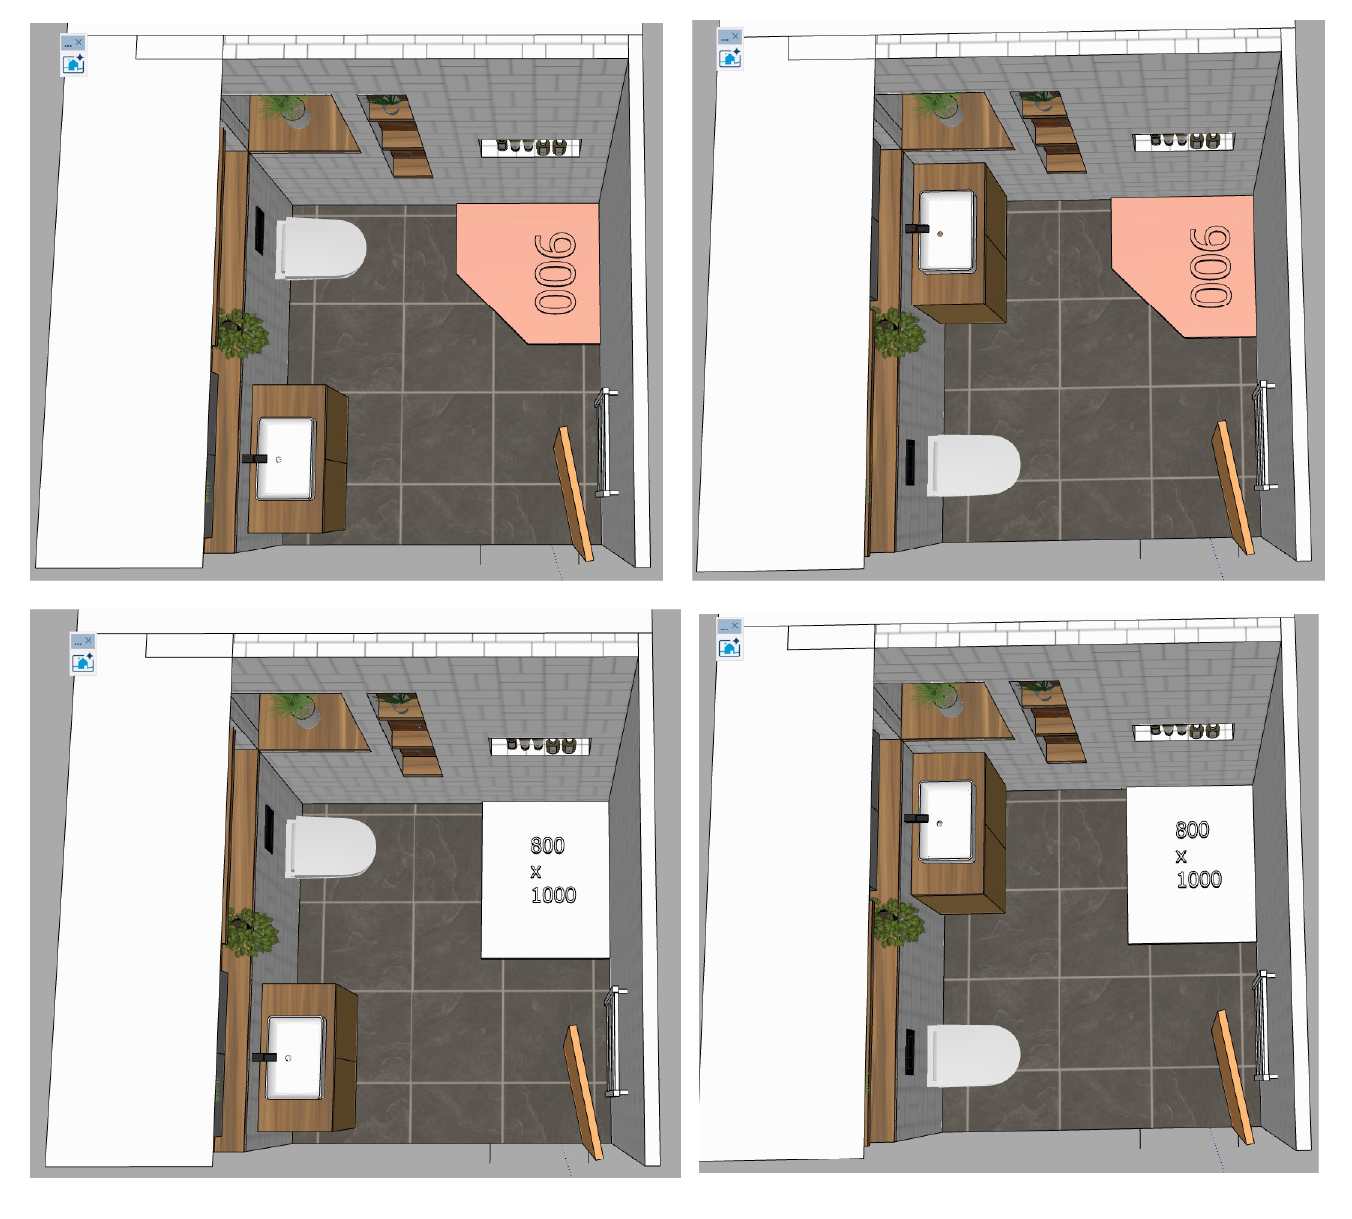
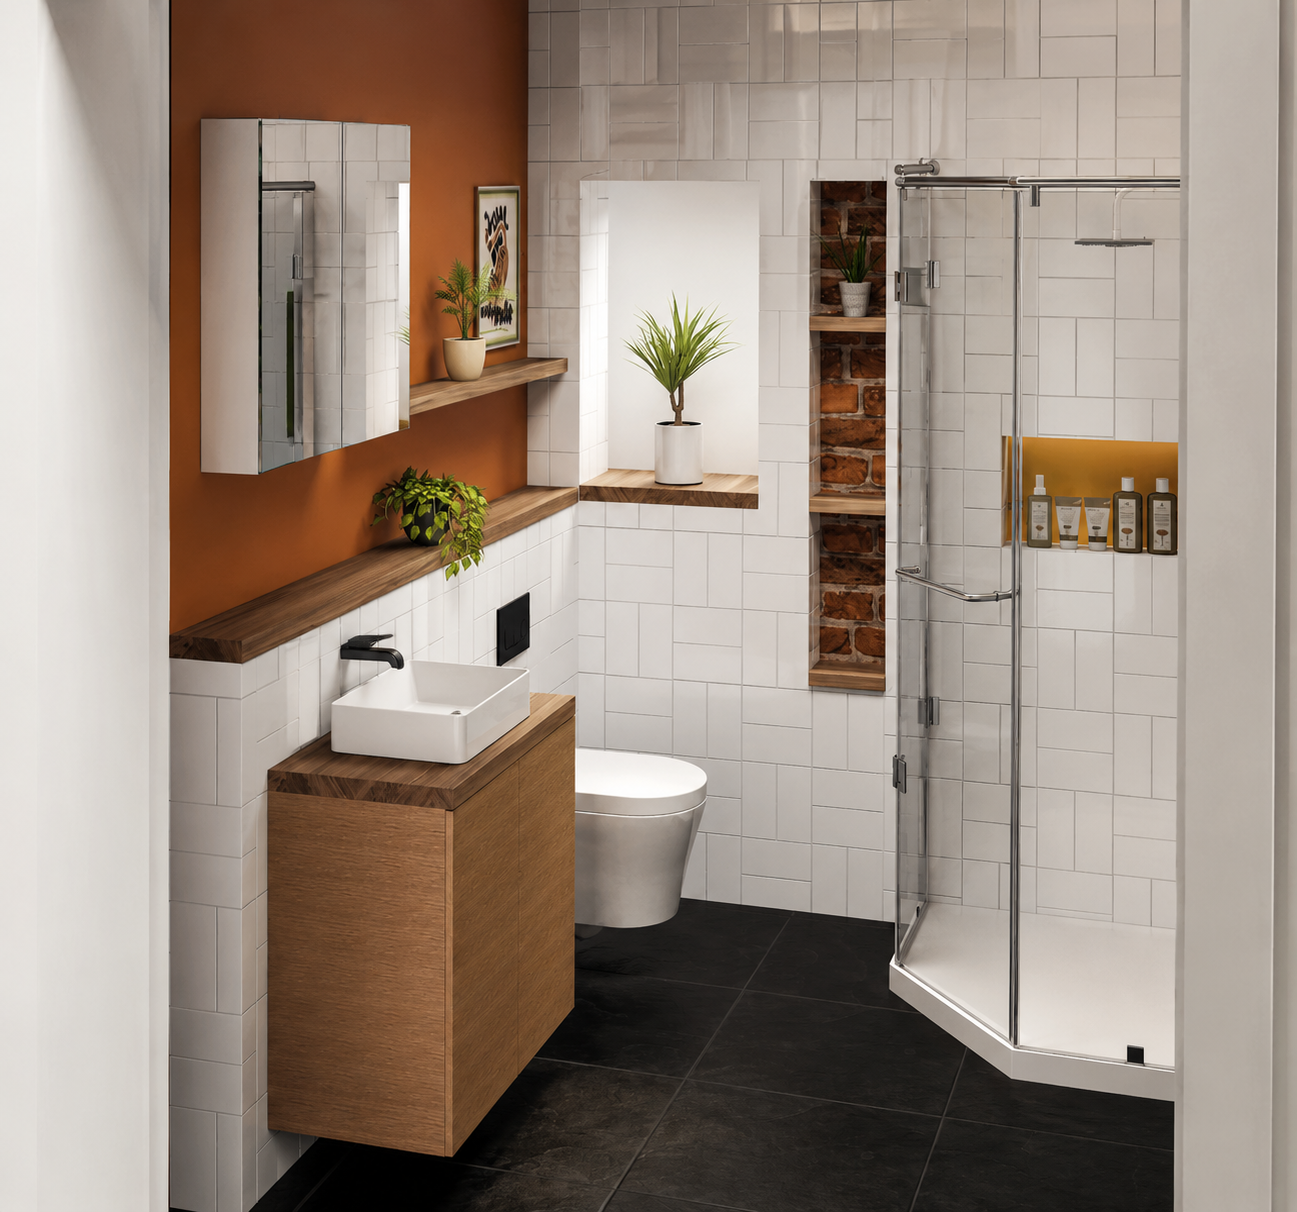
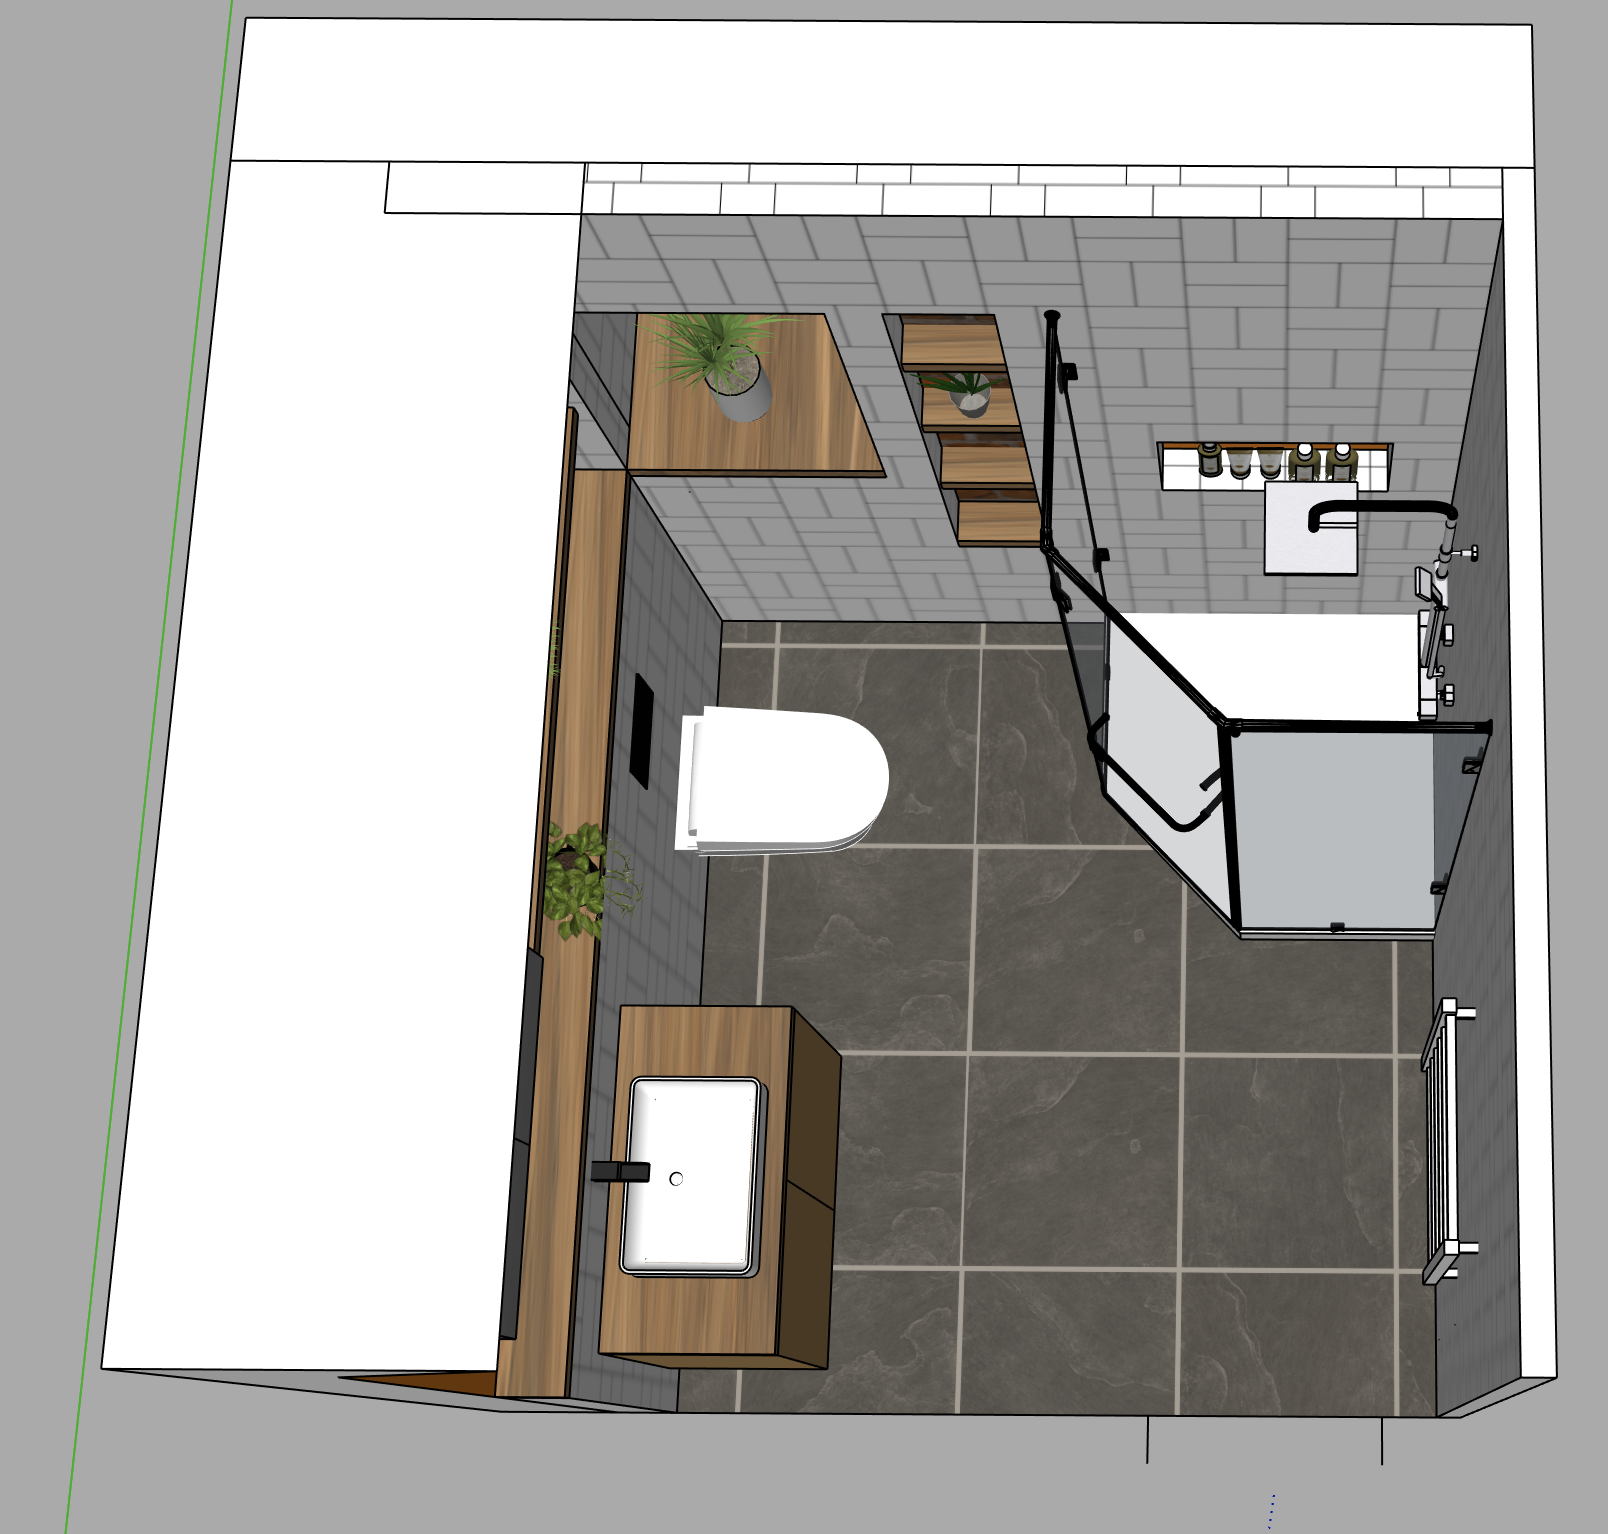
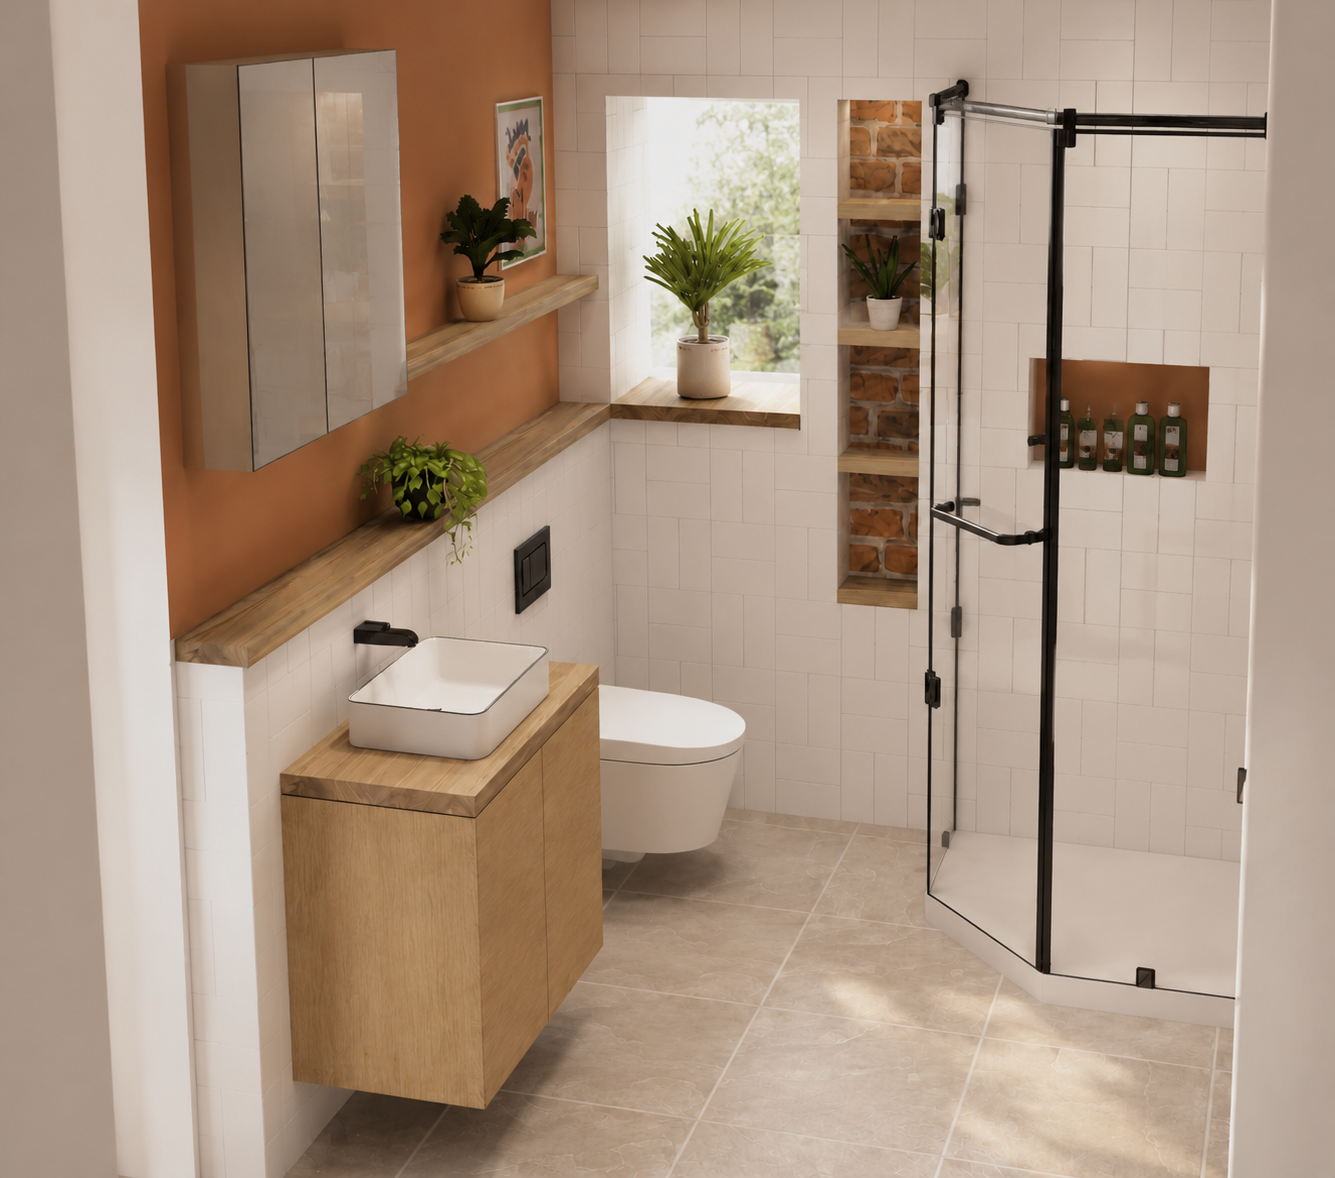
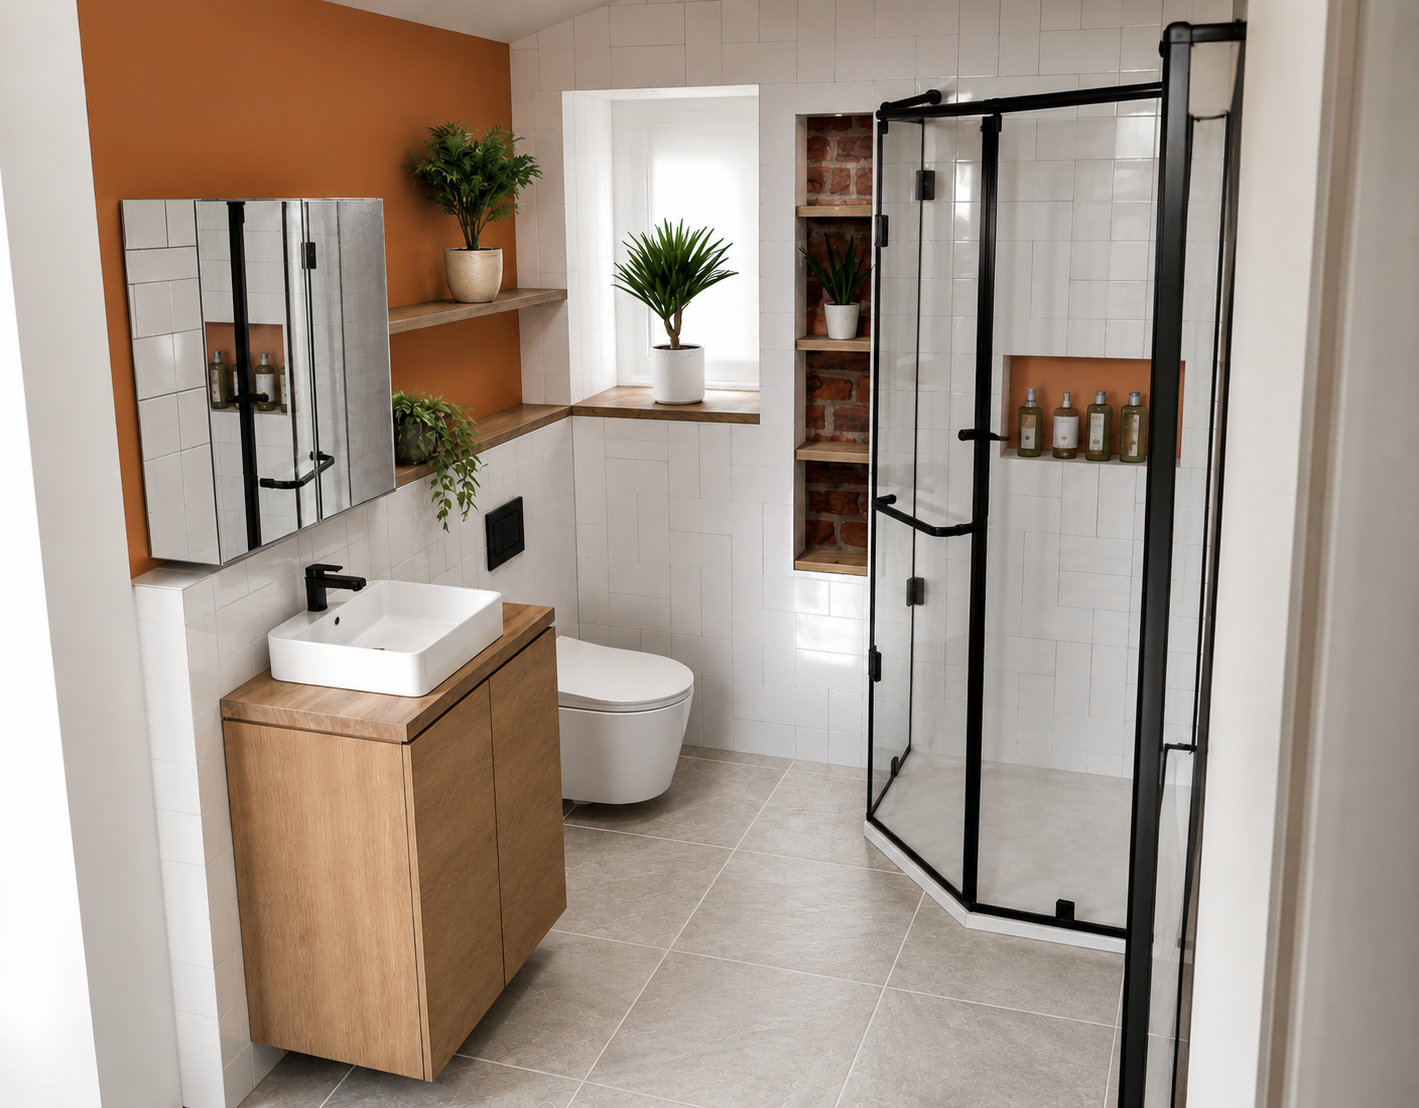
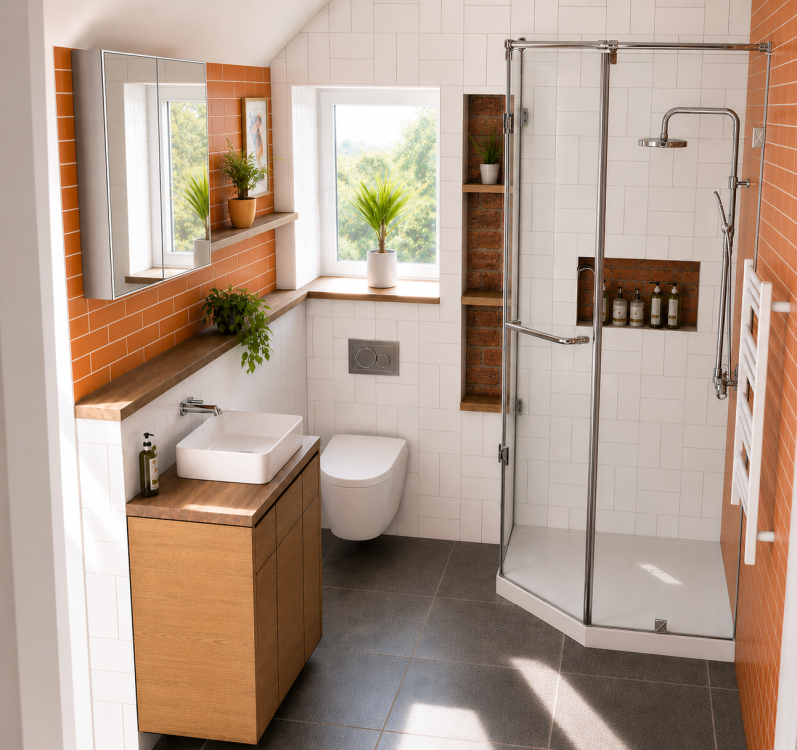
i use Sketchup Pro and Chat GPT to render them as photo realistic. Works really well if your sketchup is decent to start with. There is a learning curve but i do it every day for work so its easy for myself. A few people at work couldnt get into it but its perfectly usable. It is license based though so it would cost ya. Well i gutted the room last night, literally nothing in it. Tried all of the above iterations and ended up back to my original idea. A square shower just doesnt work, its too close to the door when you enter. If the toilet is on the same wall as the sink you are sat literally face to face with a shower panel, so that wont work either. Having the window where it is and the fact it faces out to the street (corner plot) leaves my options very limited. The only thing that felt at least slightly right was the bog on the external wall at the back, a 1000x1000 pentagon shower (as it removes the front corner which is the problem) and the sink down this end.
-
the room just doesnt warrant that kind of innovation!
-
we really want the mirror above the sink so the window scuppers that one im afraid otherwise it would make life a lot easier. Im not a fan of those rounded ones, think my gran had one so seems a bit old fashioned. The pentagon is interesting but ive no genuine experience of one. thats the size ive had on the design. Maybe im better clearing the room, and then dragging things in similar size to see how it works. Nothing seems to really hit the spot.
-
yeah its really tricky and more of a challenge than "fun" which i was kinda hoping for. It sort of brings me full circle to the toilet on the back wall again with the pentagon shower. Plenty of room for me to stagger to the toilet after Sunderland win the Eufa Cup. Window is in the wrong place which doesnt help me but theres not a lot i can do about that now.
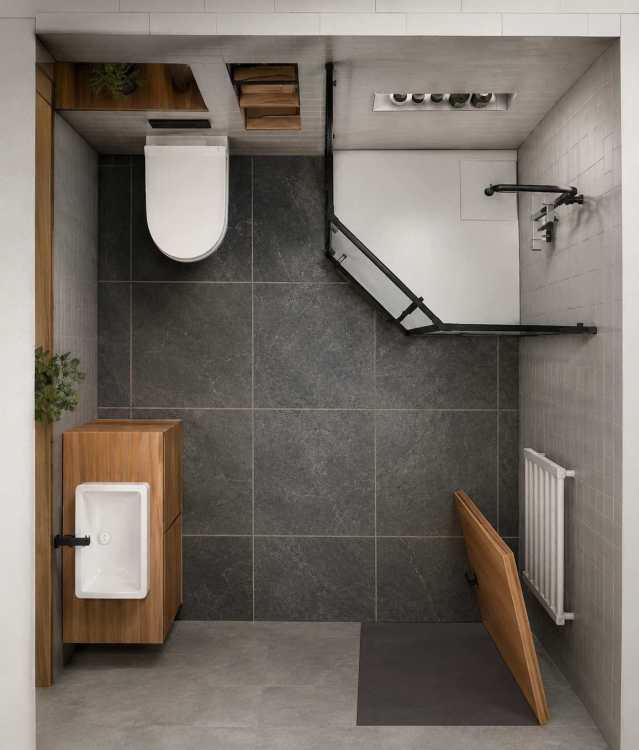
-
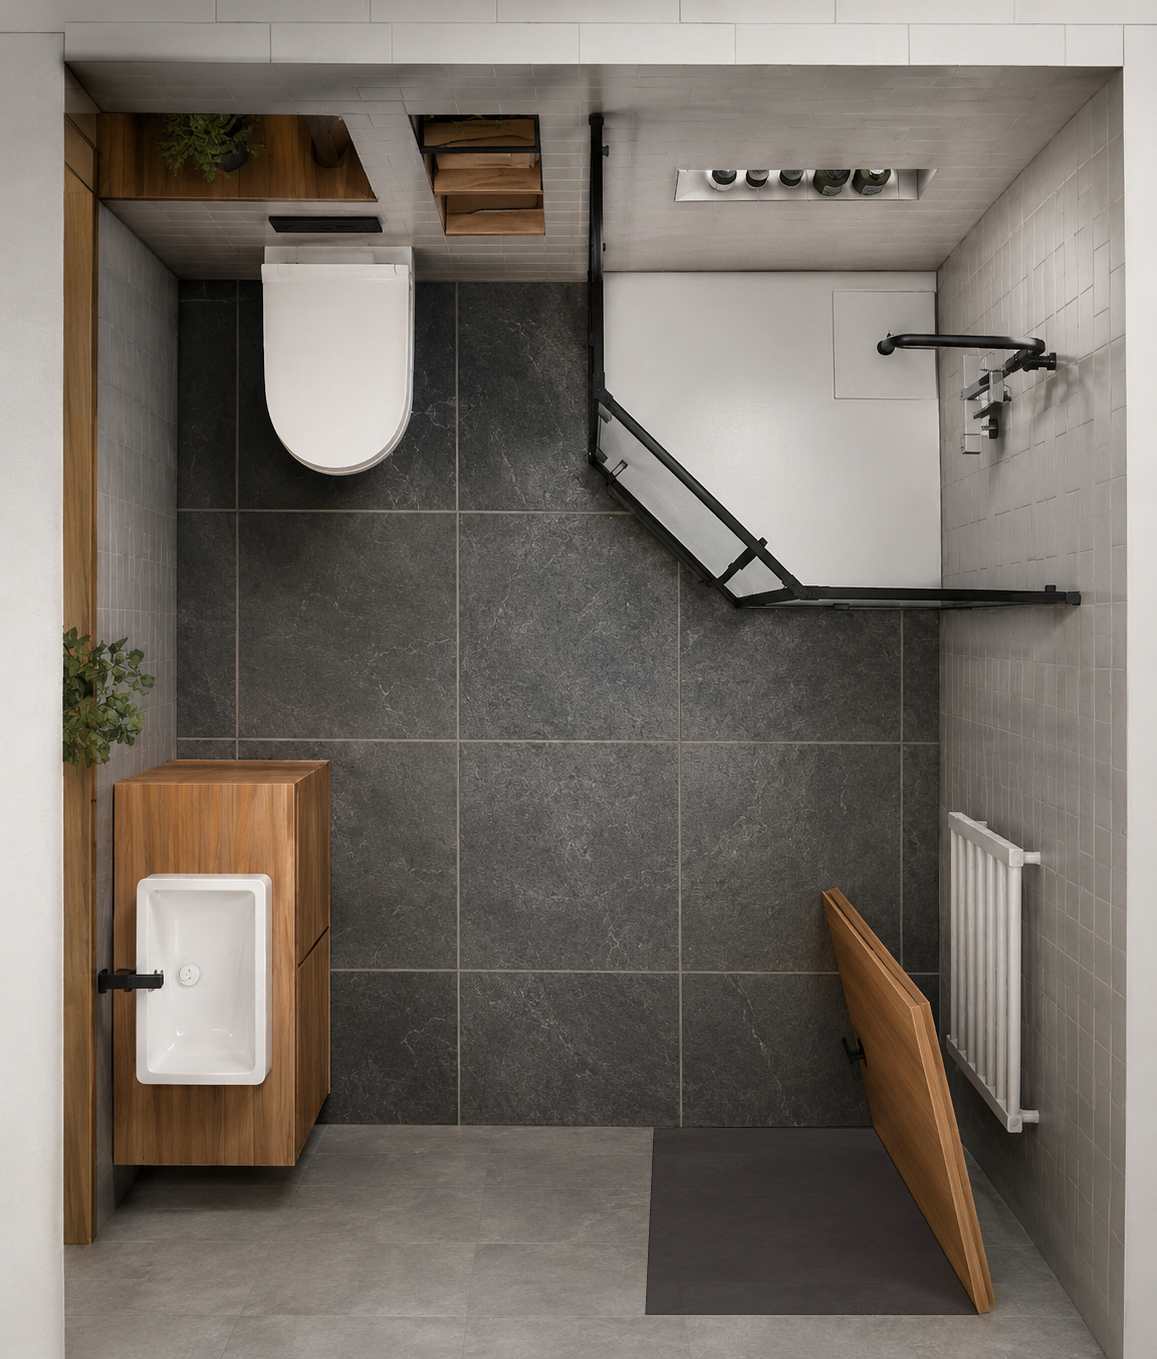
looks a bit too cramped? this is with an 800mm wide shower rather than the 900 pentagon. I was thinking id need more space at the sink, hence moving it down "into the open" but still working on these ideas.
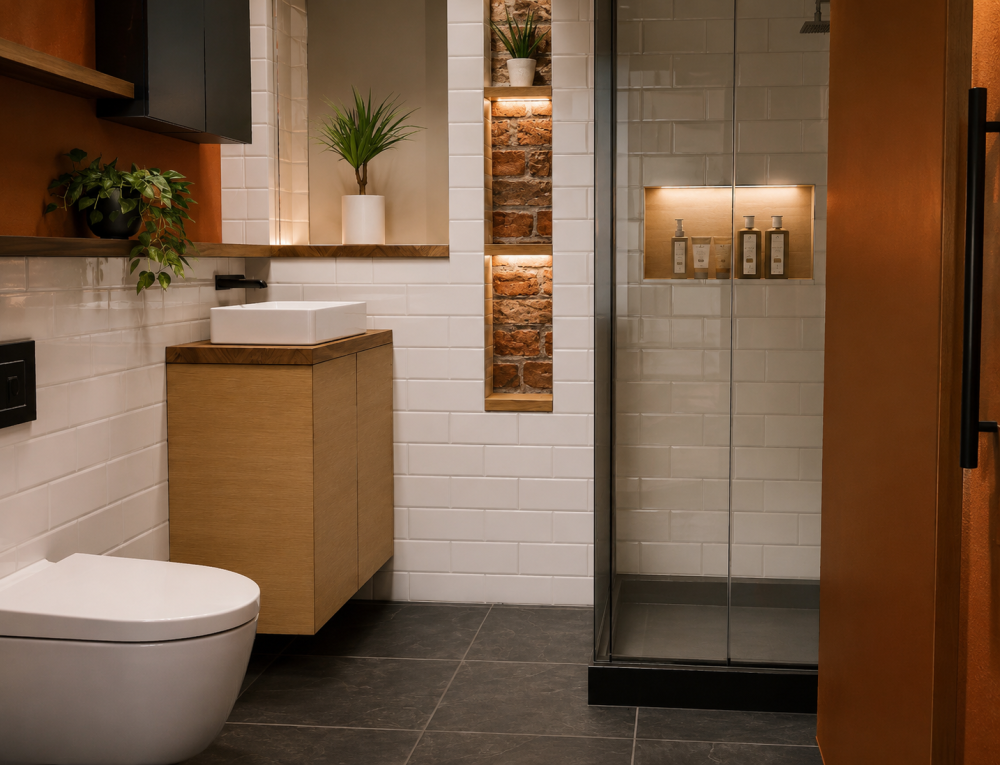
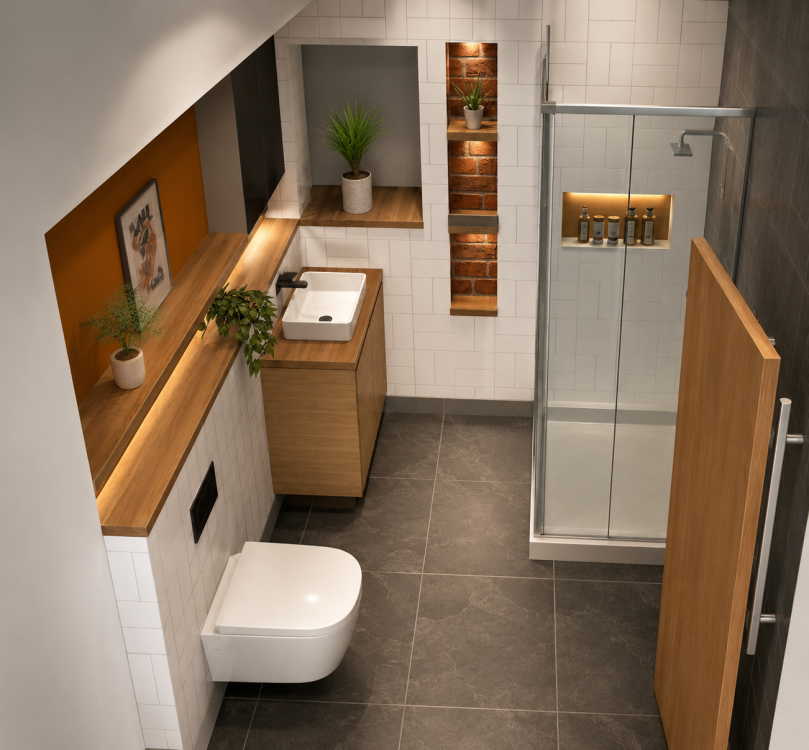
-
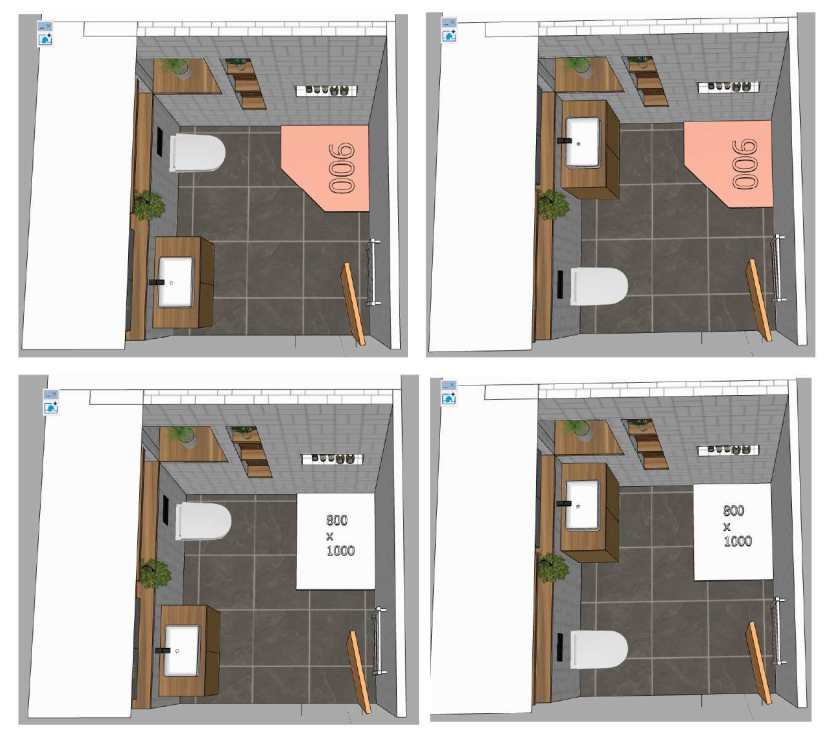
all great stuff, thanks people. See attached for a few top down options of flipping the bog and sink and shower change to a rectangle. The idea of the pentagon shower was to make it feel less cramped, but im not heart set on that idea at all, everything on the table currently.
-
the door is only 610mm and its bottom right looking at from the pictures above. Looking at it unhung it looks crazy narrow, but thats how its always been since 1930, i just replaced the old softwood one for the solid core oak alternative, the size is no issue. Towel rail on the wall where the door opens up to most likely. If it ends up even remotely like these pictures i'll be happy.
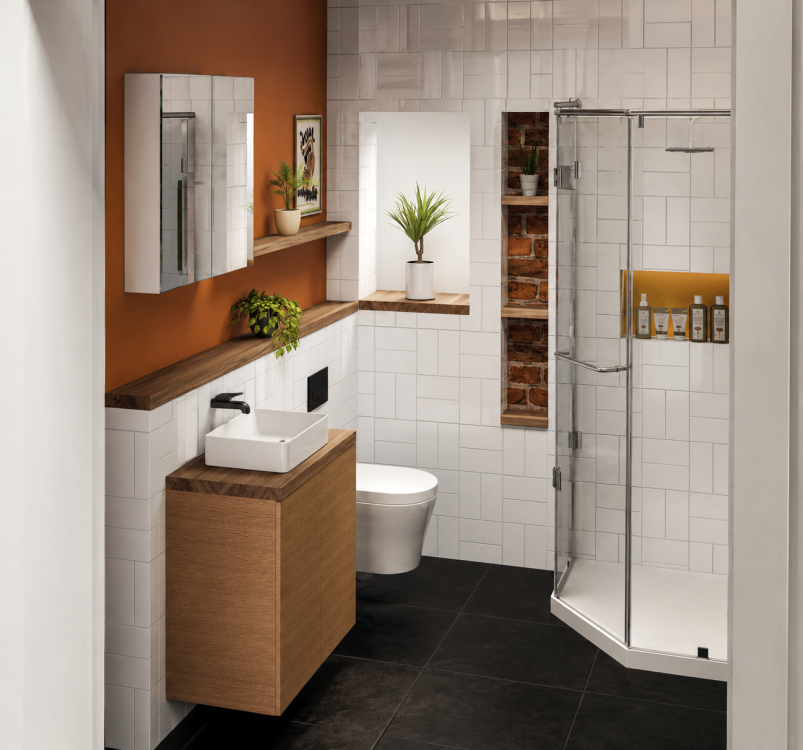
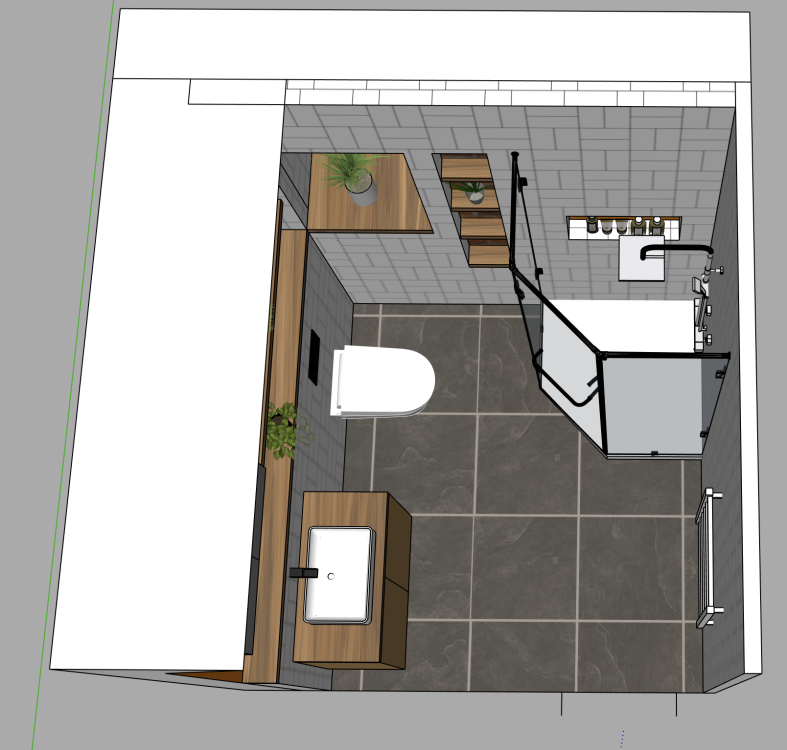
-
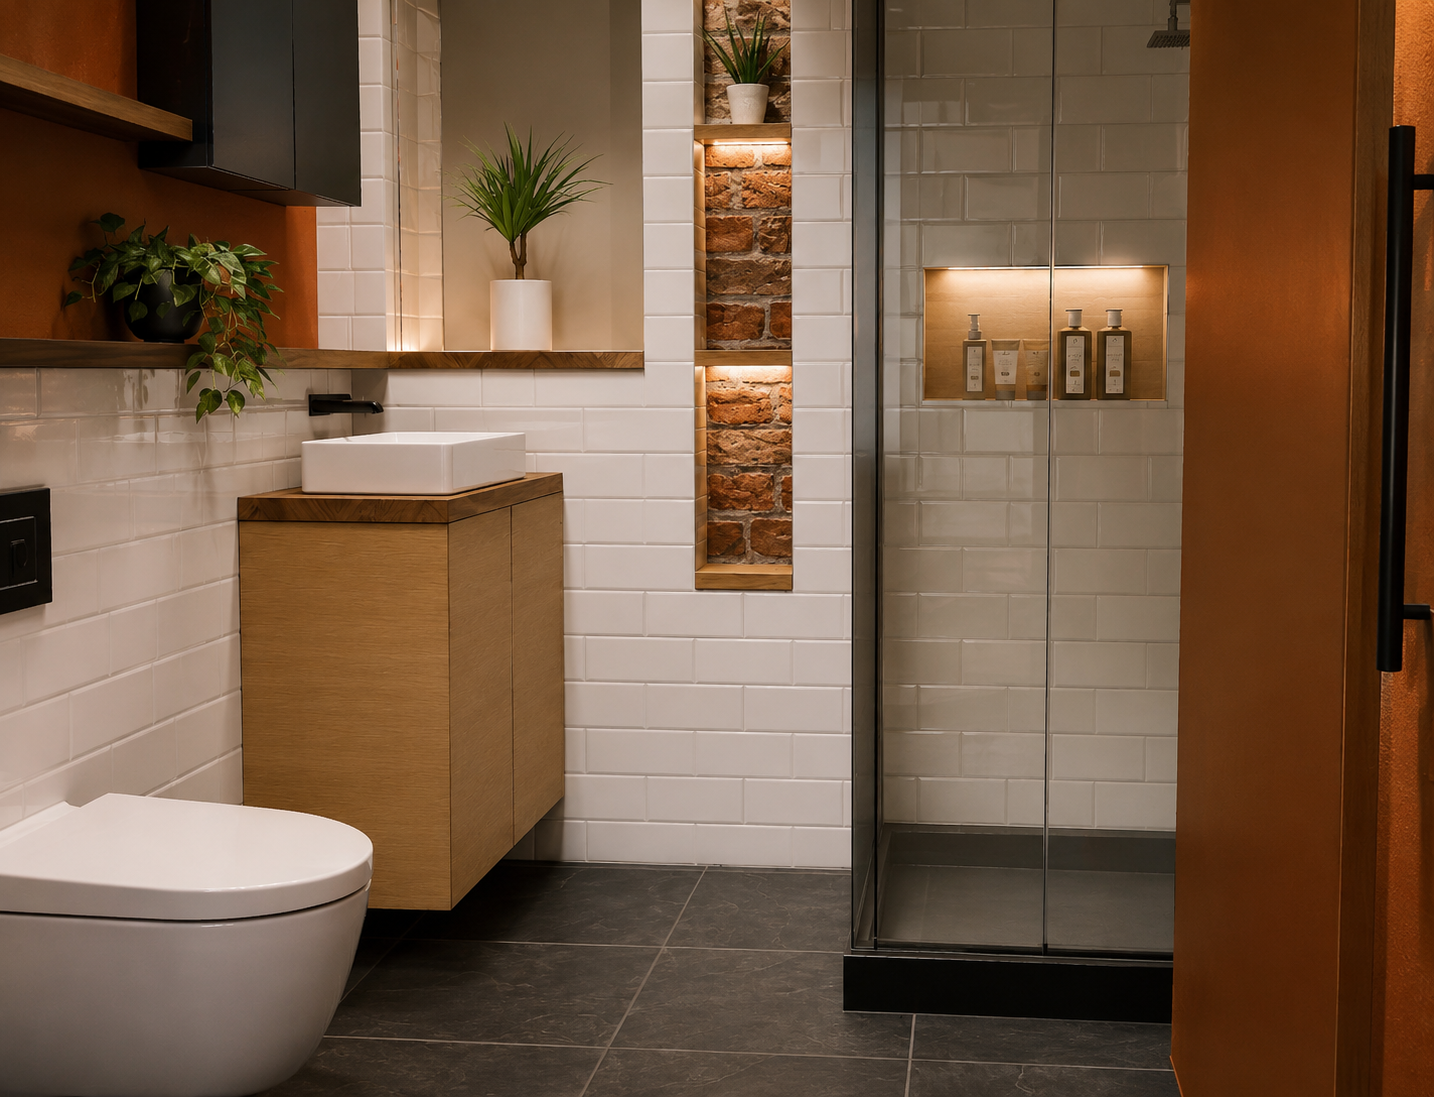
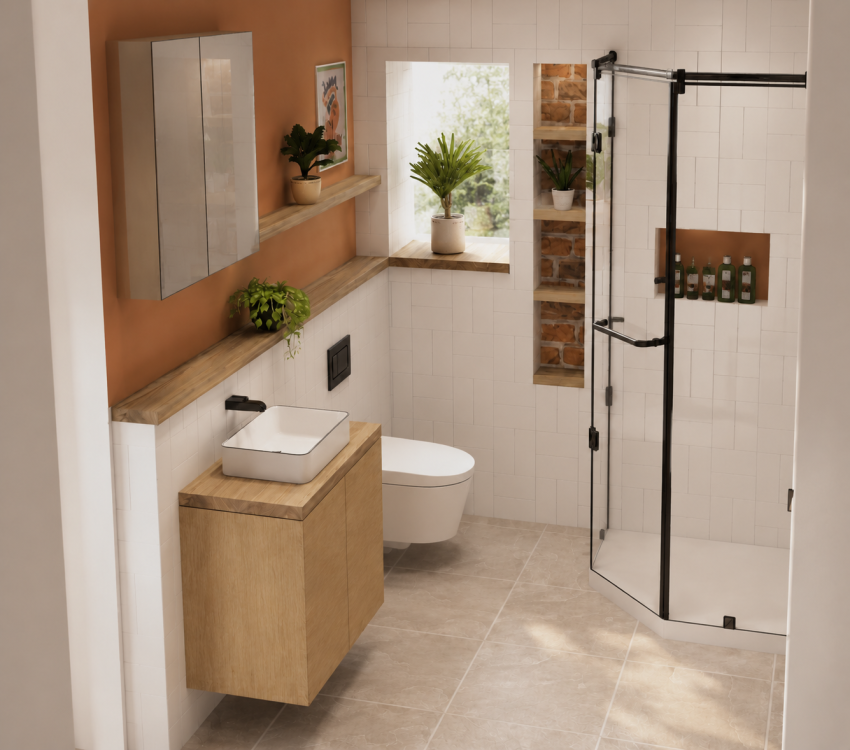
anything is on the table, im only in the early stages here but choices are limited in such a room, anything considered though. The only constants are the soil location and the window. Ive made those changes, i did have the tap in the stud wall, the renderer took liberties and changed it for some reason. I didnt consider the condensation on the brick, cheers for that. I have a section of exposed brick in all the rooms ive worked on so far, bit of a call-out to the original house which i have essentially carved up. I would like to keep that, maybe an insulated board and then original bricks cut into slips...
-
i might be able to make that work...
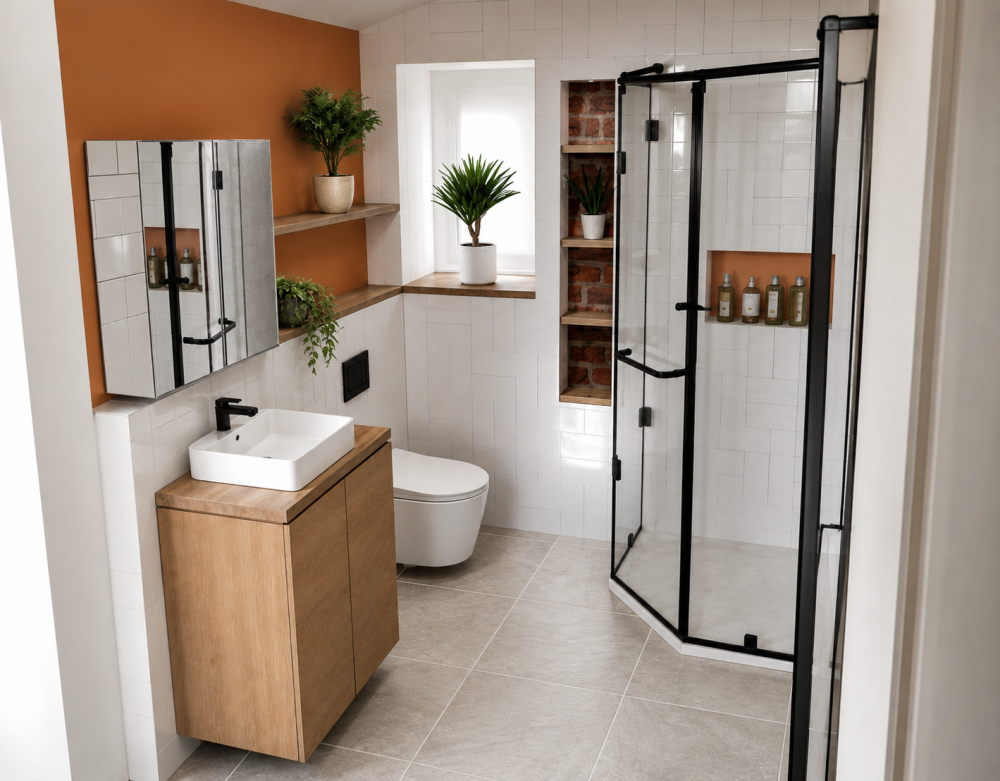
-
dont worry Nick, one way or the other ive got an agreement for a FOC turd remover 🤣
-
problem i have with that is the shower is really close to your knees if i rotate it to face it. I did want it like that originally as it would mean 1 less bend in the 110mm waste.
-
Zero. At least nothing but a hair-burg I could get from the bath plug. So you're saying don't bother with any rodding points or access ? I mean could keep one on the middle WC branch but then just box it all in, could always cut out the boxing if I need to. Id always follow your good advice chief.
-
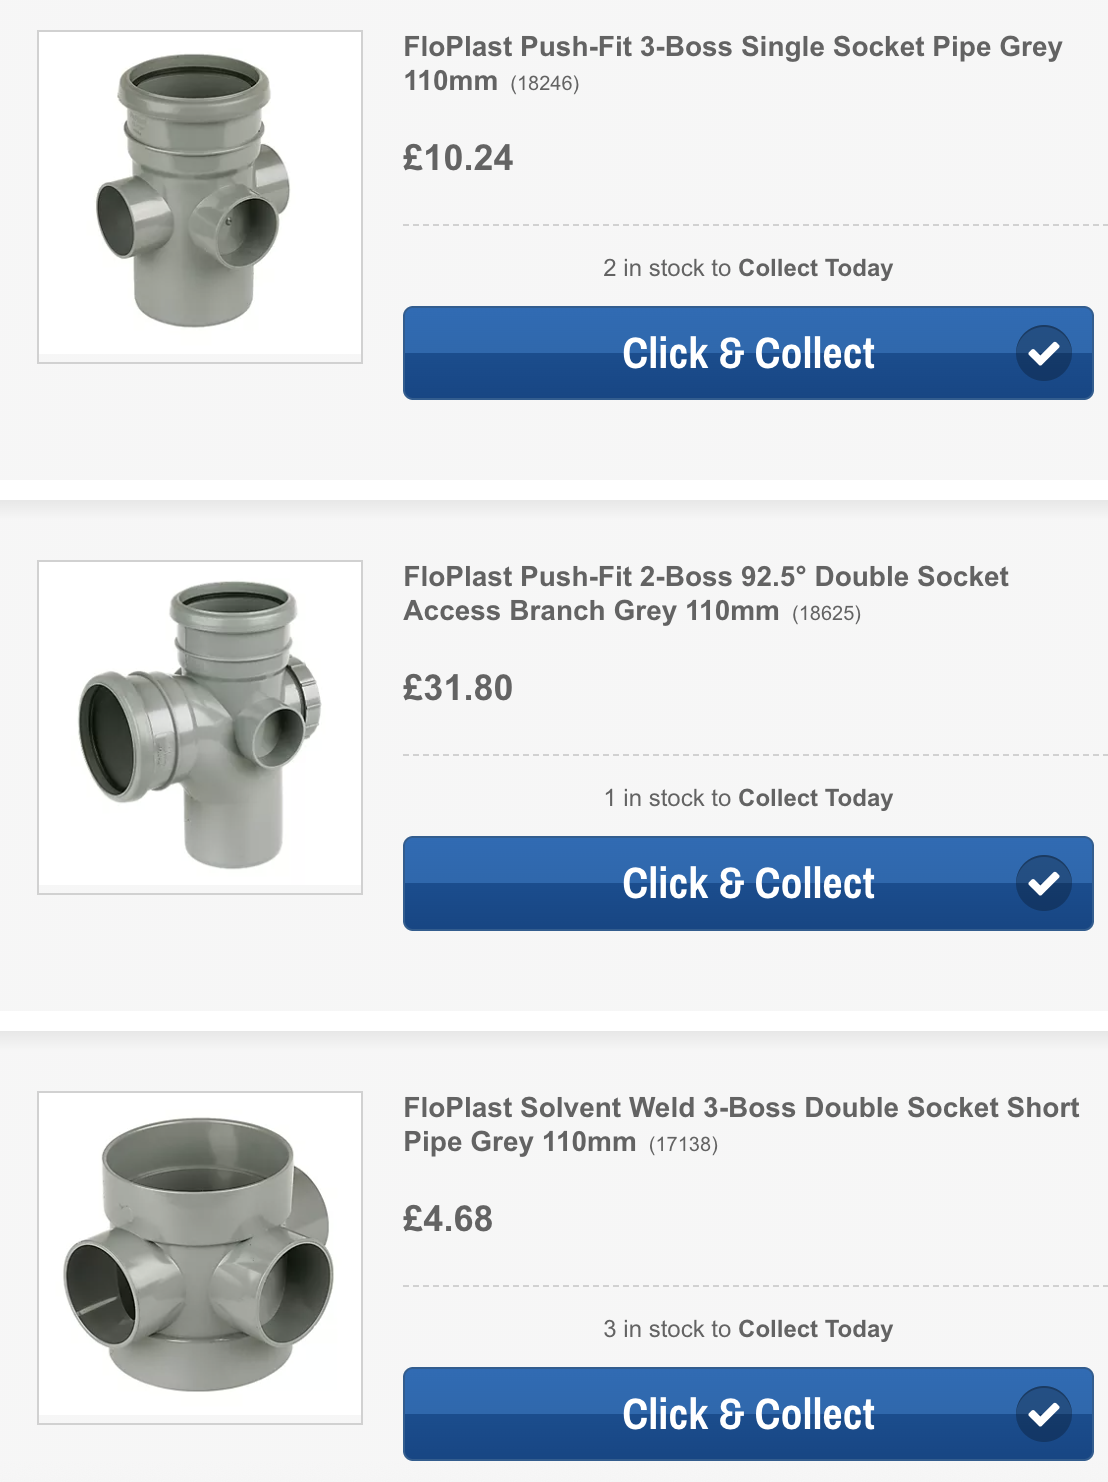
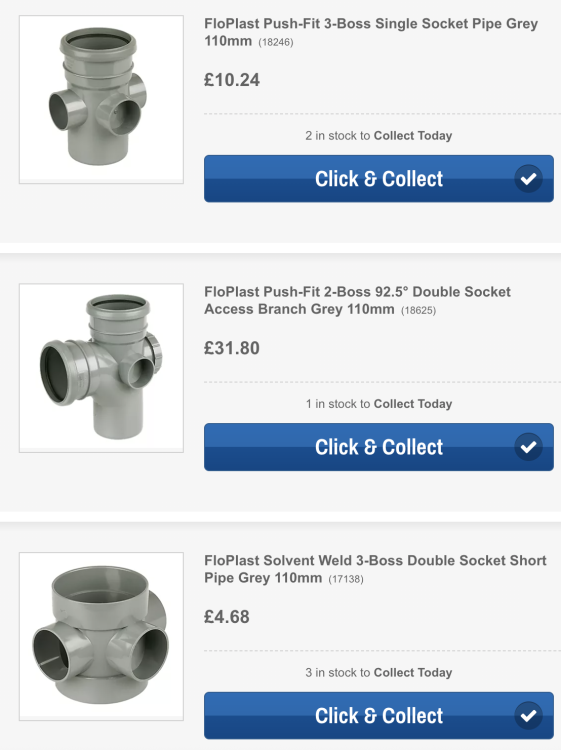
wonder if its worth adding a rodding point to all 3 or if its easy enough to manipulate up or down from the main access in the middle of the 3? Could drill out and add removable caps i guess, my only access would be from directly behind the soil, not from the sides.
-
Hmm, the access to the other side of the branch will be internal, boxed in within a wall. Could always make an access panel I guess, probably better safe than sorry. 2x45 instead of 90s might help as well if I have the room.
-
Also just clicked on there are no real rodding opportunities. Take my chances, eat less protein and shave my head?
-
SketchUp for the 3D stuff, Illustrator for the flat drawings. I'm the kind of person that needs to draw things up before my brain lets me do any of the work.
-
I used foam onto my concrete blocks but regs said I needed to use mechanical fixings as well. If you're not getting it checked I'd just use the foam personally.