Nickfromwales
-
Posts
30969 -
Joined
-
Last visited
-
Days Won
326
Everything posted by Nickfromwales
-
Eg, maybe a good time / opportunity to redirect the mains if necessary?
-
Age of pipe mate. Bags of shat wouldn't have even worried it. . What about the section of pipe that goes into where your stopcock currently is?
-

Manifold Water distribution using 16mm
Nickfromwales replied to Inchbyinch's topic in General Plumbing
And the benefit is that the fittings go around a copper pipe with no strangulation of the internal bore, whatsoever -
Manifold Water distribution using 16mm
Nickfromwales replied to Inchbyinch's topic in General Plumbing
Don't beat yourself up. This is VERY robust pipe and is imo belt n braces. The connectors that affix to the pipe are also extremely good in comparison to a regular compression or push fit coupler, so you'll have a very good install at the end. . I would use it again in a heartbeat, and would favour it over regular push fit. -
Manifold Water distribution using 16mm
Nickfromwales replied to Inchbyinch's topic in General Plumbing
Oh, and just remember that if you over solder an elbow, the solder will flow inside the pipe and can partially fill it if there's a sump ( eg the elbow is at the bottom of a vertical drop and the weight of the pipe is pushing down on the elbow ) if you get what I mean. -
Manifold Water distribution using 16mm
Nickfromwales replied to Inchbyinch's topic in General Plumbing
That's good news. I'd second going for copper. -
Manifold Water distribution using 16mm
Nickfromwales replied to Inchbyinch's topic in General Plumbing
Connect some to your outside tap dave and give it a test drive . -
Manifold Water distribution using 16mm
Nickfromwales replied to Inchbyinch's topic in General Plumbing
If you have good cold mains pressure ( or have installed measures to provide it ) then you'll be surprised at how good the flow is through 10mm pipe. If your using JG Speedfit then the likelihood is you'll add more restriction as their Superseal inserts are ridiculously bulky compared to the Hepworth stainless insert which is exremely thin / low profile, plus it's nigh on full internal bore ( the size of the original pipe prior to inserting it ). Hepworth all the way for me. -
Manifold Water distribution using 16mm
Nickfromwales replied to Inchbyinch's topic in General Plumbing
I did one job in 16mm and I used it for all the hot, hot return, and cold runs. I used this as I had a lot of off cuts plus a couple of coils over and wanted to use them up. I doubt if I'd use this by design tbh but any push fit pipe will need converting to copper where it terminates, but I wouldn't want to have to source 16mm manifolds for hot and cold tbh. 15mn is the standardised size so I'd try and stick to it where possible ( so you don't have to keep converting sizes where required ). Much easier to stick to one discipline imho. -
In this instance it's not being used primarily as an insulator . This is just to keep the spreader plates proud to ensure the floor is in good contact with them when it gets fixed down. Having the spreader plates sagging under the floor would be catastrophic in terms of transferring heat to the deck, and therefore the room. Not so much of an issue when you can get underneath to staple the plates up from underneath, but essential if you can't.
-
Manifold Water distribution using 16mm
Nickfromwales replied to Inchbyinch's topic in General Plumbing
Pert 15mm pipe is available. -
The max lengths at 5m don't change from the weak output to the monster output ones so the laws of physics kick in here. High wattage and low voltage = big current. Divide the wattage by the voltage and you get your current.
-
You risk the voltage drop tbh. If you put one before the other then you'll most likely see the difference in the first and last led.
-
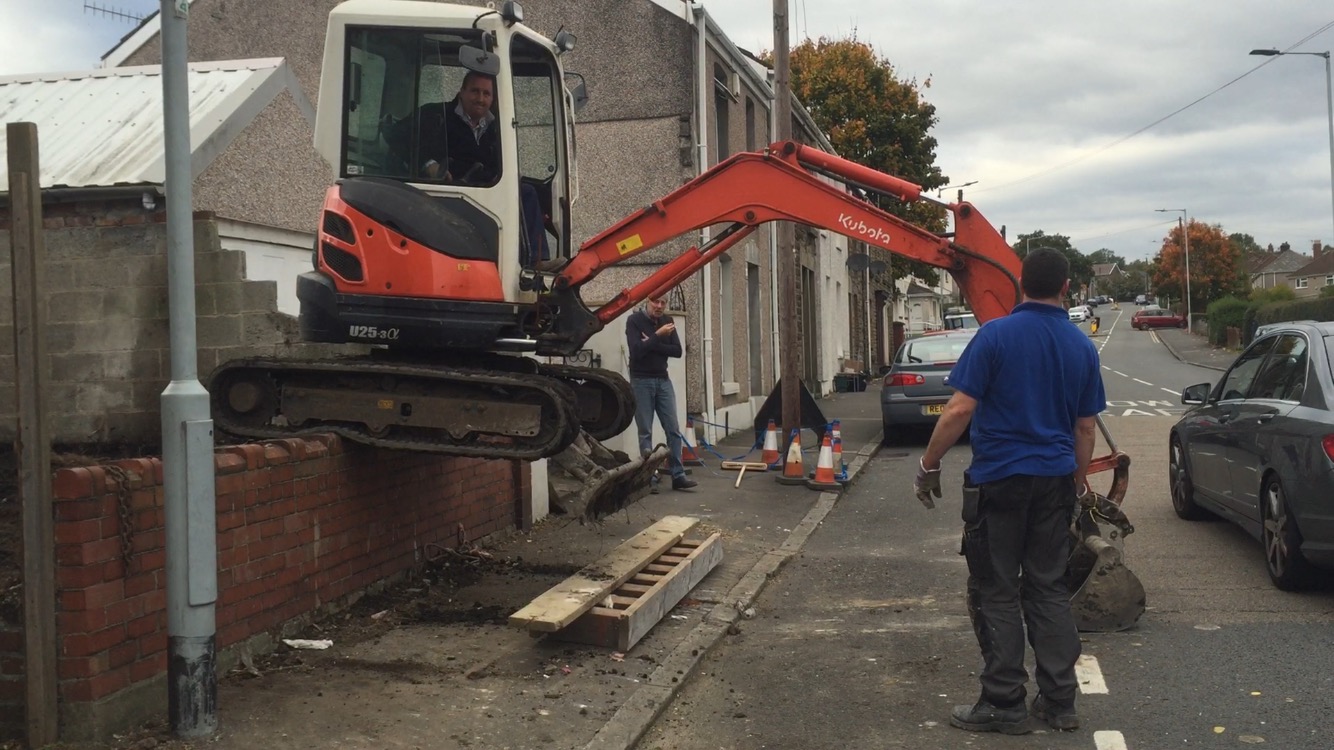
Size of Minidigger to remove Treestumps
Nickfromwales replied to Ferdinand's topic in Landscaping, Decking & Patios
Yup. Digging first got mine out. Root system was unbelievable, and that was in made up ground with topsoil. -
Size of Minidigger to remove Treestumps
Nickfromwales replied to Ferdinand's topic in Landscaping, Decking & Patios
This one couldn't pull my hedgerow roots out. Wrapped a chain around the root balls and just watched it pull the digger over until the PTO alarm started wailing. If ithe stumps are 6" to 10" then you'll need a beast, I kid you not.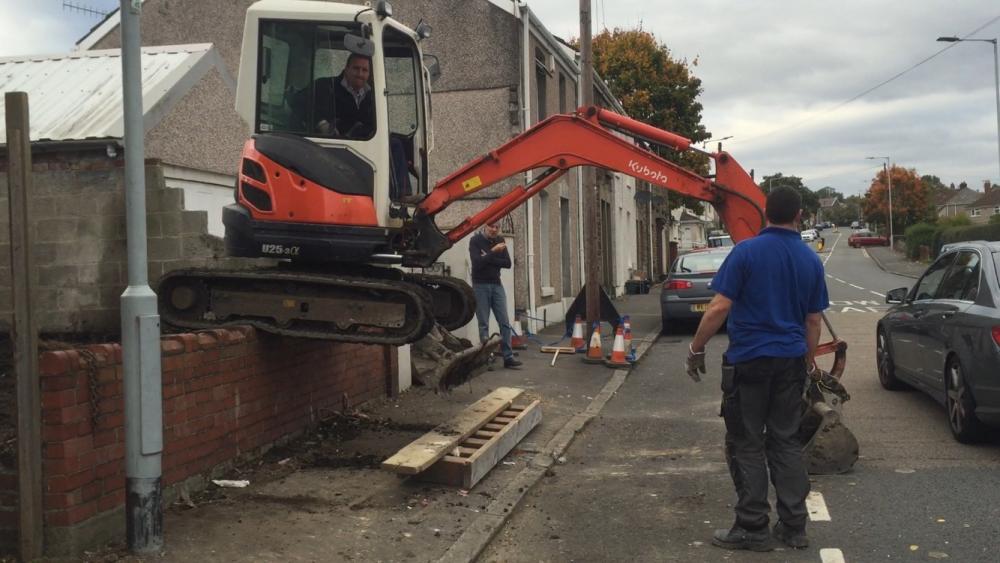
-
Nothing worse than the Indians running around without a chief.
-
I personally don't fit them. I don't like anything that spaces the pan any further off the wall than necessary. As far as actoustic isolation I'm not exactly sold on them as the noise of the flushing water in the pan is the only real noise / sound, and the fill valves are almost silent ( fit a flow restrictor where pressure is particularly high ) so I'd not bother with them. From my experience with them, they tend to stop the pan going back at a perfect 90o to the wall and the silicone line is then also much thicker than it needs be.
-
Sourcing our plumbing equipment for first fix
Nickfromwales replied to JanetE's topic in General Plumbing
Yes, they're just little plastic pegs which slide in as upper and lower stops, and the pins click in so you have to purposely remove them. -
Sourcing our plumbing equipment for first fix
Nickfromwales replied to JanetE's topic in General Plumbing
Maybe an option to look at capping the max flow / floor temp to ensure it cannot ever be 'inadvertently' ramped up. -
Vinyl flooring for wetrooms
Nickfromwales replied to JanetE's topic in Bathrooms, Ensuites & Wetrooms
I'd tank quite a way beyond the 'tray' area too. . It's pennies for the tanking kit and the small ones usually do 5m2, with the larger doing 10m2. I'd get the bigger one and just give it all 3-4 coats ( or until the goop runs out basically ). -
Yipee, you were lost but now you are found
Nickfromwales replied to lakelandfolk's topic in Introduce Yourself
Oh yes......I forgot that was on Ebuild not here. My bad. -
Vinyl flooring for wetrooms
Nickfromwales replied to JanetE's topic in Bathrooms, Ensuites & Wetrooms
Another option ? Wont be cheap. The Fiora one I fitted last was £500 for a 1000x1000mm. If avoid the White / lighter colours too as the 'grain' seems to harbour the grot a bit. Not the end of the world tbh if it's cleaned after every use but certainly a point to consider if you have a life beyond the shower tray -
Vinyl flooring for wetrooms
Nickfromwales replied to JanetE's topic in Bathrooms, Ensuites & Wetrooms
It would be linoleum, mineral or vinyl tbh. On the pic I posted with the mosaic and the Amtico, I just took the tiles a bit further than I thought was necessary ( so the Impey former went in oversized too ). I can't help thinking that water and tiles are a good combination, for floors, but it may be worth asking if these resin floors can be used as they will be watertight, one assumes. We fitted a lot of resin based non slip flooring in showers aboard quite a few ships / MV's when I worked away and they worked well. They went over screeded steel decks though, so the subfloors were VERY robust / rigid. Best to ask the resin floors manufacturers tbh and likewise see what the options are for mineral / other too. -
Sourcing our plumbing equipment for first fix
Nickfromwales replied to JanetE's topic in General Plumbing
Sorry J, only just seeing this now. The flooring won't be problematic, it'll be more down to the type of adhesive, and if the floors were primered properly before the smoothing compound was laid. If these floors can withstand direct sunlight through glazing panels etc then a bit of Ufh should be fine. I really would only be concerned about possible smells from the adhesive, and then only if the floors are being run at an excessively high temp tbh. If the floors are screeded, rather than a reinforced slab, I'd make sure that expansion gaps at door thresholds etc were observed and that's about it. -
Your neighbours must think you've lost the plot