


Nickfromwales
-
Posts
30987 -
Joined
-
Last visited
-
Days Won
328
Everything posted by Nickfromwales
-

Copper versus Stainless Steel Cylinders
Nickfromwales replied to Triassic's topic in Boilers & Hot Water Tanks
Hmmm. A conspiracy theory is born. ? -
Copper versus Stainless Steel Cylinders
Nickfromwales replied to Triassic's topic in Boilers & Hot Water Tanks
If your DIY'ing it, apart from the G3 commissioning, then ask @Stones about the sheer simplicity of buying a pre-plumbed unit . Just be sure you bring D2 into the room at as near to floor level as you can so you've got the required minimum vertical drop AFTER the tundish. -
Copper versus Stainless Steel Cylinders
Nickfromwales replied to Triassic's topic in Boilers & Hot Water Tanks
Nope. As a business initiative I bought them all and destroyed them. -
Electric Towel Rail - Above End of Bath?
Nickfromwales replied to Barney12's topic in Electrics - Kitchen & Bathroom
We both know that most kebabs are made from knuckle and ash . That's why it's better to eat one when your pissed ? -
UFH with existing Radiators and system boiler
Nickfromwales replied to Silage's topic in Underfloor Heating
Short cycling isn't the biggest problem, it's the fact that the boiler will almost never get into condensing range as it'll be running at full modulation for all of its life. . So your high 90's efficiency boiler won't ever be running at that max percentile. If your staying there long term it's one to consider. Boilers need to pulse higher temp heat into a load rather than just constantly trickle the heat in. Connecting directly, with the boiler trying to match the heat on a near-linear basis, also means the boiler pump, fan, and gas valve are all constantly engaged and labouring. Once this is in and working it'll be unlikely that it's ever revised, but if you can live with the reduced efficiency and the reduced longevity of the boiler then it's a simpler install. Strange that WB said that tbh, as for a boiler not to short-cycle, the typical load should be equal-to or greater-than the min kW output. ? -
UFH with existing Radiators and system boiler
Nickfromwales replied to Silage's topic in Underfloor Heating
@CC45 the following should be of interest . Link -
Copper versus Stainless Steel Cylinders
Nickfromwales replied to Triassic's topic in Boilers & Hot Water Tanks
That's bedtime reading at 51 pages long, plus most of my books are mostly pictures Staimless UVC's from Telford also have a lifetime warranty , with the TS's having a 10 year. Not sure why the TS's are less, probably to do with the fact they're usually full of grotty system water or brine. -
Electric Towel Rail - Above End of Bath?
Nickfromwales replied to Barney12's topic in Electrics - Kitchen & Bathroom
"Many gallons" means you kept going back for more ?? -
Electric Towel Rail - Above End of Bath?
Nickfromwales replied to Barney12's topic in Electrics - Kitchen & Bathroom
Tastes better than it looks -
Electric Towel Rail - Above End of Bath?
Nickfromwales replied to Barney12's topic in Electrics - Kitchen & Bathroom
@lizzie Its not my bathroom . I'm just a guy that fits these wonderful things The pics I post are from clients houses as I'm a self employed tradesmen who, one day, may get to join the lucky home builders here. That one came from a reseller, ( bathroom showroom ), but you can purchase one from somewhere like This directly. Not cheap, but it is a nice unit. -
Electric Towel Rail - Above End of Bath?
Nickfromwales replied to Barney12's topic in Electrics - Kitchen & Bathroom
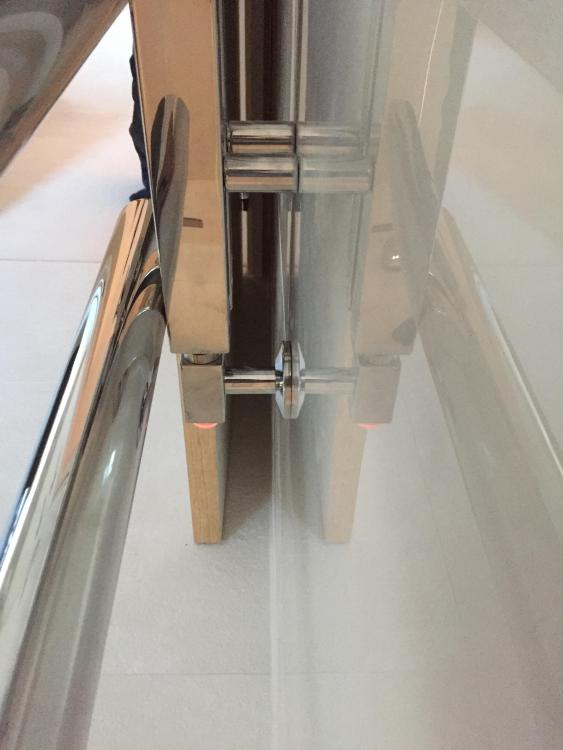
The lower one is the cable transit.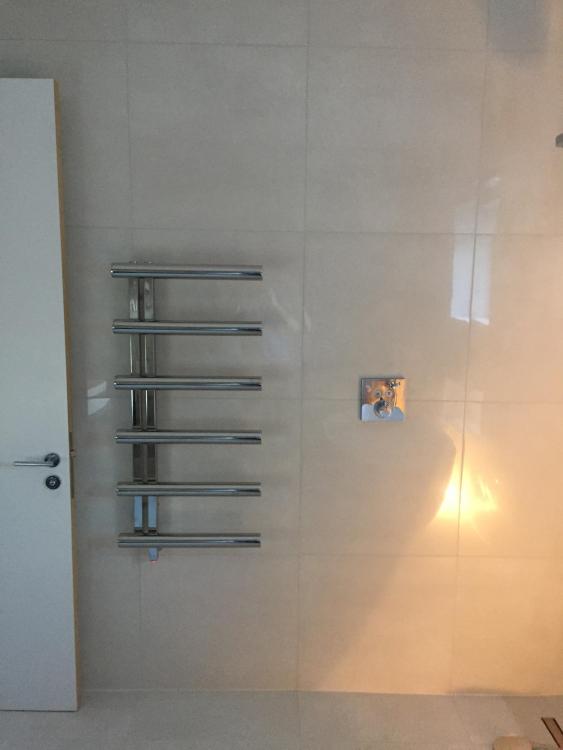
-
Bath Surround / Boxing In, and concealed pipework
Nickfromwales replied to Onoff's topic in Bathrooms, Ensuites & Wetrooms
Have you bought a compression fitting and tried the two together? Compression are on every shower, bath and wash basin, kitchen sink, and more, across the whole EU, and I've taken out ones that have been in for 30 years with no leaks. . It's not the fitting to fear, it's the fitter. I'd use compression in a heartbeat as they're very, very reliable. A bit of silicone grease and just a bit over hand tight. Better than a medley of plastics which don't like each other, brought together by fittings that don't relate . -
Bath Surround / Boxing In, and concealed pipework
Nickfromwales replied to Onoff's topic in Bathrooms, Ensuites & Wetrooms
A 1500mm Impey has less than 20mm iirc. Any fall will suffice TBH as long as the drain is capable of 150% of the shower head max flow rate. You'll have that with ease as it's a linear slot. -
I'll chuck a thread up now. Think that may be better as it's around a 10% hike ( Telford end not Trevor's end btw ).
-
I'll link you into the pm when it gets rolling. ?
-
Start a PM and invite me. I'll ping Trevor and the more the merrier. Thanks to @Crofter for the heads up on the price rise, confirmed by me by phone so it's 100% real.
-
Your having exactly the same system as we've just installed for a customer. Installer says they'll only go off with a fire or malicious damage. He hasn't heard of one falsely activating yet and he's banging these in every week. . Also, BCO hasn't either, ( but they know terrifyingly little about sprinklers )
-
@Russ P @Onoff If you both buy at the same time Trevor @ Cylinders2go would give a bit more discount. Pm each other ASAP as there will be a price increase at the start of September!!!
-
House to integral garage door - Security?
Nickfromwales replied to AliG's topic in Garages & Workshops
-
Can you explain? I was thinking the whole house heating and the Ufh would all heat off a medium size buffer. The heating load sounds quite minimal so maybe the better option if one is being bought anyway? @Russ P, your other option is just to live with the short cycling and lower efficiency running but it's not good. The buffer would need tappings for the Ufh flow and return, another pair for the radiators, and also another pump for the radiator circuit. The boiler pumps to the buffer instructed by the cylinder stat on the buffer, so the boiler lights, runs at optimal flow temp for condensing and efficient operation, and heats the buffer to the set temp. The rads and Ufh then consume this indirect stored hot water at the rate that they want and no more. The buffer temp can be set quite low, say 50oC, so the heat loss from it is minimised. Do you have an airing cupboard?
-
It would have been resistance across the live and neutral of each coil winding to see if they matched, or if one was a short / open circuit ( aka dead ). Nee botha lad, you've accidentally fixed it .
-
House to integral garage door - Security?
Nickfromwales replied to AliG's topic in Garages & Workshops
Drink less, tile more ? ??? -
House to integral garage door - Security?
Nickfromwales replied to AliG's topic in Garages & Workshops
More like a better chance of you getting banned with him as an accomplice ? naughty step please. -
What concrete mix for slab with meshed UFH?
Nickfromwales replied to oranjeboom's topic in Foundations
Check my avatar -
House to integral garage door - Security?
Nickfromwales replied to AliG's topic in Garages & Workshops
I'll go and check on our mods 'escalator' chart to see what we would accept before actually banning you ??


