Nickfromwales
-
Posts
31390 -
Joined
-
Last visited
-
Days Won
346
Everything posted by Nickfromwales
-

Can I cut through skirting board?
Nickfromwales replied to Grungegrrl03's topic in Introduce Yourself
If you're keeping the bed, for a new life elsewhere down the line, just cut the skirting. Skirting is pennies, but just keep the bits you chop out and caulk them back in when the time comes. Screw them to the underside of the bed for safe keeping. -
OK, I've had a loom and all seems good to go. There should be a double-check NRV immediately after the stopcock, and then a drain off cock. Make sure the outside taps have NRV's in them. Do you need the second hard manifold? Ideally you'd make the 1st hard manifold bigger and run the 3x bathroom hard feeds back to that. No issue with your setup as is, if that is easier. "Carry on!"
-
What is the cold mains pressure / flow like? I've done plenty of UVC installs where there is only a 15mm cold feed to tap into, and they worked fine. You just need to understand that if you have multiple cold devices running when you want a shower, it'll be a less-than-amazing shower. That's all
-
All work and no play go watch a film
-
Not much you can say about those, other than put up and shut up or yank them off and change direction ( tile )? It would drive me nuts, but once it’s on you’ll just adjust and move on with your life. I have stuff in my bathroom that I did a less-than-perfect way, but I did do it over Xmas, and I was pissed most of the time I was tiling.
-
I’ll put a man on it shortly. ??
-
Oops.
-
I’m allergic to apples.......
-
Texas grout line massacre? ?
-
Other option could be to use Wedi insulated panels, which you can build up in layers of differing thicknesses, to achieve the same result. DPM will remain intact as the Wedi system is watertight. Just foam around edges then, instead of pouring SLC as the SLC would bridge damp.
-
That’s going NOWHERE, EVER
-
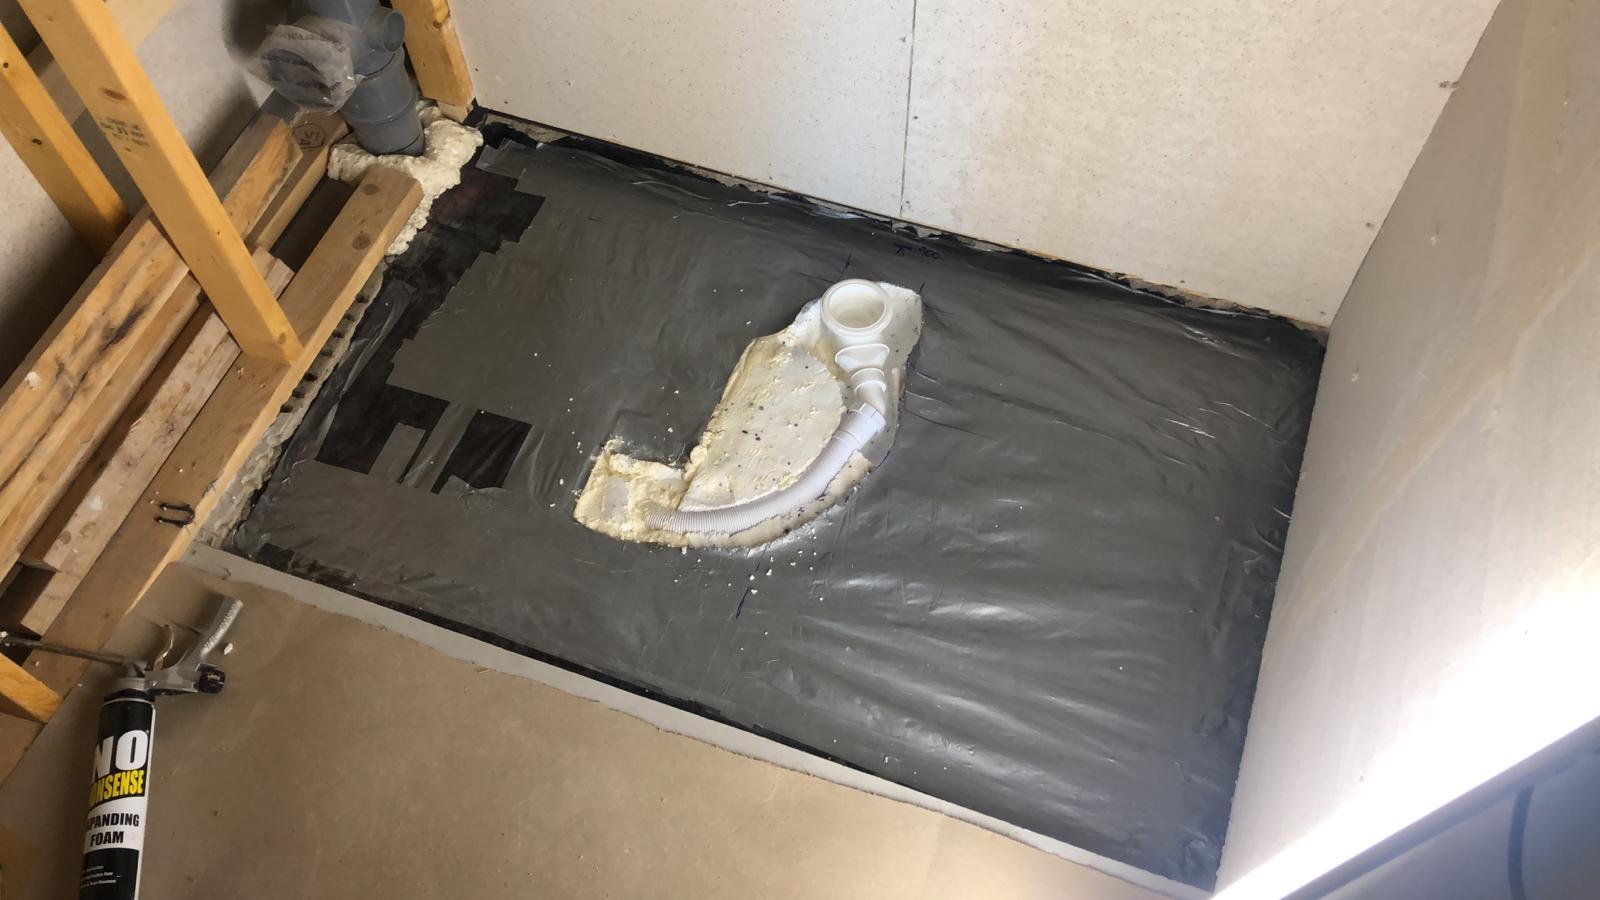
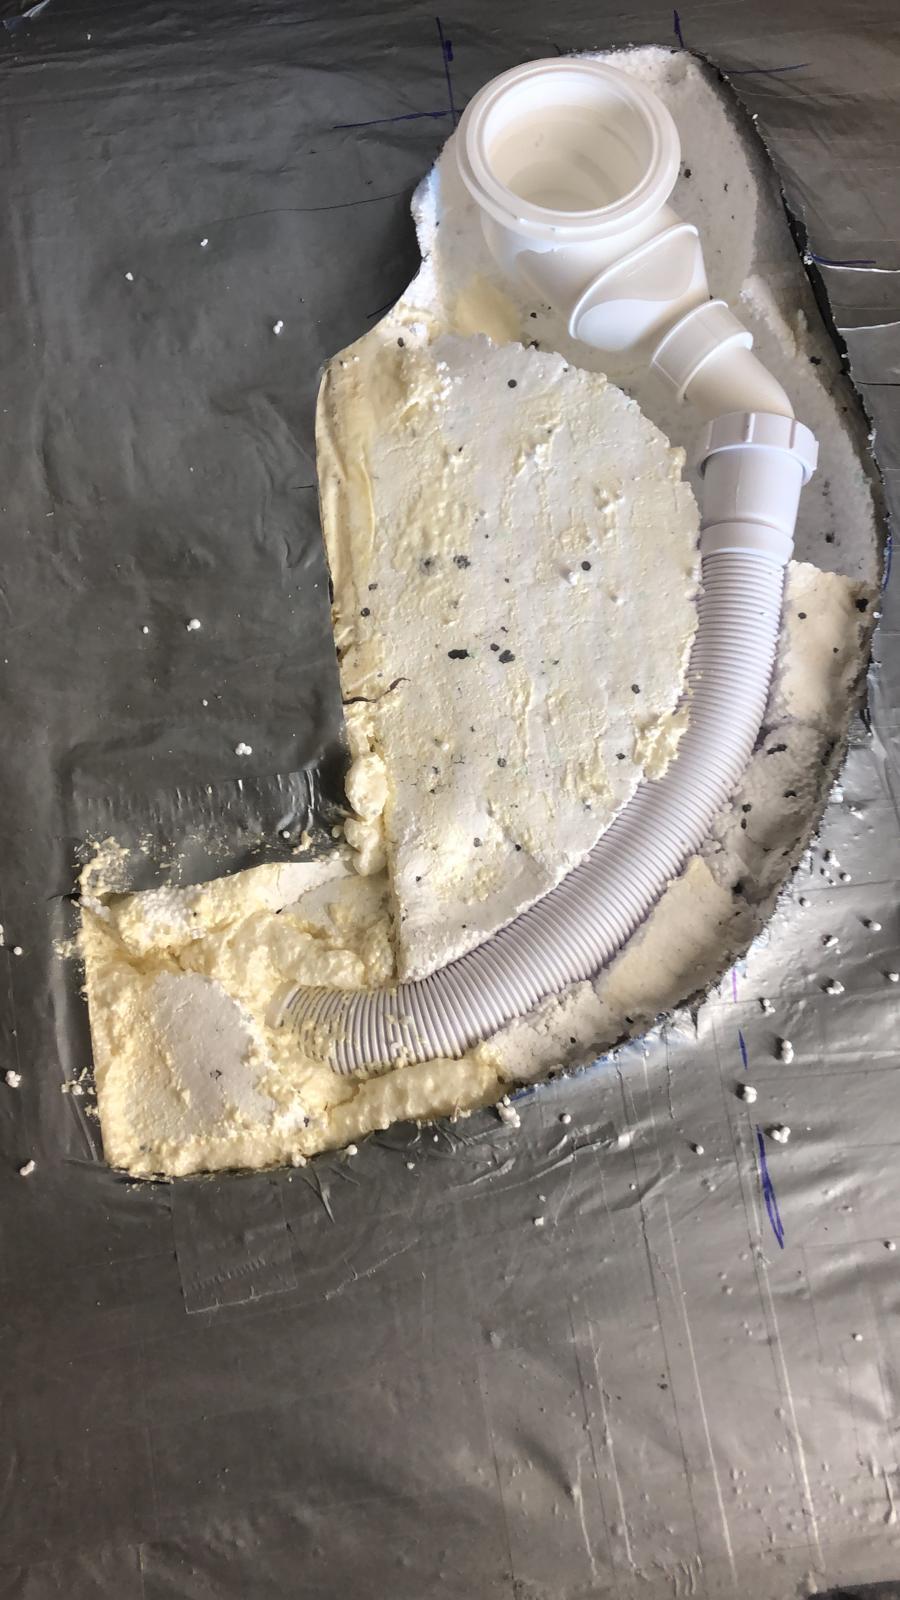
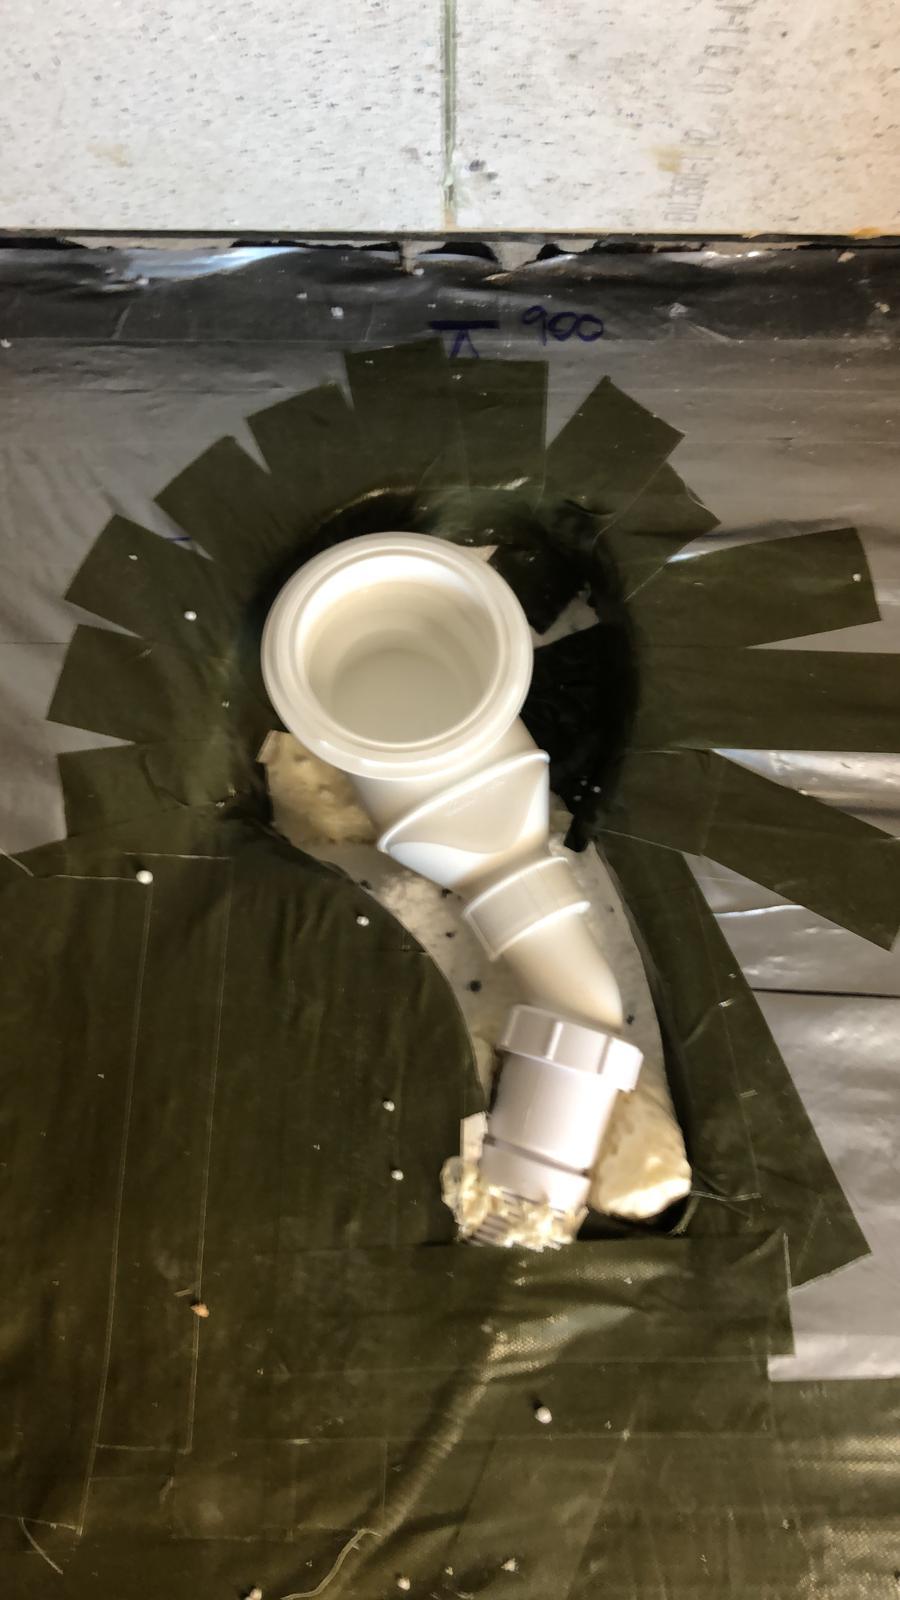
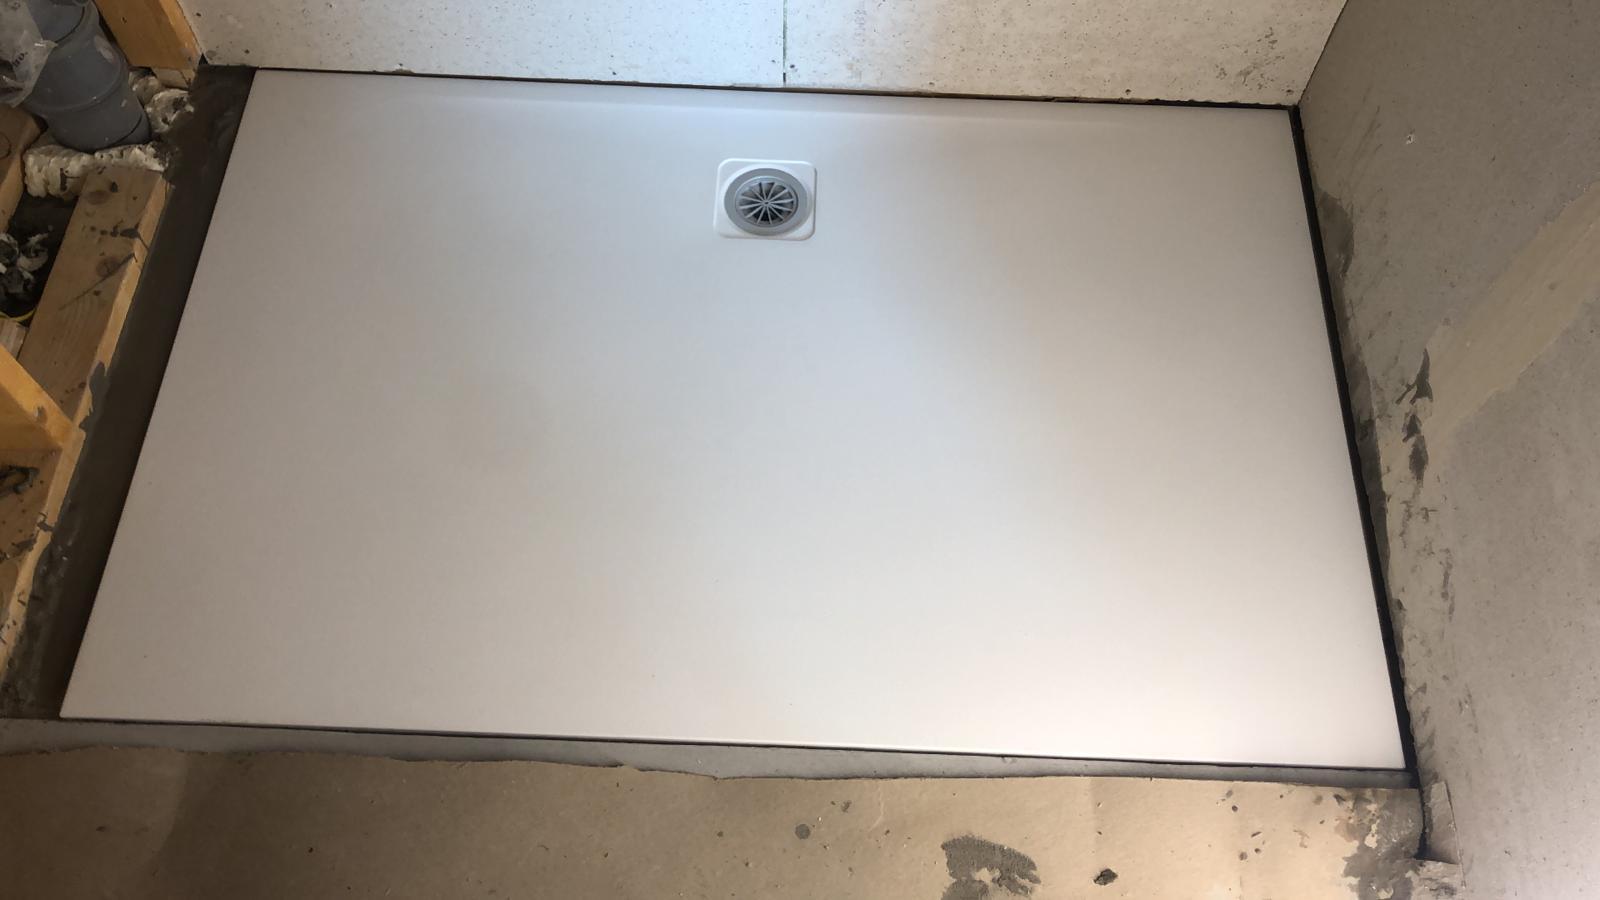
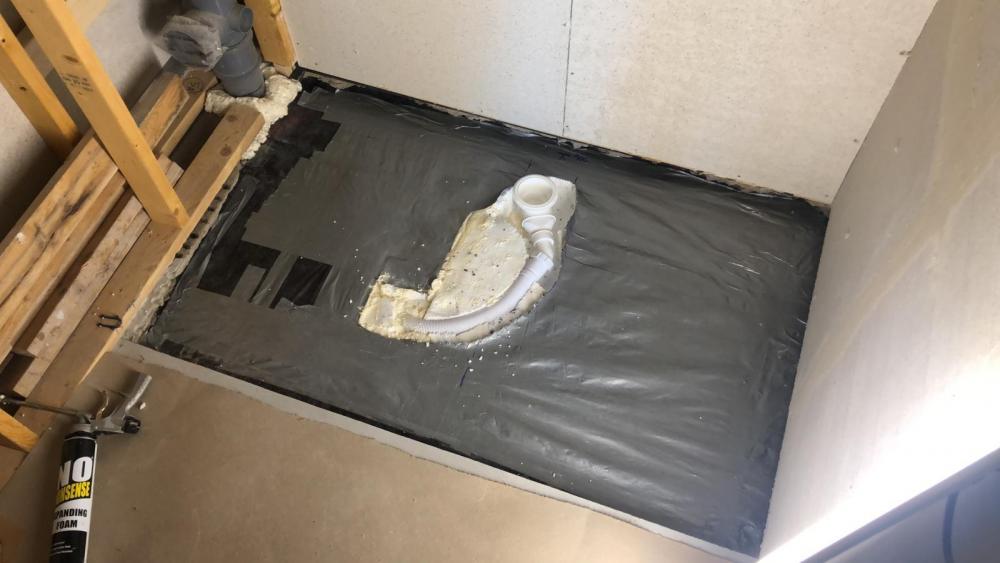
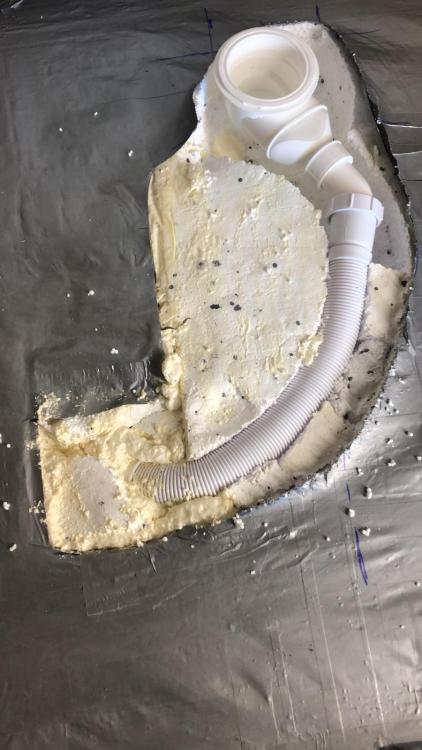
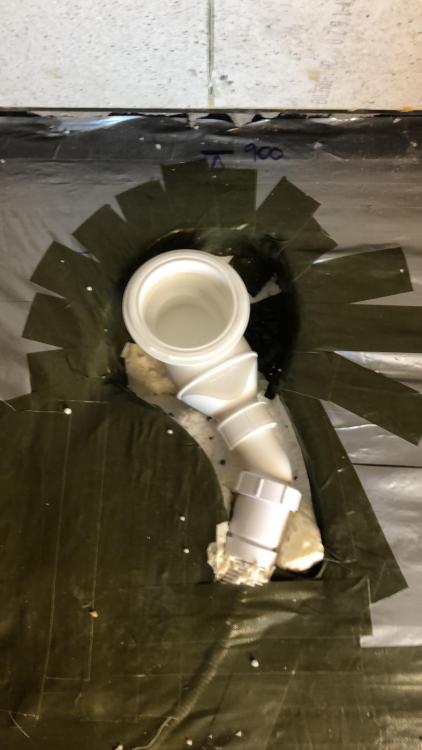
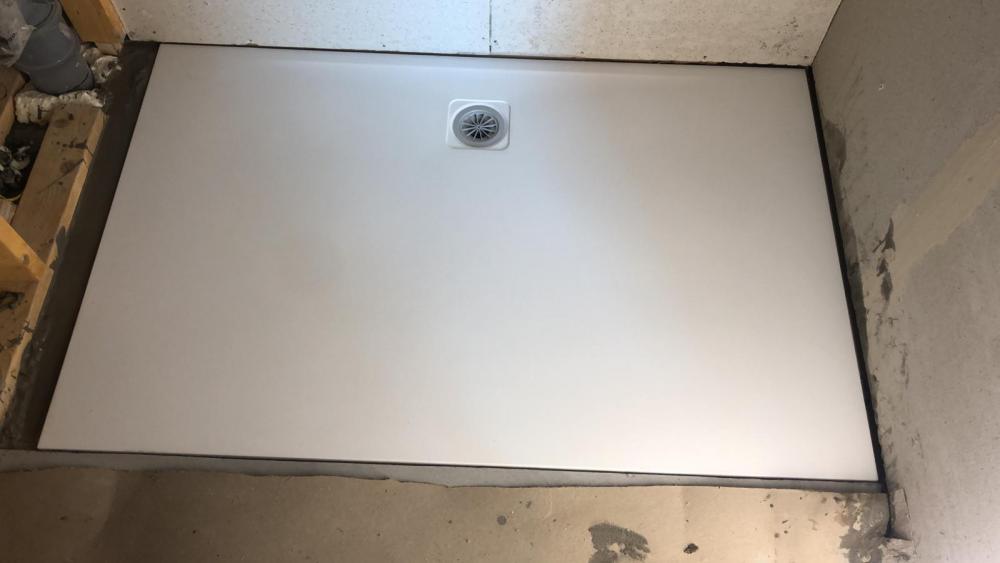
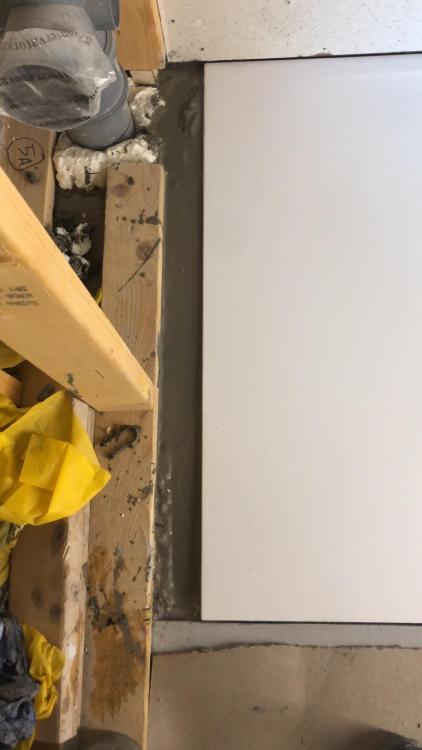
The most recent one I did was the following; Cut out DPM, cut out insulation, foam insulation to block and beam, weigh down until cured. Then apply foam to top of upper insulation and spread DPM back on top until all in contact and keep doing so whilst foam cures so the DPM is bonded to the insulation. You could make a plywood baffle and weigh down if easier. ( Note, obvious waste connections done in parallel to these processes ). Then reinstate DPM and tape it up to death and back. Tray then simply laid onto plywood pattresses which were foam bonded to the DPM and then flexible tile adhesive onto those pattresses and tray onto that ( cleaning and preparation of the underside of the tray carried out as required ). Tray set into place and tile adhesive left for an hour or two to cure. Cardboard funnel then made and self levelling compound flooded into the remaining void under the tray ( nearly 2 bags in this instance ) to a) fully fill the void and leave the tray ‘locked in’ at all 4 corners and all 4 sides, and b) to mechanically support the trap ( which is best practice imho ).
-
They’re all much of a muchness. You may have to remove that one to see what you’re up against. Then ask manufacturers for the schematic of the new one to see if there will be any conflict. If so....voddy up, hammer out ?
-
I can make a call if you’re stuck. I had a guy out to lay and another to sand and seal on a huge job in Swansea. Guy was from Llanelli iirc. Floor layer is a Swansea boy.
-
Easy enough if you’re doing a like for like swap, but really it’s a 4 hands or 2 people job. The pipe connections will be fixed poking out of the wall facing up. Then the unit has its own supplied flexis which simply screw on ( 1/2” bsp ) and then the shower, most likely will have side fixings ( screw / Allen head ) and the shower prob hooks onto a top bracket ( which you can’t see ) and then gets held in place by said fixings. They’re fitted a bit like hanging a picture, so gravity bracket to free you up, and then fixings to keep it steady.
-
If you silicone the foam washer, it’ll spread and splay out as you tighten up. ?. Either dry fit it, or don’t fit it, but not both. Correct. Dry fit the whole thing and don’t over tighten. Should be fine without any help as that’s a good kit with the essential good rubber ‘under / bottom seal’. ?
-
Literally cannot leave you two alone for even 5 minutes. NEVER seal the inside. If the instructions say to, STILL DO NOT DO IT. The 30mm or so where the wall channel meets the tray is where the money is. You seal that with CT1 first, and whilst wet apply the wall channel ( with a freshly applied line of CT1 on the back from top to very bottom ) and fix it in place so all wet on wet with the sealant. Wipe off either side of the channel to remove excess. Seal outside of glass to finish. Lost count of the number of leak damaged houses I’ve been called to to sort out jobs where the tray / wall junction was sealed AFTER fitting the wall channel, with zero sealant between the tray and the tiles. School boy error to the max. Most instructions aren’t worth shit though.
-
Yup. Biggest bug bear of mine with those is the gap which crud gets into. Agreed. To be honest, if you follow the path that water would take, if it got under the top fitting, you’ll see it cannot leak out if the bottom seal is robust. The use of a sealant is more about keeping things from moving about tbh.
-
If going to the grief of fitting a split AC with an external unit, why not have a think about putting a second fan-coil unit on the landing / bedroom 1 for additional household cooling? The external unit can be sized to accommodate more than one internal unit, so maybe two, or three, birds with one stone. Maybe also consider an f-gassed duct cooler fed from the same external unit to lower ( or raise ) the incoming air temp via the MVHR. Might as well consider squeezing a one-trick pony for a few more tricks if not too costly.
-
Bottom ones shouldn’t need anything other than your absence unless cheap rock hard ( plastic ) rubber?
-
Don't buy cheap Check manufacturers details for comparisons on operating dB levels @1m
-
Makes no odds if you employ a buffer as you'll have a 6m head pump which will whizz around the microbore with ease, as it does right now. Change all the radiator valves if they're 15+ years old and that will help a lot. A good chemical treatment and a power-flush before doing the conversion is a no-brainer. I would go bigger with the buffer if you're not up-sizing ( replacing ) the existing radiators.
-
+1, and a split unit not an all-in-one as you'll need to be ale to dump the waste heat to atmosphere. Also consider a drain , or path for a pumped condensate to be taken out via.
-
Use the lower seal and ditch the flimsy upper one. Set the top metal part ( sieve ) in with some clear silicone ( I prefer clear CT1 / clear Stixall etc as it doesn't degrade like silicone does ) and clear the excess off immediately with baby wipes, lots of them, used once and discarded. Cutting off cured products afterwards risks scratching the metal and is a bit clumsy.
-
Don't they come set to fixed flow @ 2/3's power? Can't recall what the default is. The instruction manual to change the settings is best read when sober, lots of pictures and not much else. Try setting to constant power and see what happens, but the bottom line is, is are the returns all coming back warm? If so, then you may have no issue to resolve. Setting the primary bypass to a lower setting may help but these usually fire up out of the box. Fitted loads without ever having an issue. If the loops have not been blasted through with cold mains pressure to purge the loops of every last bit of air then that will be a huge impact on the flow rates. Has it been purged properly?