Leaderboard


Popular Content
Showing content with the highest reputation on 11/16/19 in all areas
-
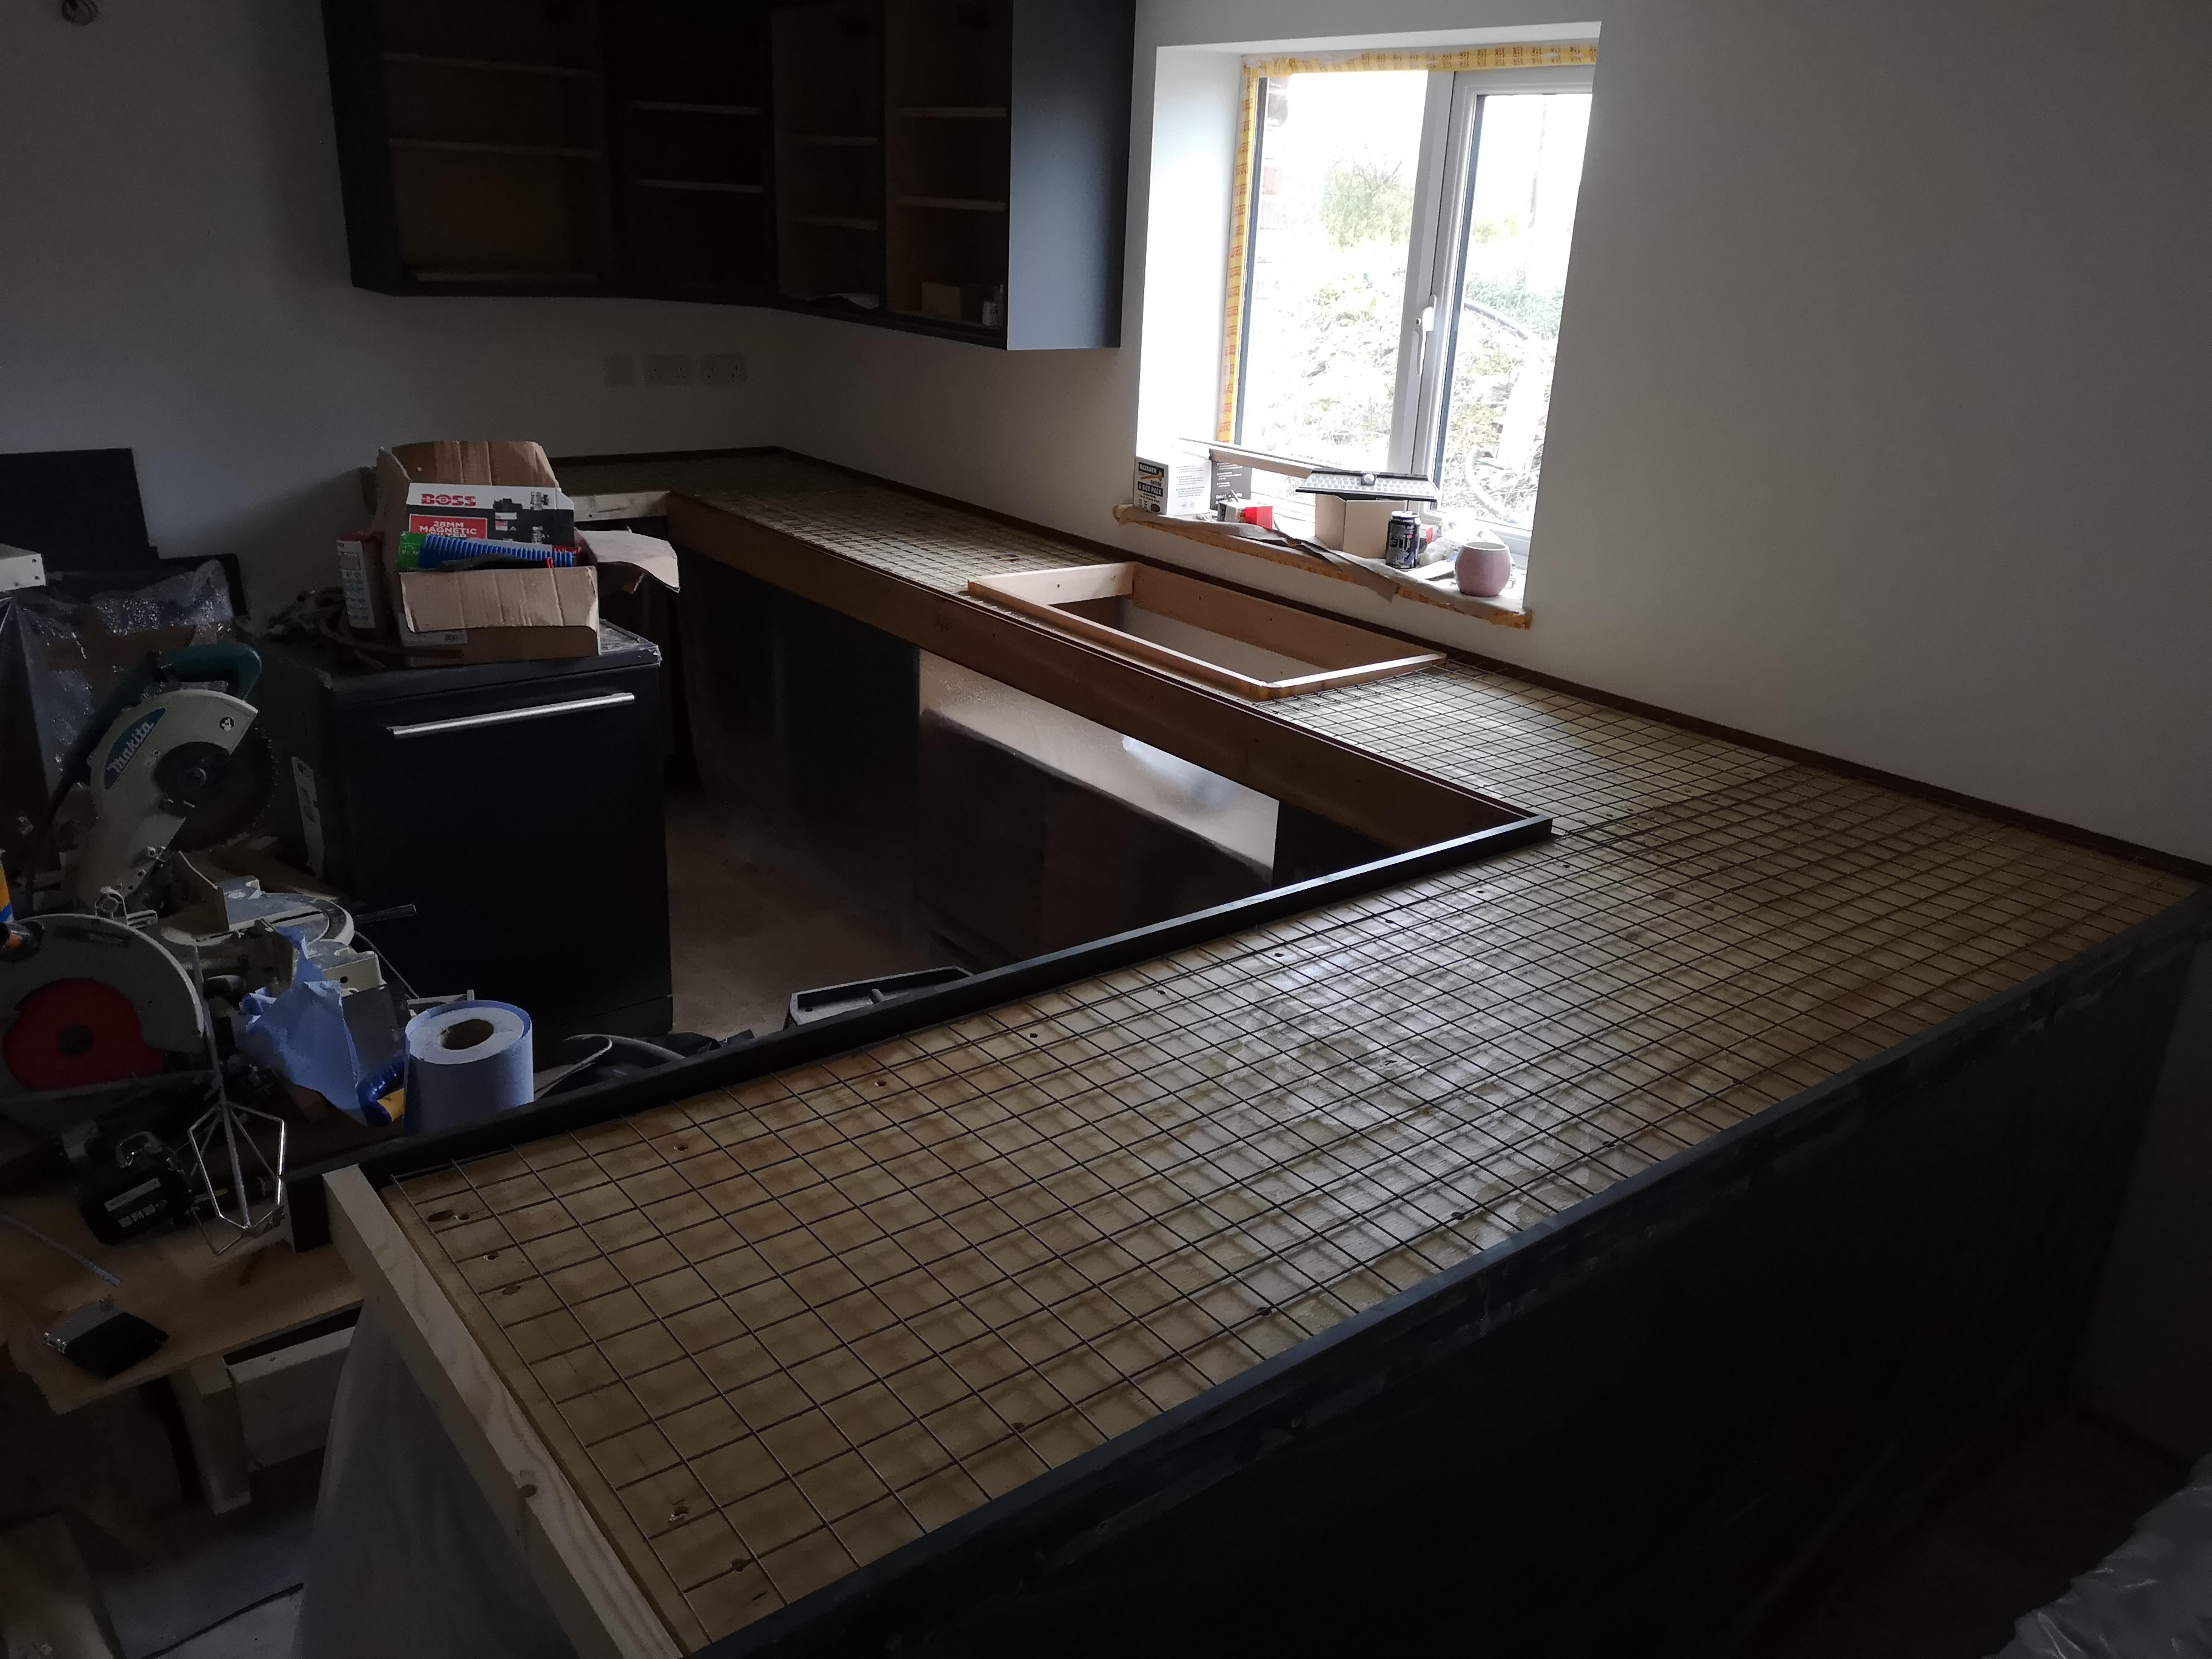
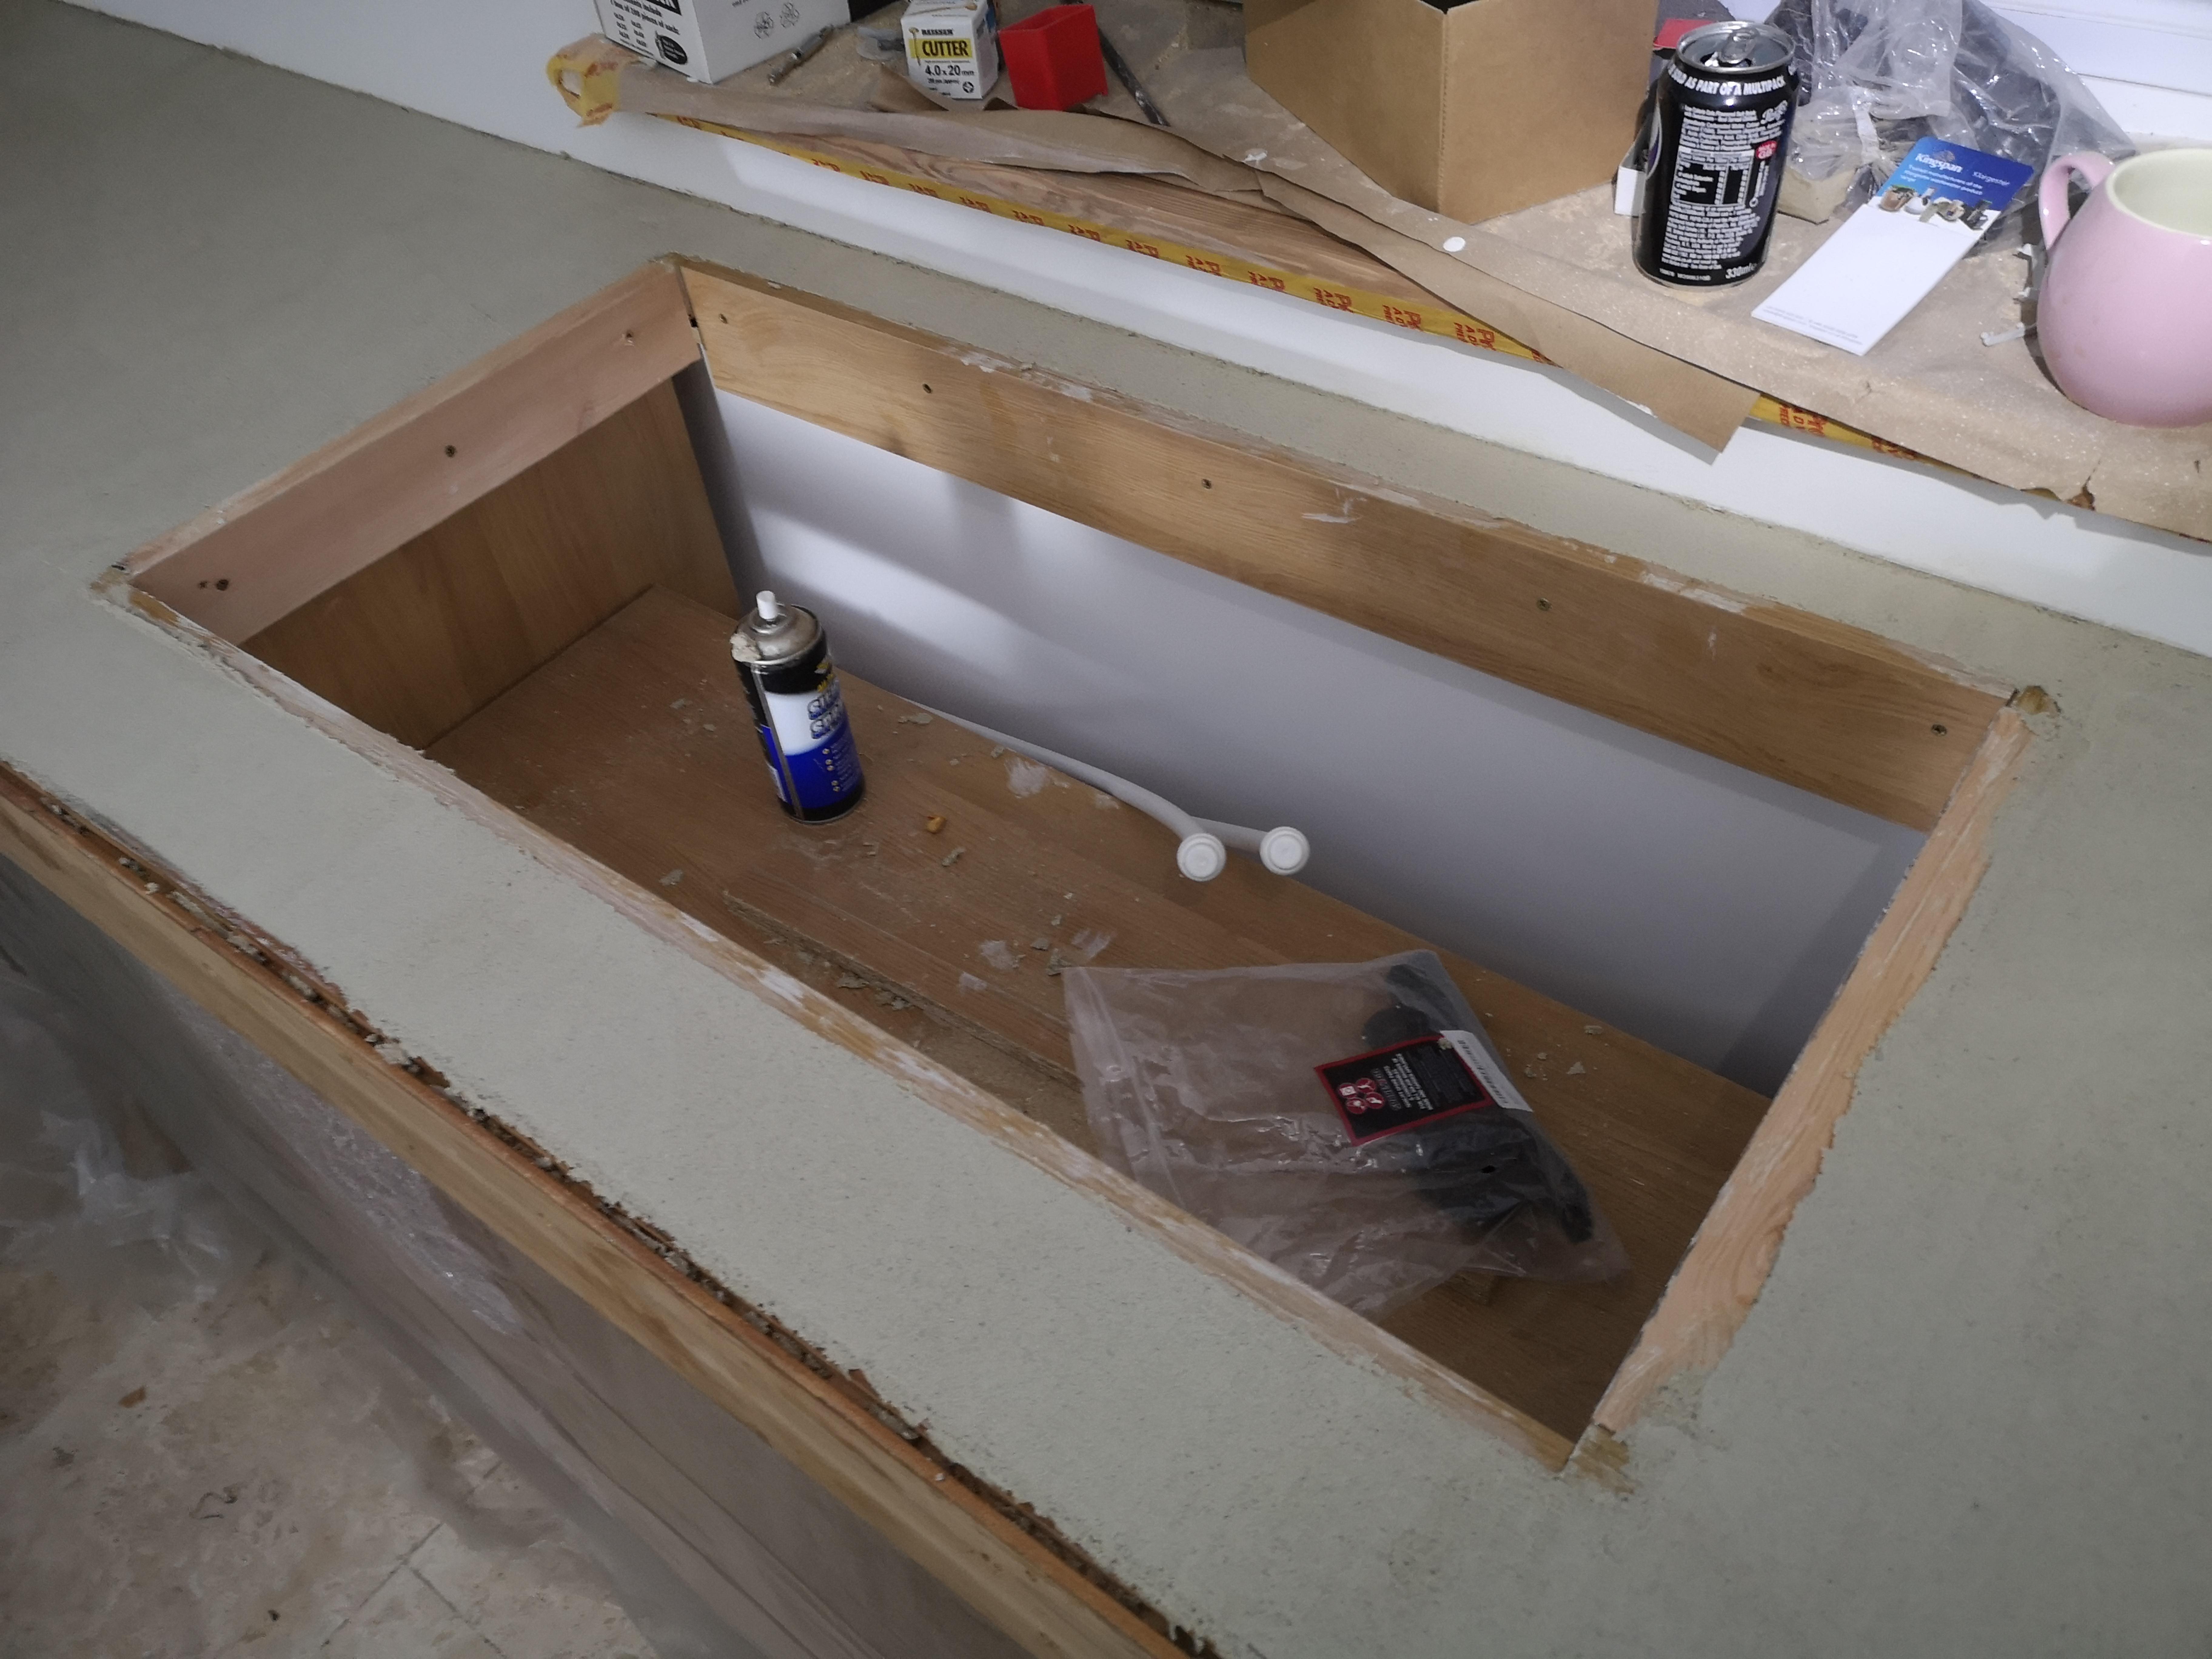
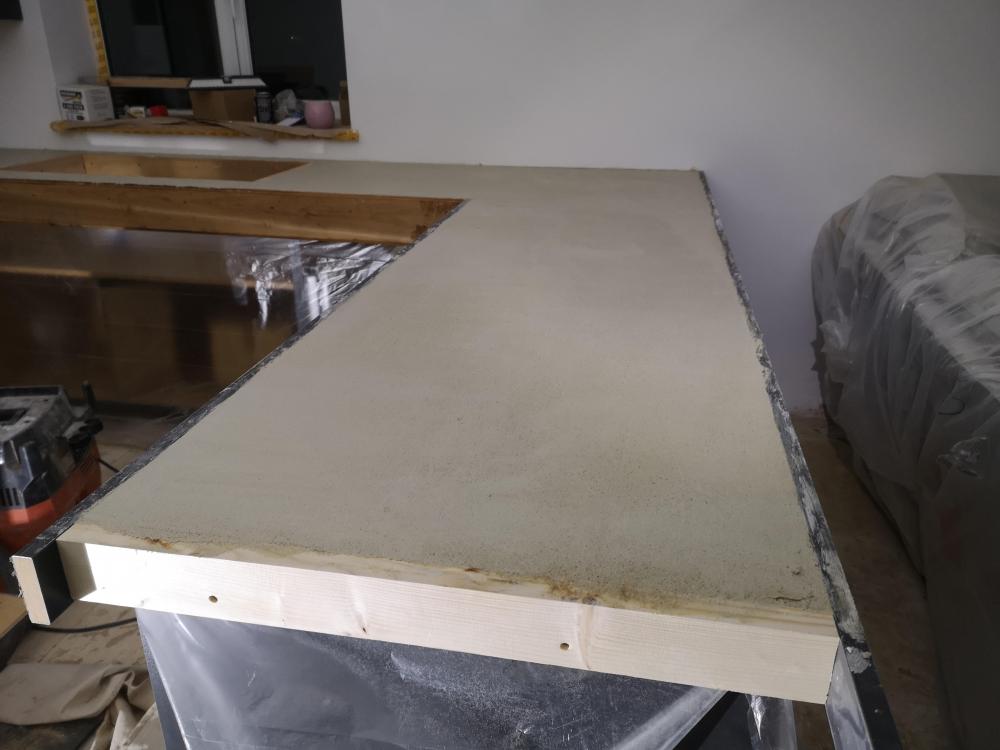
Just waiting for the silicone to go off..... The big pour will commence shortly. The base ply has been sbr'd as I want it to stick to the mortar. The outside formwork had been silicone release sprayed because I want it to release..... Wish me luck ??


 2 points
 -
Before: https://vimeo.com/user83520911 After The guts put in since 11am this AM. Still edges, sides of turning area etc to do and some tweaks, but not bad for one Saturday in November.
 1 point
 -
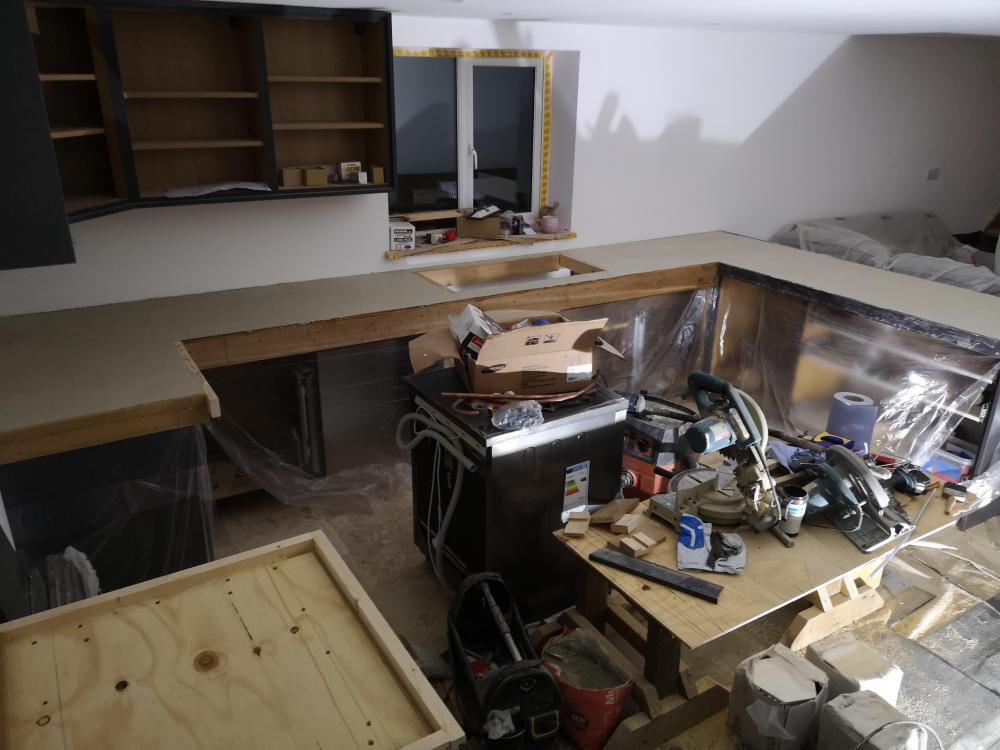
Starting to put in the exciting stuff. The stairs measurements were taken back in August and we then had to have a good think about what type of timber and finish we wanted. The vaulted ceiling had a bit more structural work and being the most interesting feature in the house and we decided that this would be good place to invest in a high finish and we decided go with a solid oak stairs and balustrade with toughened glass panels. Like many self builders we have adopted a fabric first approach and although not part of the building a good stairs to us is worth investing in. Before we could install the stair we had to get rid of the internal scaffolding and before we could do this we needed to finish any awkward decorating. In the summer I tackled the external painting and my wife is going to be doing the internal decorating. These bits were probably the most awkward in the house and with the caulking and painting done, the scaffolding could now be carefully taken down. I was working on the day of the stair installation, but had a quick glimpse early in the morning when helping to lift it into the house. The installation of the stair and balustrade was done in a single day by two joiners from Inverness and the following morning I was excited to see what had been done. When I went into the house my eye was more drawn to the velux windows which were all covered in the most amazing frost. Here is the best photo I could take on my phone. The three velux windows were like etched glass, hopefully this will happen again. And here are some of the stairs and balustrade taken today. We are very happy with the installation. The stairs feel solid on your feet, easy on the eye and pleasant on the hand. Finally, just to provide an update on my last entry regarding the stove. I did the first burn and was pleased with the results. The render/blockwork surround heated up well and retained a good temperature for a while afterwards. The air feed for the stove also worked well. Our house has a suspended timber floor, but hearth/stove are supported on a small slab which had a pipe buried into the concrete to allow a direct air feed to be drawn from below the floor. A bit different but work well for us. What’s next. At the point of posting this entry, as you might see in the photos, the kitchen and ground floor flooring are being installed and this will be covered in the next entry when this work is finished. Thanks for reading.1 point
-
Looks lovely, and is very much what we aspire to, some time next year hopefully.1 point
-
Coward. ? Where's your sense of advencha man? Says I to the only person who has actually flown around in my kitchen ..... Remember that?1 point
-
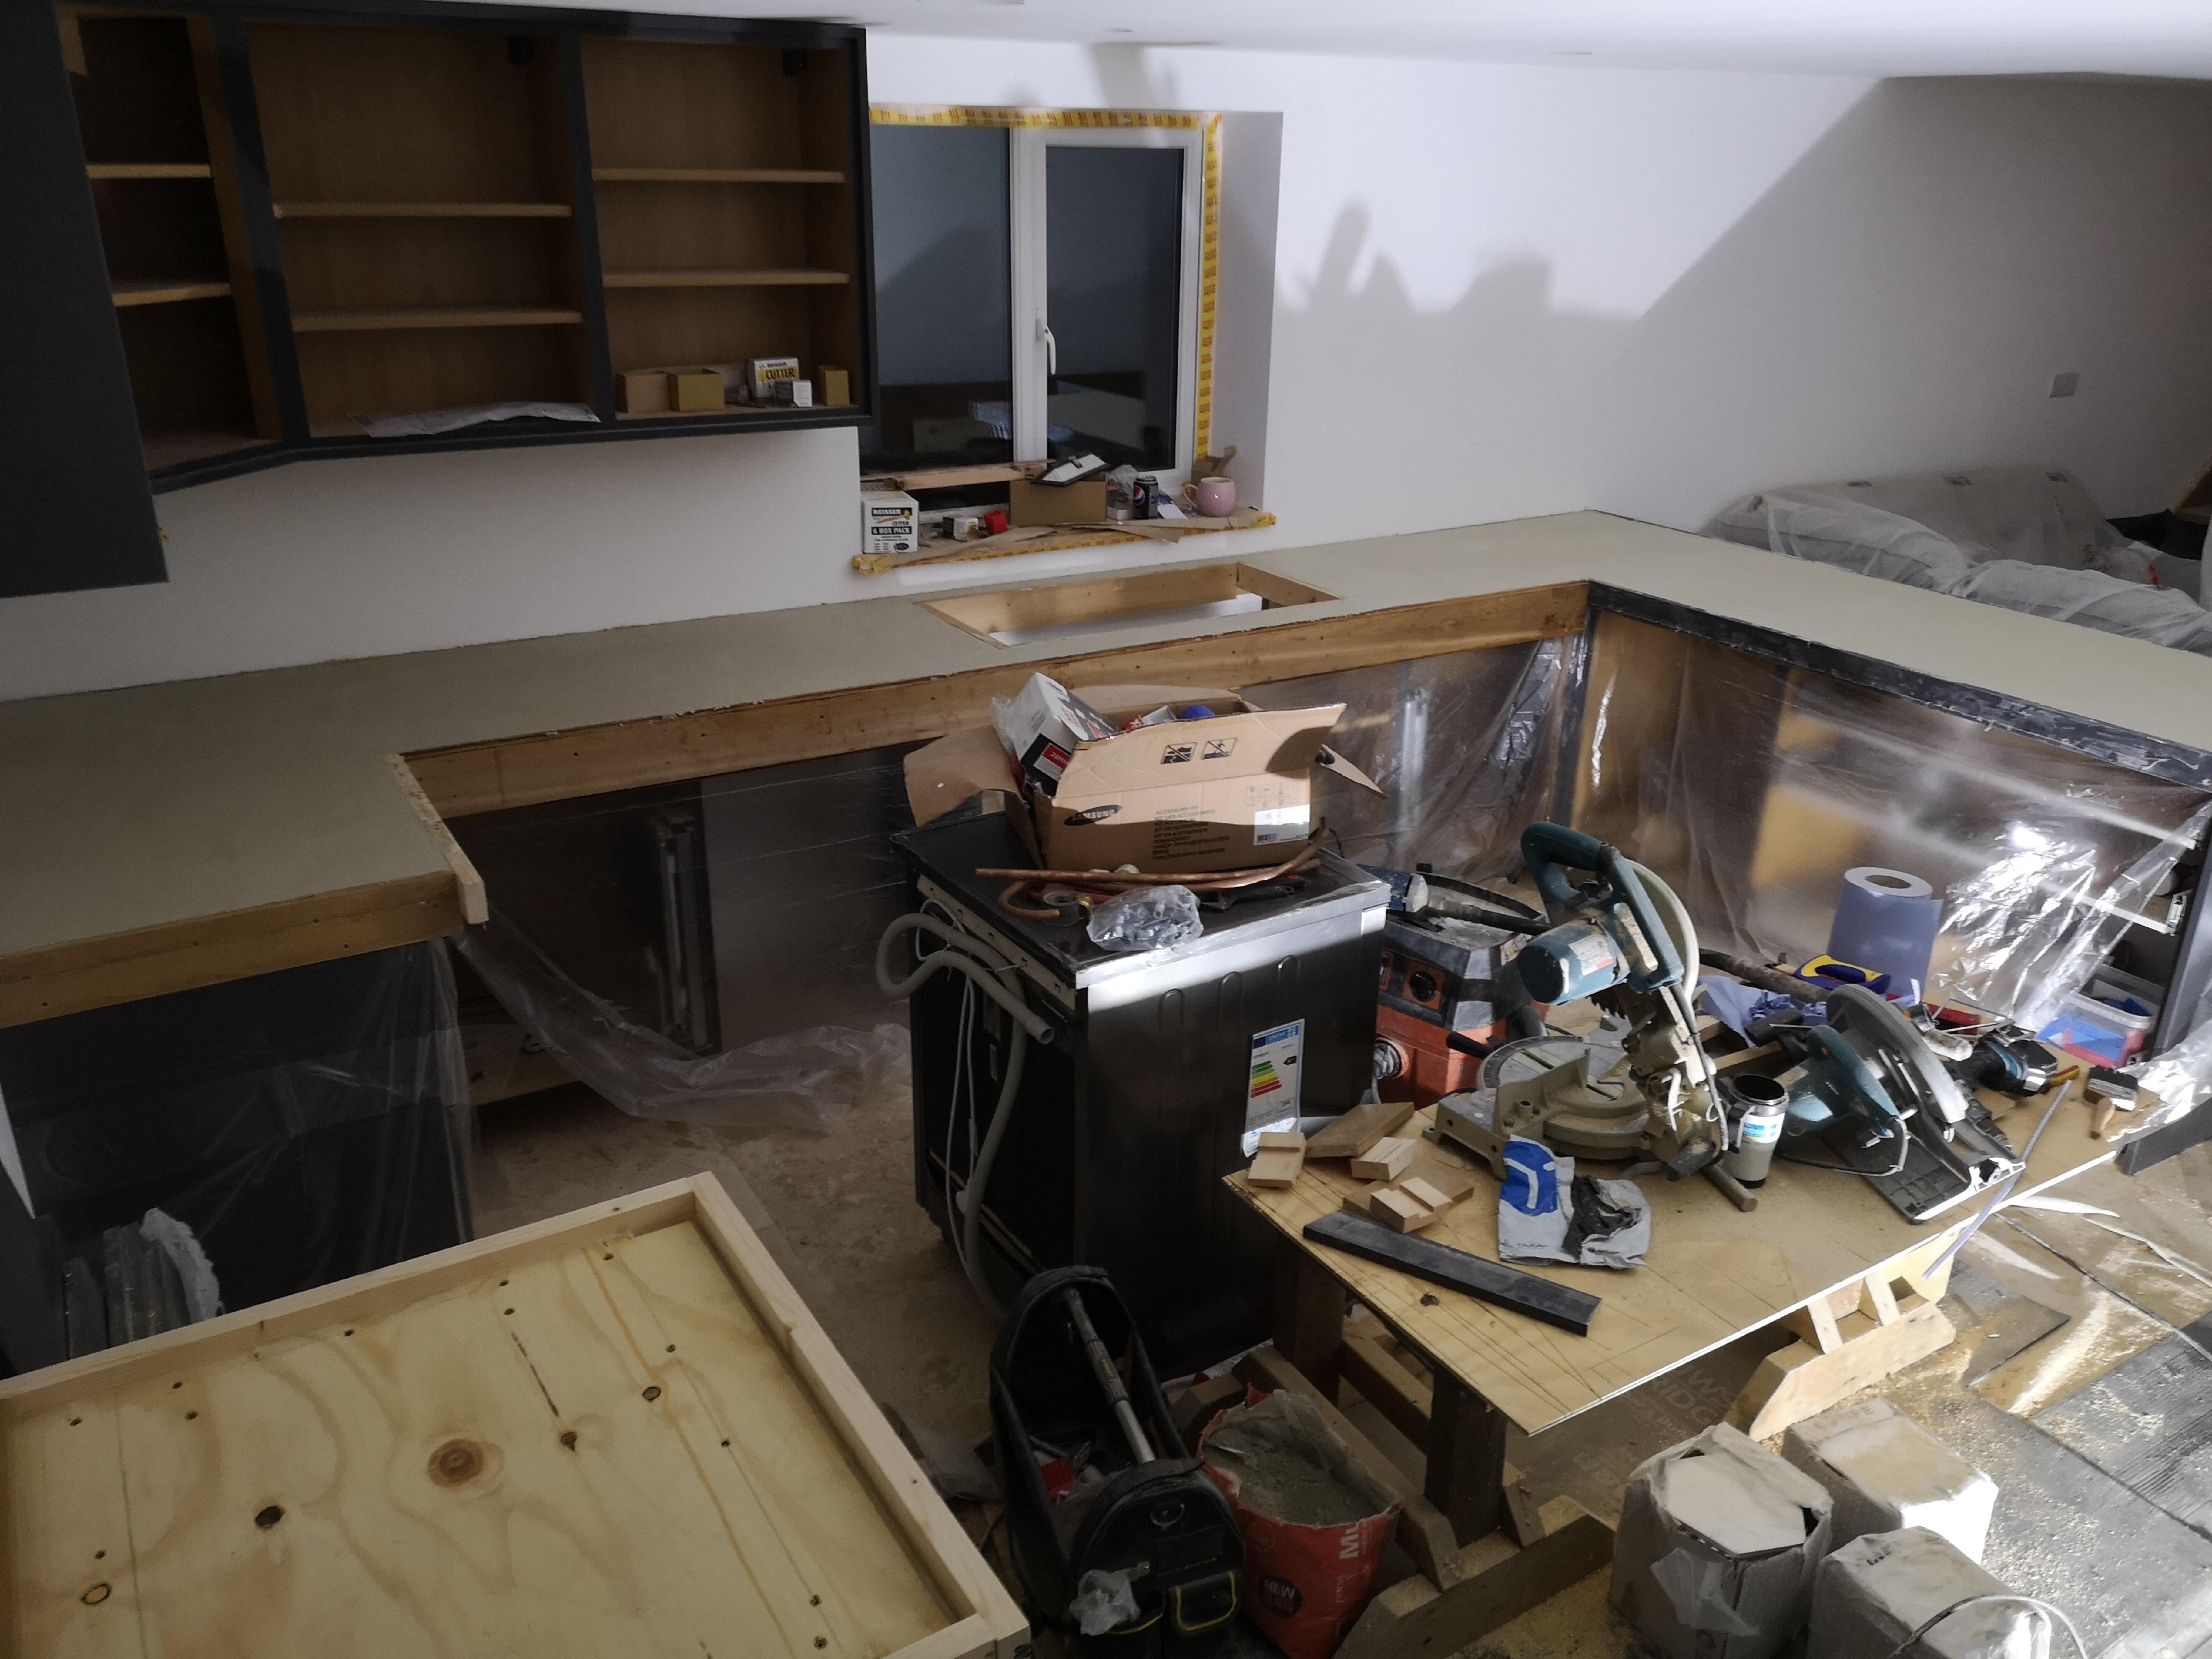
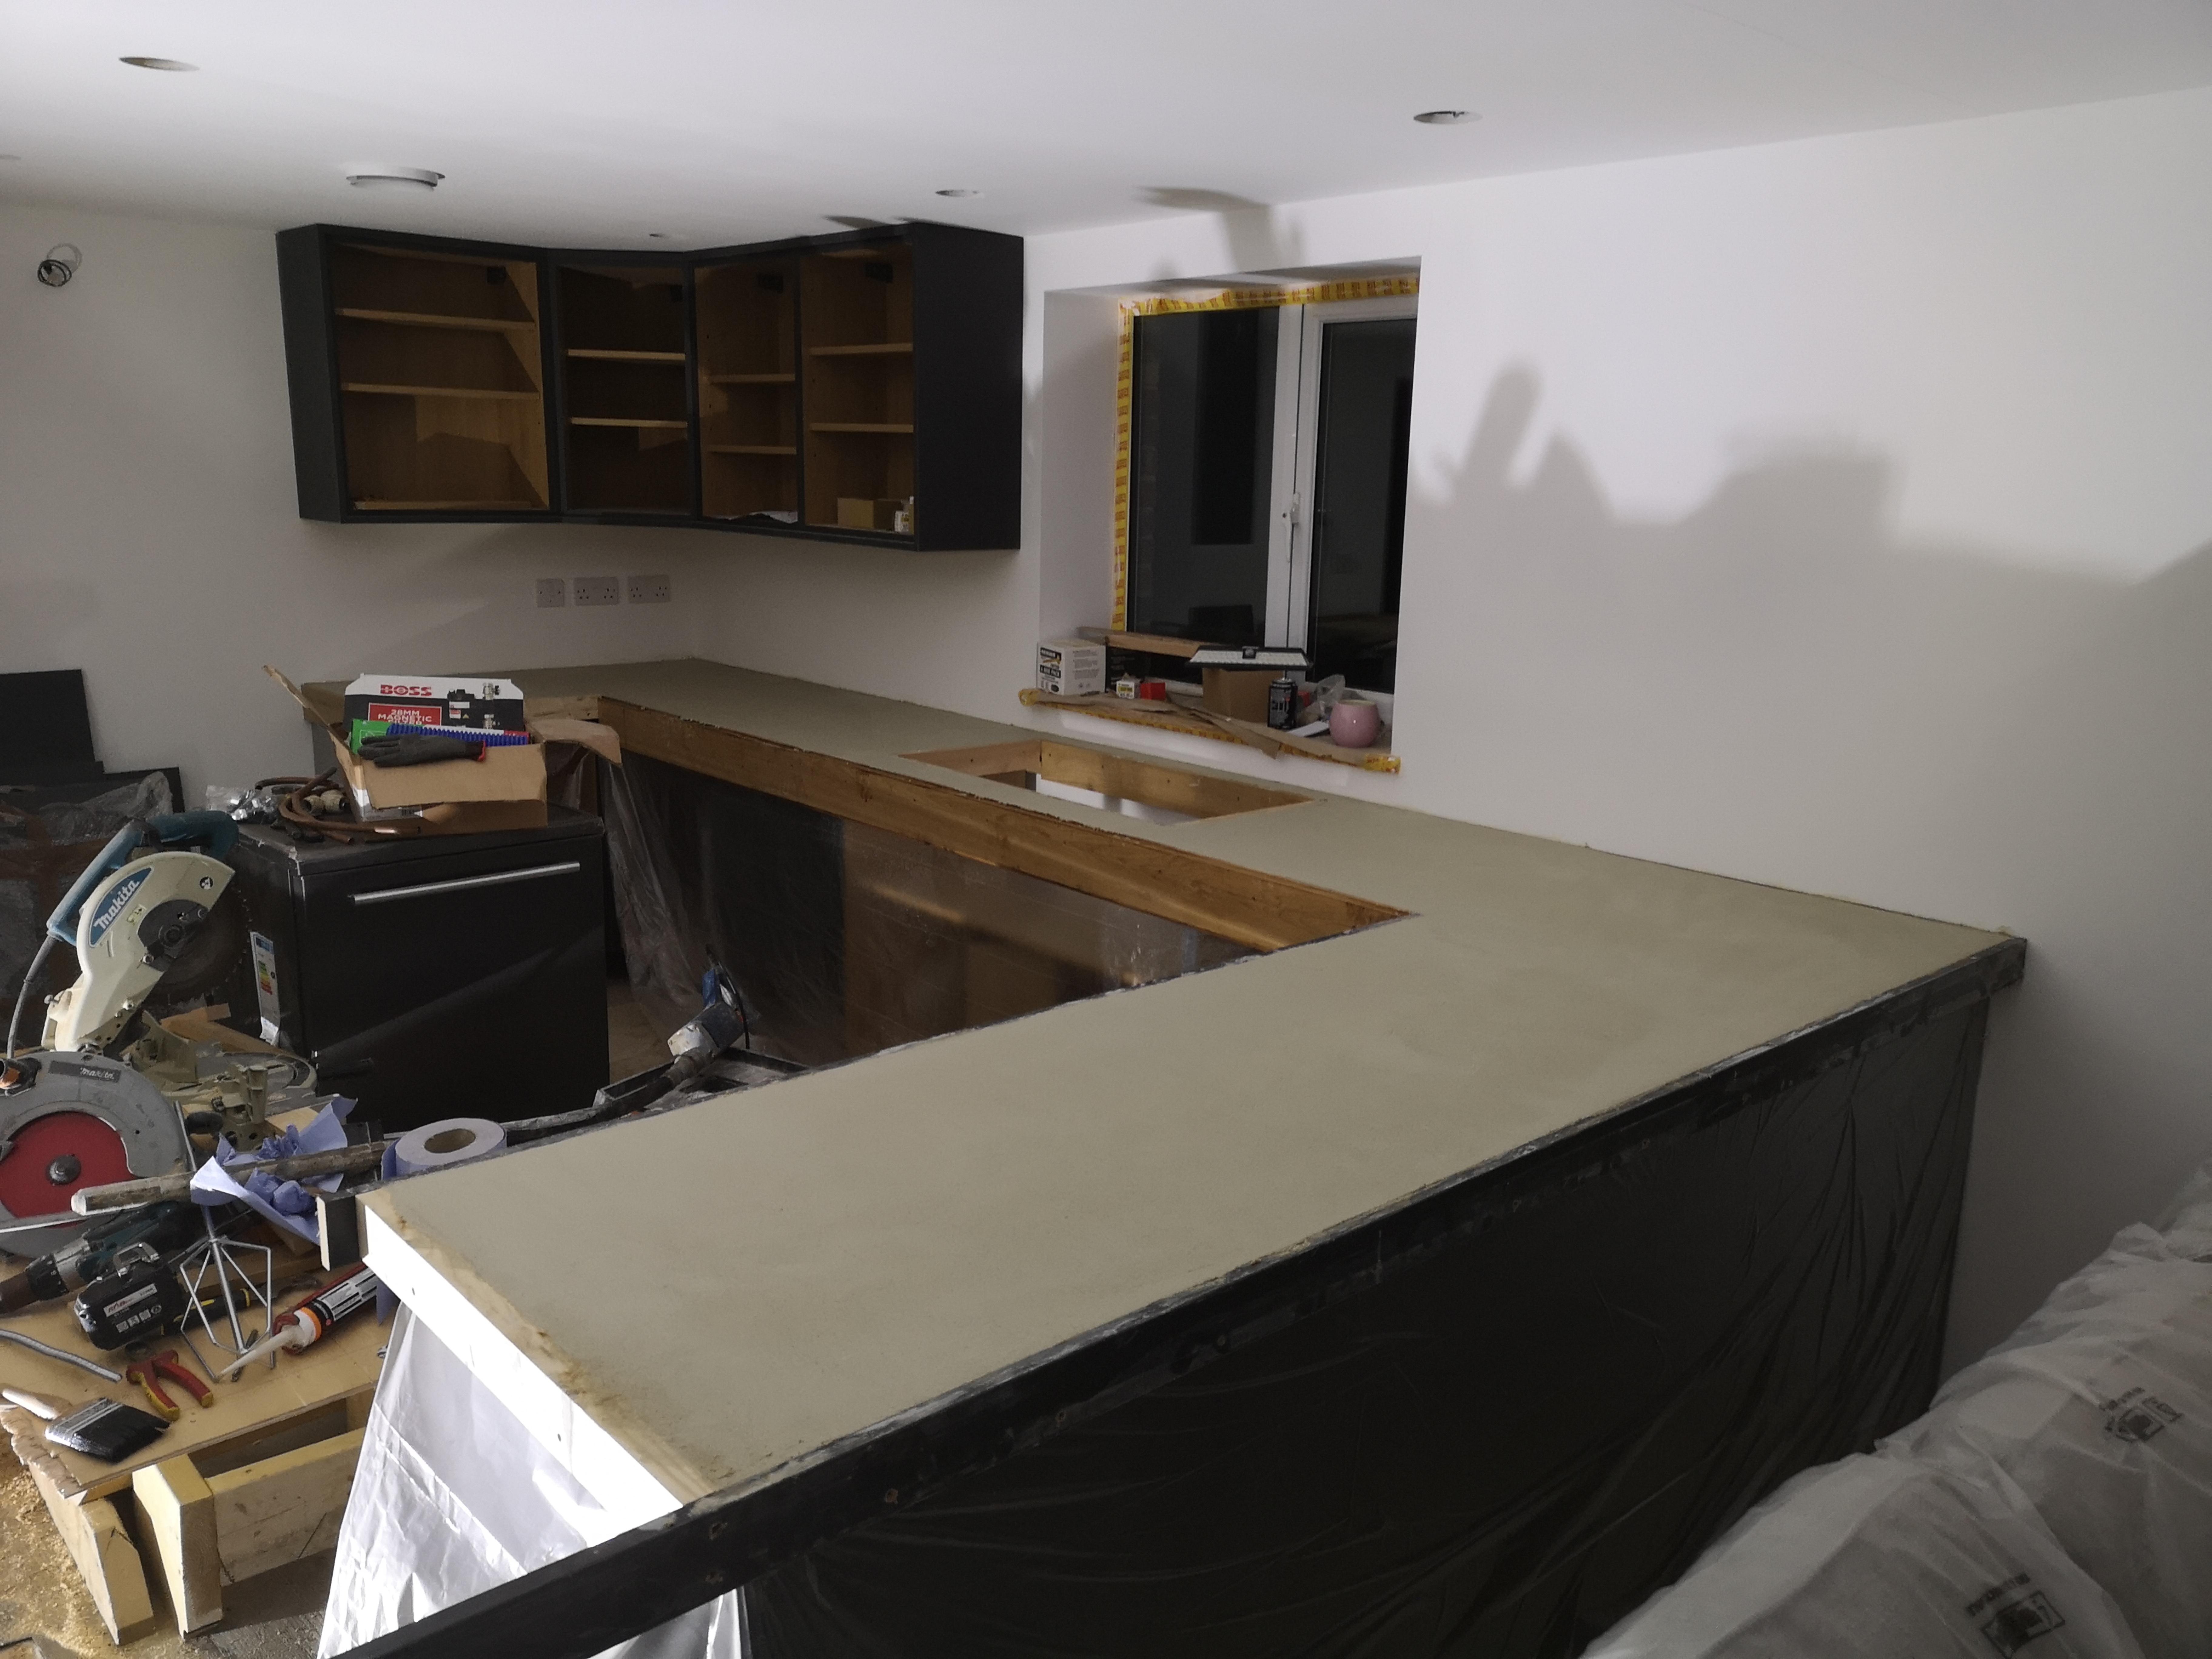
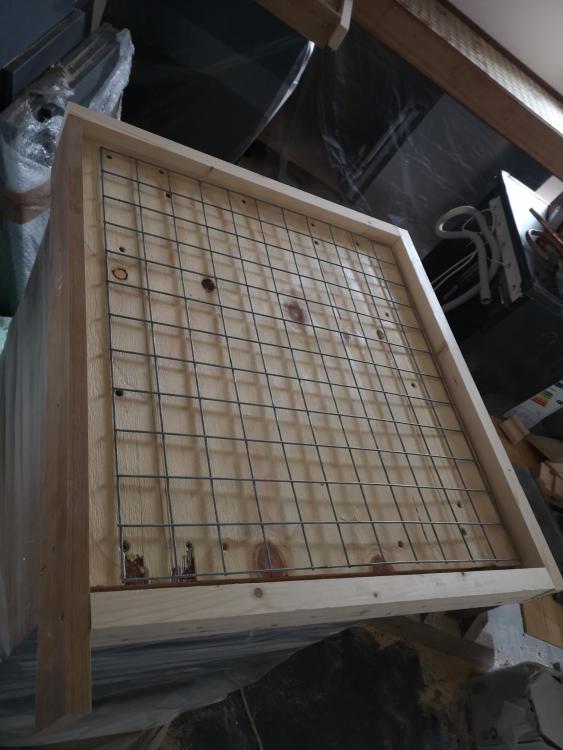
Well tip of the day is to buy more cement than you think you need. ? Only just had enough for the big section so the little one will be done another day

 1 point
 -
Yes, didn't need any business info to register, just did it online. If you buy 30 they're nearer £15.1 point
-
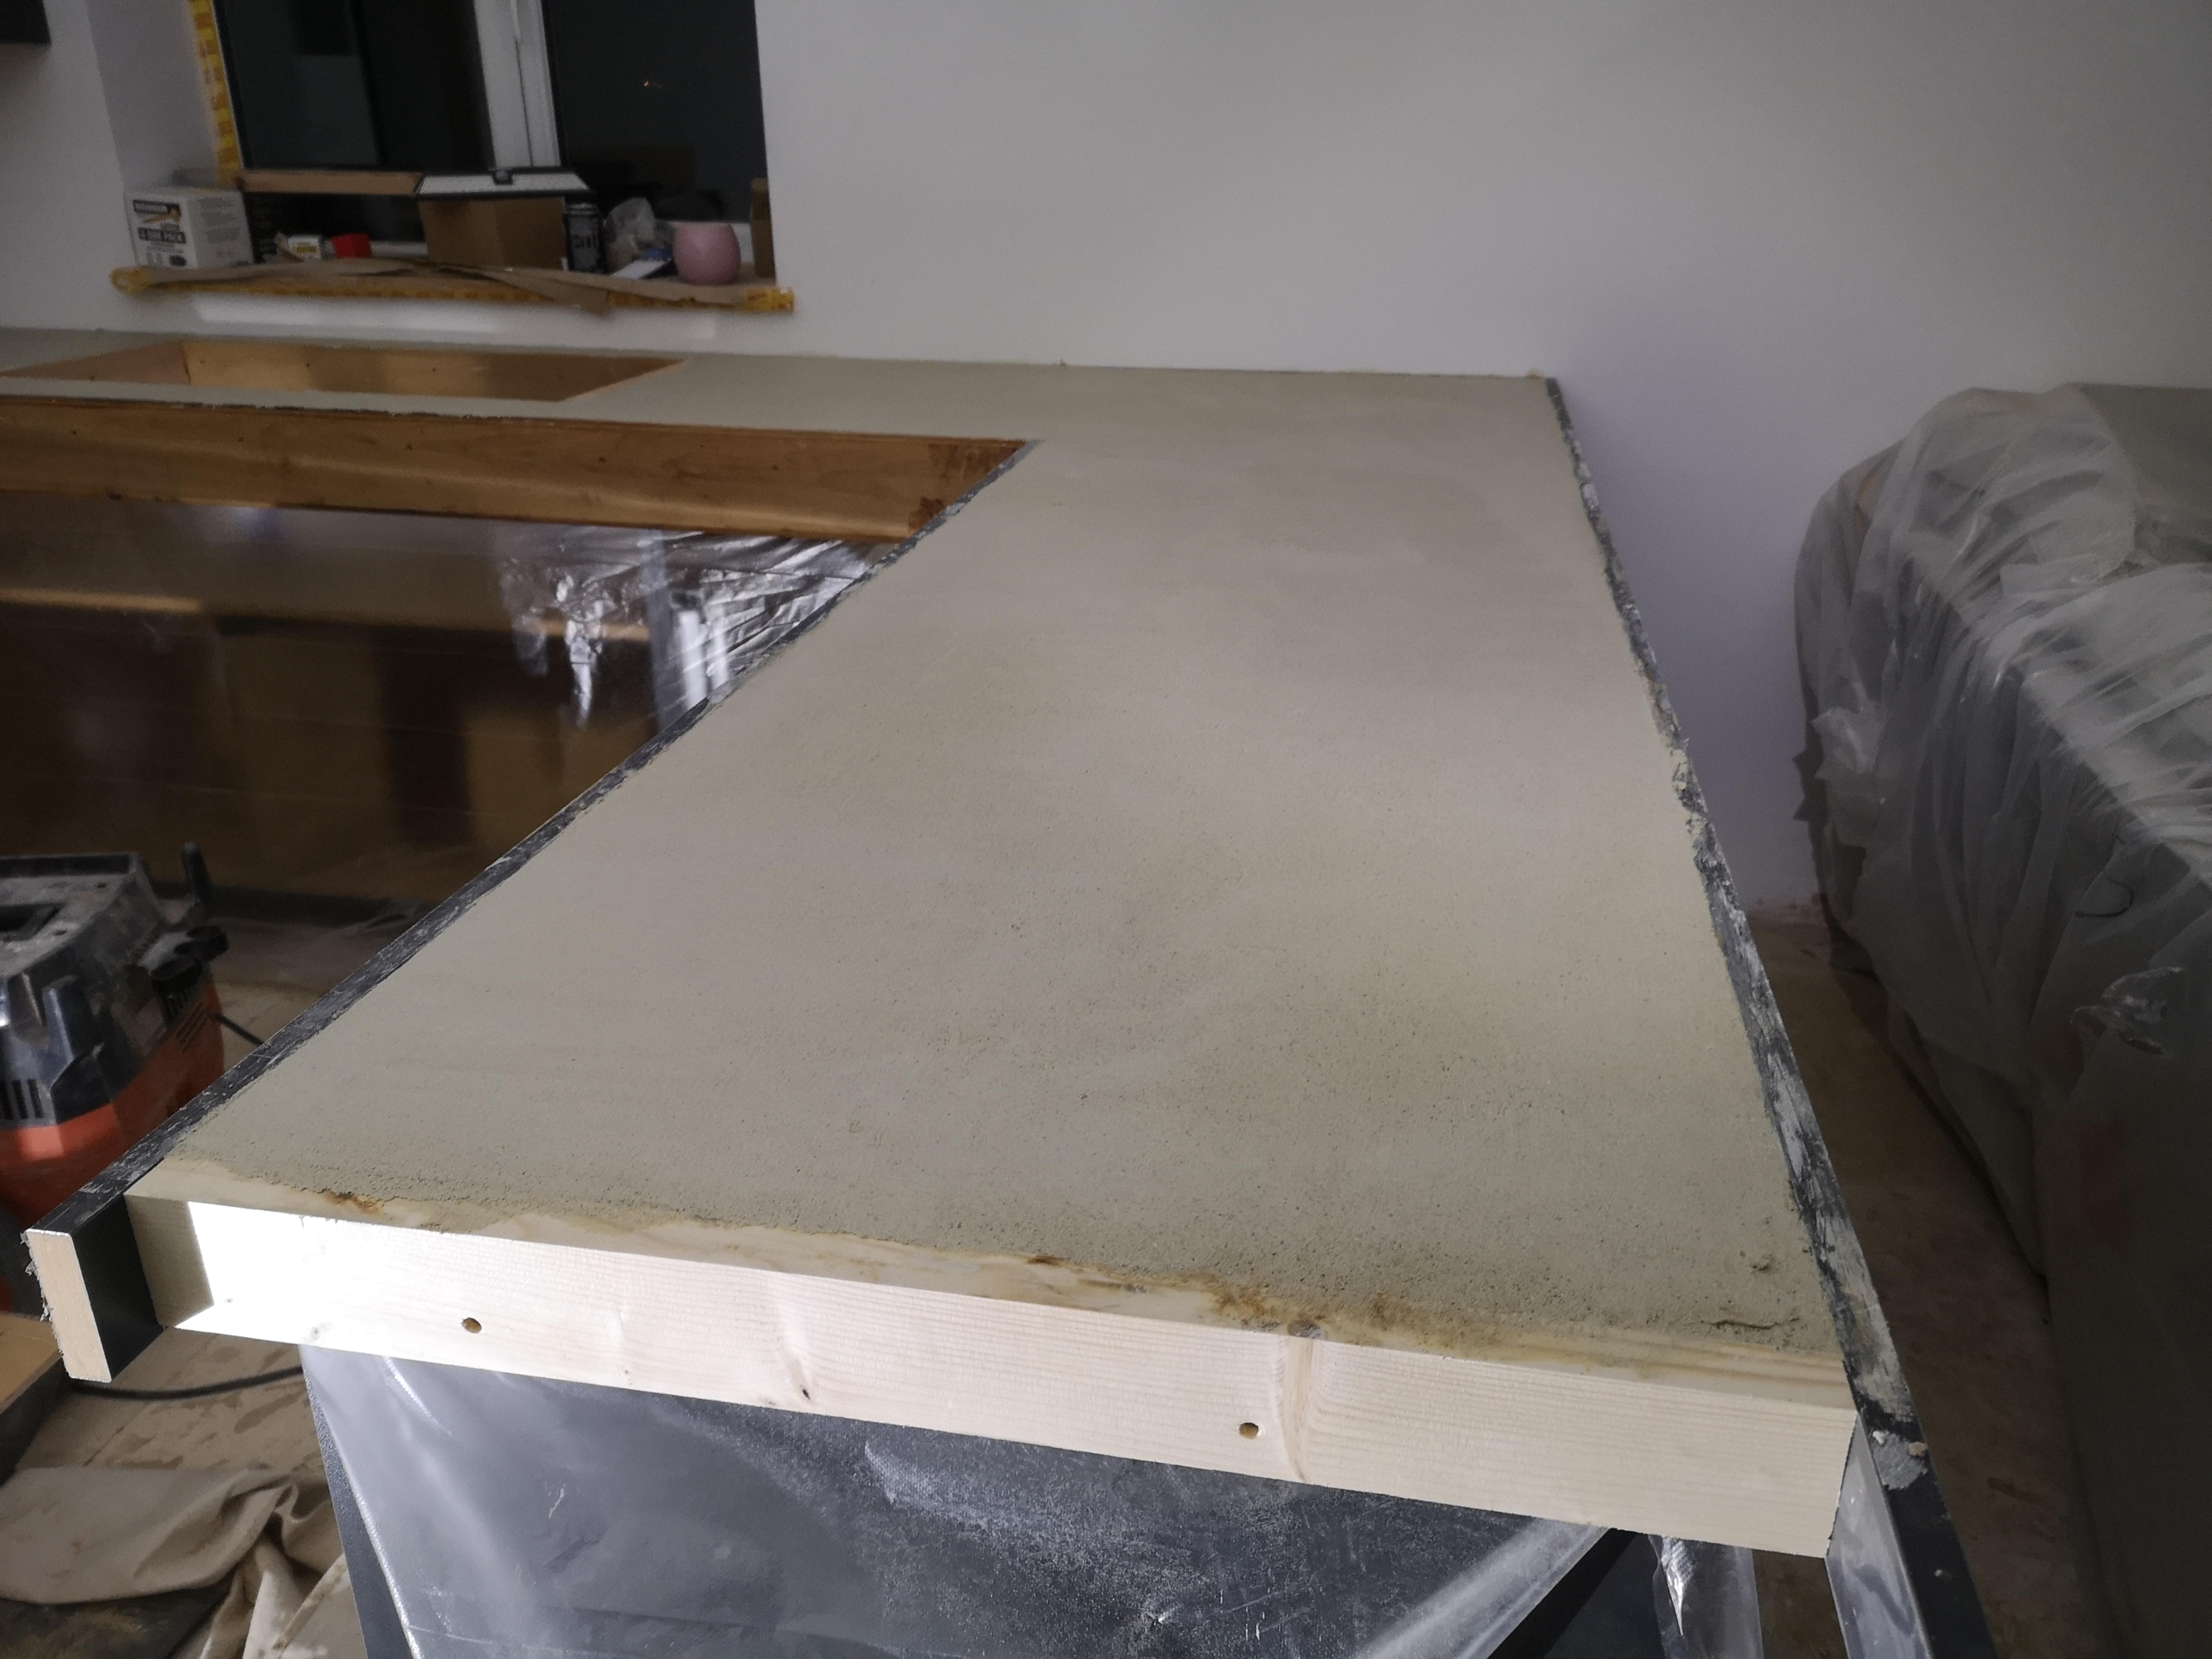
Yup. White cement, lime and sharp, same mix as my cills1 point
-
That's the plan. I thought about casting them upside down to get a better finish but I didn't like the idea of moving and jointing it.1 point
-
Patching a crack rarely works. you need to strip the render and re render a decent section of the wall. If anything for now patch it with a waterproof sealant, not cement. Photos of the cracks may help. Is it at the ends of the window? if so it's probably differential expansion of the lintel Vs the bricks / blocks.1 point
-
That's what I have. But few ordinary ladders are long enough to be used as a roof ladder. See my picture in the above post. The "roof ladder" does not reach the bottom of the roof so I need another ladder to get up to the roof ladder. Only works if you have scaffold to work from.1 point
-
Yikes. Is it a three storey house? Wouldn't get me that high on a ladder (and I used to fly gliders). I'd be using a scaffolding tower then a roof lader.1 point
-
More intro. I’ll respond to any replies here but otherwise post in the appropriate parts of the forum. Conscious that I’m on transmit but, well, you don’t have to read it do you. We’ve primarily bought this property for the land, some 224 acres. We don’t yet have any specific applications in mind for it, at least not more than for a couple of acres. We would like to invite local farmers to graze their livestock (cattle but in particular pigs, we are in jamón ibérico de bellota territory and we have about 10k oak trees). Other than that, looking at, walking about on. Northern Europeans are not like the Spanish. We covet our castles, almost as if we are insular and want to repel the ‘other’. The Spanish are gregarious and like nothing more than to shout at each other from about 20mm away. Our Spanish friends think we’re mad. Our English friends are envious. We just seem to have a culturally different attitude towards space. We love people and resist solitude, but ‘our space’ remains compelling. We are in our mid-fifties so this kind of project is a (quoting Boris) ‘do or die’ opportunity. And look what happened there. We’ve been looking for the right place for a decade, driving around the whole of Spain, nearly 50 autonomous regions, every year for a month each summer. Only in 2018 did we find what we were looking for, our utopian Shangri-La. We are now the proud owners of a place that makes Stonehenge look like a ready-to-move-in Barratt home. But we have two lakes, three streams, a six bedroom ‘farmhouse’ and a separate ruina para reformar (ruin to rebuild). And enough land to detonate our own medium sized atomic bomb* without seriously alarming the neighbours. We have looked at a lot of regions before deciding on western Andalucía and only then started looking for properties. And then it took us four years to find just seven to look at. And when we found this dump we knew it was the one. All the others were better in every way except that we couldn’t justify demolishing them, they were too nice. But this one has the land and is a blank canvass. I will not think twice about taking a TS410 to a wall in this house, it is without any architectural or structural merit. I am an enthusiastic DIYer. I’m prepared to tackle anything within reason and I learn quickly. Mostly from my mistakes. But really this is a monumental shot in the dark for us. Most jobs take me about 17 times longer than a professional because I need to stop and stroke my beard (I don’t have a beard, that’s metaphorical). And I do have slightly more tools than previously advertised. We’ll need another shipping container. I just bought 1.5 miles of 50mm potable water pipe - man that is heavier than I expected. I am an innovator. I want to try new techniques, processes, materials, tools. I don’t mind a bit of risk. And I’m happy with a spade or a CAD system. I’ve got plans that make traditional developers roll their eyes but I ain’t a traditional developer. They know a whole lot more than I will ever know about how to profit from the construction of a conventional residential property. But we will, one day, wind up with a unique dream palace. Probably. Or a dump and us in bankruptcy. I am not a hippie; I don’t usually knit my own sandals out of lentils. But rural Spain comes with caveats, properties tend to be off-grid. So I am embracing this through the application of technology. I appreciate that this will be beyond the scope of this forum so I’ll concentrate more on the building oriented issues in my posts. But for anyone who might be interested, there will be an insinkerator processing kitchen scraps and other biomas to a black soldier fly larvae incubator which self harvest to a chicken coup where the roosting perches are mounted above hydrophobic glass which will automatically harvest chicken poop and pump it to an anaerobic bioreactor which will produce methane and carbon dioxide. Separately a pump will extract water from the lake which is used nightly by deer and boar as a drinking water source. I’m building the pre-filter in our garage in Cambridge right now. This will pass into a processing tank that will be fed with O3 (ozone) from a high voltage corona discharge O3 generator supplied by oxygen from an electrolysis unit and introduced into the untreated water via a nano bubble generator and Venturi. It will subsequently pass through a reverse osmosis filter and activated carbon purifiers and before entering the house as potable water, a UV-C irradiation chamber. The hydrogen from the electrolysis unit will be piped to the anaerobic digester where, under precise pH control via dosing pumps of sodium hydroxide and sulphuric acid, CO2 will be converted to CH4 which will then be compressed into used propane cylinders. The near pure methane will then be used to power a forced induction jet burner to top up the temperature of water in buried IBCs, encapsulated in CLC to power the underfloor heating system via a heat exchanger. And power a home made plancha for the shrimps. Right, all you builders out there, ignore this rhubarb. I need a solution to a problem and instead of paying someone ten times as much to achieve 10% of what I want, I’m going to do it myself. But the big challenges are those that the members of this forum tackle every day and I am just an amateur. I have only just touched the surface of what we are planning. Anyone interested in cellular lightweight concrete, watch this space. I know that we are going to enjoy this journey. You might not but you will have the luxury of ignoring (and not paying for) it. I really hope, on the other hand, that our ridiculous journey is interesting to you, and perhaps inspiring (or the opposite which might also be a service). And I really hope that I can learn from you experts because I really don’t even know what day it is. Cheers Al *not actively considering this.1 point
-
Worth noting that Rockwool sound insulation is only about £3-4 per sqm. Might be better for some areas. F1 point
-
Don’t waste your money putting plywood / OSB everywhere !!!! Anything significant ( noggins / timber panels for ) can be decided at the outset, and there are some very robust plasterboard ( retro-fit ) fixings our there now so the point is moot afaic. Deffo line the kitchen with plywood, 12/15mm, and the bathrooms too, for utensil / accessory fixings both now and later down, as that IMO has value. Boarding 100’s of m2 for nothing is just good money after bad. As far as acoustics are concerned, I’d say plywood would be a worse choice than double boarding with PB. If you’re really worried about noise / sound, then just double acoustic board the plant / study wall ( both sides ) and full-fill that stud void with acoustic rated Insulaton, likewise with any other problematic locations. Double boarding is twice the cost, simples, so use ones own noggin and just fit a single, thicker PB once . 15mm on the ceilings and room-dividing walls will be as good as 2 layers of 12mm, if you change from regular insulation to acoustic rated at noise specific junctions, so don’t spend out where you don’t have to. Outside / exterior walls can be regular ( cheap ) white 12.5mm board, as you have the blown cellulose TF, so no need for further expense there whatsoever.1 point
-
I would also go for resilient bar and double skin on your ground floor ceilings, It makes a big differnence.1 point
-
We are just commencing our second self-build (started onsite last week). In both cases we have used Architects and in both cases have been very happy with the results. We have outlined how in both case we selected and worked with our architect which we hope will assist other people starting out on their self build journey. 1) Start thinking about which architect you are going to use when you start looking for land and not when you have found land. 2) Draw out a requirements list. My approach is to provide a brief / framework for the architect to interpret rather than prescriptively dictating to the last detail. Requirements should be no more than 2 pages. By making the requirements generic, you can apply them to most plots of land. Include in the requirements why you are building as well (develop and sell, house for life etc) 3) Checkout your architects previous designs. There is likely to be a common design pattern and if that is way off what you want then maybe the architect isn't for you. Also go and see a couple of houses - just viewing from the outside can tell you a lot. 4) If you see a plot that is a potential candidate, email architects on your shortlist for feedback. Most architects will provide feedback for free within reason and the reply will help you to decide if the architect is thinking along the same lines as you. Also, meet with your architect before you engage formally to check that they are a person that you can work with. 5) Be completely upfront with the architect about your budget, put it in your requirements list and be very clear what that budget includes and doesn't include. 6) Be completely upfront with your architect about their fees. Fees based on a %age of the build cost are OK as long as the build cost used is your budget for the build at the outset (fixed) rather than the actual build cost (variable). 7) Good architects are in high demand and don't need to advertise so you will need to research (a lot) and do your legwork. Be prepared for the fact that you might need to wait for the architect you want to become available. 8. Check whether the architect has any experience in the build method you want to adopt and the energy standards that you want to achieve. Find out what the build costs have been on recent build projects and how these compared to budgeted costs . 9) Check with the relevant boards that any claimed registrations are correct. 10) Fees may seem expensive, but for the amount of work that goes into a design I have always felt I got good value for money. In the context of the cost of the project it is a small percentage much of which can be quite easily recouped with a little restraint on the fixtures and fittings. 11) If you use an architect local to the build, it is more likely that he will be able to advise on securing good contractors based on experience of previous builds. My architect has more than recouped his fee by drawing up an attractive house that is straightforward to build. Insulation is what we need to get to passivhaus but no more and the size of the house is what we can build to meet our budget (based on his previous build costs) and requirements. Listed below are the requirements we drew up which may assist others going through a similar exercise: Build Budget: £325K (House, Garage) excludes landscaping, external works and professional fees. The Plot There were a large number of objections to the development from residents but planning permission was granted on appeal. Plot width is around 16.7m. Plot length is 44m. Electricity, Water and mains sewerage (but not gas) available at the plot boundary. Functions of the Building Home for ourselves and the dog. Enough room for friends, grown-up children to stay and family get-togethers. Building a house for life as we can’t get what we like on the open market. We love cooking and the outdoors, so it should support that. Combine open plan living combined with a segregated quiet room downstairs Provide a comfortable and healthy interior environment with a stable temperature and no drafts. Design Direction and Requirements Good natural light to rooms is really important with dual aspect windows in as many rooms as possible but not too keen on huge oversized windows that require complex and expensive shading solutions Designed to Passivhaus standards in a cost-effective manner but don’t over-rely on technology that has high cost to install and maintain. Downstairs Open plan kitchen, dining room and seating area Utility room (able to dry clothes in using pulley) Lounge Small Study if possible WC / Washbasin Good Storage – larder cupboard, cloakroom and cupboard for cleaning utensils Somewhere to sort out a muddy dog and muddy boots (A covered porch with a stone floor and bench maybe). Sliding doors or similar out to the garden from the sitting area. Bottom of kitchen window to be level with the kitchen worktop. Back door into the utility room No large step into front or back door WC away from front door if possible Upstairs 3 to 4 double bedrooms. Small study if not room downstairs (or 4th bedroom) Built in wardrobes Cathedral ceiling. Master bedroom should be able to comfortably take a king size be. En-suite in master. Separate shower in bathroom. General Heating / DHW – no mains gas. Solar PV with a diverter? ASHP (noise?) Consideration given to some acoustic insulation between rooms and between downstairs / upstairs. Doesn’t need to be completely soundproof however. LED lighting throughout and up the staircase Point for charging electric car. Ability to use battery storage in the future should it become more cost-effective. No requirement for chimney or wood burning stove. Agnostic about whether the garage is attached or detached, but should have storage for bikes and a little workshop area. Could be modified for easy access upstairs in the future (Straight staircase maybe). Point for charging electric car. Low maintenance exterior for windows and wall facings. House to have a more contemporary feel inside. Outside to tie in with planning / design code. Window frames recessed into the openings. Other Stuff Recess in shower wall for soap etc. Built in bookcases Lots of sockets Sockets in cupboards for charging hoover etc. Room in utility room for dog crate Built in water filter Water softener Lighting on dimmers with switches that gradually turn LED lights on so they don’t blow. Good outdoor lighting (pathways) Outdoor power point / tap Phone point in every room1 point
-
?Can't wait for the video!0 points
-
Traffic -on your lane or did they install the meter in the middle lane of the M6?0 points