Leaderboard


Popular Content
Showing content with the highest reputation on 10/11/18 in all areas
-
Yes, those ar3 they. spotted this interesting quote from Founder of Sunamp, made we wonder if the price maybe coming down? “And now, with Sunamp’s third generation UniQ Heat Battery, production costs have been dramatically reduced – putting this game-changing technology within reach of millions of consumers. “We think we are at the same moment, in our industry, where the TV and computer display market was at the start of the switch to LCD flat-screens. “We view ourselves as a disrupter. To us, the traditional water cylinder is the bulky old CRT (cathode ray tube) television. The UniQ heat battery is the LCD at-panel at the moment when, ‘whoosh’, the price tumbled and no-one wanted a CRT anymore.”3 points
-
I think your being very harsh on yourself. Have seen tiles done a lot worse by so called professionals.2 points
-
I’ve just got off the phone with peter and he says he wants to donate the money to the Thirsty Welsh Plumbers Association. Heart of gold that guy ?2 points
-
The PCM in a Sunamp will hold a thermal charge for days, as it doesn't store heat as heat, as such. As an illustration, I disconnected the electrical side of our old Sunamp PV on a Friday afternoon, then went away and didn't disconnect the plumbing side until the Monday. Before disconnecting it I decided to just run off some hot water, to be sure it had discharged, and had to wait half an hour with the hot tap running before it ran cold. At a guess I'd say it was still around 2/3rds charged after around 70 hours since the last heat input.2 points
-
It's been a little quiet on site over the last 10 days or so which hasn't been a bad thing as I had a nasty cold last week so it gave me an added incentive to stay at home and get some more forward planning done. One of the downsides, though, is that I only today spotted an issue with the west facing upstairs gable that's only really visible from the top scaffolding lift. When I first saw it, I thought 'oh bugger, another window problem' and promptly got on the phone to the guys at Norrsken to ask what they thought of the photo I'd just sent them with a clear image of the problem. This is what I sent: And this is what it's meant to look like: Can you spot the difference? You're buildhubbers, so of course you can. In the first photo, the apex of the triangular window sitting on the French doors and side panels clearly protrudes by some distance. It's about 3cm. At this point, and as before, what I most need to know is a) is it a problem? and b) how do we fix it, if it is. And at this point, as before, Norrsken were hot to trot and the installations manager, Mark, along with his very bright and shiny new spirit level, did a swift dash up to north Dorset to come and see for himself exactly what the problem is. I should explain that this window consists of 3 elements. There are the central French doors, a glazed panel each side of the doors and then the triangular window that sits on top of all this. When fitting, the installation team set everything up with a laser to make sure it's all dead on, and they took great care to make sure everything was right. Because of this, I wasn't entirely surprised when Mark from Norrsken established quite clearly that the fault isn't with the windows, but with my MBC timber frame. Directly above the triangular window, there is a steel with an apex in it, that is then boarded over. You can see in this picture from a previous entry how these are put into place by MBC, and this is the section that has caused the problem on the west side: So, first off, is this an issue? This was my first question to Mark and, in particular, does the fact that the window frame is so proud of the wall compromise the thermal properties or insulating quality? Thankfully, he assured me not, so I'm happy to accept this. The next issue, is the physical problem of the top of the window protruding by about 3cm from the timber frame exterior wall. It's fairly standard practice to have 25mm counter batten on the exterior, to which is attached whatever outer skin is covering the building. Fortunately for me and MBC, I have planned all along to have 50mm battens on the outside so that a decent sized service cavity is created to run any exterior wires and cables through. It's possible that I could have got away with 25mm but I preferred to spend a bit more on the larger battens and make life a bit easier when installing stuff on the outside. This means that the slate cladding on the upper floor will be able to largely cover the error, but it will quite probably be tricky to get a decent finish between the window and the cladding as I had been planning to use powder coated aluminium to do this job and it won't be the easiest thing to fit with such a variation in the gap. I'll tackle that when I get to it, but any suggestions are welcome. Okay, so all in all, it's not a disaster but a pain. I am, however, annoyed because MBC didn't know that I was planning 50mm battens and, aside from anything else, it's really disappointing that having done a good job on the vast majority of the build, this error slipped through. There were enough spirit levels on site throughout the build that it shouldn't have been so difficult to run one up against this fairly fundamental section of the build, particularly as there was a whopper of a window going into this wall, to make sure that everything is true for the parts of the build that follow on after. In the meantime, a few other things have gone on at the build. A start has been made on putting in the ducting for the MVHR and shoving some of the UFH pipes and manifold towards where it will end up. The UFH manifold for the upstairs is going up into the loft section. In the original plans, the upstairs landing was vaulted, but the decision was taken early on to board this out and create a loft space that could then be used to stash away all the MVHR kit and other ancillary equipment, including the upstairs UFH manifold. There is another bit of kit going in there that is a heat pump but used to cool rather than heat air going through the MVHR system and thus provide active cooling in the summer to complement my shading from the brise soleil and exterior roller blinds on the south facing windows. Here's a photo of the MVHR ducting and UFH pipes coming up through a cut-out section in the floor and up into the loft space. The stud wall that you can see divides the landing from the en-suite for the master bedroom; it is planned to be a twin stud wall and so, once done, all the pipework and ducting will be hidden in the cavity of the twin wall. More of the same: The plenums for the MVHR will sit at the far end of the bedrooms, i.e. near the windows. The idea is that this will achieve a proper through put of fresh air through the entire room, rather than just circulating around the door and landing areas. You will see that the plenums are quite a bit lower than the central glulam beam supporting the vault. The plan here is to introduce a central flat section along the ridge, low enough to cover the ducting and the glulam and the plenum will then just pop out of the plasterboard. Whilst this means extra cellulose being required for the increased volume of the roof section, it will make detailing it and covering it in far easier for MBC when the time comes to do that, so there's a decent quid pro quo there. A major benefit of stuffing the MVHR ducting into the ceiling section that will be filled with cellulose is that the pipes up there don't need to be insulated, which would normally be the case. The ones for the ground floor are currently getting their NASA-style coats and I'll show some photos of those in the next post. This also means that it's given a reduction on the cost of all the MVHR kit as the insulation for the ducts isn't particularly cheap. Aside from the window/wonky frame drama, it's currently a time for figuring out and juggling details. My flat roof guys should be back in a couple of weeks and I really need to get the parapets and east balcony finished off as until these are done, the main house won't be watertight. I need to check with the team at County Flat Roofing, however, as I also have my balustrade to go onto the balconies. The balustrade has posts that are fixed onto the parapets by way of a square/rectangular base plate, about 10mm thick. These can go either on top of or underneath the roofing membrane, but I need to check which will give the best finish and then press the button for whoever goes first. I know that if the plates go under the membrane are too thick, it will look bumpy and not very nice but, more importantly, might not give a good seal. I shall check and report back, but I suspect that we will end up putting the plates on top of the membrane and sealing it up again afterwards. Although the balustrade hasn't been installed yet, I've been chatting to the guys at Balustrade UK, including the lovely Trevor, and they've been very understanding with my needs for flexibility on timing, so all is okay there. Moving onto brise soleils, who would have thought it would be so difficult to track down a firm to do these? Certainly neither me nor my architect. We tried a couple of local firms, including one that is on the same industrial estate as me and OH, but it was like tumbleweed blowing down mainstreet in an old cowboy film. Nada. In the end, I contacted another Birmingham firm, Vincent Timber, who mentioned them on their website. In the event, the only supply the timber for them rather than the whole thing, but they passed my enquiry onto a firm in St Albans, Contrasol Ltd, and they came back with a fully specced brise soleil for the stairwell window which is just the thing. Not cheap, mind, but not far off what I thought it would be. The metal supports will be powder coated aluminium (RAL7016, of course, the same as any other bit of metal on the building) and the fins will be red cedar that will be allowed to silver. When OH and I originally discussed this, we were hoping to get something that would retain its colour but this has proven to be tricky and we have no intention of painting anything on the brise soleil fins every 8 years or so to retain its colour. It can go grey with dignity, just like us. I was out on site today getting the trench dug for the re-routing of our electricity supply cable. Currently, it comes in via an overhead wire and a dirty great pole that's right next to the building. We've planned from the outset to have this buried and the SSE guy, Dave, will come along next week to lay the cable and, in due course, run it into the garage. It's a long old trench, mind you. It took just under 4 tons of sand to put the blinding layer down and it won't take much less than that to cover the cable once it goes in, before back filling. Still, another job to tick off the list. I need to get another couple of bits of groundworks done in the coming weeks. First off, I need to get the spec from the Highways Agency as to how they want the new driveway onto the lane to be constructed. My sunamps will live in the garage and it will be very tricky getting them in through the house as they're hefty things, so I may as well crack on and get the driveway done. The only slight hitch is that there is some scaffolding in the way right now, but I'm hoping that by the time we get around to making the new opening, I'll be able to do away with a fair bit of the scaffolding. The other groundwork task is to start digging out the pond. OH has decided on the shape and size and I used a couple of cans and left over EPS to mark out the perimeter this morning. Before anyone asks, these are the answers: no swimming, no fish, no fishing, no duck shooting. It's a wildlife pond and that's it. But it is a bloody big pond and I'd like to get it dug before we get some serious weather in as we can then start to get a feel for just how well or not our clay soil will retain water and start to plant up the margins once we have a better idea of what we're dealing with. It's hard to see the line marking, but this is the view from the top lift of the scaffold. That's all for now, the next post should hopefully have a bit more interior detail and a lot more roof action. Stay tuned.1 point
-
Yes it seems the main phrase for our build currently, is "nearly done" - As much as September seemed to be a frustratingly slow month progress wise, I am optimistic that we shall see things all come together during October allowing us to move in for November !! Having said that when I look back on the photos that I had taken, quite a bit of progress had indeed been achieved. It is easy to lose sight of such things when you are in the thick of it on a daily basis. The upstairs is now complete – in as much as we are still awaiting the sanitary ware to be fitted – but the rooms have been decorated, the bathroom and en suite, paneled and tiled. The paneling is moisture resistant MDF, which came in long panels, making it a lot easier to fit and also better than individual T&G panels. The floor tiles, laid in an OPUS design, went down on anti fracture matting. The oak staircase arrived and has also been installed. We have gone for a predominantly oak staircase. The main stair treads are redwood as they will be carpeted. We decided to go against a full oak staircase as we were concerned about the noise, safety element when coming down them and also due to the financial costs. The cupboard under the stairs is yet to be completed. Once done this will prove to be a very useful storage area. Downstairs, the cylinder and associated items are being installed together with the ASHP. The cylinder itself is a 170 litre tank which will have a recharge time of 37 minutes to 40 degrees. This will allow the UFH to be fired up and thereby ensuring the screed floor would have dried out completely, prior to any tiles being laid downstairs. The sitting room is now being plastered and will be painted in due course. The delay in getting this room finished was due to the fact that the chimney hadn’t been completed. Thankfully, it has now been done, which in turn, has allowed the WBS fitters to come and install the oak beam and register plate. The WBS won’t be fired up and formally commissioned until early Dec, due to the delays cause by the chimney not being done in time. Outside, the stone work is almost complete. The chimney end will be finished this coming week and then work can turn to the awkward gable end above the single storey roof. We are now in discussions with a landscaper, so things must be heading in the right direction. Over the coming weeks, the drainage system and treatment plant will be installed, allowing the roofer to return and fix the downpipes. So by contrast, October should be the month when it all comes together - we can look forward to the kitchen being fitted, electrics and sanitary ware being installed and the floor tiles being laid. Fingers crossed for a good month! Thanks for reading.1 point
-
A brief update on my inward leaning gable that I posted about recently. Just to recap, I spotted that the gable section of my west facing bedroom wall was leaning inward at an angle and made it look as though there was a problem with the window, which turned out not to be the case. Over the last couple of days I've been liaising with my timber frame company, MBC, and my window company, Norrsken, to see what needs to be done. I've taken plenty of photos to illustrate the problem and the MBC team will be on site week commencing 22nd October to put things right. They would have come earlier but I have some other things that are scheduled for next week and need to get those done first, so I requested the slightly later date and they were happy to oblige. It's clear enough from all the photos that the problem lies with the timber frame but it's still very reassuring that MBC haven't argued or quibbled over anything and have been positive from the start, agreeing that it does need fixing and setting about organising it. Because of the position of the section that is out of line, the window will first need to be removed. The Norrsken team were due to come back at some point to go through the snag list and they, too, are happy to come back that week so that as well as sorting out the snag list, they can assist with the removal and re-installation of the bedroom window. It has to be said that with the weather that we've had this year, I've had something of a charmed run on the build so far and given how complex and large a project building a house is, I'm amazed at how few problems I've had to date. Even so, I've always been prepared for something going wrong at some point and my view is that it was almost inevitable. What is less predictable is how the parties involved respond to the problem to get it sorted out. In this case, I have been really pleased with the responses. Pretty much as soon as I contacted MBC and brought the issue to their attention, the response has been to get it fixed. At that stage, they couldn't say what caused the fault and until they see it, they can't be sure. What they have been emphatic about, though, is that they will get it sorted and before the next stage of works are due to commence on 5th November. Norrsken also deserve a special mention as they haven't hesitated to co-ordinate and make sure that MBC can do what they need to do whilst the windows are taken care of. All that remains now is to see just how the Leaning Wall of Bagber will be rectified; it doesn't look like any easy job to me and I'll be interested to see how it gets done and greatly relieved once it is done.1 point
-
From this To this The demolition guys worked alarmingly slowly. They didn't bring any machinery in until late on when the slab needed to be dug up. Unbelievably they were loading the skips by hand, brick by brick, concrete lump by lump. Anyway, we ended up a bit behind schedule due to them taking 3 weeks longer than planned. If we were ever going to do this again, which we are not, we would know better. I would drive a digger into my flat pack bungalow myself.1 point
-
So, as I am backdating this blog by 6 months I need to catch up quickly. I covered alot of our demolition in other posts due to the asbestos issues. The bungalow was encased in plastic sheeting and over the course of three weeks amosite asbestos was removed from the soffits, chrysotile asbestos from the roof tile edging and from inside every internal wall. We left this job to the professionals and were pleased to do so. It whacked up the cost of our demolition by about £20K in the end and the contingency was dipped into straight away but best off done properly.1 point
-
Back in March our new home arrived. Manoeuvring it into place took more time than we possibly imagined. And we looked at our snow covered new home from the relative warmth of our 1960s flat pack bungalow and wondered if it was too late to turn back. Thanks to fellow buildhubbers we got it safely hooked up to gas. Thanks to You Tube we got it levelled. Thanks to him indoors it got all plumbed in to mains drainage. We moved in in mid April.1 point
-
That’s the function I’m interested. The summers are only going to get hotter and a bit of cooling would be nice, especially if I can find an eBay bargain.1 point
-
Ah that’s useful. No it hasn’t arrived yet, although I have been at work today so it may have turned up. However, I’m away for a week from tomorrow, so might struggle to fit it before I leave.1 point
-
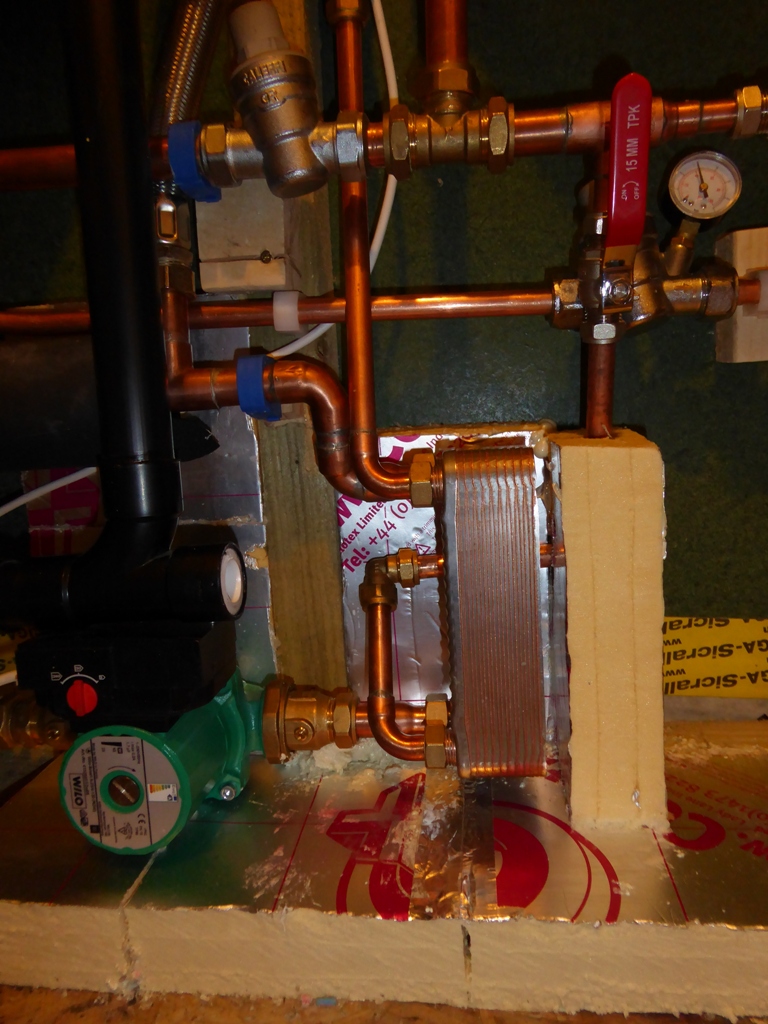
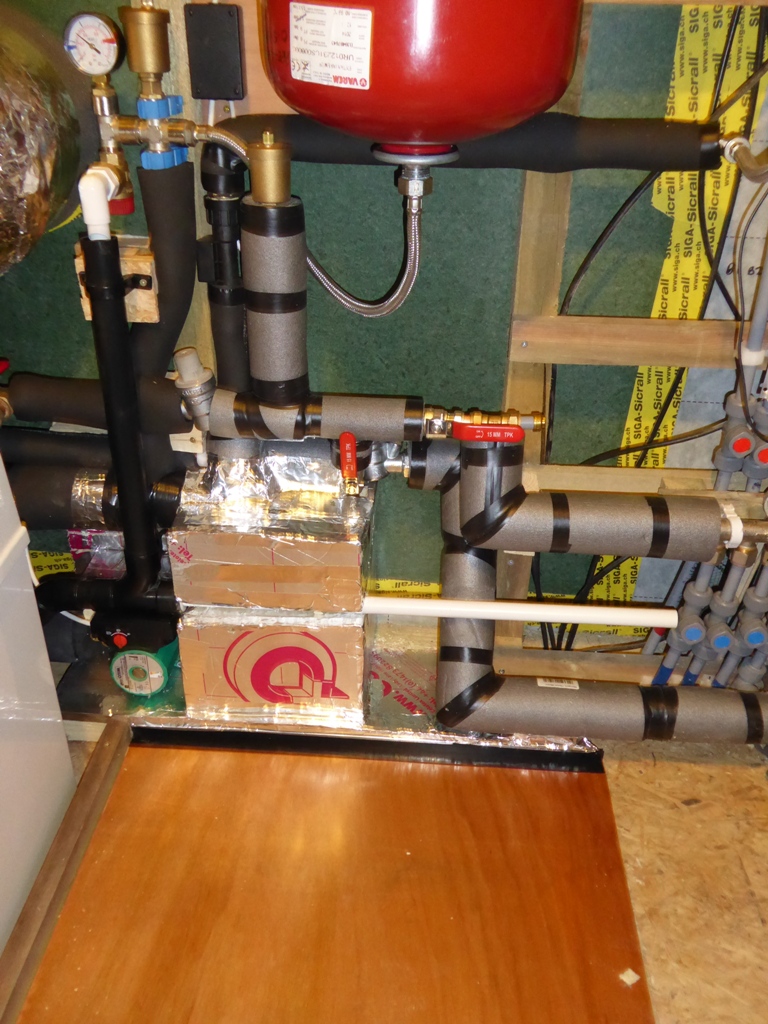
I made an insulated box for ours, using 50mm PIR foam and aluminium foil tape. Seems to work OK and wasn't hard to make. I glued the foam pieces together with low expansion gun foam, then neatened up the outside with the aluminium tape so it looked tidy:
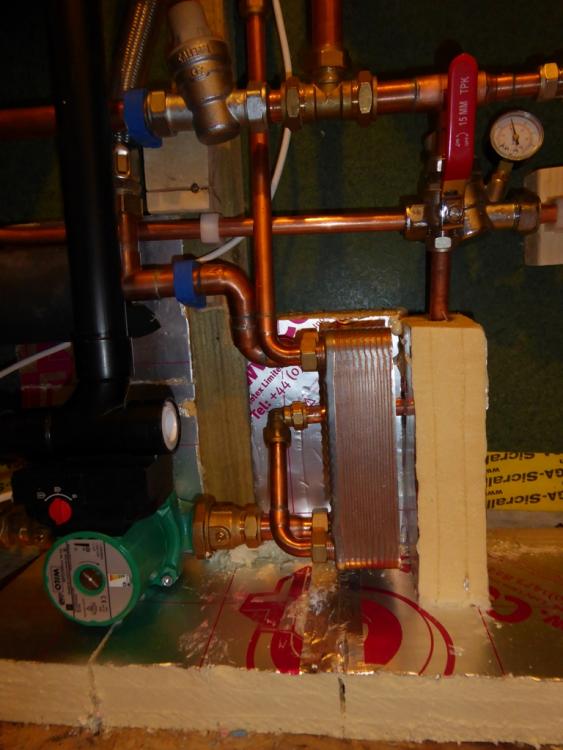
 1 point
 -
The stats I used have a link internally to select whether they run in cooling mode or heating mode. The display shows what they are doing (heating or cooling). I fitted two, one above the other, on the hall wall, with the cooling stat normally set to call at 22.5 deg C and the heating stat set to call at 20 deg C. I have occasionally turned the cooling stat up to 23 deg C, just to stop the cooling coming on in winter, but that's just two button presses. The stats I used were the Computherm Q3RF ones, and are both battery powered remote control units.1 point
-
Go to your local camping shop and buy a cheap foam rollmat and get the Stanley knife out ... Cut it into strips to go round the edges and panels for the front and back and glue them together with impact adhesive. You can reinforce the corners with duct tape if needed but that’s pretty much how we used to do process engineering vessel insulation albeit with nitrile rubber insulation.1 point
-
Can you pass on their details as I’m sure you’re now an M&E Consultant ......1 point
-
Ebay item number 262868599536 any use to you? You could create your own by carving some pir and making a plywood box1 point
-
From their accelerated testing I believe they are suggesting over 25 years life, perhaps more, as they aren't seeing any significant degradation so far. My old Sunamp PV (from 2015) is going back to Sunamp for analysis today, so they can get another benchmark for probable life. There's nothing at all wrong with it, it's still working just as it did when I first installed it, but I liked the idea of having a lot more DHW capacity (well over 9 kWh from the UniQ, versus 4.5 kWh from the pre-production Sunamp PV that we had). We've now got enough DHW capacity to last a couple of days, so if we get a cloudy day it won't matter too much, and I can reduce the grid boost usage.1 point
-
What’s life in terms of a Sunamp?1 point
-
Nope there is just a gap about 15mm on opposite sides of the nut and a couple of flats on the body - same as a lot of pump isolators are designed.1 point
-
Sauvignon Blanc actually ...1 point
-
This has been discussed before. First thing, if you are not getting the FIT, then do NOT get them installed by an MCS contactor. You will pay over the odds. You can buy a 4Kwp system for about £2000 at the moment, just get an electrician to connect it all. The key to making it worthwhile is near 100% self usage. Simple things like use large appliances washing machine, dishwasher, tumble dryer) one at a time in the daytime. Easier if you are retired or work from home but can be achieved with timers. Second thing is have a hot water system with a tank (or a sun amp) i.e NOT a combi boiler. This will enable you to divert excess PV not being used to water heating. And later on (I am not convinced the economics are there yet) is battery storage. Also think about panel orientation. All facing due south is not necesarilly best. A mix of E, S and W would give more generation over a longer part of the day so more likely to be self used, than all S that will give a big mid day peak that you might not so easily be able to self use. If you can even save a modest £200 per year off your electricity bill the payback would be 10 years.1 point
-
I use my Bahco spanner with the jaws fully opened. In and two half turns and job done. Shame that the previous ‘mate’ plumber couldn’t afford to buy her own reamer on her £80 an hour wages0 points
-
Re-cut the L shaped tile. Just broke that too.0 points