Leaderboard
Popular Content
Showing content with the highest reputation on 10/16/17 in all areas
-
Good day today, just had my letter back from HMRC confirming my claim approved (no queries or delays) and refund to be paid in 20 days.2 points
-
If you really must have an electric, we've had a Mira Advance for some years now which replaced a basic Redring non-thermostatic. I'd heartily recommend the thermostatic option any day of the week, the Mira is rock steady on temp regardless of what happens elsewhere in the house and automatically steps down in power consumption based on your flow and temp requirements vs. CW temp, when it can.2 points
-
2 points
-
Having completed the initial groundworks last year (see Part 15) it was great to get the digger back and be able to spread the remaining sub and top soil over our site. All in all, there has been around 150 hours of digger time to get all of the site landscaped. Other than using stone excavated on site to edge parts of the driveway and round the back of the house, most of the digger time (supplemented for earth moving with a dumper) has been spent on earthworks. At the front of the house, we had formed our terraces last year so 'only' had to cover with top soil. At the rear of the house, a lot more work was required as we had to spread what was still a sizeable amount of subsoil, before we could finish with topsoil. The result of all that work was a barren 'moonscape' of soil. Having considered all of my gardening options, and in particular the exposed nature of our site, I opted to go for a very simple garden scheme - a mix of lawned grass and wildflower meadow. With 2/3 of an acre to seed, I opted for the big guns and got a local farmer in to power harrow and air seed the meadow areas. He also harrowed and raked the lawned areas for me, but they did require good old human input to get an acceptable and stone light (I won't say free) bed on which I could sow lawn seed. I sourced both lawn and meadow seed from a local merchant, opting for a local species rich meadow mix, boosted with some annual and bird/bee wildflower seeds. On those areas which the air seeder couldn't reach, I used an aero broadcast seed sower / "fiddle" sower. For those who haven't used one, it's a very simple yet effective bit of kit. The lawn seed was sown at a rate of around 45g / sq m, and the meadow grass at 3g /sq m (to allow space for the wildflowers to grow) 6 weeks on, the grass has established itself and our site is starting to look rooted in its surroundings. Looking forward to next year to see some colour in the meadow areas. Stone lined entrance - large stone will eventually have a house name sign on it. Driveway, lined with timer (old 75mm posts) and small stones at the corner Meadow area - depending how this looks, the lawn area may be extended back a little to shape the meadow with flowing curved lines. You can see our treatment plant at the bottom right of this photo. A diversion channel filled with stone and small stones around the plant lid are in place to prevent water running onto the lid and flooding the pump chamber. The slope between the two terraces has been sown with wildflower meadow grass, so the terraces are hidden when looking from the road below. if this doesn't work / look quite right, I have the option of converting to lawn grass. How we have finished the space between the two sections of the house. It will of course take time for the grass to get properly established, and no doubt there will be many changes made, but overall things are looking good and the house feels that it should be there / always has been there. Meantime, we are just waiting for the fencer to come and erect two new boundary fences and replace an existing one to enclose the site from the adjacent field and neighbouring site.1 point
-
You'll want a "Loftbox" and here's a really good price: http://www.ebay.co.uk/itm/Hellermanntyton-8-Way-Loft-box-Home-Distribution-Unit-New-/162679742488?1 point
-
Get some silicone grease and follow this guide on how to fit F connectors. Fit n forget: http://www.satcure.co.uk/tech/fplugs.htm1 point
-
Use 75 owm satellite coax, something like RG6. But be warned it comes in many variants. The best being copper foil and copper braid. the cheaper ones are aluminium foil. You don't want a "booster" you want a "distribution amplifier" that adds very little gain, other than to ensure the signal does not get weaker by being split several times1 point
-
Coax is pretty cheap now, so go for the best double screened "satellite" cable you can find. Also, forget the grim old "UHF" connectors used on old TVs, and use F type connectors - they are easier to fit, more reliable and have lower losses. Boosters/splitters low down in the cable are a pain, as they introduce noise. Best bet is to fit a higher gain antenna and then use low-loss splitters. If you can avoid amplification in the line then the signal quality qill be better, as a general rule. If you really do need to increase the signal strength, in order to over come the losses at each split, then fit a decent head amplifier at the antenna. Adding gain right at the antenna is far better, if gain is needed, than adding gain lower down the cable, because it doesn't increase the noise floor as much.1 point
-
Correction. I have been happily talking about "AB Multipanels". It turns out that AB Building Products are actually a distributor for Multipanels made by a big supplier called Grant Westfield, and that they are available more competitively at eg Plumbnation https://www.plumbnation.co.uk/site/wet-wall-shower-panels/?manufacturer=grant-westfield and The Big Kitchen Warehouse. http://www.thebigkitchenwarehouse.co.uk/ourshop/cat_975511-Multi-Panel-Wall-Ceiling-Panels.html Seem to be about 15-20% less. Ferdinand1 point
-
1 point
-
1 point
-
1 point
-
Plenty of mole repeller circuits out there? Something like this buried in a tin can maybe: http://www.electroschematics.com/2570/ultrasonic-pest-repeller-circuit/1 point
-
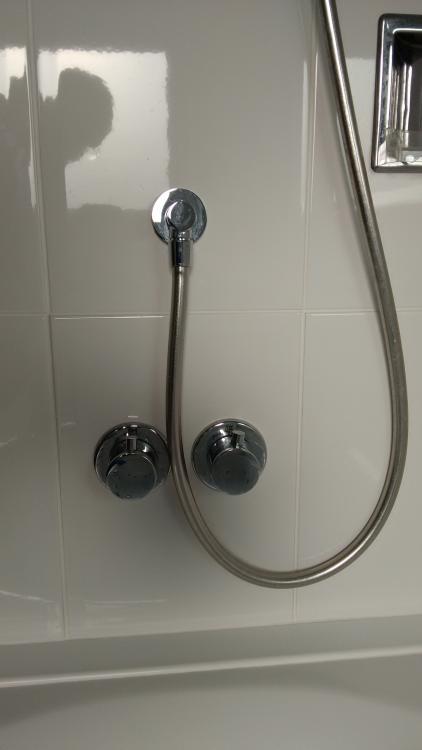
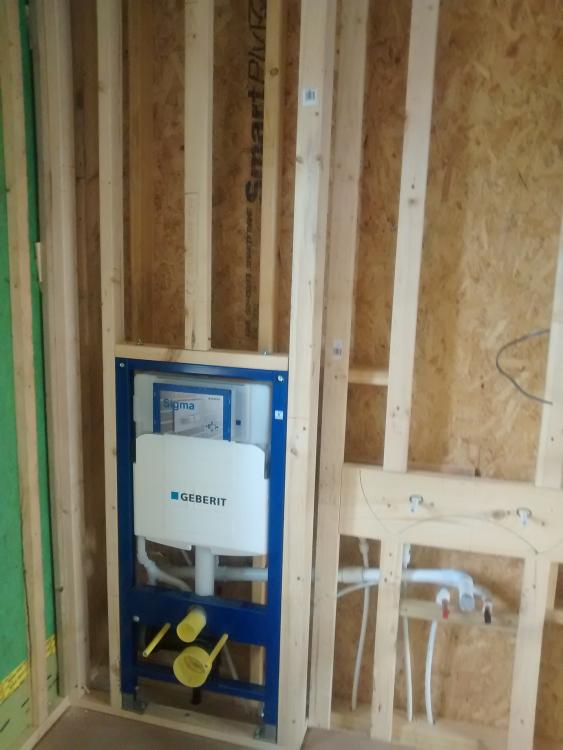
Not knocking soldered joints but I'd consider chucking in a few bends instead of soldered elbows. Lots more points of failure IMO. This (a tad OTT) guide gives loads of advice: http://bpec.org.uk/wp-content/uploads/2016/01/BPEC-Essential-Plumbing-Skills-Copper-Pipefinal-version.pdf My little attempt, bends where I could and a "saddle" too:1 point
-
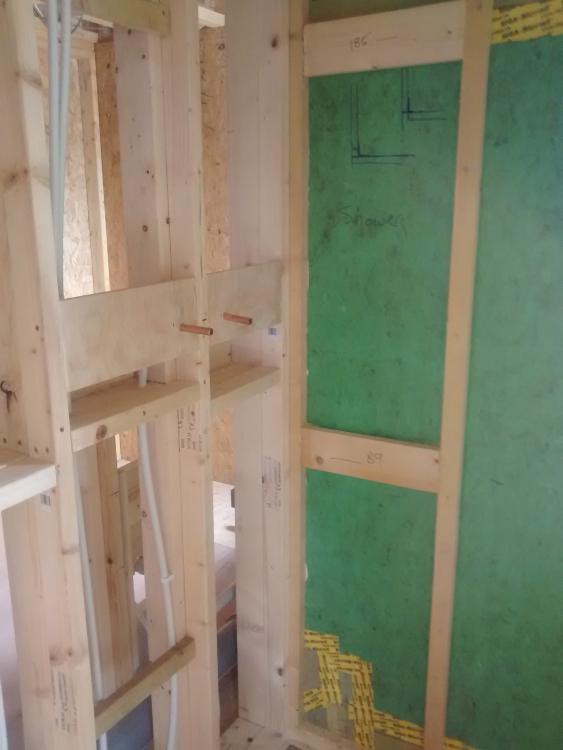
I also fitted dwangs to hold the pipes securely in place for the showers,taps and basins with the spacing exact for the fittings. I used hep20 elbows with copper tails for the fittings. The dwangs are great when you come to screw in the fittings as you don't need any kind of plug, screws in wood hold everything securely. We also made sure that we had dwangs in place for the basins, etc., saves so much time at the end of the build. We have just been fitting out two of our wetrooms, it's been really straightforward.1 point
-
Electric showers are the anti-Christ, do you have a decent ( 28kw or above ) combi ? A thermostatic electric shower attenuates flow to power ratio so it maintains a stable temp, e.g. with a regular electric shower if someone runs an outlet elsewhere the water flow rate reduces and it goes to nigh on scalding hot with the user having to adjust the dial or step aside, not AS bad with a thermostatic. Downside is ~£4-500 for a decent one. Why ekecric? For redundancy if the boiler fails ? A lot of landlords do this but just how often does a combi fail, and for how long before you get it fixed ? ?1 point
-
Just an idea, but why not buy a pipe bender and bend pipes where you can. Also maybe use ones of these https://www.screwfix.com/p/solder-ring-full-cross-over-22mm/943811 point
-
If anyone wants to use the spreadsheet I knocked up for the relevant pages of the VAT form, please feel free to do so, even if you wish to use it to earn a bit of extra cash.1 point


.jpg.f67e85df1efc39e816983a2fc78a62ea.jpg)


