Leaderboard


Popular Content
Showing content with the highest reputation on 08/19/17 in all areas
-
I'm struggling on a drain run and only have a fall of 1:28 (the fall is 540mm over 15m). I can cut the concrete of the foundation if I really have to but I wondered if there's any tips to lower the incline? The manhole that I'm connecting into has a 160mm inlet, can I use a 160 to 110mm level invert reducer and have it so the 110mm is at the top? That could buy be 50mm. The Floplast mini inlet chamber's side inlet is 100mm above the outlet. Am I allowed to use the side inlet to change direction if i don't have any flow into the main inlet (that flows straight through to the outlet). If I could, that could buy me 100mm. A mate suggested using a couple of say 15 degree elbows to give the pipe a kick down. I think the idea would work but don't know if it's allowed or be a potential blockage place. I also wonder how that would affect rodding.1 point
-
A (hopefully) useful learning point for those installing Biopure Sewage Treatment Plants We had a huge amount of rain fall yesterday afternoon, so much so that our deep flow gutters were at times unable to cope with the amount of water running off the roof. In the main, our drainage strategy coped very well, with all visible surface water being drained away within 10 minutes of the rain finishing. Given the volume of water that fell, I'm happy enough with this result. One issue that we did have was that surface water ran down a banking behind our treatment plant, and pooled on top of its lid. Up until now, any rainfall has simply run off the lid to the land surrounding, however yesterday, the flow / volume was too much, which resulted in the small air vent on top being submerged. Our air pump is located within an insert below the main lid, directly beneath the air vent. The insert filled with water, submerged the pump and tripped the electricity supply. There was no further damage caused to the treatment plant (i.e. being overwhelmed with surface water) as the pump housing insert was watertight. Taking advantage of a 10 minute break in the weather, I swapped out the pump with a spare and got the system back up and running without incident. On a positive note the IP68 rotary switch which connects the mains supply to the pump was bone dry when I opened it. The submerged pump has been stripped down and is currently drying out. The advice therefore is to ensure that the lid of the Treatment Plant remains proud of the surrounding ground, rather than level with or partly proud (as was the case for me), and ensure any surface water / heavy rain has somewhere to run off. If the worst happens, having a spare pump (as proved in this case) is certainly a worthwhile investment. Having identified this issue the hard way, I now have a small amount of diversion drainage work to undertake.1 point
-
The Vortex was on my shortlist as well, along with the Condor and the Biopure. I couldn't get the Condor delivered to my location for a sensible price, which took the list down to two. The activated sludge process of the Vortex is interesting, but I'm not sure whether this generates a benefit in terms of performance. It could be argued the other way, that a sludge crust on top of the clarification chamber (as has formed in my plant) is a good thing to have. The built in sampling point in the Vortex is certainly useful. I opted for the Biopure as I didn't want to have to house the air pump separately (perhaps not the best decision given recent circumstances!) - the Vortex required a separate pump box over and above the plant itself. I felt more confident in terms of performance going with the Biopure as it's one of several that use the same cone shape / design. The Vortex cylinder seemed unique and did make me wonder why nobody else has such a design. That being said, performance figures for the two are very similar.1 point
-
Well I've dug a hole and done the percolation test. Neighbours were pretty jealous of my new hobby of watching a hole of water very slowly empty There was solid clay about 25cm down so it was pretty slow. 500sec which comes out at 3.3sec/mm drop I assume this indicates fairly poor drainage and will mean more serious measures needed. I'm struggling to work out from the guidance/info how to translate this number into a course of action for draining the driveway. It is about 50m2, previous lawn. I was planning to dig out the topsoil, put a membrane downs, hardcore/crushed stone and then gravel/shingle on top. The main issues I think will be avoiding any drainage onto the pavement and onto my neighbours driveway which is slightly down hill (there's as step down of about 30cm onto the level of his front driveway; also gravel. Presumably some kind of French drain or filled gully along those 2 borders. How would I know if I need a larger sump (attenuation cell?) like you used, Jeremy. Is there some kind of formula which indicates it or should I just assume the worst, belt and braces it?1 point
-
My local groundworks guy is known as "The Vicker" locally as he's taken allot of services in his career1 point
-
Just finished laying my UFH pipes and have not gone up the wall route. I'd be asking for trouble...I'd only have someone drilling something nasty in the wall. I may as well put them next to her bed so she can turn them on before she gets up in the morning. Far cheaper than some remote device. And I'd be able to roll over and turn them off after 2mins as well!!1 point
-
Don't forget to nail every one ......1 point
-
I was actually considering an extension lead from the neighbour's shed, but that's not without merit...1 point
-
Ah, the rustic look . A tin of yacht varnish over that should make it look a $million and make it waterproof.1 point
-
I tile to a 2mm grout line with the laser line and just have the laser lighting up the middle of the spacer. With ceramic I doubt that you'll be able to use plain spacers for every course from floor to ceiling without gaining / losing a bit. They're just not made to that good a tolerance so you'll end up using wedge spacers here and there anyhoo. Set the shortest piece of batten out and rest a tile on it, then put two spacers on it and another tile. Keep doing that until you reach the datum line and see how much you've lost / gained ( two man job if it's a few courses ) and adjust the batten height accordingly. You want to set it out so the first course of tiles sit on spacers THEN the batten which will allow you some wiggle room for when you get two ( wet ) courses high. You run a straight edge ( 1200mm level / other ), across every 3 tiles wide as your going, and if there are any peaks / troughs you just change the base spacer out to a wedge, pushing it in / out to suit, ( to push them in you'll have to chop the narrow end off a bit as it'll hit the PB ). Set the laser to the top of the second course, after you've stuck ( wet ) the first two tiles ( stacked one one the other ) and that'll then become your actual working datum. Go around the room those two courses high and allow them to set, first making double sure the gaps and top edge are perfect. Then you can lose the laser until you've gone another 2 courses high, at which point you reinstate the laser and go around the last row of spacers again changing out for wedges if / wherever necessary. Don't tile more than 3 courses high without checking / rectifying with the laser and wedges, but don't do it every course as that's just pointless. The laser is a guide but the straight edge is your friend, instantly ( and quickly ) pointing out any undulations. Note : "wet" means tile stuck on but the adhesive not yet set, so the tile can be adjusted.1 point
-
F.....for Fosters Water goes A, B, C, J, L then F. The rest never see a drop...I think.1 point
-
Be honest there is no way you lot would leave the tap running that long with your water meters.1 point
-
Please do it soon!! we are all on the edge of our seats waiting for the plans......1 point
-
@Onoff will make a scale mock up soon out of used beer cans and report the findings. It may take a while to complete though...1 point
-
Yup. Guess which letter is on the hat1 point
-
Why are you set on LPG? Of all the "non mains gas" options it is probably the most expensive. What does the price work out at per kWh (I have no idea how much a "unit" is that you mention)? Don't discount air source heat pumps just because you can't get any RHI payment. To get the RHI it has to be installed by an MCS registered installer and that seems to add a big premium to the price. I have just bought my heat pump for a shade over £500 as an ebay bargain. I will self install it but any self respecting plumber could install it. Assuming it gives a COP of 3.5 when heating the low temperature UFH that's a price per kWh of under 4p per kWh. Not far off mains gas prices and I am sure less than LPG prices? Likewise don't rule out solar PV with no FIT. I am resigned to the fact that by time I am able to fit solar PV there will be no FIT or it will be so low as not worth bothering. Again, no FIT means no need for an MCS installer and you can DIY it, or any electrician can. You need to make sure you can use most of what you generate, which means use the big appliances (washing machine etc) only in the daytime, and have a hot water tank to dump excess power into hot water. I am also keeping an eye on battery storage for self usage but it is not "there" yet in terms of cost, particularly battery life and replacement cost. Oh and welcome to the new forum.1 point
-
I decided to make this one a bit higher so it missed the direct flow of water. All the tiles and trims were set into clear CT1 and pushed n until it oozed out of the grout lines / gaps etc. I wiped that excess off with wipes, making sure none was left flush with the surface of the tiles / trims, and left it to cure. I then gunned a colour matched silicone onto the remaining gaps. You could lay that on its back, fill it with water and it wouldnt lose a drop. .
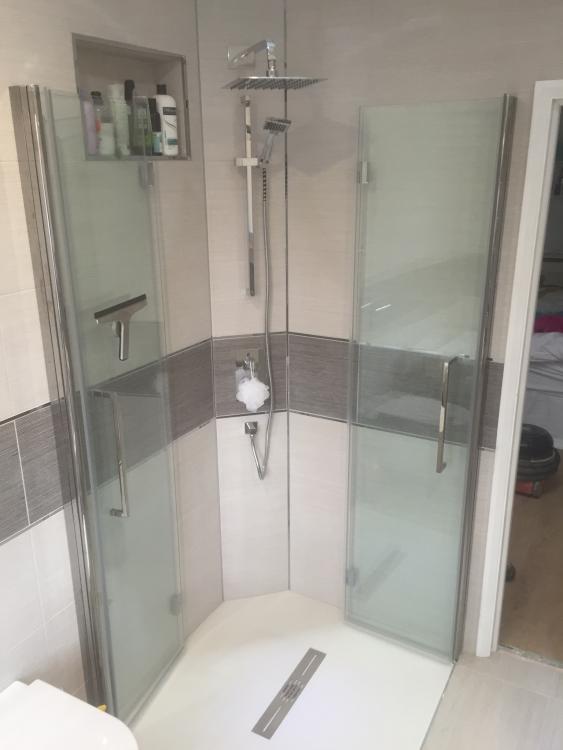 1 point