
ProDave
-
Posts
30688 -
Joined
-
Last visited
-
Days Won
424
Everything posted by ProDave
-
I would not use a Pi for this, I would use an Arduino. But that is more because I am familliar with the Arduino. You will buy an arduino for less than £10 and the programmign software is a free downloadl Here is an example to get you started https://create.arduino.cc/projecthub/TheGadgetBoy/ds18b20-digital-temperature-sensor-and-arduino-9cc806 To view the temperatures on a pc screen you can use the serial monitor built into the arduino programing package, but better would be to use PuTTY but in this case as a serial terminal emulator (PuTTY is very versatile)
-
 You should not start until you have satisfied all pre commencement planning conditions. Ours confirmed in writing when they were satisfied. then you have to notify them when you start the development.
 -
A standard single skin block wall with no doors or windows qualified at my last house.
-
That's not a "fault" of ICF though. They also had some blowouts doing the pour, but this is also the first time I have seen an ICF pour with no shuttering so not entirely surprising.
-
Go back after boarding, cut the holes, make sure the wires are still there and leave them within reach above the boards. I would MUCH rather mark out the holes on a bare plasterboard where you can still see where all the joists and PB joints are, than try and do it on a finished ceiling and risk drilling into the bottom of a joist or dwang. I learned very early on, don't trust other trades to cut downlight holes, not if you want them to be in a straight line.
-
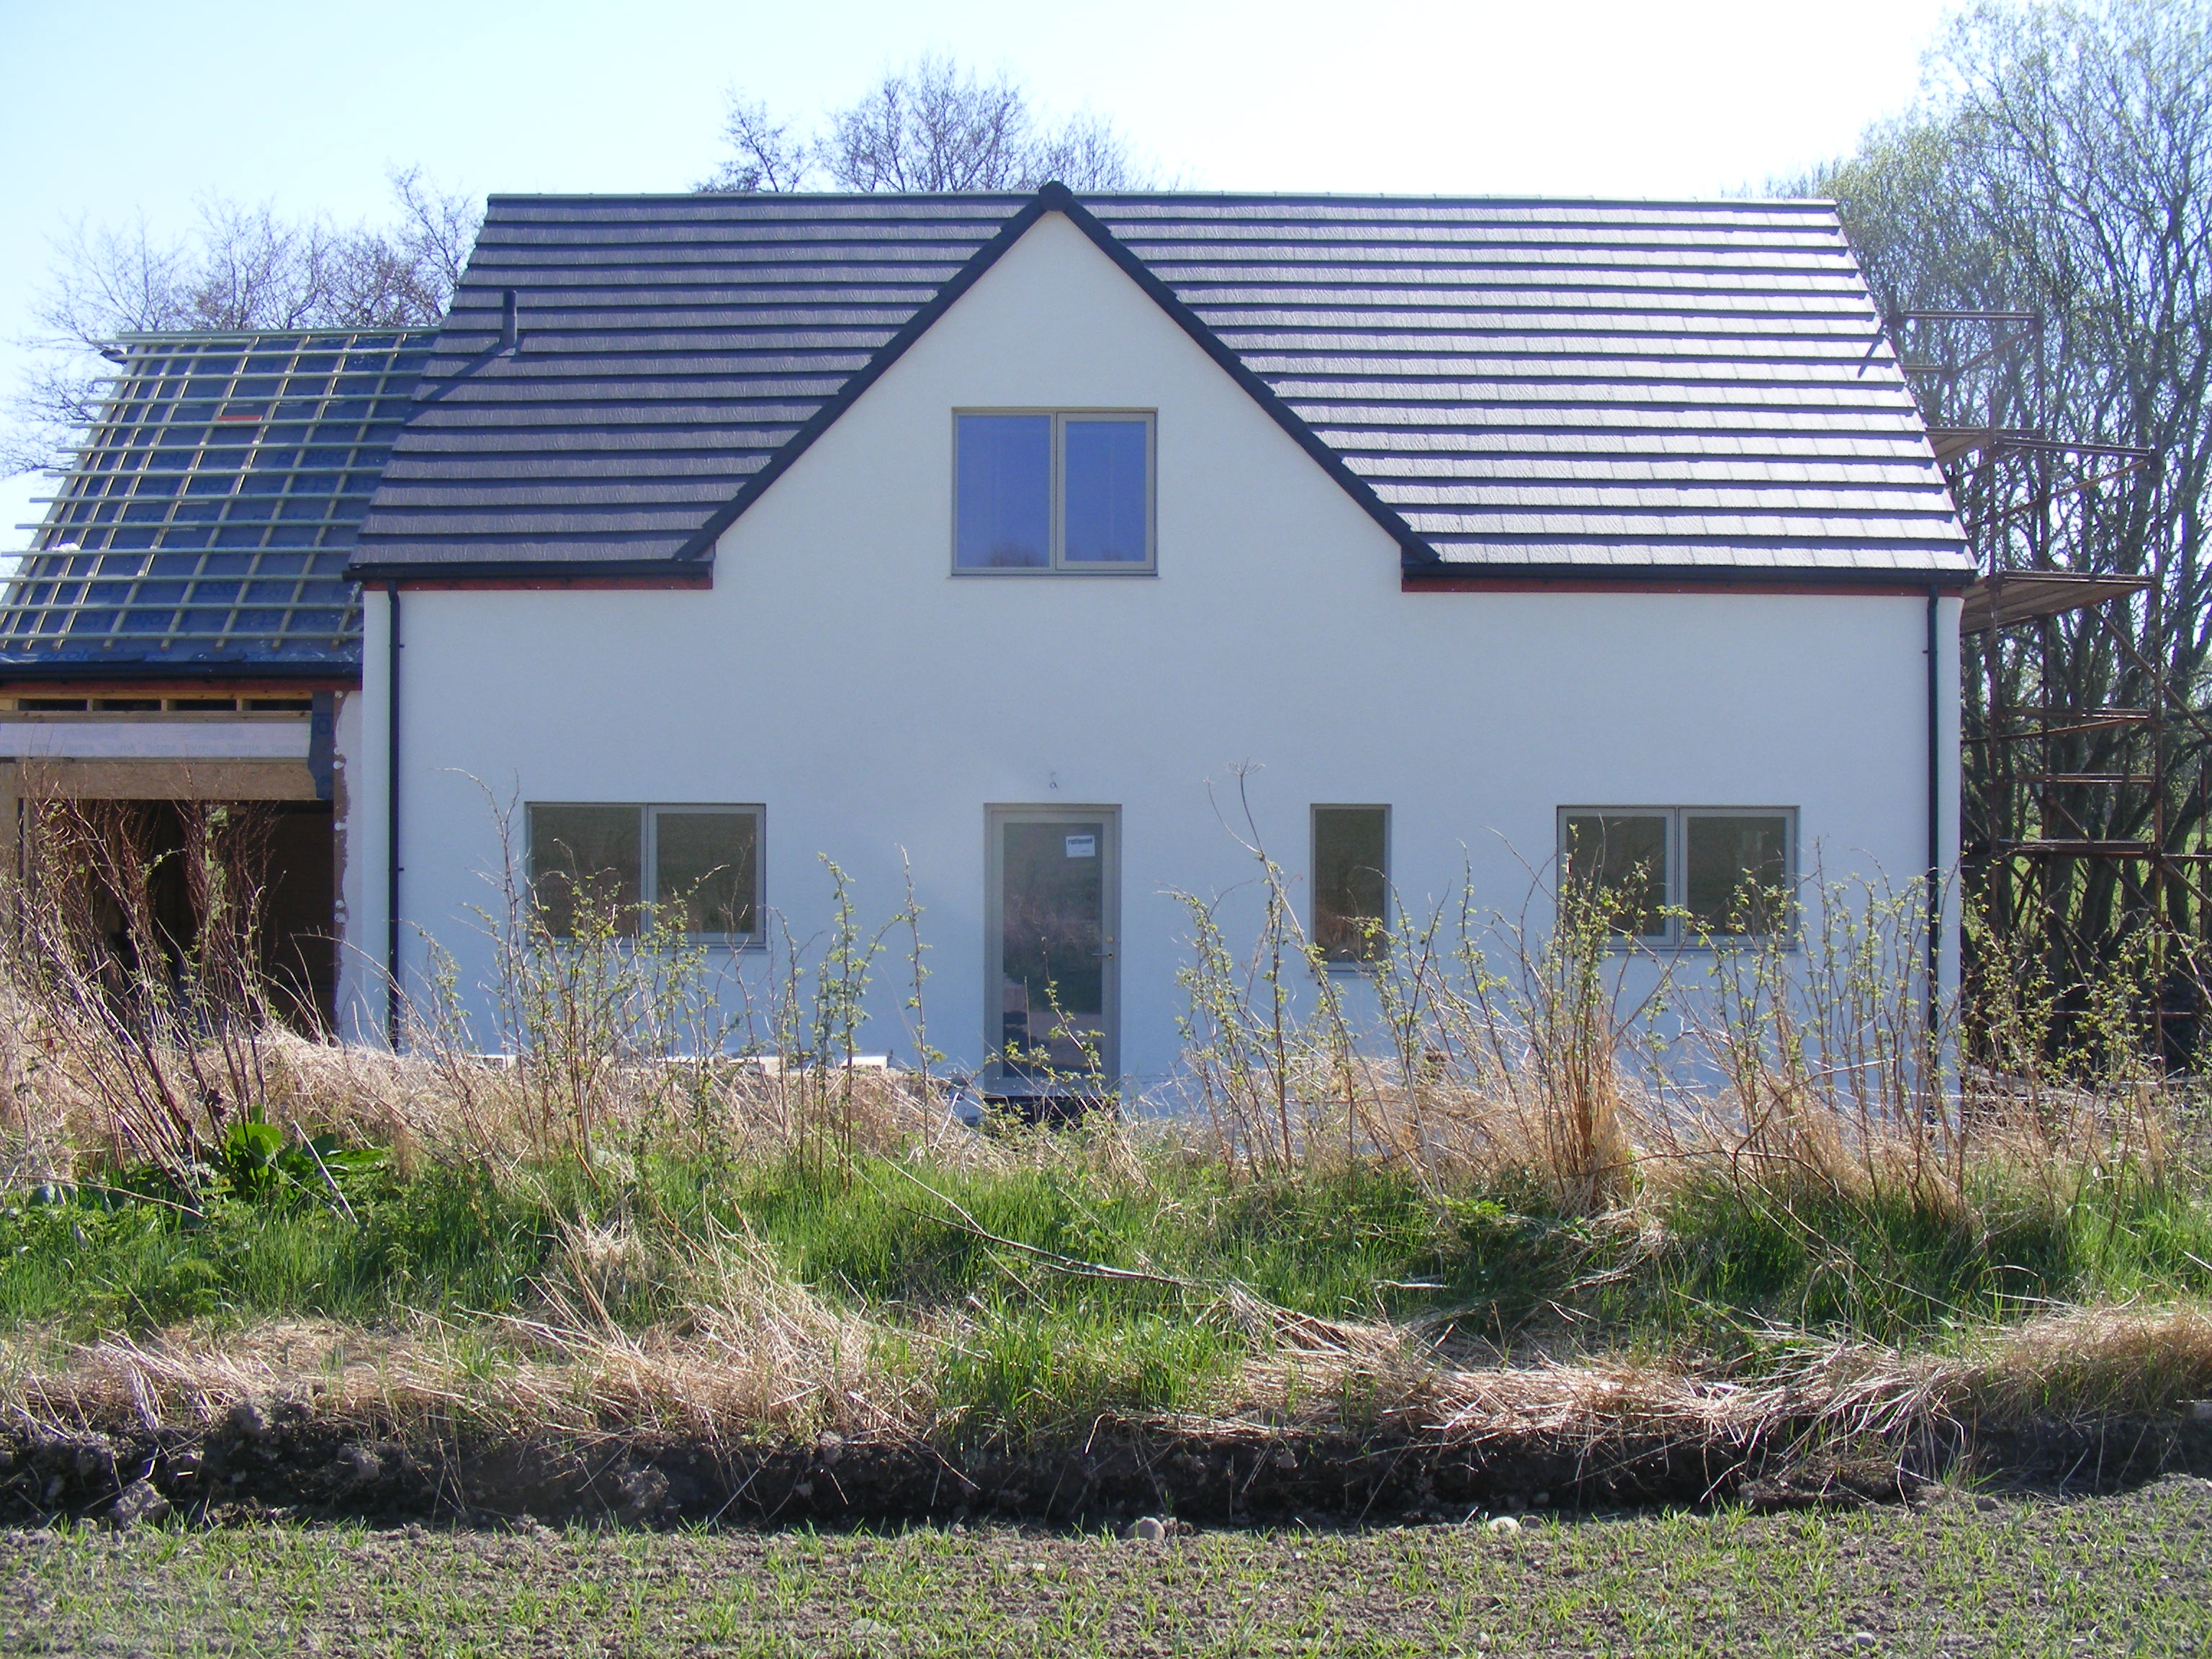
Low cost family home for now and years to come
ProDave replied to NickK's topic in Introduce Yourself
If you end up in D&G you will get a plot for less than that. Cheapest at the moment is £30K (though you probably don't want that one) https://www.bspc.co.uk/plots/ -
ME. Every time. Never had a problem or complaint. Nobody questions cutting in light or socket holes before plastering, why not cut light holes?
-
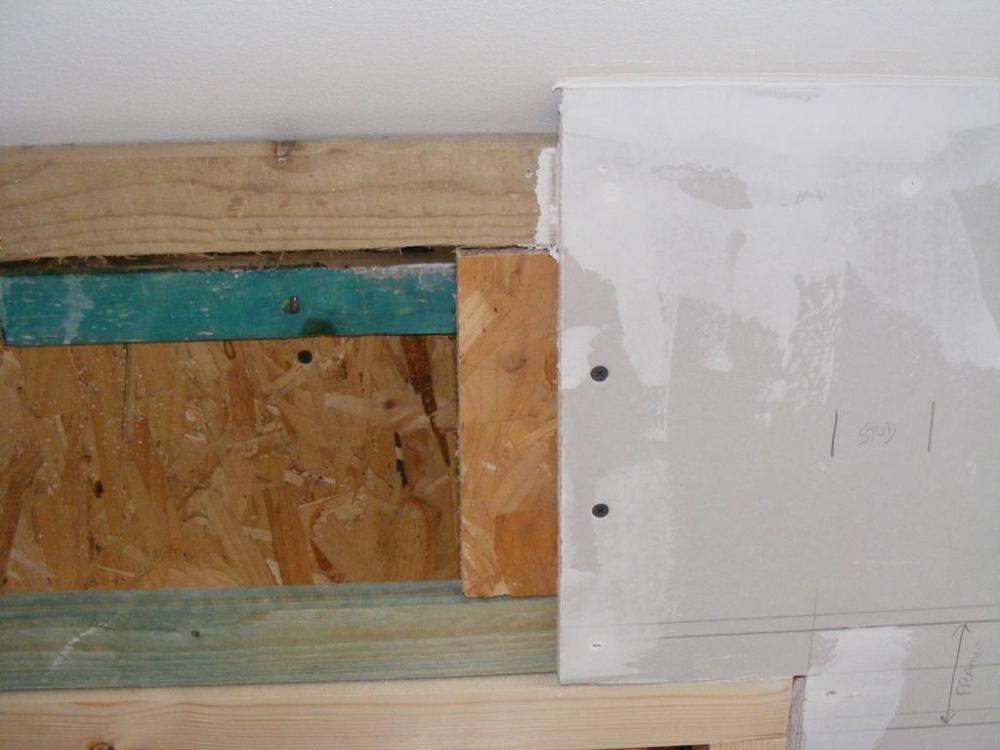
Here you go, here is my "eezee nogin" method. So imagine my battens are the bottom of your joists. The plasterboard spans between the top (white) and bottom (green) battens leaving the edge unsupported. In this case I have used a bit of OSB as the "noggin" fixed with 2 screws through the edge of the plasterboard. When the next sheet goes on, 2 more screws fix through the edge of that into the "noggin" Just be careful not to press hard with the screwdriver. It might be best to do those by hand rather than an electric driver and just let the screws bite and pull themself in.
-
Low cost family home for now and years to come
ProDave replied to NickK's topic in Introduce Yourself
Hi and welcome. I wanted to build my own house in my early 20's but was thwarted by lack of finance. It was not until I was 40 I got to realise that dream. Now on No 2. I hope you don't have to wait too long. -
I have scaled from the picture and it is now very slightly too far to the right. P.S. I see you have foamed the joints. My plasterer told me off for filling the joints, he said leave them and he will fill them with plaster while setting out.
-
Re this nogin thing. Your issue appears to be you are nervous about how to attach them to the joists. Don't. This is what I have often done. Fix one board. That will leave the tapered edges of the board unsupported. I then cut some bits of 6 by 1 timber that just fit between the jousts. Lay them one at a time on top of the board so they are half over the boad and half overhanging Screw through the plasterboard with 2 or more screws. that secures the "noggin" in place. Do this for all the gaps between the joists. Then when you put the next board up, screw through the edge again to catch the other side of the "nogin". Just don't push very hard when doing that or you could burst the first set of screws. All you are trying to do is support the otherwise unsupported joint to make it less likely you will get cracks. I might be doing a small biut like this later so I will take a picture to show it better.
-
Building regs completion is what they will want.
-
Where to put the electricity meter
ProDave replied to MortarThePoint's topic in Consumer Units, RCDs, MCBOs
Arguably a single RCD for the whole house does not comply with BS7671 and in any case is really inconvenient as any fault could trip the whole house. And you would have to go outside to reset it. -
A few weeks back I tried to move onto normal insurance. it took over a week of questions back and forth to the broker about what work was still to be done on the house, and when the quote came in, it was £100 more than renewing the self build insurance. I have concluded I am not going to get a sensible normal insurance quote until I have a completion certificate. All that needs doing to mine is the sun room needs finishing (does not even have windows yet) and some internal joinery. There is no heavy machinery work needed, but that did not stop the insurers being ultra cautious. and your self build insurance will have employers liability insurance for trades you employ.
-
UK Council asking to remove fence what are my rights
ProDave replied to Anna12's topic in Landscaping, Decking & Patios
Yes I hate these "back to front" estates. but if your back garden fronts onto a road, the developers usually put a 2M high fence and planning for that is included? Is it like my first house, where the builders put the fence was not on my boundary, there was another 5 feet of garden on the other side of the fence. I collectively with 3 other neighbours got planning to move the fence right up to our boundaries and it was passed without issue so we all gained another 5 feet of garden (significant when the garden was only 30 feet long to start with) -
Where to put the electricity meter
ProDave replied to MortarThePoint's topic in Consumer Units, RCDs, MCBOs
No you really don't want an up front RCD. Steel wire armoured ran in safe zones or on the surface does not need RCD protection. Mine just comes into the house right below the CU and straight up to the CU. If the route through the house is complicated, there is nothing to stop you taking the SWA from your switch fuse back out of the house, around the house underground and re entering where you can get a short and easy run to the CU. -
UK Council asking to remove fence what are my rights
ProDave replied to Anna12's topic in Landscaping, Decking & Patios
Can you clarify, perhaps with a photograph where the fence is? It used to be that any fence between the principle elevation and the highway needed planning. Now the wording is "adjacent" If it is right next to the road then I am afraid it is adjacent and needs planning. But there have been cases where a fence 1 metre back from the highway does not need planning. the inspector in that case said he could not touch the fence while standing on the highway so it was not "adjacent" -
UK Council asking to remove fence what are my rights
ProDave replied to Anna12's topic in Landscaping, Decking & Patios
Duplicate threads merged. -
Where to put the electricity meter
ProDave replied to MortarThePoint's topic in Consumer Units, RCDs, MCBOs
The 3 metre rule means you can only rely on the suppliers fuse to protect meter tails up to 3 metres long. you can have any distance you want between your meter and consumer unit, but if longer than 3 metres you need to provide your own circuit protection, commonly in the form of a switch fuse. I have a switch fuse in my meter box with an 80A fuse in it to discriminate from the suppliers 100A fuse. -
Hi and welcome to the forum. Lots on here at all different stages of build and most trades represented. I think you are now the third BuildHub member on Orkney now,
-
Where to put the electricity meter
ProDave replied to MortarThePoint's topic in Consumer Units, RCDs, MCBOs
E In a kiosk at the bottom of the electricity pole. Will be a cheaper connection. Can be connected and finished before the house is built so you have a site supply without having to move it later. No need for a meter box on the outside wall of your house. Run your own SWA cable from this kiosk to the house when you are ready with no DNO involvement. -
Now it's the digger's turn to annoy me - with a water leak.
ProDave replied to dnb's topic in Tools & Equipment
As an interim measure you could try that "old banger of a car" trick of running with the radiator cap loose so it does not pressurise. At least it would slow the rate of coolant loss for now. -
Sealing between riser sections of an I/C
ProDave replied to ToughButterCup's topic in Waste & Sewerage
Well I air tested out chambers. Only because it meant the entire drain run could be tested in one. I tried it before BCO arrived and was surprised all the risers and lids did seal. Once I knew they sealed it was quicker to do the test in one rather than something like 3 or 4 individual runs between chambers. -
Sealing between riser sections of an I/C
ProDave replied to ToughButterCup's topic in Waste & Sewerage
My first house they didn't come with the risers and I didn't even know they should be there so it had none. They came with the various sections when I bought them for this house. -
Heating options... (another noob question)
ProDave replied to JackOrion's topic in Stoves, Fires & Fireplaces
If you have unlimited firewood then the obvious is a WBS in one room with a back boiler to heat water for radiators in the other rooms.


