Onoff
-
Posts
21125 -
Joined
-
Last visited
-
Days Won
206
Everything posted by Onoff
-
Pratley?
-
I'd have another Bernstein pan in a heartbeat. They offer what they term "NANO protection". https://bernstein-badshop.com/toilets/wall-mounted-wc
-
I wondered if the pipe is (also?) a tad too high, i.e the hole through the wall should have been drilled a bit lower? (Just like the one in my kitchen that slopes uphill a tad...don't know who did that... ?).
-
I'm surprised it went on for so long..... .....which is what @mrsmoldy probably said.
-
As in seen more than an Egyptian vet! ?
-
Being the operative word! It's penises btw. This one with a shelf to rest it on...

-
I'd have quite happily gone to the pub and sat drinking 3.8% session beer but nobody here wants to go ?. I don't want to be that sad middle aged git going to the pub on his own but it's coming! So instead I'm on this:

-
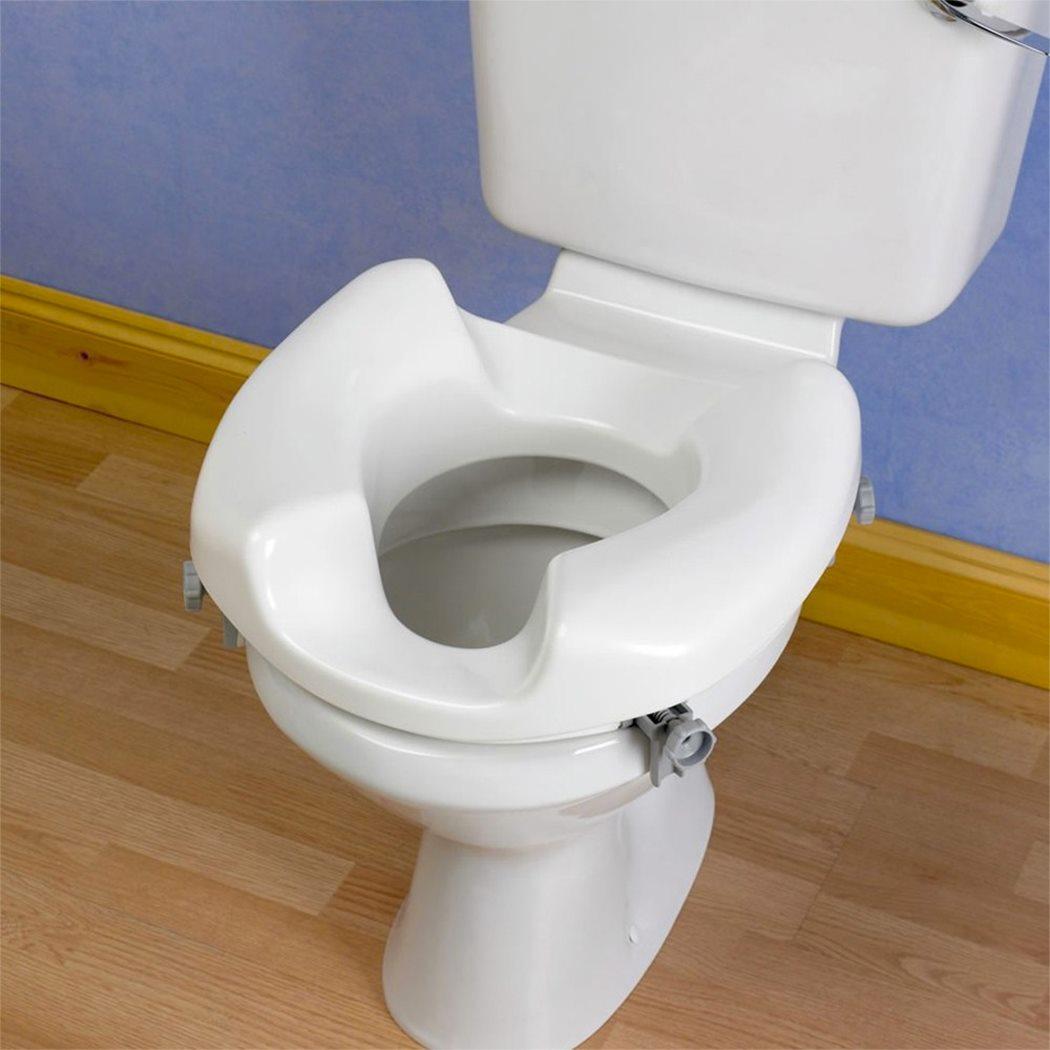
How about this seat adapter with inbuilt tackle rest? ?

-
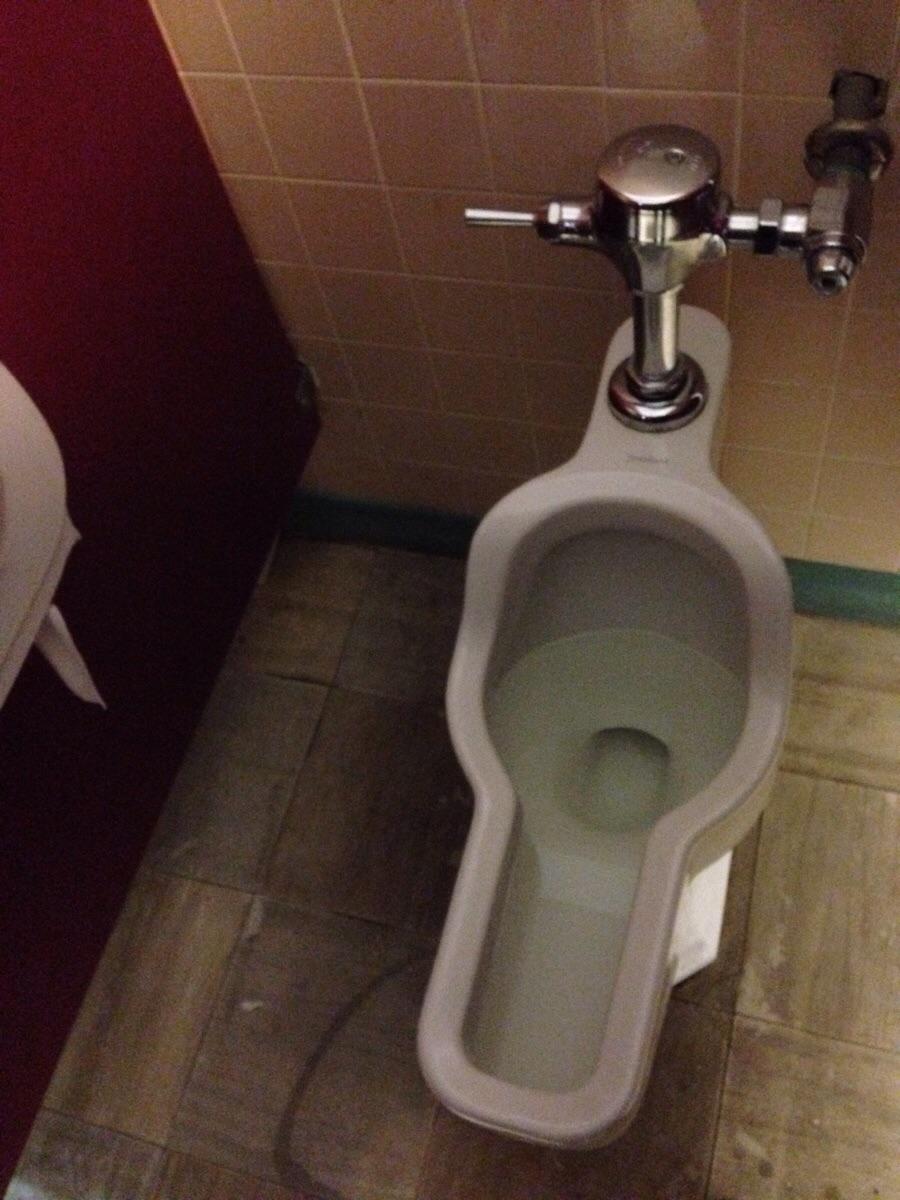
Handy for seeing round the U bend!
-
So a well hung pan as opposed to back to the wall one then!
-

A wise man on a building site
Onoff replied to Pocster's topic in General Self Build & DIY Discussion
My mistake, I read it as threads, rather than posts that go on for ever and ever! ? -
Concealed shower valve install questions/help
Onoff replied to Vijay's topic in Bathrooms, Ensuites & Wetrooms
A constant source of embarrassment I'll freely admit. However, future archeologists will gaze in wonder at the fine detail underneath and thought that went into it all...as opposed to yours where they'll be erecting forensic tents! -
Concealed shower valve install questions/help
Onoff replied to Vijay's topic in Bathrooms, Ensuites & Wetrooms
As @pocster said, "requires no skill". Also a lot quicker and means you have more time to spend with SWMBO. I did mine all copper... & one soldered joint: The push on front panel with mine gives some flexibility depth wise as to how far in/out you fix the valve. It fits over the bits I'm pointing to: You can see the rubber seal inside the cover plate holes: The "horseshoe" of silicone, open at the bottom: I think @pocster had issues with his though? -
Concealed shower valve install questions/help
Onoff replied to Vijay's topic in Bathrooms, Ensuites & Wetrooms
This thread may help where @PeterW gives advice on "how to". -
Screening Ideas to Block Chronic Curtain-Twitchers
Onoff replied to harry_angel's topic in Landscaping, Decking & Patios
How about one of those Halloween window projectors that throw a ghostly image? -
A wise man on a building site
Onoff replied to Pocster's topic in General Self Build & DIY Discussion
If I could just point out I am here and do have feelings. -
Have a read here: https://www.pavingexpert.com/edging3
-
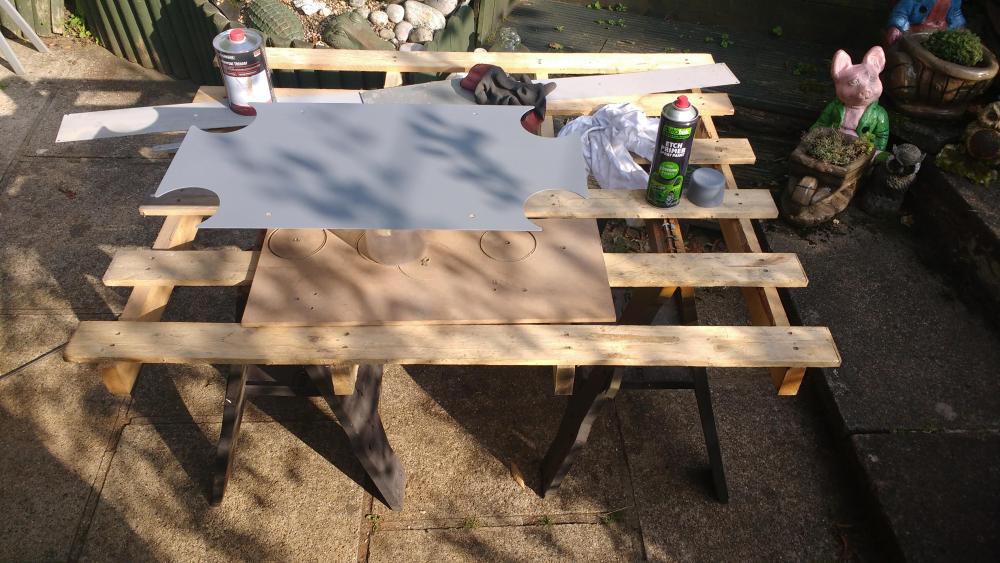
Bit of scrap ali sheet with the corners hole sawn out to cover the gate electrical box. Etch primed, to be rollered satin black to match the rest of the metalwork: The new work bench is proving it's worth...
-
Still performance related though? ?
-
True story. As a wet behind the ears 17/18 year old I was off to see an architect years ago called Richard Doon. My governor, straight faced said he knew Richard's brother Ben and I should ask after him. I did.
-
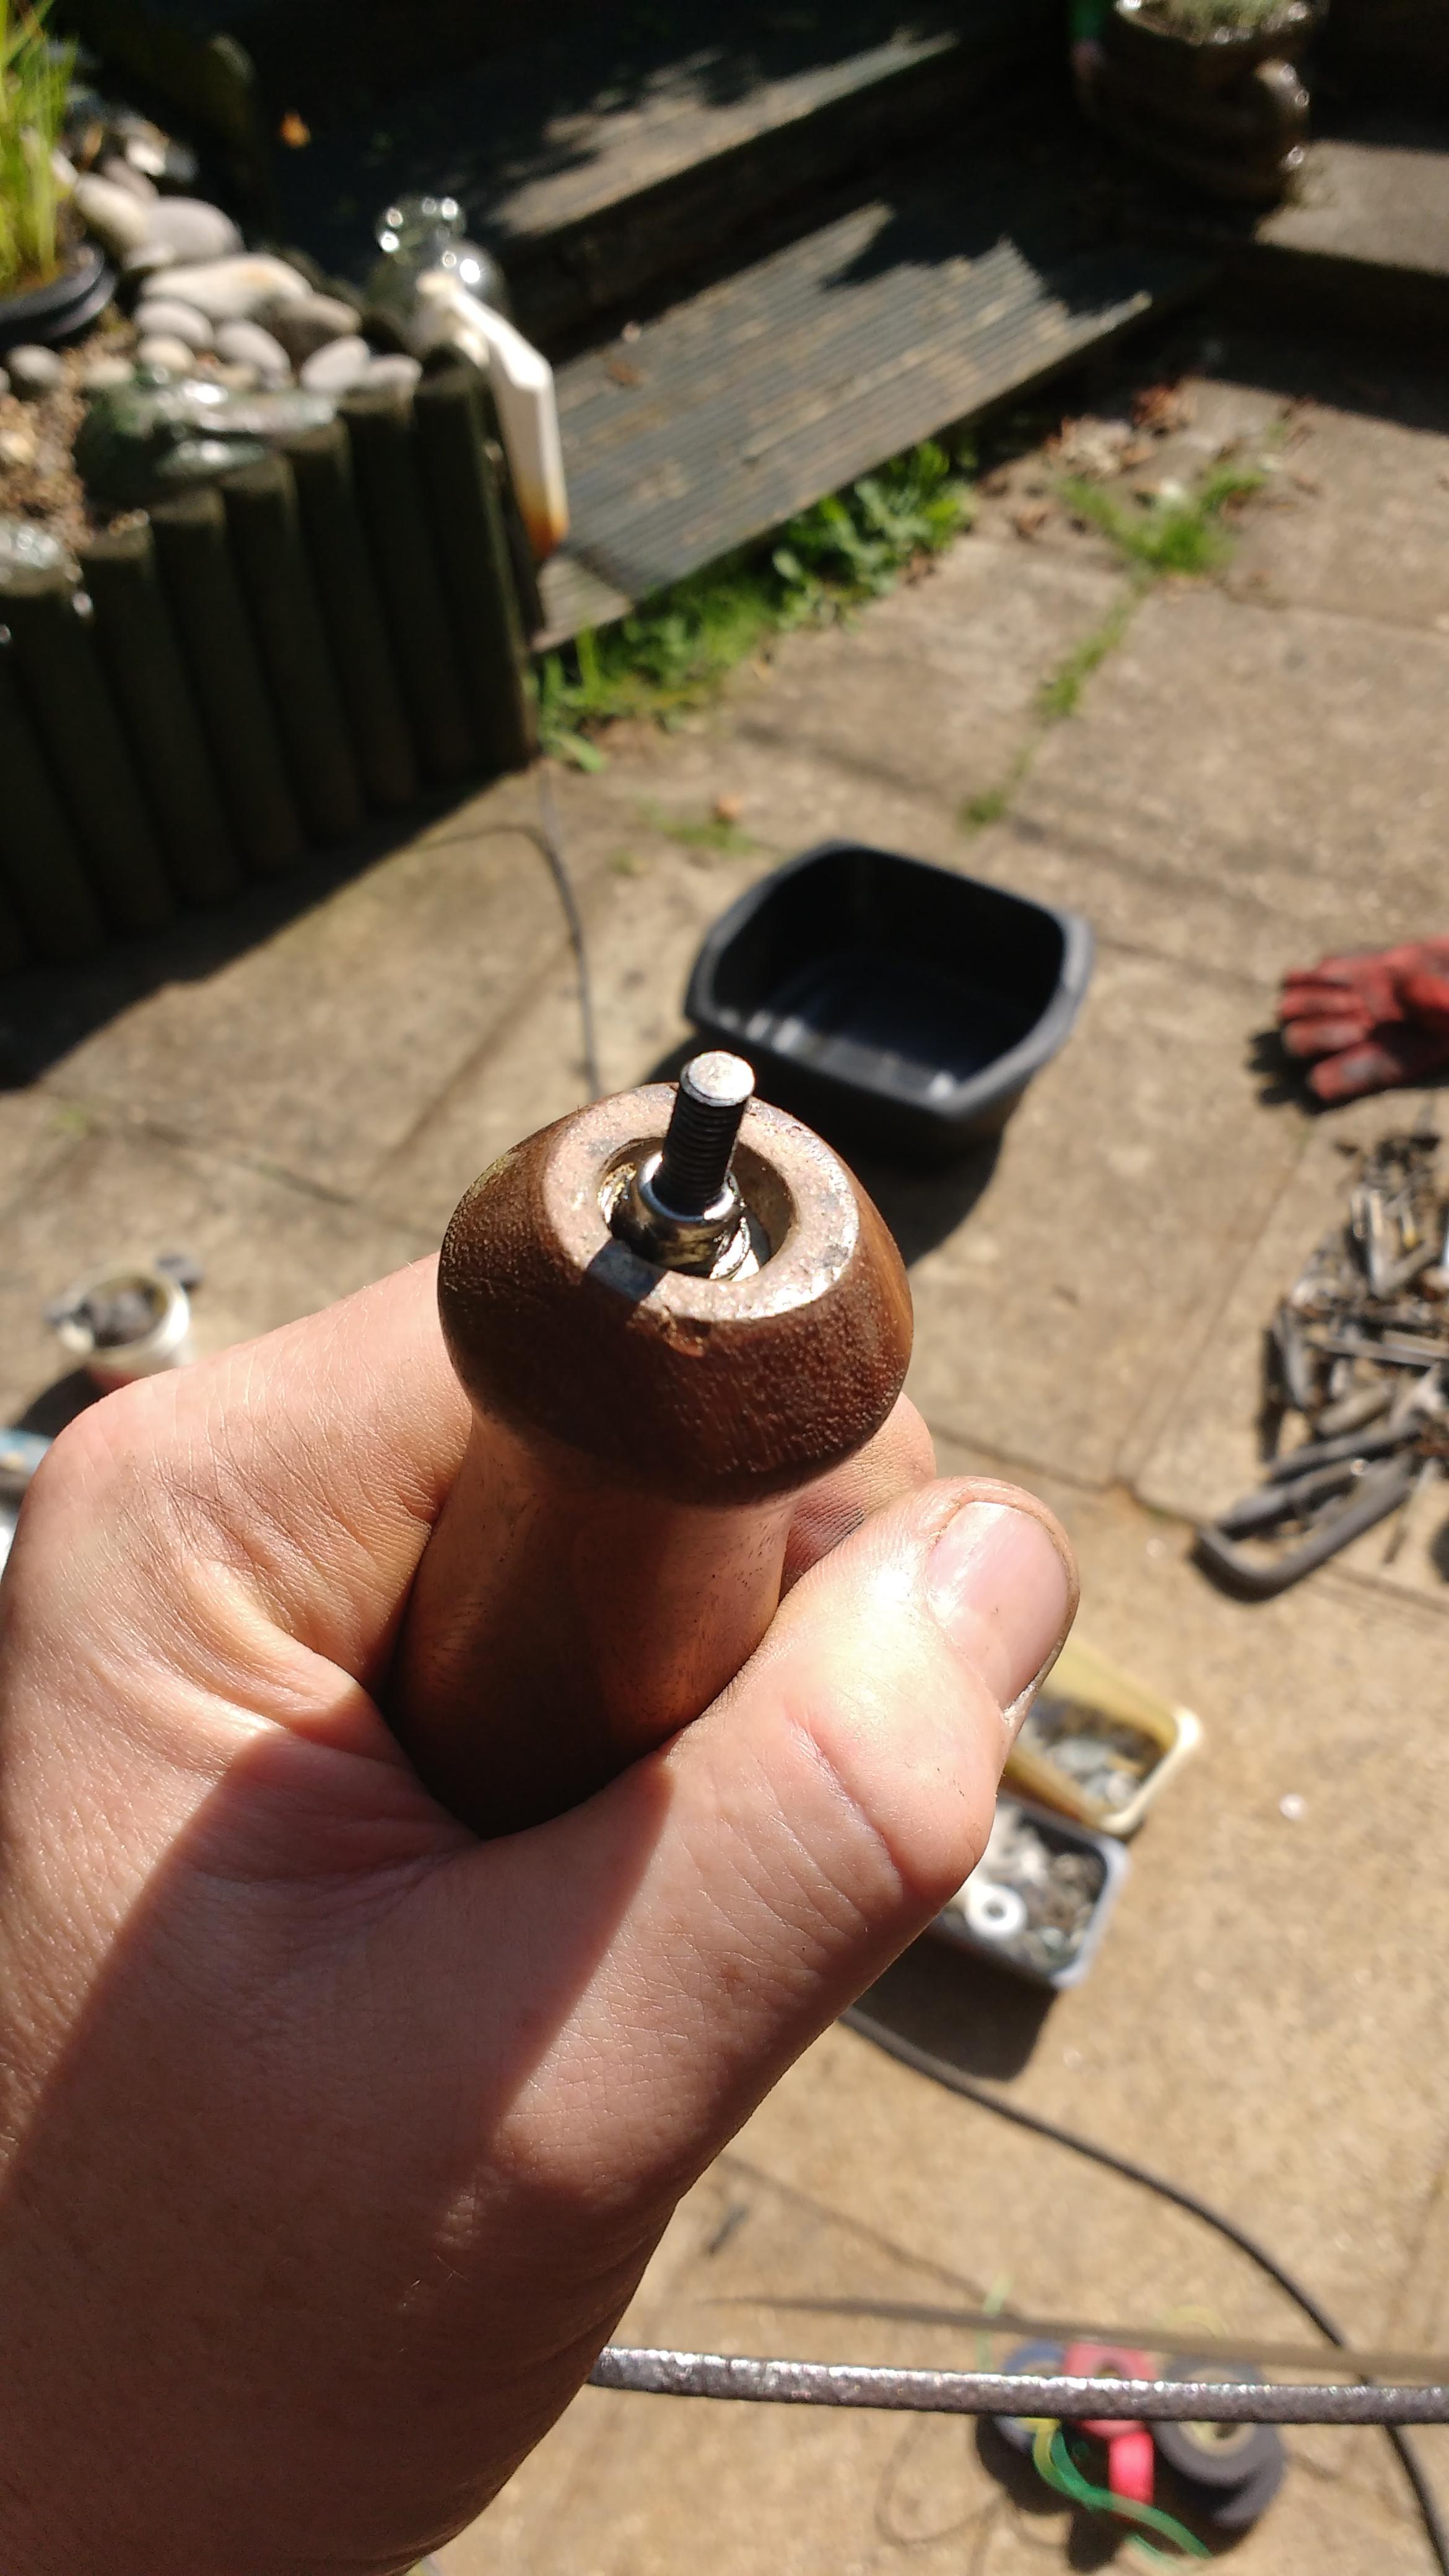
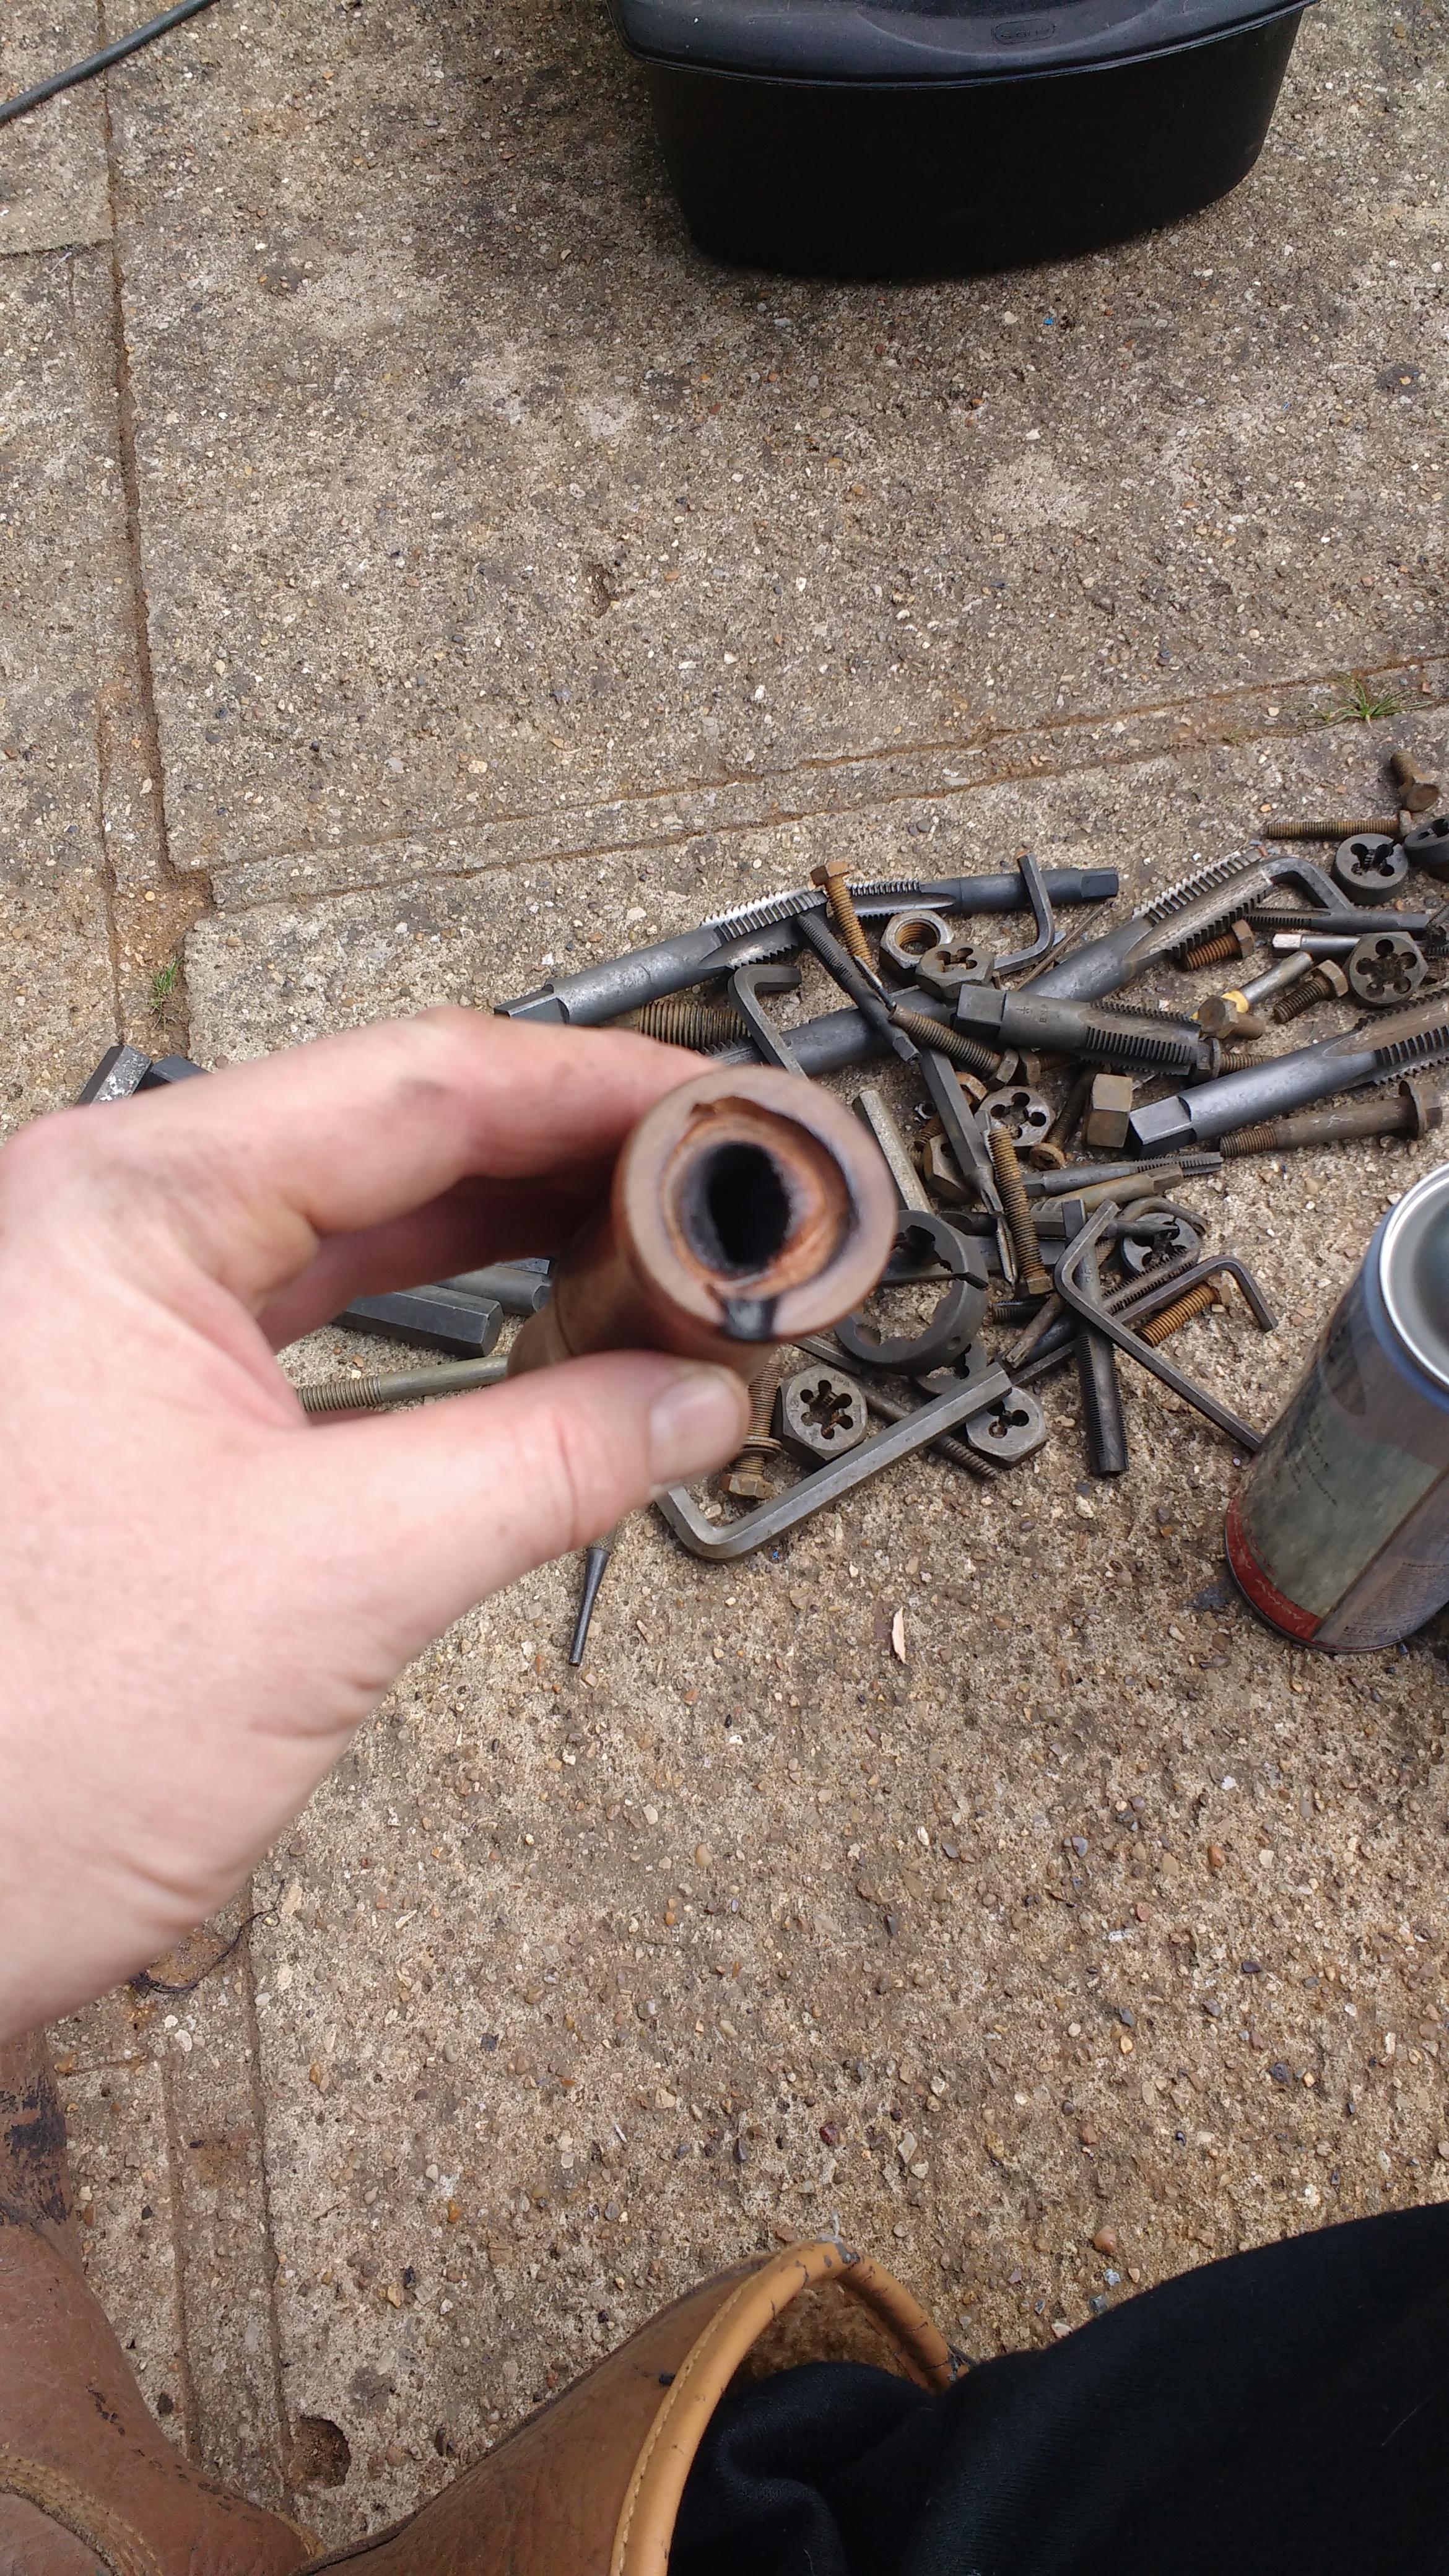
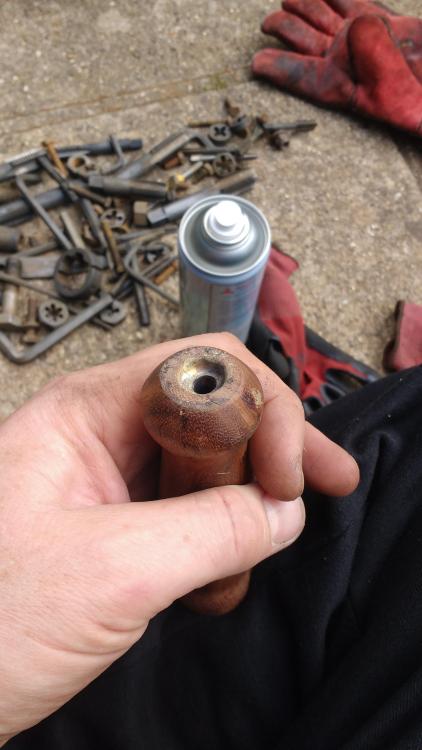
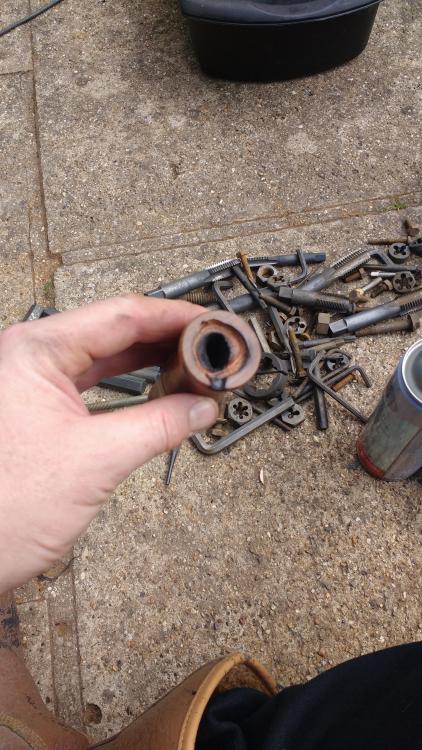
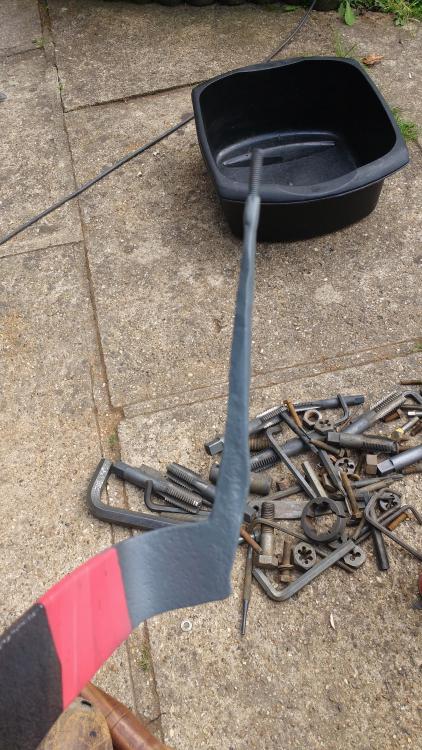
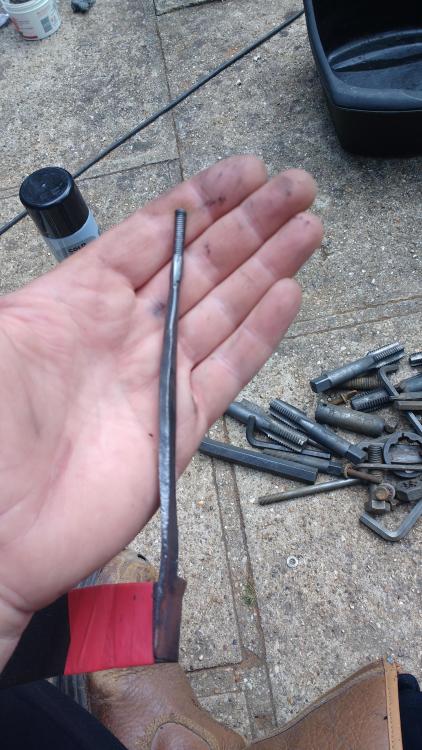
Bloody Hell, sulphur powder is something else! Drilled the handle out 5mm. Of course the long series drill wasn't long enough. Packed the drilled hole with sulphur powder. Tried heating the tang with the MAPP torch but it wasn't getting hot enough. Off to the BiLs and he got it to cherry red with the oxyacetylene. Pushed it into the handle and there was much smoke, flames and gas as the tang burnt it's way in. The smoke cloud got under the visor of my 3M Bionic mask...what fun! Tbh the original tang wasn't really long enough so I cleaned up an M5 bolt and the BiL gas welded it onto the tang. Gave the tang a quick coat of cold galv: A washer and nyloc then cut the excess off.

-
Wasn't that the foreign border Juan Buch?
-
Bump.