Onoff
-
Posts
21125 -
Joined
-
Last visited
-
Days Won
206
Everything posted by Onoff
-
Quite like that idea but I'd use something a little more durable than Perspex. Pity you can't get some walk on glazing and use that.
-

10 Year Rule and immunity under the 4 year rule.
Onoff replied to ToughButterCup's topic in Planning Permission
Just waiting for my half pack of Celcon blocks then I can get the walls up. Still waiting on the Pozi joists so I can make best use of the high ceiling space.
-
Ducts for wires through external insulated walls?
Onoff replied to Dreadnaught's topic in Timber Frame
Fair enough & to think I have my 18th ? Why am I thinking 500mm? -
Next time someone wants to stick a flint to something they'll be thanking me for this! ?
-
Ducts for wires through external insulated walls?
Onoff replied to Dreadnaught's topic in Timber Frame
Erm...500mm -
I like to think I've turned procrastination into an art form.
-
Always guaranteed to bring something to the party. There's me thinking you'd have gone with something to do with the words "face down" in the above text.
-
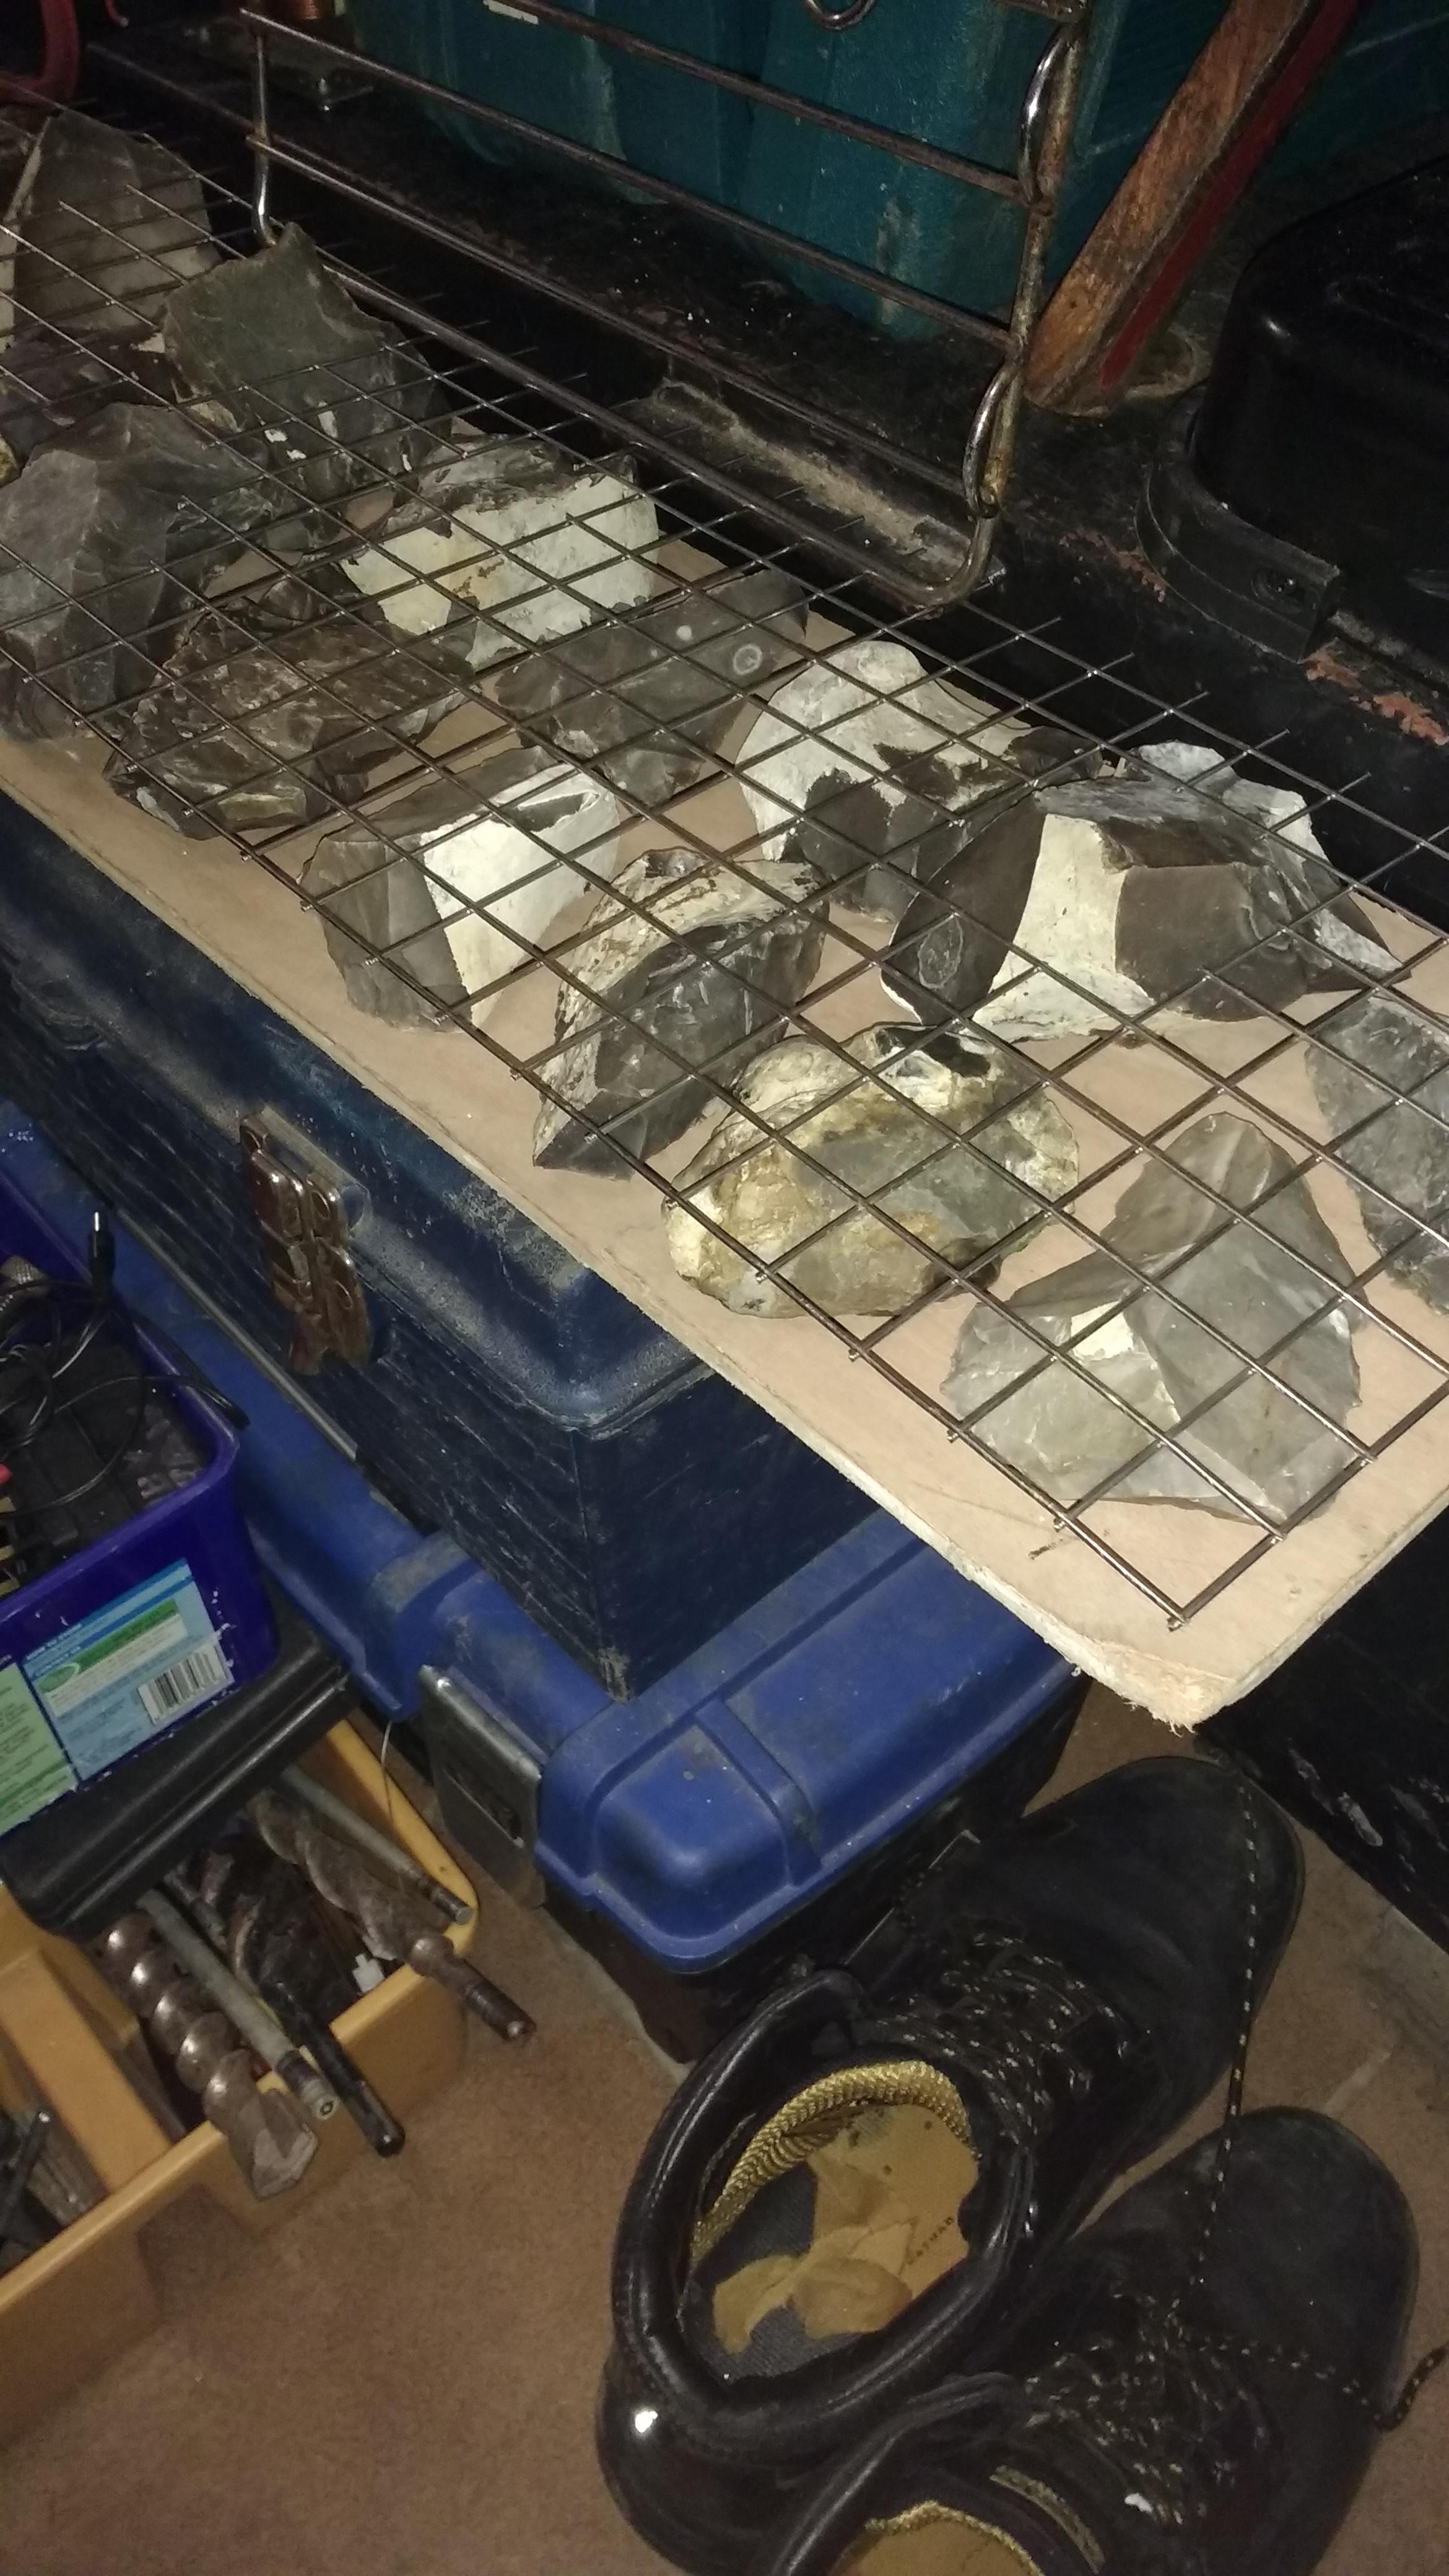
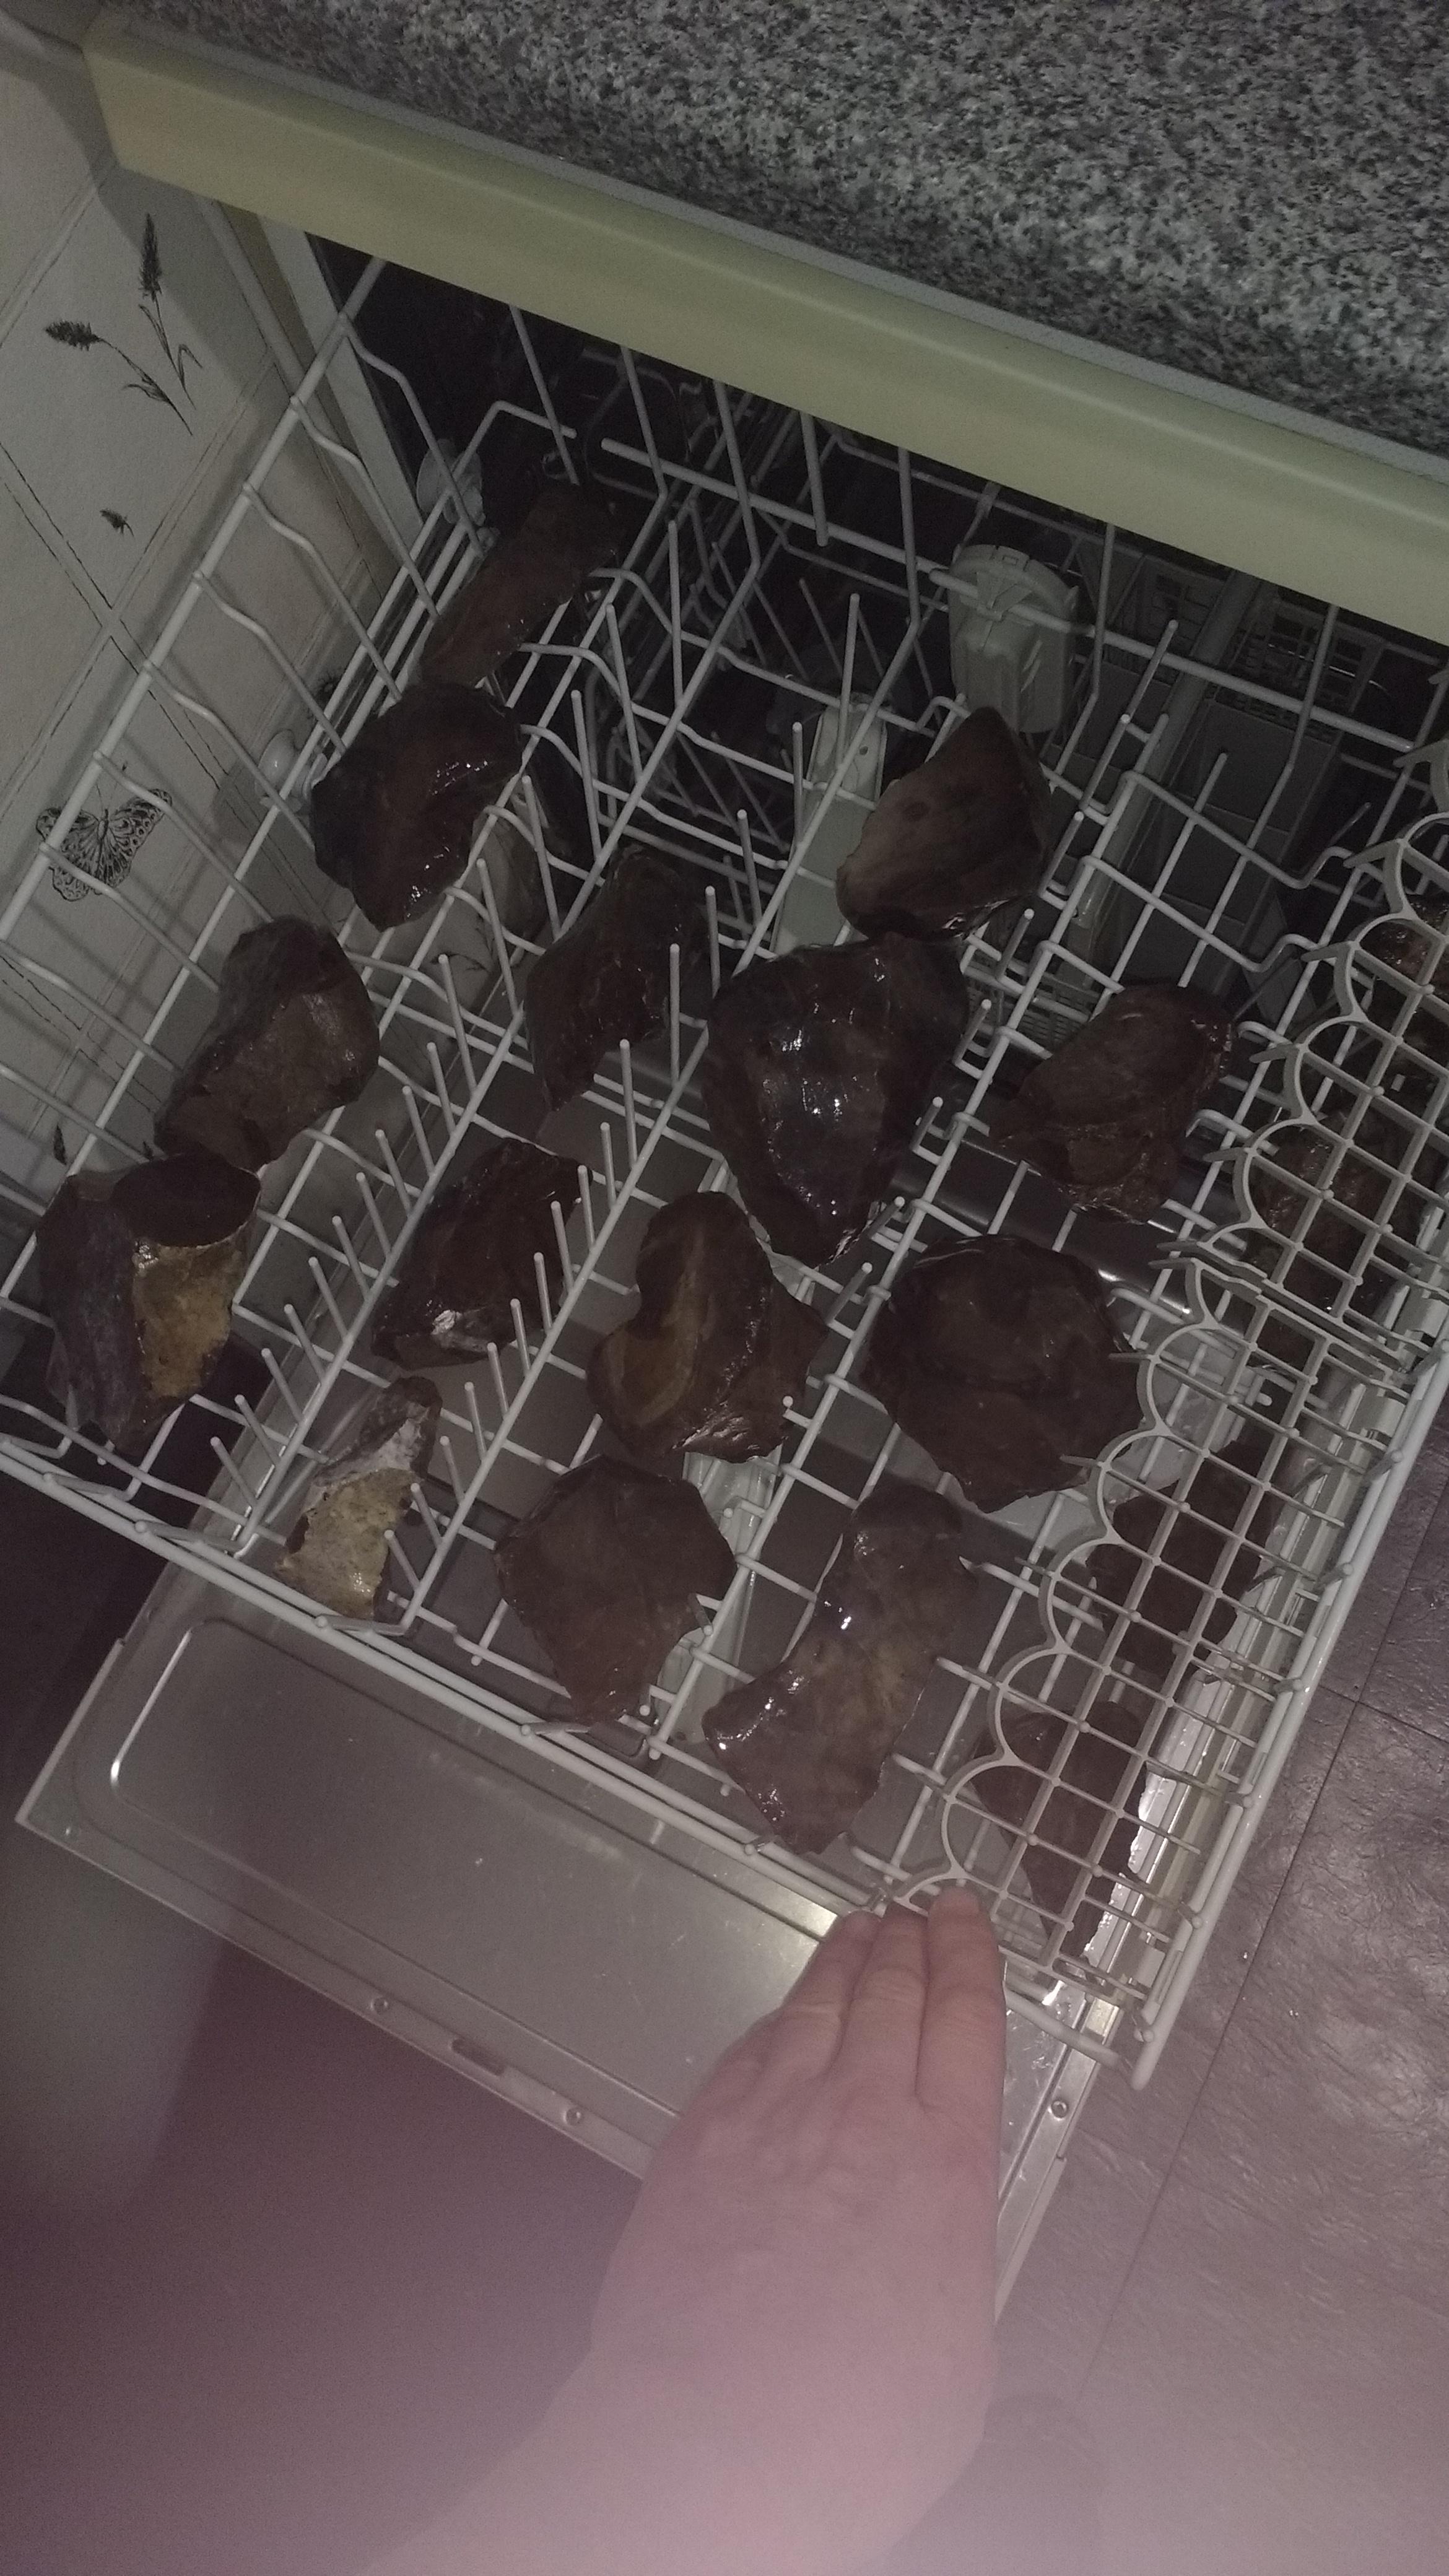
Looks like I got away with the dishwasher trick. Had it done, unloaded and restacked with dishes without her twigging. They came out rather impressively hot and in fact held their heat for a long time...(heat store project? ?) The next, new, rough plan goes like this then: I cut a board the size of the recess. Found another bit of mesh. I organised the flints how you'll see them face on like the reference photo. I then mirrored the photo. I've laid the flints face down on the board then tried to rearrange with reasonable gaps. The mesh gets laid on top and the mesh cut out where the high points are. Shouldn't matter if it doesn't sit quite flat. I'll clamp the mesh down onto the flints then blob Fischer or similar resin in each flint to hold it to the mesh... hopefully!


-
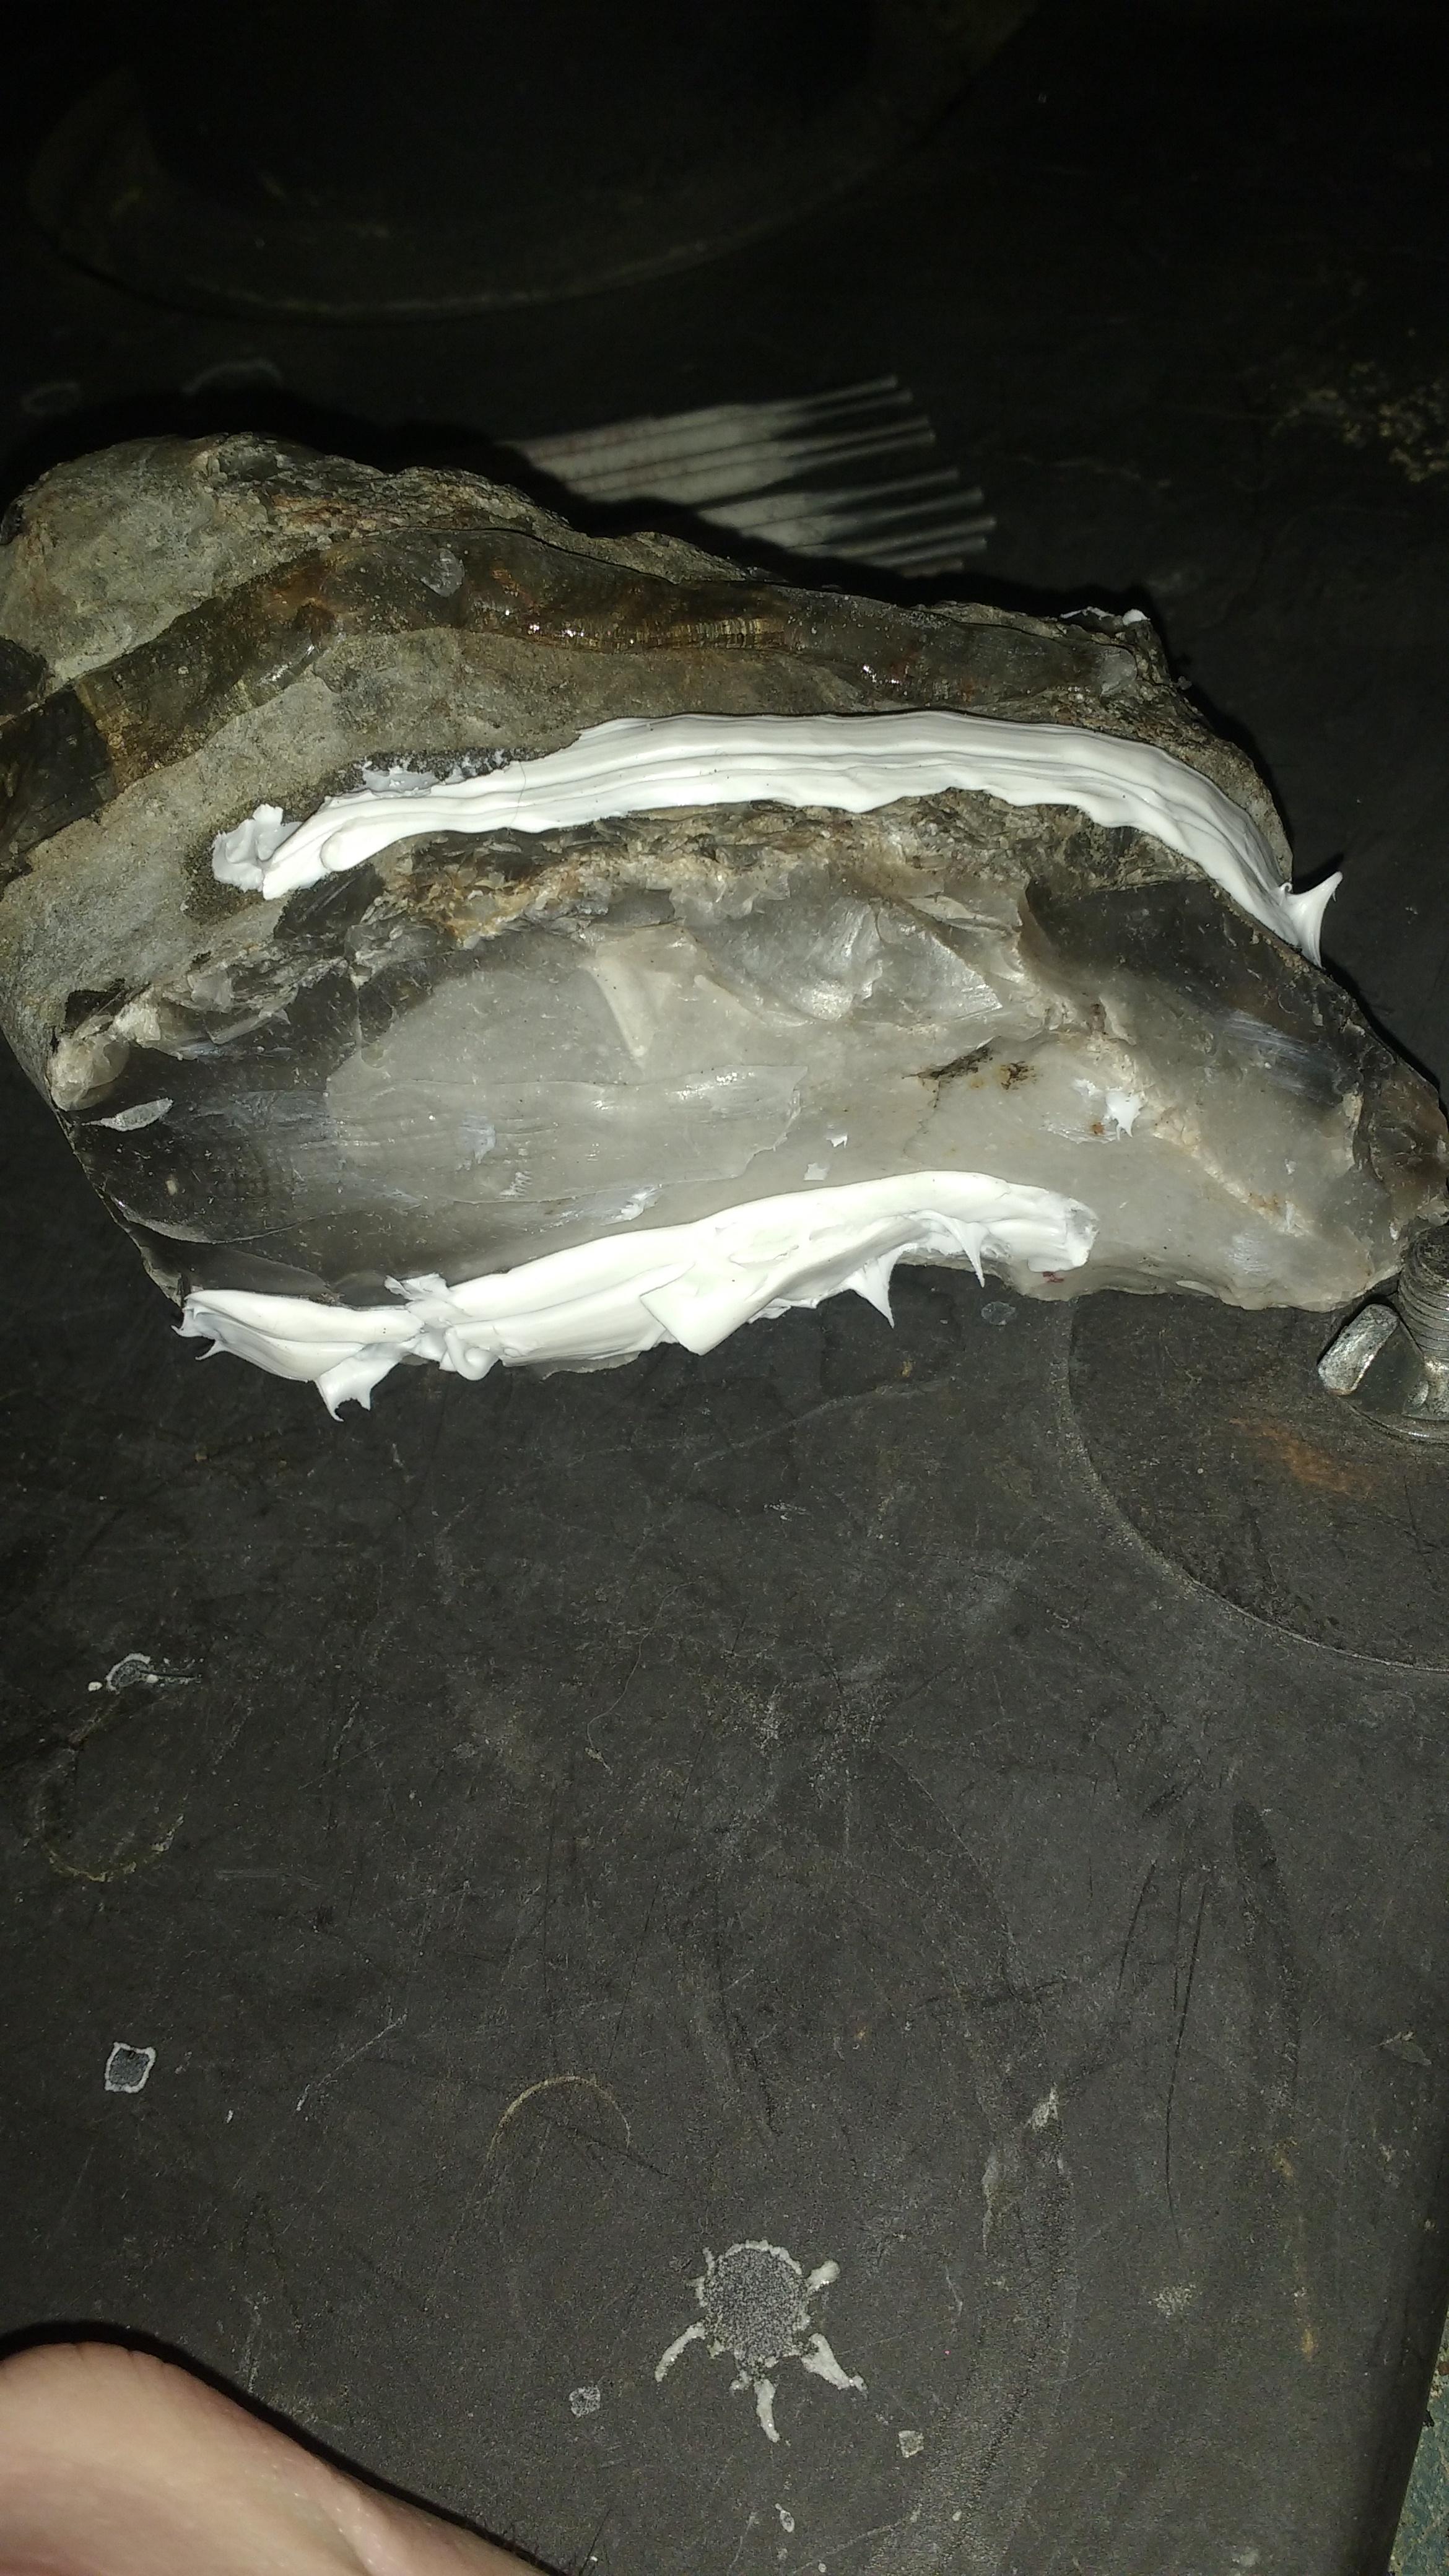
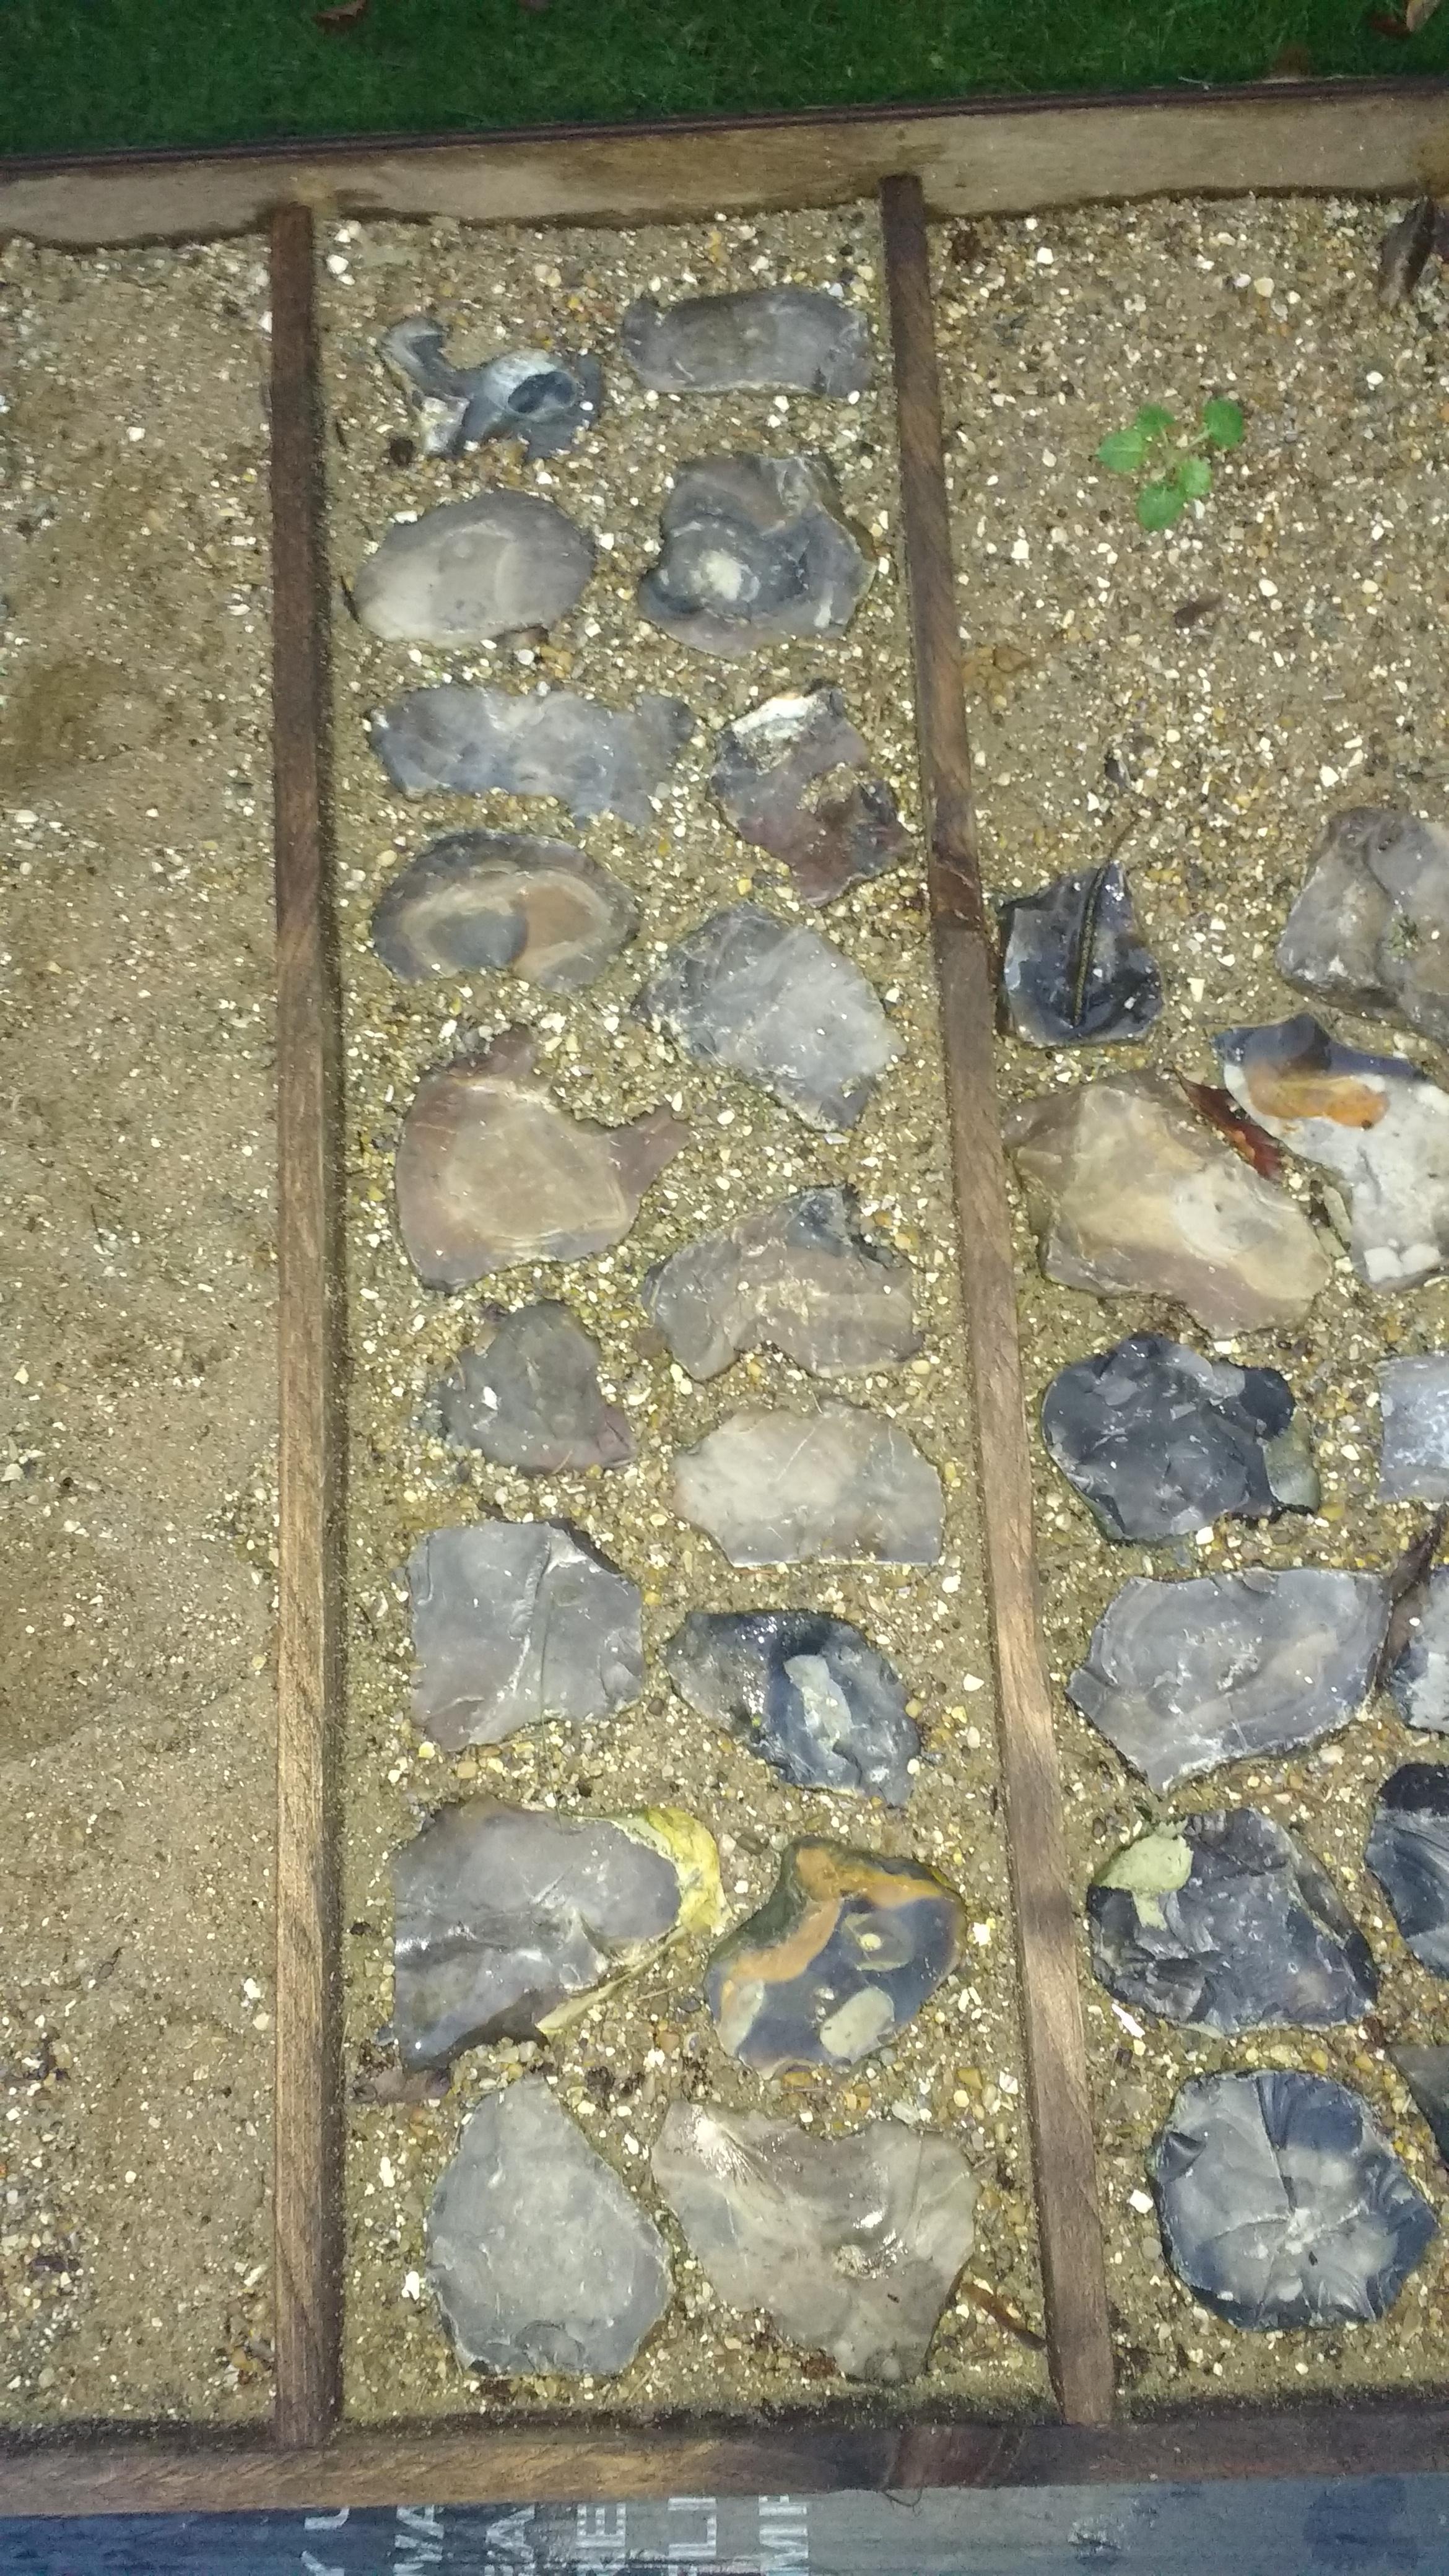
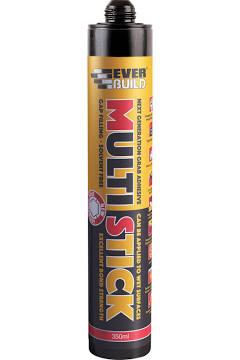
Hmm...on the test flint the Sticks Like Sh!t seemed to have fully dried after 24hrs. The (white) Ever Build Multi Stick was still a bit sticky underneath. On balance I'd say the Sticks Like Sh!t was adhered better. Still managed to pull it off. Try again! Second panel flints in their sand box for reference. I figured the flints being spotlessly clean might help. To think SWMBO moans I never load the dishwasher! You know that calm before the storm feeling...


-
10 Year Rule and immunity under the 4 year rule.
Onoff replied to ToughButterCup's topic in Planning Permission
As the "process" generally takes so long, a trick is to do something like this then produce offspring and get them into the local schools. Chuck in an elderly dependant for whom it would be detrimental to uproot. Seen it done by both ends of the social spectrum. In all cases the buildings have stayed, become legitimised and indeed been sold on. -
10 Year Rule and immunity under the 4 year rule.
Onoff replied to ToughButterCup's topic in Planning Permission
Looking for a new project to take on? ? It's what happens to old gits I'm afraid. I've taken it upon myself to wander the streets in a hi-viz picking up other people's litter of late. I get off on the sense of indignation. -
10 Year Rule and immunity under the 4 year rule.
Onoff replied to ToughButterCup's topic in Planning Permission
Bloody clever mind. I have thought of building a structure to look like a caravan..... -
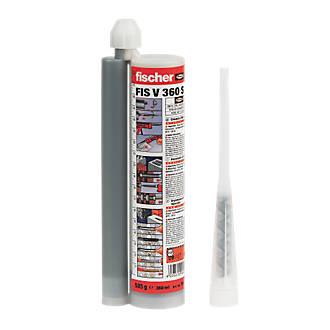
Now I know this stuff really does stick like the proverbial. It's what I used to stick the M5 studs in that hold the mesh on. I wonder if big blobs of this would better hold the actual flints? Would have be very organised and have a plan so it's not going off in the nozzle.
-
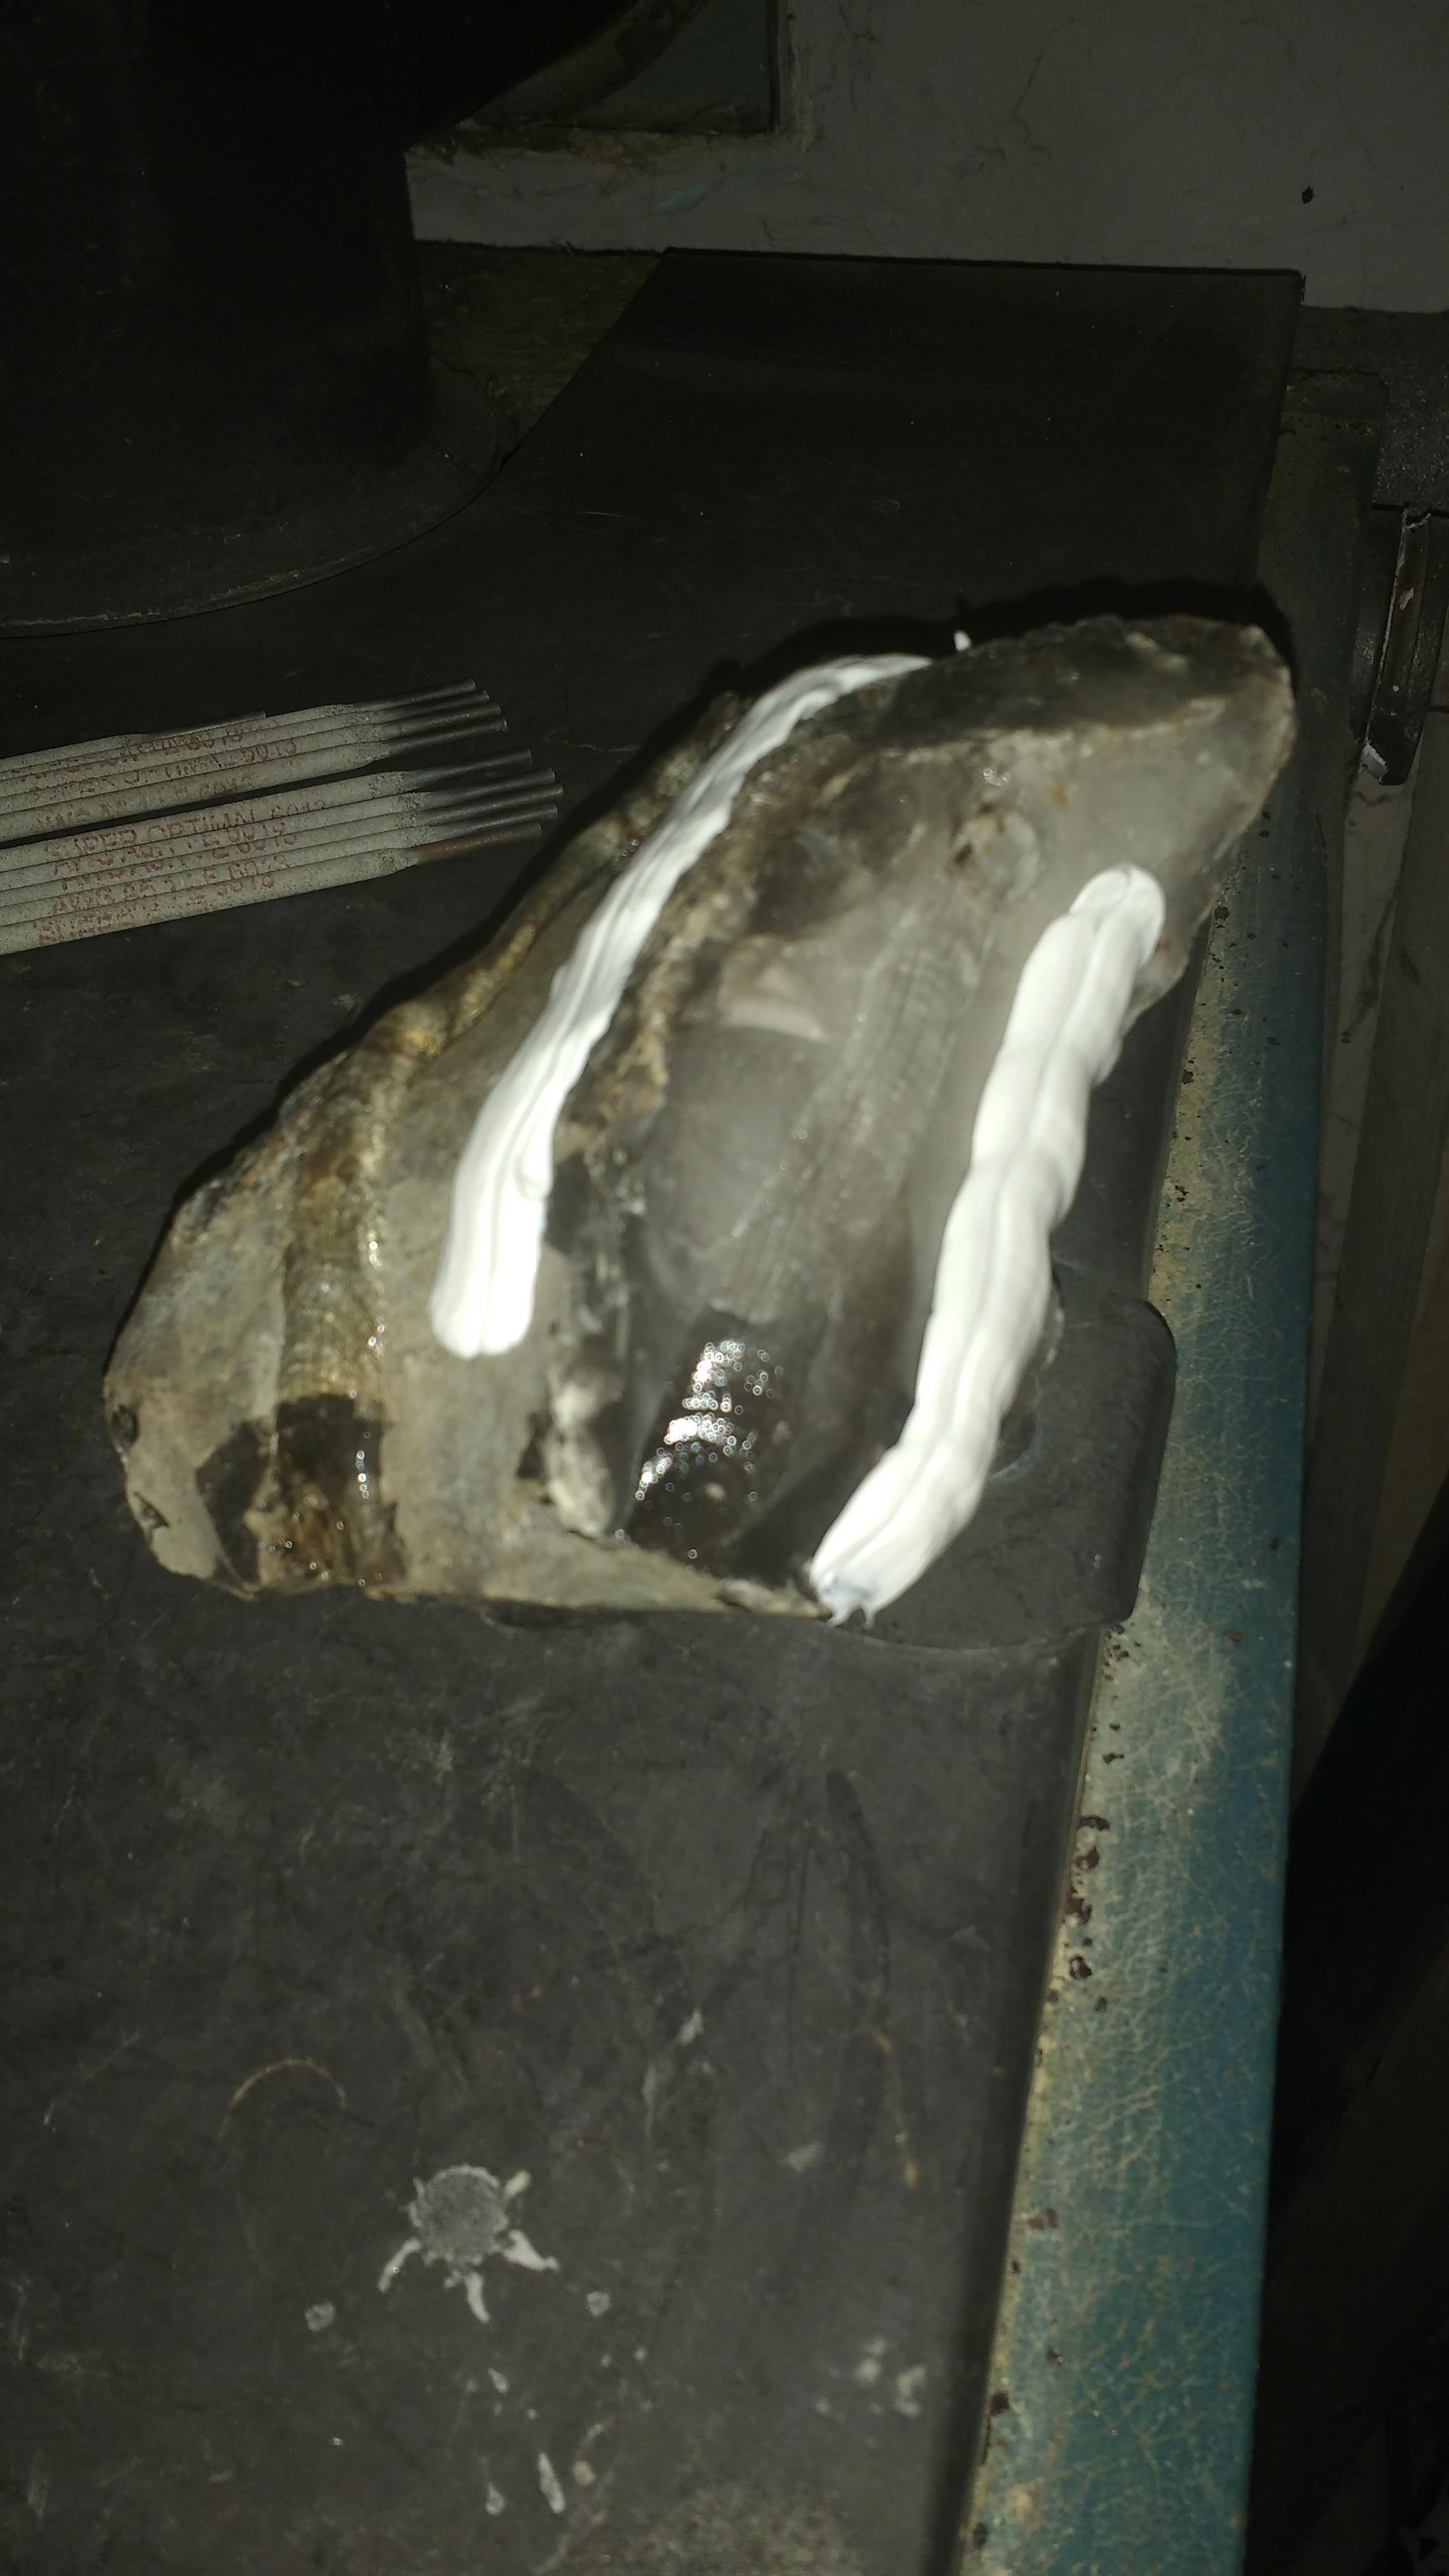
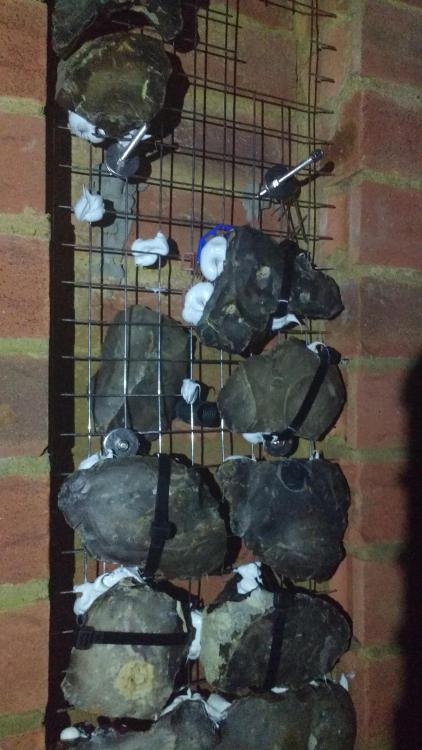
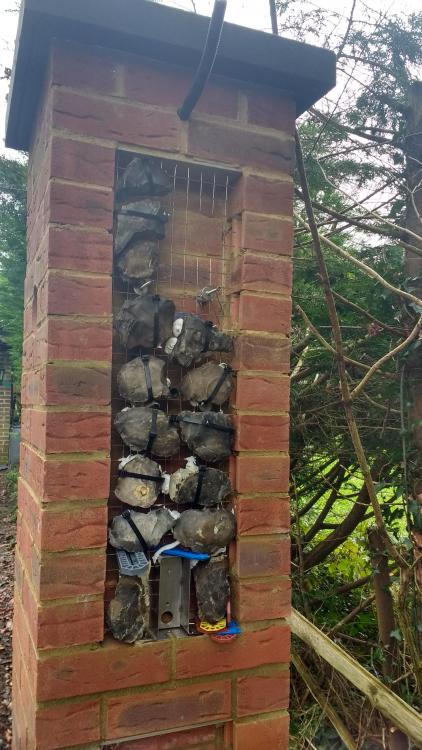
Hmmm... Impetuous me decided to cut the cable ties off...one flint slipped straight away the other just fell off. Where the blobs are at say 3 or 4 points around the periphery of the flint it seems to be holding. Where they're at the top, in effect suspending the flint, not so good. Some like the 4 at the bottom seem to have held. The two at the very bottom were just Sticks Like Sh!t. So WTF sticks to flint? I'm now wondering if in fact Sticks Like Sh!t is in fact better adhesion wise than the white Ever Build stuff. Thus, with the intent of doing a basic "peel" test to see how the adhesion of each is: Lines of white Ever Build Multi Stick and clear Evo Sticks Like Sh!t on both the rough and smooth side of a flint. Left to dry atop the oil boiler.

-
So from that we can see a small ring needs more power...
-
Erm...yeah, just come to a similar conclusion before I read this! ?
-
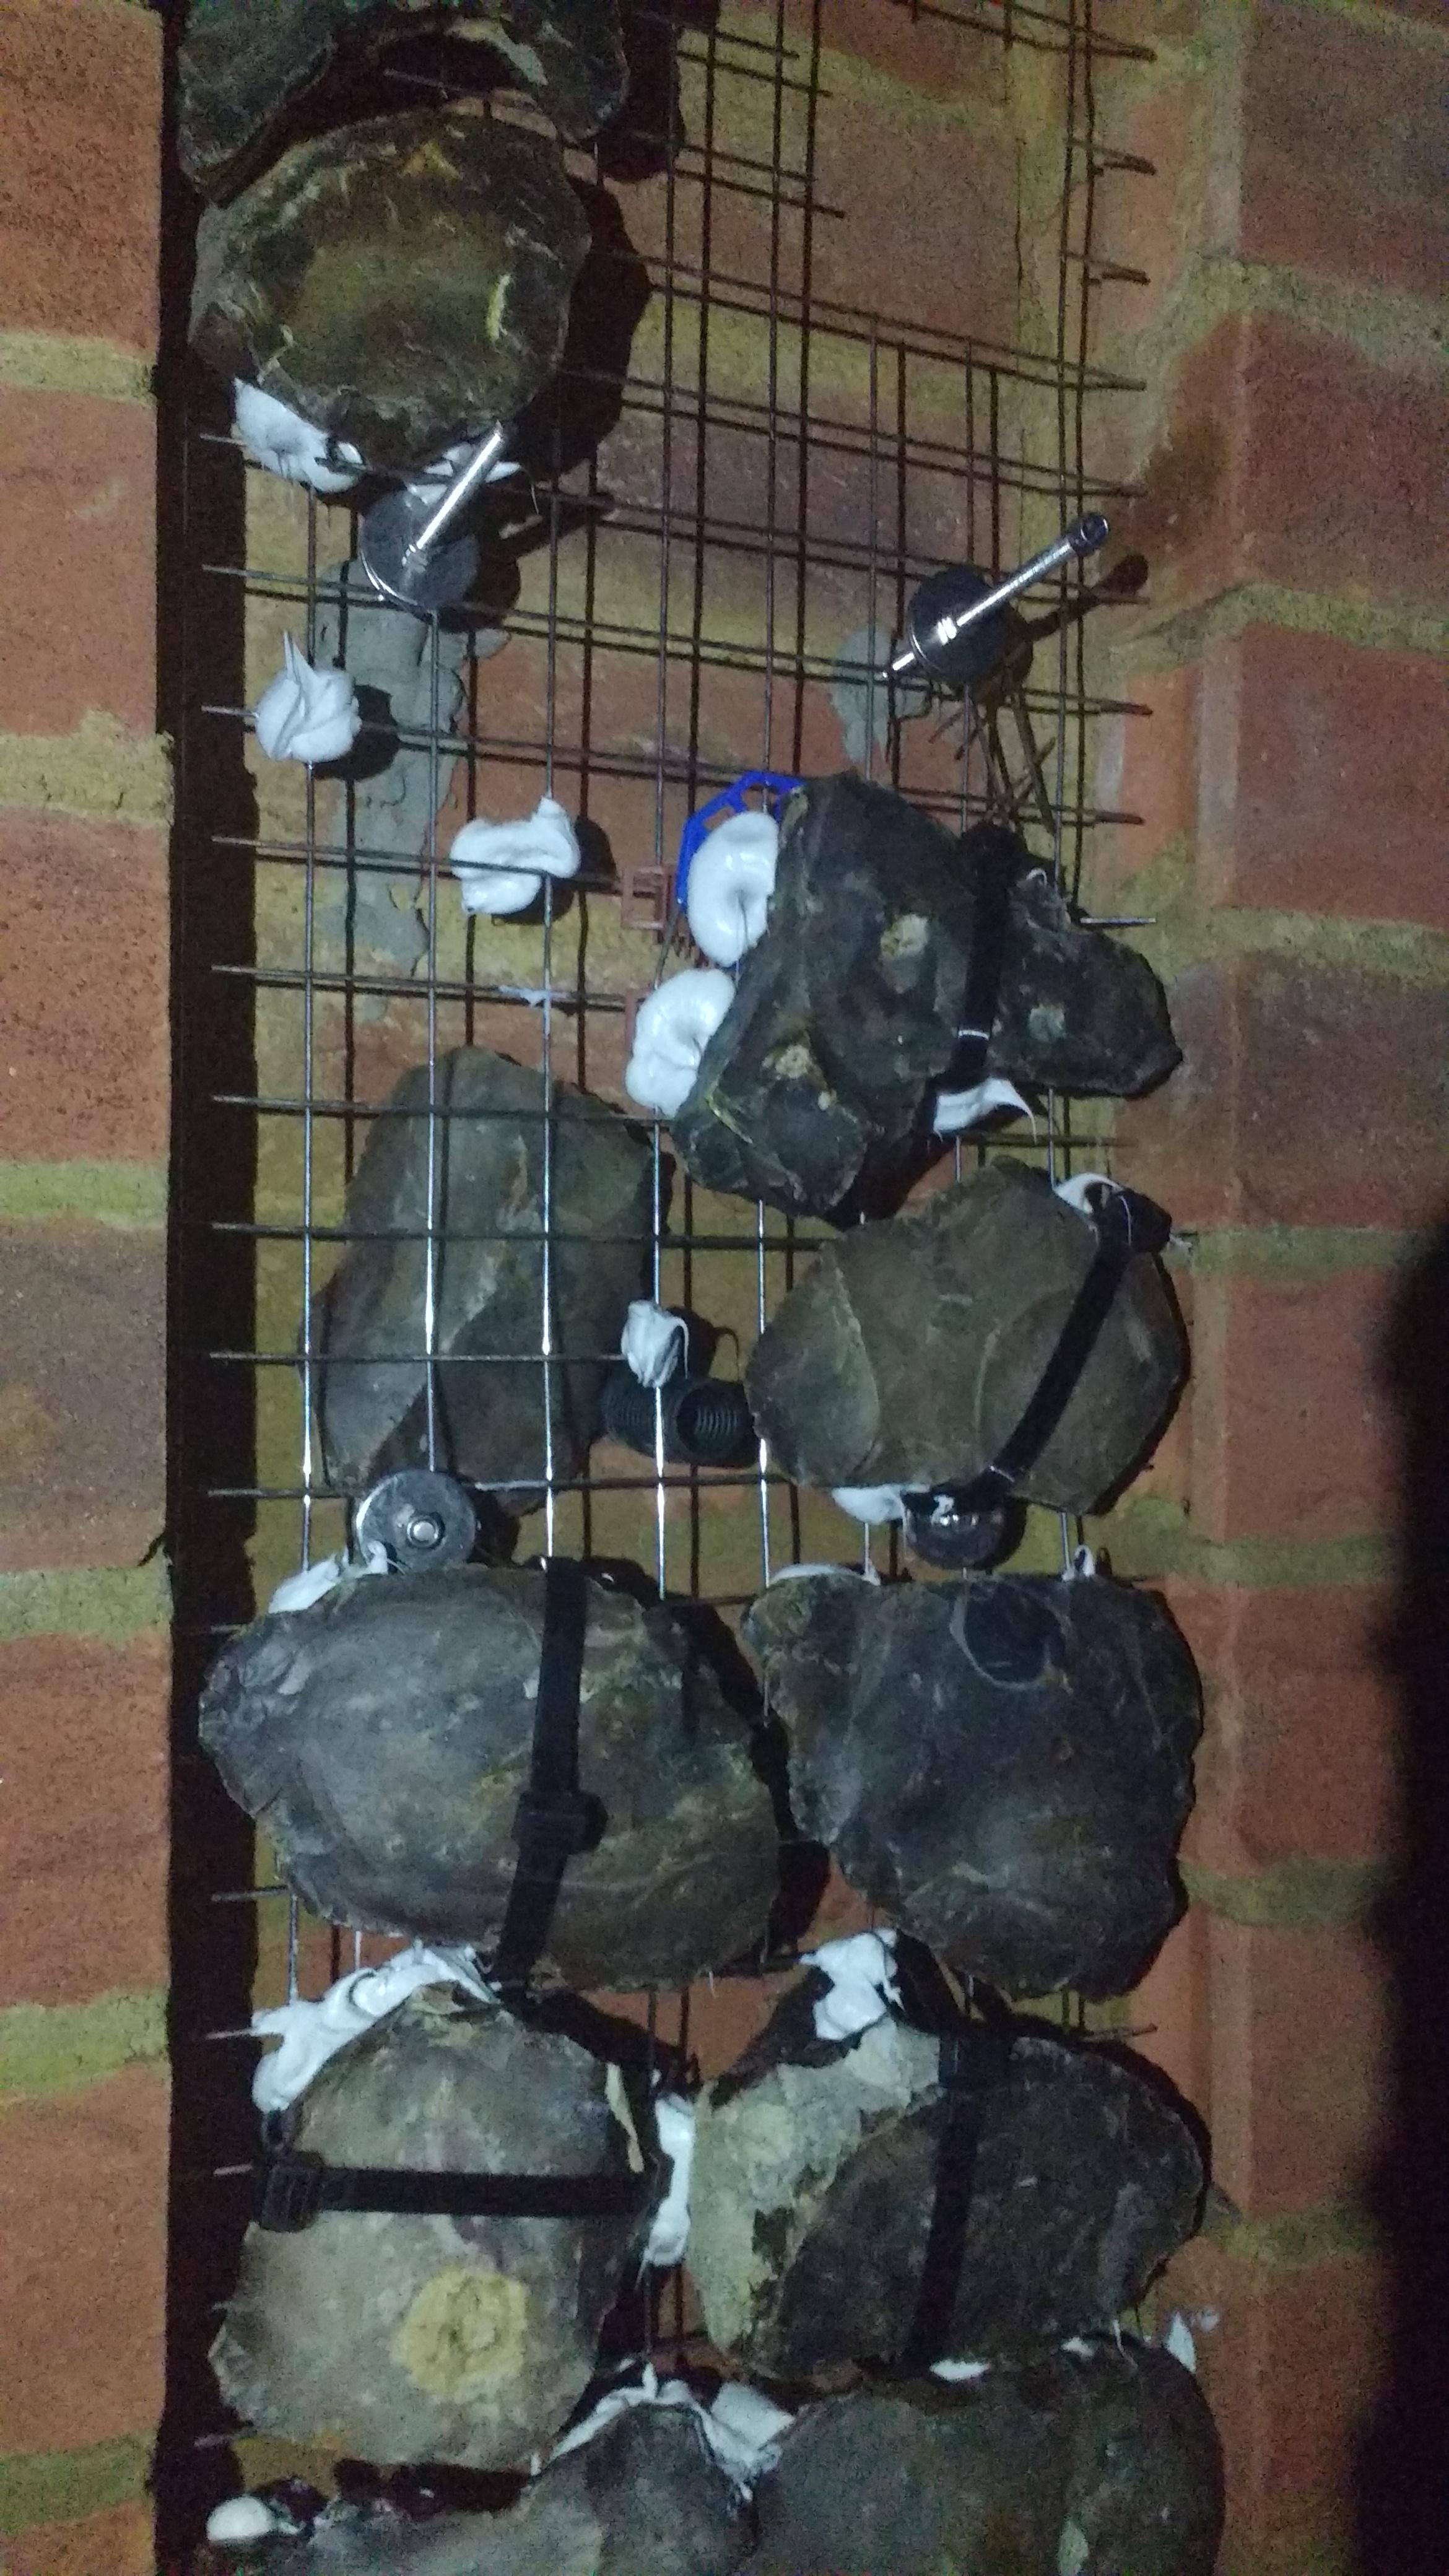
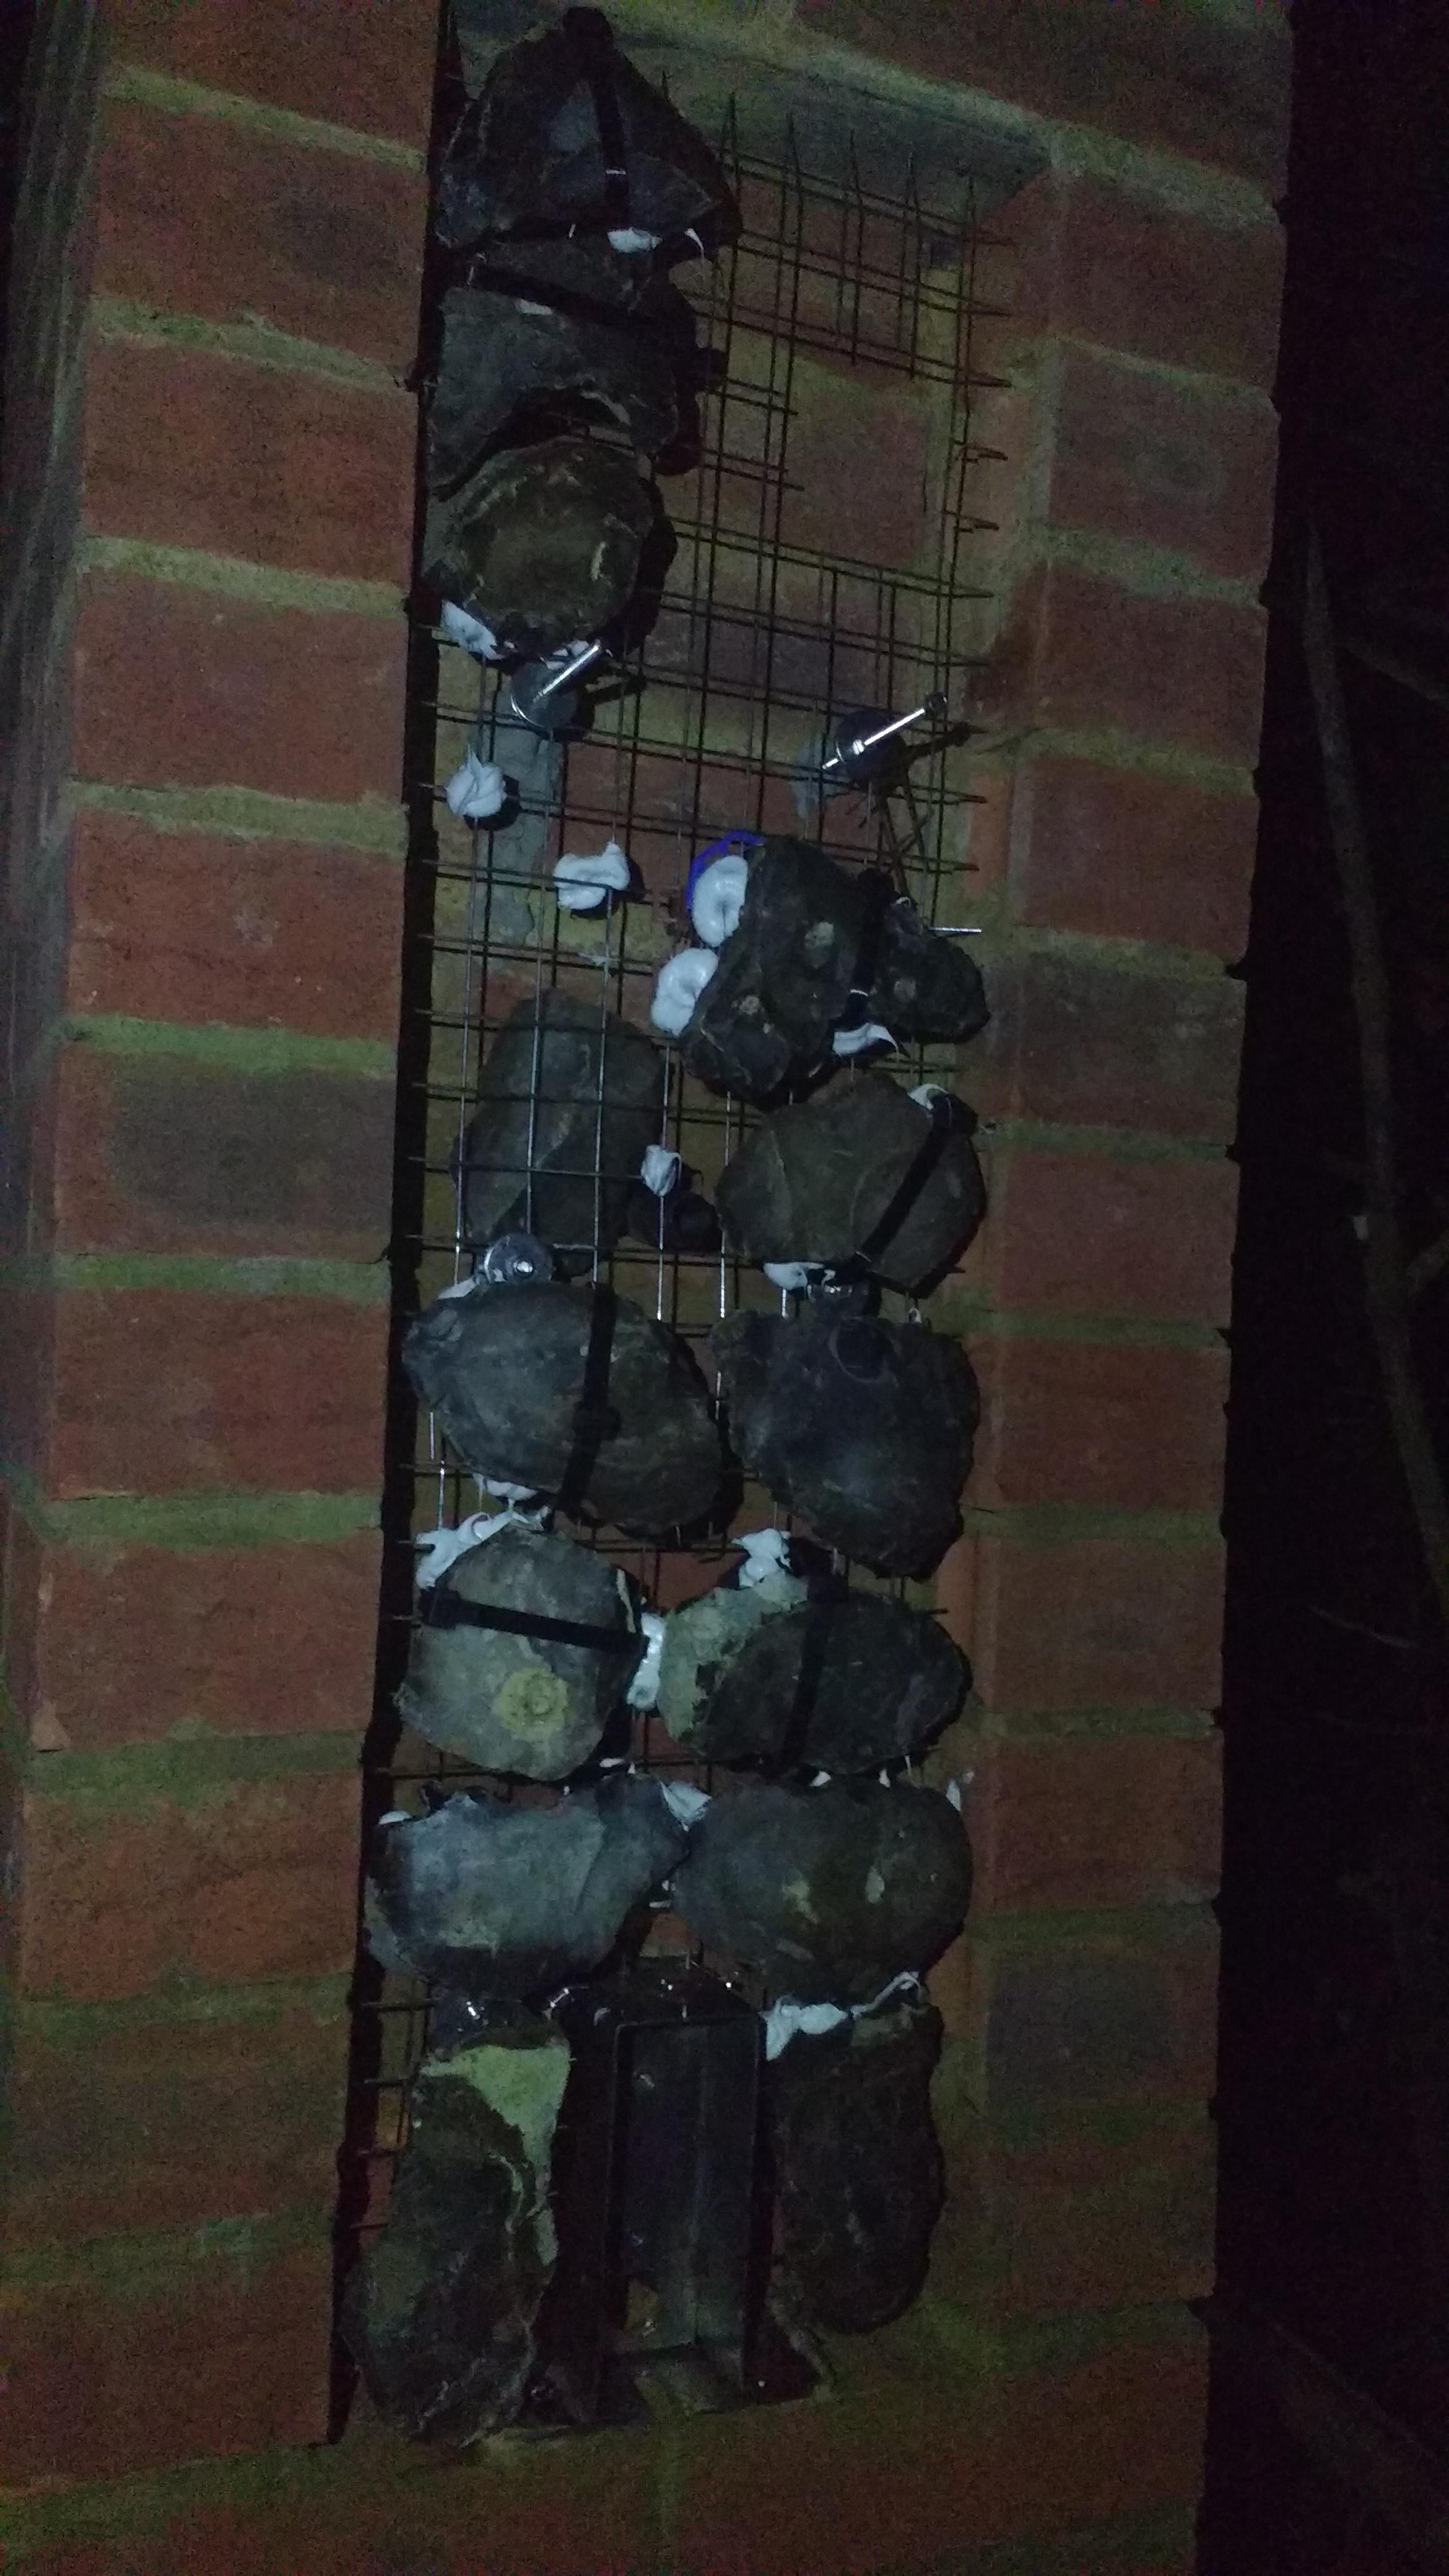
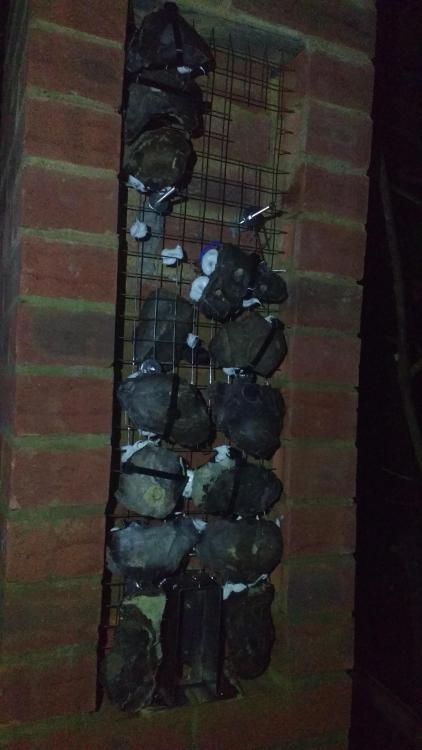
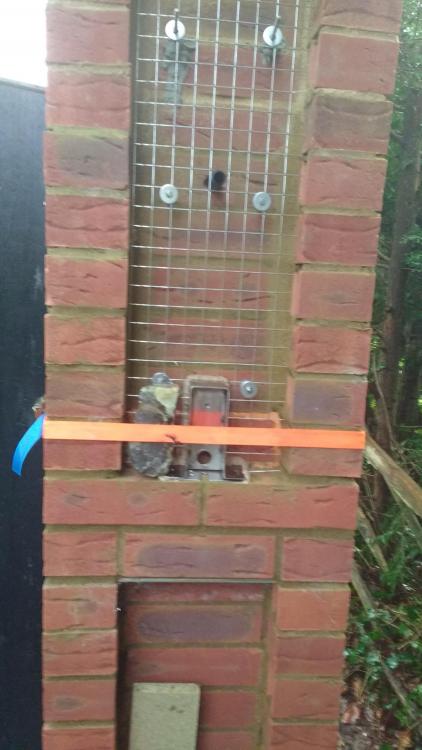
The Everbuild grab adhesive was marginally better than Sticks Like Sh!t but it still slipped a bit. Very like Sikaflex EBT: The lower ones were a pain. Then I had a brainwave, use cable ties to tie the flints to the mesh then blob in some adhesive. As I've said some flints are quite thin and have no tail. I like to think of myself as the Hengist Pod of flintwork! Craftsman and those easily offended, look away now! Going to let it set as is then finish off that top bit. The coach lantern going on the two projecting studs should hold everything in place if it all fails! ?
-
I presume then that EPS beads are acceptable in a cavity that has a fair bit of debris in the bottom and bridging, snots etc at the ties?
-
Like this:
-
Unless the battens go on top of the pir to create a service cavity!
-
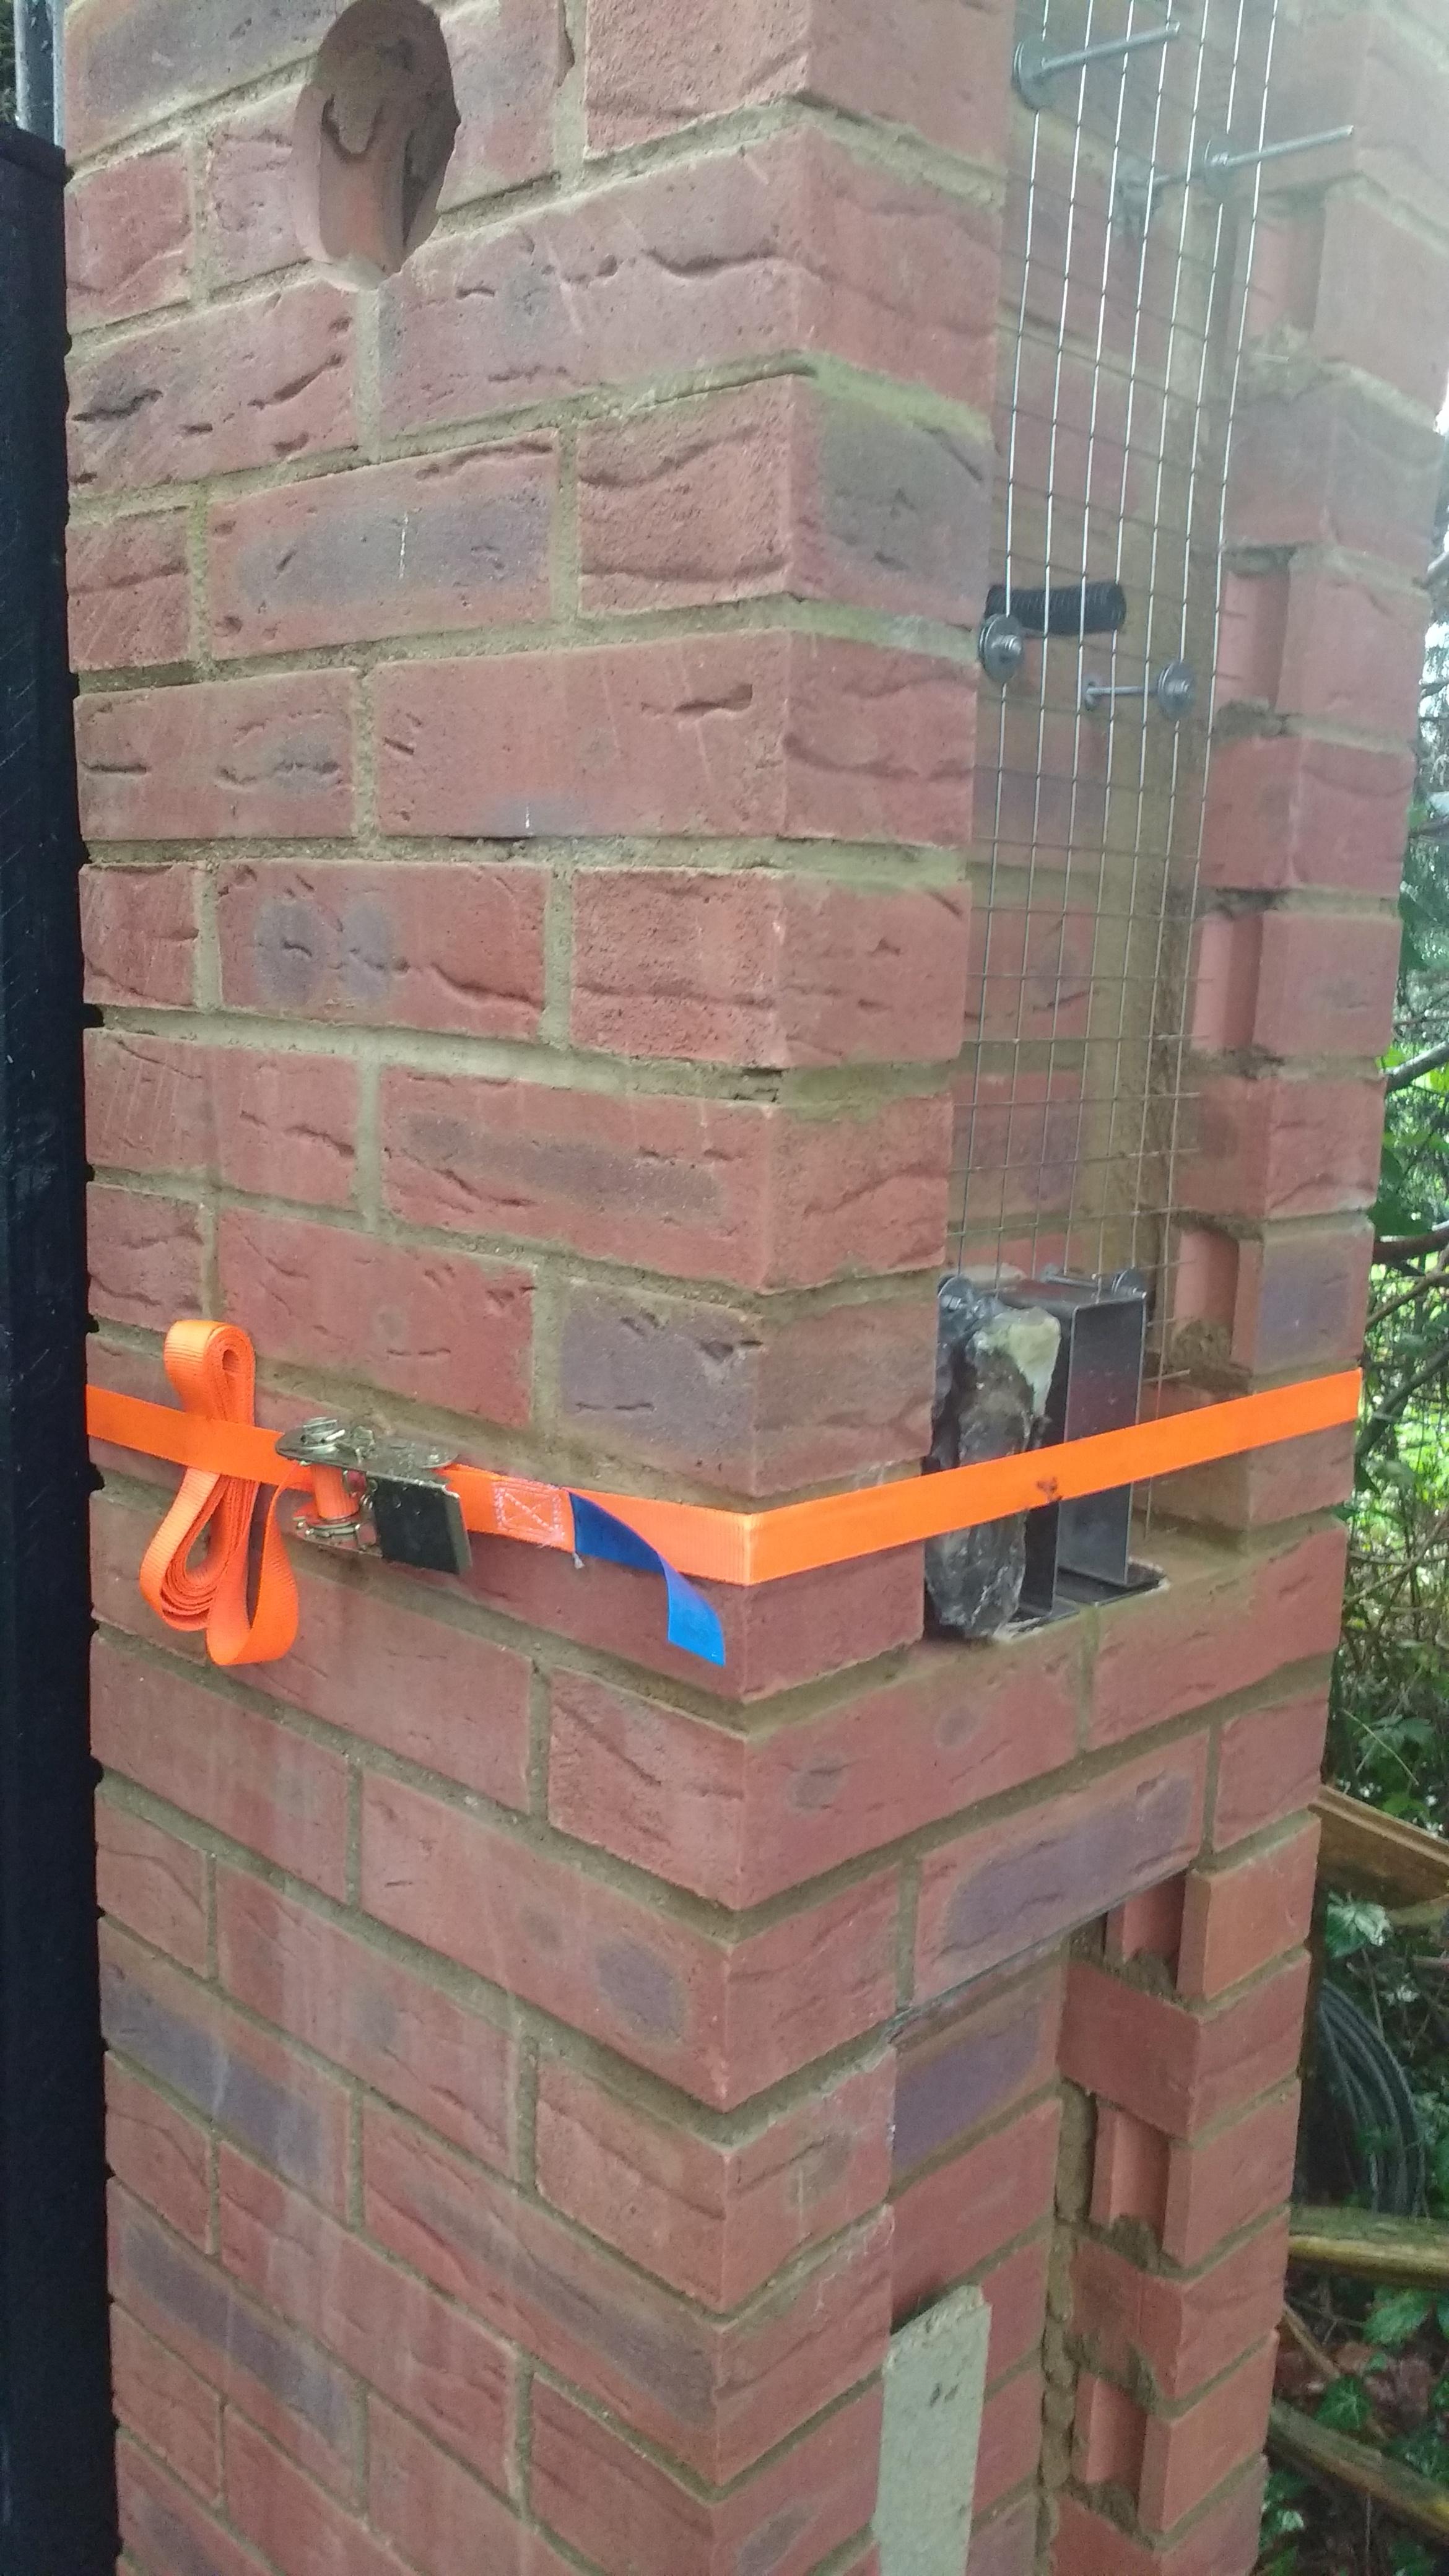
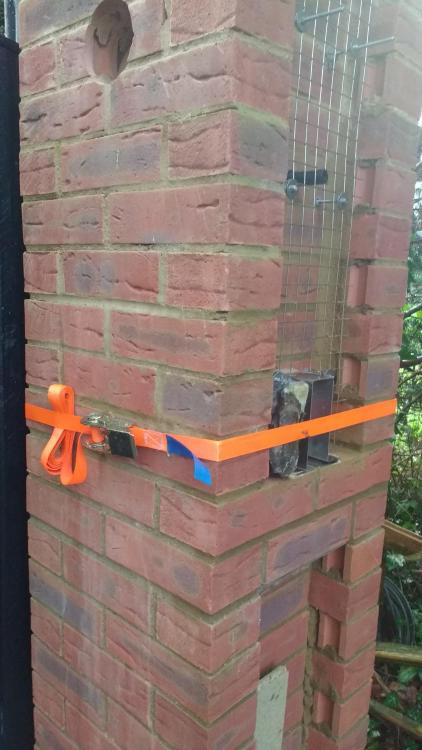
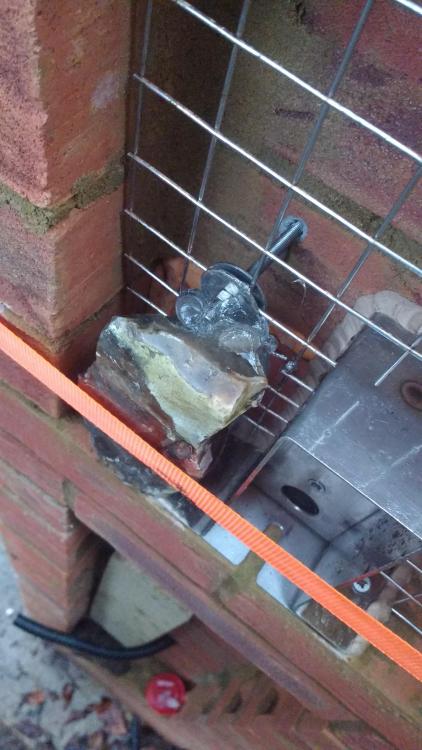
It peed down! So...instead of waiting for it to stop and do my test mix/pump, I thought I'd try and stick a flint to the mesh with clear Sticks Like Sh!t. It didn't go well. I think it's too "runny" and not "grabby" enough. I wonder if I'd be better with a dedicated grab adhesive. The flint here in the picture slowly twisted and slipped out of position. I've had to use a ratchet strap with a strategically placed twig! Happy with the mesh as a base. Surprisingly taut and stable. Wait for this one to dry then! Probably many good reasons why it's not done like this! ?
-
10 Year Rule and immunity under the 4 year rule.
Onoff replied to ToughButterCup's topic in Planning Permission
There's got to a market for caravan owners wanting to make work for their local councils... Simply put curtains up, patterned on the window side to look like brick or blockwork. -
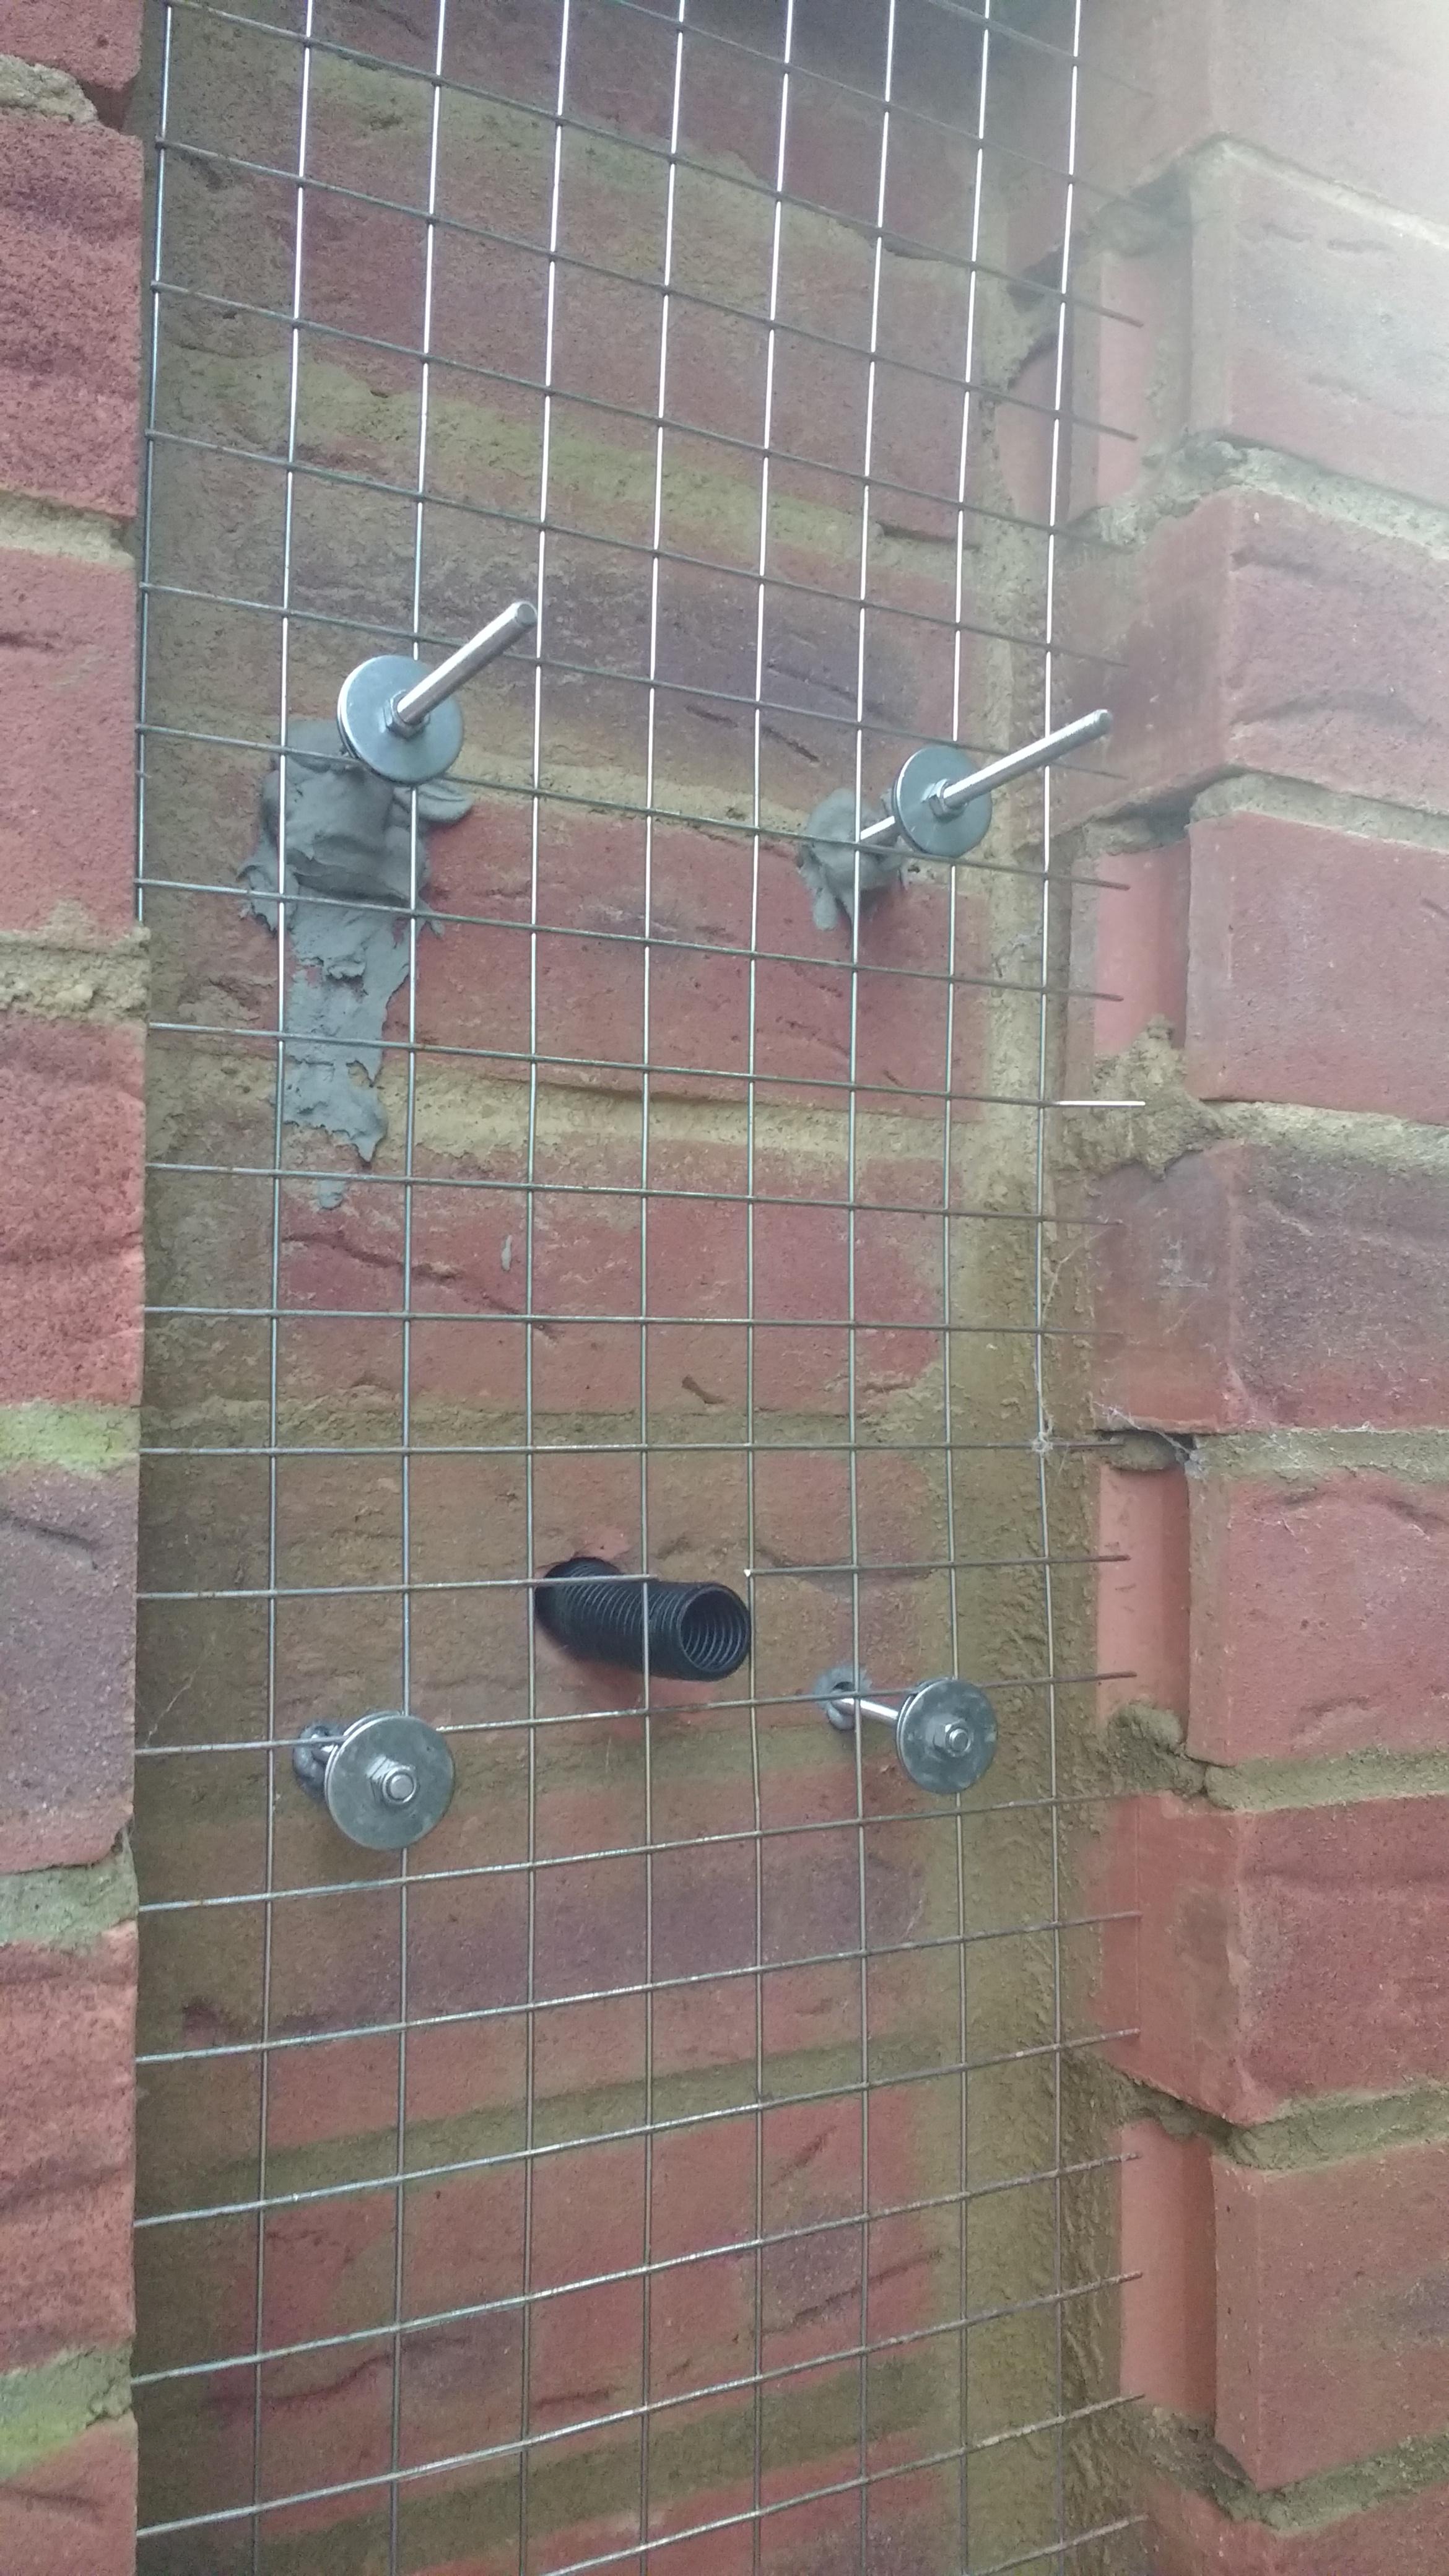
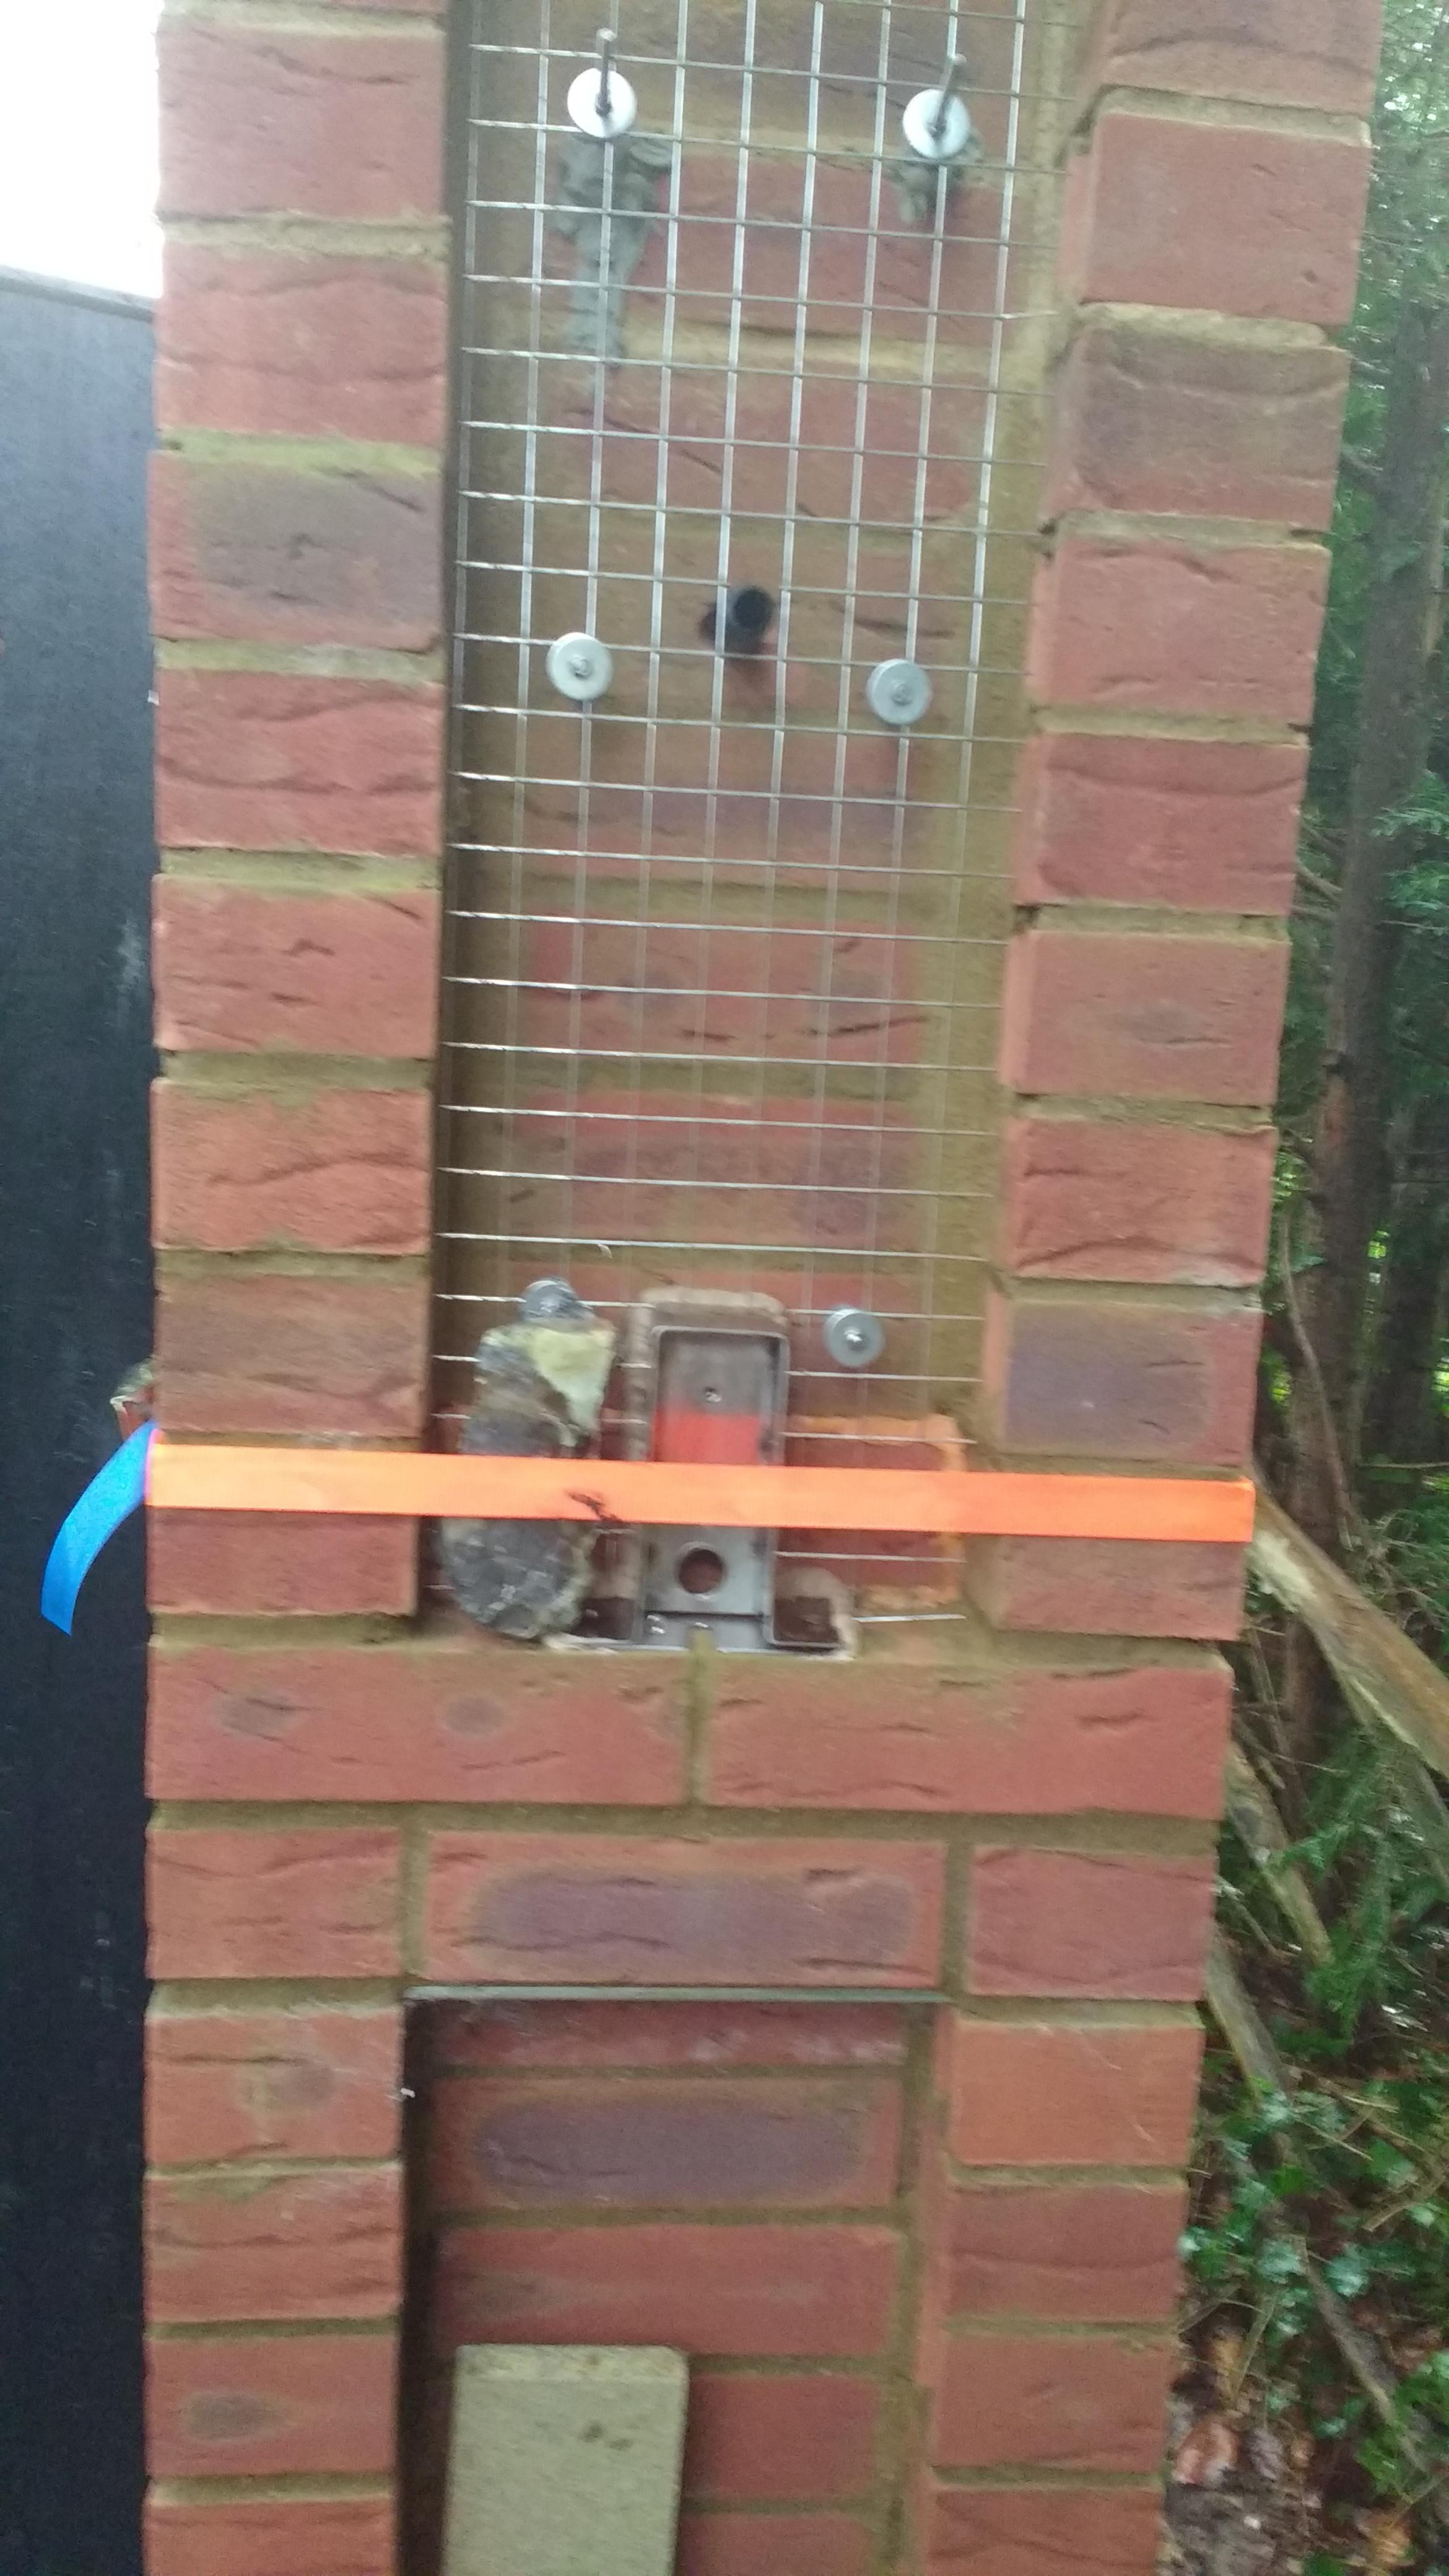
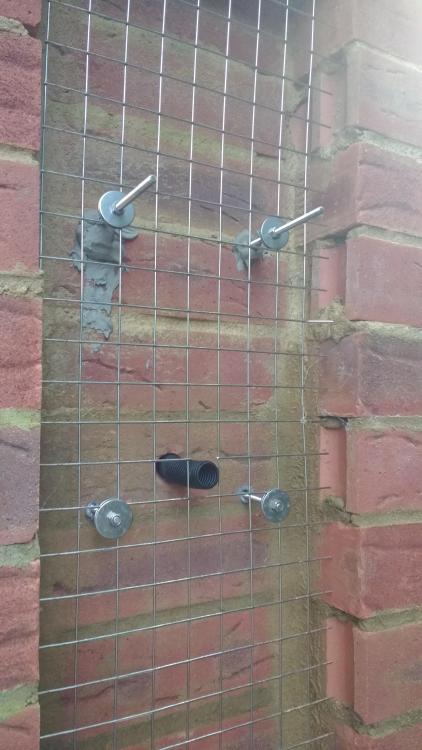
Decision made! It'll either work or fail miserably but it will have kept me out of the house for a good bit and is deliciously complicated. I've an off cut of stainless mesh been kicking around for years. 304 I think. Bought some similar recently for work and it was nigh on £100 a sheet! It's about 16SWG/1". (Saying that I do want to make an oil flue mesh guard so I'd get my monies worth out of a sheet doing another 3 panels for the pillars and that). The plan is then to add another 4, M5 studs, resin anchored in. These won't need to be as long as the existing two as they're to anchor the coach lantern. The mesh is held in place with st/st M5 penny washers and full nuts. That'll give me a rot proof, mesh "base". I'm then going to glue the individual flints on with Sticks Like Sh!t or something similar. I'll cut the mesh as required if the flint needs to sit a bit deeper past the mesh. Some flints are not so deep though, guess I set my mesh depth near to the shallowest one. Duct tape if necessary to stop the flint slipping. Once all positioned and the adhesive set, I'll use a mortar gun to pump lots of the mix below in through the gaps, let it go off a bit and brush in around each flint. The biggest problem is whether my mix will pump through my mortar gun! Really I should be out trying that rather than charging up the batteries getting ready to drill... This is the test mix I did back in October 'ish this year after a lot of experimenting - 3 soft - 1 sharp (figured it'd add strength and maybe some interest with the fines in it) - 1 opc - 1 lime (for plasticity/self healing) The sample has sat face up for the last 3 months through multiple frost's, freezing days and nights, torrential rain etc. I'm quite pleased how it's weathering. In it's final position it will get some added protection from the pillar capstone overhanging this flint face. I'm hoping that the lime will aid it going through the gun along with the liquid waterproofer. Only one way to find out!
-
So...eventually I'll meet the tortoise coming up behind me? Follow the snail trail!
-
I'd build your stud wall first. What make, Geberit?