Russdl
-
Posts
1722 -
Joined
-
Last visited
-
Days Won
6
Everything posted by Russdl
-
I’d pull the reveals off to see what’s what and then expanding foam any holes as a stop gap. I presume your preferred supplier, when chosen, will do a survey so they will see what they have to work with and maybe advise on any work required prior to them installing the 3G windows. Once they’ve installed the windows (a good idea to watch them like a hawk) get them to fix any cock ups and then put the reveals back. Thats what I would do but hopefully wiser folk will be along soon with further advice.
-
I think that is an excellent idea. Why didn’t you think about it a couple of years ago so I could have plagiarised it!! (More to the point, why couldn’t I have thought about that myself!)
-
Tight space squeeze too ambitious?
Russdl replied to tanneja's topic in Mechanical Ventilation with Heat Recovery (MVHR)
That may not be the best idea. The airing cupboard is likely to be the warmest room in the house, probably only filled with clean clothes that are maybe slightly damp. With an extract in there you’ll be sending that warm air straight outside (via the heat exchanger) and getting slightly less warm air back. If the airing cupboard could vent to the hallway you could spread some of that warm clean smelling air around the house before expelling it. -
@tanneja yep, it's the Ubbink 180mm insulated duct and both runs have a slight fall from inside to out.
- 99 replies
-
- 1
-

-
- mvhr vents
- filter
- (and 1 more)
-
Tight space squeeze too ambitious?
Russdl replied to tanneja's topic in Mechanical Ventilation with Heat Recovery (MVHR)
How about mounting those manifolds flat against the ceiling (inverted to the picture above) you could have the inlets on the large face/base? It would require more than your 1m2 but you could mount them side by side to allow easy future access. You would be able to use flexible attenuators straight up from the MVHR unit into the base of each manifold plus the airflow has been turned through 90° for you (bending the ducting through 90° takes up a lot of space). The downside could be that one manifold would be in the way of the other when it comes getting a ducting past manifolds. Exactly how many supply and returns lines will you have?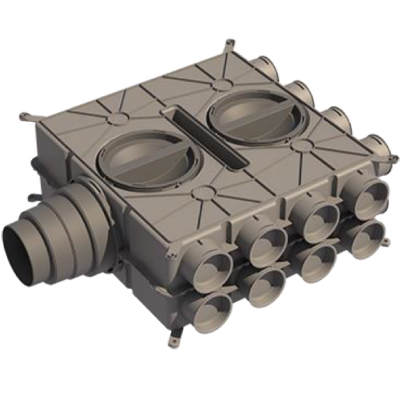
-
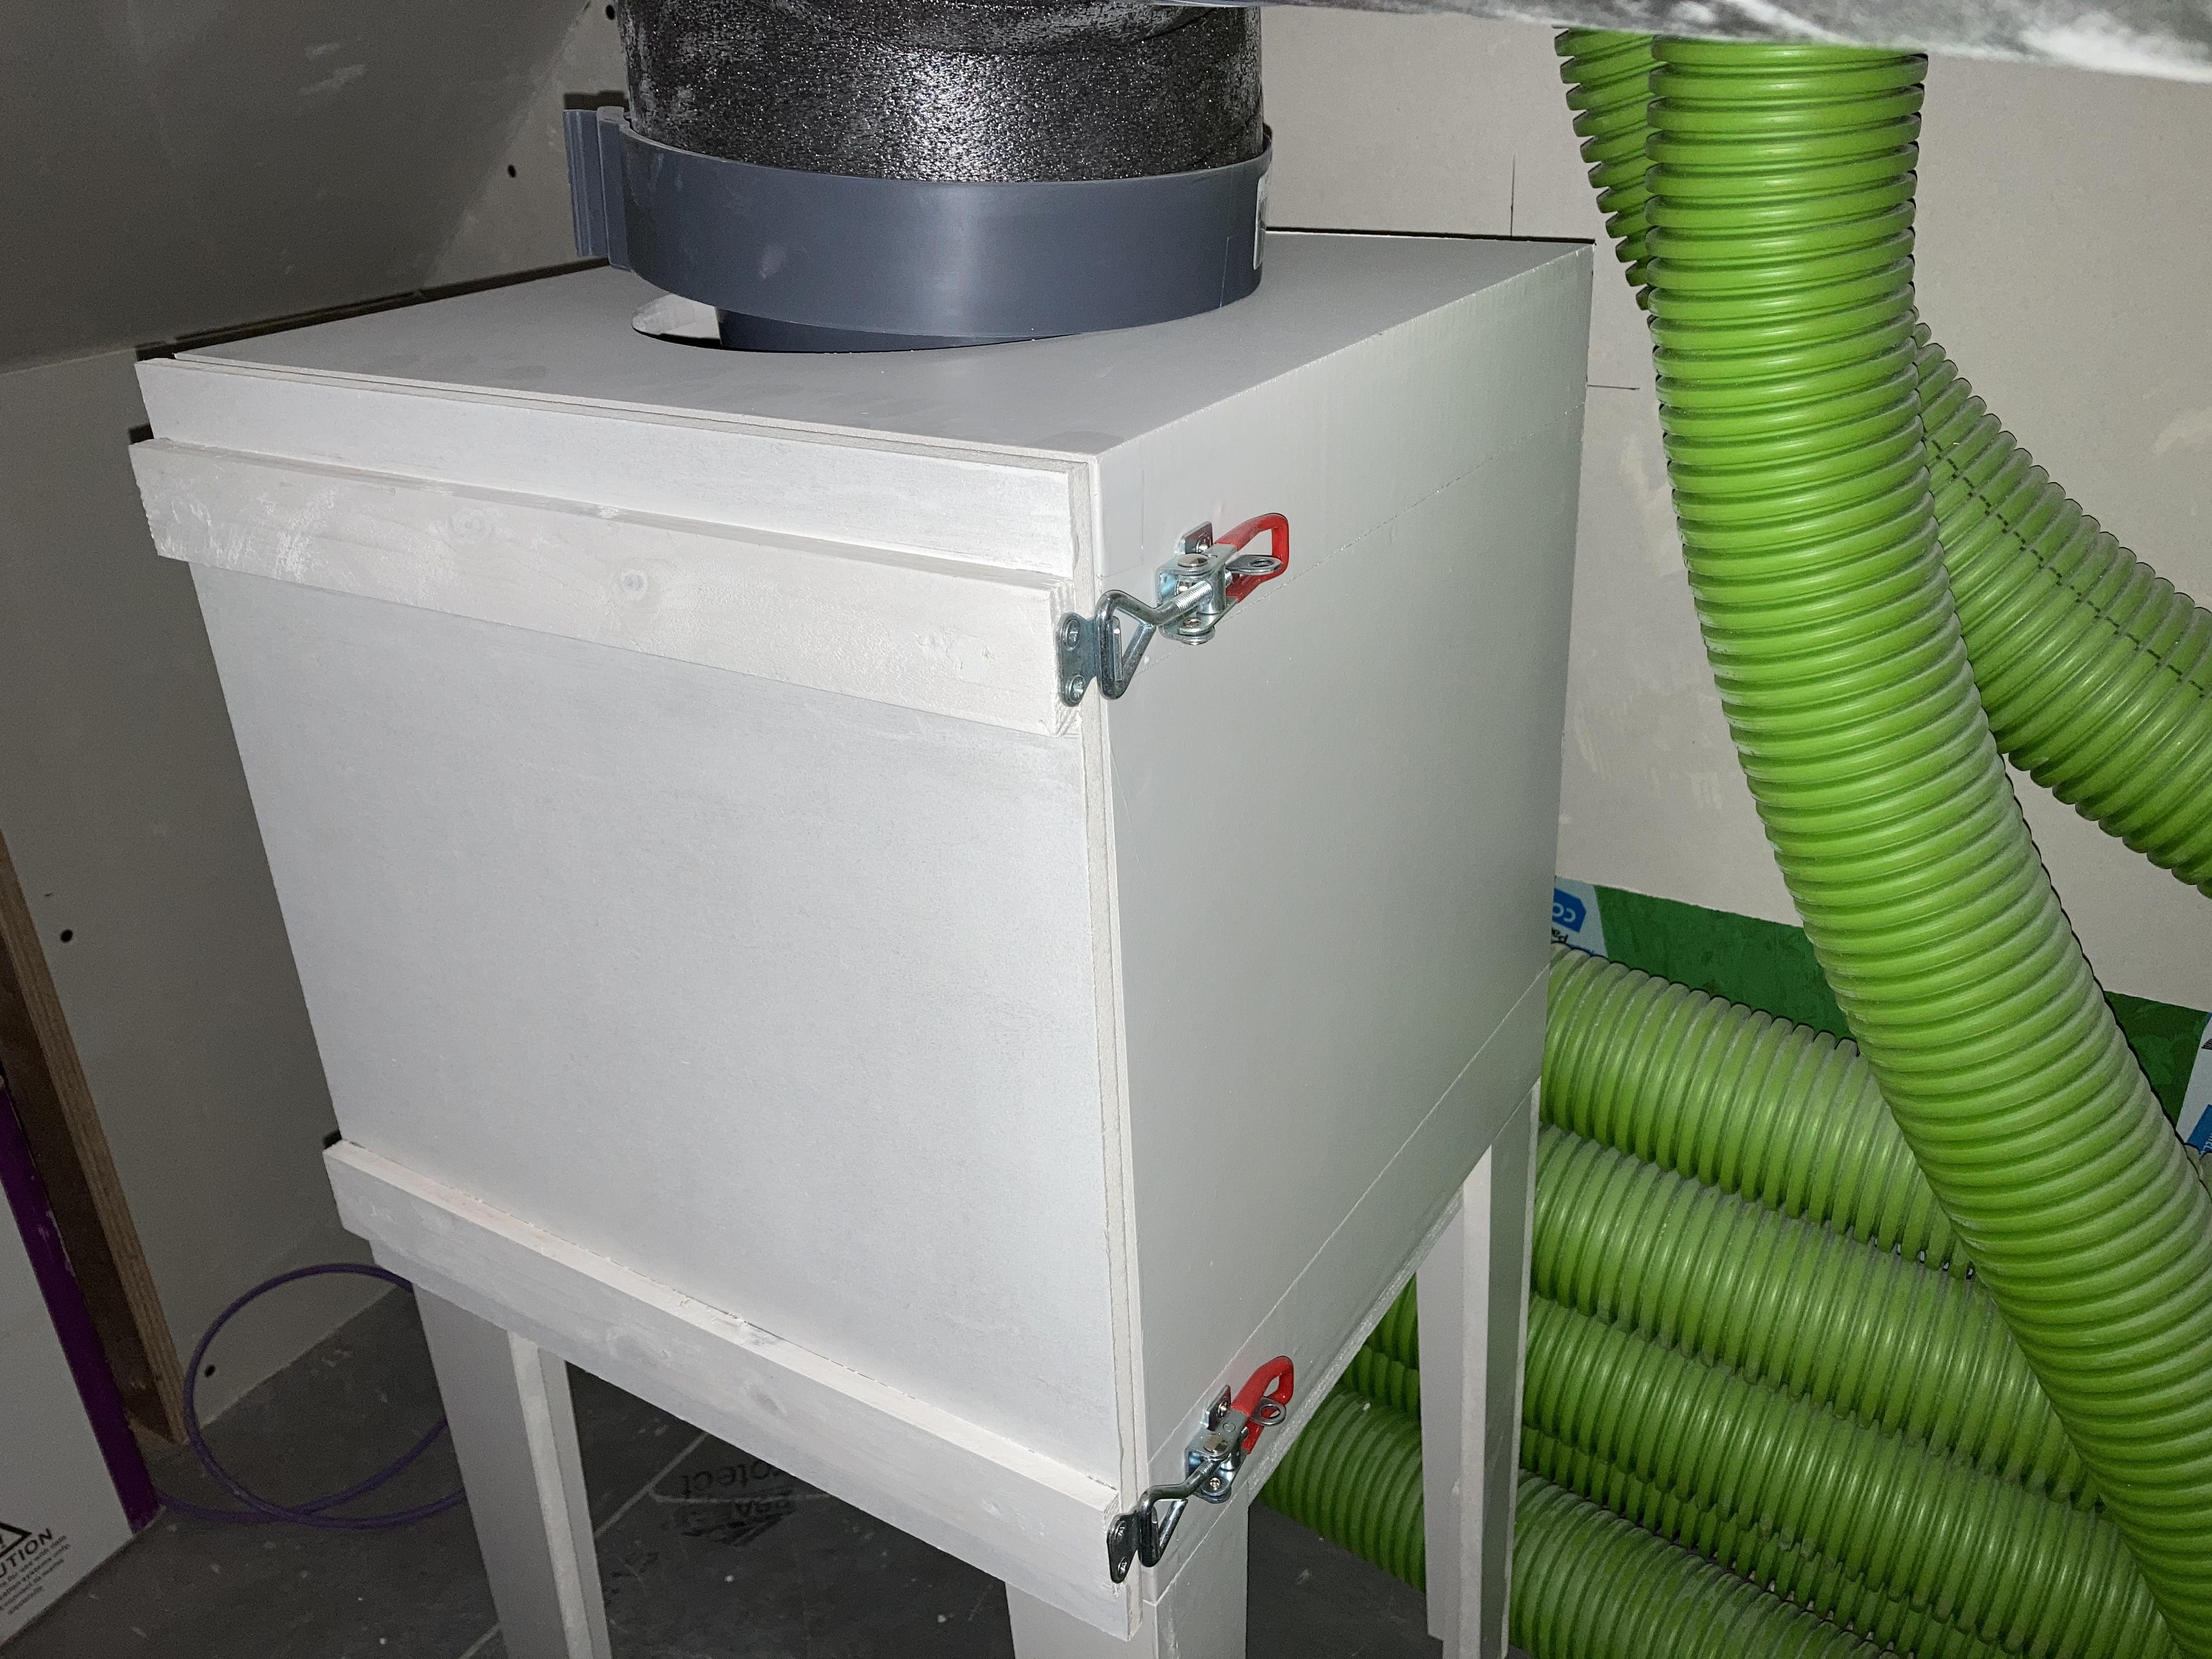
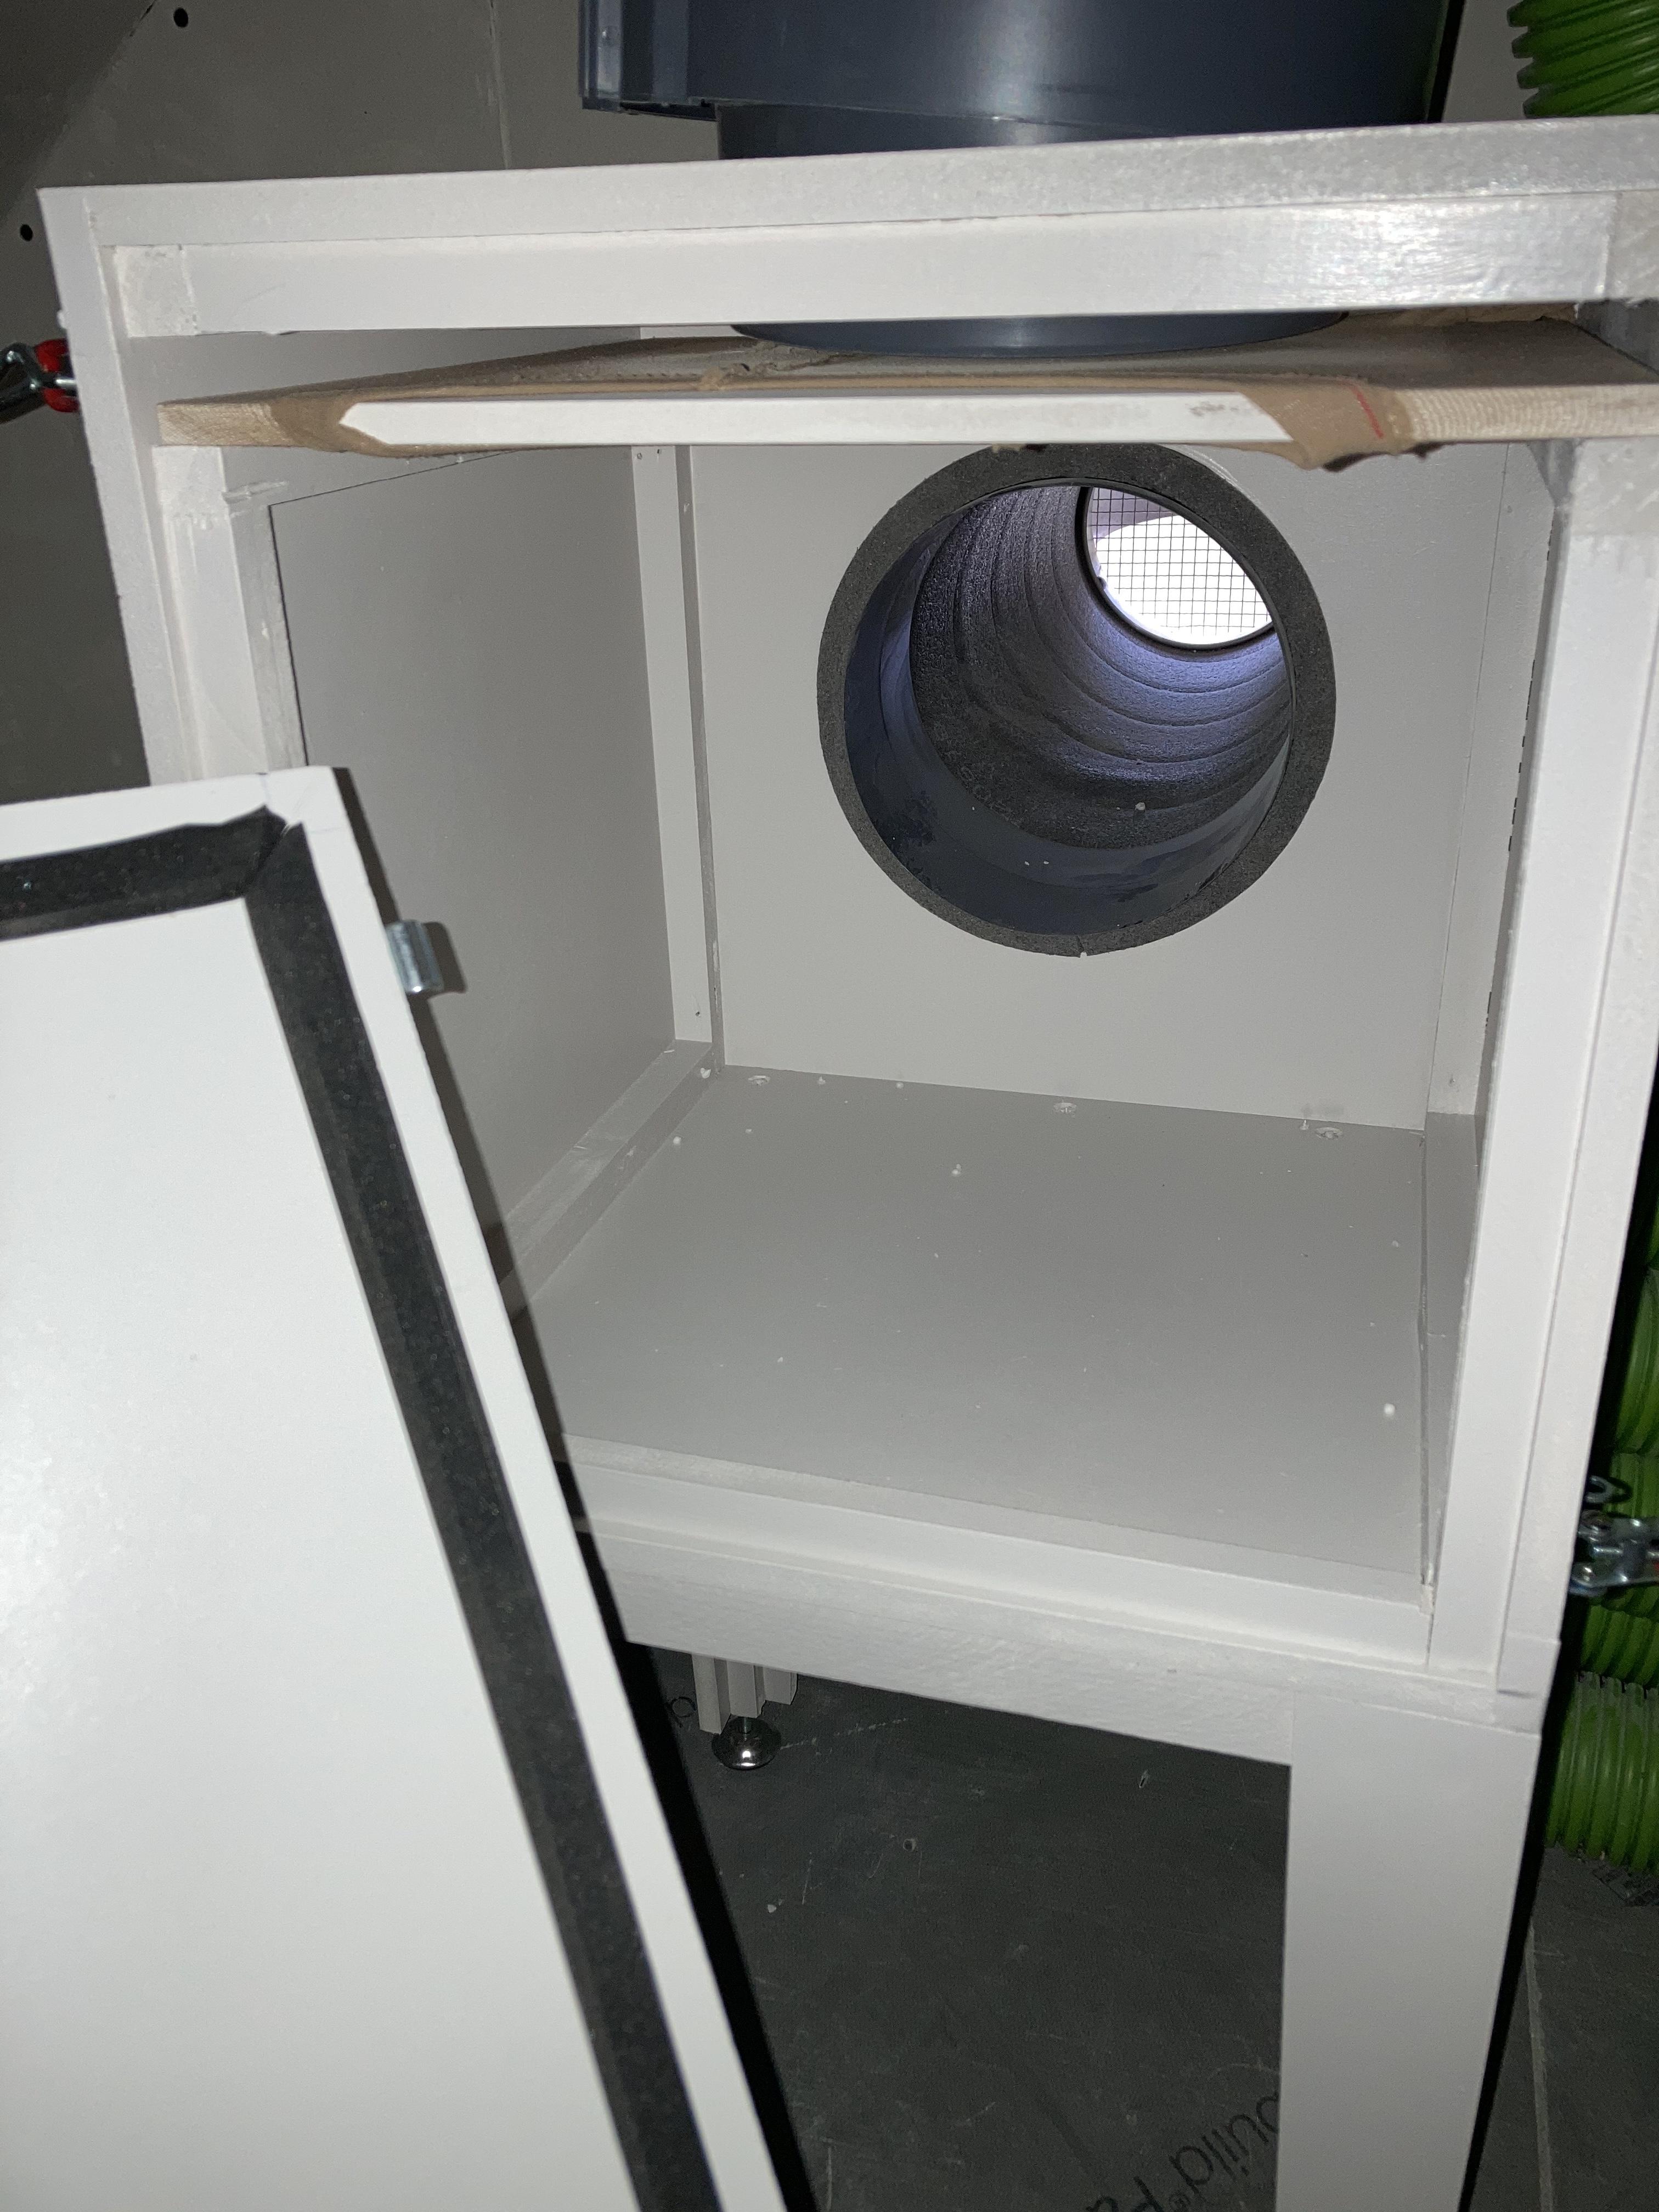
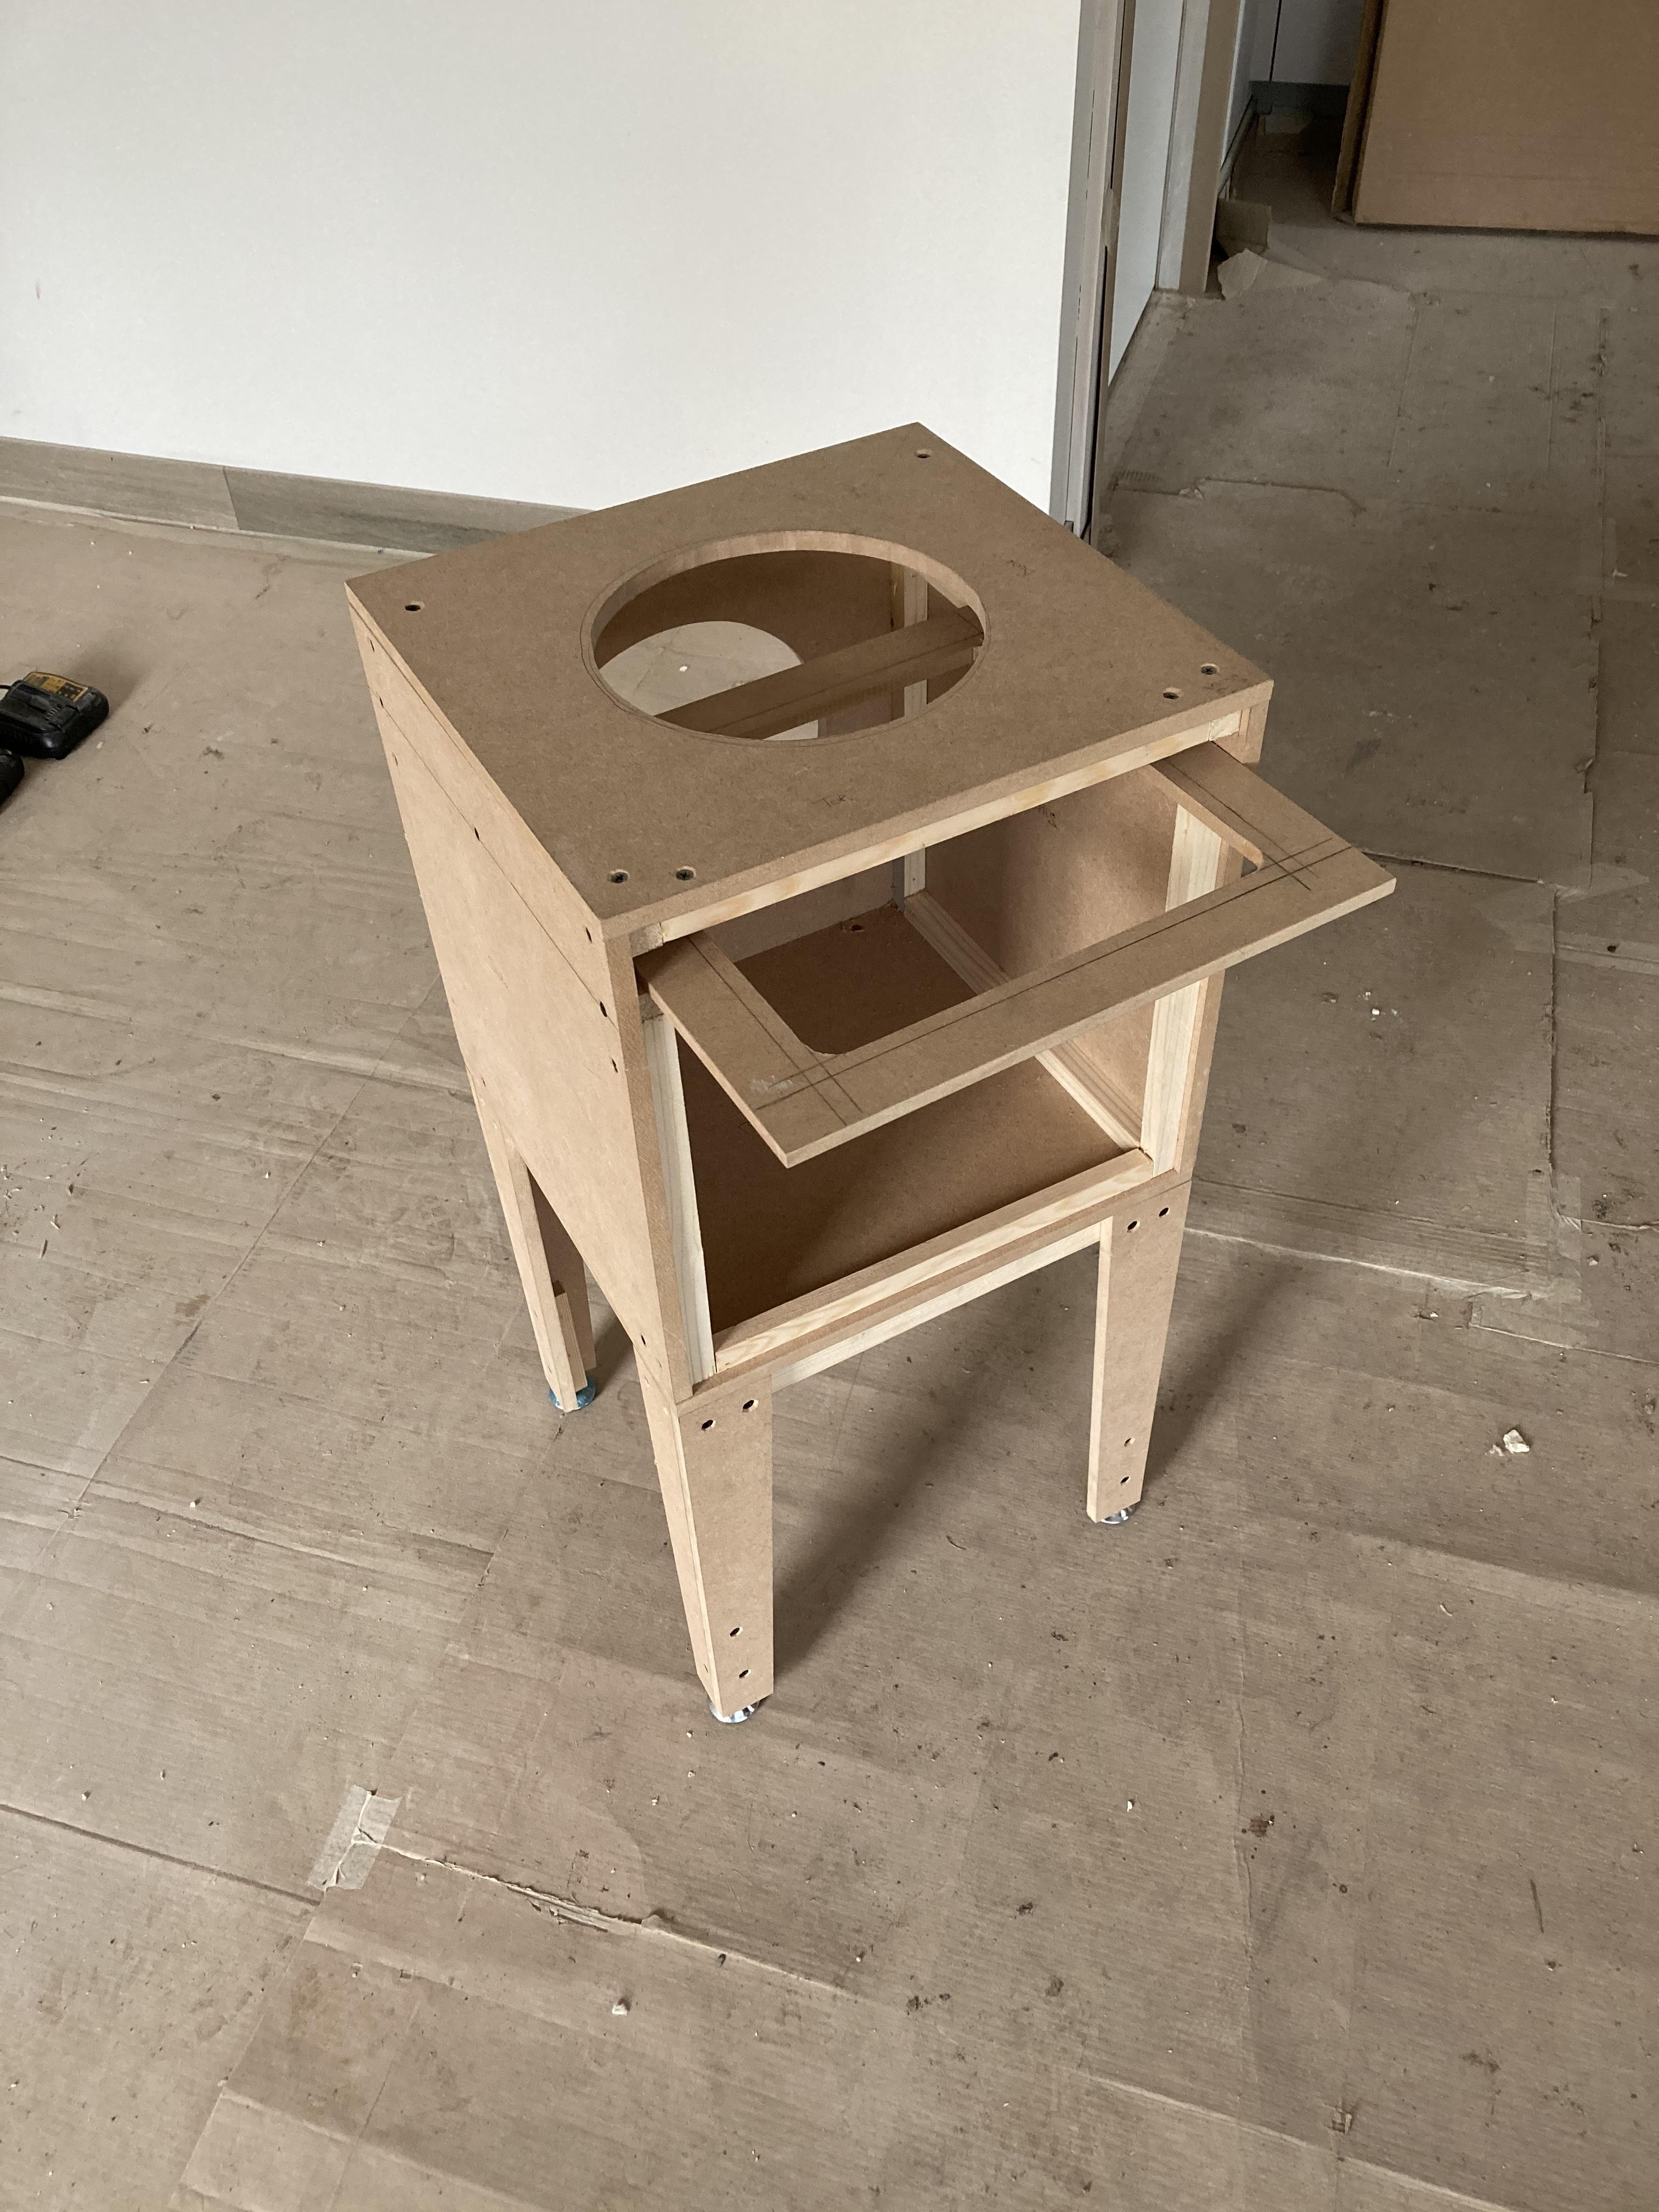
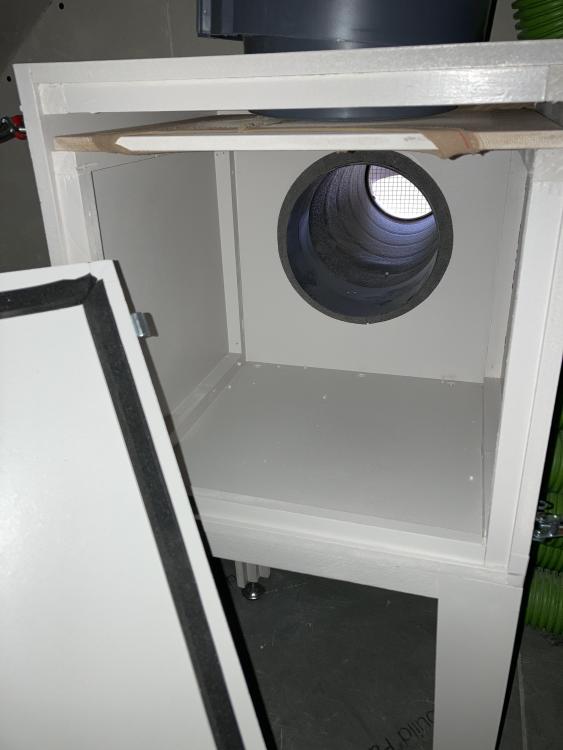
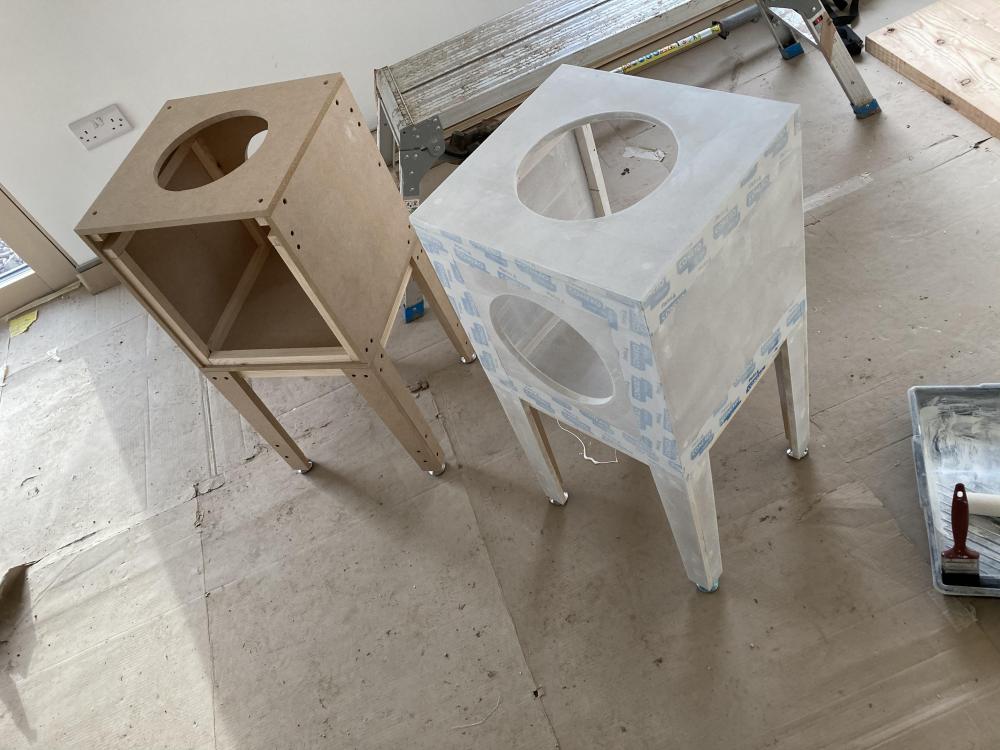
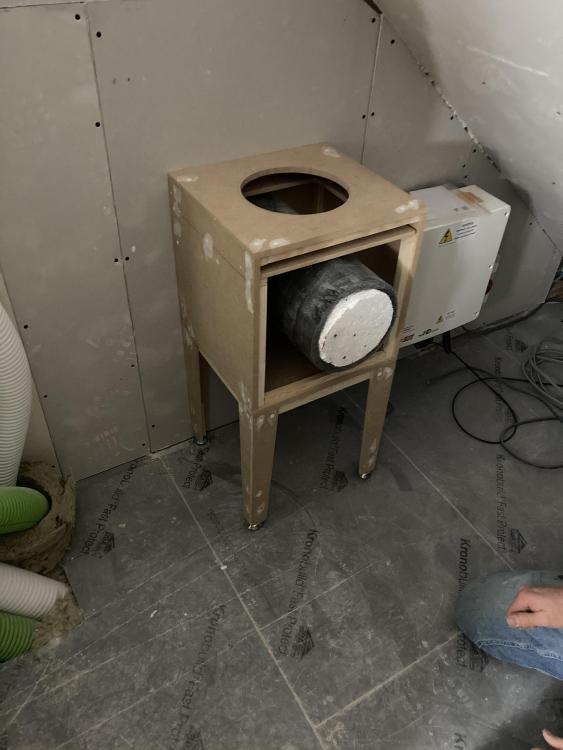
It may well have done but I had some airtight tape left over so I used it. I had MDF left over as well hence they are made of MDF and not ply, we’ll see what happens. Thanks for the offer of the old light fittings as inspection thingies, a great idea, I won’t need them however as the fronts come off with a few flicks of levers for inspection/cleaning. The fronts are sealed with closed cell foam, I’m guessing that’ll be as close to airtight as I’ll need. (They’re still not fitted properly yet)

- 99 replies
-
- 1
-
-
- mvhr vents
- filter
- (and 1 more)
-
@tanneja I will be using the restrictor rings for balancing and they will require cutting, I'll also be using air valves that have a small amount of adjustment on them as well. It's not commissioned yet for several reasons, not least of which is that there is no power up there yet. The front face of the home made silencers will be screwed on and then taped so if I do need access at a later date (bound to!) then I'll just have to cut the tape and undo the screws and the silencer will be removable, in fact everything will be easily removable should the need arise.
- 99 replies
-
- 1
-
-
- mvhr vents
- filter
- (and 1 more)
-
2020's last laugh: a leaking roof. Advice please.
Russdl replied to ToughButterCup's topic in Roofing, Tiling & Slating
Didn't someone on here have one that attached to an iPhone? I'll see if I can find that... Yep, it's @AliG that has one, perhaps he can advise on its potential to trace that drip? -
2020's last laugh: a leaking roof. Advice please.
Russdl replied to ToughButterCup's topic in Roofing, Tiling & Slating
Thats got to be worth a go. Sorry, don't have one to lend. -
2020's last laugh: a leaking roof. Advice please.
Russdl replied to ToughButterCup's topic in Roofing, Tiling & Slating
That seems odd. After going through 300mm of insulation and taking two years to manifest it self you would expect there to be a lot of water up there so I'm surprised it seemed to dry out so quickly. I guess the drip is coming from directly below where the storm damaged tiles were? Could that be a coincidence and the drip is starting life somewhere else on the roof. I have to agree with @Temp re the roof build up. -
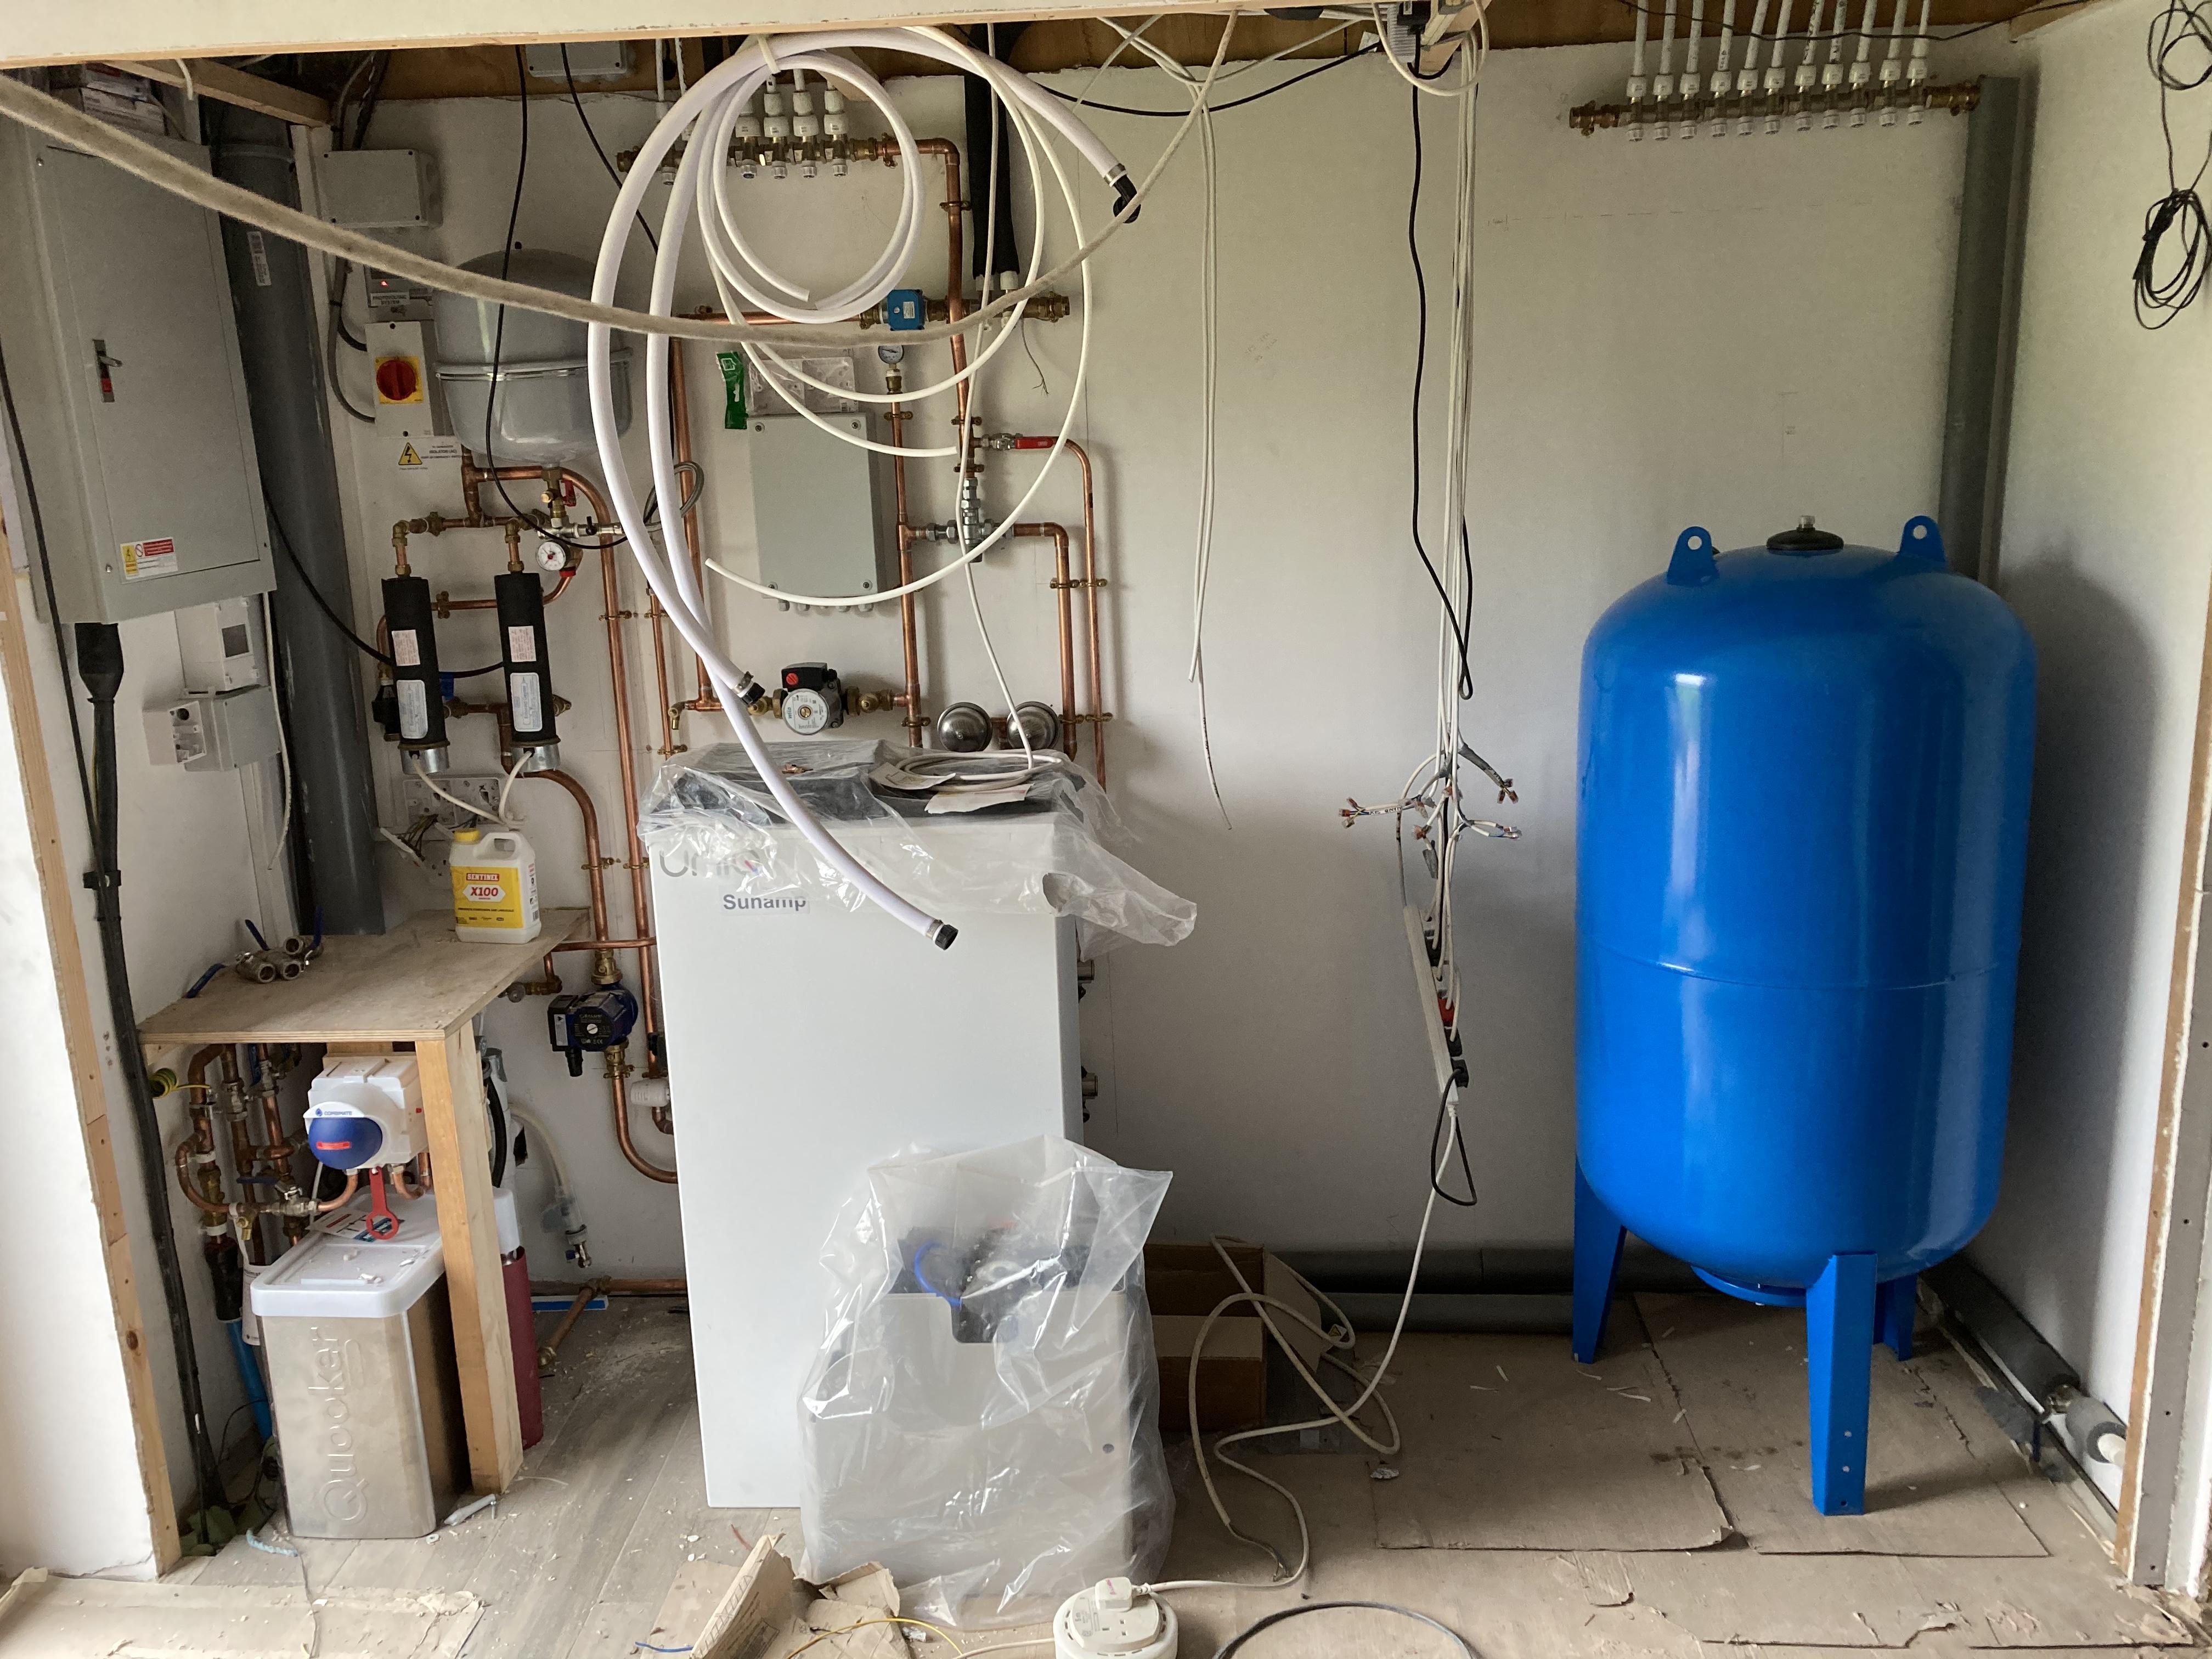
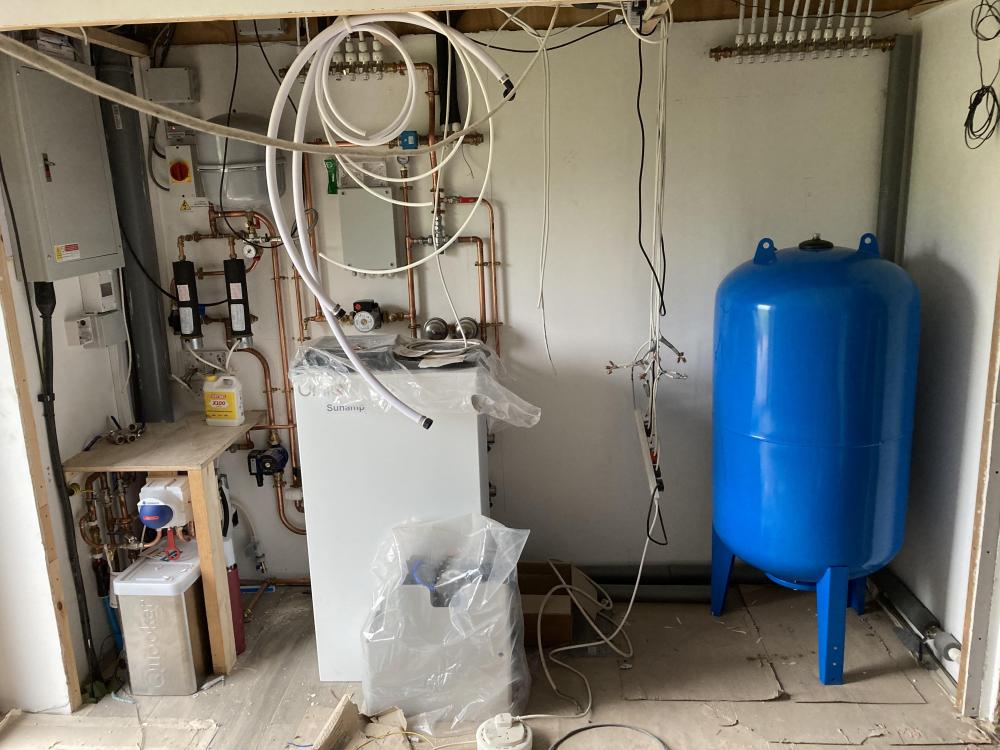
Our water pressure is 3 bar with a flow of 15 litres/min. We have two bathrooms and were advised to go for a 200l accumulator. That advice changed recently and a 300l accumulator was recommended. I don’t know about any formula, and as nothing had changed in the design of the house I suspect the plumber just stuck a wet finger in the air but I could be wrong on that. I can’t tell you how it performs because it’s been sat around for weeks waiting to be installed. It is big. And blue.
-
I had considered this but decided to give it a miss due to the relatively low cost of the off the shelf offers.
-
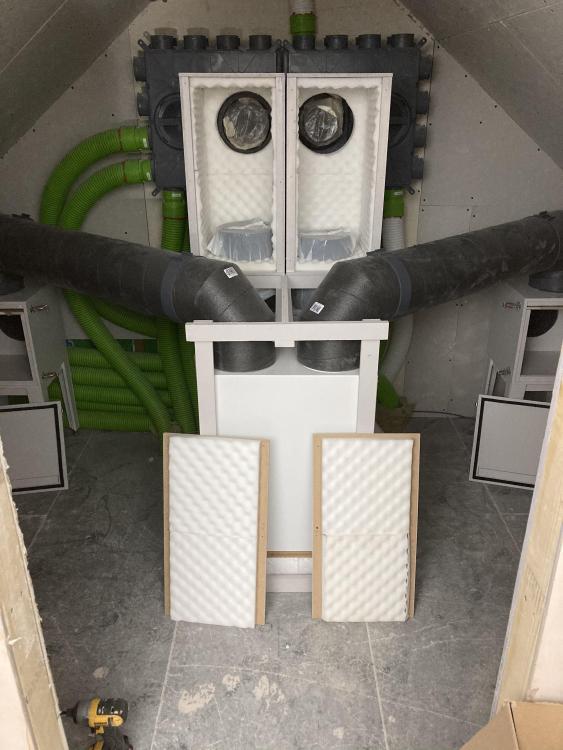
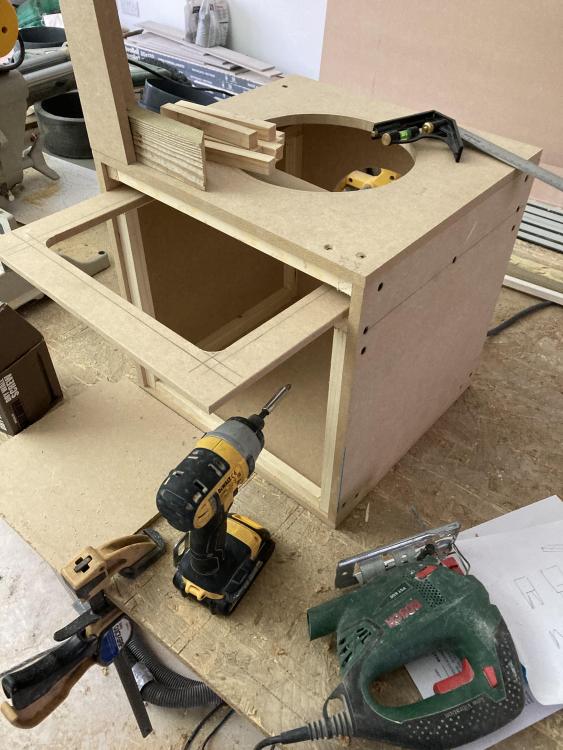
So, the over engineered MVHR pre filters are ready to go, along with the over engineered attenuators. I still need to tape and paint the wall before I fit it all properly but it’s gone together well so here’s hoping it all works ??
- 99 replies
-
- 3
-
-
- mvhr vents
- filter
- (and 1 more)
-
Integrating an MVHR to our build
Russdl replied to djcdan's topic in Mechanical Ventilation with Heat Recovery (MVHR)
You can, but it's not an afternoon exercise, I did my own which took yonks but I was able to try lots of different iterations to get the figures looking good. You could get a PHPP consultant to do it for you but make sure you get one who is properly qualified to take your money - there are some chancers out there. @Jeremy Harris produced his own spreadsheet as he found PHPP to be overly complex iirc, there's probably a copy kicking around on here somewhere which I think several BuildHubbers have used. -
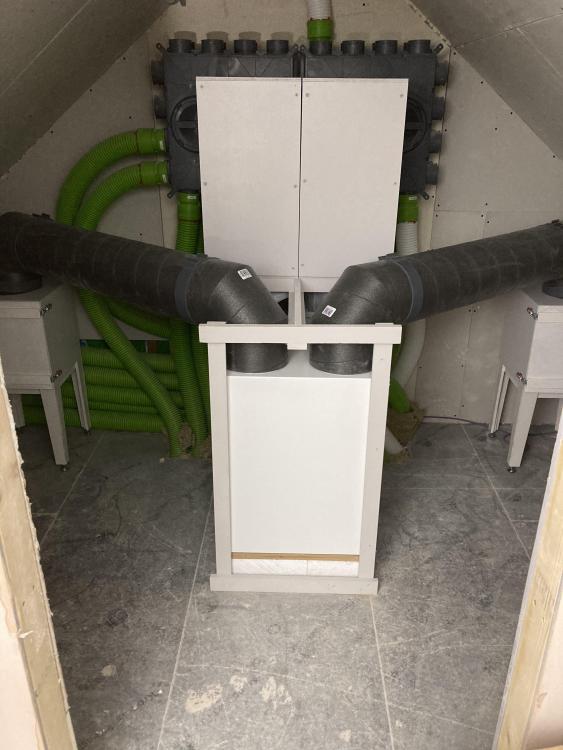
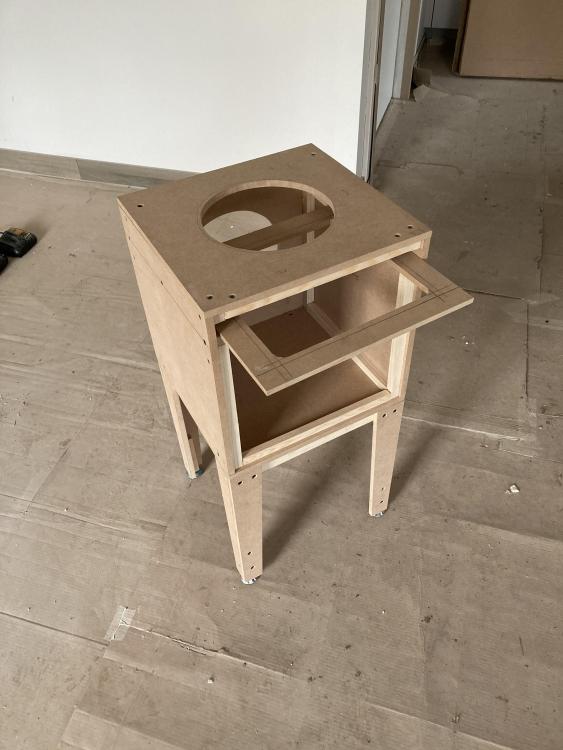
And then there were two. External joints taped with left over airtight tape.
- 99 replies
-
- 2
-

-
-
- mvhr vents
- filter
- (and 1 more)
-
@Russell griffiths I will (well, somebody will) @Nickfromwales I will. @Bonner I may.
- 99 replies
-
- 1
-

-
- mvhr vents
- filter
- (and 1 more)
-
The over engineered MVHR pre filter arises from the gash bits of MDF offcuts that litter the house. Some finishing off to be done and it’s kept my son off the streets making stuff for his deluded dad.
- 99 replies
-
- 1
-
-
- mvhr vents
- filter
- (and 1 more)
-
@CC45, no I'm pretty stuffed with what I have. I'm quietly confident a homemade solution will fix my little problem though. Time will tell, I'll bare all in due course.
-
Thanks @Stones et al, that’s sorted then, homemade silencer it is.
-
Good luck ?
-
Something else I can add to the list of ‘never heard of that before’. It’s quite a large list. I was planning on using that eggbox type foam whatever that’s called, what is pyrosorb? It sounds fire retardant at least.
-
@CC45 they way I’m set up I only have about 450mm to fit them which doesn’t appear to be enough for any of the shelf ones that I’ve seen.
-
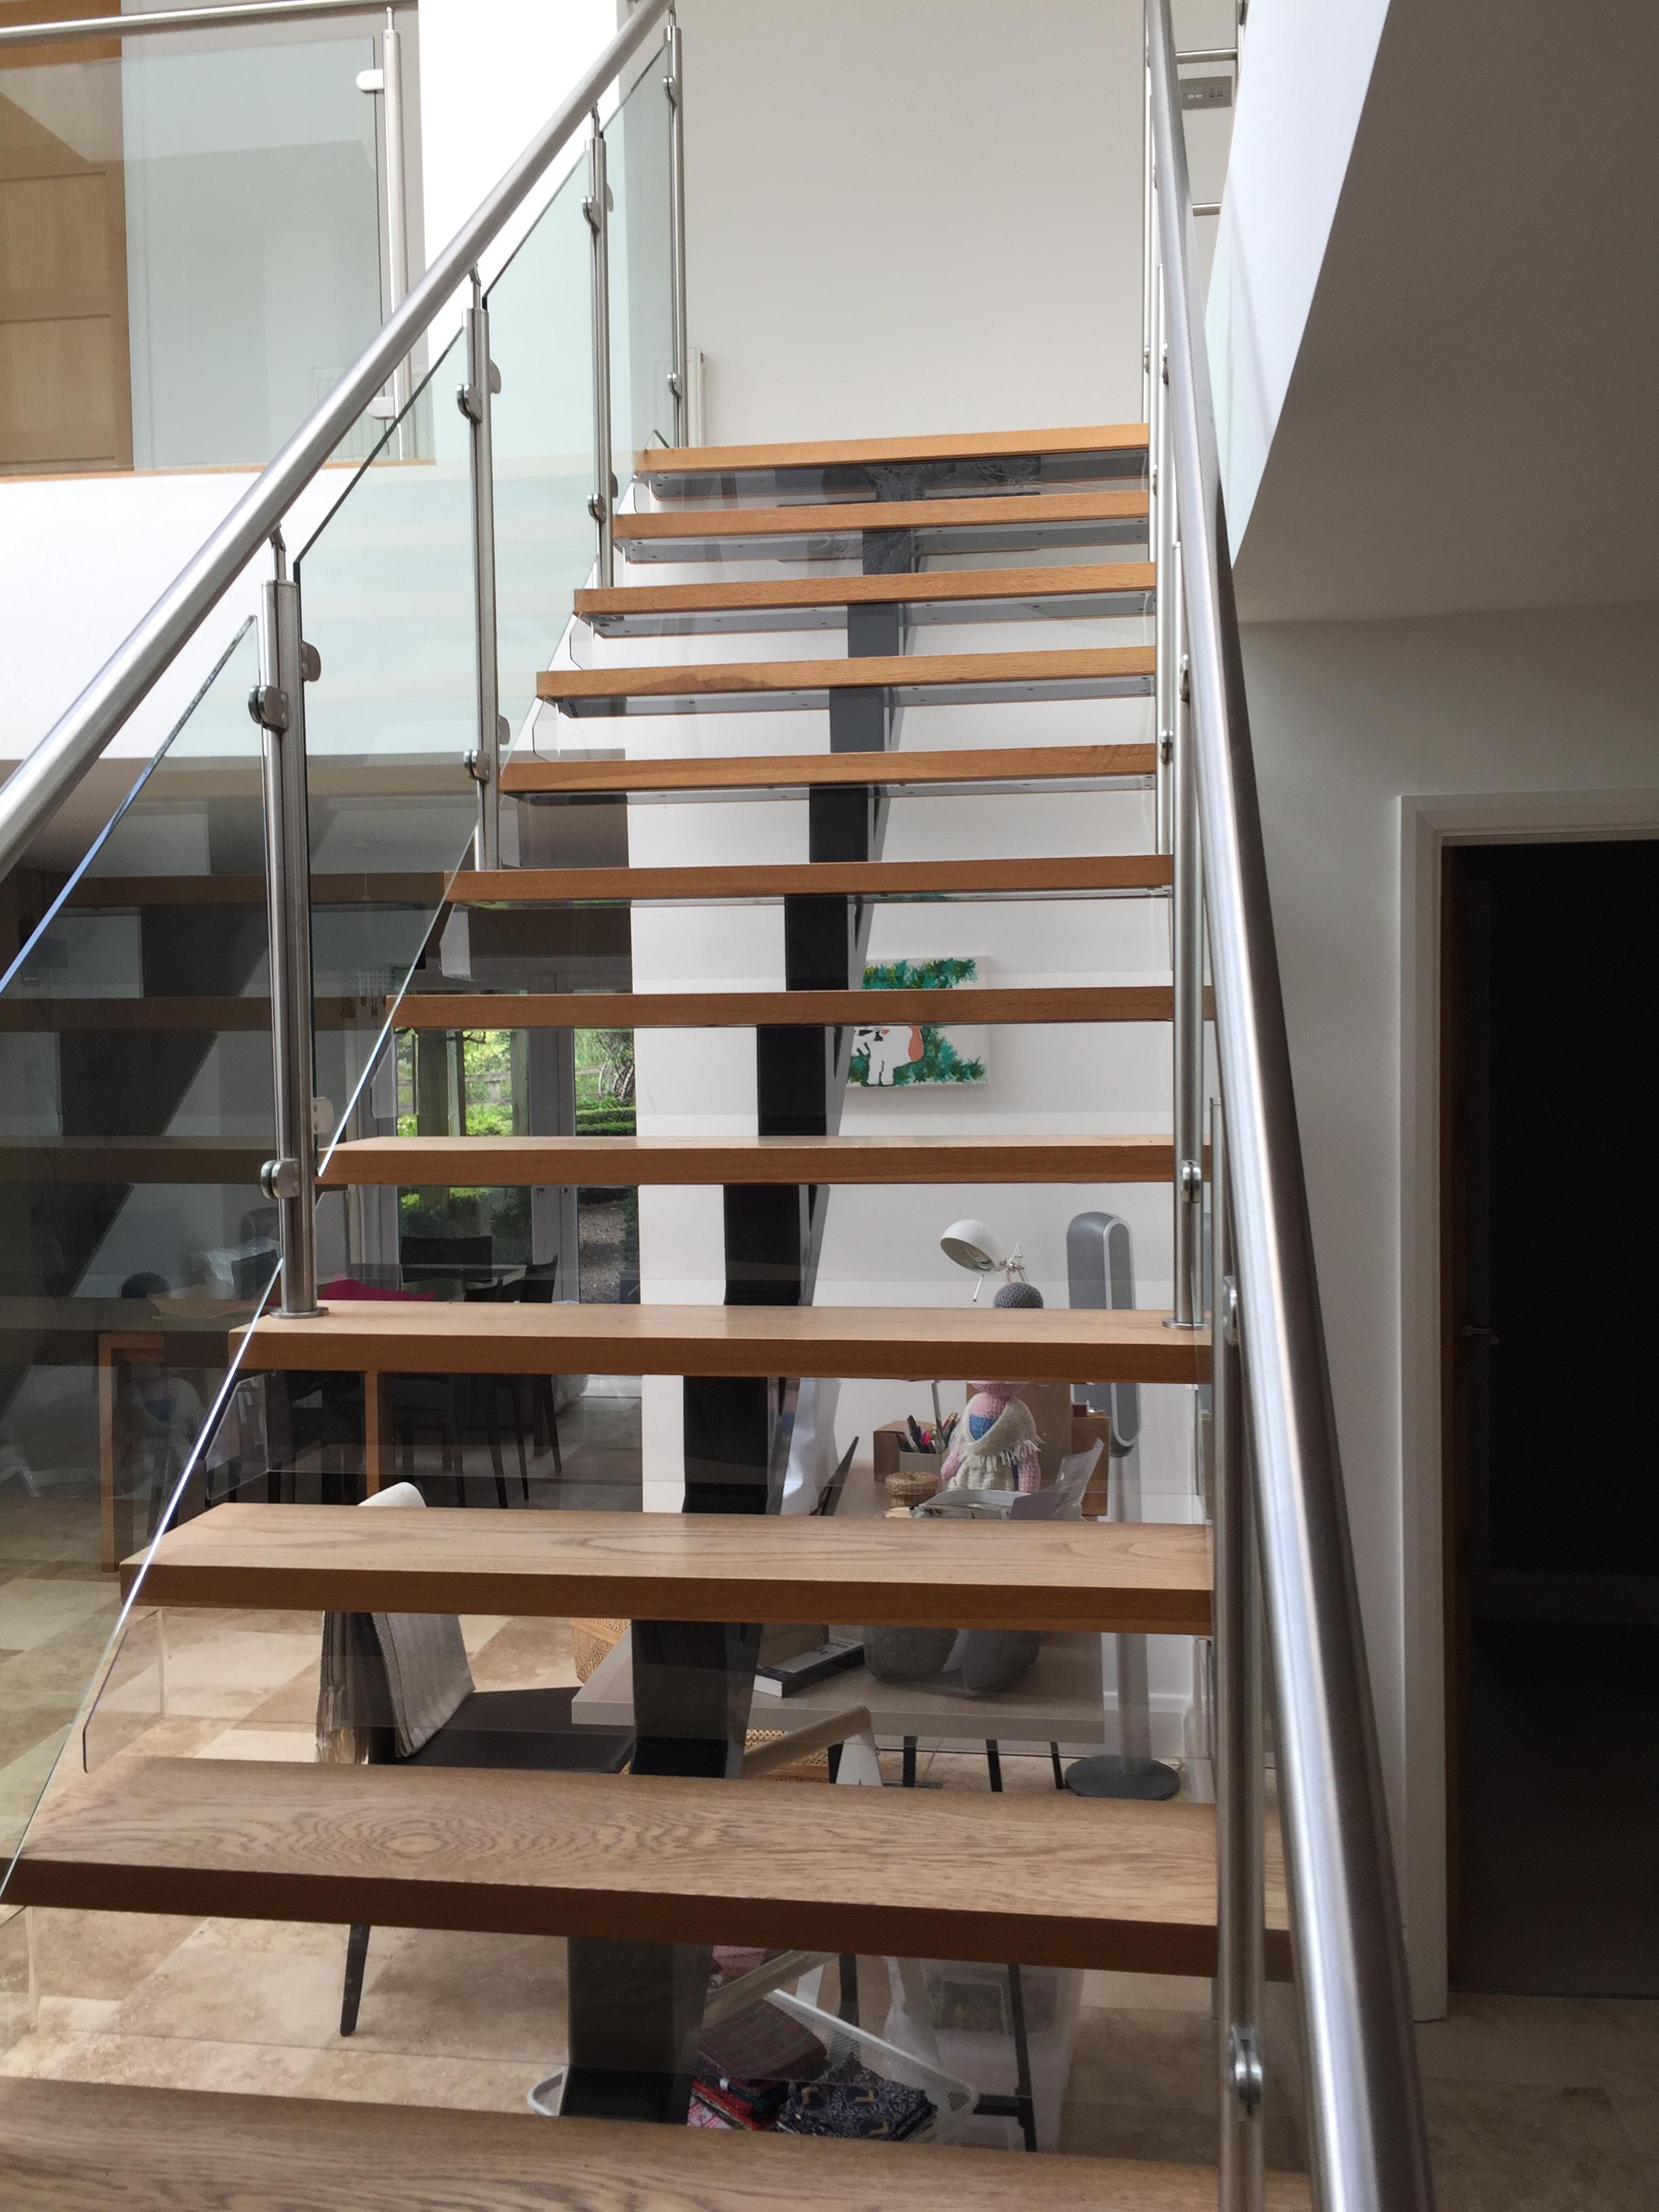
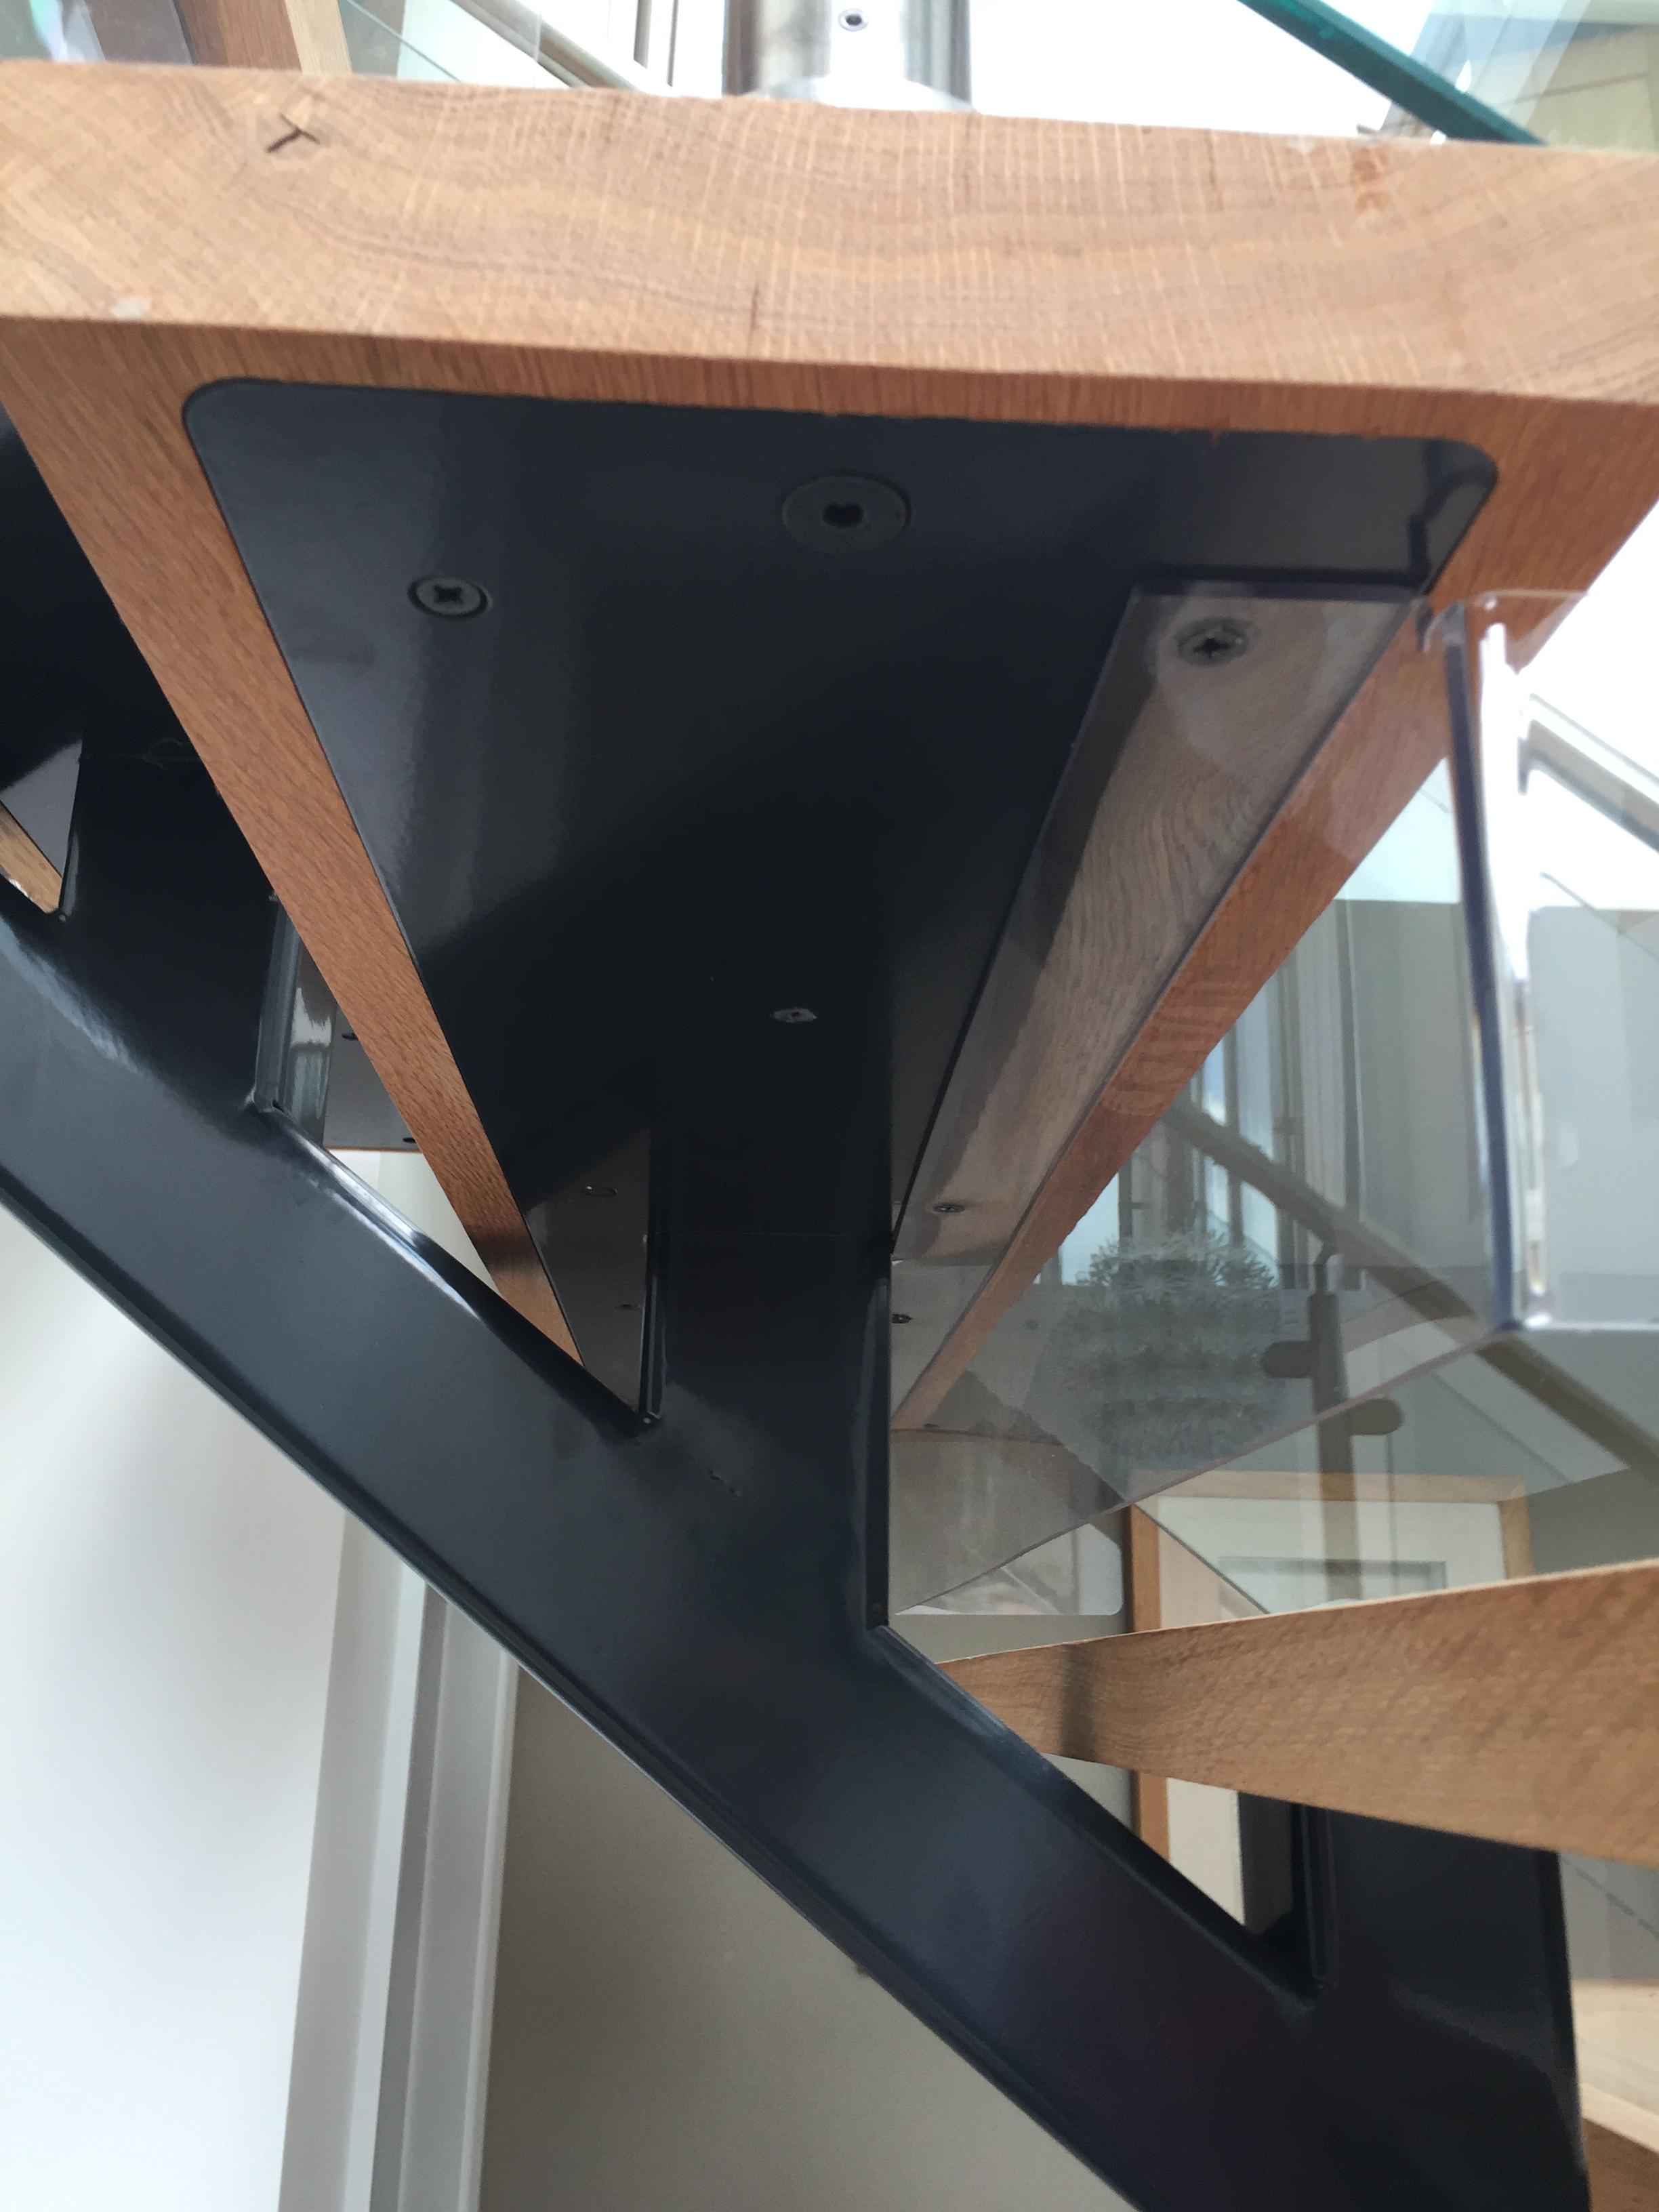
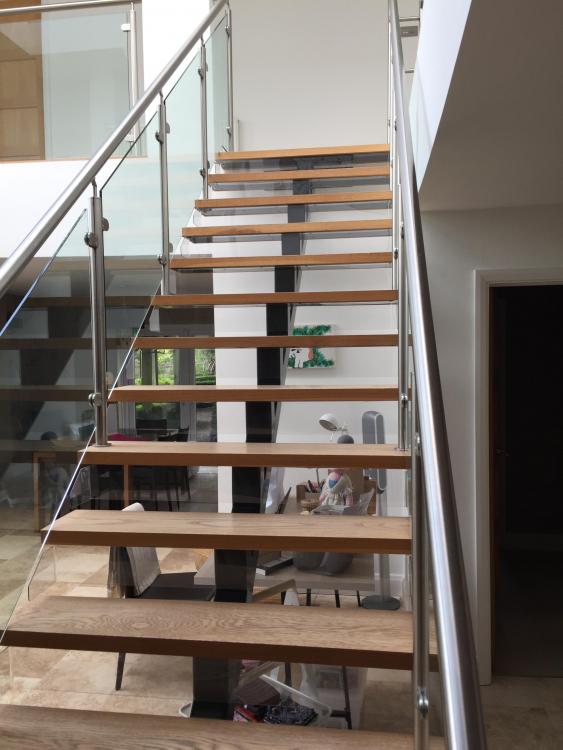
We’re planning on a 34mm timber tread, rebated on to a 10mm steel plate. To satisfy building regs we plan on using Perspex like this staircase we saw a while ago.

-
How did these work out @Stones ? I'm a bit limited in space for many of the off the shelf version to fit so I may well make my own. Any hints, tips and tricks?
-
Congratulations Ian, that’s a striking property, well done. ??