
BotusBuild
-
Posts
1379 -
Joined
-
Last visited
-
Days Won
10
Everything posted by BotusBuild
-
+2 to the temp staircase and productivity. Ours went in about 3 months ago. Been so much easier getting up and down between floors
-
Posi Joist Hanging...
BotusBuild replied to Mulberry View's topic in Insulated Concrete Formwork (ICF)
Wasn't aware they existed at the time 😞 -
Posi Joist Hanging...
BotusBuild replied to Mulberry View's topic in Insulated Concrete Formwork (ICF)
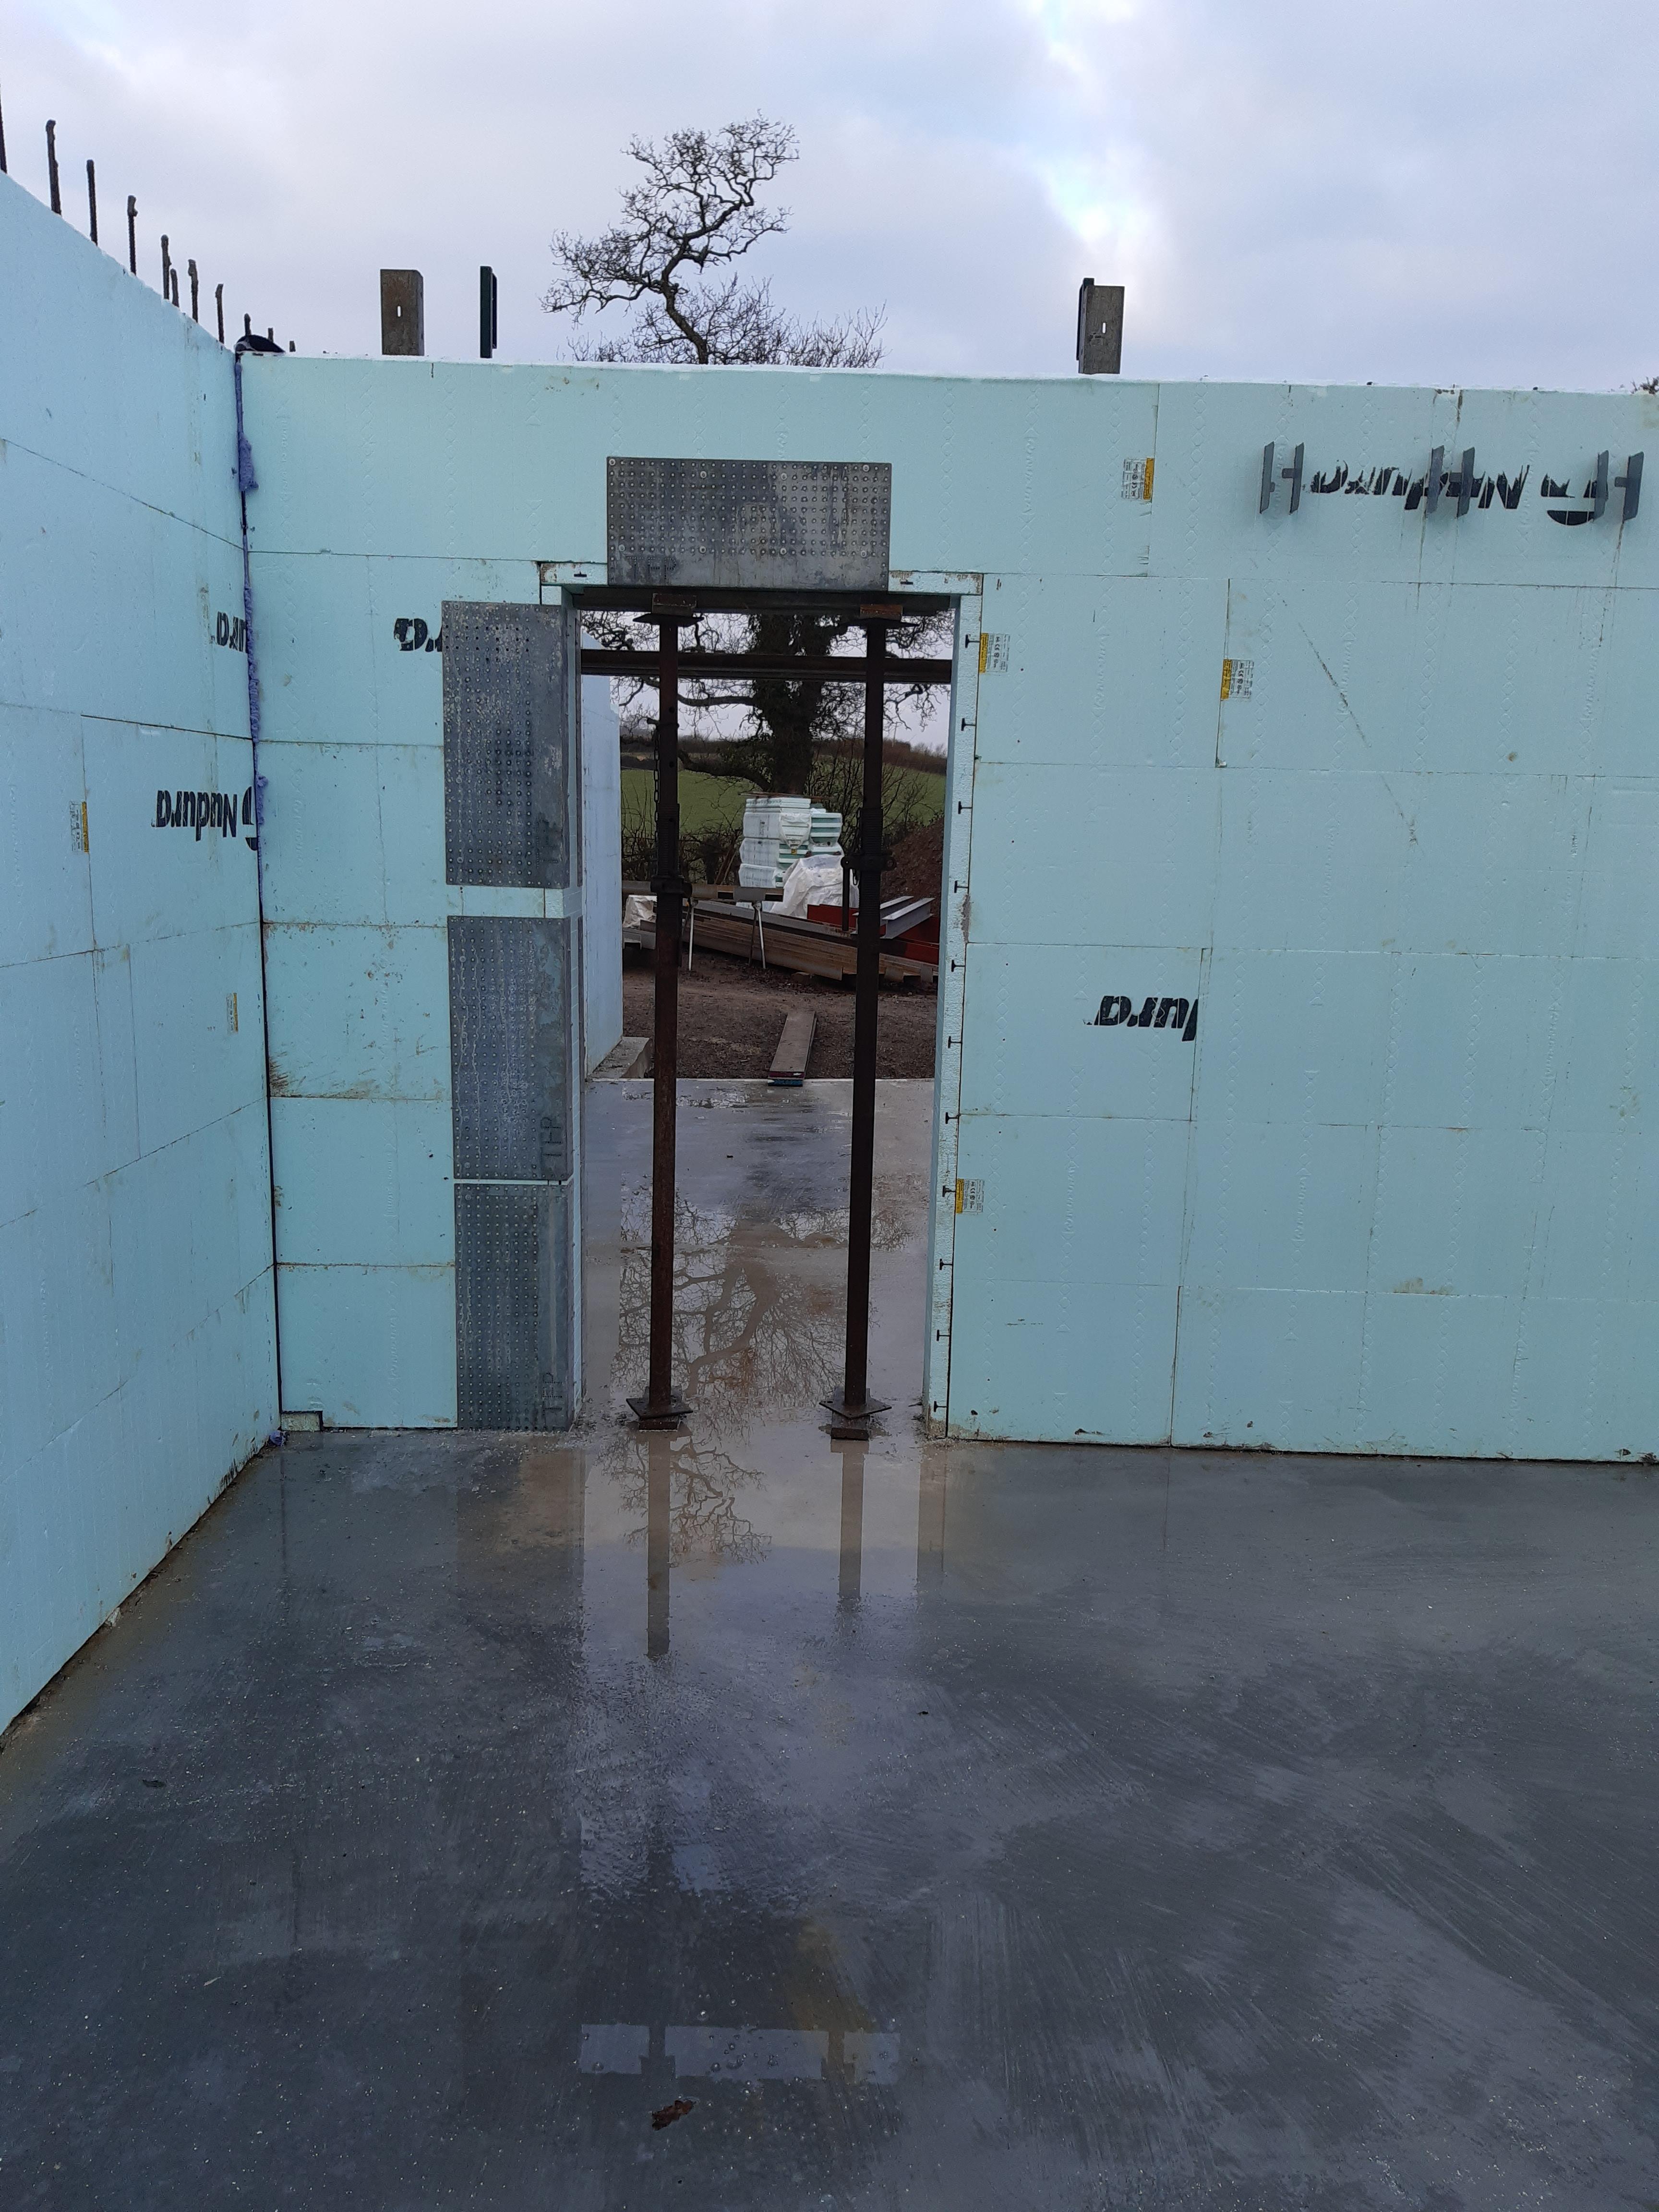
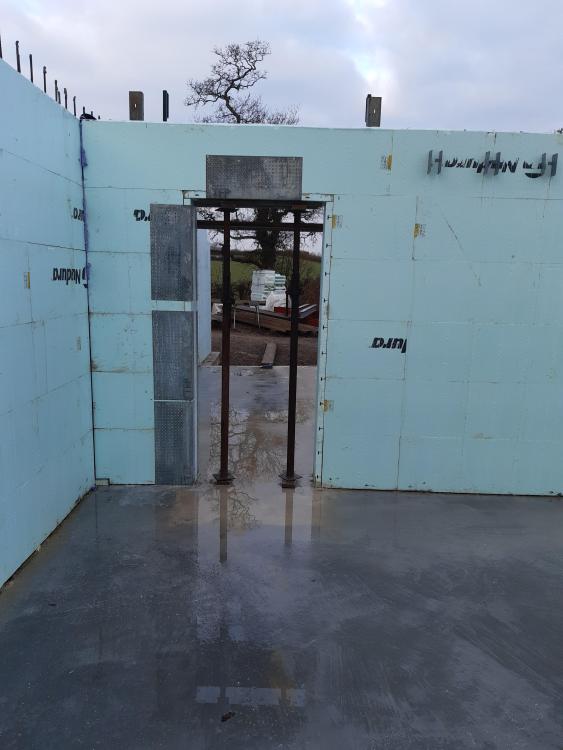
Use Nudura joist hangers where you can (see pics after YT link) - https://www.nudura.com/media/1913/nuduraicf_monotruss_hanger_system.pdf In the left hand picture you'll see some pieces of wood bolted into the concrete after as the Nudura joist hangers could not be inserted prior to the pour. .
-
To follow on from the above, IMHO, very few domestic heat pump installations on new builds will require a split system, most being the monobloc (closed) systems. I did have one about 10 years ago, but it was on a very large new build (7 bed, 5 bath, ~6,000 sq ft) and I had the manufacturer do the install.
-
It was mix. Heat calc stuff came first, then a bit of hands on with others, then classroom, then more involvement installing and commissioning
-
@Crofter - I did a couple of years in renewables (a franchise business) several years ago (maybe too soon) and something I may go back to once my current job comes to an end. I had no prior experience, but did a HP course, an UFH course, a heat calc course, unvented hot water system course. Was doing alright until the franchisor pulled the plug on us all 😞 Go for it.
-
I used Hy-Ten at Newton Abbot. In 2021 A393 was 59.21 a sheet ex. VAT
-
Supply & Meter move: what about CU and sockets?
BotusBuild replied to BotusBuild's topic in Power Circuits
Correction to the diagram - the "Supply Fuse" is actually an isolating switch. Yes, I am competent, but my certification is out of date (unnecessary cost for what I do now). Yes, I've just answered my own question, because it is notifiable work. -
Supply & Meter move: what about CU and sockets?
BotusBuild replied to BotusBuild's topic in Power Circuits
To be clear, does it HAVE to be a sparky, or can I move and reconnect that stuff myself? -
Private firm or council for building control
BotusBuild replied to Barny's topic in Building Regulations
I am using Stroma. They did not ask for anything upfront, but I do now have a list of documentation I need to give them. At the end they will provide a warranty, not that I am intending to sell within 10 years -
Background: Supply and Smart Meter are booked in to be moved from temporary location to inside the house - hooray. Also in the temporary location are tails from the supply fuse to a CU which feeds 4 sockets. (Note: in attached diagram connections on the left hand side not accurate) On the day WPD/NatGrid are moving the supply in the morning and E.On are booked in to move the smart meter in the late afternoon. Does a qualified electrician have to move the tails, CU and Sockets which are all on their own board (separate from the supply, meter and supply fuse)? Botusbuild - Electric.pdf
-
Hot/Cold plastic piping supplier suggestions
BotusBuild replied to BotusBuild's topic in General Plumbing
They all seem to claim it is OK, which seems mad to me considering UFH pipe is supposed to emit heat, and as @PeterW points out it's 16mm not 15mm So I guess I need to be more specific in my searches - .g "Hep20 15mm water pipe" or "Speedfit 15mm water pipe". Any other manufacturer or brand I should search for? -
Hot/Cold plastic piping supplier suggestions
BotusBuild replied to BotusBuild's topic in General Plumbing
Silly clarification follow up question. I have some left over UFH pipe. Can that be used to run hot and cold water or is it different pipes. All my searches seems to result in UFH heating pipe -
Pitch for EPDM + Green Roof + Skylights
BotusBuild replied to Tetrarch's topic in Skylights & Roof Windows
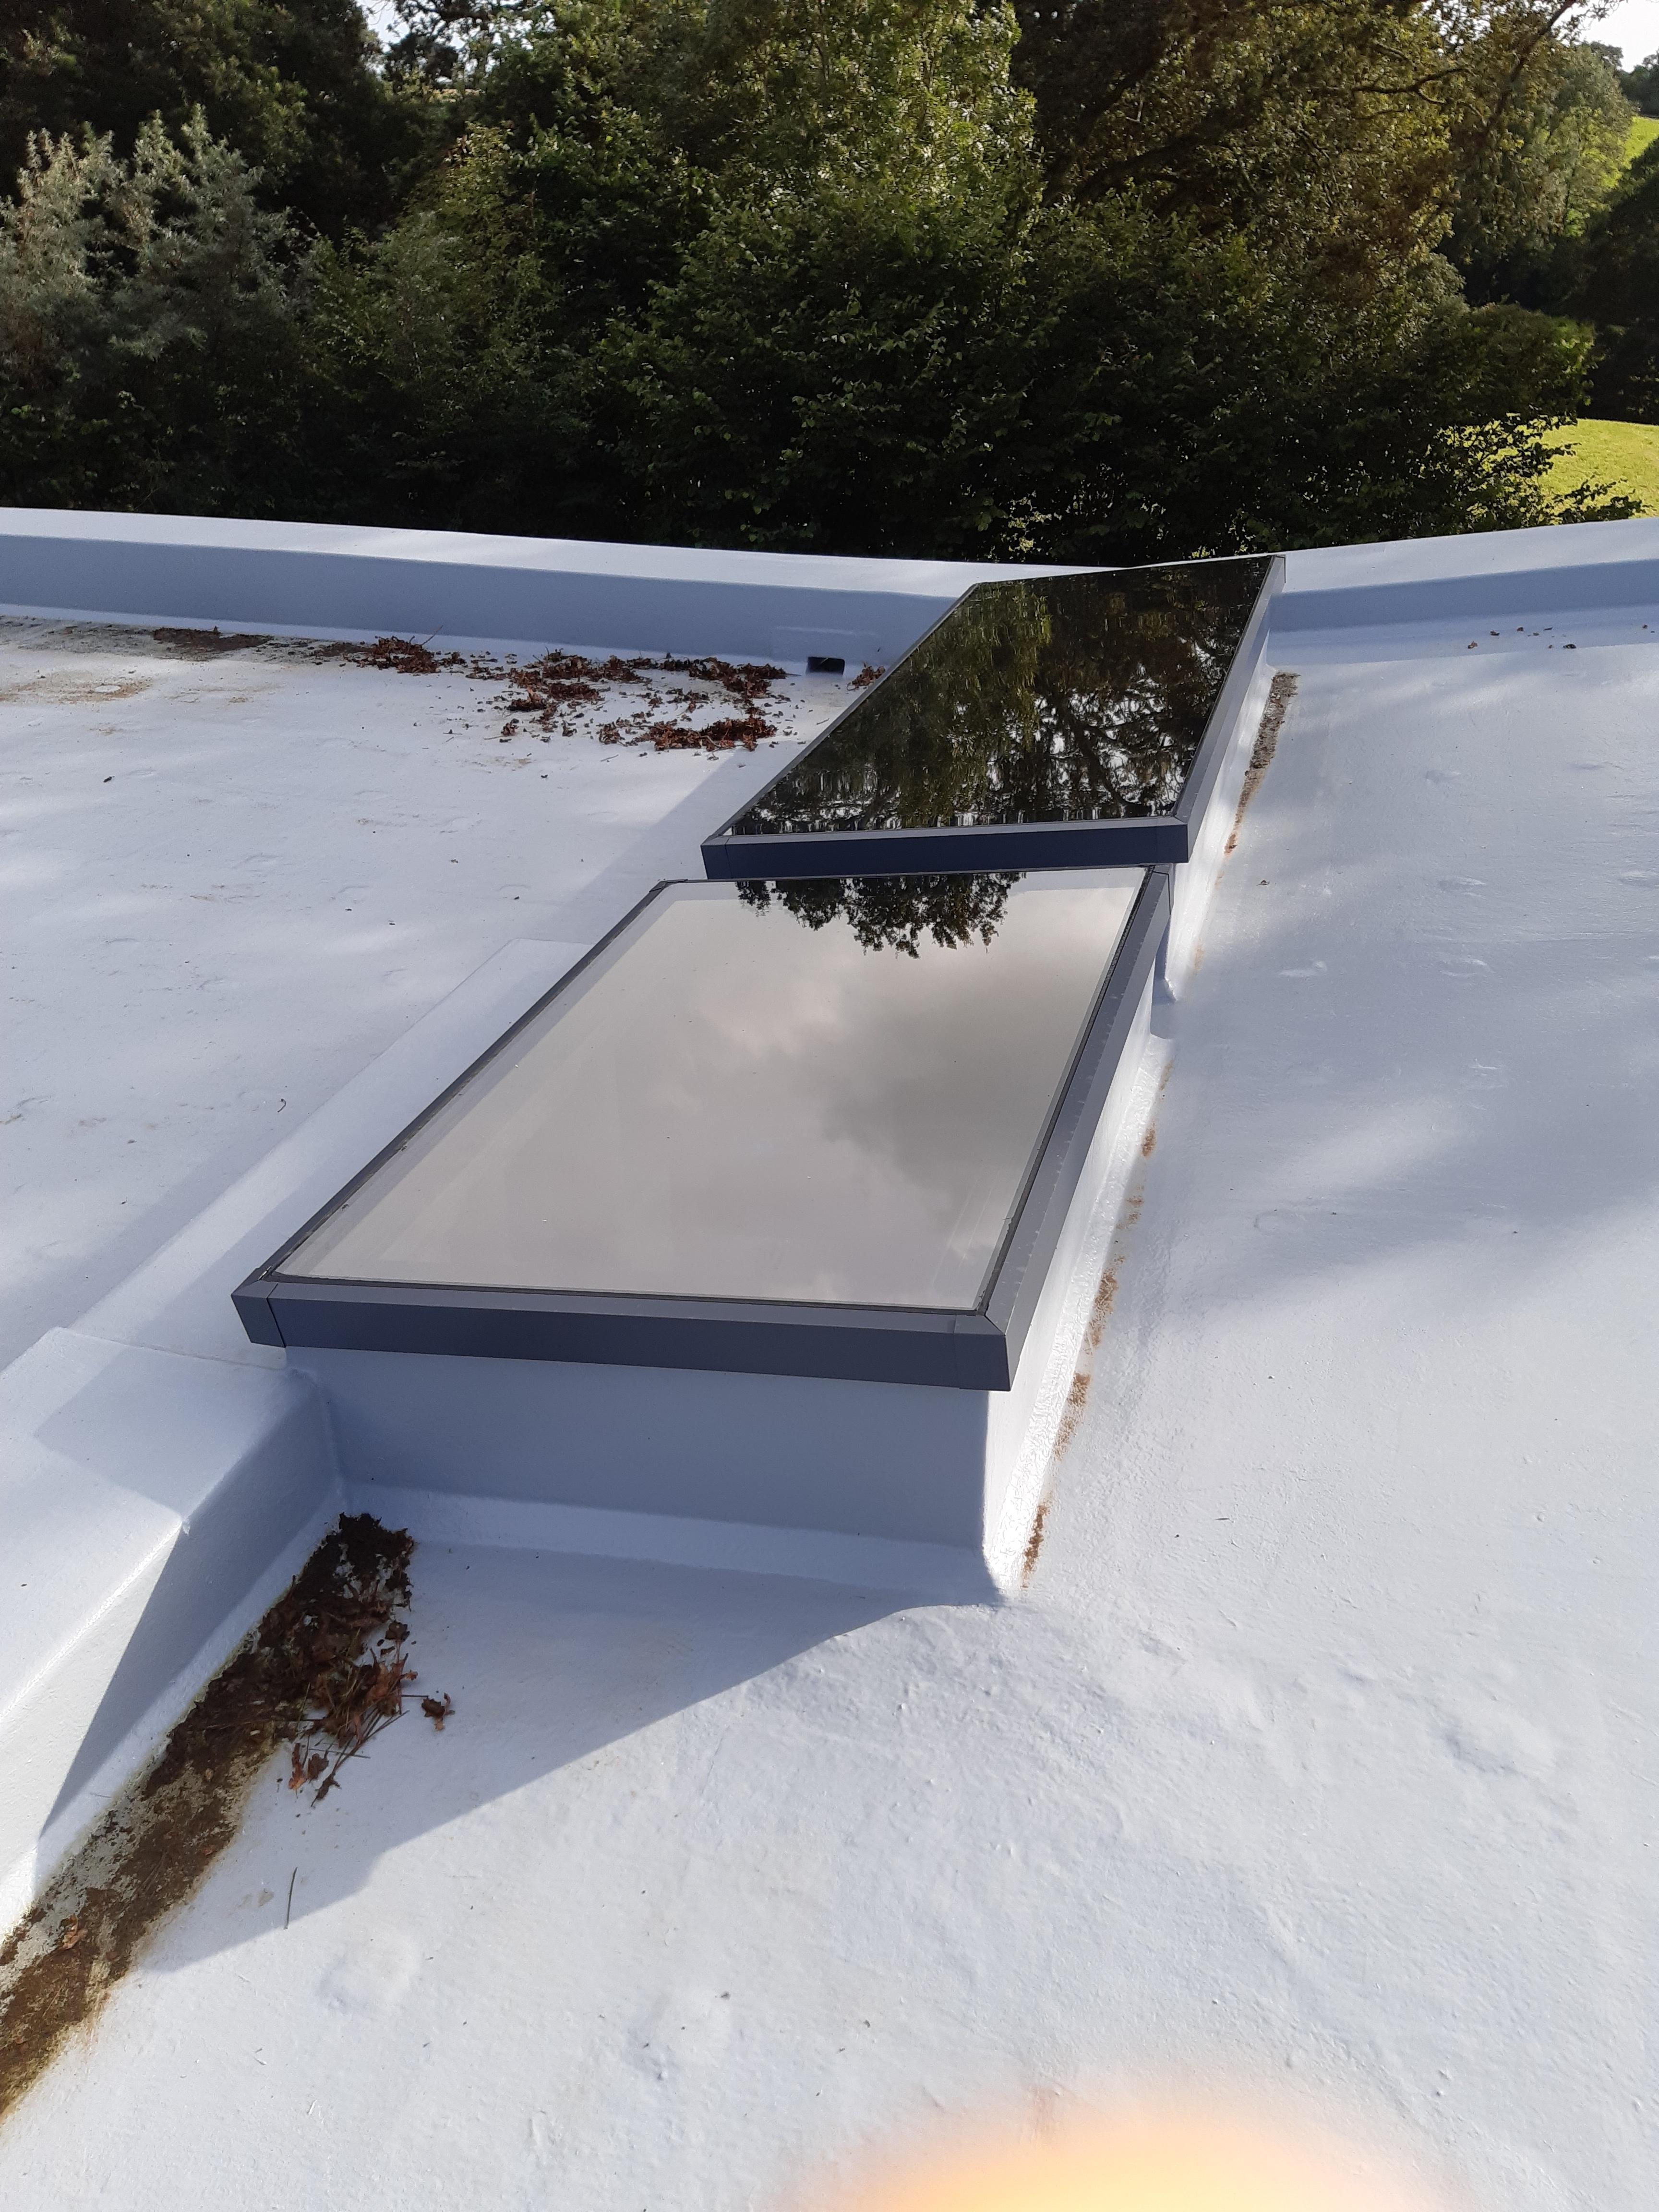
Something like this? The part of the roof that has the rooflights has a 9-10 degree pitch, and will later have a gree roof installed, as will the flatter part to the left of the rooflights, where I will be fitting my PV
-
Hot/Cold plastic piping supplier suggestions
BotusBuild replied to BotusBuild's topic in General Plumbing
Just though it would look great, but I can't find any at a decent price so will be reverting to coloured insulation tape 🙂 and a labelling machine -
Hot/Cold plastic piping supplier suggestions
BotusBuild replied to BotusBuild's topic in General Plumbing
Go on, give us a clue as to who and where? 🙂 -
It's time to fit my hot and cold water pipes. I've decided on the manifold and plastic pipe approach. I like the idea of coloured pipe (red/blue). Which suppliers can you recommend please. Cheers Stuart
-
That, SIr, is a work or art - well done
-
membrane for external walls - Tyvek suitable?
BotusBuild replied to Tom's topic in General Self Build & DIY Discussion
Nudura -
and this is what we have put in. All blocked while still building - to be vented later.
-
membrane for external walls - Tyvek suitable?
BotusBuild replied to Tom's topic in General Self Build & DIY Discussion
I have to do this, then put a metal mesh, then a scratch coat before I can fit stone slips (think big tiles). I need to think about this too. Might ask the stone slip Co. -
My groundworker said the pipes will just fill up with water, you've ticked the BC boxes, as long as you can show you have a way to blow the "heavier than air" Radon out of the pipes if needed, you're good to go 🤣. So, cap it, leave it.
-
Away from site for 3 weeks, so not yet
-
How far back to sit my windows ?
BotusBuild replied to Big Jimbo's topic in General Construction Issues
I'm being thick - where is the thermal bridge? -
So far, we have no evidence of that particular area being a problem, only the two parts by the outflows, but of course, time will tell