Iceverge
-
Posts
4462 -
Joined
-
Last visited
-
Days Won
32
Everything posted by Iceverge
-
There is a third possiblity, that one goes to bed clean and, through some unspoken activities, wakes up in need of a wash..........
-

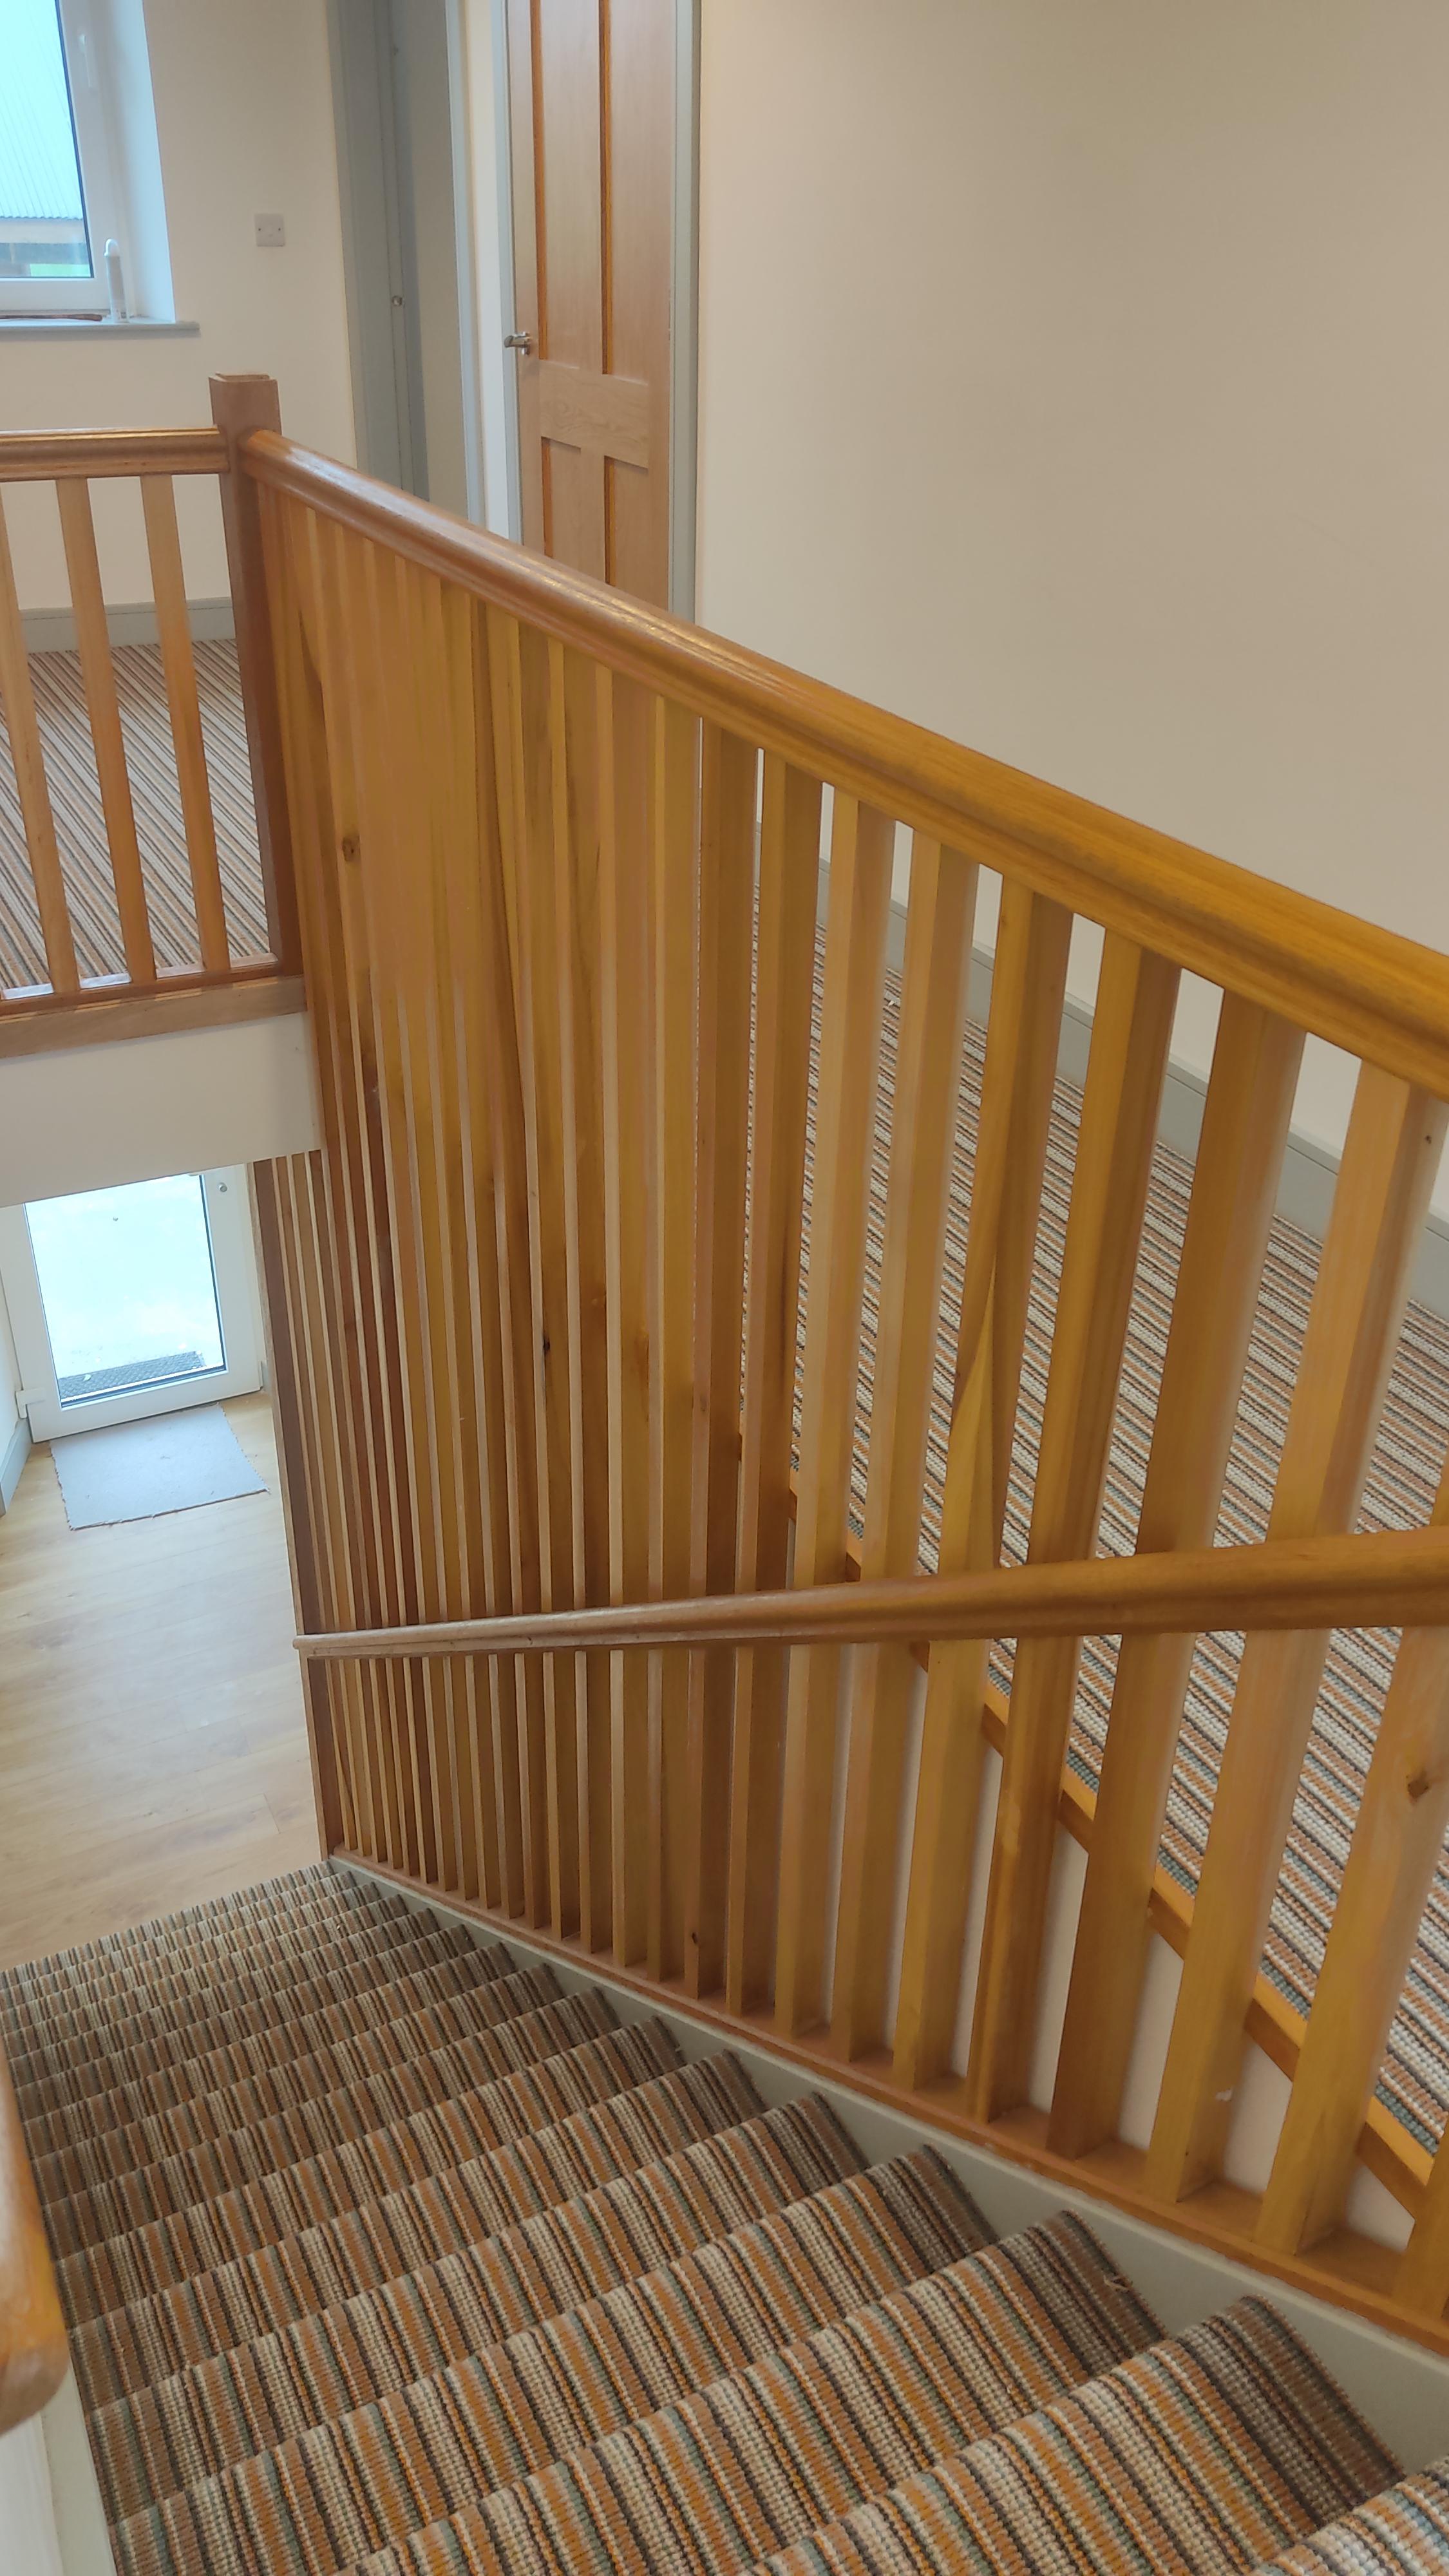
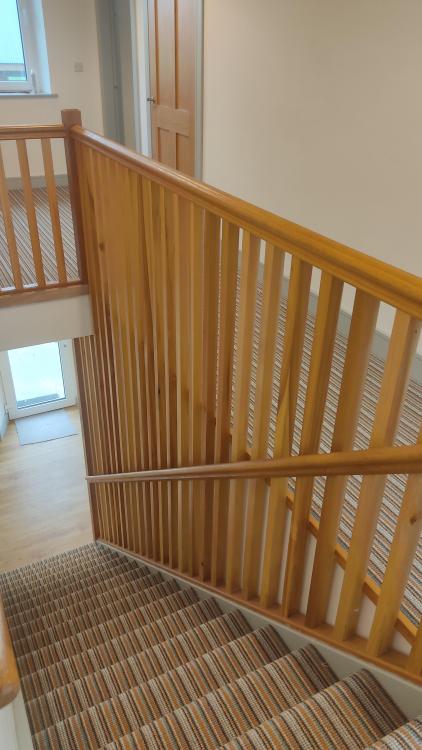
1.8 metre long stair spindles. (and other mezanine topics)
Iceverge replied to ProDave's topic in General Joinery
Mainly to pretend I was in Star Trek. Accessibility also. My granny needed two in later years. No harm in getting the job done now. -
1.8 metre long stair spindles. (and other mezanine topics)
Iceverge replied to ProDave's topic in General Joinery
We did something like this. The joiners used 45*45 popular I think. No issues with any bending but it was secured in the middle and by the pigs ear handrail too. With hindsight would have gotten them to round the corners of the bannister. Also the pigs ear handrail traps your fingers in the angle between the bannister if you're not careful. A conventional bannister would have had better grip but looked worse.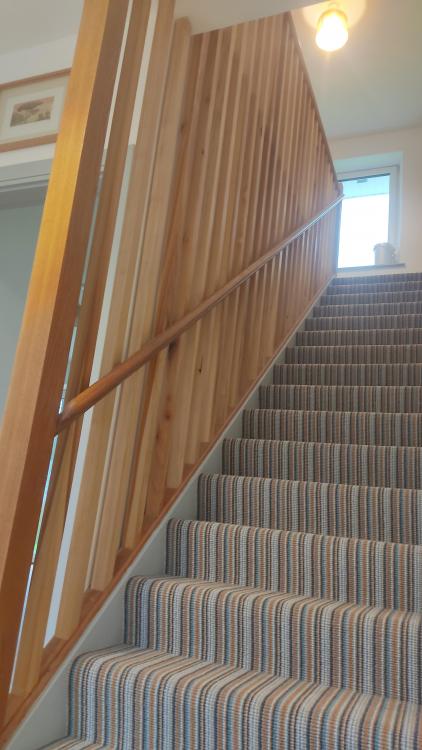
-
Have you changed you mind about the PIR in your steading yet? I think if I had my time over again I'd opt for mineral wool on our cavity over EPS beads. As an aside I tried to light some cellulose loose on a tray to show the builder who was suspicious. We couldn't get it to take. It just kind of smouldered but no flames .
-
What choice HW tank for cottage renovation?
Iceverge replied to Caddy's topic in Boilers & Hot Water Tanks
Welcome, Plenty of good info on here. Here's 2 to get you started. -
Mineral wool every time. Theoretical U values are only a small part of the equation.
-
Marks on Larch cladding when using stainless steel nails
Iceverge replied to David R's topic in General Joinery
Just hammer in a couple of nails manually to compare. -
I know it looks naff but an old fashioned through the wall waste pipe and external stack would avoid both issues.
-
Yes water, it's very persistent!
-
Someone already has. https://www.elementalsolutions.co.uk/wp-content/uploads/2012/08/Heat-loss-via-internal-drainage-vent-pipes-full.pdf Reading the above study it looks like I was dramatic with my language. Just accept 20w extra heat load per soil stack or add 50mm mineral wool and forget all about it. Yes but it's better to avoid holes in the roof IMO.
-
Considering you can get an 8kw mitsubishi monoblock for €2.6k plus VAT I fail to see where installers come up with these prices. BTW I opted for direct electric instead of ASHP because of cost too. Excellent. You can let us know which one gets used more in practice, free from that all too human condition of thinking ones own goose a swan.
-
Thanks for the update. Could you give an indication of the prices you were dealing with? FWIW I would opt for an induction hob anyway.
-
The big problem is it'll draft like a chimney and cool your nice house. We used an AAV and vent at a seperate stack by the garage. BTW if you don't want to go through the roof you can go horizontally through the wall with an elbow and a reducer to a 50mm waste pipe.
-
It wouldn't make any difference really if you have a decent thermal envelope.
-
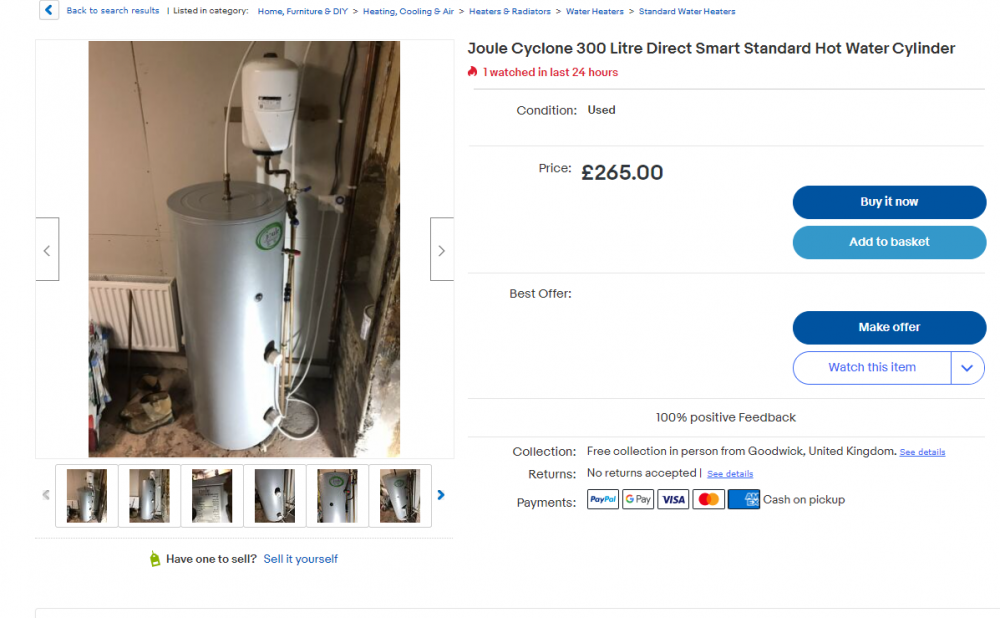
This is the same as ours. No complaints with the cylinder so far. https://www.cylinders2go.co.uk/shop/renewable-energy/300-litre-telford-tempest-heat-pump-cylinder-twin-immersion-version/ Would future proof for an ASHP if you're committed to that route. However they are nudging the price of one of these which already has a heat pump and will take care of your ventilation too. (Like the Ecocent that @SteamyTea mentioned) https://www.ebay.co.uk/itm/284146848717?hash=item422878d3cd:g:9j4AAOSwMWhhg-F5 But we do. €10k though!
-
Hold fire!! Hold Fire goddammit !!!!!!! ASHP, PV, sunamps , UFH, MVHR if installed in the wrong manner or circumstance will be little more than fancy words that burn up all your cash. They work very well for lots of Buildhubbers but invariably as an addition to houses that really have sorted the fabric first. Their houses are comfortable and cheap to run with these cool technologies not because of them. We have a passive class house. Almost zero money was spent on fancy tech (except €3k on MVHR). No ASHP, UFH, sunamp, thermal stores, solar thermal, solar PV no central heating, and no logburner. The house is very comfortable, no drafts, temperature topped out at 22deg in a heatwave, bottomed out at 18deg before we turned on the heater. Normally its 19-21 in every room with little input. We heat our water with an immersion and an UVC. 2 adults + 2 small kids at home all summer. Average total electricity consumption 18kWh/day or 0.1kWh/m2/day. Space heating is done by one of these, sitting in the hall. I'd like to claim it was cheap but I it found buried in my parents shed. My hitech upgrade was taking a red marker and adding some divisions to the thermostatic dial. I'm now monitoring the electricity usage (simply by reading the meter and putting it into a spreadsheet) to decide if an A2A heatpump is justifiable. Data is still all over the place as we've only been heating with a week or two. My point being is that your hard earned cash is precious and sales people will tell you the sun moon and stars to make you part with it. The biggest bang for your buck is fabric improvements (its boring i know!) and the more you do here, the less and less fancy addons make sense. Firstly move into your house .Keep your money in your pocket! Live with it and monitor the parameters. We got one of these from Lidl. ( You're getting a taste for how tight I am at this stage!) Then get going on improving the house in this order. 1.Eliminate bulk water ingress. 2.Ventilation, preferably mechanical, ideally MVHR. 3.Airtightness, so cheap to DIY and so effective. 4.Improving U values including windows + doors. 5.Reduce consumption via low input devices ( heat pumps etc) 6.Renewables. Best of luck!

-
Hybrid Off Grid Energy Feasibility
Iceverge replied to Curtis's topic in General Alternative Energy Issues
At your latitude, with 2m high panels mounted 1m high on level ground you would need 30m spacing to ensure minimal spacing. Unless you plan to burn something for winter heat/DHW or live like a narrowboater you're better off getting a grid connection. As someone else commented persons often spend more on a kitchen.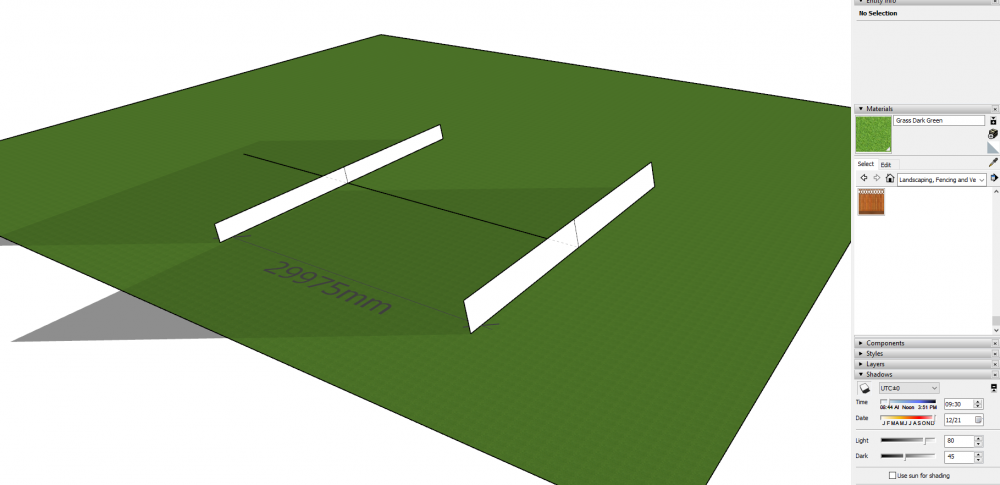
-
Hybrid Off Grid Energy Feasibility
Iceverge replied to Curtis's topic in General Alternative Energy Issues
Any shading is bad news for solar panels. Have a look at the below picture and graph. Panel 5 is considered a reference unshaded panel. For a ground mount array you should assure that all panels are unshaded from 09:00 to 15:00 local solar time on the winter solstice. Practically this may preclude setting them out in multiple rows at your latitude as the spacing will be very large. https://www.hindawi.com/journals/ijp/2014/763106/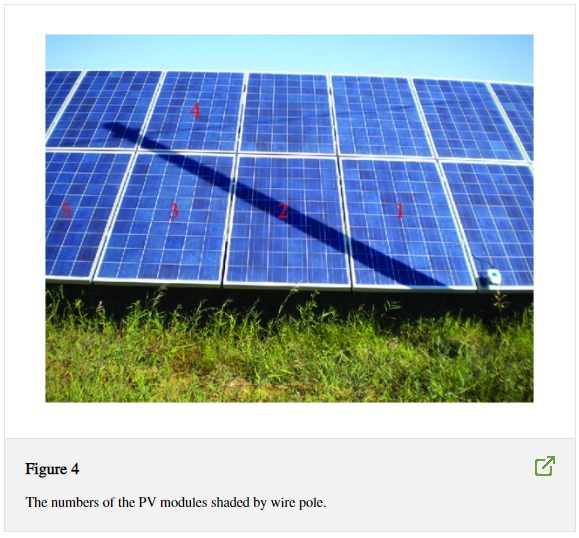

-
Real world passive house heating demand figures?
Iceverge replied to Smallholder's topic in Boffin's Corner
Is your interseasonal thermal store making a significant contribution? -
Cross section description for block build?
Iceverge replied to CalvinHobbes's topic in Brick & Block
Wet plaster. Block. Wide cavity with EPS beads. Block. Wet plaster. -
A man was killed near us not too long ago in a trench. Can you reverse the decision in using your own contractor. On such a large project the vendors must have established an efficient and safe method to do it themselves.
-
@mike2020 If you are replastering the wall you could put 50-75mm internal limecork insulation or similar. Keep an eye on humidity levels. Our old stone rental farmhouse was drylined (puke) but very damp. Running a dehumidifier 24/7 made it feel much warmer without changing the temperature much. PIV MEV or MVHR would be a better way to do this. I'm keenly watching @Hanksys reports of his A2A system for our own passive house. It's a cheap way to access a heat pump
-
It seems like hella trouble for strip foundations. It dawned on me that you're half way to making a basement. Is this an option?
-
Screws for wood fibre insulation through batten
Iceverge replied to hotnuts21's topic in Timber Frame
I've had a gander. Our walls were 250mm cavity wall with Stainless steel ties going from inner leaf @ 4/m2 so probably a much worse situation than you are in. Changing to Teplo basalt ties would have cost an extra €2500 over SS and would have saved...........drumroll.............. €2 per year in heating (2 kWh) It was beyond insignificant in the scheme of things. By improving the airtightness by 0.005ACH per hour we'd have got the same improvement or plugging a leak 3mm in diameter. -
Screws for wood fibre insulation through batten
Iceverge replied to hotnuts21's topic in Timber Frame
I suspect the screws will make almost no difference. I had a look at this for basalt Vs stainless steel ties for our wide cavity. What's the total wall make up? Are the screws into the studs?