Nickfromwales
-
Posts
30329 -
Joined
-
Last visited
-
Days Won
297
Everything posted by Nickfromwales
-

Wall mounted tap assembly
Nickfromwales replied to jamiehamy's topic in Bathrooms, Ensuites & Wetrooms
Can you unscrew the brass barrel and show a pic of that please? From my experience that barrel gets PTFE'd and the hex is used to screw it in tight to get it to seal. As its not 12 o'clock / 6 o'clock sensitive, eg will just turn until tight the nipple left showing also gets PTFE'd to accept the thread in the spout. After you've tiled etc, you tighten the two grub screws and wind the spout on until it's tight against the tile / other, a pic of that would be good too ( with things labelled so we know which is which ) and then you loosen the grub screws to set the spout to 12 o'clock and retightn ready for use. Make any sense? -
+1 to what JSH says. Imo the prehistoric 100mm slab / 100mm insulation / 50-80mm screed method is the poorest performing solution. As you'll be paying the heating bill, best to consider things properly before moving forward. Firstly, what is the insulation like in the building now, and what is the ventilation heat loss like? Pointless going away from radiators if UFH is going to struggle to perform adequately / in line with your occupancy pattern. A thicker slab = longer to warm up ( but longer to cool down too ) so won't be anywhere near as responsive as radiators, and prob half as responsive as UFH in 50mm of liquid screed. Heating pattern for a retro fitted UFH setup in a house that's not designed for it would typically be :- 05:30 "on" @ 21oC morning comfort 07:00 "off" @ 16oC daytime off 14:30 "on" @ 20.5oC evening comfort 22:30 "off" @ 18.5-19oC night tick-over Morning comfort is to get the house toasty warn for the morning. Daytime off is basically setting the temp one degree colder than the room idles at on a typical day. That way the heating will only come on if it's bitterly cold. Evening comfort is slightly cooler than the morning and can be adjusted ( manual override ) if required to find the sweet spot. Nighttime tick-over is the coldest you'll accept the house to drop to over night. This means the slab won't go 'cold' so it will keep the chill off and not take so long to heat up for the morning event. Note that even though these look like on and off events they are not. With any heating system that takes a long time to heat up or cool down, this needs to a a "how hot and when" setup known as "set-back" control. For eg, if you want morning heating from 06:00 to 08:00, and it's a UFH slab, you'll typically set it on at 05:00 and off at 07:00, fine tuned according to how the house actually reacts.
-
+1 This will need local repairs done with a good quality single application filler, such as Tupret, and then recovering with lining paper and then paint. Anything else will just result in shockingly bad walls. The best job will be seal, and skim.
-
Moving oil fired boiler away from house
Nickfromwales replied to Roger440's topic in Boilers & Hot Water Tanks
Yup. Waiting on pics to fathom it out . -
When to start worrying ?
Nickfromwales replied to Triassic's topic in General Self Build & DIY Discussion
I would have kept them, and sold them to buy beer. ??- 25 replies
-
- 1
-

-
- liquidity
- project management
- (and 1 more)
-
Bath Surround / Boxing In, and concealed pipework
Nickfromwales replied to Onoff's topic in Bathrooms, Ensuites & Wetrooms
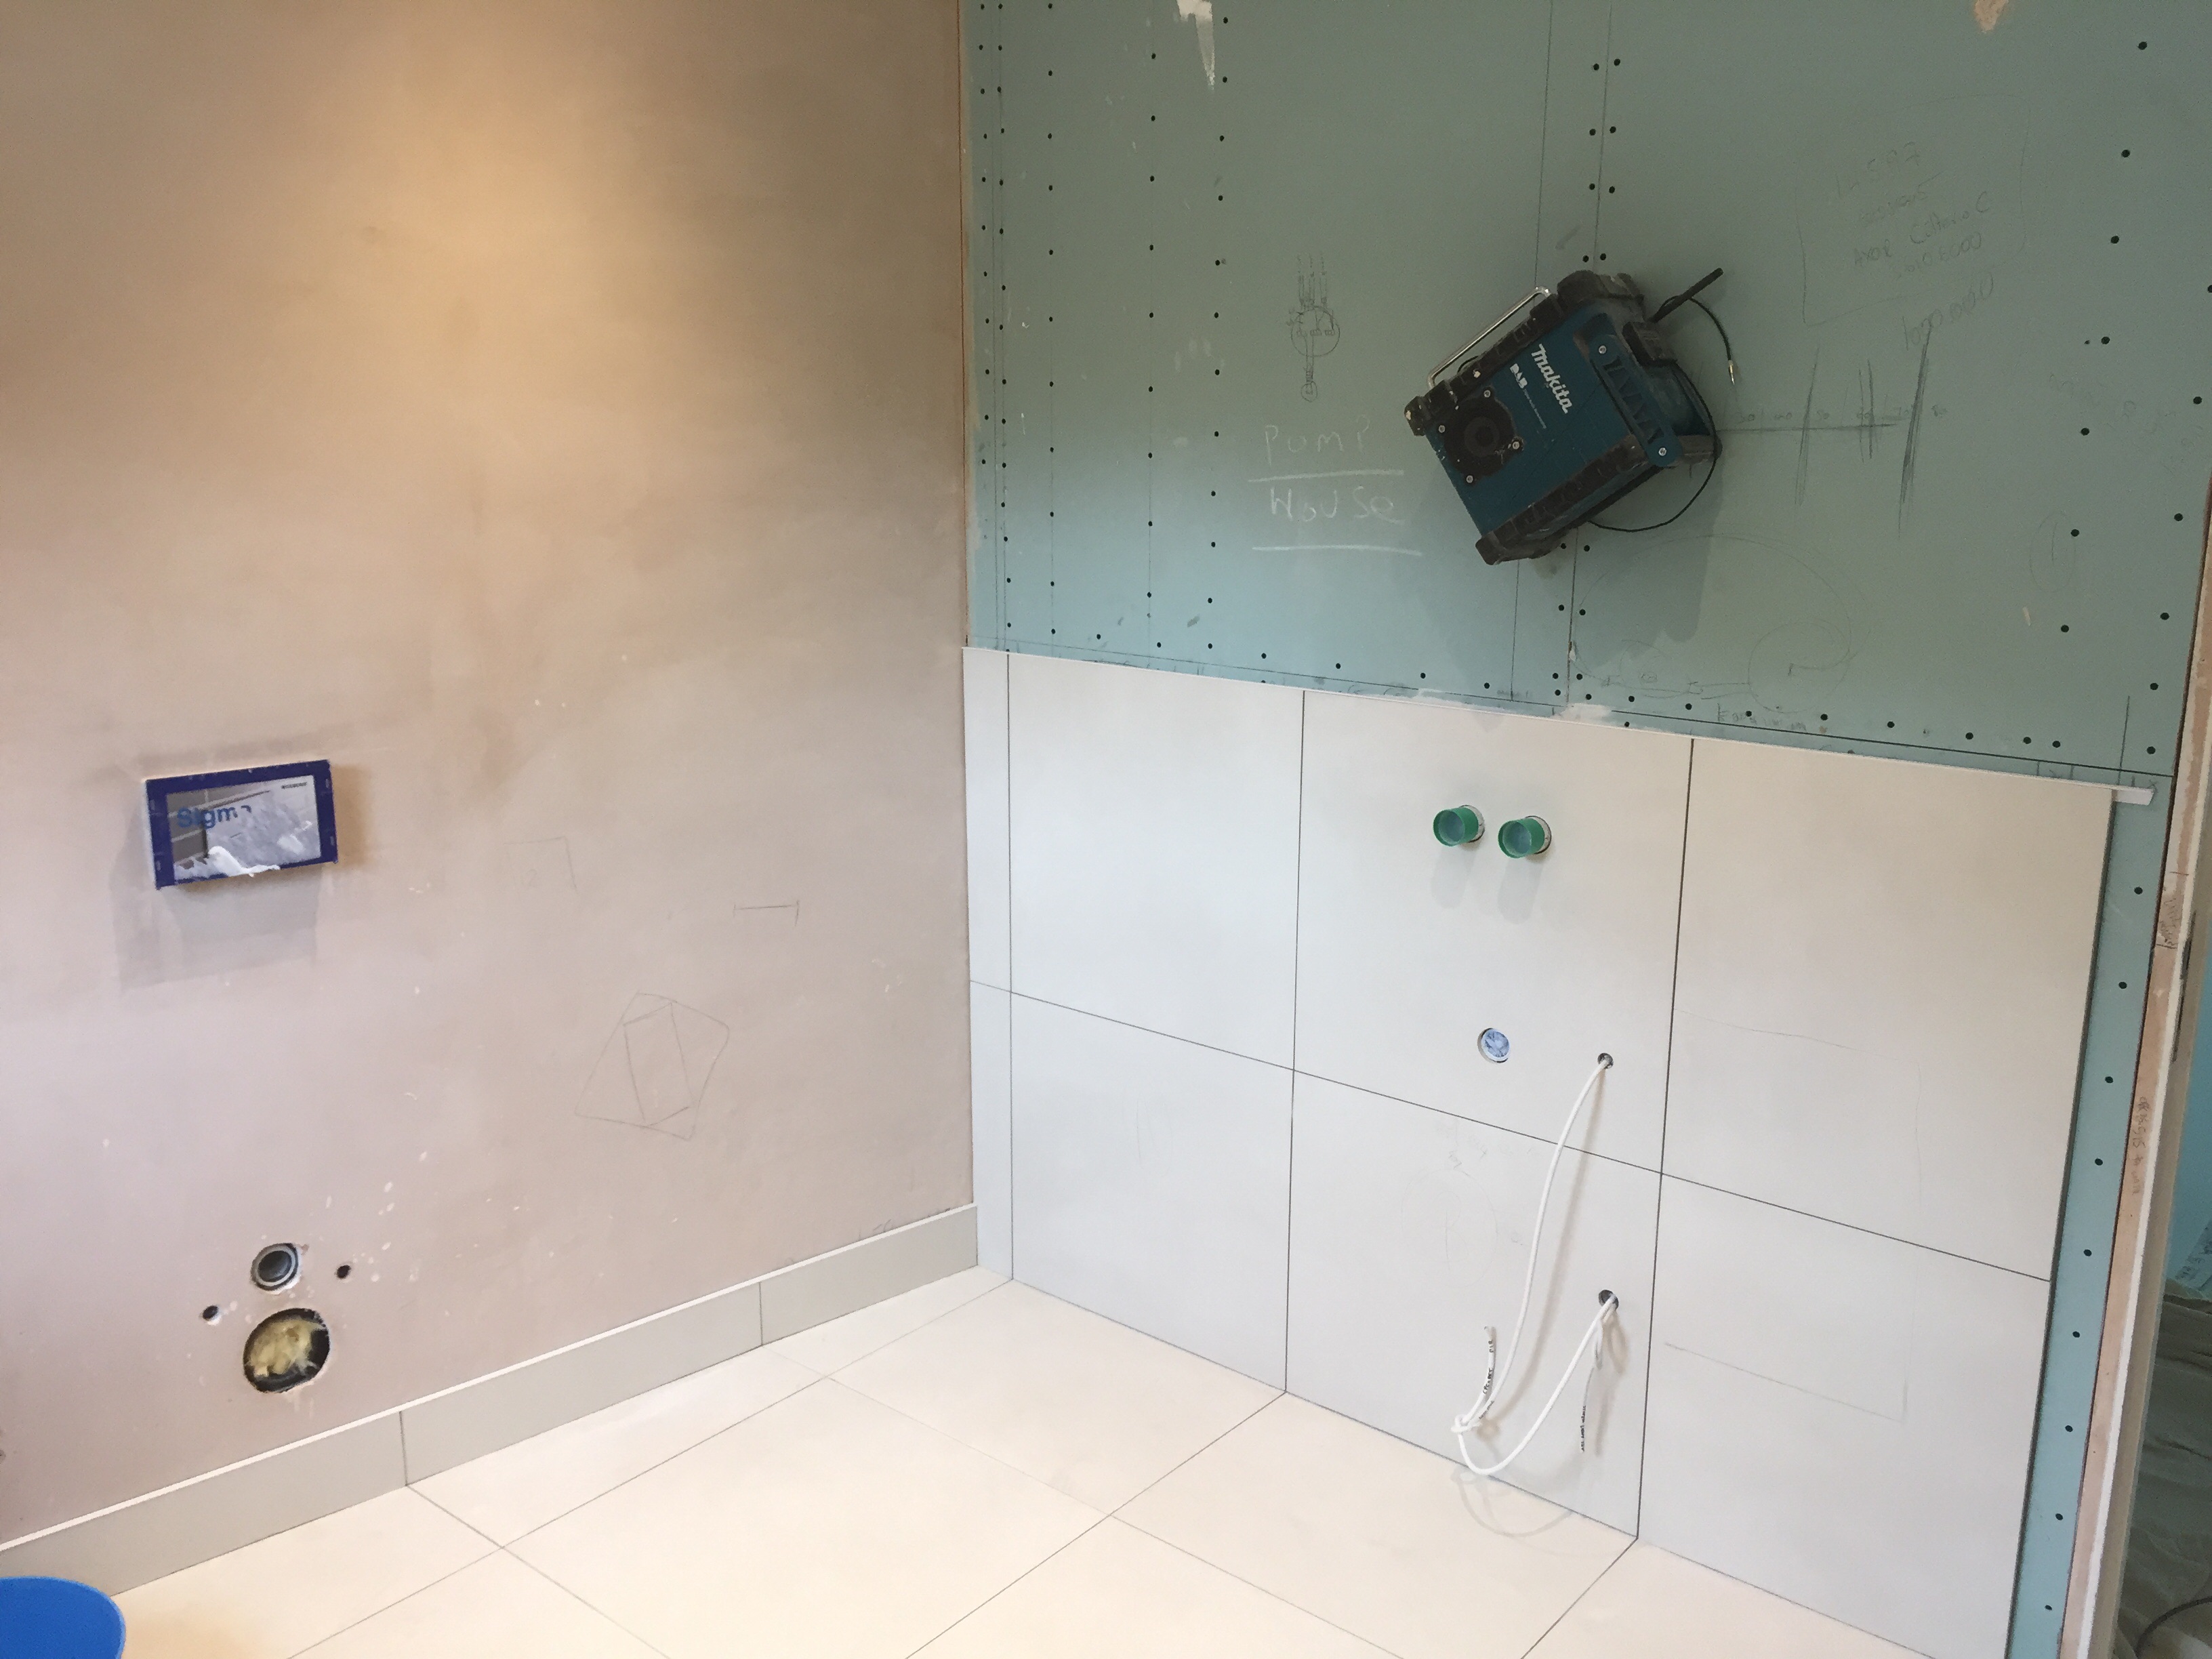
That's the beauty of the geberit mate, you don't need to do anything before boarding as you can do it all afterwards . Just make the flexible hose off to the isolation tap and the float / fill valve and pressure test them as it's a bit easier to do now. Hold the float up, open the iso, let it equalise, check for leaks and shut it back off. Saves filling the cistern unnecessarily. I'd sort the PRedV first TBH as you don't want to damage any of the components. . -
Moving oil fired boiler away from house
Nickfromwales replied to Roger440's topic in Boilers & Hot Water Tanks
?? -
Bath Surround / Boxing In, and concealed pipework
Nickfromwales replied to Onoff's topic in Bathrooms, Ensuites & Wetrooms
It won't do any harm, so I'll shut my mouth Just there's such a good path down the flush pipe it's not going to pull much through any higher resistance paths imo. All you need now is a 'displacement meter' in the pan to gauge the fan speed -
Bath Surround / Boxing In, and concealed pipework
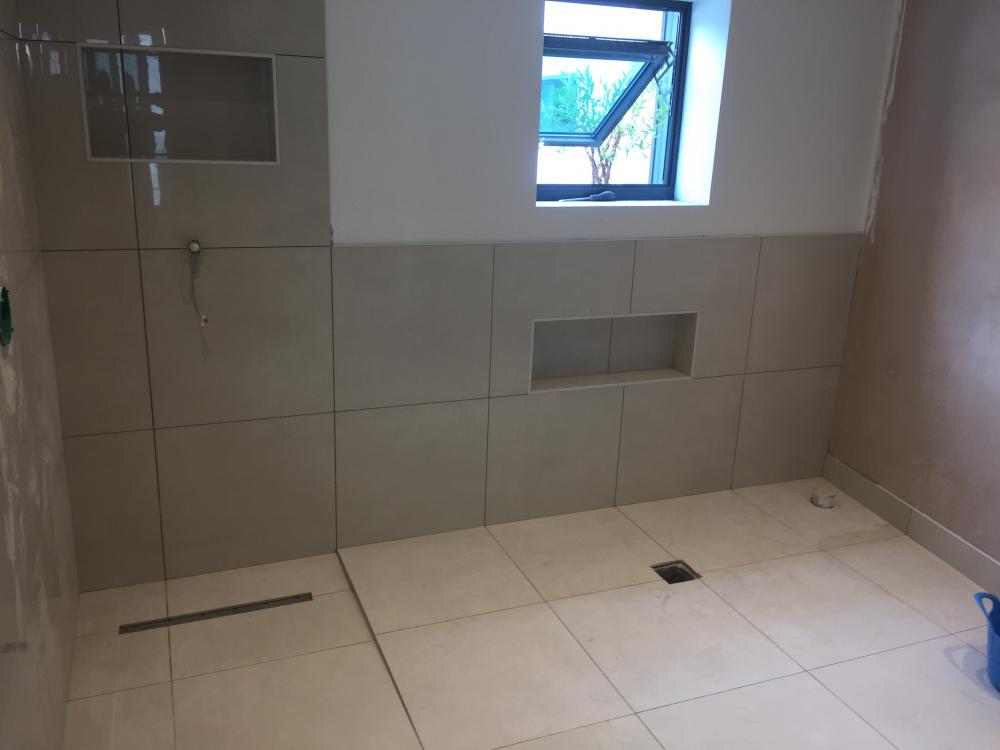
Nickfromwales replied to Onoff's topic in Bathrooms, Ensuites & Wetrooms
In the words of Paul Daniels....... ......."That's magic!" Grouted shots to follow.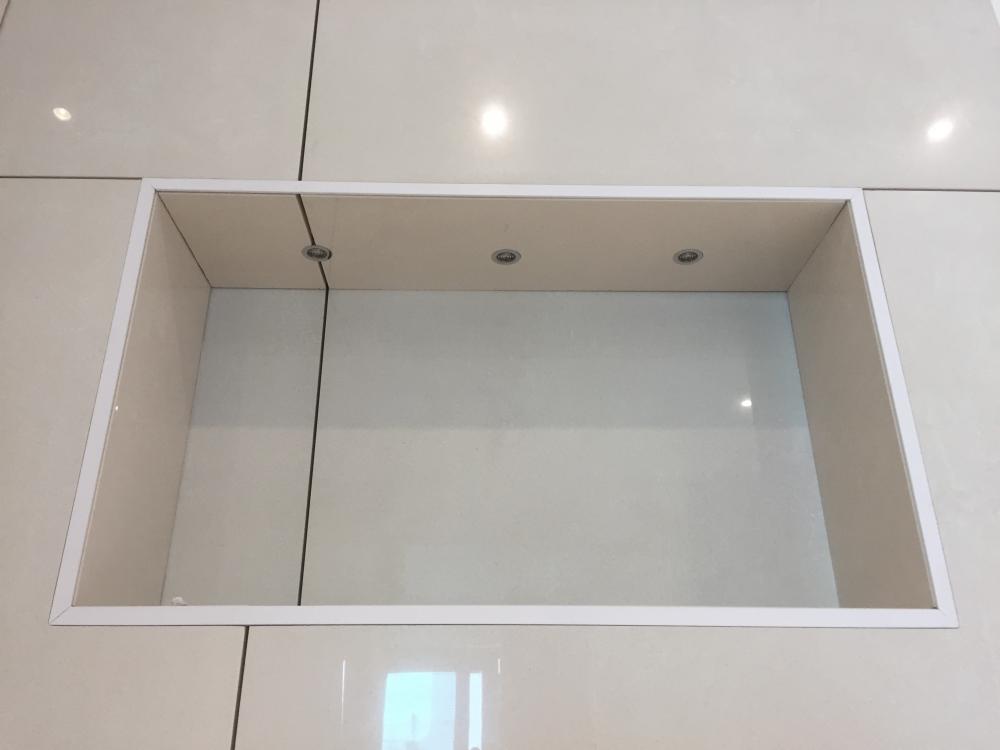

-
Bath Surround / Boxing In, and concealed pipework
Nickfromwales replied to Onoff's topic in Bathrooms, Ensuites & Wetrooms
Pointless siliconing that TBH as the flush plate isn't airtight. -
When to start worrying ?
Nickfromwales replied to Triassic's topic in General Self Build & DIY Discussion
A bit more to it when you you peel back the layers -
Bit of laser related banter here
-
Ok. What ground is it sat on? You say soil, do you mean no clay found?
-
A simple test dig in two or three locations will put that to bed .
-
When to start worrying ?
Nickfromwales replied to Triassic's topic in General Self Build & DIY Discussion
Nice chap. More to the point what is the crack with your PP now, with a structure that's bigger than the permission ? -
Always ask mate Type one down and whacked is the norm. Most then put a sand blind down and chuck the DPM straight onto that. I prefer to put 25mm of eps down to better protect the DPM. That method also means you don't have to go nuts on the type one and sand layer getting it perfect.
-
Hi and welcome to the forum .
-
Dig a bit deeper and put 150mm of insulation in. 100mm is just scraping past current regs, and current regs are shite on a good day . I put 200mm down under the last job ( summer room / conservatory ) and the customers were chuffed. The difference between the floor in the new space vs the concrete 60's slab in the bungalow was huge, and that was with the Ufh OFF. If you can go to 200mm insulation then that would be much better, and then you can go 100mm eps and 100mm PIR ( kingspan / celotex / similar ) as you'll want something tidy to push the Ufh pipe clips into. The best job of all would be do away with the sub slab, and go... Sand blinding. 25mm eps, to protect the DPM. DPM. 150mm PIR insulation. 100mm concrete slab with reinforcing mesh, Ufh pipes zip tied to the mesh. Remeber that liquid screed is a real pita to get anything ( like tiles ) to stick to. I'd go for concrete or screed if tiling. ?
-
With prevention being better than cure..... Once the deck protection is laid, approach each trade and explain that it will not withstand cutting / impact damage so please take extra care. Explain that you expect to see each trade / individual practising good measures against causing such damage eg putting down a dust sheet over the deck protection where any heavy tools ( router / planer / chopsaw legs ) are to be frequently used so as to be double sure that no major damage can occur. Futher expalin that you'd like the housekeeping 'upped' accordingly, eg filthy / gritty / clay covered boots left outside and clean boots / steel capped trainers used inside. Last new build I was on I bought wellies for going outside and kept my steel boots for inside only. Another major thing people overlook is the new door / French door thresholds. Get some old carpet offcuts and put them down over the thresholds so the seals don't get damaged or full of crap. Lift and shake these every day to keep them as crap-free as possible. Where heavy / repetitive carrying is to be through one particular door, apply some protection to the verticals of the door frames and that'll cover you for the fact that labourers and apprentices forget that the ladder has TWO 'kin ends . If you don't tell them, don't expect them to do any of the above . It's down to you to keep pushing for good practice, and if you relax, so will they.
-
Moving oil fired boiler away from house
Nickfromwales replied to Roger440's topic in Boilers & Hot Water Tanks
Have you been watching 'When Harry met Sally' ? If it's already an exernal boiler then relocating it is simple enough. It's best to either dig a trench for the pipes and insulate them as much as possible, or, if that's not practical, run the pipes along a wall. With the latter I'd box them in to stave off wind chill etc as, even with insulation, they'd still have quite bad losses. Use Armorflex as its better than say Climaflex and you'll be fine. Dependant on how exposed / harsh the local climate can get, you may want to consider a heat trace tape, but only if they're not going in the ground. If trenching then you want the pipes rising vertically out of the floor, in the corner of the new slab ( you'll need a slab for the boiler to sit on ) so the pipes rise inside the case of the boiler. If it's a condensing boiler don't forget you'll also need to extend the drain relocate that too . Regards to the oil alteration, this needs to be done by an OFTEC registered engineer so you stay certified and properly insured. It's not rocket science and many probably just do it themselves, but an oil leak under your house would be devastating so think twice before saving a buck there. You'll also need to check all the valves and safety controls are both working AND compliant with current regs. If you fiddle with it today it'll need to comply to today's oil regs, eg tankmaster / main oil isolation at the tank outlet is operational, the isolation valve, the fire check valve and the filter are all present and installed as per current regs, and that the flue can terminate accordingly in the new location too. Does the current boiler already have a frost stat? -
Bath Surround / Boxing In, and concealed pipework
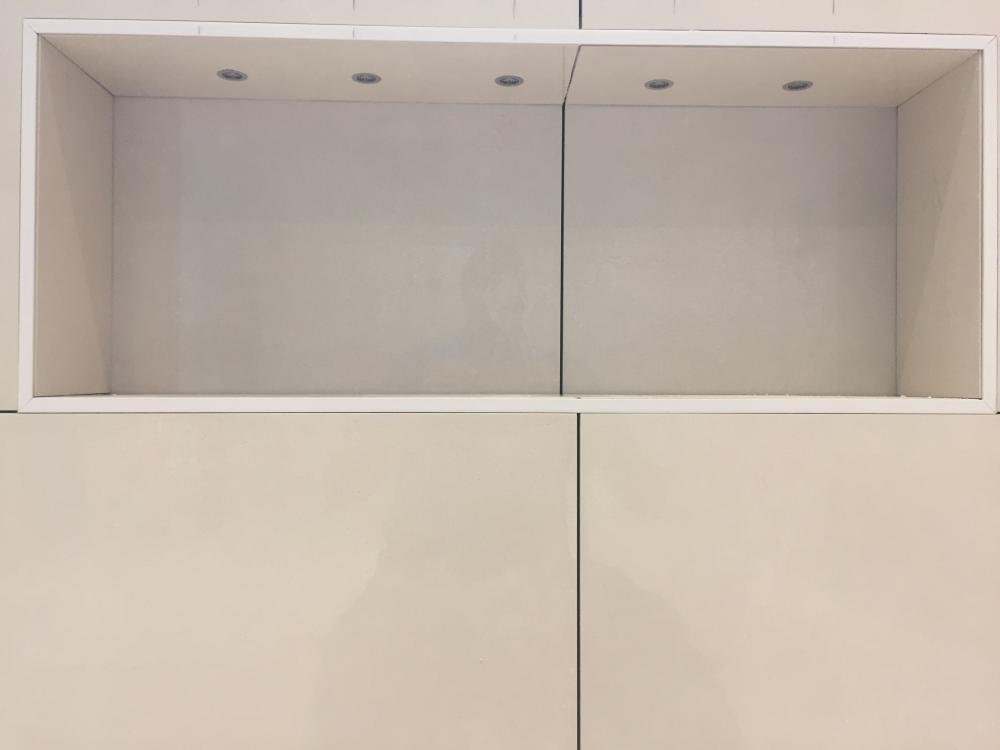
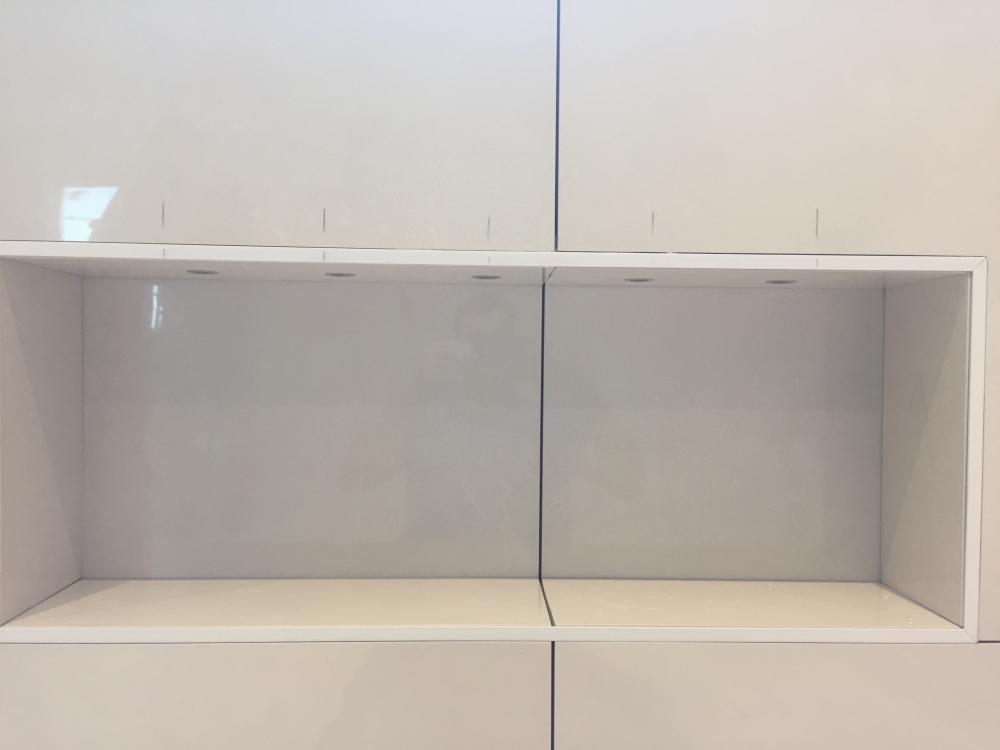
Nickfromwales replied to Onoff's topic in Bathrooms, Ensuites & Wetrooms
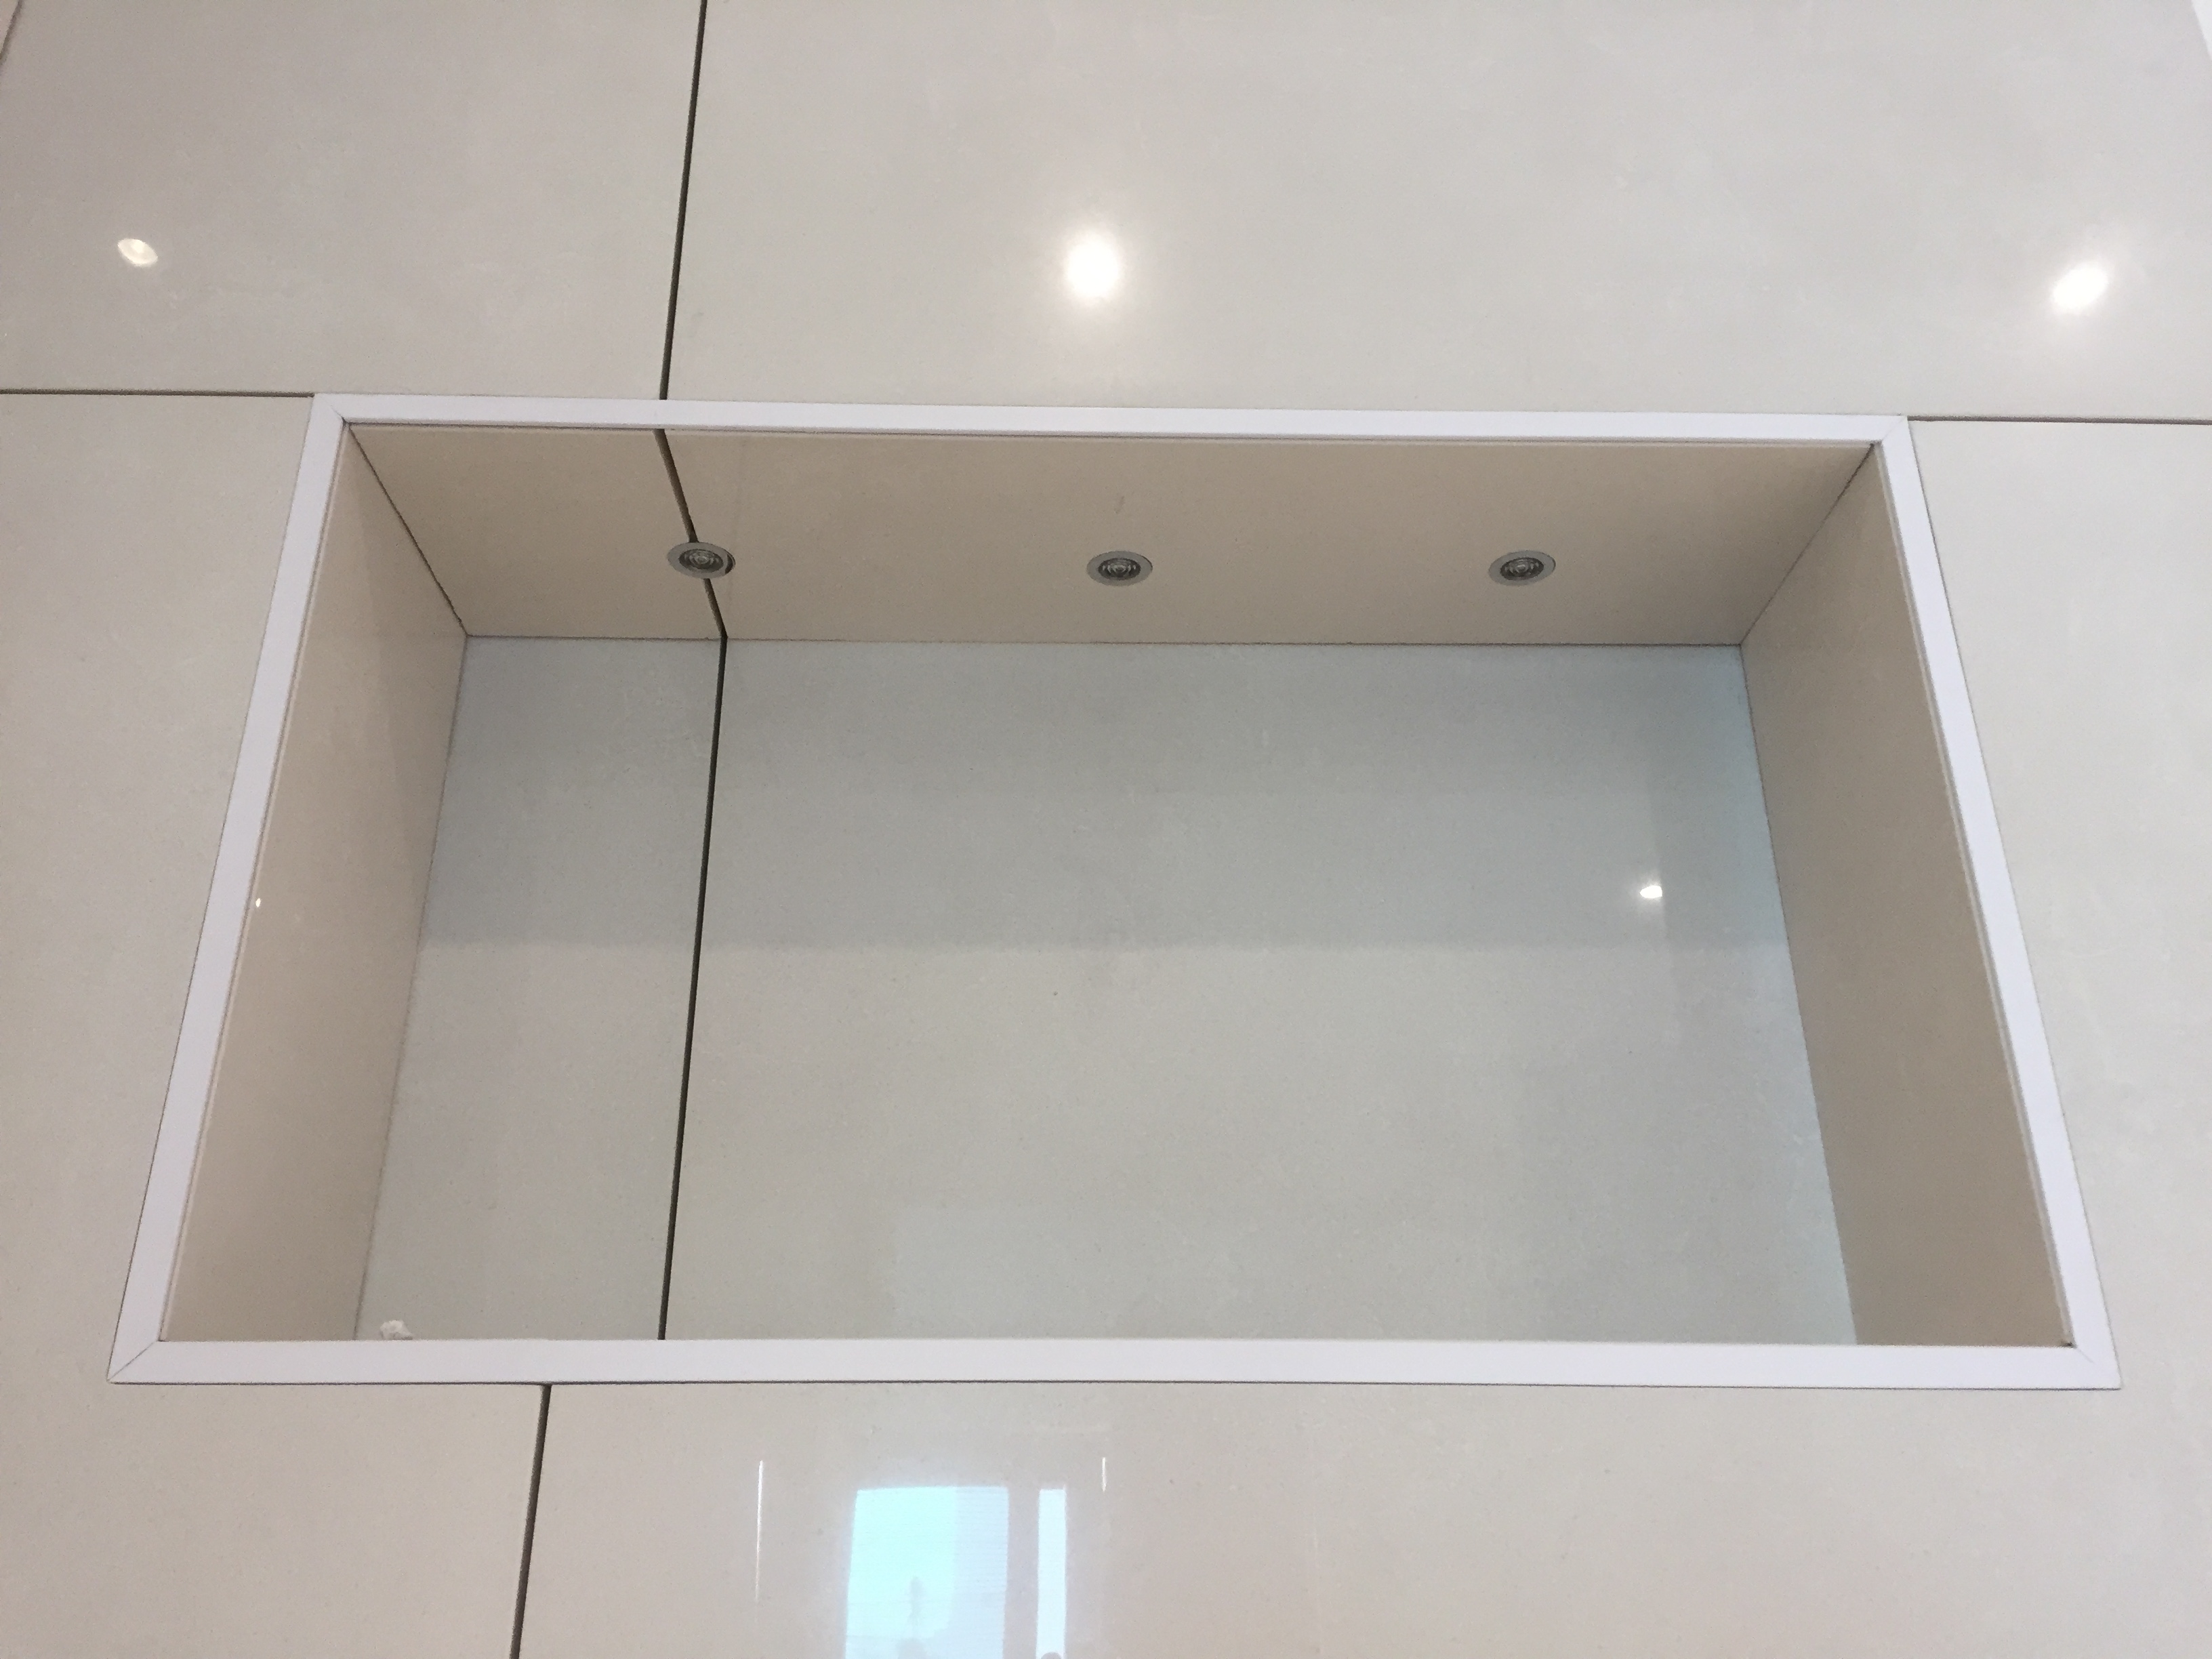
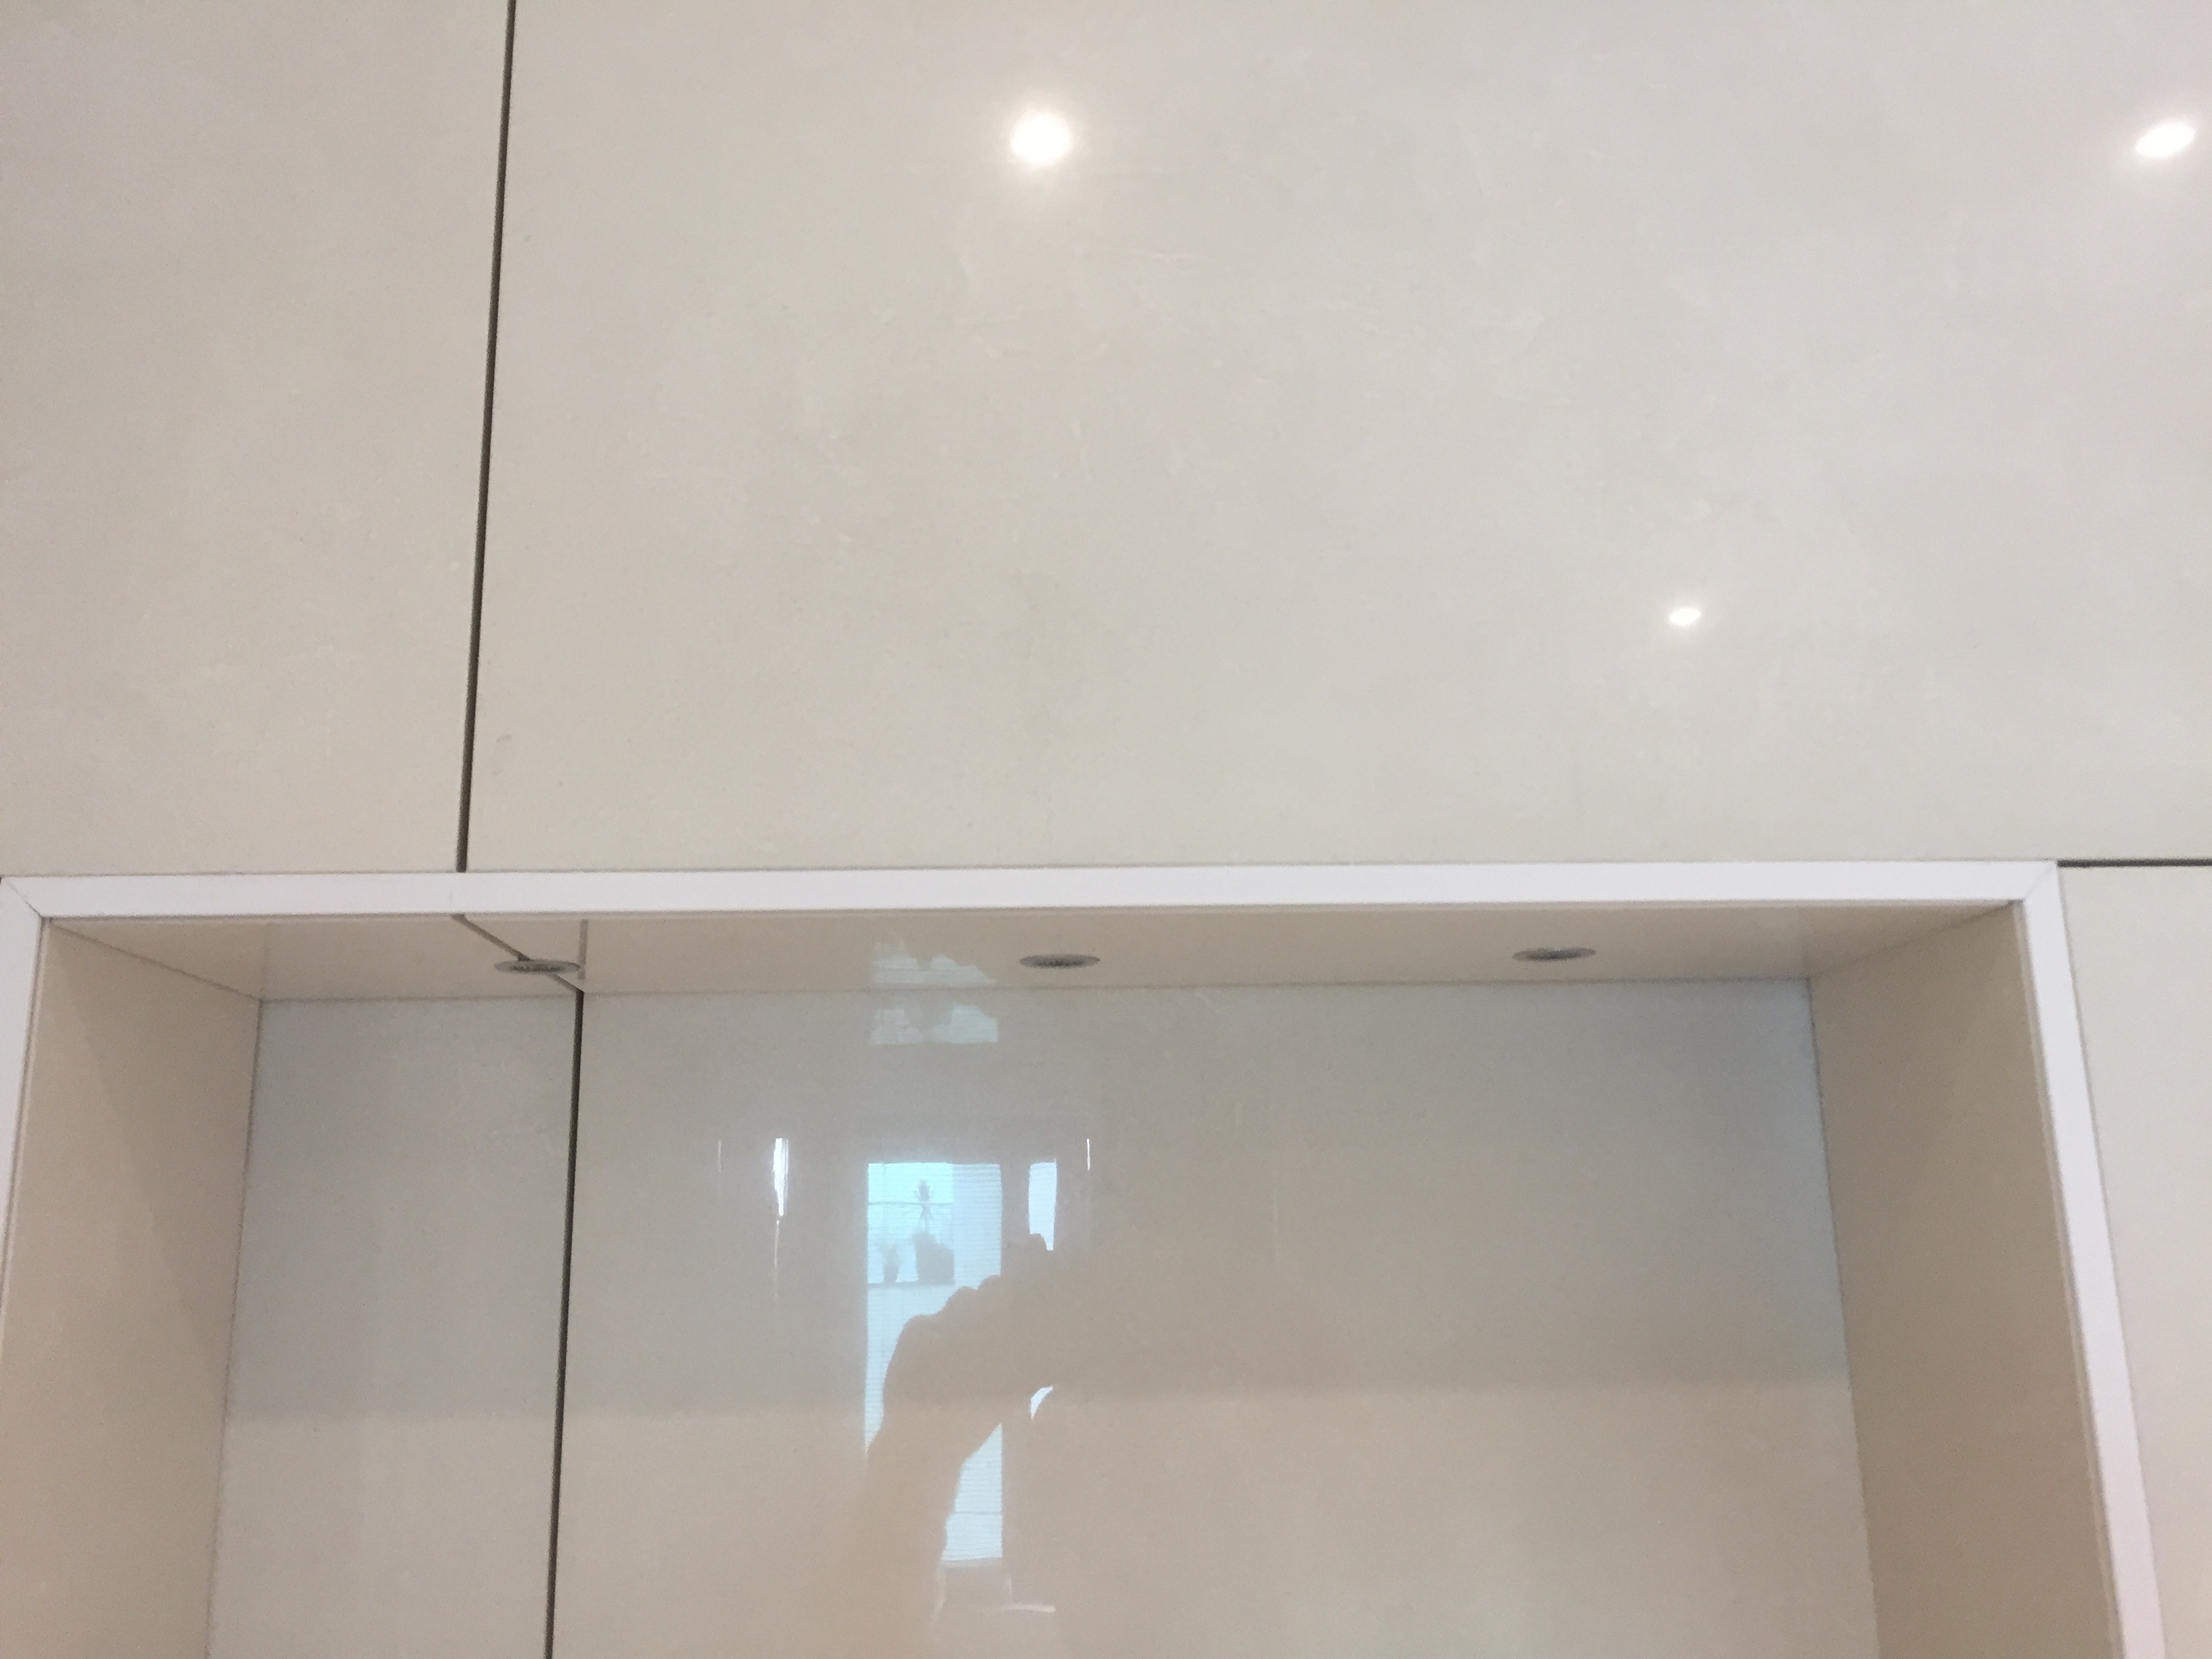
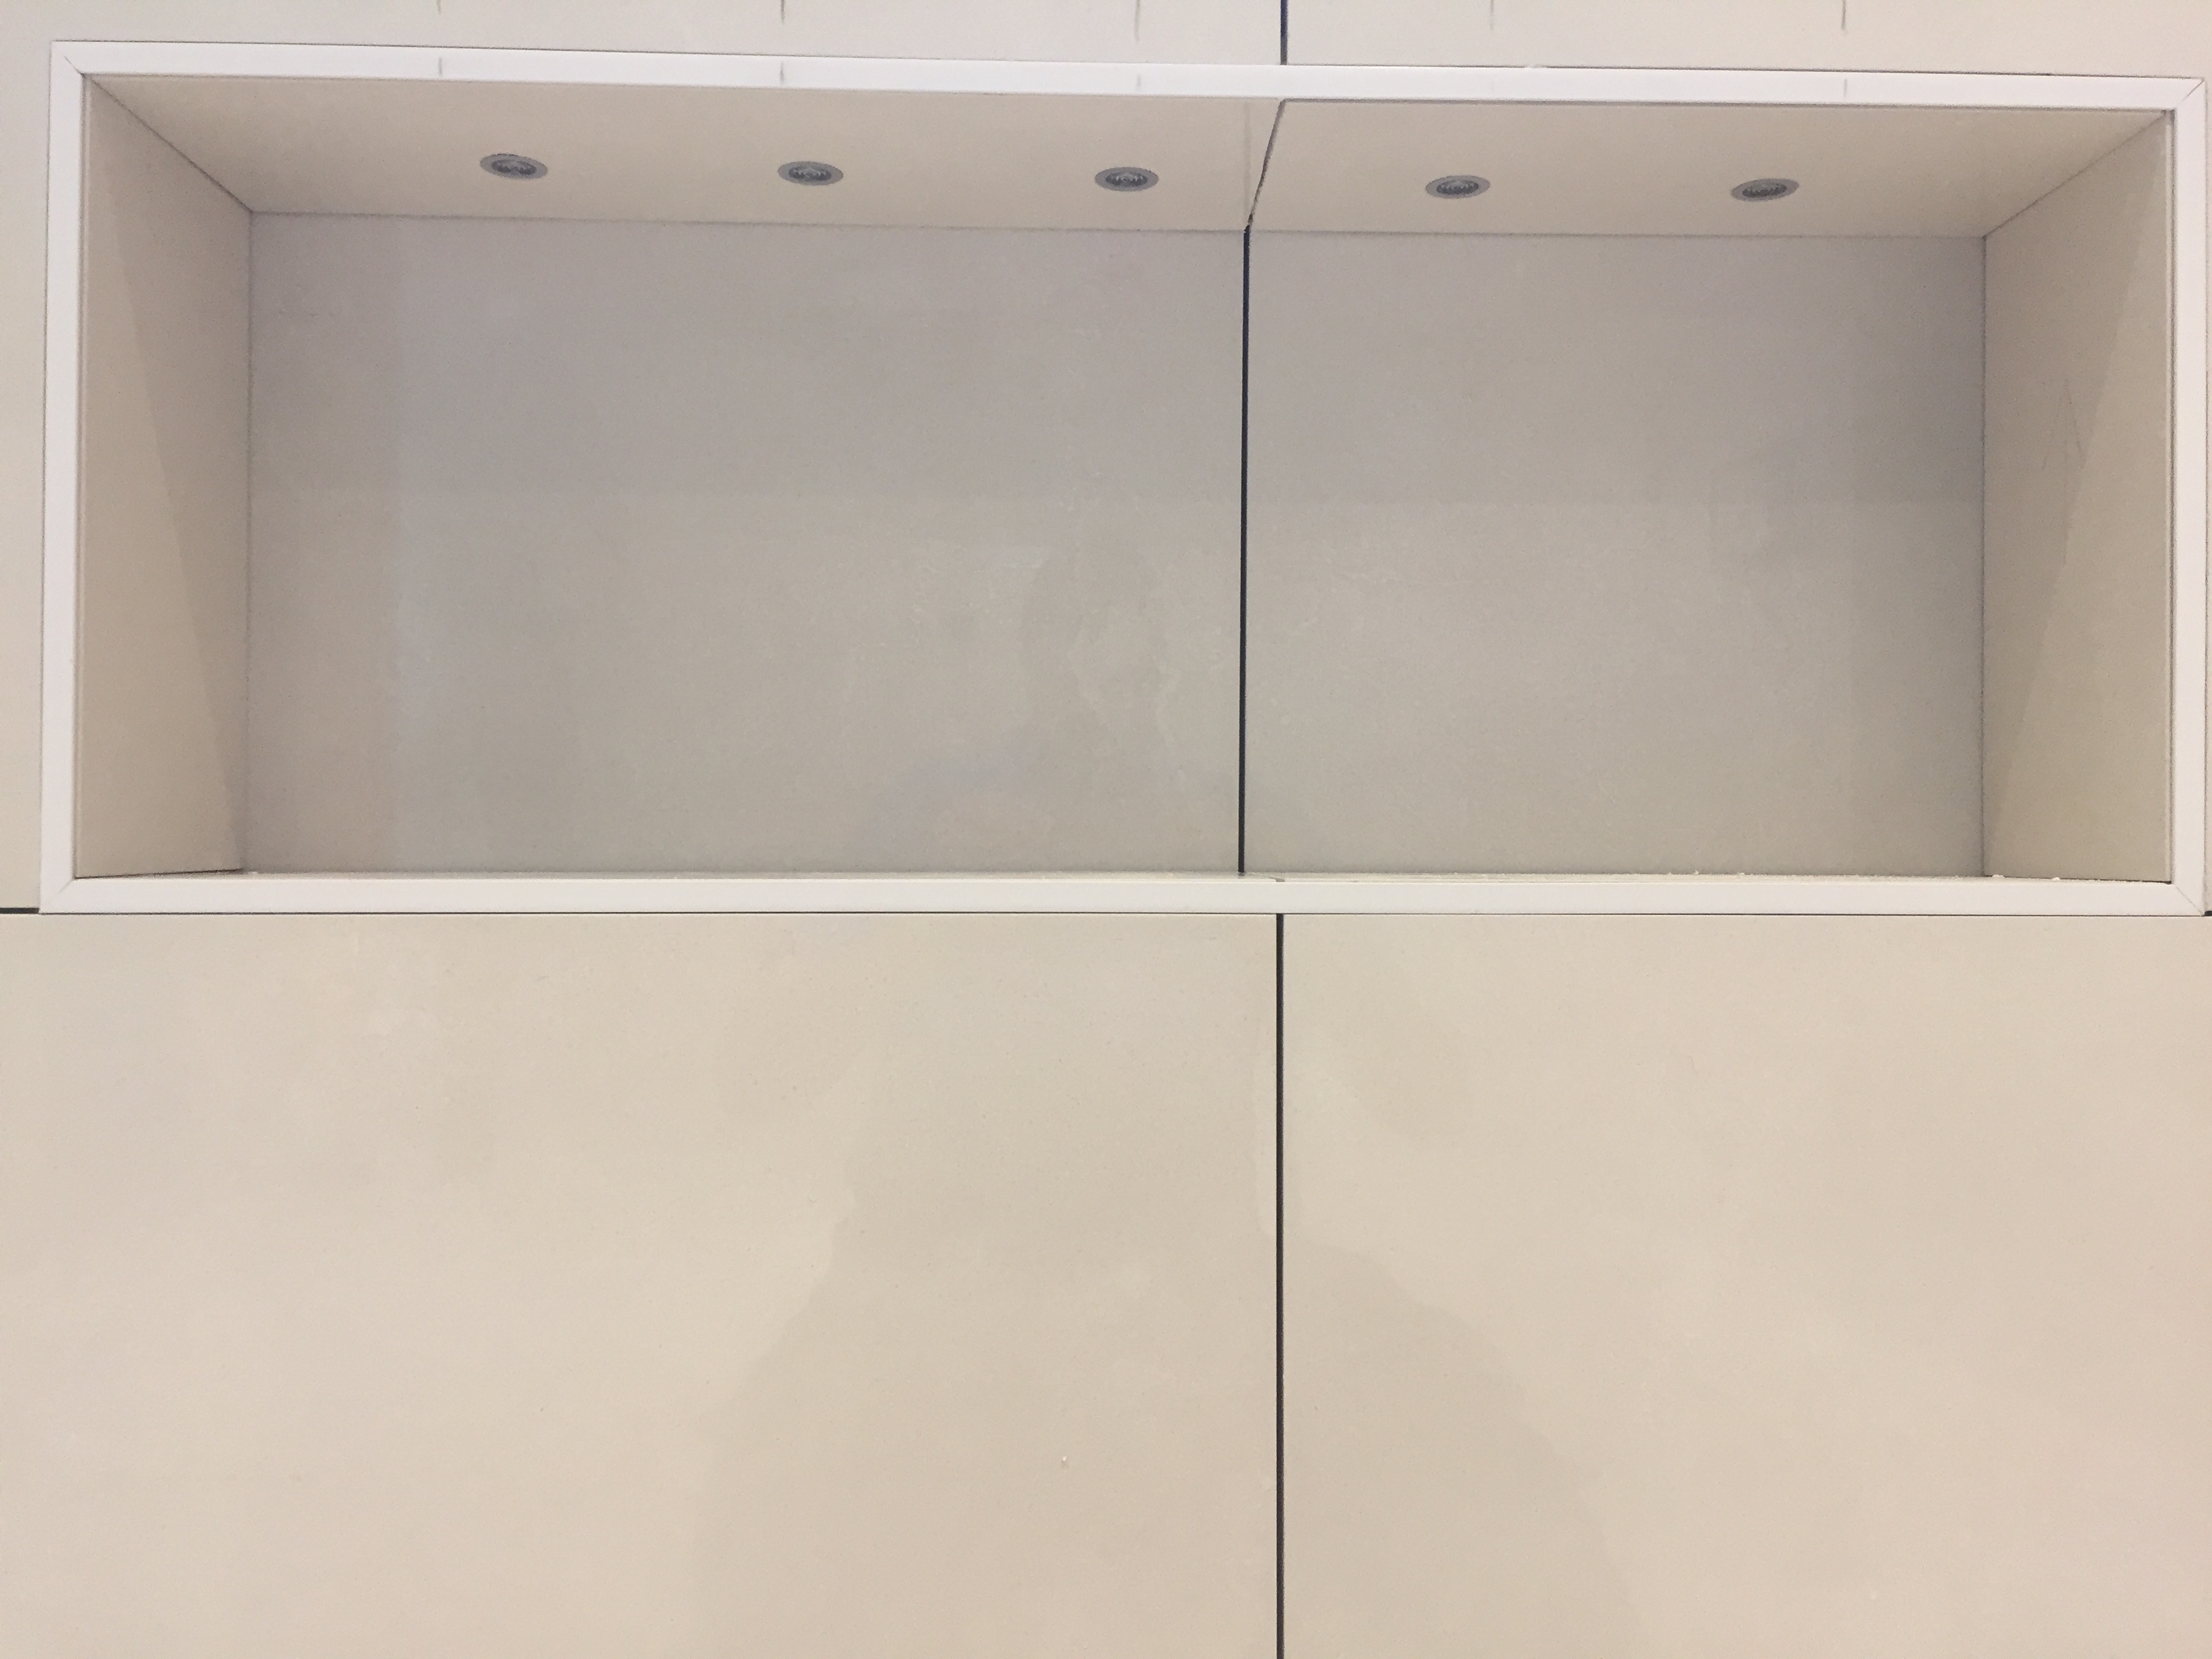
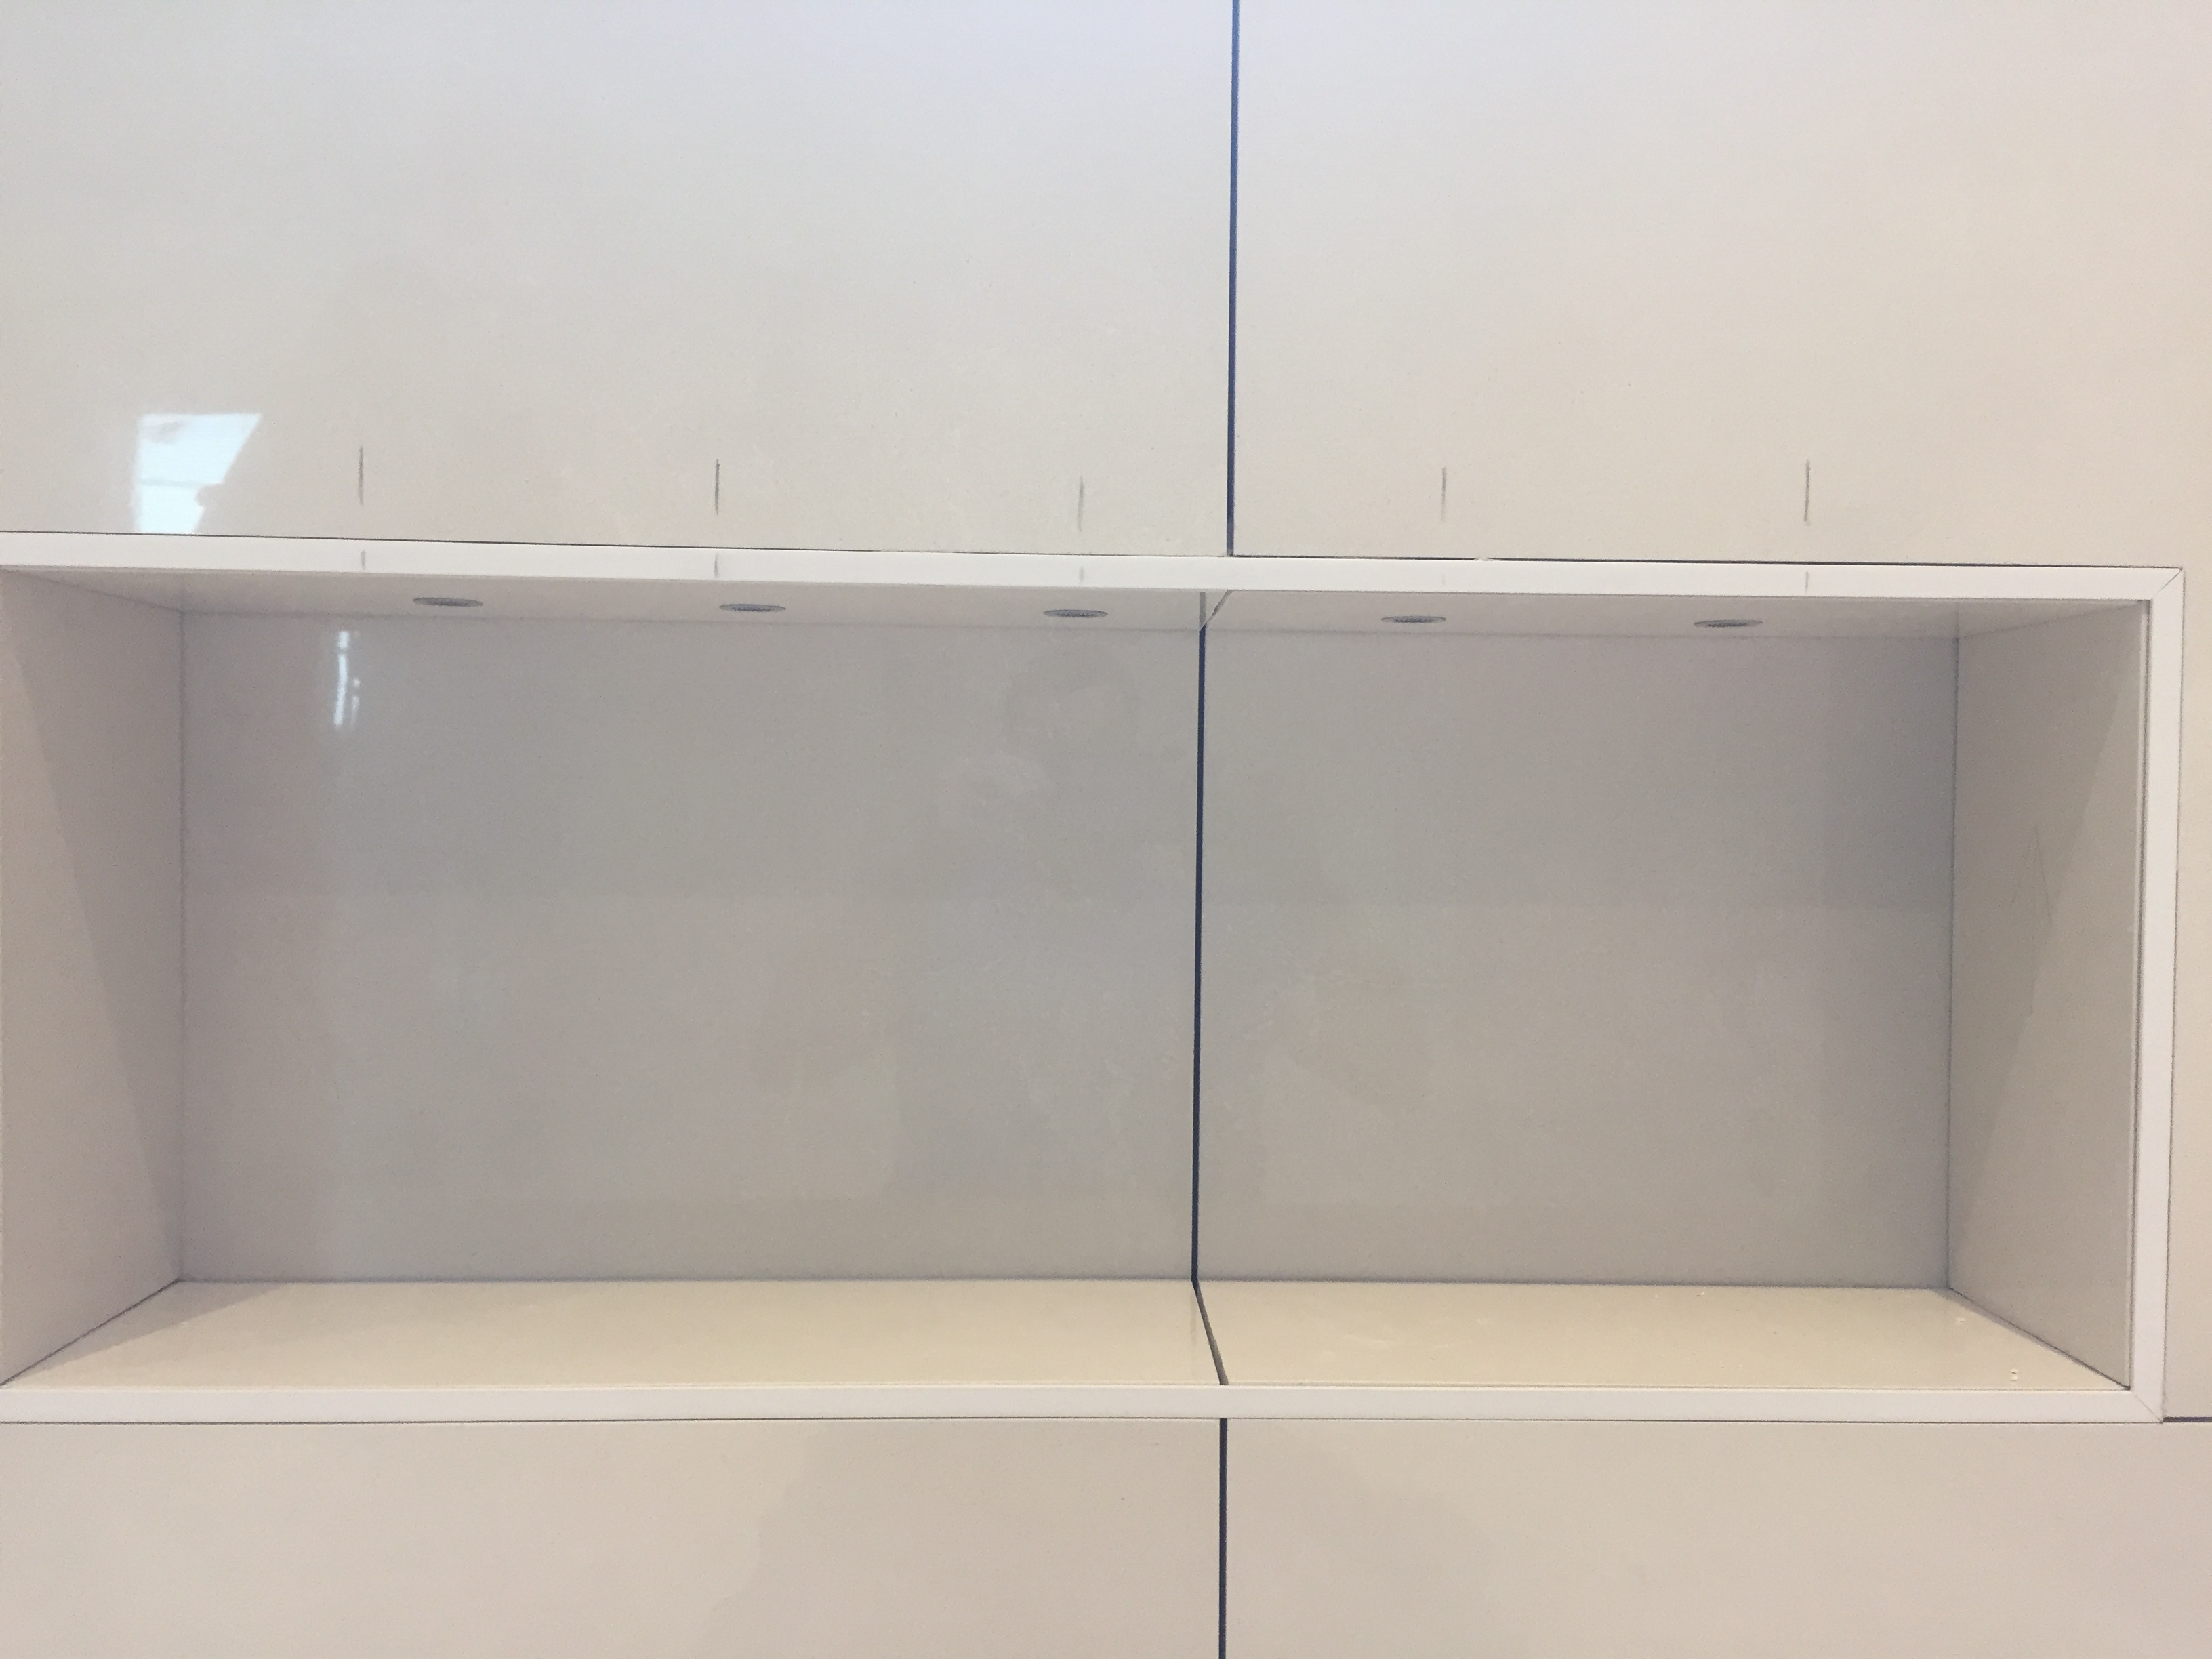
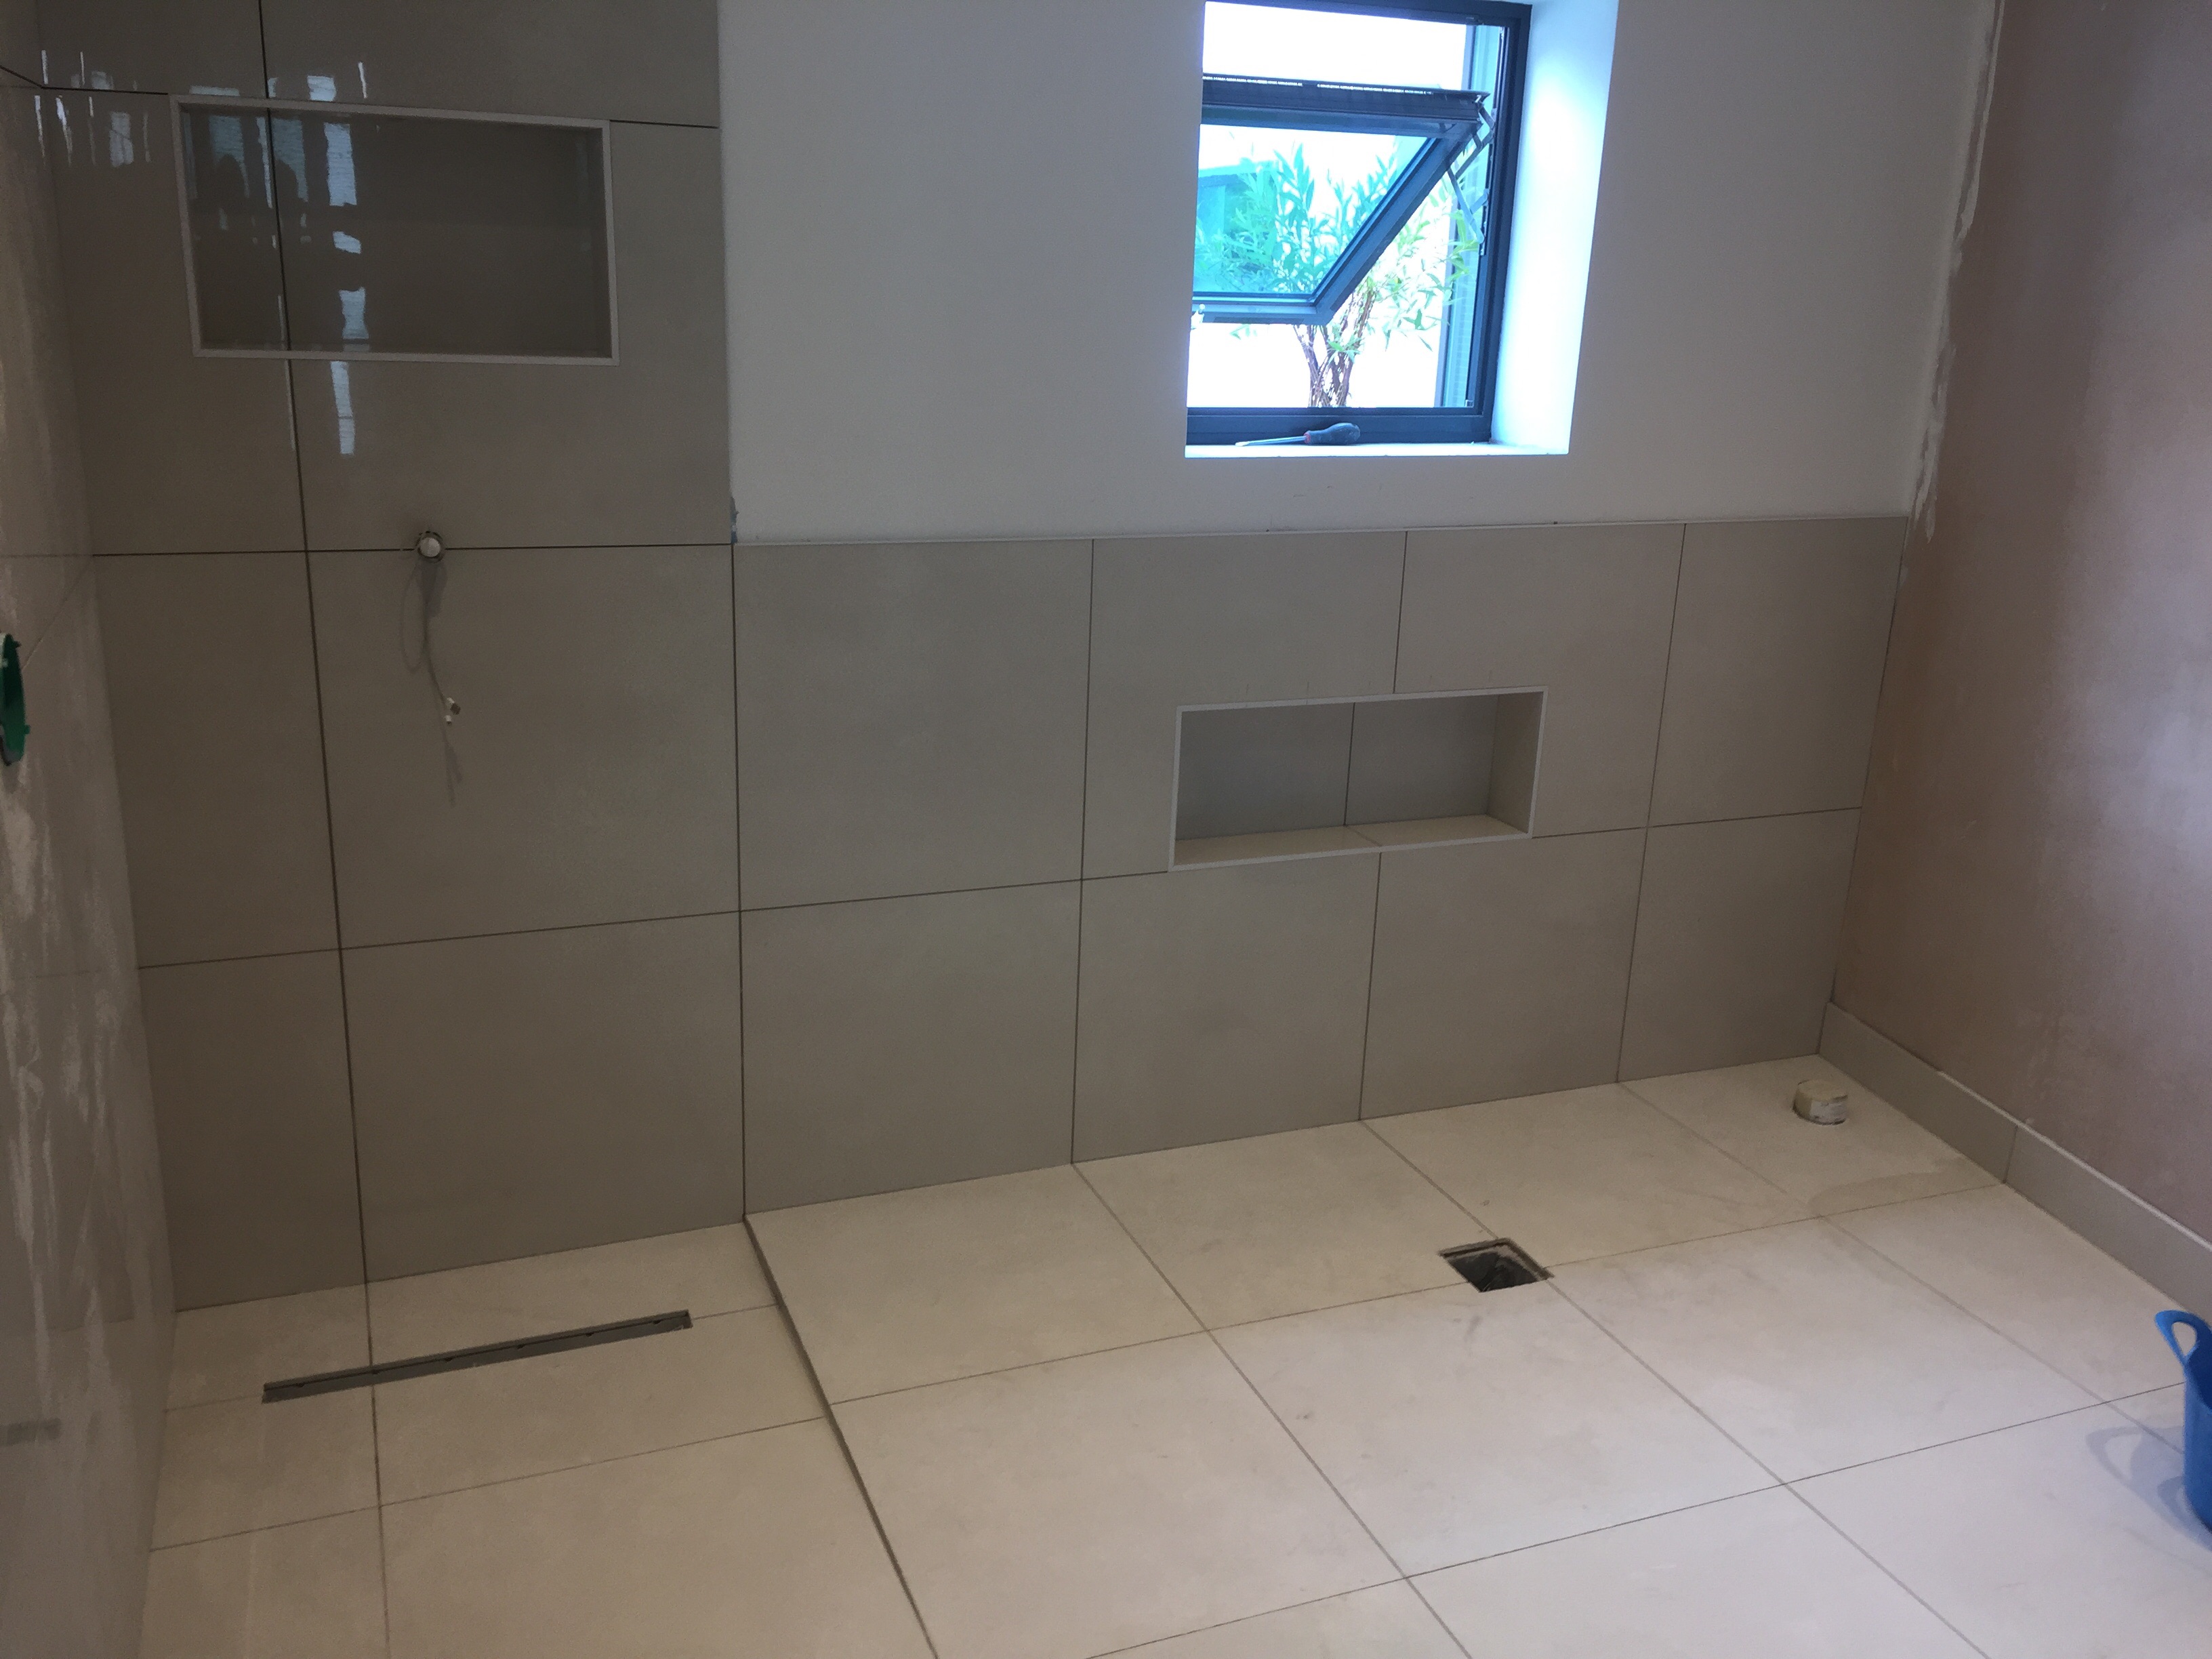
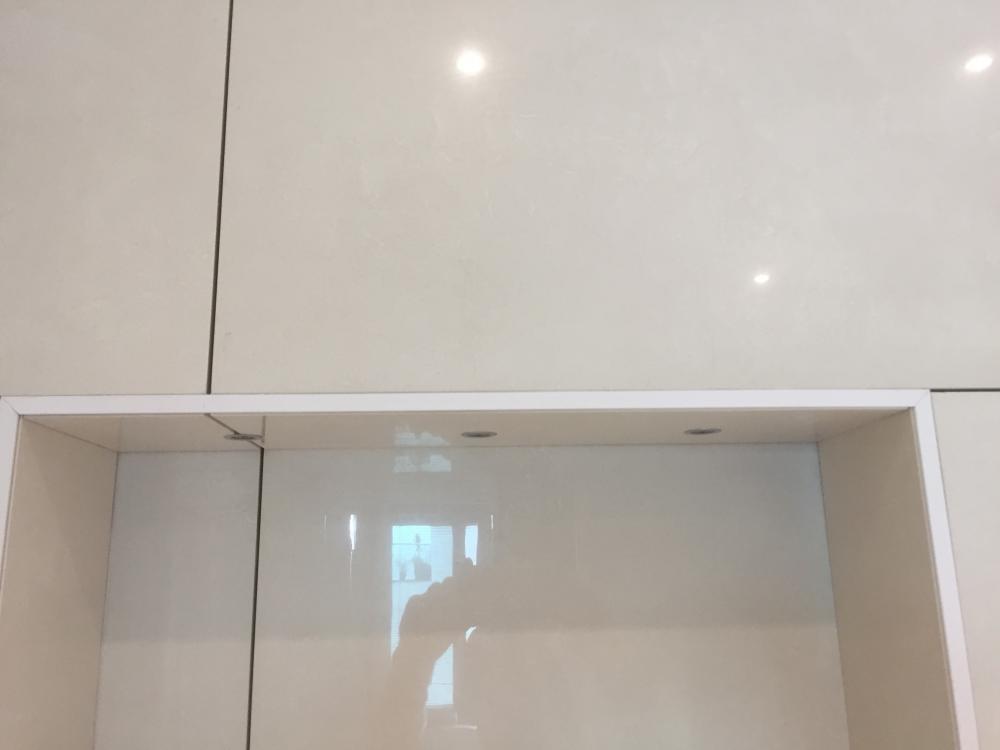
Pics to follow. . Tiled and holes cut for accent lighting. ? -
Moving oil fired boiler away from house
Nickfromwales replied to Roger440's topic in Boilers & Hot Water Tanks
Ok, to clarify, this is already an 'external' boiler yes? Is it currently exposed to the elements and simply piped back to back straight through the wall into the house? -
Bath Surround / Boxing In, and concealed pipework
Nickfromwales replied to Onoff's topic in Bathrooms, Ensuites & Wetrooms
Looking good. Now don't stop !!! -
Hello from me, Large Sips Extension Planned
Nickfromwales replied to Tin Soldier's topic in Introduce Yourself
Hi and welcome . Have a good read through as we've already a wealth of info here. We used to hang around on EBuild so some stuff has migrated from chat there to our new, and more robust, forum here Enjoy! -
Accidental Swimming Pool...
Nickfromwales replied to Jimbouk's topic in Landscaping, Decking & Patios
Can't you line a rectangular pit with 300mm EPS and have the liner onto that? Insulated, and a lot of cube of spoil to come out for reclamation.