Nickfromwales
-
Posts
31362 -
Joined
-
Last visited
-
Days Won
345
Everything posted by Nickfromwales
-
12 months after breaking ground is fantastic progress, beat-eth ye-self, upp-eth, not-eth. Time / cost / ‘gonna do it all myself’ ethos often guarantees that ‘time’ goes completely out of the window. Value life, get some help, happy family, what’s there not to like? Any room for a house-warming party for 20k+ members? 😵💫
-
A polite note to all: I have said earlier in this thread about direct insults, which will be moderated and removed from public view. Buildhub T&C’s have been updated for this exact reason, and are available to (re)read at everyone’s leisure to ensure that we all function admirably on here. https://forum.buildhub.org.uk/terms/
-

Bathroom wet UFH floor buildup
Nickfromwales replied to Super_Paulie's topic in Bathrooms, Ensuites & Wetrooms
22mm deck or 18mm deck? If 22mm deck, plus 6mm ply, then you’ve got 4mm before you poke out the other side. My impact drill has 4 setting for speed / torque, so is much more manageable, but if you’re not rushing you’ll be fine. I mark a grid out and go for a minimum of 120 centres, 100mm best practice imho. Never had issues so I don’t deviate from this. -
Depends where you're sat of course, but I’d say you’d be kosher adding probably another decade to that.
-
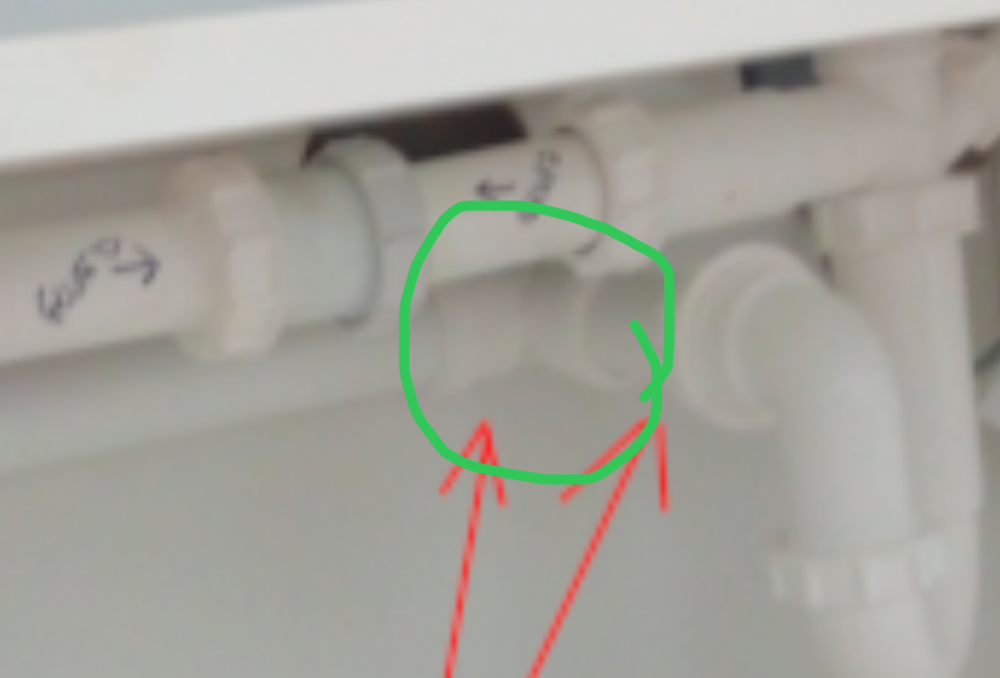
Change this bend from a push fit to a compression. See if that improves it. The seals on those are crap, so the water may be at the bottom of the pipe when leaving, and a gap in the seal may be at the top, and you’d get no water leaking. I’d start there. Also, push a cloth into the hole behind it, to rule out if the smell is coming through the hole and not from the pipe under there.
-
Bathroom wet UFH floor buildup
Nickfromwales replied to Super_Paulie's topic in Bathrooms, Ensuites & Wetrooms
Use LOTS of 4.0 x 25mm screws to fix the plywood down, and if the subfloor is even SLIGHTLY suspect I put the ply down over a 3mm notched bed of neat PVA. -
Too far for the guy I used last.
-
What area are you again?
-
Offer to pay a much higher rate, if they can show you pics of previous work on their phones. That’s the only way to bag a trade in peak season, as money talks. Ask to see the dates the photos were taken, and properly explain the issues you’ve had. Ask if they have PL insurance and say you’ll need to see a copy; those two things filter out most of the shitebags. As far as a random middle-man taking money from you as an agent? I’d lay the bricks myself before doing this; they’ll find the cheapest bricky possible, do near zero vetting, and keep as much money back as is possible.
-
This is standard detailing, for any spark. Was going though this today for 1ph ovens (x2), 3ph induction hob, 3ph ASHP's (x2), and 3ph immersion. Lots of very comprehensive discussion was had, and that means the CU will be sized, populated, and comply fully without any hiccups Breakers (or fuses) have always been sized historically, like 15a rewireable fuses for immersions, so this is not anything that's ever overlooked in my experience.
-
Bathroom wet UFH floor buildup
Nickfromwales replied to Super_Paulie's topic in Bathrooms, Ensuites & Wetrooms
Yup. It'll stick like shit to 2 blankets I've never bought marine ply as if the water is getting to the plywood, you're already wrapped in both of those blankets! -
What he said 👆
-
Plaster-in valves
Nickfromwales replied to jayc89's topic in Mechanical Ventilation with Heat Recovery (MVHR)
Heat and steam off a decent shower will negate any feeling of cold / draught etc. -
Fitted by a whelk then……
-
There’s nothing wrong with doing so, just the difference being some use a screwdriver to put a self tapping screw in, and others use a hammer. Rivnuts would require machine thread screws vs ‘what’s going to be in the van’, so that’s not likely to happen.
-
Post the manufacturers sectional detail, please, before we comment further. I fix into cylinders like this routinely.
-
Plaster-in valves
Nickfromwales replied to jayc89's topic in Mechanical Ventilation with Heat Recovery (MVHR)
Zero chance. -
Plaster-in valves
Nickfromwales replied to jayc89's topic in Mechanical Ventilation with Heat Recovery (MVHR)
You'd need a better plumber to make this a reality! -
I believe the saying is "as bent as a £9 note".
-
You are instructing trades to do the opposite of what most do, ergo shit is hitting fans at a rate of knots here. I haven't put a washing machine tap or mains plug behind one for over 20 years. Ditto fridge, ditto freezer, ditto oven, ditto list goes on. You just ask them to migrate these supply's to the nearest adjacent cabinet and then put the hoses / cables to that location....... Why do you think it's so fecking long?!?
-
@Roger440 may already be suffering from this type of expansion, as he moved to deepest, darkest, but still picturesque Wales, and then the pylons started dropping.......
-
I'm just about to start a new build for a new client and the site was a bit of an odd-ball, with the rear left quarter needing 'attention' according to the geotechnical report, before we could build a raft and a new ICF structure atop. I made the call to drop grade by 500mm, with the added benefit of slightly higher internal ceiling heights but no affect on ridge height, which cured a problem with some beneficial side effects. Sometimes you can turn issues into advantages, so a sloping site doesn't always mean a headache!
-
Lol. On site is the only place I command . Has a certain ring to it though There are a significant few who are too dense or preoccupied to GAF here, surviving day to day on a diet of short-sightedness, ignorance, and selfishness. If the nations children were given a choice on a Monday, go to school to get an education to bolster the next 50-60 years of your working life, or stay home an stare at fecking TicTok all day.............we'd be fecked, and schools would be 20% full at best. Dehydrated horses clinging to life sometimes need to be carried to water, and even if they can't swim, need be be tossed in the deep end and given no choice. You can't educate pork.
-
If you go for a block and beam foundation then you'll need a clear perimeter all around the slab, to get the required cross ventilation. This may then provoke a retaining wall £££.
-
Plaster-in valves
Nickfromwales replied to jayc89's topic in Mechanical Ventilation with Heat Recovery (MVHR)
I'm a big fan of extracting or supplying as far diagonally opposite the door as is practicable. Airflow across the whole room will (should always) steer my design / execution; not lost a patient yet.