

Stones
-
Posts
3761 -
Joined
-
Last visited
-
Days Won
23
Everything posted by Stones
-
What went wrong?
-
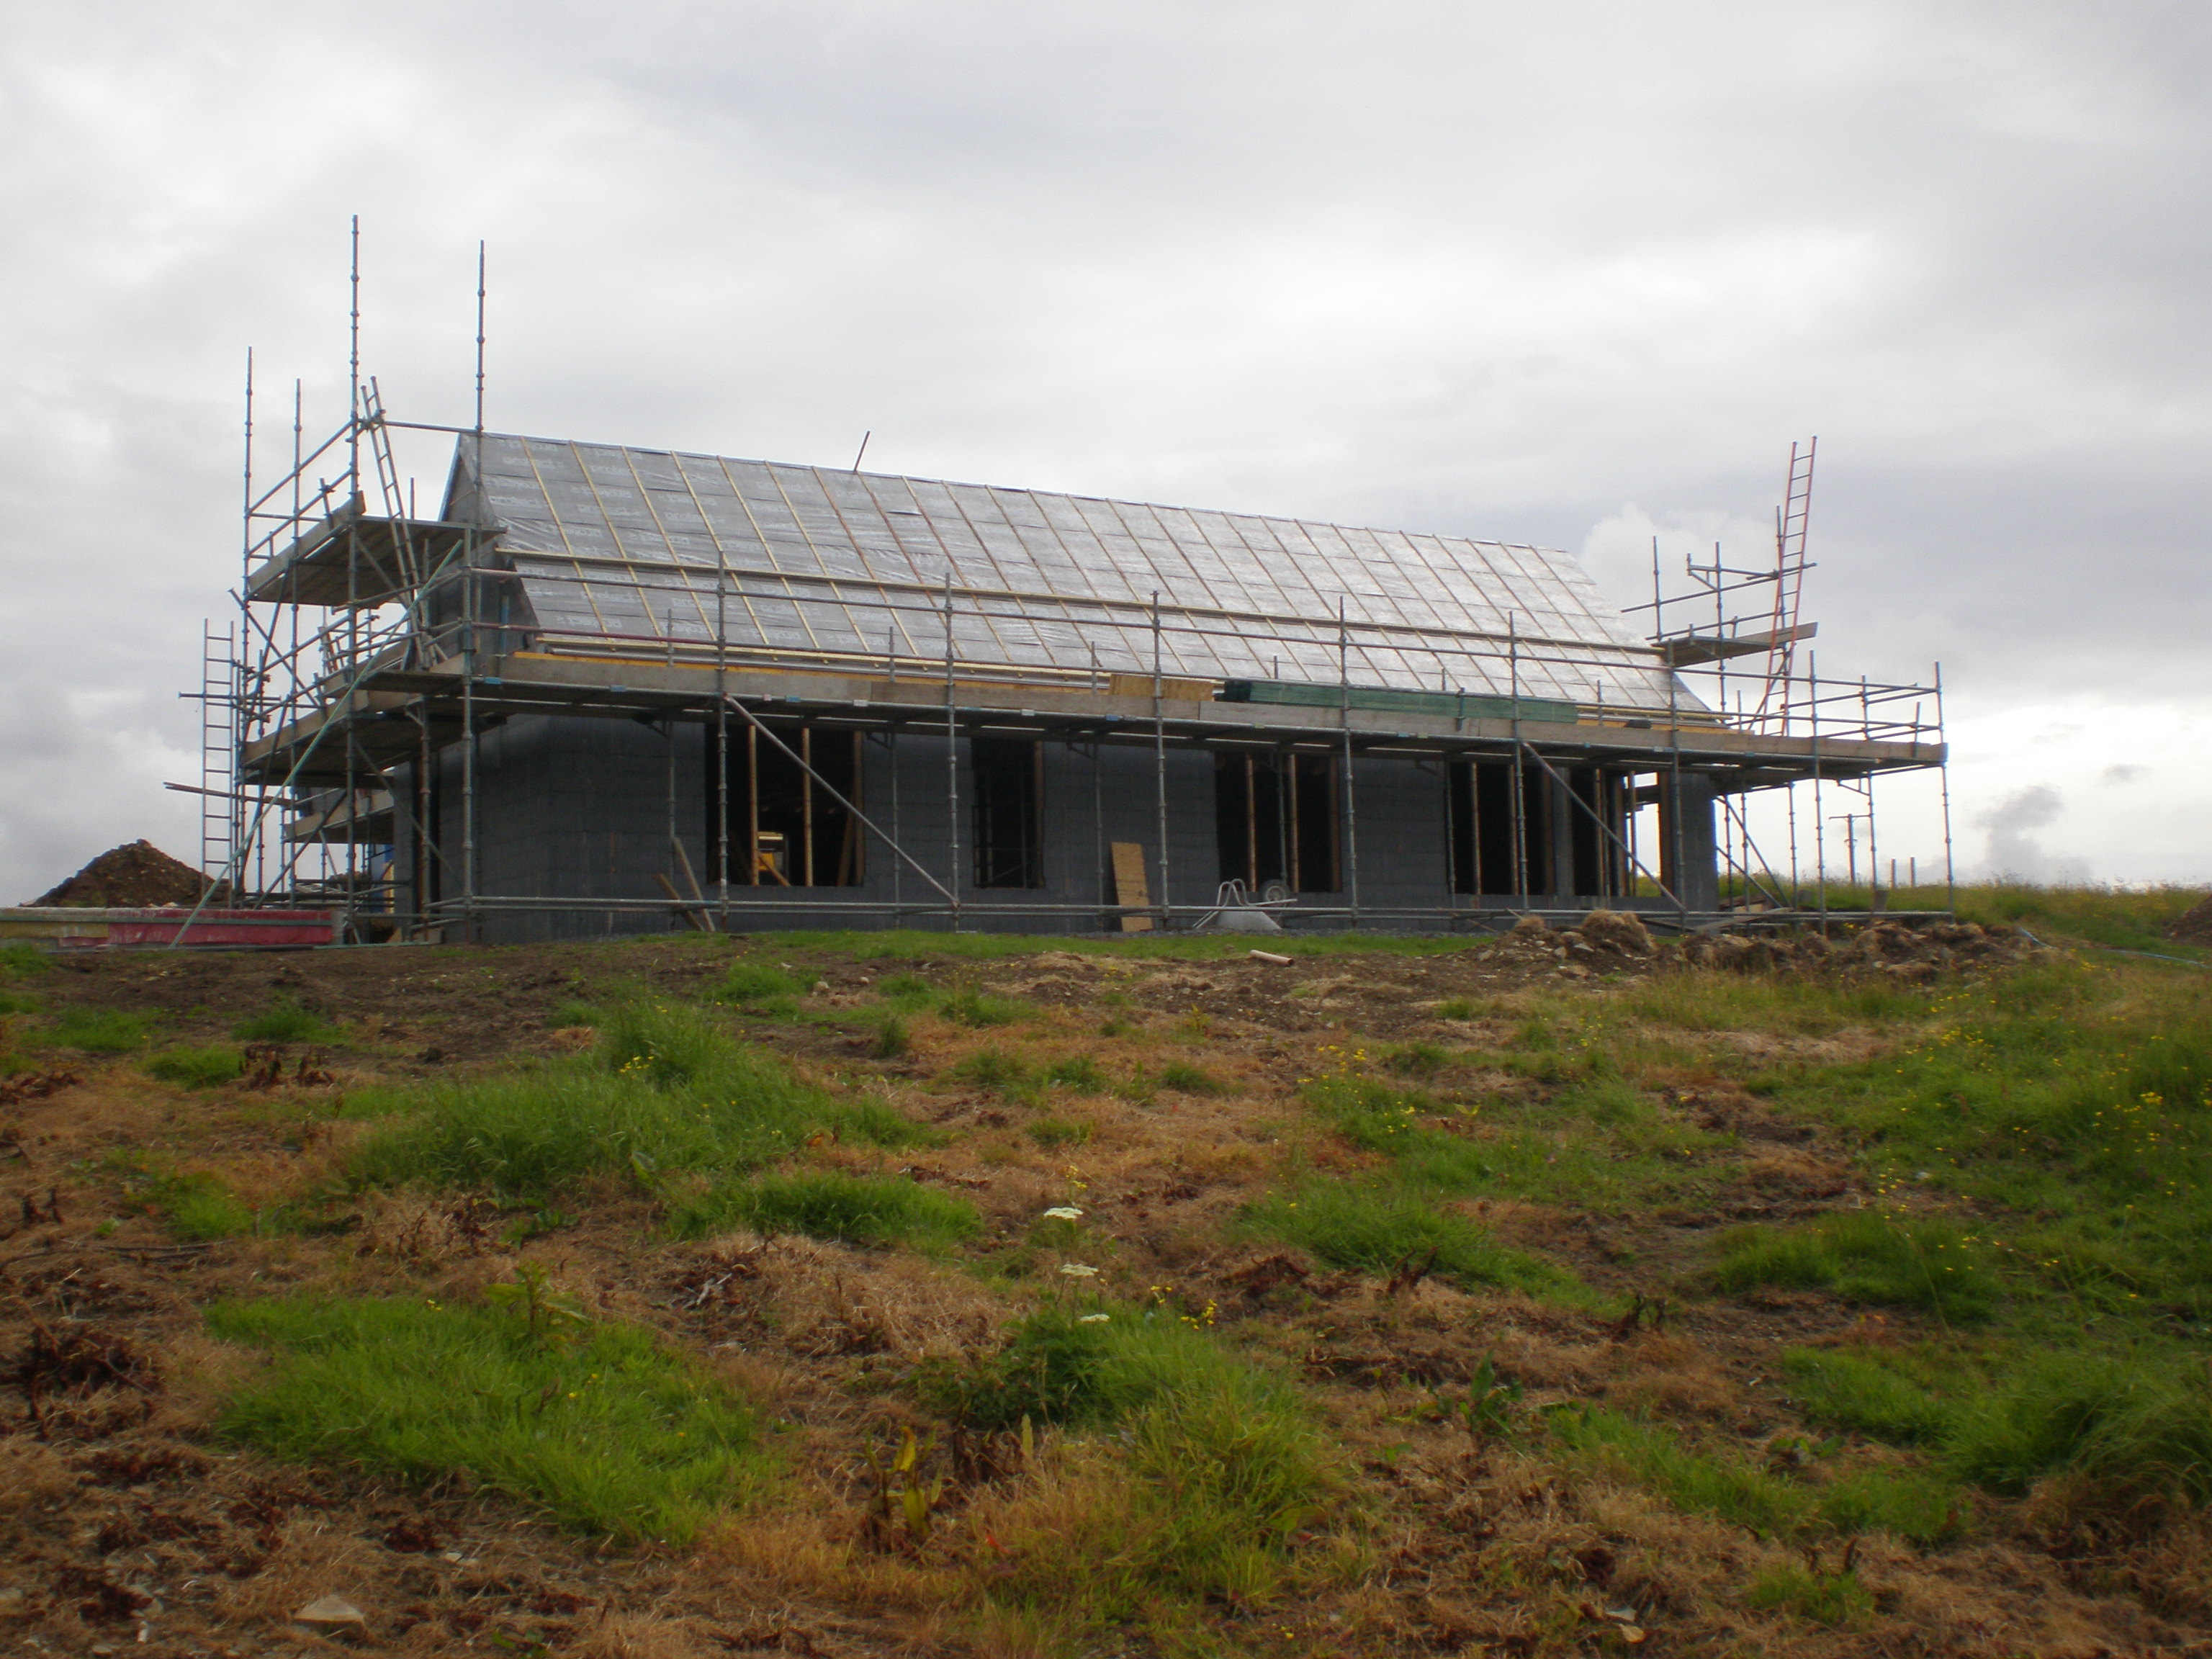
We visited a house locally where they had fitted Aldus 2G and I also visited their showroom in Cumbernauld, which certainly gave me a reasonable indication of what they were like but nothing really compares to actually having them and being able to get up close and personal with them. We fitted a 3G Velux, mainly because that's what our builder normally uses. We went for the white plastic version which despite my aversion to UPVC Windows in general, we preferred to the more common Velux timber finish. Re the scaffold, it's a spray render system that my builder uses. I'm guessing scaffolding gets in the way so they remove the main runs and leave what they need at the gables.
-
I fitted one of those in my last house. Certainly did the job and was cheaper than anything else I could find at the time. The main reason I went for that particular unit was that in addition to your normal diversion, it had a no volt relay in it meaning you could activate an additional appliance when you reached a predetermined level of excess generation. In my case our EAHP had an electronically controlled 2.67kW immersion which we switched on when we hit excess generation of 2.5kW and off when it dropped below 2. The owner of the company was very helpful and did all the programming / coding required to get the hysterisis correct. My father bought one of these at the same time as me and hasn't had any problems / has piping hot DHW throughout the summer months courtesy of diverted excess PV.
-
With spectacular timing, our window order went in too late to beat the summer factory close down, resulting in a 4 week delay on top of the normal 6 - 8 week delivery time. Better late than never, our windows arrived a fortnight ago, all the way from Poland. Having a passionate hatred of UPVC windows, we specified 3G aluminium clad timber windows. I obtained a few quotes from different manufacturers / suppliers, but in the end, after pushing hard on price, we went with Rationel, (supplied in Scotland via ADW Ltd). Without seeing them in person, it is difficult to appreciate the quality of the windows, but we are absolutely delighted. They appear very well made, so much so that all of the joiners working on our build have so commented, and my builder has switched to Rationel as his supplier of choice. Performance wise, we have a combination of 4-20-4-20-4 and 4-20-4-18-6 triple glazed windows, with U values ranging between 0.7 and 0.9 depending on the size of window and an overall project U value of 0.8. Price wise, including the extra delivery costs relating to our location, we've paid £290 per sq metre for our windows and doors. Fitting the windows took a couple of days. Whilst the majority of the openings in the ICF blockwork had remained true, one or two were slightly out which meant the odd packer here and there to ensure the windows were level and plumb. The windows have all been positioned such that they protrude 20mm beyond the outer face of the ICF block: : and are secured in place internally be metal straps fixed to the window frame and the timber openings: The standard Rationel installation detail is a little odd (as has been experienced by ProDave) in that they want a gap left between the edge of the alu cladding and the window reveal / ingo, so as not to block the drainage channel that forms part of the alu cladding. We deviated from this detail, primarily because neither I nor my builder had any confidence in it. We were both of the view that if left exposed, such a seal was bound to fail within a relatively short period. In fairness, Rationel do say that it is up to the installer to fit the window to suit local conditions. http://www.rationel.co.uk/media/1614084/Installation-Drawings-ALDUS.pdf Rather than using expanding mastic tape (compriband) we are using a Soudal sealant to seal the timber window frame to the timber opening. External insulation is then brought hard up to to the aluminium window cladding. This keeps the drainage channel on the alu cladding open but completely conceals the main line of sealant behind. The window reveals / ingos will be finished with render or timber clad hard up to the alu cladding. In the case of render, a stop bead will be used at the alu cladding junction to ensure a good finish and an effective seal. The window cill which you can see pictured above was sourced independently of Rationel / ADW Ltd. For reasons I cannot quite fathom, Rationel do not supply cills. This is the responsibility of their agents who in the case of ADW Ltd source them and have them painted to match the windows here in the UK. Unfortunately, they were unable to supply me with cills deep enough for me needs, so I had them fabricated and painted by a company in Glasgow - MSP Scotland Ltd. I paid just under £250 for all my cills. Again, we are delighted with the quality - 2mm folded cills, which fit snugly into the preformed cill groove on the underside of the Rationel windows. Two depths of wall insulation have been fitted to our house, 100mm to the section to be timber clad, and 140mm to the section to be rendered. The main reason for restricting extra insulation on the timber clad section to 100mm, was to facilitate the subsequent fixing of battens to carry the timber cladding. To facilitate precision cutting of insulation, a hot wire cutter was used: The external insulation was fixed using a combination of expanding foam and mechanical fixings. Foam was applied to the back of the insulation sheets which were then positioned on the wall. Mechanical fixings (pictured below) were then used to firmly secure the sheets, in the case of the timber clad section (100mm insulation), the long screw and black washer which fixes into the plastic ICF block formers in the core of the block, and in the case of the rendered section (140mm insulation) a plastic type plug drilled into the concrete core of the block. The insulation itself came in different sizes. The 100mm insulation was supplied in interlocking 1200 x 600 mm sheets. The 140mm insulation came in 2400 x 1200mm sheets. Opinion on site was split between the pros and cons of each size with advantages and disadvantages to both. Fewer joins when using bigger sheets, but smaller interlocking sheets were easier to work with. A couple of pictures of how it now looks: All being well, the scaffolding should be removed shortly, ready for the render system to be applied. The joiners have started fitting battens to the section to be timber clad so it's all systems go.
-
I had one in my last house. All I'll say is NOOOOOOOOOOOOOOOOOOOOOOOOOOOOOOOOOOOOOOOOOOOOOOOOO, DON'T DO IT! I did a user review back on ebuild. I'm not repeating everything here but feel free to have a look for it. As you've probably guessed, not a great experience with it.
-
I always think fully vaulted ceilings only really work in large open rooms. The smaller the room gets, the less height it can take before the proportions begin to look a bit odd. I was in one house that had a standard 3 x 3 m double bedroom but had a double storey ceiling. It actually made the room feel smaller than it actually was as the sense of floorspace was lost. I think full height in the main living area is a must. Bathroom and entrance hall I would just go with standard height flat ceiling - creates a nice transition and wow factor for visitors. I think the same applies to the bedroom and I quite like Dave's suggestion. In our last house we used scissor trusses to create a vault, so only just over half the height of a full vault. Worked well and gave the room a real sense of proportion and feeling of space. Not ideal, but i would have thought you could mock up a false ceiling using a batten and bit of polythene or even an old bed sheet to see what proportions work? I've actually got to make a similar decision for our bedroom. Measuring 4.5 x 4 m (approx, we could have a full height vault, but my inclination is to put in a false tie perhaps a metre down to better proportion the room. The opposite will apply in our main room (9 x 5m) which will full height or just short of the apex.
-
 You can get them, about £1.80 each. http://www.bpc-direct.com/cgi-bin/olscgi?cgi_req=102|42|1 I'm just of the view that joins are best avoided if you don't need to make them.
 -
+1. I've just ordered my staircase for this reason, although in reality, as the staircase only serves one small room, the actual need for it is probably quite limited.
-
Ah, hindsight. Easy to torture yourself over whether you have made the right decision, and can actually be quite destructive in that it distracts you from other decisions / choices yet to be made. You've done the best you can in the given circumstances. Time for the next challenge?
-
Another example of how the same rules are applied differently between council areas. Very rare to see a set of traffic lights in our neck of the woods, a few cones and a vehicle strategically parked on the road seems to be order of the day up here.
-
Looks good. I'm a bit surprised at your quote for going under the road. Our water connection came from the other side of a widened single track road. It was £800 to excavate an opening either end, mole under the road twice to put in two 32mm pipes (one for our site, one for the neighbours) and reinstate. Have you obtained other quotes? My engineer charged £350 for site investigation and porosity test. Do you know how they assessed ground bearing strength on your site?
-
Is it as bad as this? http://www.bbc.co.uk/news/uk-scotland-37184267
-
I'm guessing what they are paying for the sheets, they will still be making plenty of money. £50 to Skye, what a great price. I've just been stung on the cost of getting a staircase delivered.
-
How long do the boards need to be temporarily held in place? We are currently having our EWI fitted. The builders are using Everbuild Pinkgrip foam to position and hold the boards before mechanically fixing. Is foam an option you would consider? They use two types of fixing, the first is a long screw with large plastic washer (which screws into the plastic formers in the ICF block, the second type being longer plastic plug type fixings which are drilled into the concrete core. Obviously it's going to be the former you are looking at. Quick thought, if it's only temporary, (and depending on the depth of your boards) buy a pack of washers and long screws, one in each corner until you get the battens on?
-
My builder is currently using Everbuild Pinkgrip, but the main application it is being used for is part fixing EWI to the outer face of ICF blocks.
-
Make house temporarily weatherproof - or leave it to elements?
Stones replied to readiescards's topic in Brick & Block
+ another on spending the money to make it watertight. -
My understanding of the rules is as follows: The VAT incurred on delivery charges listed on main invoices for eligible goods are part of the value of the goods for the purposes of the Scheme and can be refunded. Separate invoices for transport or delivery aren’t eligible for refund. The problem I have, and others who live in more remote areas often encounter, is the additional delivery charge, or we can only deliver to the nearest port. In that circumstance, i have no option other than to use a follow on haulier. Just wondering if anyone has tried / had any success in reclaiming such additional delivery / transport costs? I'll give HMRC a call in the morning to ask, but my current thought is even if they do say no at this point, it may well be worth submitting the invoices with an explanatory note in the hope there is some discretion or a derogation open to HMRC for island communities - i.e. the only way we could get the goods delivered was to pay for additional transport / haulage.
-
Our builder uses Everbuild stuff (primarily I think because he uses so much of the stuff). I'll double check the actual product tomorrow when I'm back on site.
-
Some expanding foam squirted on immediately before fitting the GRP capping piece? We are building with ICF, and expanding foam is almost a stock solution for gap filling and applications like you describe.
-
That's not a tree, it's a large bush. From the plan I'd assumed it was a tree of the stature of the one to the left of the car / driveway. Personally I'd cut it down and replant later if required.
-
Transition between tiles and shower panels
Stones replied to Stones's topic in Bathrooms, Ensuites & Wetrooms
Thanks Nick, I'll get something on paper a bit later and post. -
Shower head - water saving nonsense?
Stones replied to ProDave's topic in Bathrooms, Ensuites & Wetrooms
Agreed, a regulation (perhaps well intentioned) which does nothing other than frustrate consumers who end up discarding the relevant part to get a decent flow. We tried an aerated shower head, reduced flow from 12 l/m to around 8 l/m. All that happened was you spent longer in the shower rinsing off soap / shampoo etc. Net result, less enjoyable shower experience and no water or energy saving. We ditched the aerated head... -
Why does it need removed? If it is a bit overbearing / untidy, you could as an initial step thin it out, raise the crown, remove awkward limbs. It's amazing the difference this can make.
-
I've recently fitted my MVHR ductwork (another BPC customer!). It's the first time I've used a radial system. Previous builds have used a mix of rigid and flexible main duct runs with individual rooms Tee'd off. I found the radial ductwork much, much easier to work with. I think the best tip is to having a cutting list. Work out / measure how long each of your duct runs is going to be so you can maximise the amount of usable duct from each roll. Case in point, BPC wanted to supply me with 4 rolls of duct. I worked out a cutting list at the point of order and reduced the number of rolls required down to 3. All I'm left with is a 1.4m length and 5 offcucts ranging between 300mm and 600mm.
-
We are planning to use 'wetwall' type shower panels in both shower enclosures. We would also like to tile both our bathrooms to dado height, which means tile will meet shower panel. Just wondering if anyone has some inventive or out the box ideas of how we could manage that transition, as neither of us are very keen on the visual appearance of plastic or aluminium panel end trims. One of the shower panel systems we are looking at, http://www.bushboard.co.uk/products does an attractive postformed rounded end, which is fine, but still leaves the problem of how to transition to tile, albeit we might get away with simply grouting / white sealant the gap between tile and postformed end. The only thing I can come up with is to use an oak trim on the end of the shower panel, something like a flooring T bar.
